This post may contain affiliate links. Read my disclosure policy here.
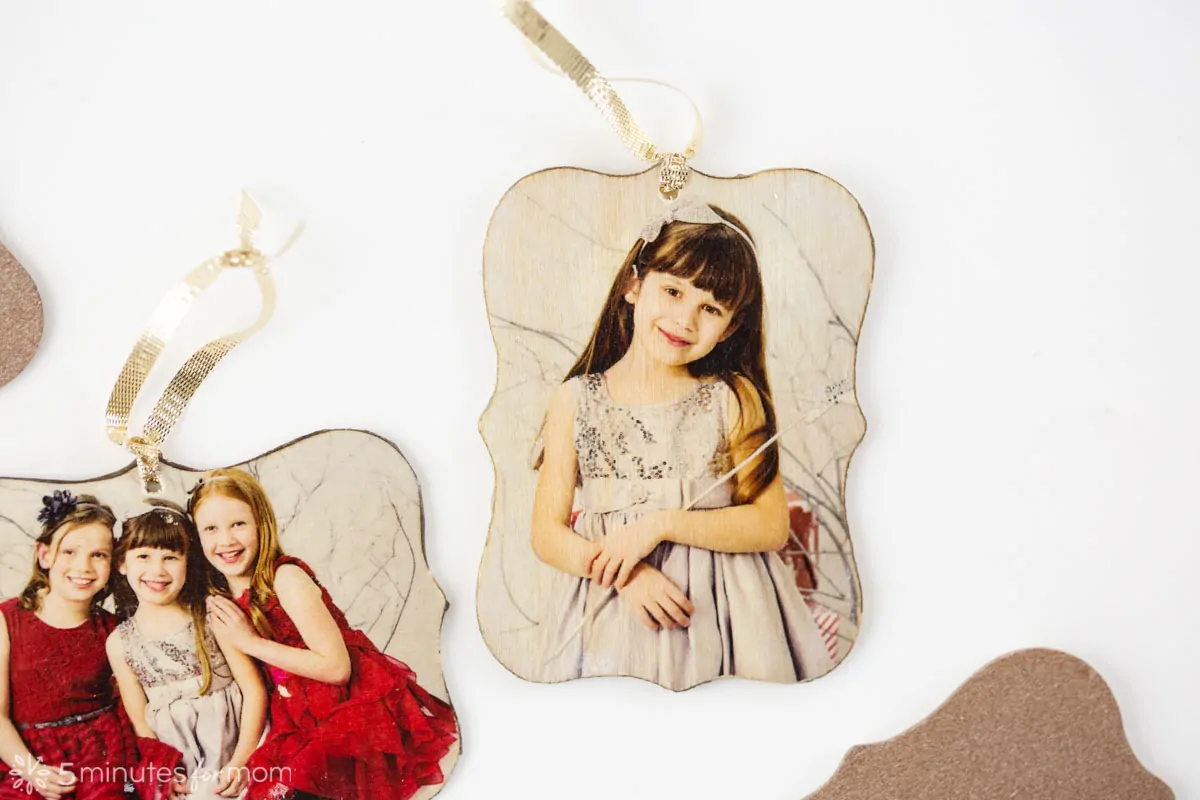
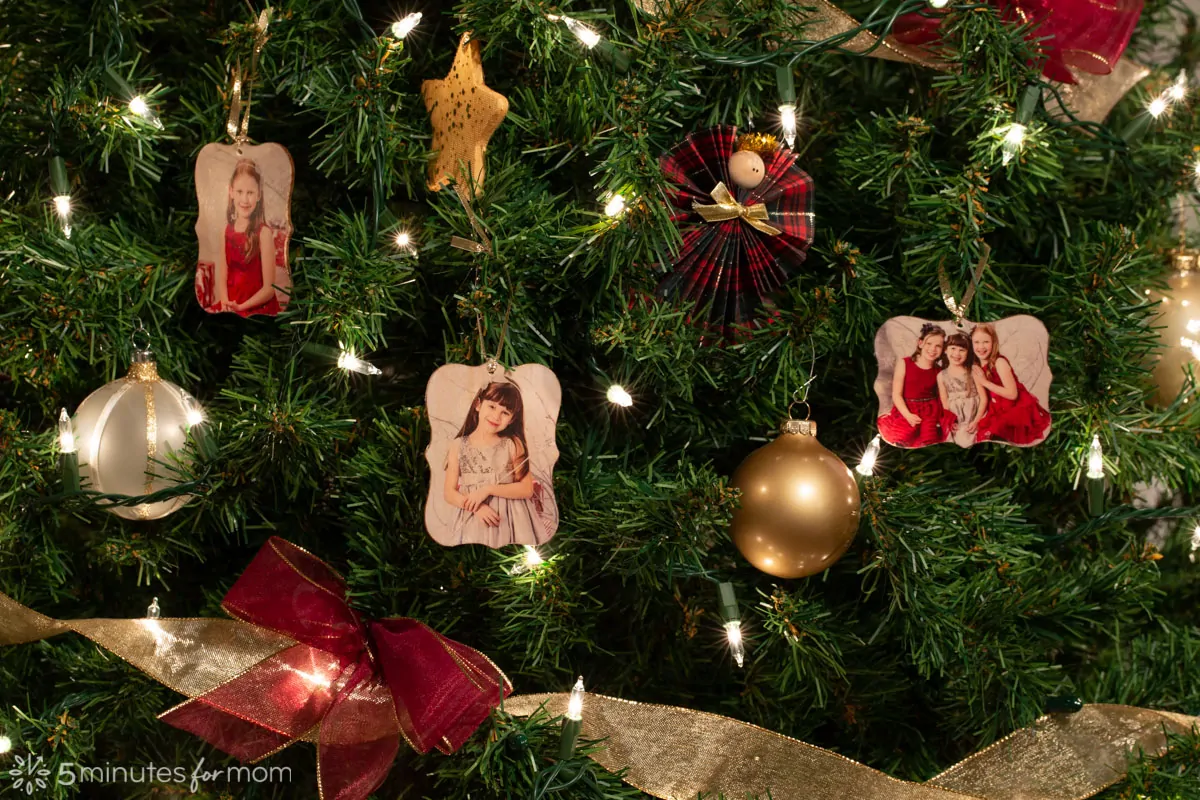
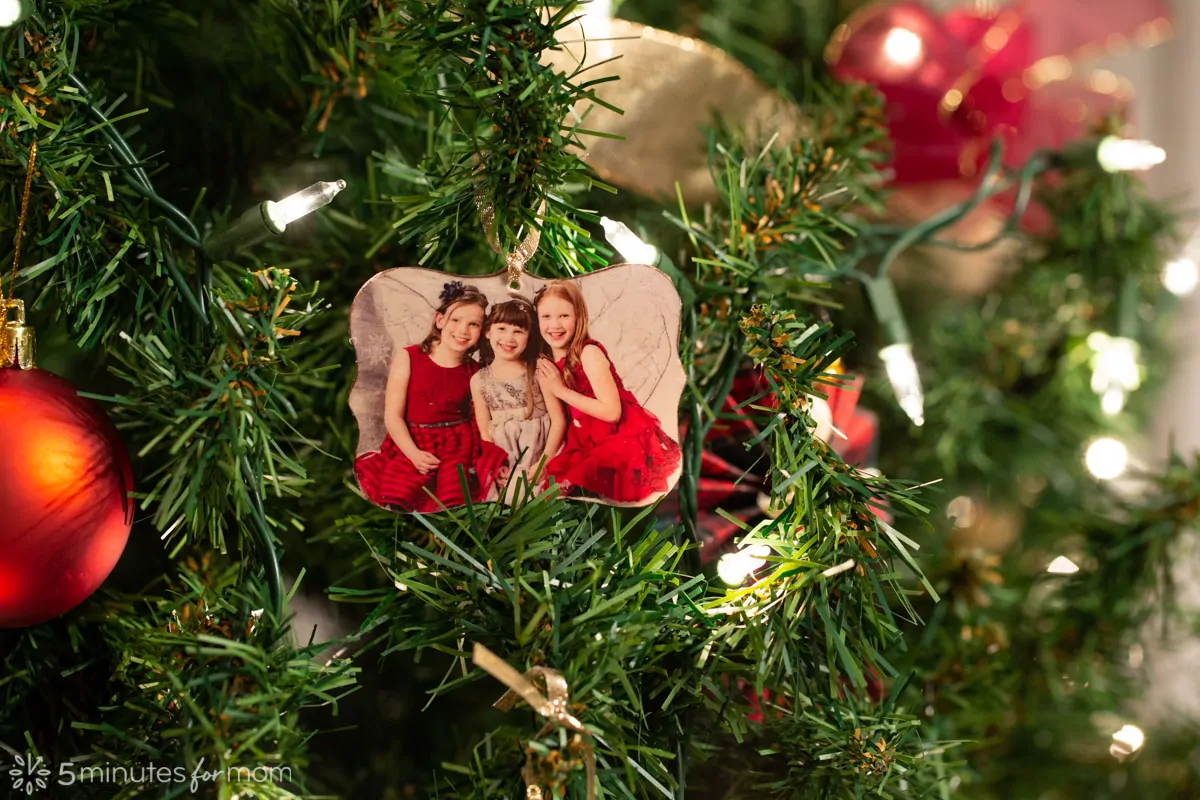
A DIY photo ornament is the perfect Christmas craft! You can turn your favorite family photos into precious Christmas ornaments that you and your family will treasure for years to come.
You and your kids will love this latest craft in our ongoing sponsored partnership with Testors.com.
We absolutely love making all different types of Christmas ornaments. In fact, last year for one of our Testors Crafternoons, we had our contributor Tonya demonstrate how to paint Christmas ornaments. And today we are thrilled to host another Testors Crafternoon to show you how to make stunning photo ornaments to hang on your Christmas tree.
Also check out our DIY pillow covers and Christmas tree painting tutorials.
DIY Photo Ornament
Photo ornaments are such a special type of Christmas decoration that helps keep your family memories alive. Every year as you take each ornament out and hang it on your tree, you will be able to relive those memories and recall your time spent crafting together as a family.
These photo transfer ornaments are so gorgeous and incredibly easy to make. I think they are my favorite Christmas craft that I have ever made.
Olivia, Julia, and Sophia love them as much as I do and they want to make a ton more to give as gifts.
I have printed a bunch of photos for the girls to choose from and then I will set them loose making their own. The end result is so fabulous, you would never guess they are so simple to make.
How To Transfer Images To Christmas Ornaments
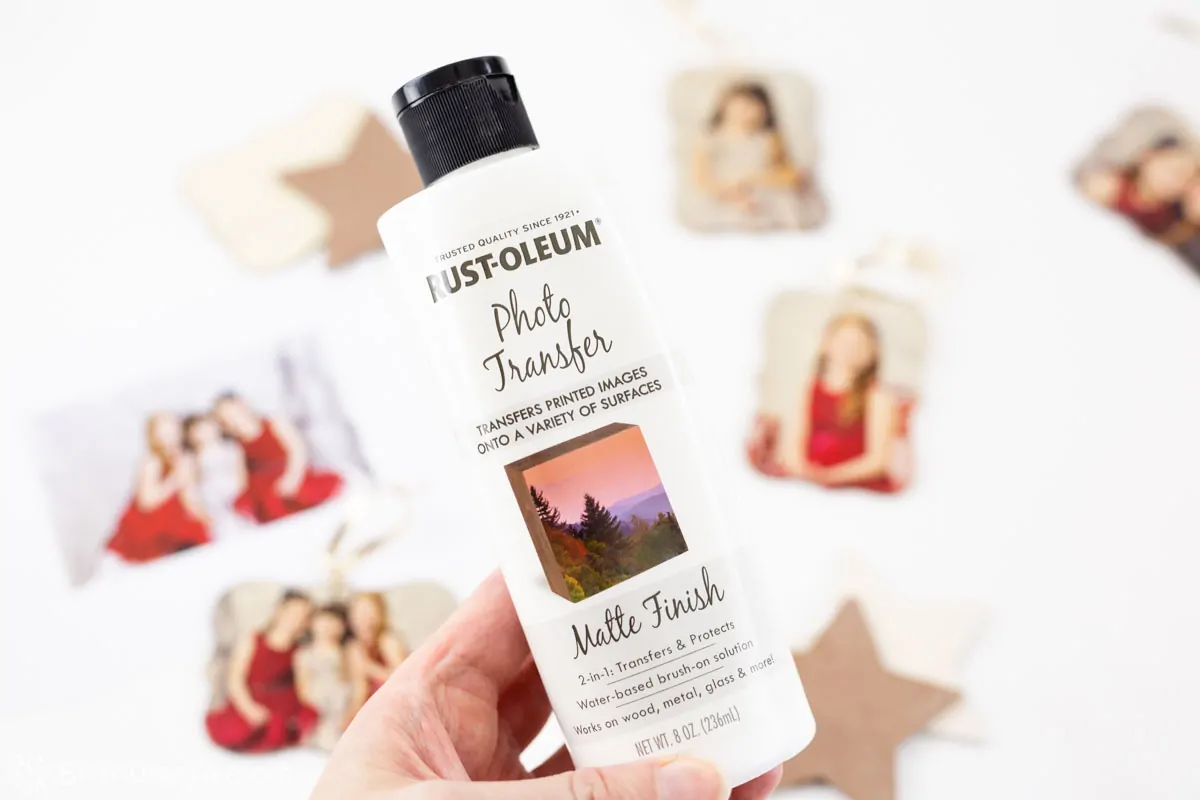
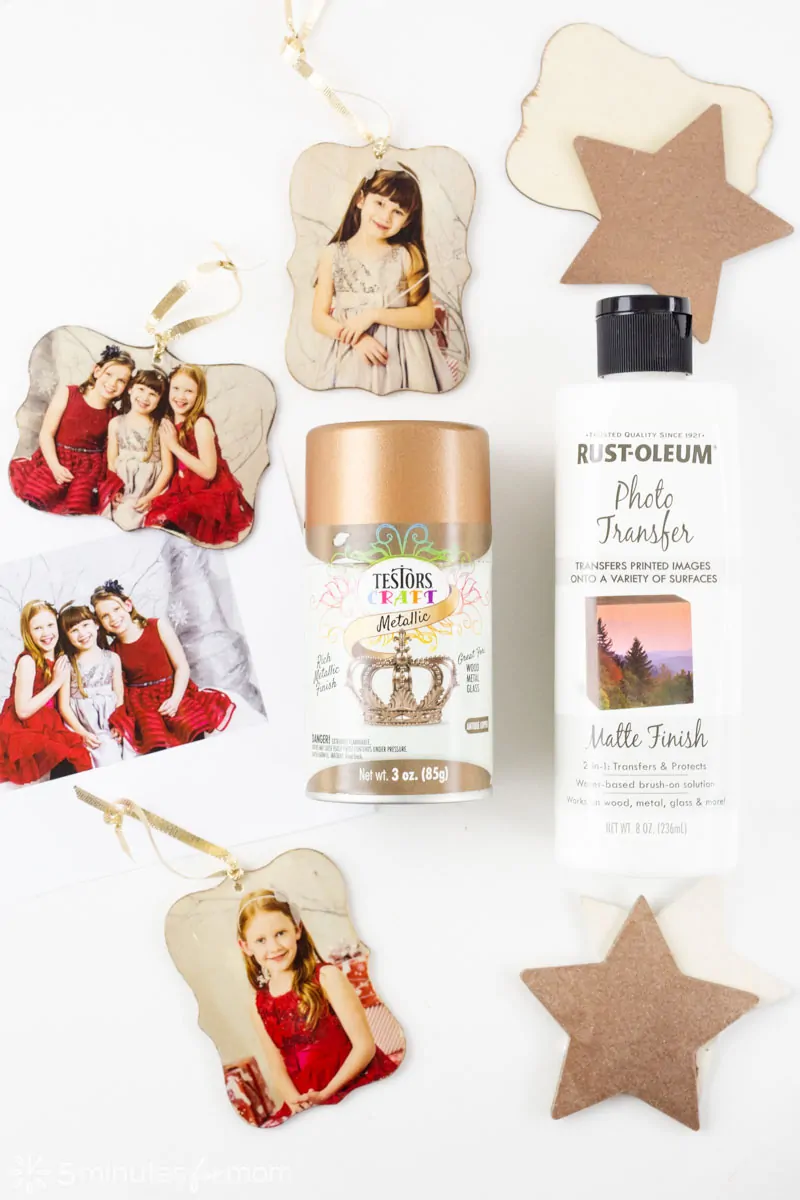
To make these photo ornaments we used Rustoleum Photo Transfer.
When you use a photo transfer solution, you are NOT gluing down a photo and then covering it with more glue, decoupage-style.
Instead, with a photo transfer, you are TRANSFERRING the photo ink to the other object and then REMOVING the paper that the photo was printed on.
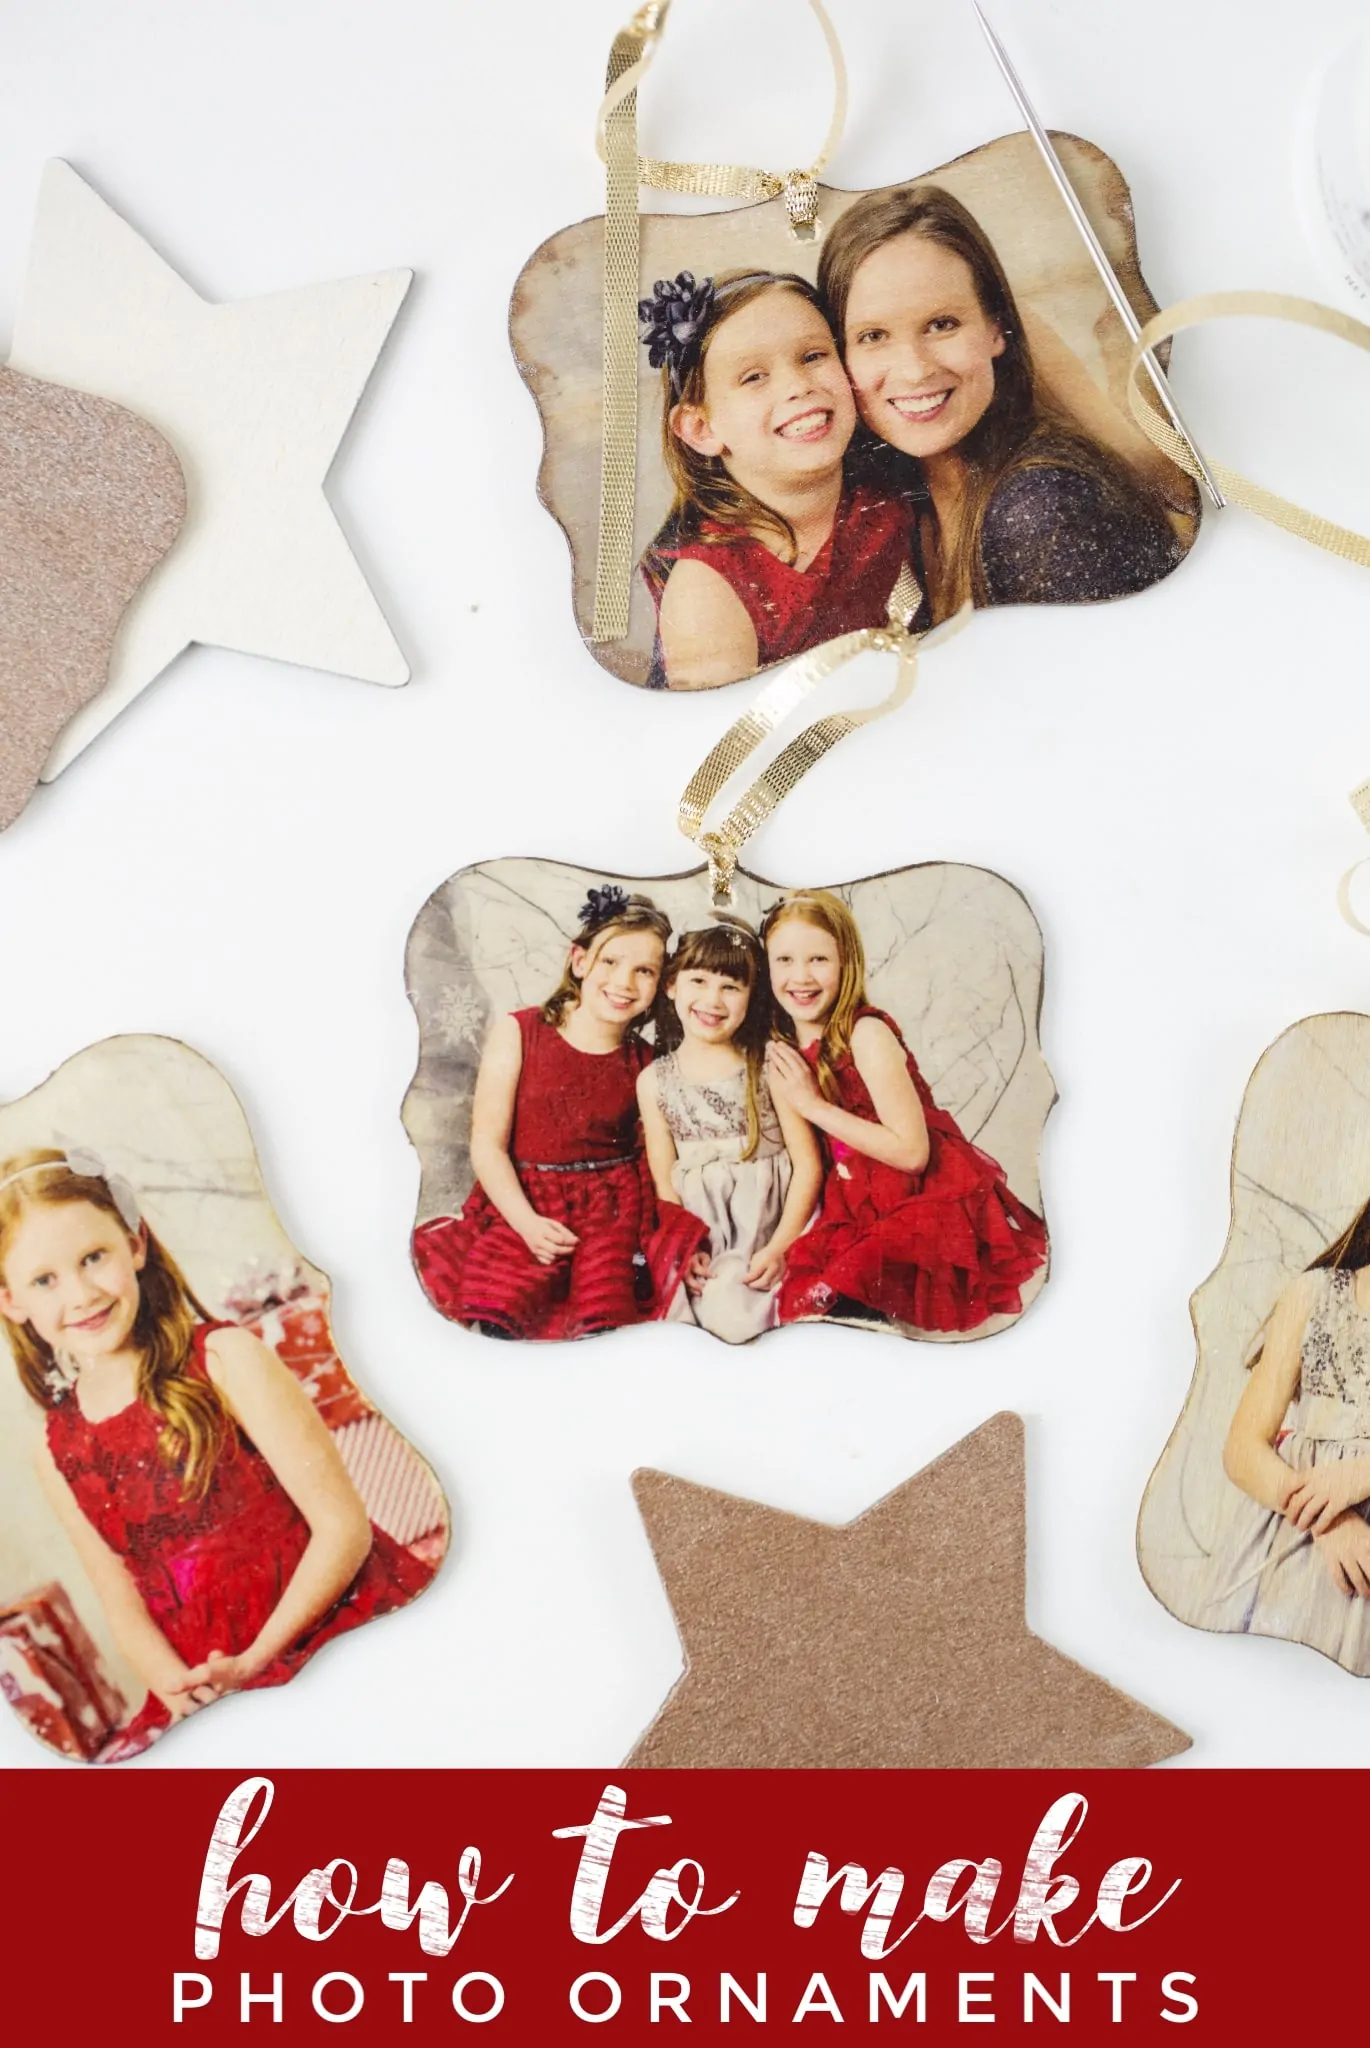
The result is a mirror image that looks as if it were printed on the object. It looks fantastic!
I love having my photos printed on a variety of surfaces. Over the past several years, I have ordered many wood, metal, and canvas prints from photography labs for myself and my photography clients.
But I have never had the chance to make my OWN wood, metal, and canvas prints.
So, I am simply giddy that now I can use Rustoleum Photo Transfer and make my own photo transfer creations.
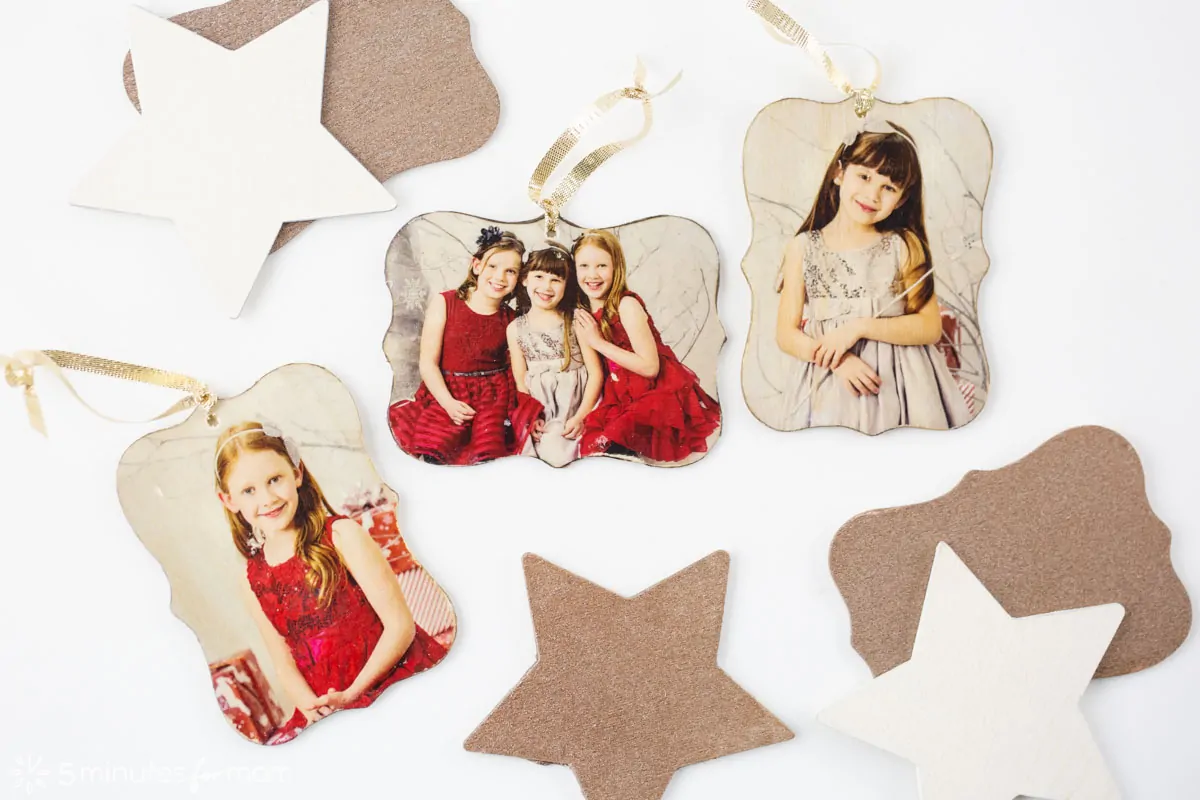
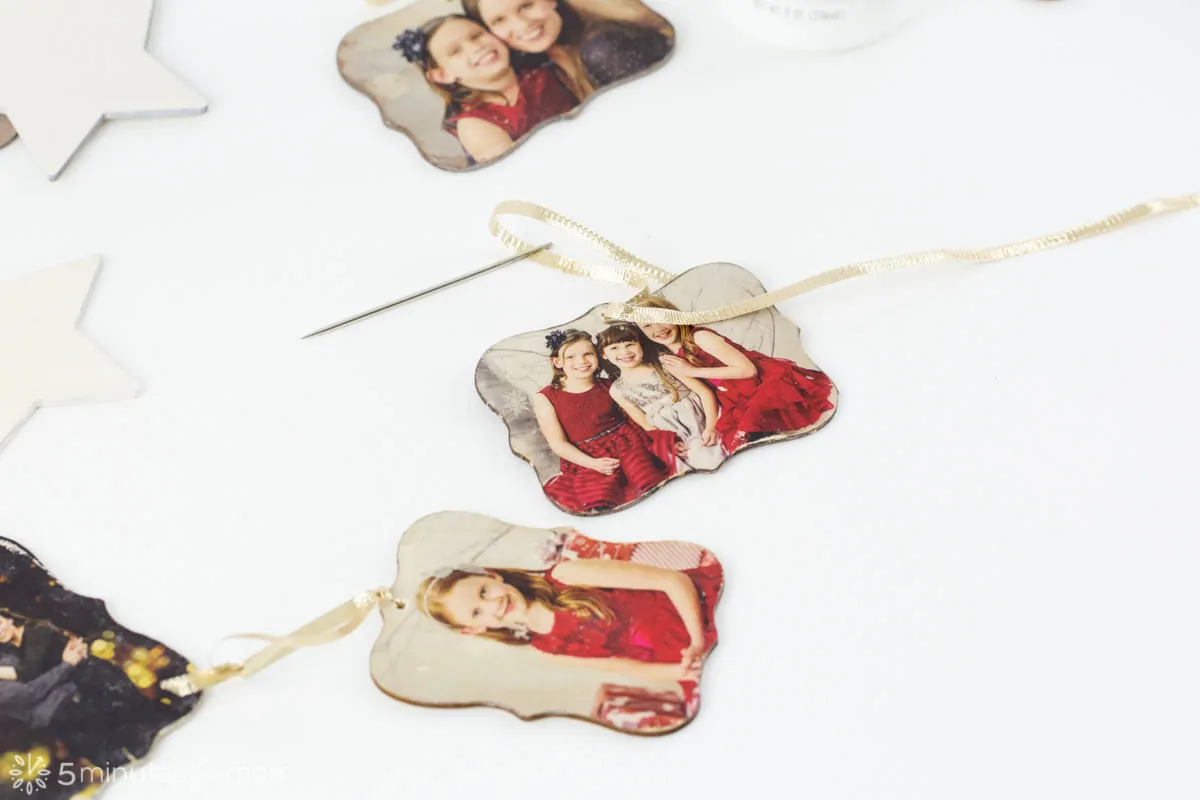
These DIY photo transfer ornaments have an antique look to them as the wood grain shows through the transferred photo.
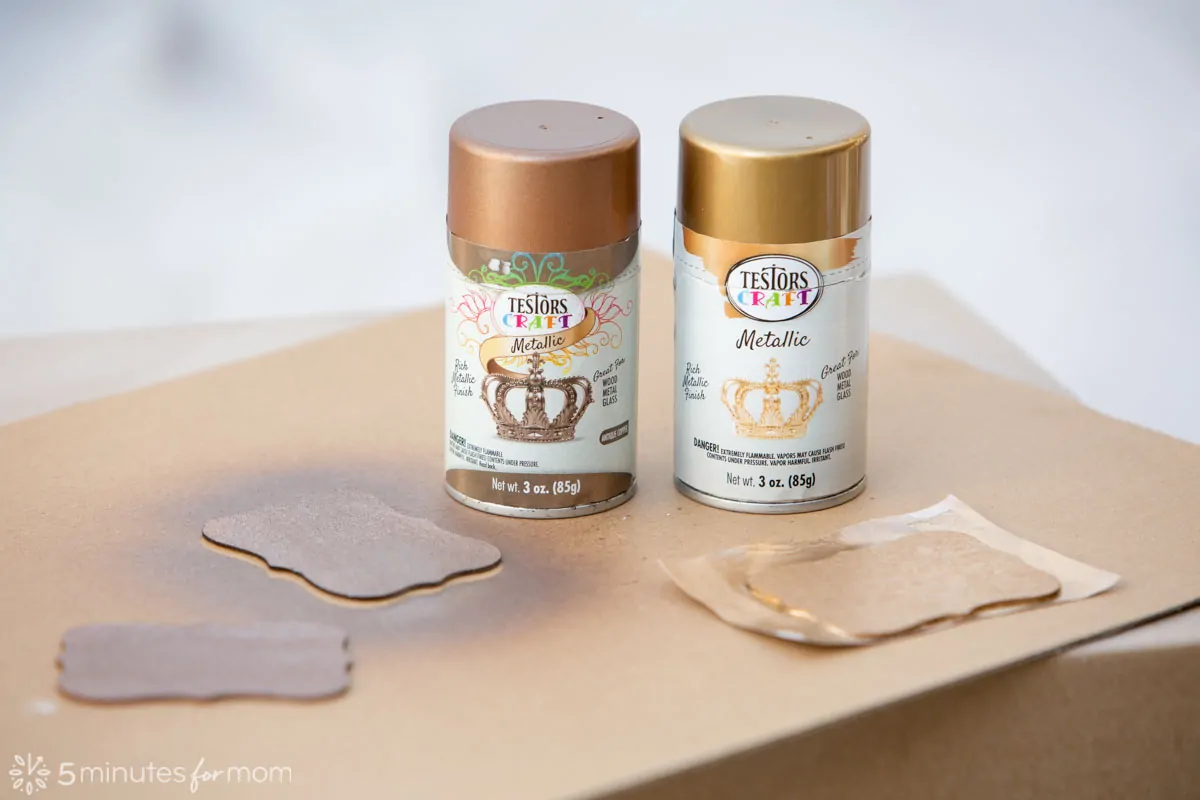
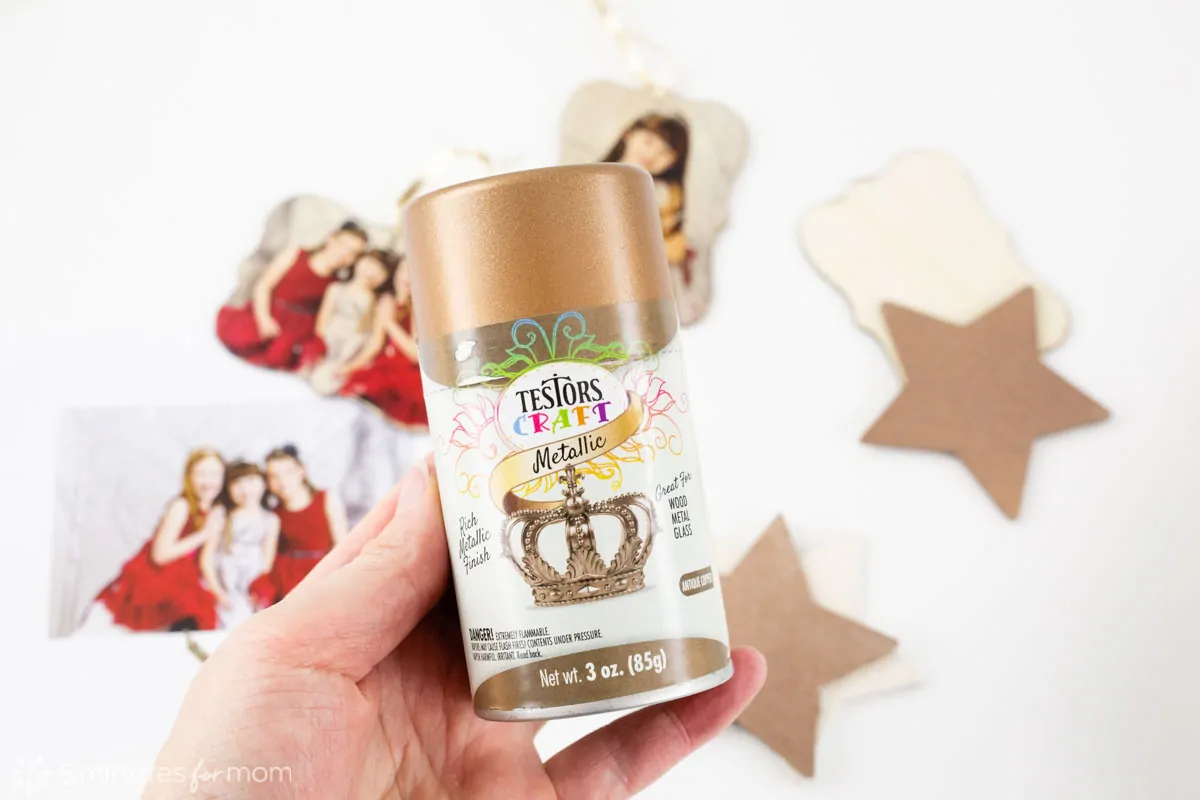
I spray painted the back of my ornaments with various colors of Testors Crafts 3 oz. Aerosols, including metallic paints in as Antique Copper, Gold, and Silver, and some muted shades of paint such as Linen White, Smokey Beige, and White Wedding.
The paint I liked the best for my photo transfer ornaments is the Testors Crafts Aerosol in Metallic Antique Copper as it pairs so well with the vintage look of the photo transferred on wood.
Then, to finish off each ornament, I pierced a hole in the top and threaded with gold ribbon to create a loop to hang it on the tree.
Supplies:
- Rustoleum Photo Transfer
- Testors Crafts 3 oz. Aerosols in Metallic Antique Copper or your favorite choice of colors, OR Testors Crafts Acrylic 2 oz. Craft Paints in your favorite choice of colors
- Photos printed on a LASER printer (Since I don’t have a color laser printer, I printed my photos at the local Staples.)
- Paint brush or foam brush
- Rag
- Ruler
- Craft Knife
- Large Embroidery Needle
- Thin Ribbon
How to Make Photo Ornaments:
STEP 1 – Print Photos on Laser Printer
For the photos transfer to work, you need to print photos on a LASER printer on standard printer paper.
But no worries if you don’t have a laser printer!
I don’t have a color laser printer, so I printed my photos on the self-serve laser printers at Staples. The print quality was great and it only cost a few dollars to print everything.
Please note that if you are using the self-service printers at your local print shop and you want to print several images on one piece of paper, you will probably need to have your images sized down and formatted to print multiple images on a sheet.
I didn’t have my images formatted ahead of time, but the kind woman at Staples helped me out and formatted mine for me on my USB. Then I was able to use the self-serve printers.
For the wood shapes I was using, I printed my photos 2.75″x 4.75″.
Measure your ornaments and print your photos accordingly. You will want your image to completely cover your ornament. But if your photo doesn’t cover to the edges of your ornament, you can sand and distress to blend the area.
IMPORTANT — transferred photos will be MIRRORED images. Therefore, if your image contains words or you don’t want the image to be flipped, then you need to flip your image horizontally BEFORE you print. I didn’t mind my images being mirrored, so I just printed them normally.
STEP 2 – Prep and Paint Ornament
You can prep and paint your ornament before applying your picture, or you can paint the reverse side of your ornament after you have transferred your photo. It is up to you.
I tested out different ways of painting my diy photo ornaments.
TIP: If you are crafting with children, you can use Testors Crafts Acrylic 2 oz. Craft Paints to paint your ornaments instead of aerosols. I chose to spray paint simply because I love the incredible coverage and colors of Testors Crafts Aerosols and because they are so fast to use. But I also love the Testors Acrylic Craft Paints. So feel free to use whichever works best for you.
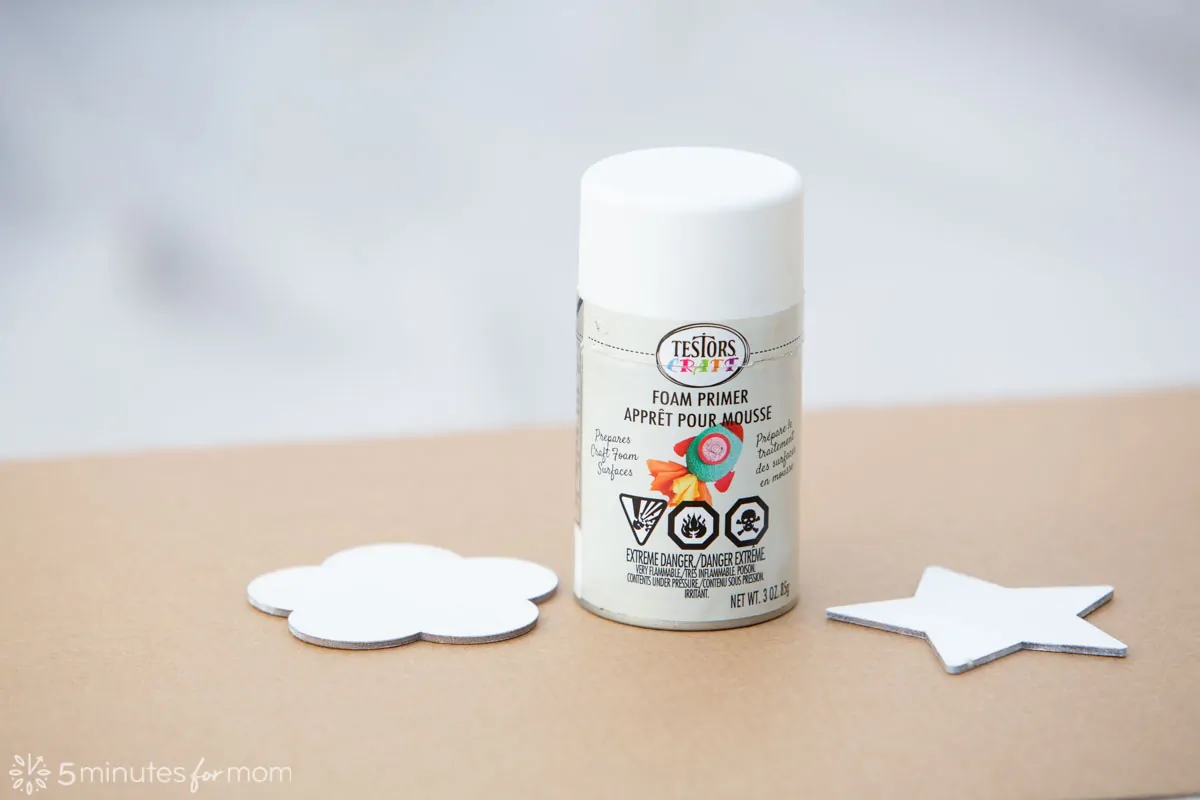
To try out a base coat before transferring my images, I spray painted some of my wood ornaments with Testors Crafts Aerosols in muted colors such as Smokey Beige and Linen White before applying my photo transfer. I also prepped some of my wood ornaments with Testors Foam Primer.
Painting the wood ahead of time allowed my images to have different hues and hints of warmth, allowing the photos to show through more clearly than with a stronger wood grain.
However, I also loved the result when I transferred the photo directly to the wood, with no paint or primer.
The wood grain subtly showed through and the result was a lovely vintage look diy photo ornament.
I also found that the ink soaked in better to the wood and did not rub off as easily as it did to the painted or primed surface.
But if your wood is quite dark and you want your image to show through more, you can whitewash your wood by applying paint or primer and then rubbing the paint into the wood grain with a rag.
This way, you will lighten your wood but still allow the photo ink to somewhat soak into the wood grain.
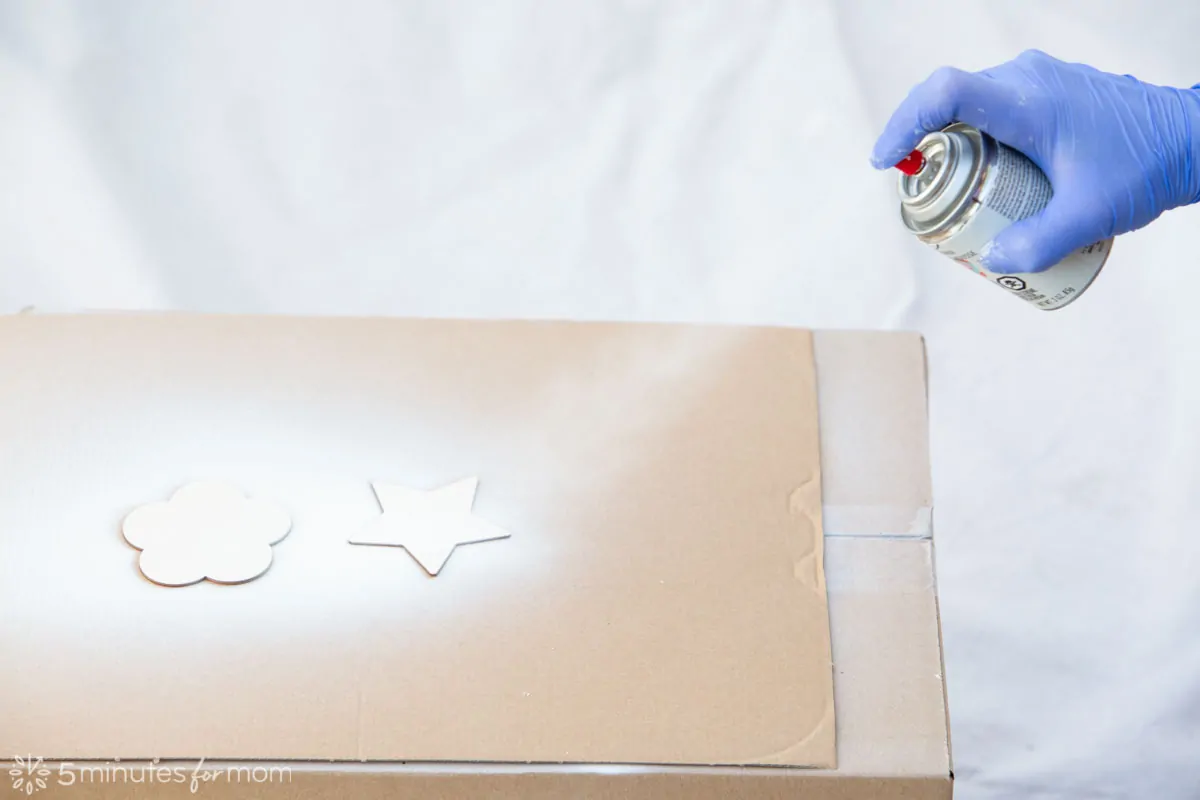
When it came to painting the backside of the ornament, I found that it worked best to spray paint the back BEFORE I applied the image.
Once again I tested which method worked best. I tried it three ways: I spray painted the backside of the ornaments before I applied the photo transfer; I spray painted it while the photo paper dried; I spray painted it after the photo was transferred.
It definitely worked best to spray paint the back of the ornament before transferring the photo.
When I spray painted the back after applying the image, sometimes the ornament slipped or moved and the paint soaked through to the front edges.
When I painted the back while the paper was drying, the paper edges got thicker and harder to remove.
So, I suggest you first spray paint the backside of the ornament in the color of your choice – I highly recommend Testors Crafts Aerosols in Metallic Antique Copper.
If your wood is light, you may want to leave the front of your wood ornament unpainted and apply photo transfer directly to the untreated wood. (Or if your wood is too dark, you may want to whitewash the wood to lighten it.)
TIP: If you are painting with children and you want to keep the front of your ornament free from paint, apply painter’s tape or masking tape to the front of the image while your child paints the back. Then you can remove the masking tape and have a clean surface on which to apply your photo transfer.
STEP 3 – Apply Photo Transfer to Printed Picture
Now that your photos are printed and the backside of your wood ornaments are painted, you are ready to transfer your photos!
If your photos are printed on a page with multiple images, cut out each photo.
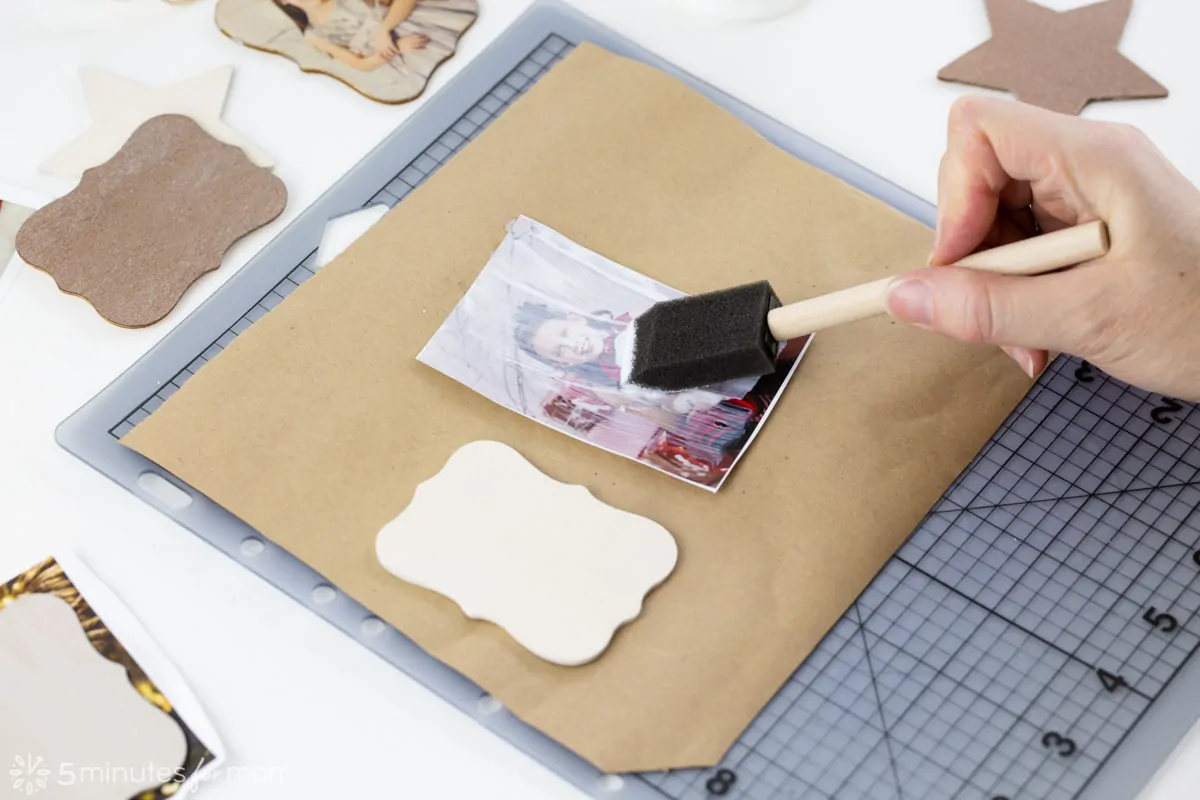
With a foam brush or paintbrush, apply a generous amount of Rustoleum Photo Transfer to the printed side of the printer paper with your photo.
STEP 4 – Place Printed Paper on Ornament Surface
Once the printer paper is well coated with the photo transfer solution, place paper image-side down on the ornament surface.
Press down firmly and gently smooth the paper, removing any air bubbles with a ruler.
STEP 5 – Allow to Dry
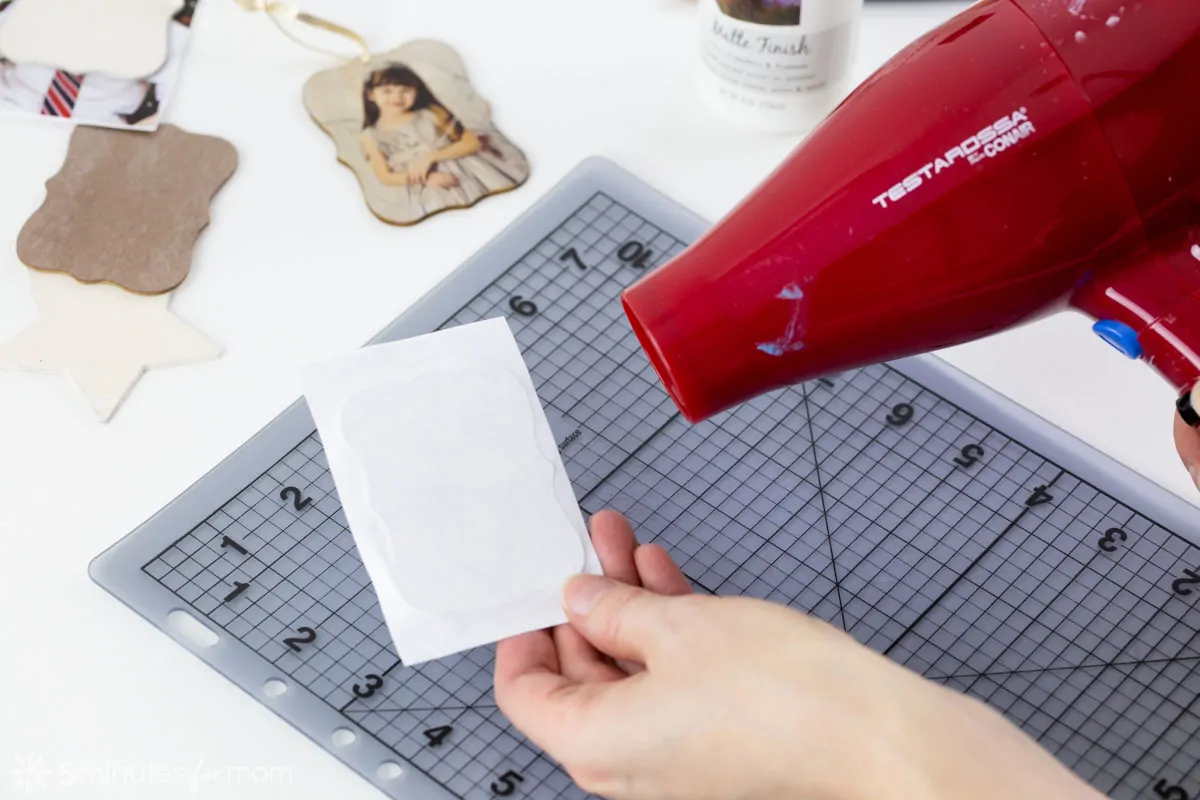
Wait 12 hours until your ornament is completely dry. OR, if you are in a rush, you can use a hairdryer to speed up the process.
I tried both methods and both worked well.
STEP 6 – Remove Paper
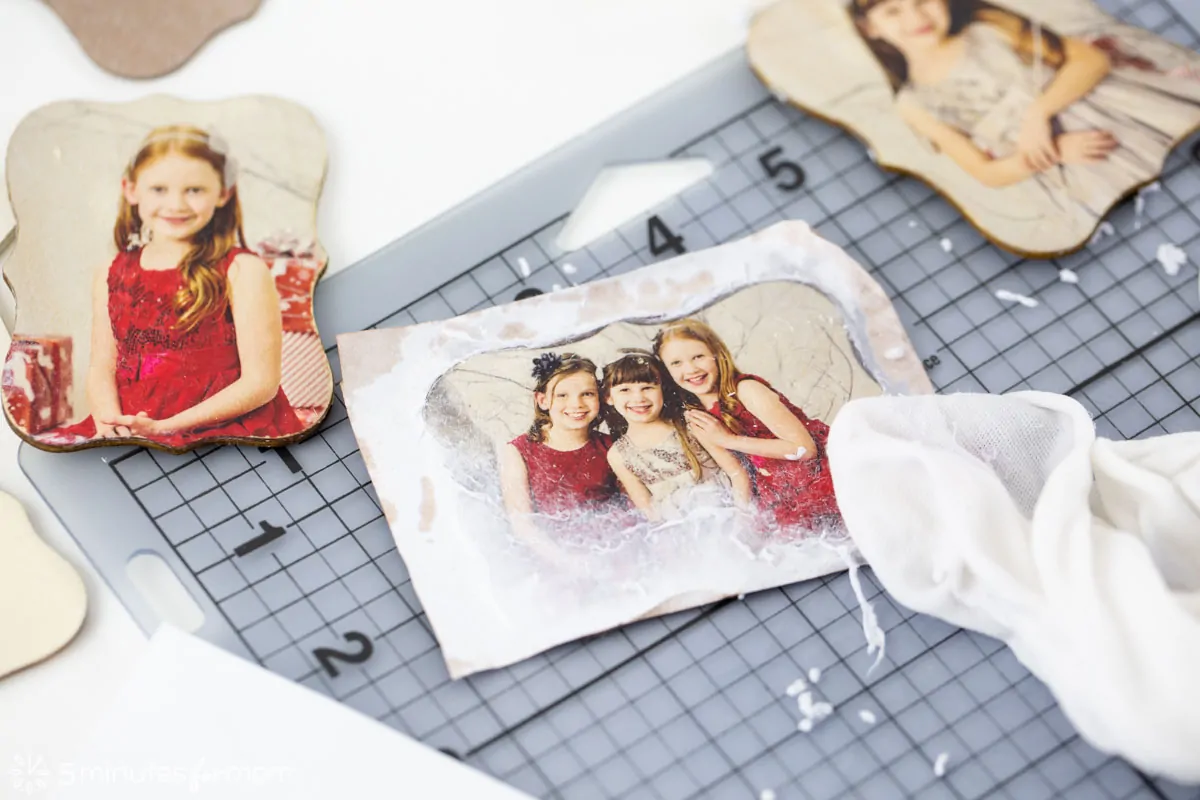
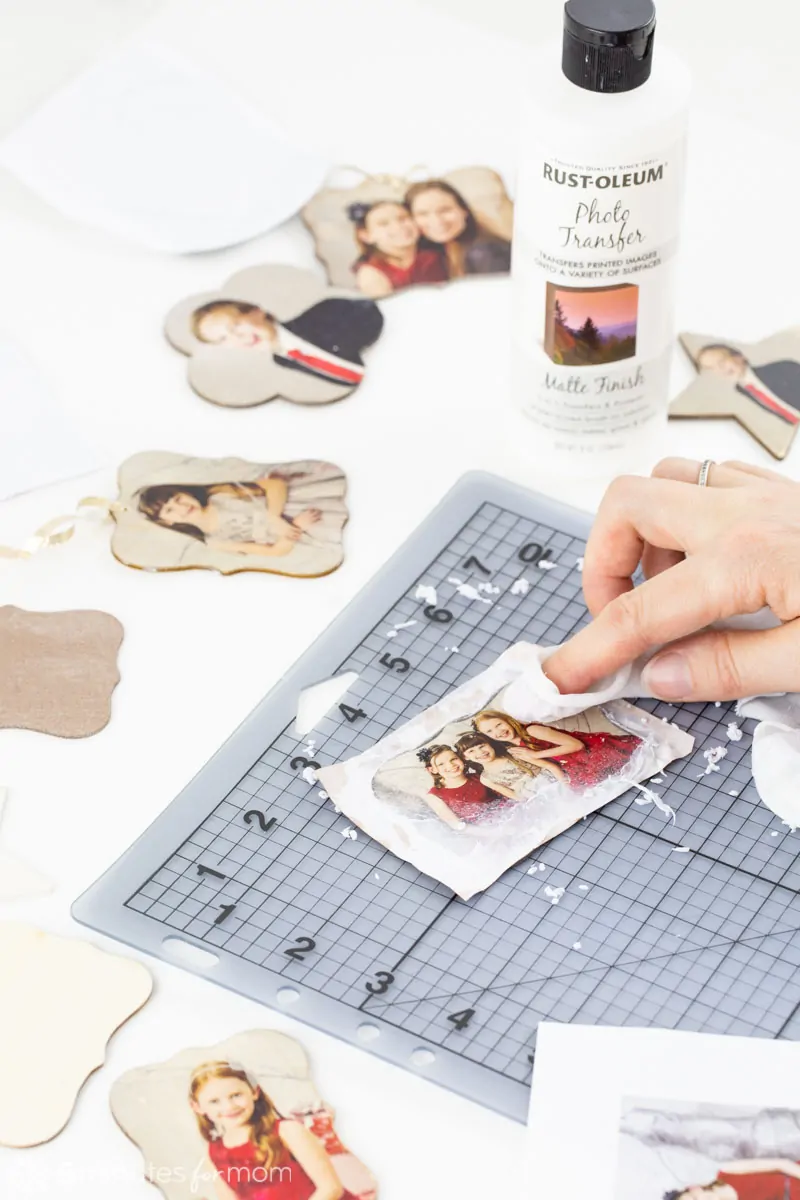
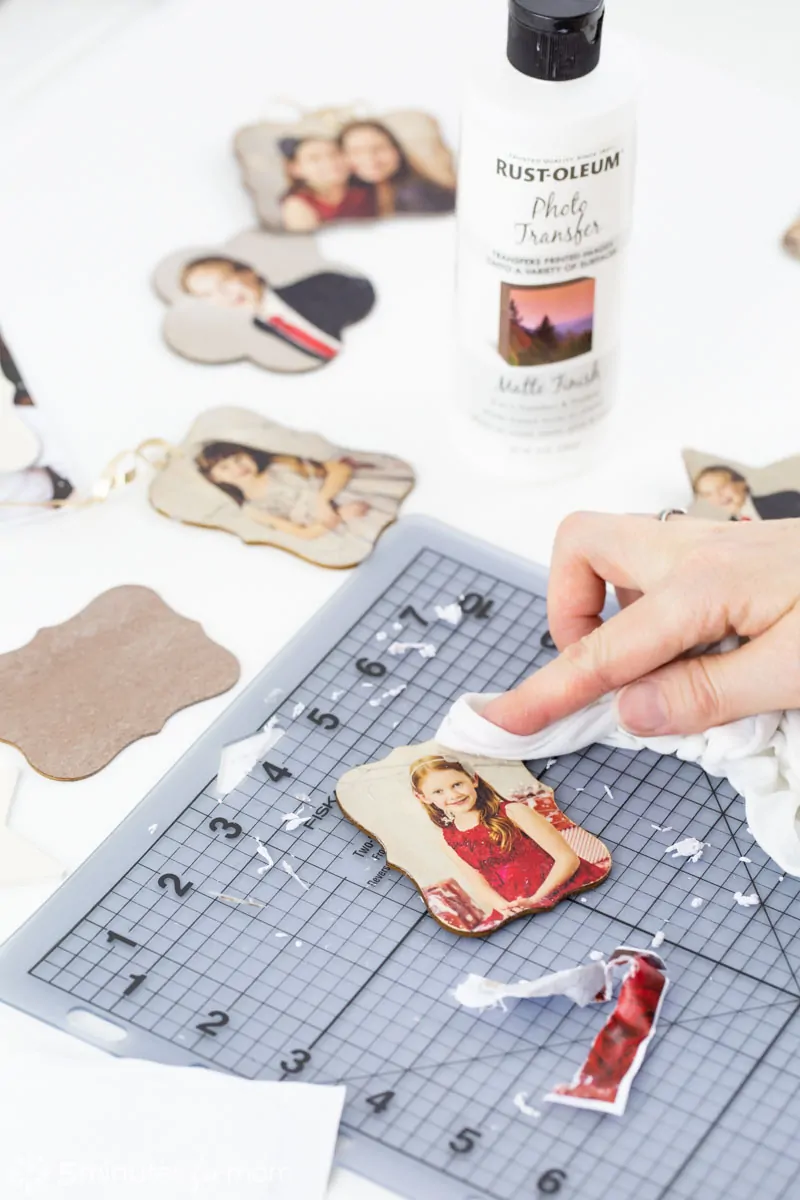
Once your ornament is dry, use a damp rag to wet the paper, dabbing until well moistened.
When the paper is moist, remove the paper backing by GENTLY rubbing in a circular motion, one section at a time, repeating as necessary.
If a white, papery layer reappears on your image, use your damp cloth to remoisten and rub again until the image is clear.
IMPORTANT – If you rub too hard or too long, you may remove some of the ink as well as the paper, resulting in some missing pieces of your image. So be gentle and careful.
But no worries if you have some small flaws here and there. It simply adds to the “antique” look of your ornament.
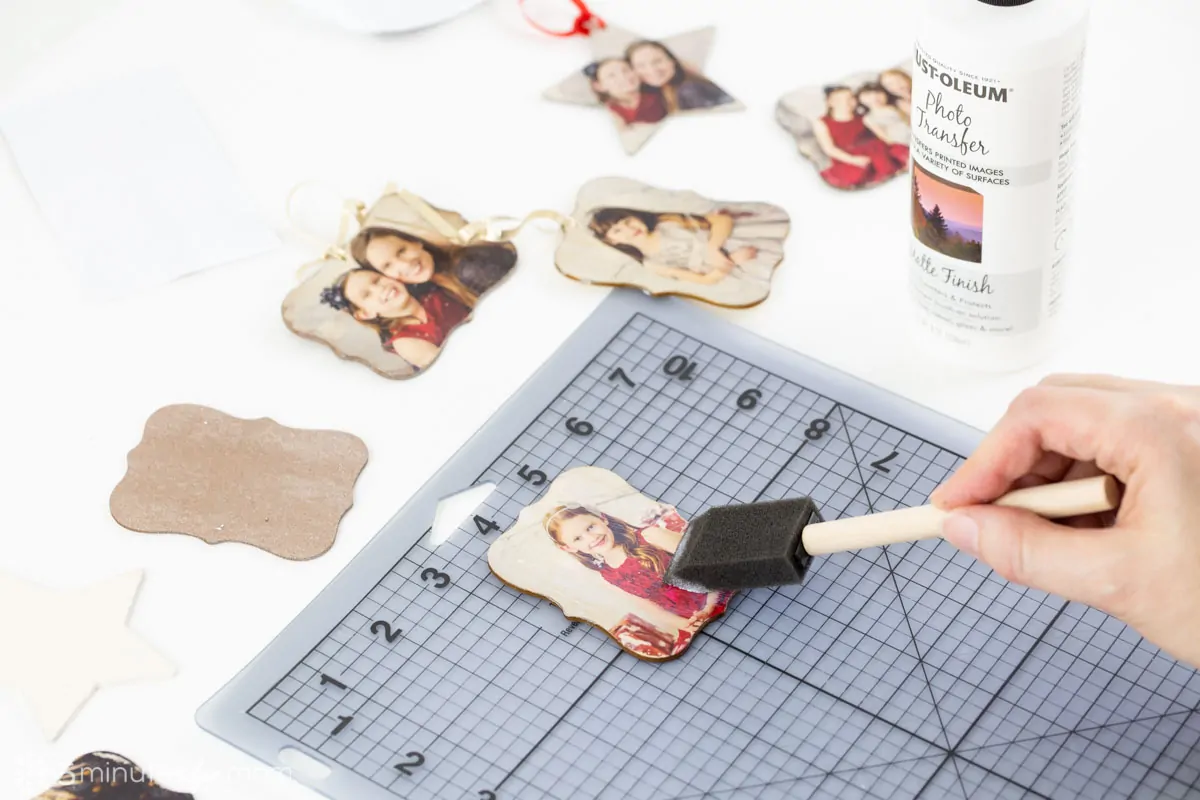
STEP 7 – Apply a Top Coat of Rustoleum Photo Transfer
Once you have removed all of the white, papery residue from your image, seal and protect your ornament with a light topcoat of the Rustoleum Photo Transfer solution.
STEP 8 – Pierce a Hole and Thread with Ribbon
When your topcoat is dry, use the tip of a craft knife to pierce a hole at the top of your ornament. Twist knife to create a large enough hole.
Thread a large embroidery needle with ribbon and thread through the hole.
Tie a knot at the top of the ornament and then tie a second knot, creating a loop about an inch or two long. These two knots will allow your ornaments to hang straight on your tree.
More Holiday Crafts
Take a look at our other Testors Crafternoon projects that are perfect for the holidays too:
- Driftwood Christmas Trees
- Crackle Paint Centerpieces
- Painted Christmas Rocks
- How to Make a Handmade Breakfast Tray
- How to Make a DIY Pallet Photo Frame
- How to Airbrush Personalized Shirts for Kids
- DIY Snowman Tin Can Toss
Pin It For Later
Disclosure: This post is sponsored, so extra thanks for reading and sharing.
Written and photographed by Janice Croze, co-founder of 5 Minutes for Mom
Talk with me: @5minutesformom and Facebook.com/5minutesformom
Pin with me at pinterest.com/5minutesformom


Annette says
This looks like such a fun craft! Where did you purchase those wooden ornaments? I love that shape but am having a hard time finding it. Thank you!!
Helen says
Can I do this on ceramics
Janice says
The product info says that it is not for use on glass or ceramics. I bought these little wood ornaments at the dollar store and they worked really well.
Madeleine says
Thank you for the detailed tutorial. I have not heard of either the Testors or Rustoleum products, so I am eager to try them on this fun project!
Jewel says
Love this. Thanks so much for sharing. I plan to try it. Where did you find the wooden shapes
Greta says
You don’t talk about trimming the photo overage. Please tell us how you did that
Janice says
Hi Greta – the extra paper around the edges usually just came off as I removed the damp paper. If some of the paper remains, you could use a craft knife to cut around the ornament. But if the paper is moist as you remove it, the edges will usually come off too. Let me know if you have any troubles or any more questions. Thanks!
Melissa Storms says
I make handsewn wool felt ornaments. I have not tried photo transfers before but I love the way these look and now I want to give it a try.
Janice says
I hope you do! They are so fun and I love the result!
Brittany Raisor says
I’ve never heard photo transferring, but I do make my own Christmas ornaments every year.
Janice says
This was the first project I had made with the photo transfer too and now I am hooked! I will be making tons more!
Nancy says
Very interesting & unique idea!
Janice says
Thanks Nancy!
Robin says
I have never tried a photo transger, but I have crafted holiday ornaments such as candy canes, hanging ornaments for the Christmas tree and wall, sun-catchers,
Paige F says
I have made christmas ornaments with my kids, but have never done a photo transfer.
Tonya M Mcminn says
Yes I make glitter ornaments and tumblers.
Suzanne B says
I have never done photo ornaments but I have done all kinds of others.
Michelle H. says
I have not tried photo transfers yet, but I have made ornaments and other decorations.
Laurie Nykaza says
I love to make items to decorate my home at the holidays making door wreaths. We also tried to do the transfer with photos and it didn’t work well on rounds of wood. I will have to try it the way you did with my kids.
Laurie Nykaza says
I love to make items to decorate my home at the holidays making door wreaths. We also tried to do the transfer with photos and it didn’t work well on rounds of wood. I will have to try it the way you did with my kids.
Thomas Gibson says
I have made Christmas decorations in the past. But I live alone and have no need for decorating anymore.
Kathleen Richardson says
I am currently making a DIY Christmas wreath out of ornaments. I have not completed photo transfer ornaments before but would love to try.
Laurie Emerson says
I have never tried photo transfer before. What a great idea! I love making homemade ornaments as each year you can see how everyone has changed from year to year.
Natalie says
I once made Christmas ornaments with my mom out of clay and then painted them. I have also tried making dangling ornaments with clear globes filled with “snow”.
Samantha Woerle says
I have only ever done classic popsicle stick and paint kind of ornaments.
athena j graeme says
Never done the photo transfers. But I’ve done a ton of DIY ornaments! Everything from the felt to popsicle sticks!
Cindy Peterson says
I have not done photo transfers. I have made some nifty ornaments but not with photos.
Theresa says
I have never done photo transfer ornaments but I’d like to try
Julia says
I have made ornaments before and I really enjoy it. I have never done a photo transfer before and would definitely like to try this out!
Vickie L Couturier says
yes i have done crafts and ornaments with the grandkids but not photo transfers yet
Mary Gardner says
I don’t generally make too many ornaments or crafts but sometimes make them when the kids want to get creative.
Jessica Staley says
I love to make Christmas ornaments every year with my family. I have not done photo transfer. It sounds so fun. We have used popsicle sticks, clothes pens, pipe cleaners, styrofoam ball ornaments and even the clear ornaments you decorate the inside like a snow globe. We love crafting together as a family especially holiday crafts.
latanya says
This is such a fun idea. Yes, I love making Christmas ornaments
Norma Hartwell says
first I heard of this craft, I’m definitely gonna try it out.
Vivian Krylowski says
I am so happy to have found this post. I make ornaments every year. This year, I am doing photo transfer ornaments. Just which I had found this before buying the Mod Podge. Oh well. Really looking forward to completing my ornaments.
Sonya Morris says
I actually made a few unicorn and cat ornaments this year to sell at two craft shows coming up. I’ve never done the photo transfer but that is something I want to try.
beth shepherd says
We enjoy making crafts together. We have so much fun!!! Thank you
kathy Persons says
I have never tried photo transfer but my daughters and I do at least one every year
Stephanie Liske says
My family has made lots of crafts, especially at Christmas time. Decorations, and ornaments.
Wehaf says
I’ve never done any photo-transfer crafts, but I have made a lot of Christmas ornaments and I always enjoy it!
Keri Justice says
I have never made any photo transfer crafts – but would love to!! I also have a 14 year old daughter who loves crafts.