This post may contain affiliate links. Read my disclosure policy here.
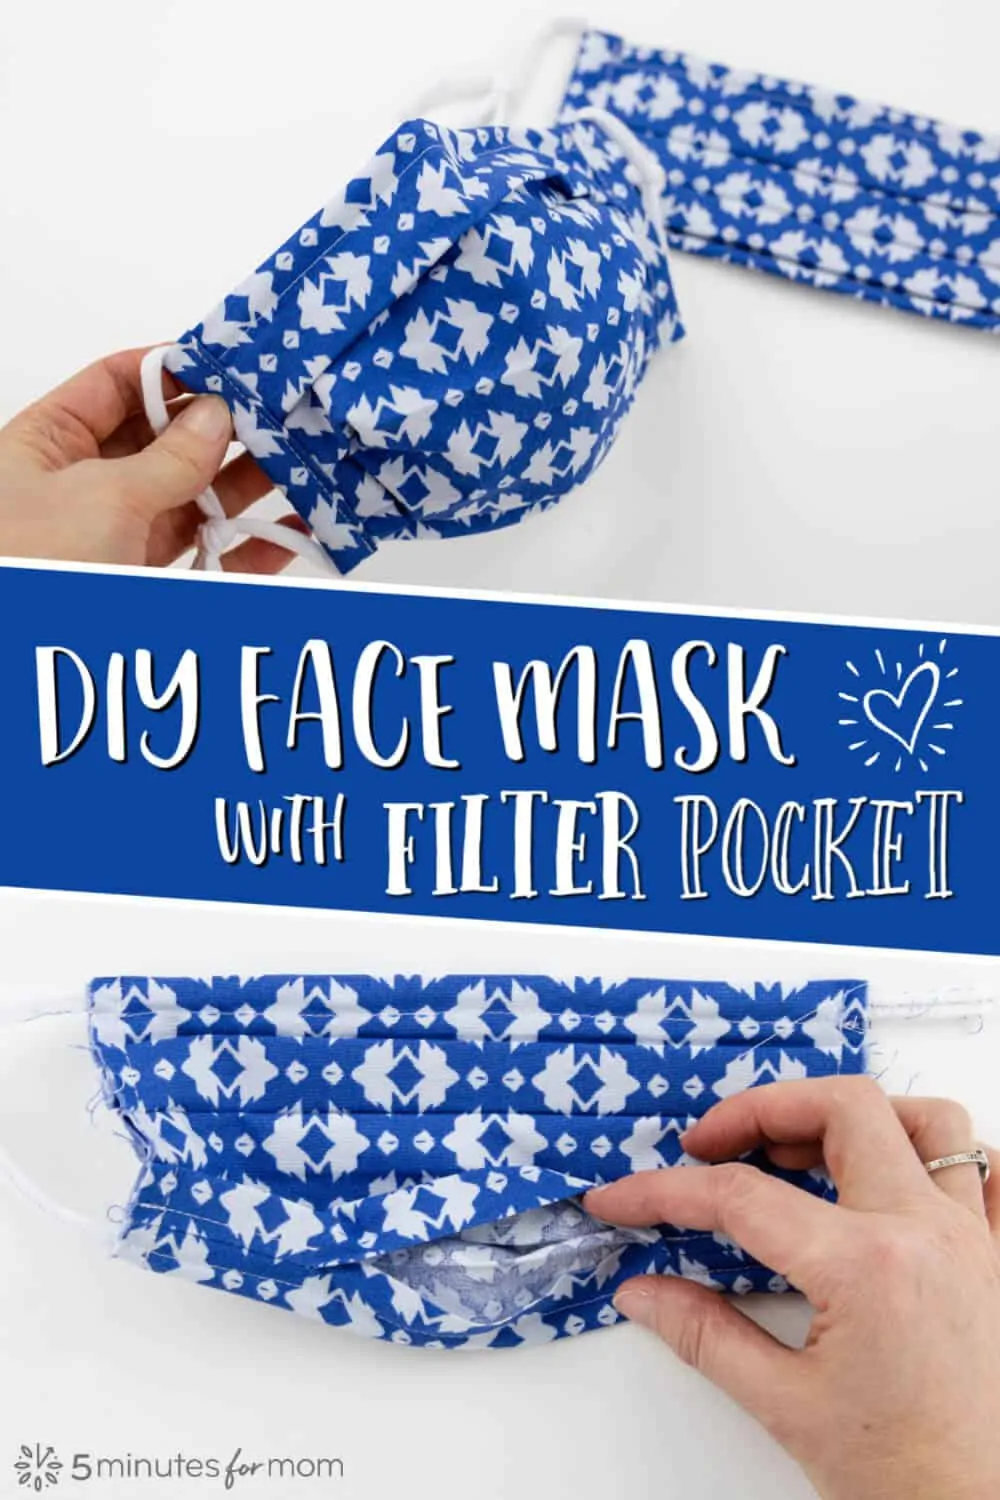
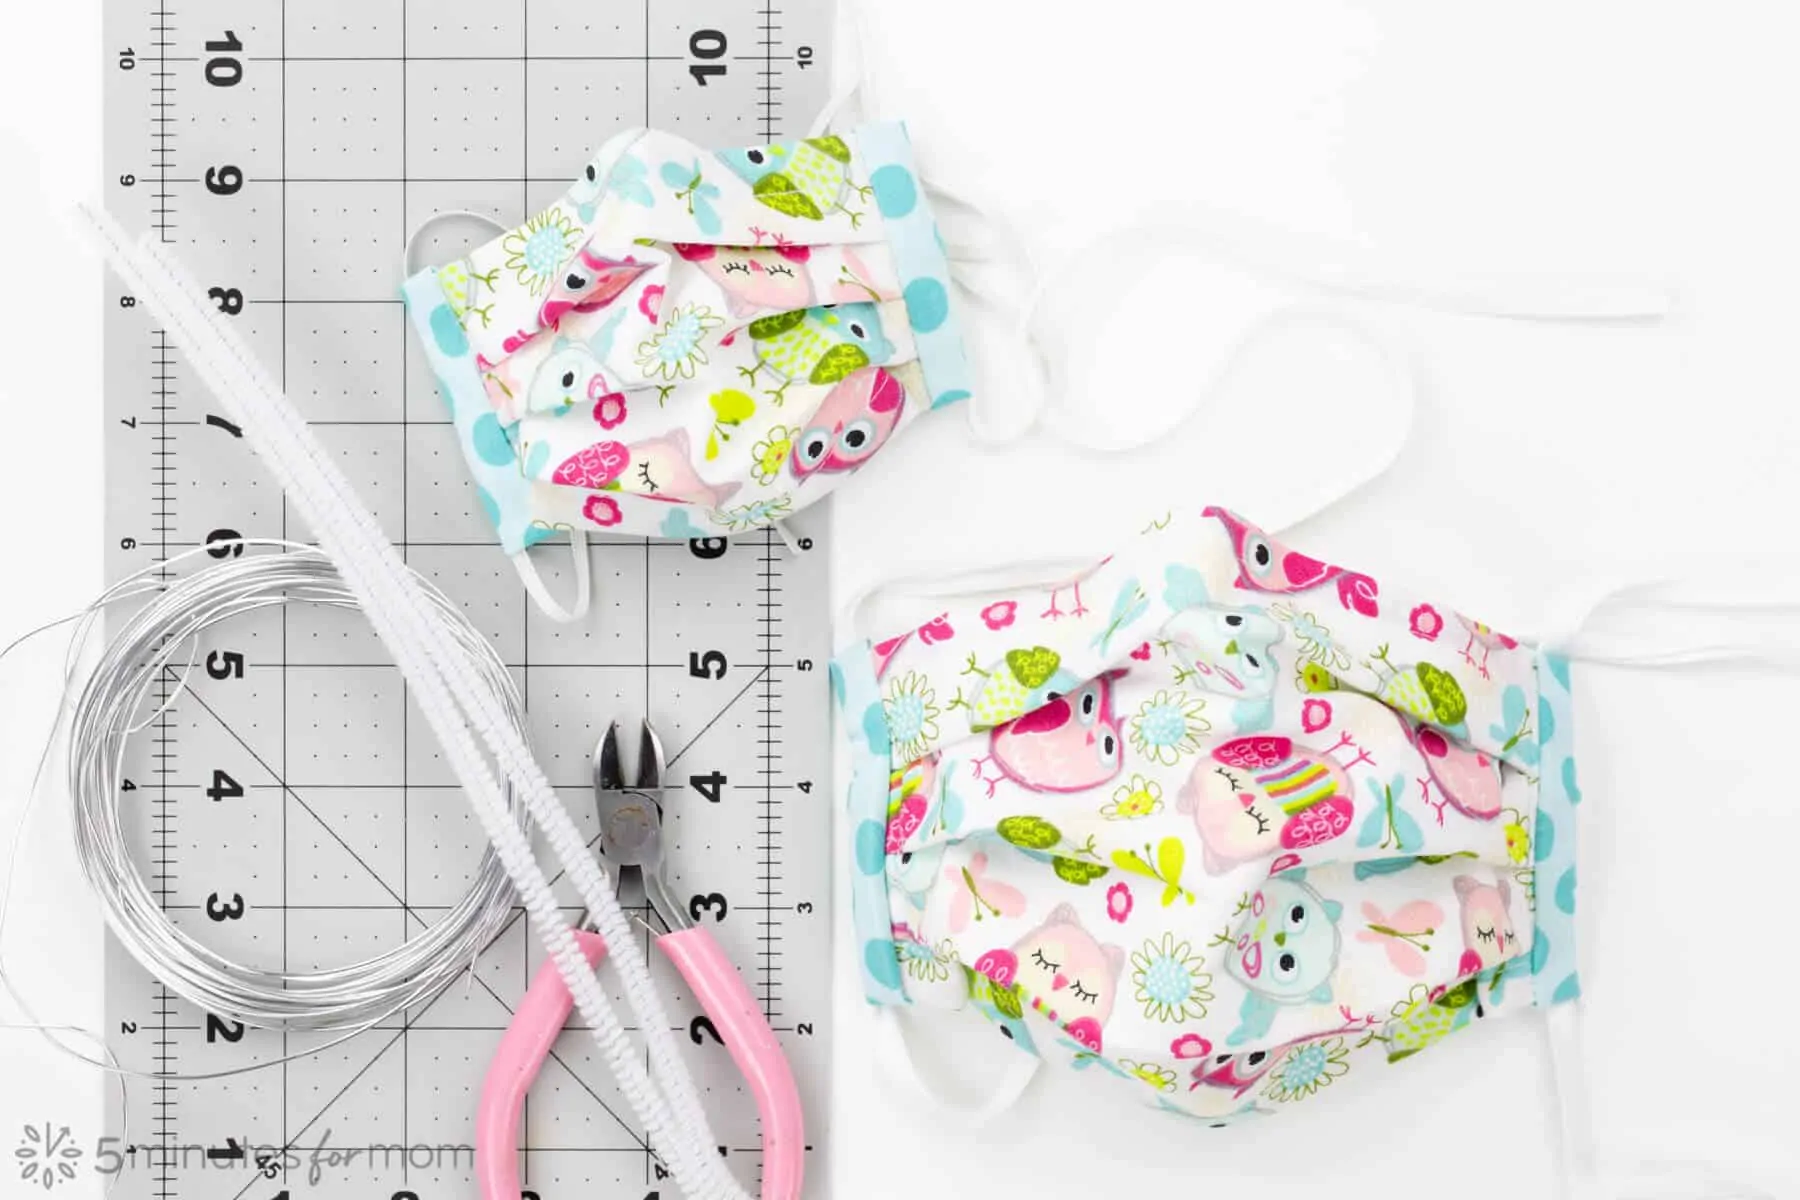
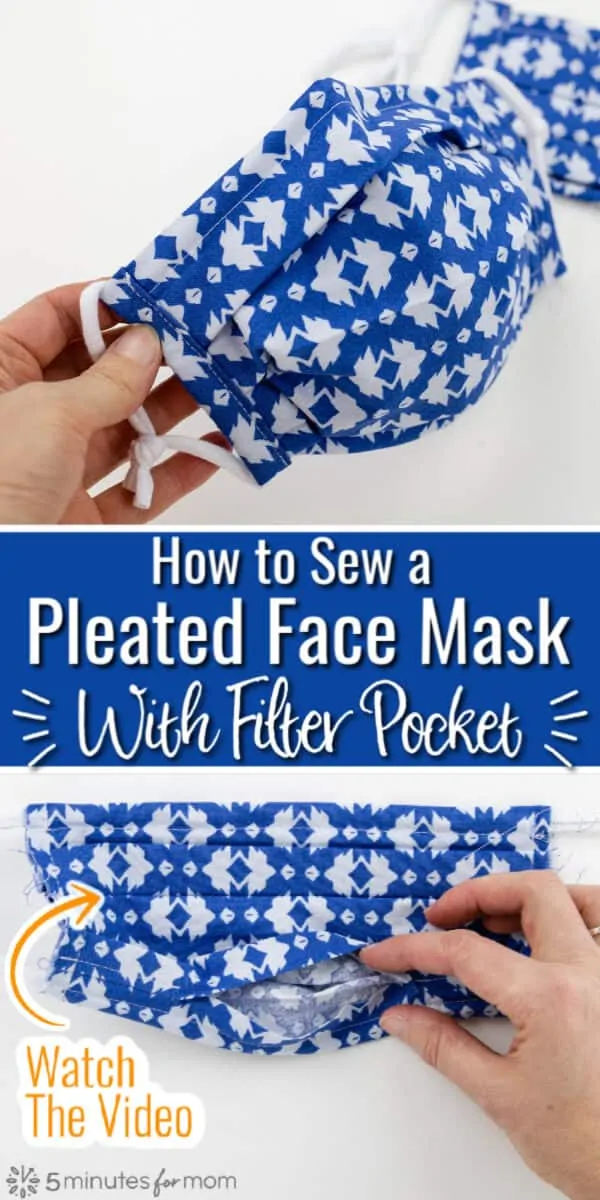
Do you want a breathable, comfortable face mask for summer? You can sew a pleated face mask with filter pocket using our free pattern and tutorial video. This DIY face mask gives you room to breathe and the freedom to adjust the amount of filtration you need.
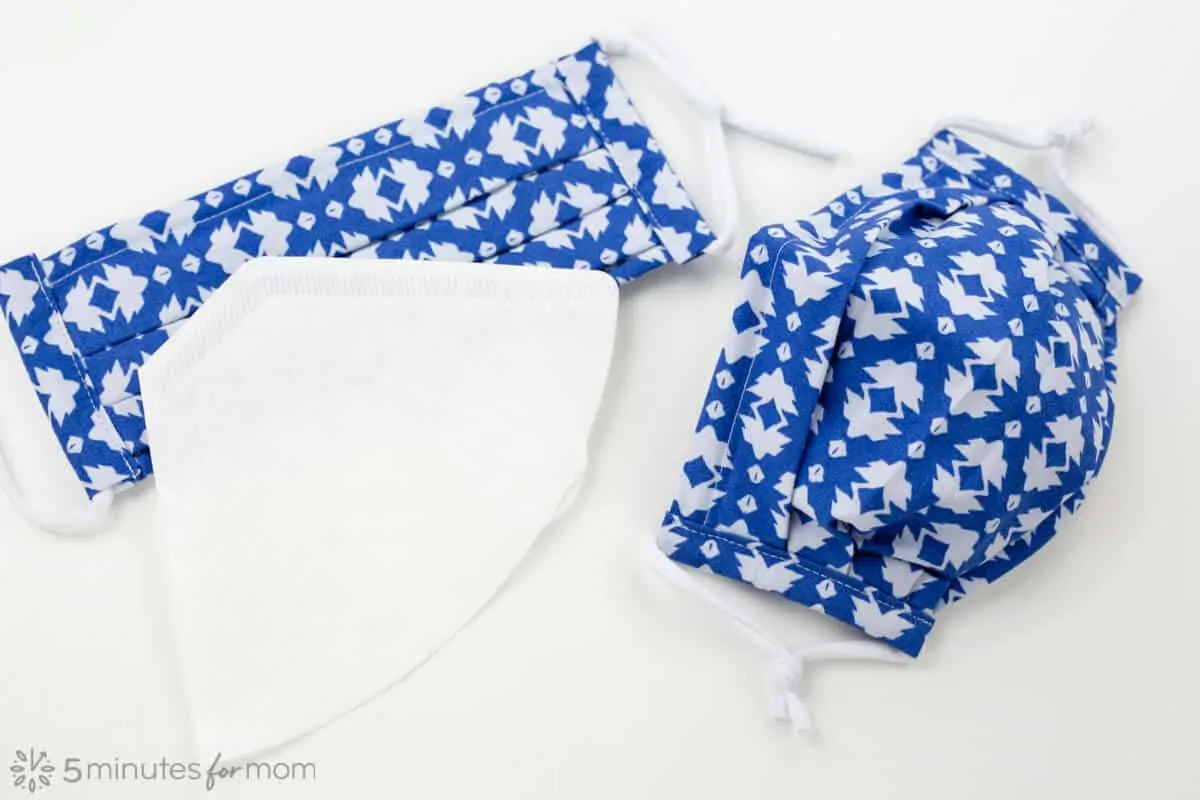
Our pattern for this Pleated Face Mask with Filter Pocket is similar to our DIY Cloth Face Mask Pattern, but it includes a pocket for you to add a removable filter for extra filtration. If you would like a mask style without pleats, check out our fitted face mask pattern that comes in 9 sizes — 4 adult and 5 kids sizes. All our mask patterns are free.
(If you don’t sew, no worries! Click over to our No-Sew Face Mask with Filter Pocket tutorial.)
Six sizes of our Face Mask with Filter Pocket Pattern:
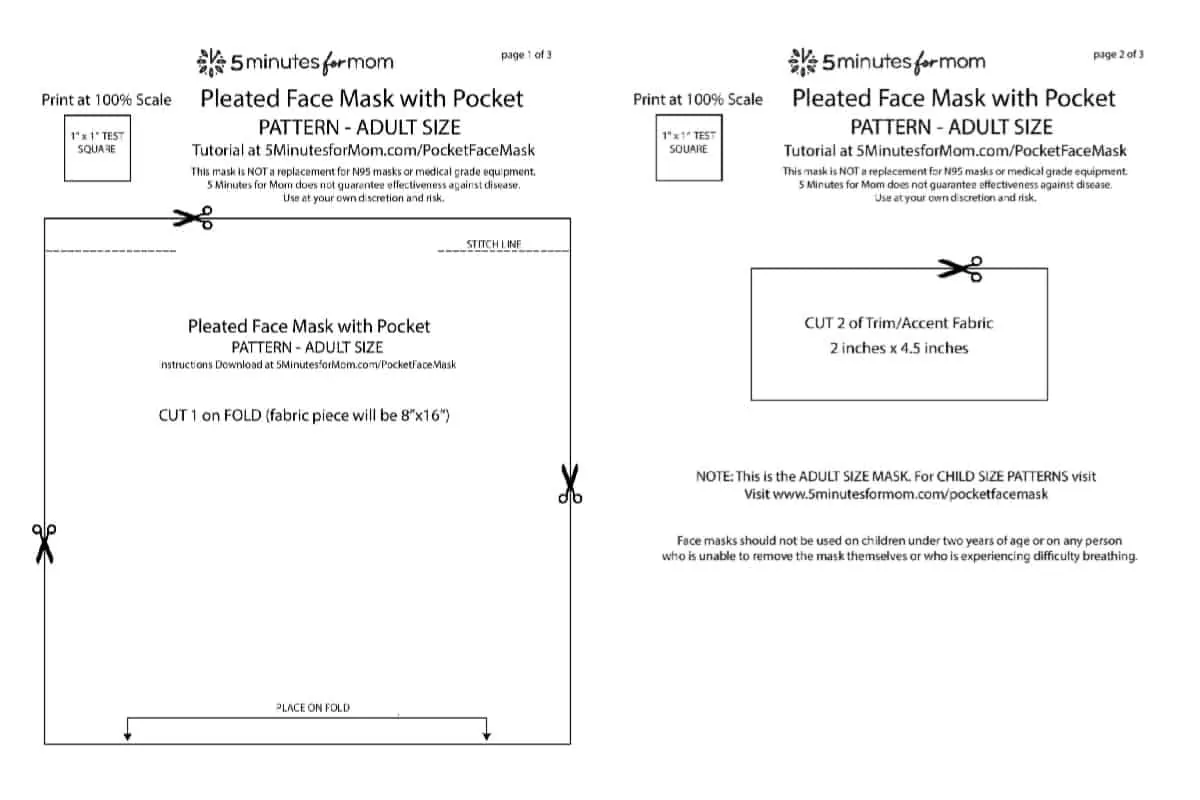
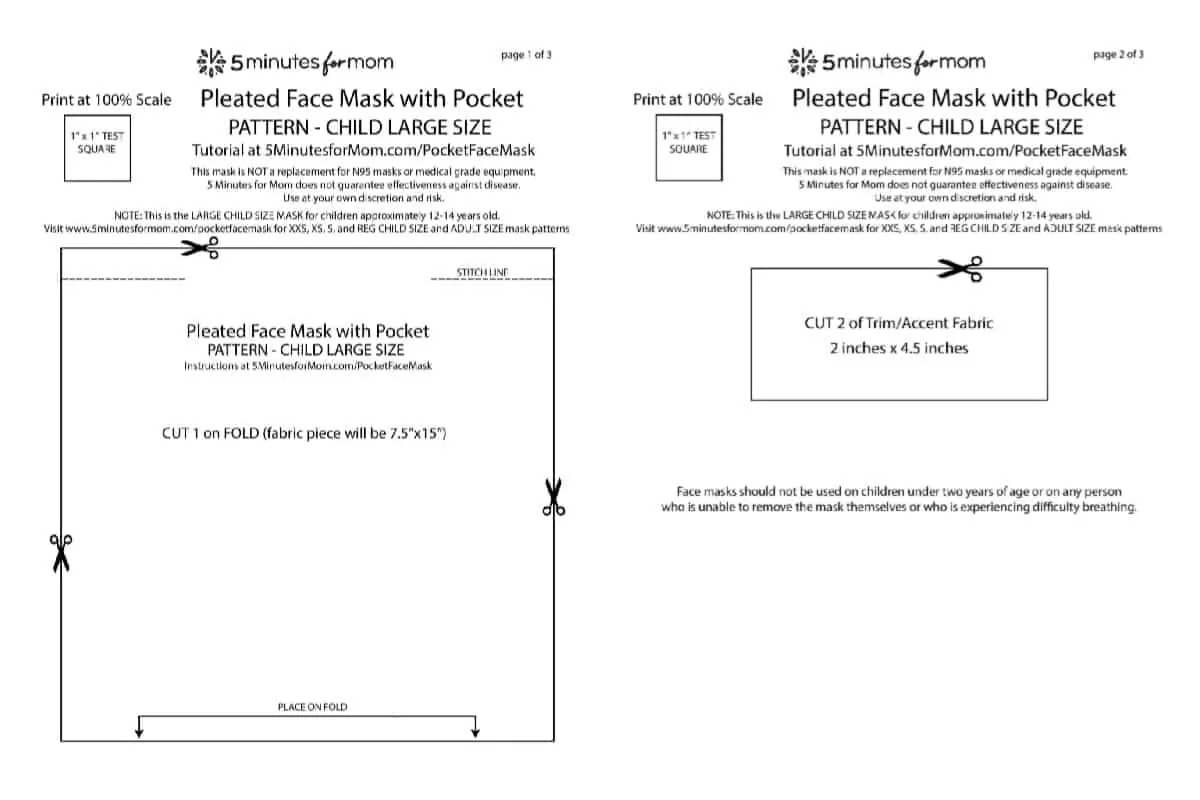
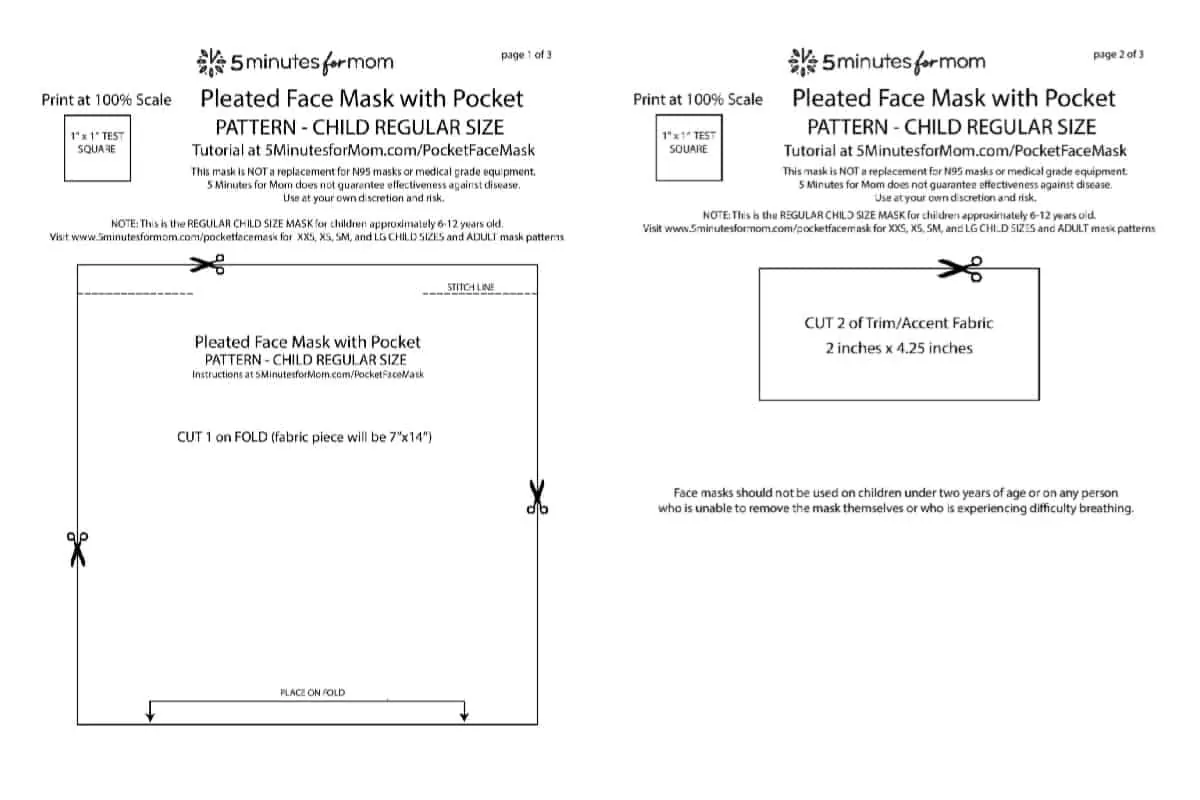
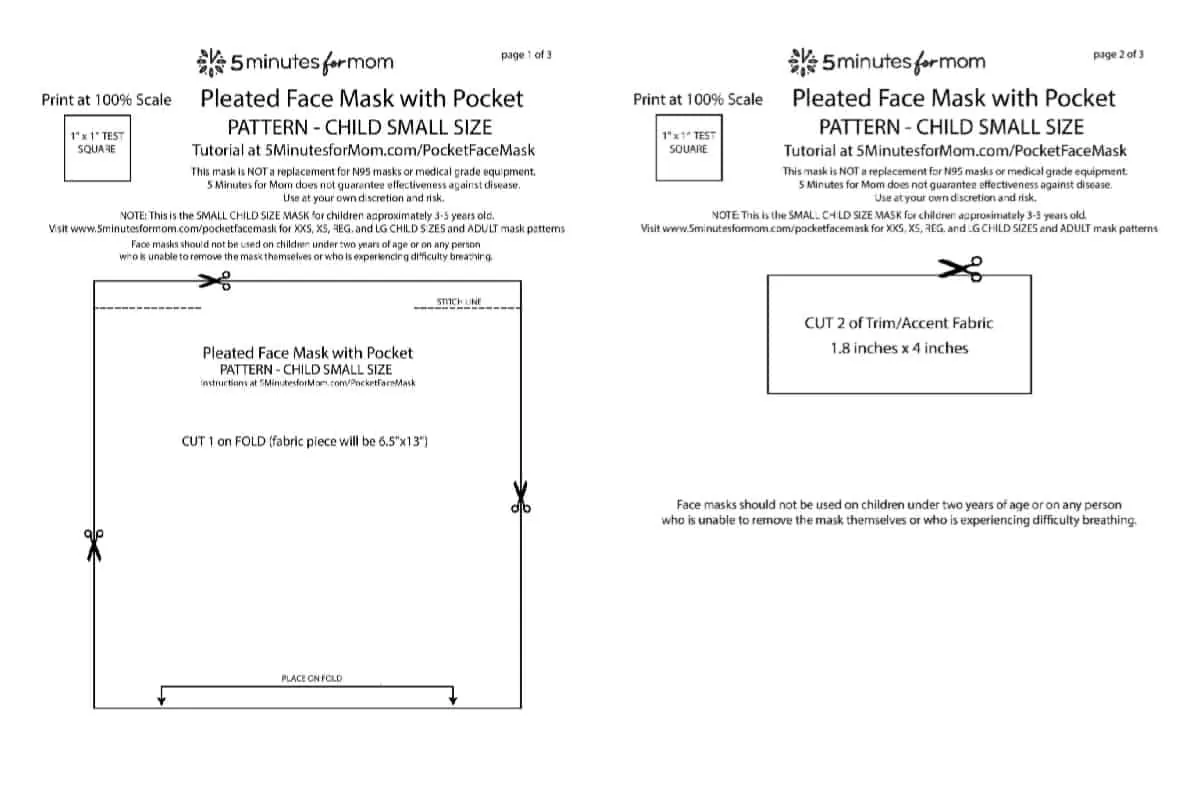
First download the Pleated Face Mask Pattern Printable Instructions and then download the patterns in your preferred sizes…
- ADULT Size
- LARGE Child Size
- REGULAR Child Size
- SMALL Child Size
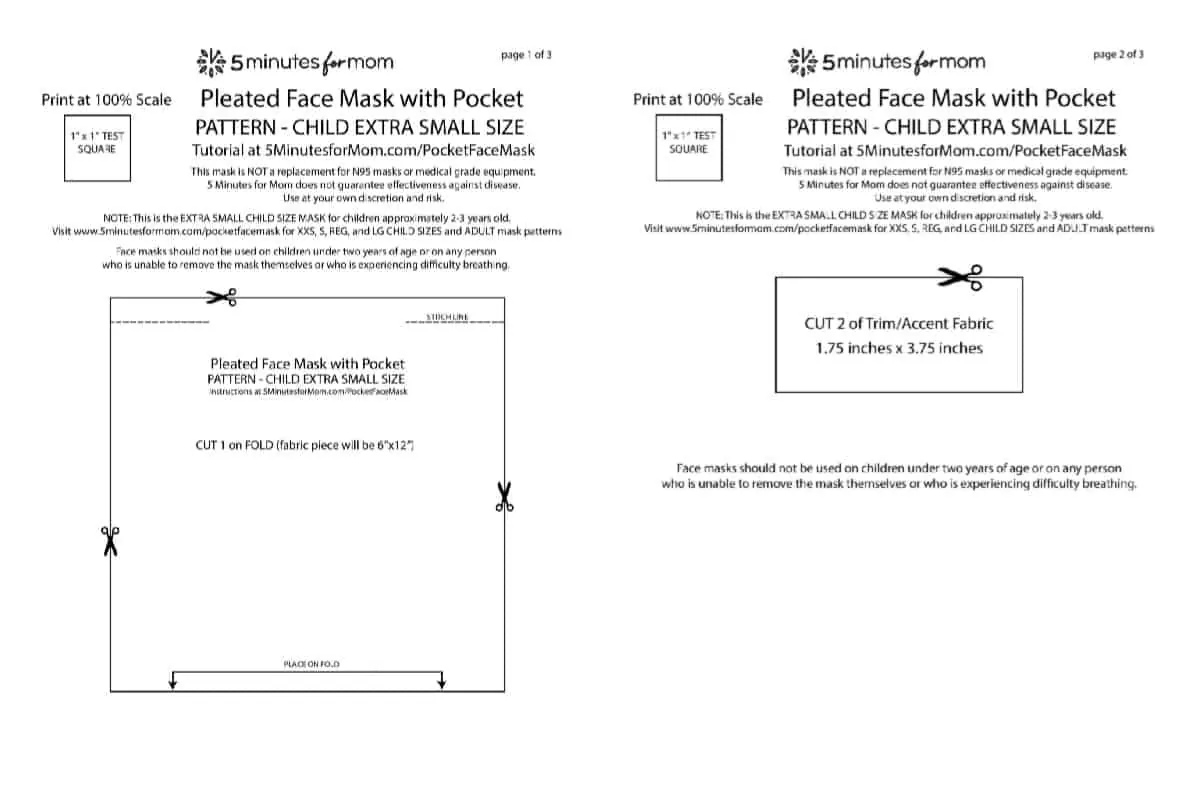
- EXTRA SMALL Child Size
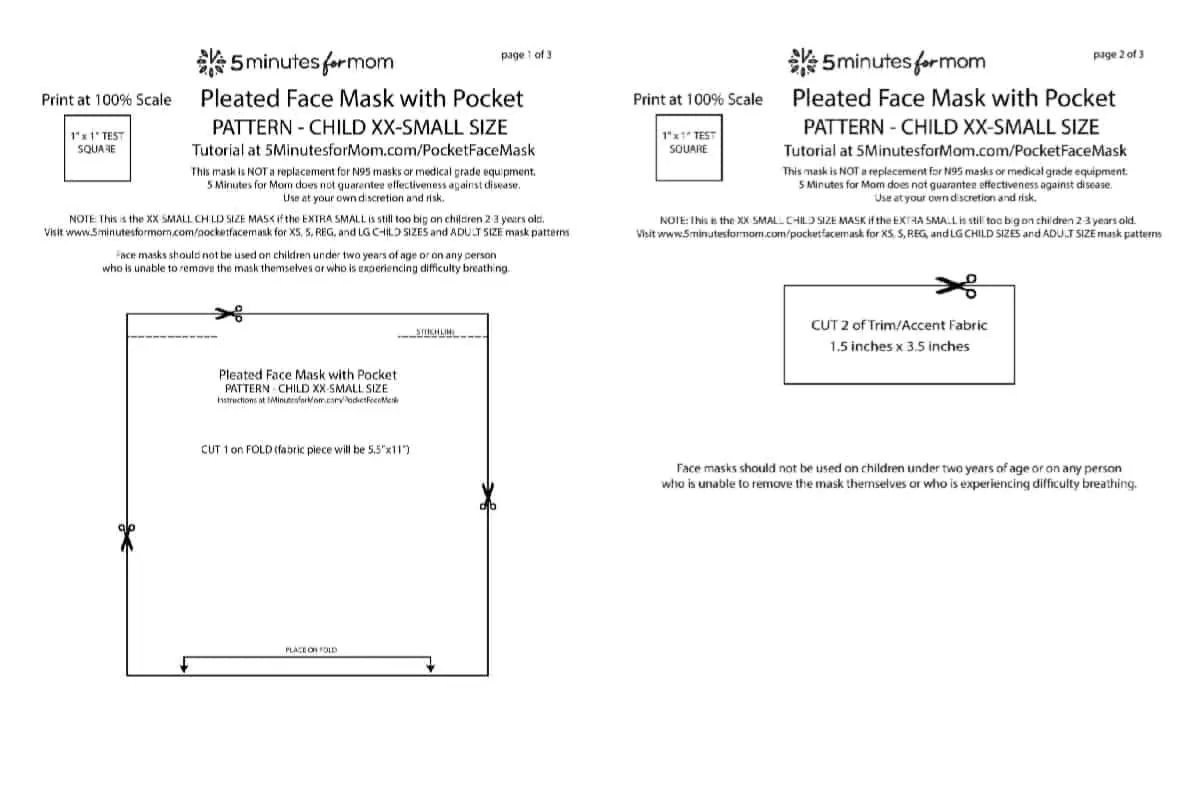
- EXTRA-EXTRA SMALL Child Size
We’ve provided Extra-Small Child and Extra-Extra-Small Child face mask sizes, but please remember that face masks should not be worn by children under 2 years old or anyone who cannot remove their own mask.
A New Type of Summer Protection
In this crazy, new world, summer protection now means more than just applying enough sunscreen. When we head out anywhere there will be groups of people, we need face masks.
To help you and your family keep your face masks actually on your faces, protecting yourself and those around you, you want a breathable, lightweight face mask.
Our sewing pattern for a pleated face mask with a filter pocket allows you to make a face mask that has a pocket for a removable filter, so you can use a filter when you want increased protection, or you can wear it without the filter with just the two layers of woven cotton.
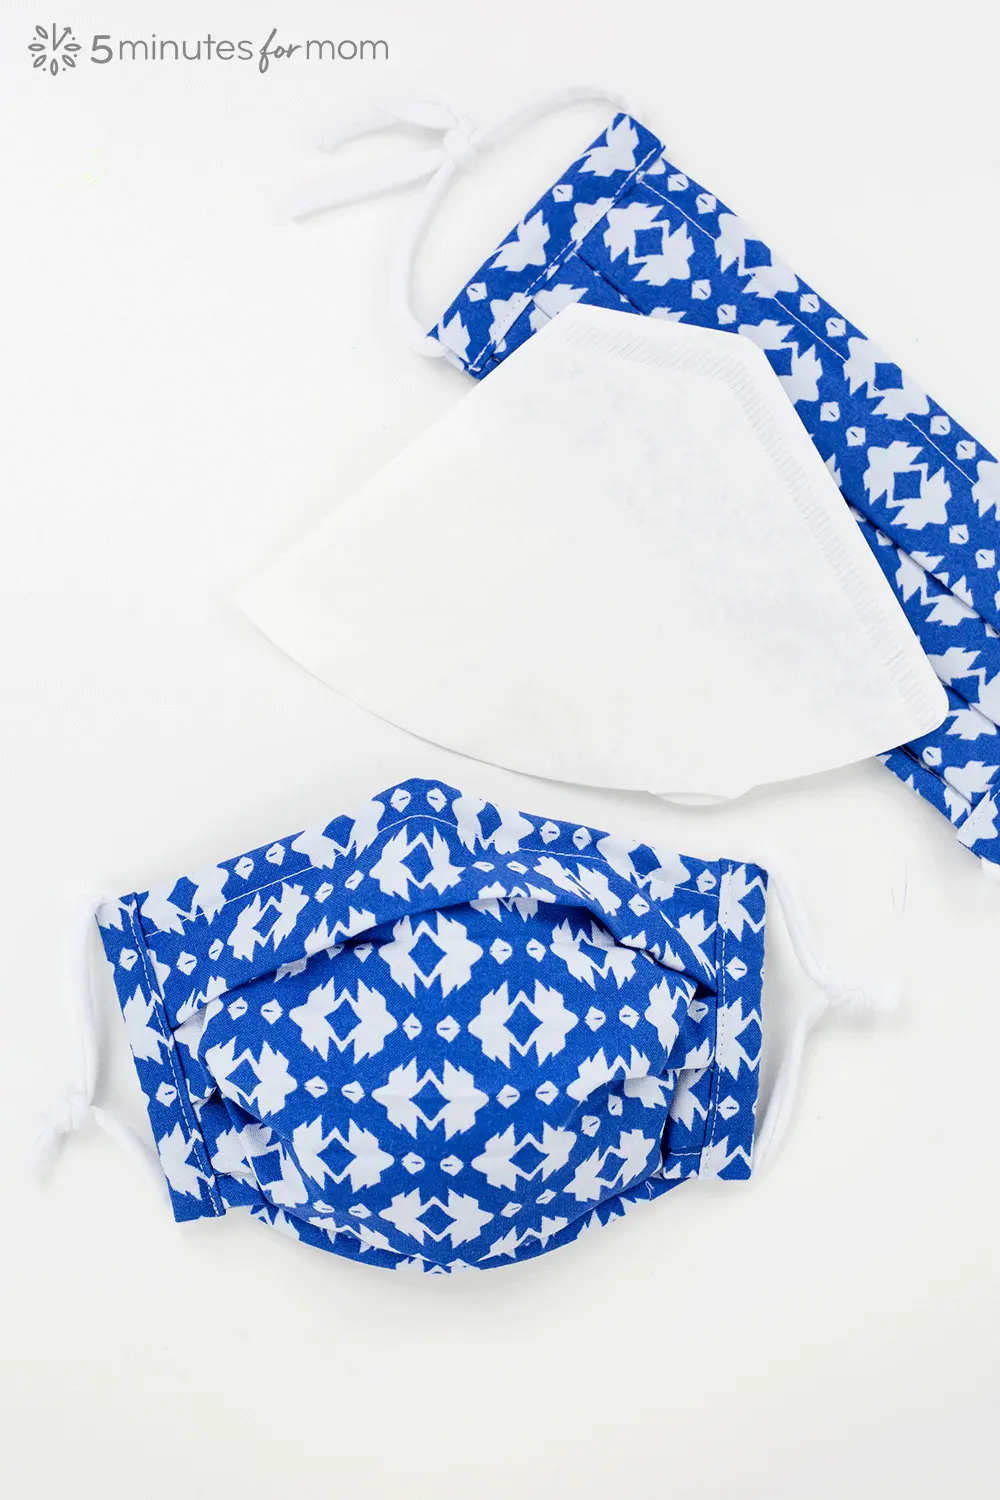
You can use a variety of filter options, such as an inexpensive DIY filter cut from a coffee filter.
Adding a simple rectangle or oval cut from a coffee filter gives you the peace of mind of extra filtration while helping to hold the fabric of the mask in shape, still giving you room to breathe.
Please note that face masks should not be used by anyone having difficulty breathing, nor should face masks be used on children under two years old or on anyone who cannot remove the mask themselves. This mask is not a replacement for N95.
How to Sew a Pleated Face Mask with Filter Pocket
SUPPLIES
- Woven Cotton Fabric 8”x16″
- Woven Cotton Fabric 2“x4½” x 2
- Knit Fabric Ties 10” x 2
- Thread
- Scissors
- Ruler
- Pipe cleaners x 2
- Craft wire 5” x 1 (optional)
PRINTABLE PATTERNS
Six sizes of our Face Mask with Filter Pocket Pattern:
- ADULT Size Pleated Face Mask Pattern
- LARGE Child Size Pleated Face Mask Pattern
- REGULAR Child Size Pleated Face Mask Pattern
- SMALL Child Size Pleated Face Mask Pattern
- EXTRA SMALL Child Size Pleated Face Mask Pattern
- EXTRA-EXTRA SMALL Child Size Pleated Face Mask Pattern
We’ve provided Extra-Small Child and Extra-Extra-Small Child face mask sizes, but please remember that face masks should not be worn by children under 2 years old or anyone who cannot remove their own mask.
INSTRUCTIONS
Printable Version of Instructions: Click here to download a printable PDF of the following pleated face mask instructions.
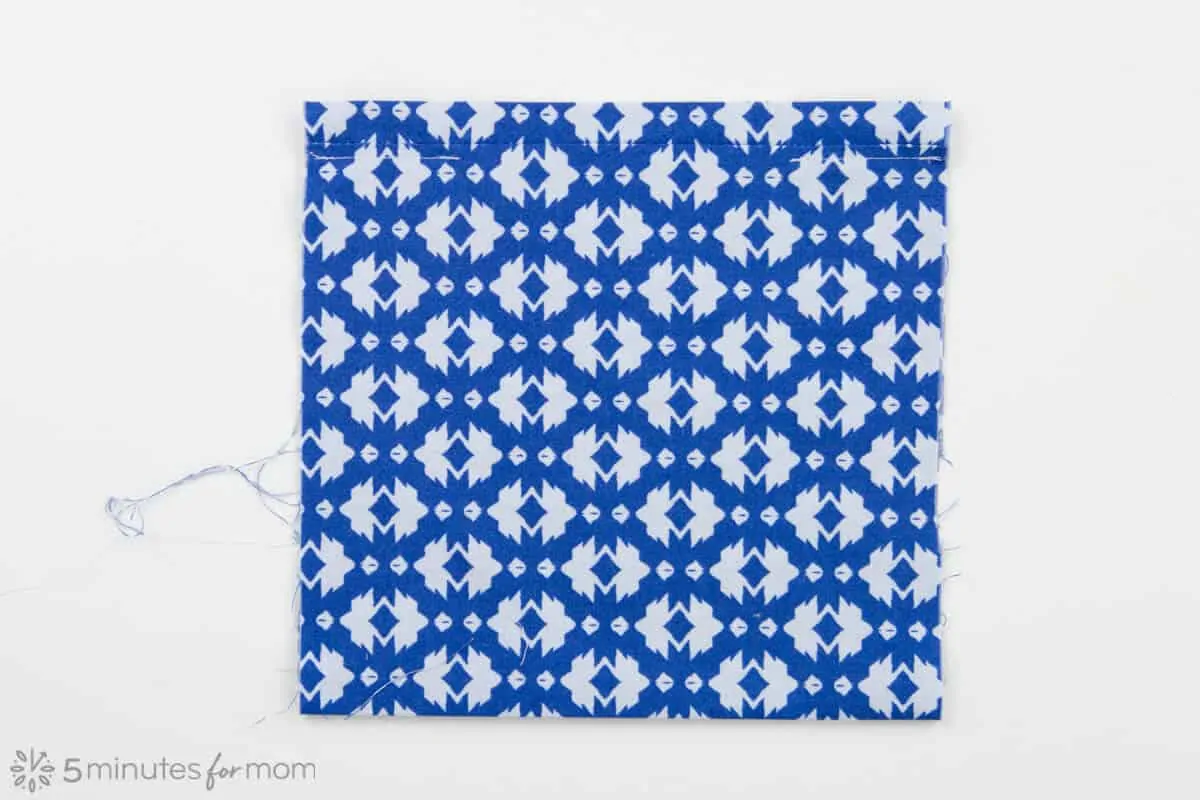
Fold 8”x 16” fabric in half, with right sides together, to form an 8”x 8” square with the folded edge at the bottom and raw edges flush together at the top.
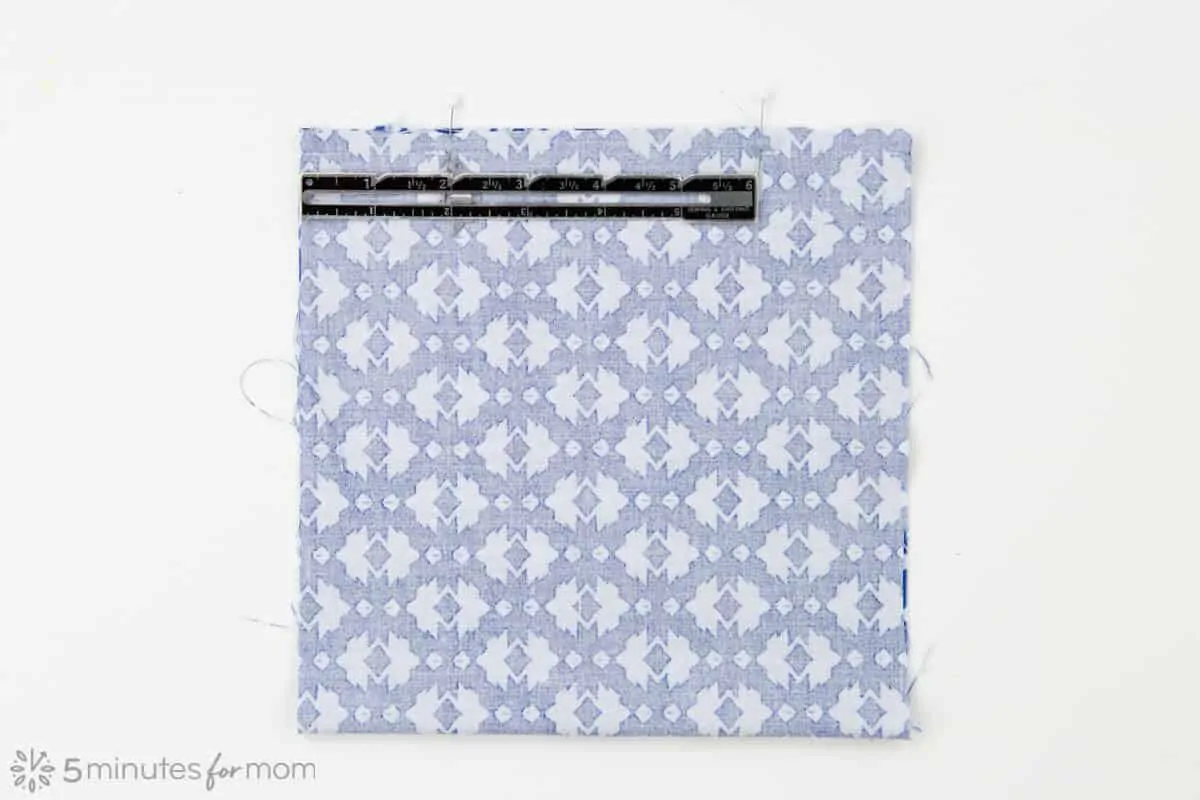
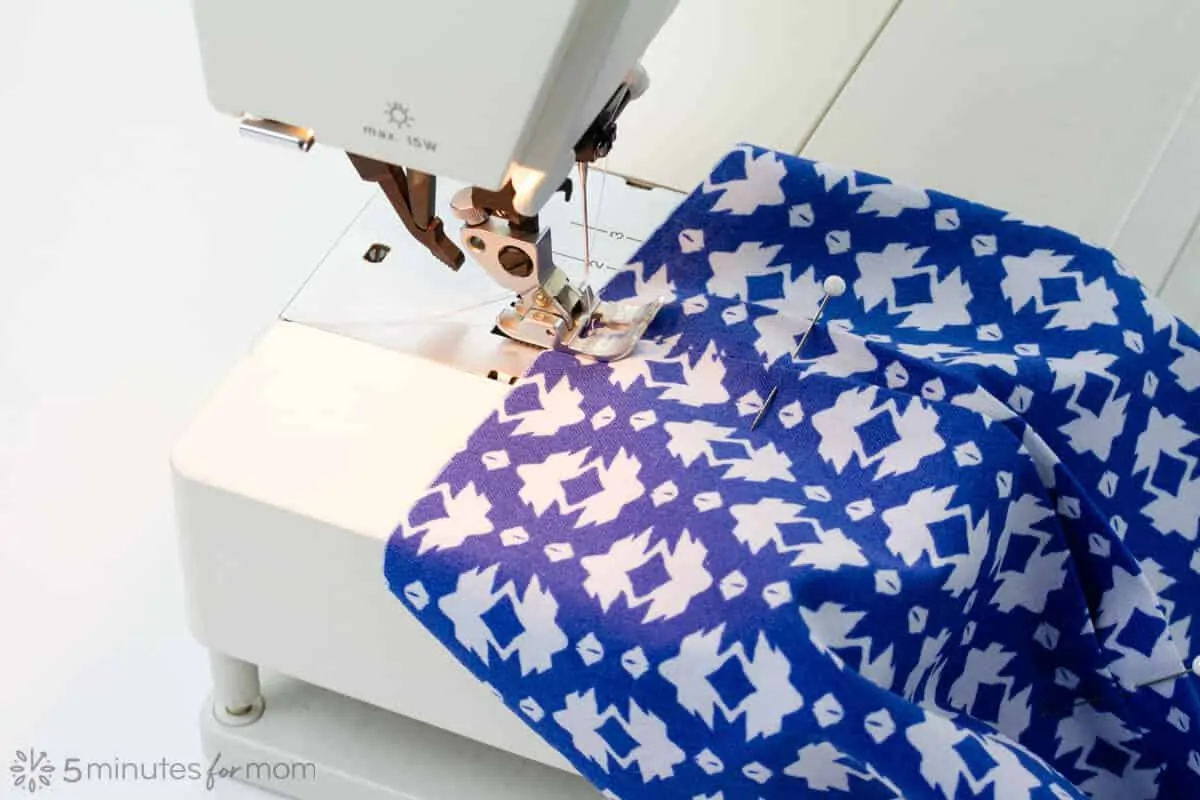
To make the pocket, you will sew in 2” from sides, leaving a 4” opening in the middle of the seam. You may wish to place pins at the 2” mark to remind you to stop sewing for the 4” opening.
Sew with 1/2” seam allowance to the 2” mark. Remember to backstitch at the 4” opening.
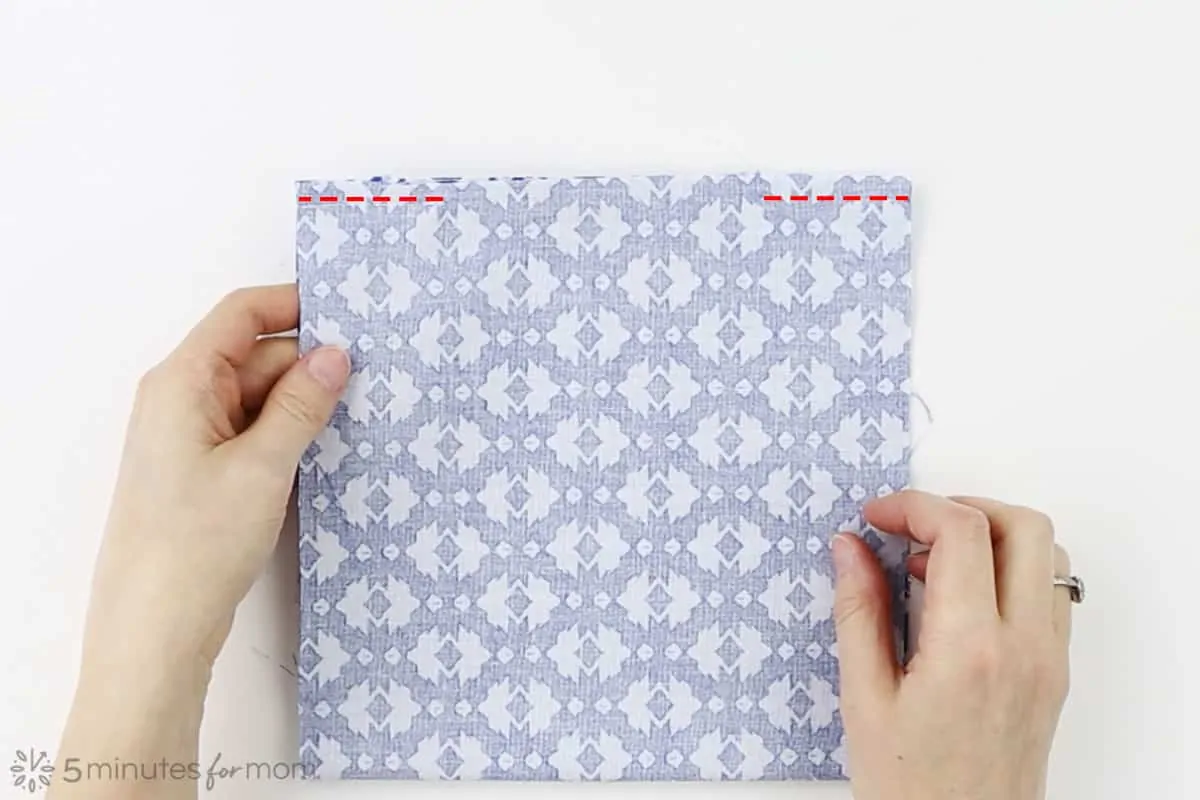
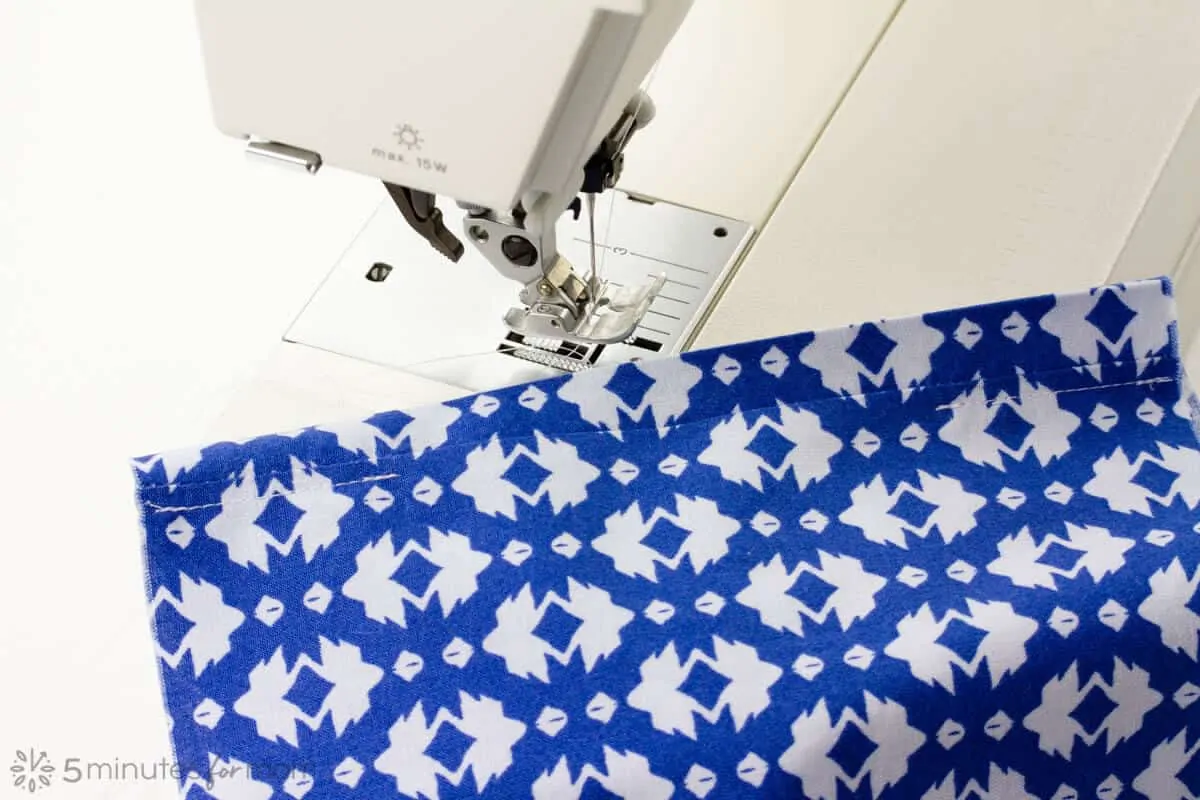
After sewing, turn square right side out and slide the stitch line and pocket opening down 1/2” from the top fold.
Do not press open the seam allowance. Leave it facing down and press.
Topstitch 1/4” below seam to 2” mark to secure seam allowance. Do not sew over the opening.
You may wish to place pins to mark 4” opening.
Only topstitch below the seam. Do not topstitch above seamline.
To reinforce the pipe cleaner over the bridge of the nose, you can wrap 5” of craft wire around pipe cleaner.
You can position the pocket opening near the bottom or the top of your mask.
I prefer to have the pocket opening at the bottom of my mask, but either way will work fine.
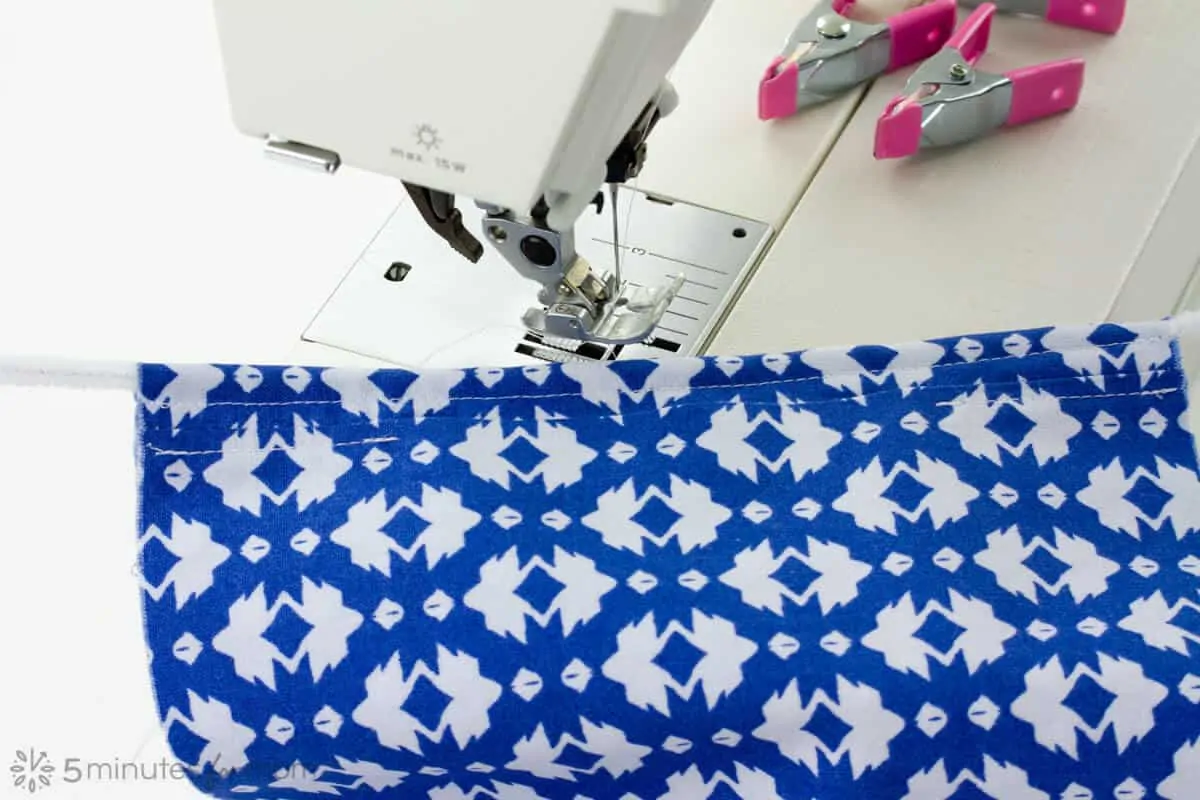
Place the reinforced pipe cleaner inside the square along the top seam and the other pipe cleaner inside the square along the bottom seam and clip in place.
Stitch pipe cleaners in place, sewing 3/8“ from the edge, on top and bottom seams.
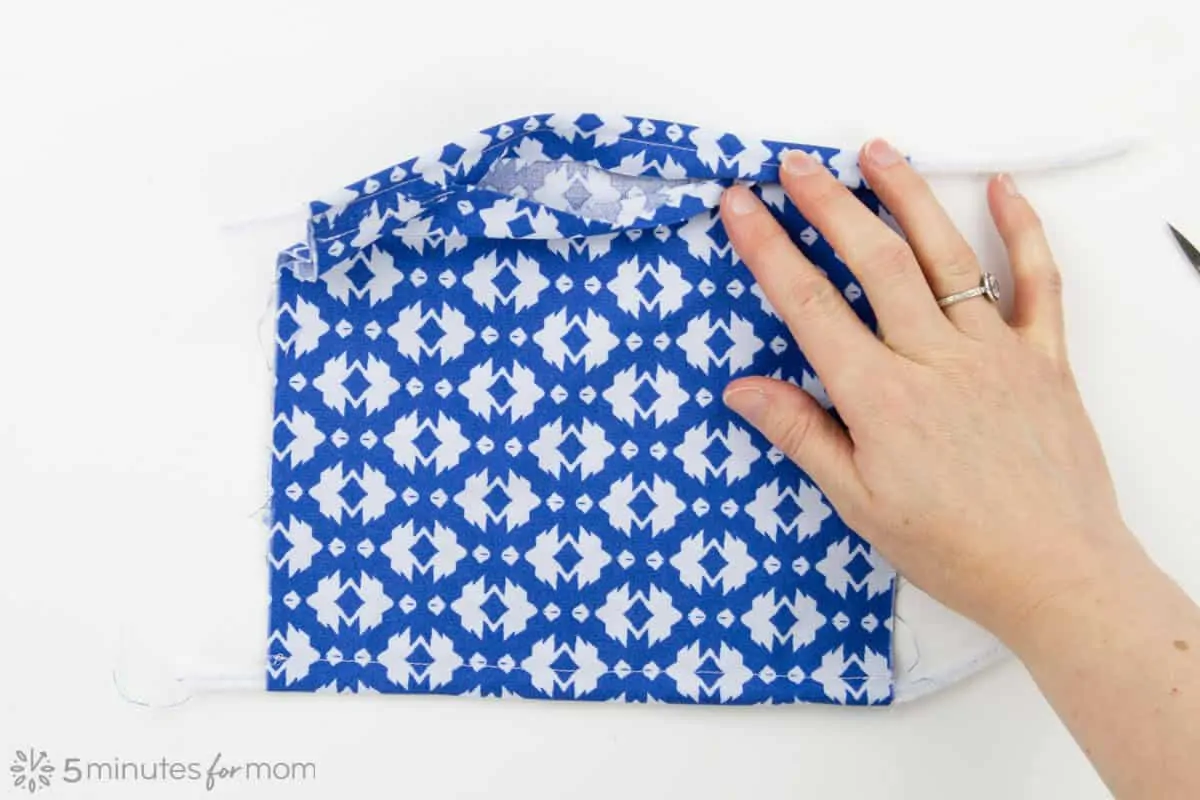
Turn over the mask, so that the front of the mask is facing up. The pocket opening, which will end up on the inside bottom of finished mask, is facing the table.
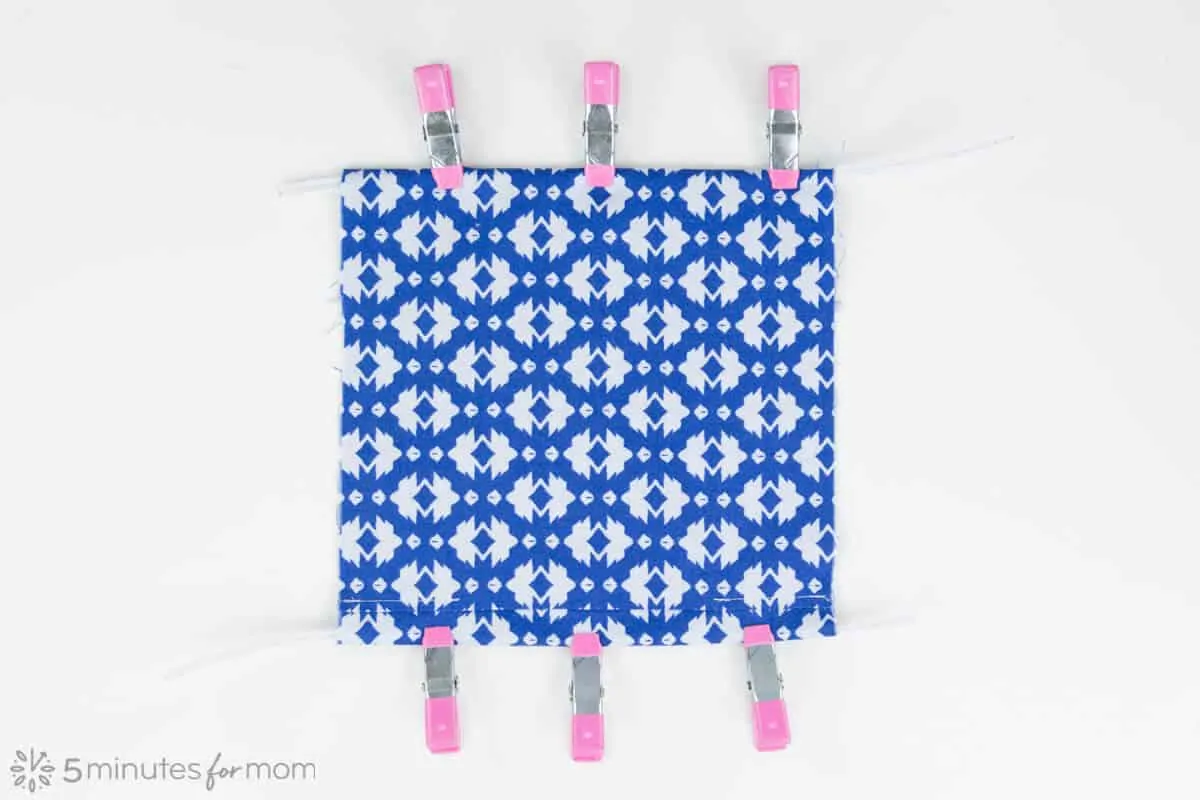
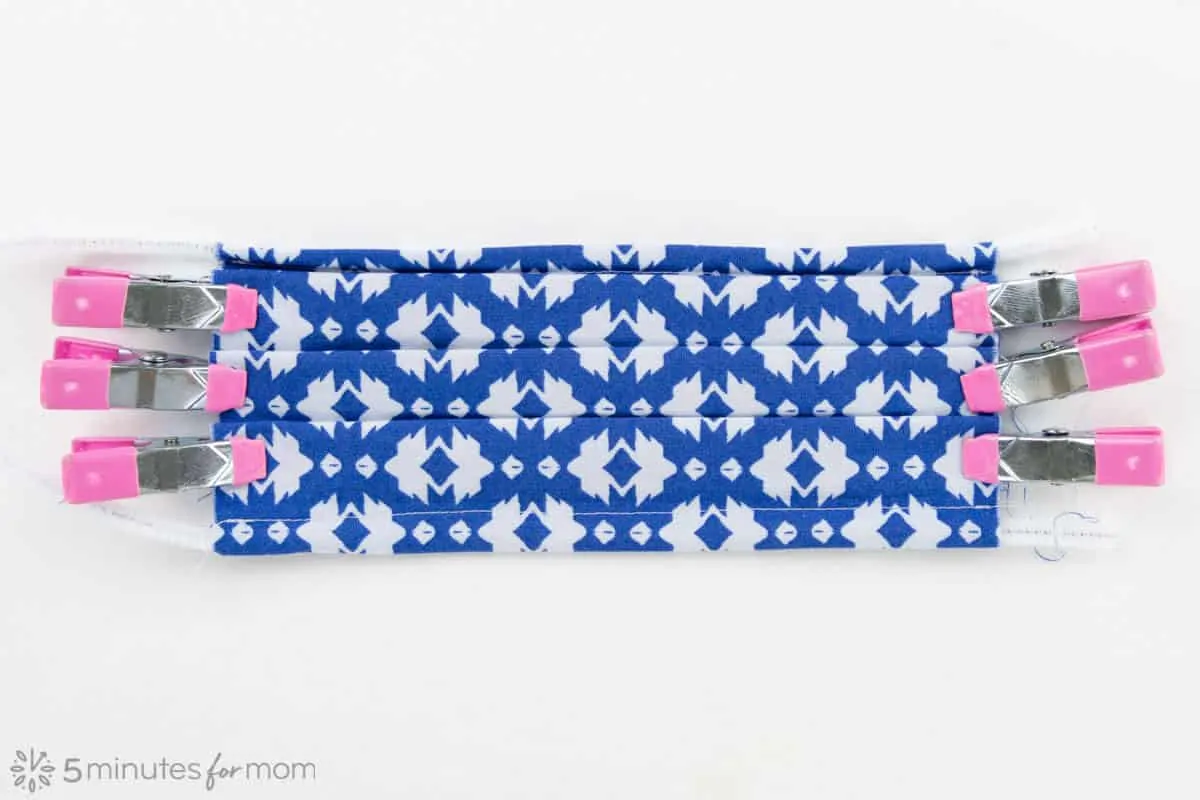
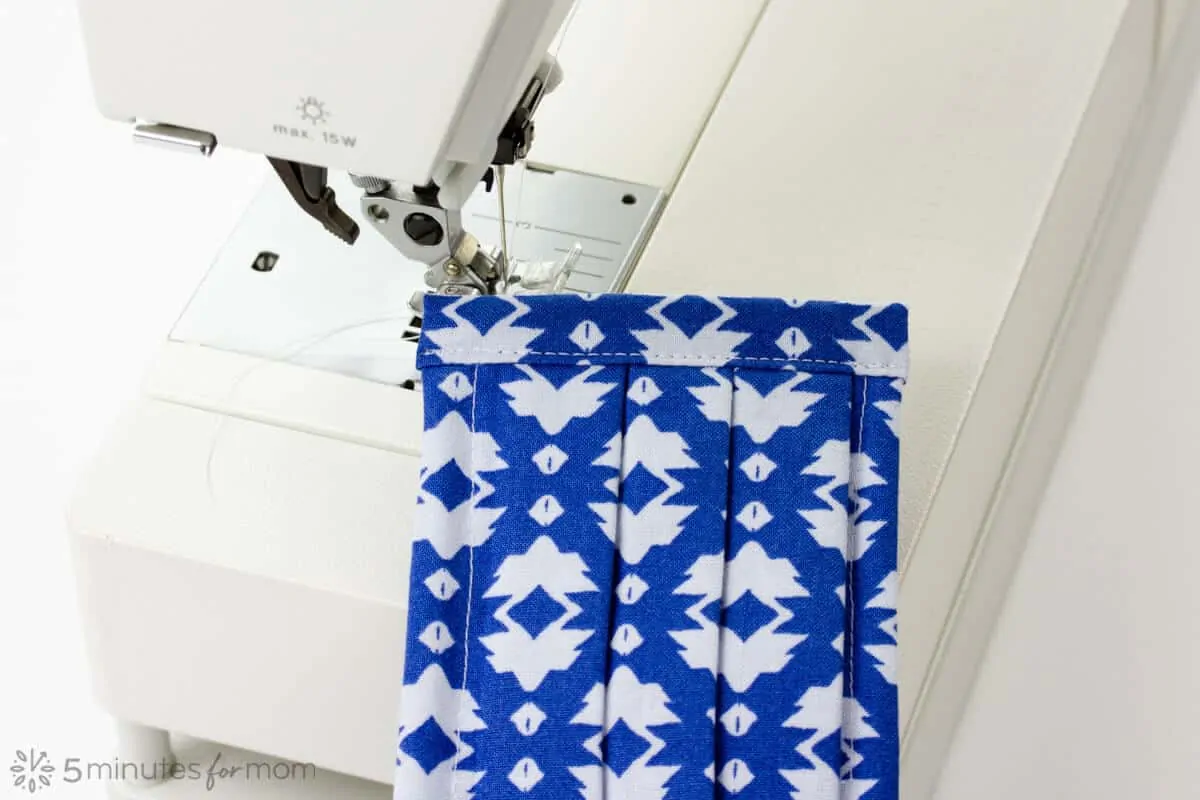
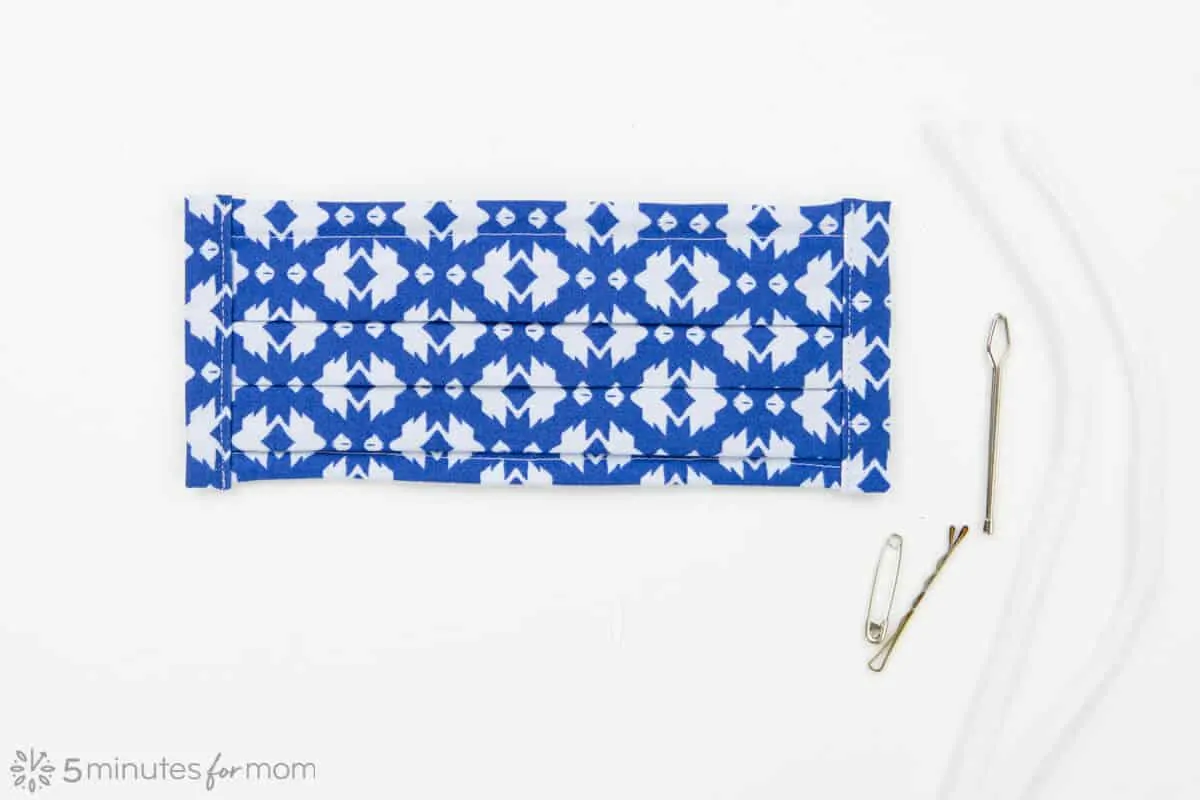
Now, starting at the end with your reinforced pipe cleaner, which will cover the nose bridge of finished mask, begin to fold the three pleats.
Fold pleats about 3/4” and nest each next to one another. Don’t worry, the pleats do not need to be perfect.
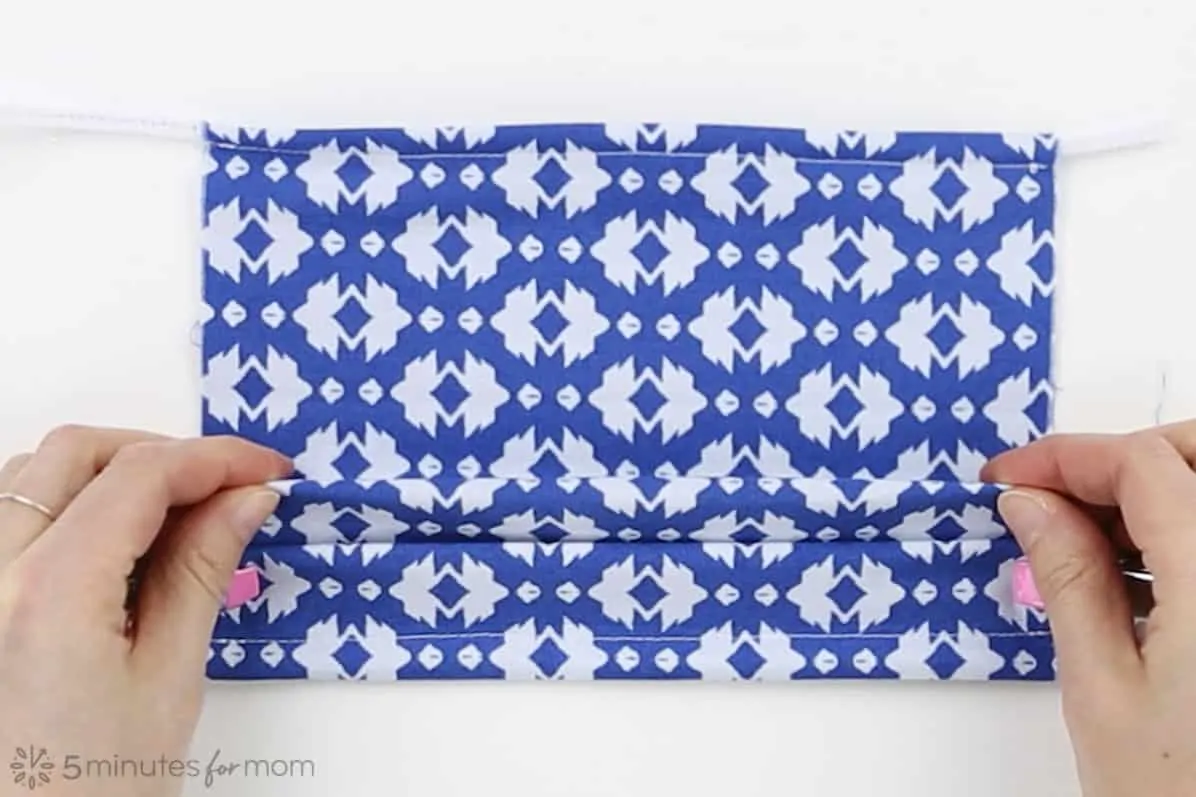
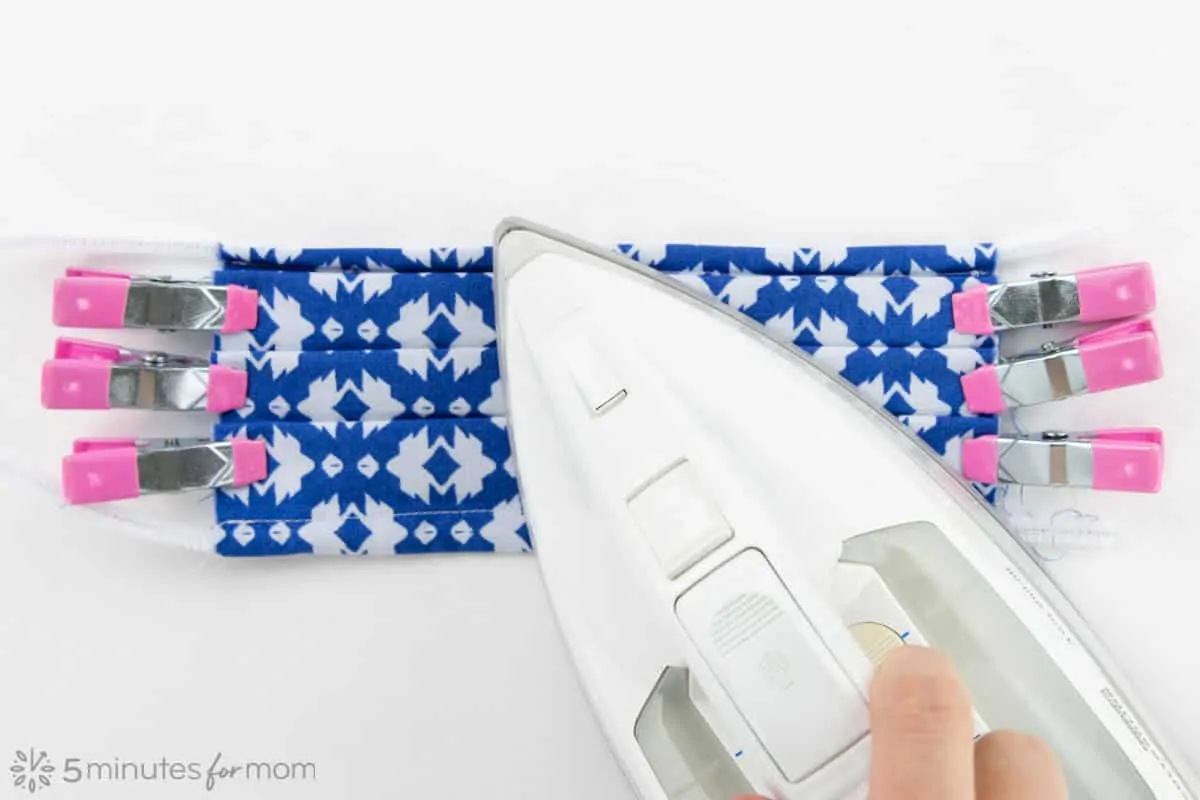
Fasten with clips and press.
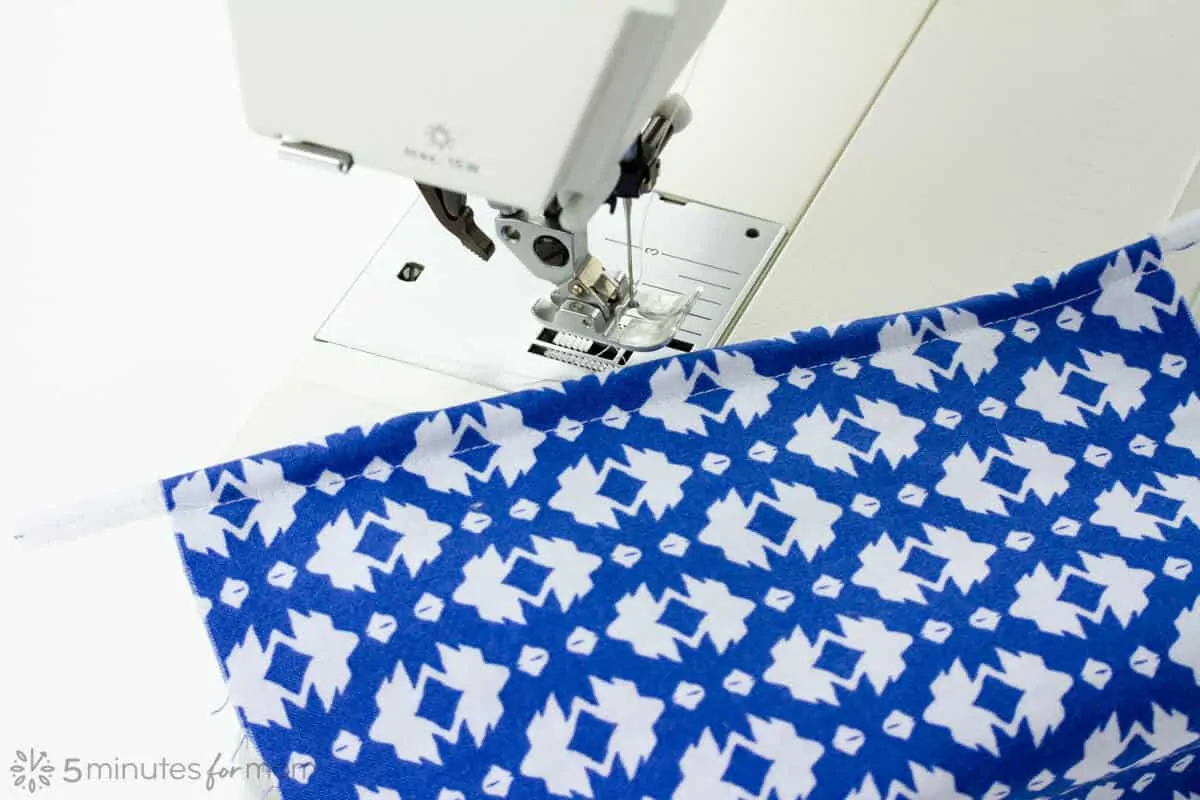
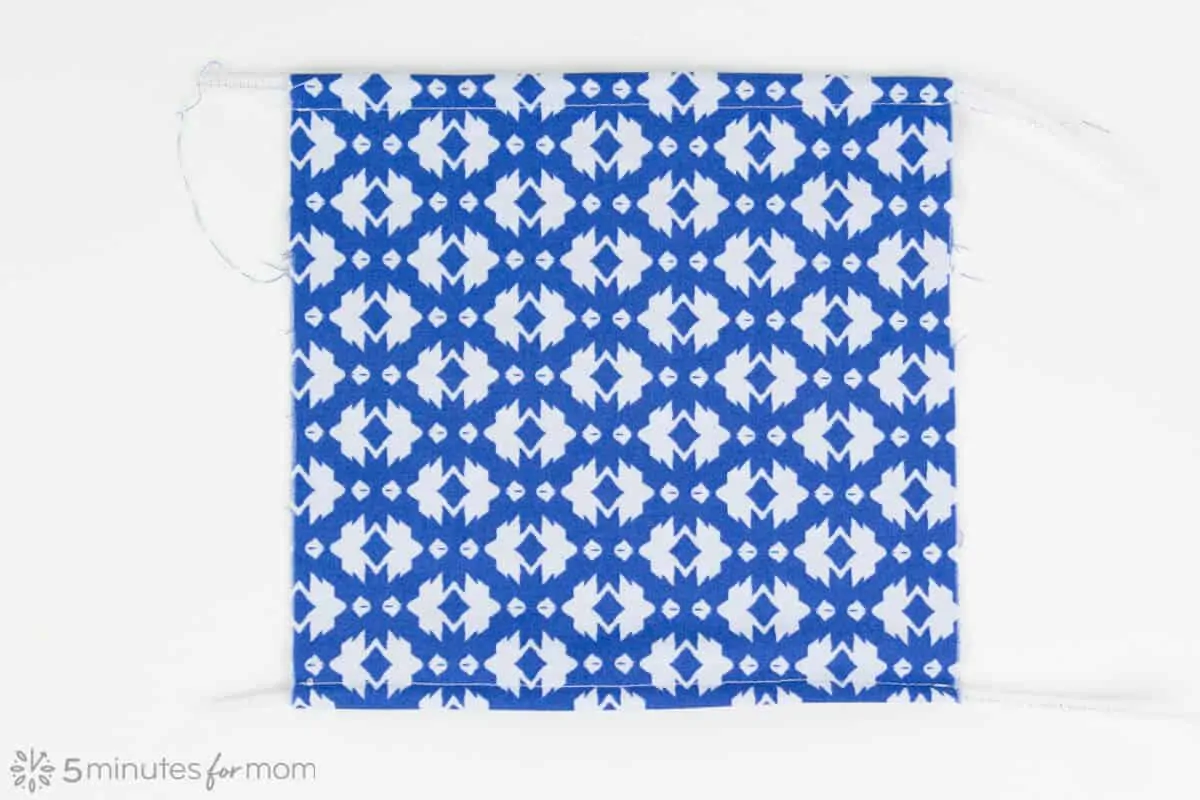
Stitch sides at 1/4” seam allowance to hold pleats in place.
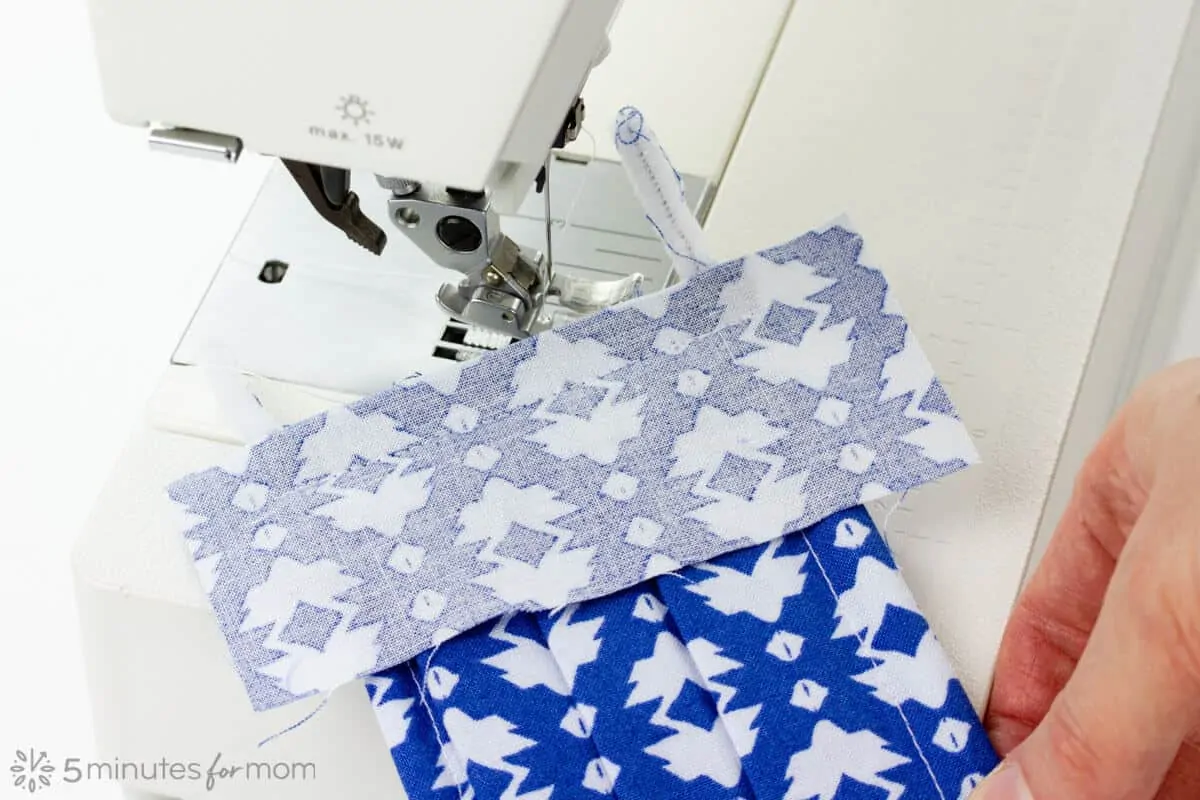
Place mask front/right side up.
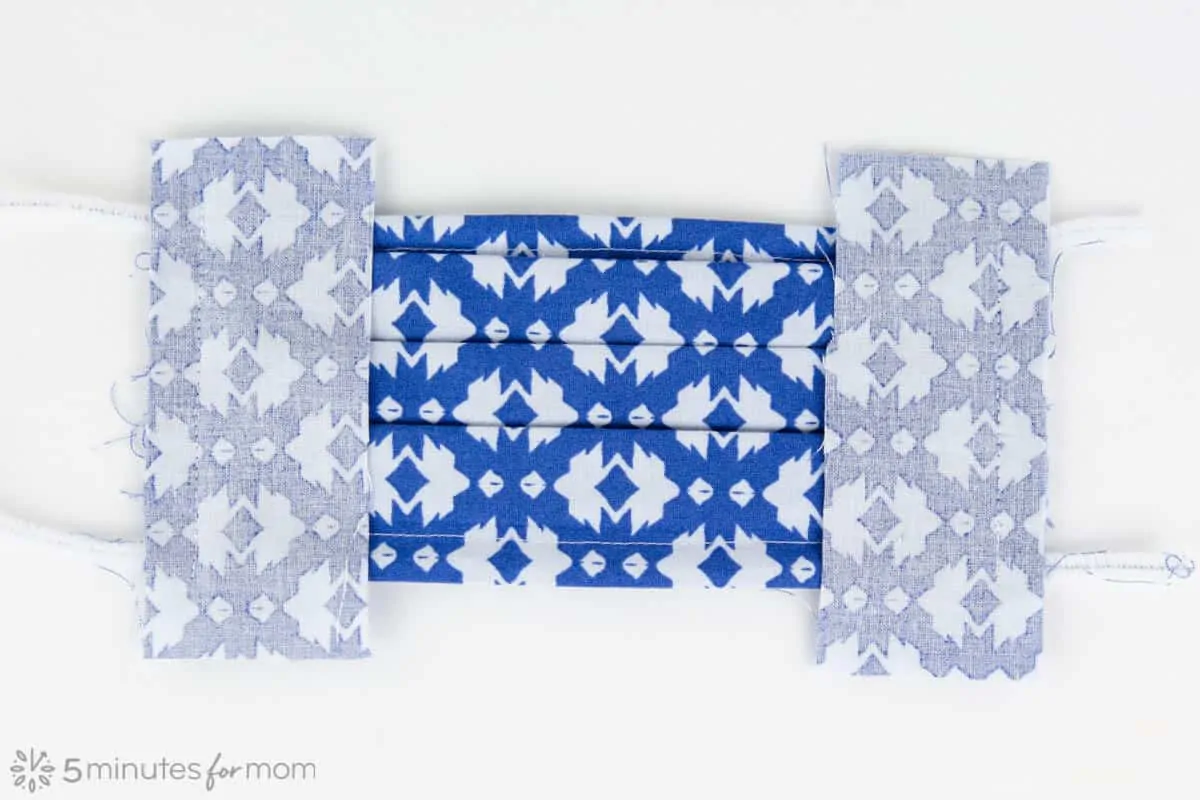
Place trim/binding fabric right side down, raw edges together.
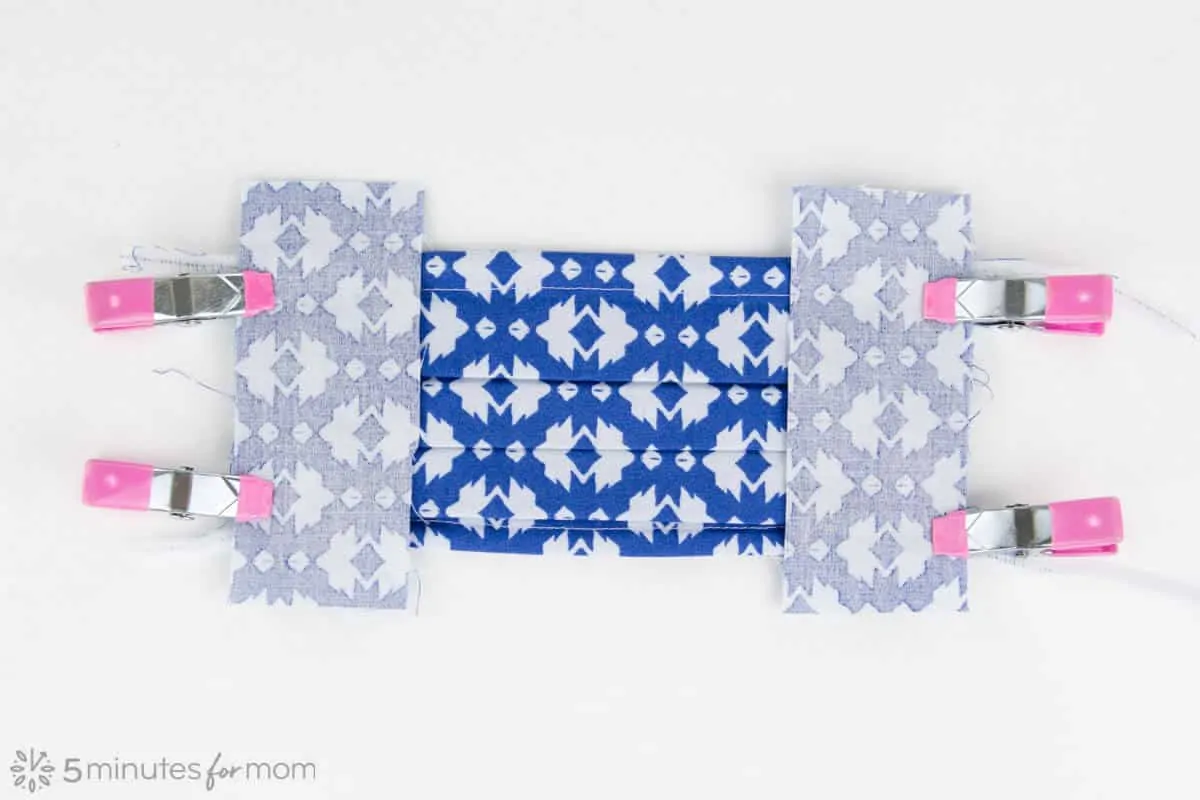
Stitch 1/2” from raw edge on the sides of the mask.
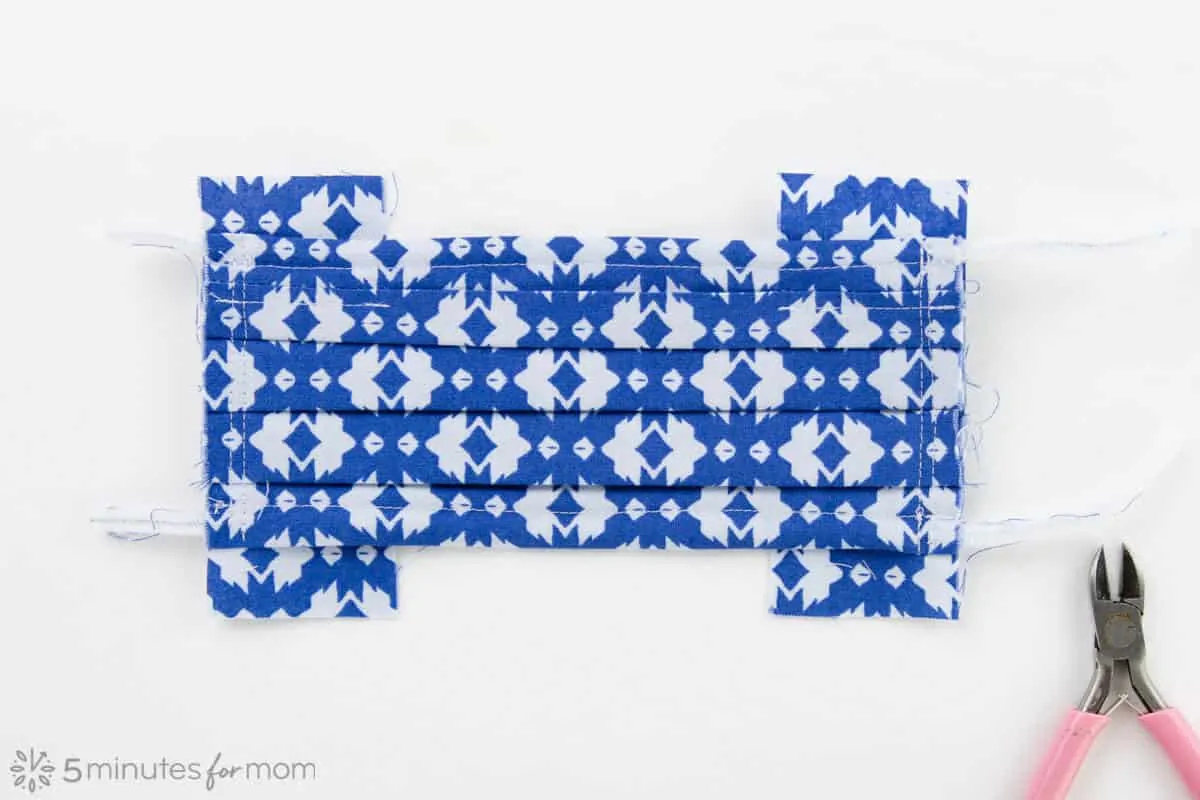
Trim pipe cleaners and fold in sharp ends.
Fold back binding pieces at seams and press.
Turn over to the back of the mask and fold in raw edges of trim/binding pieces and press.
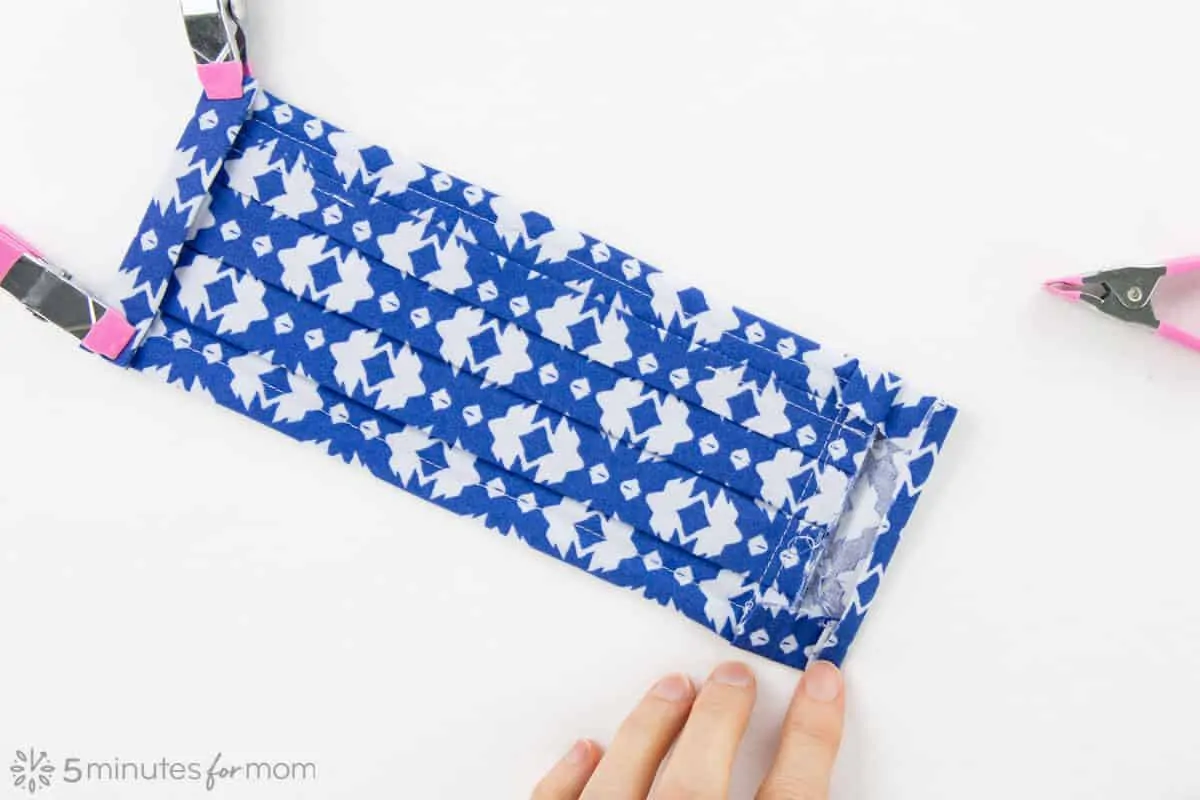
Topstitch the side binding 1/8” catching folded edge of binding fabric in back.
Using a bodkin, bobby pin, or safety pin, thread knit ties or elastic through binding on sides.
To learn how to make stretchy knit fabric ties, check out our tutorial post How to Make Ties for Face Masks using Knit Fabric.
Knot 7”-10” ties or elastic to fit snugly around ears or use one 25” tie or elastic to go around head.
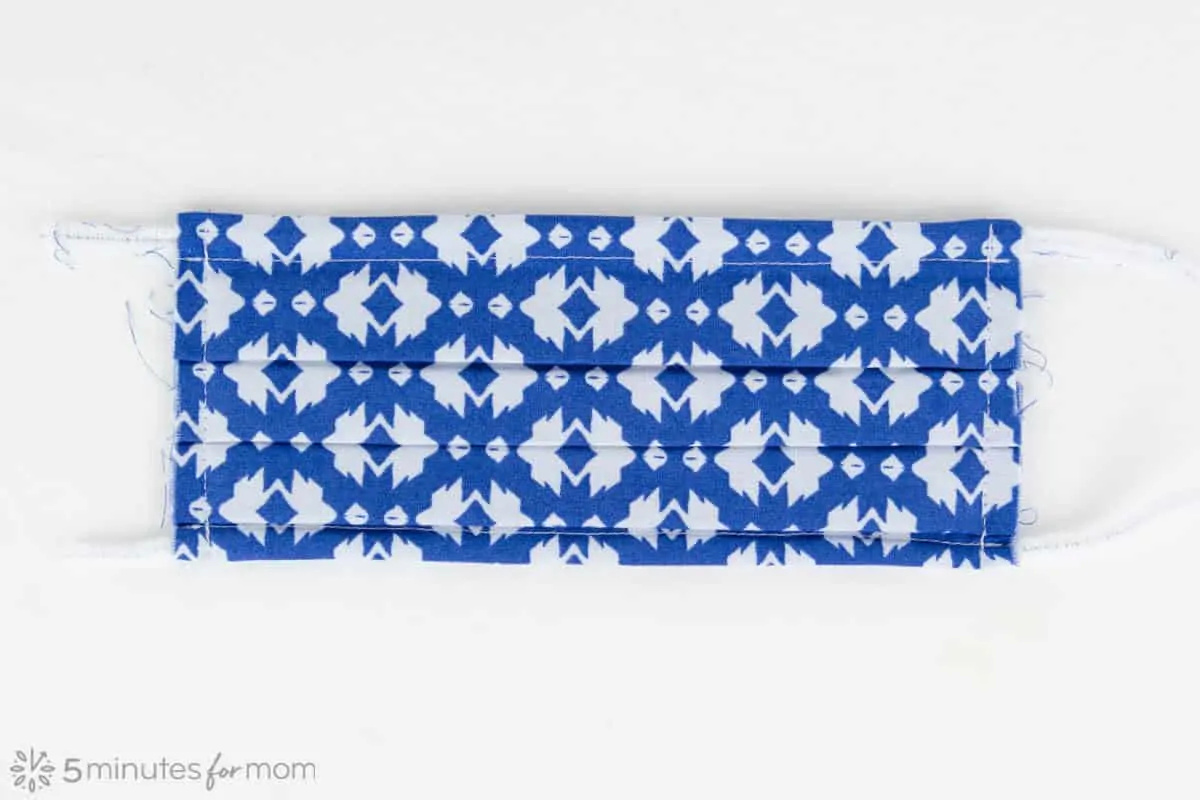
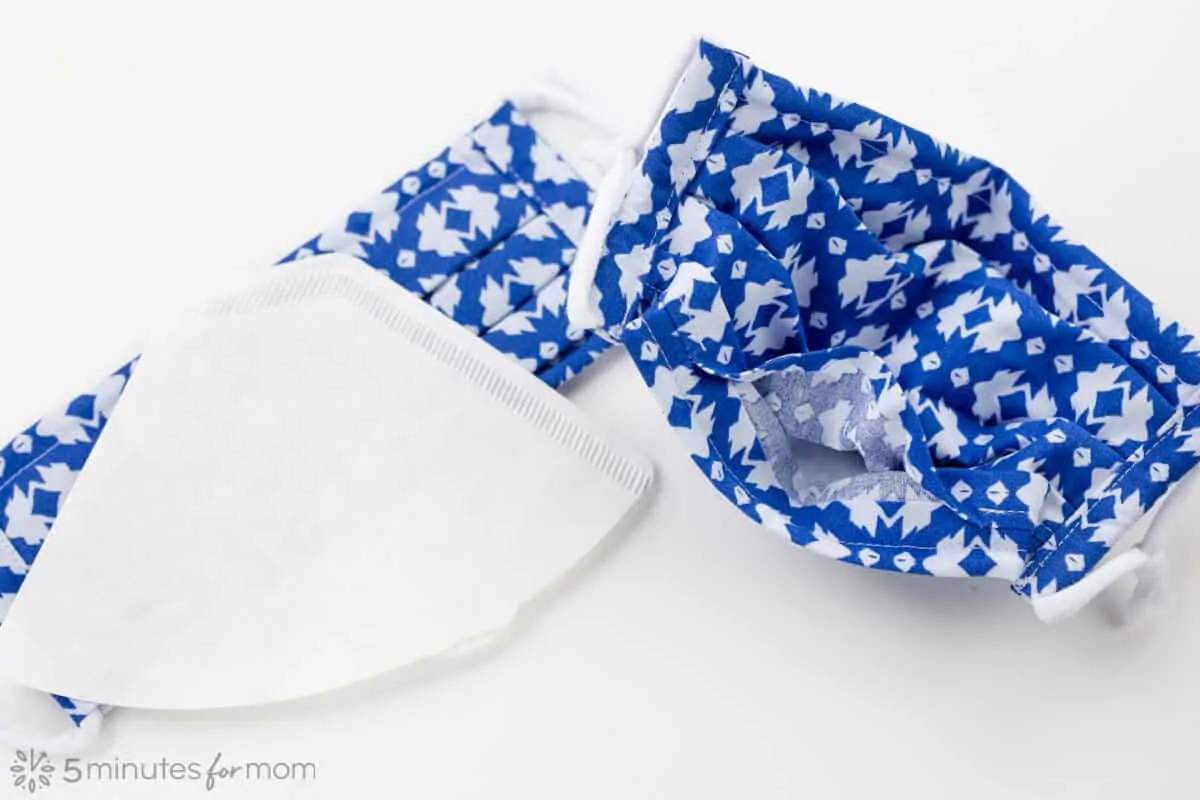
The pocket for an optional, removable filter, for additional filtration, is at the bottom inside of the mask.
You can make a DIY filter from a coffee filter. Cut an oval slightly smaller than mask, about 6.5” x 4.5” and insert in the pocket.
(Don’t forget to remove disposable filter before washing mask.)
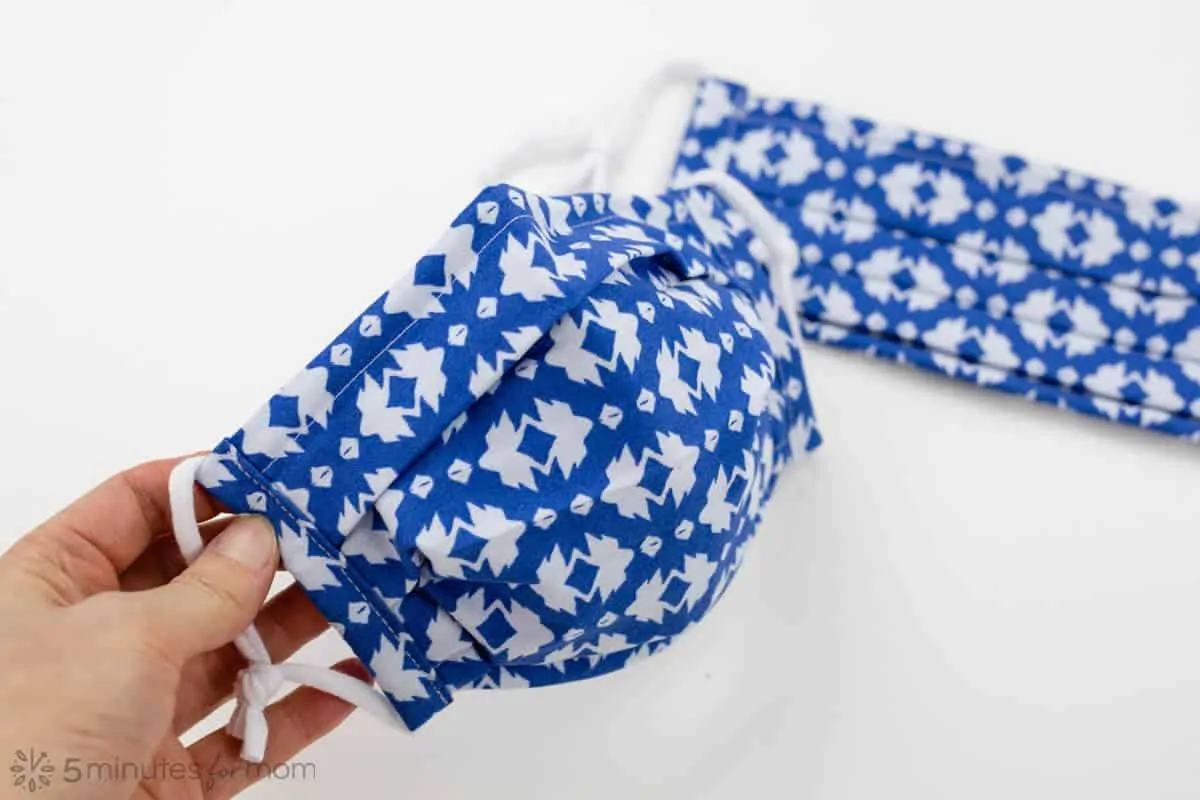
To create a snug fit around bottom of chin, you can fold small pleats at bottom of mask.
The reinforced pipe cleaner at the top helps the mask to fit snugly around the nose and cheeks.
More DIY Face Mask Tutorials
If you want a pleated face mask without a filter pocket, you can use our original DIY cloth face mask pattern which also includes sizes for adults and children.
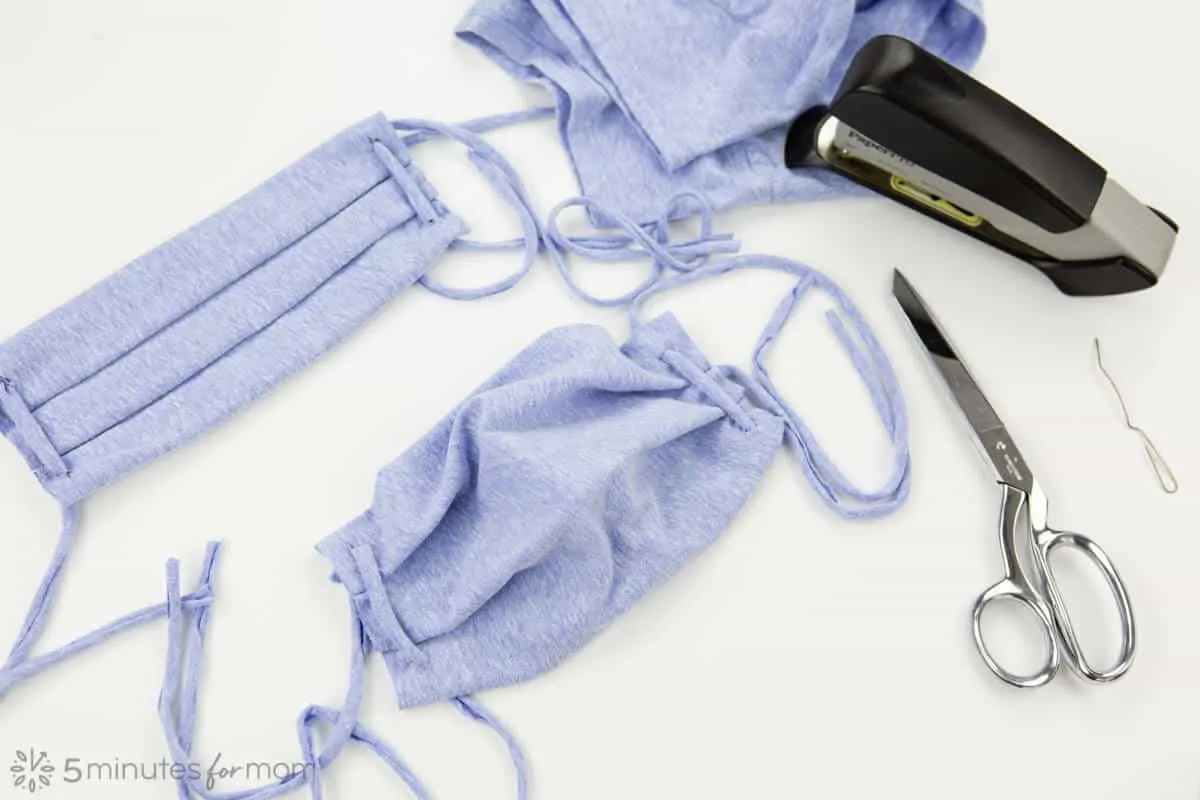
If you don’t want to sew, you only need a stapler and a t-shirt to make this No-Sew Face Mask with Pocket for Removable Filter.
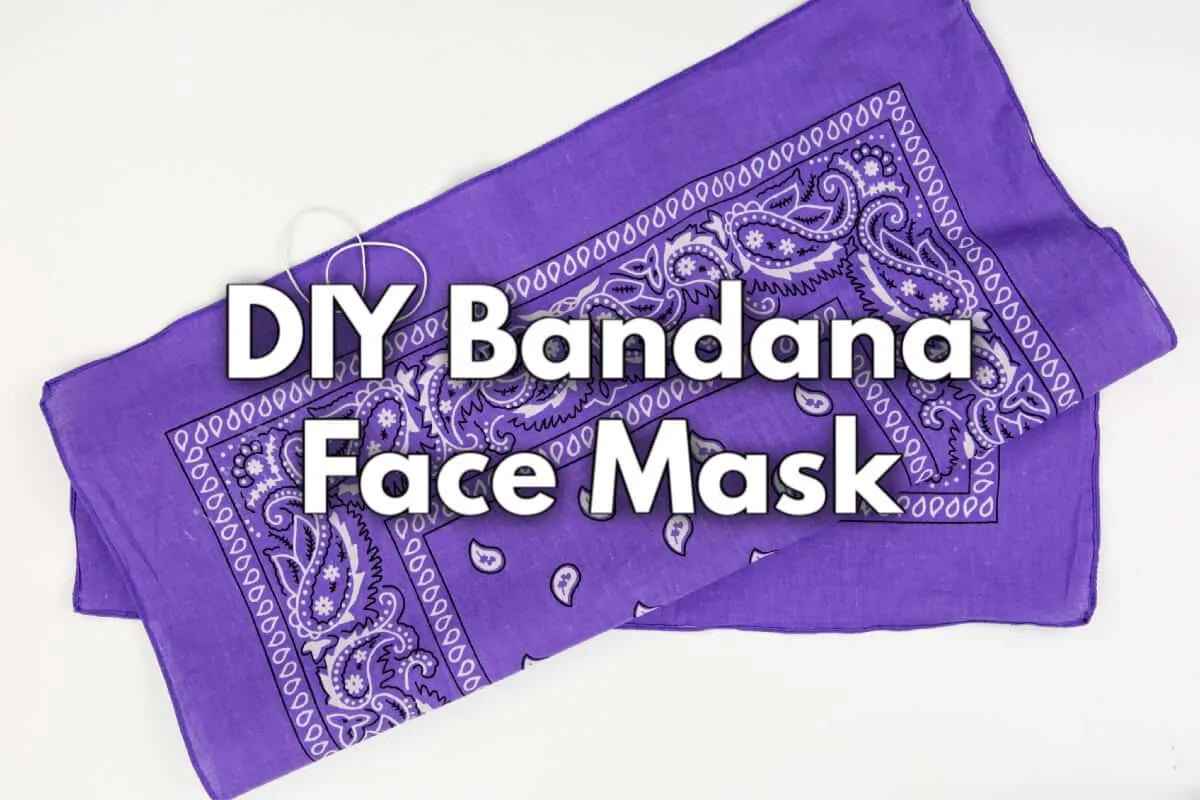
Another no-sew face mask option is a bandana mask. In just a couple minutes, you can fold up a piece of fabric into a simple homemade mask.
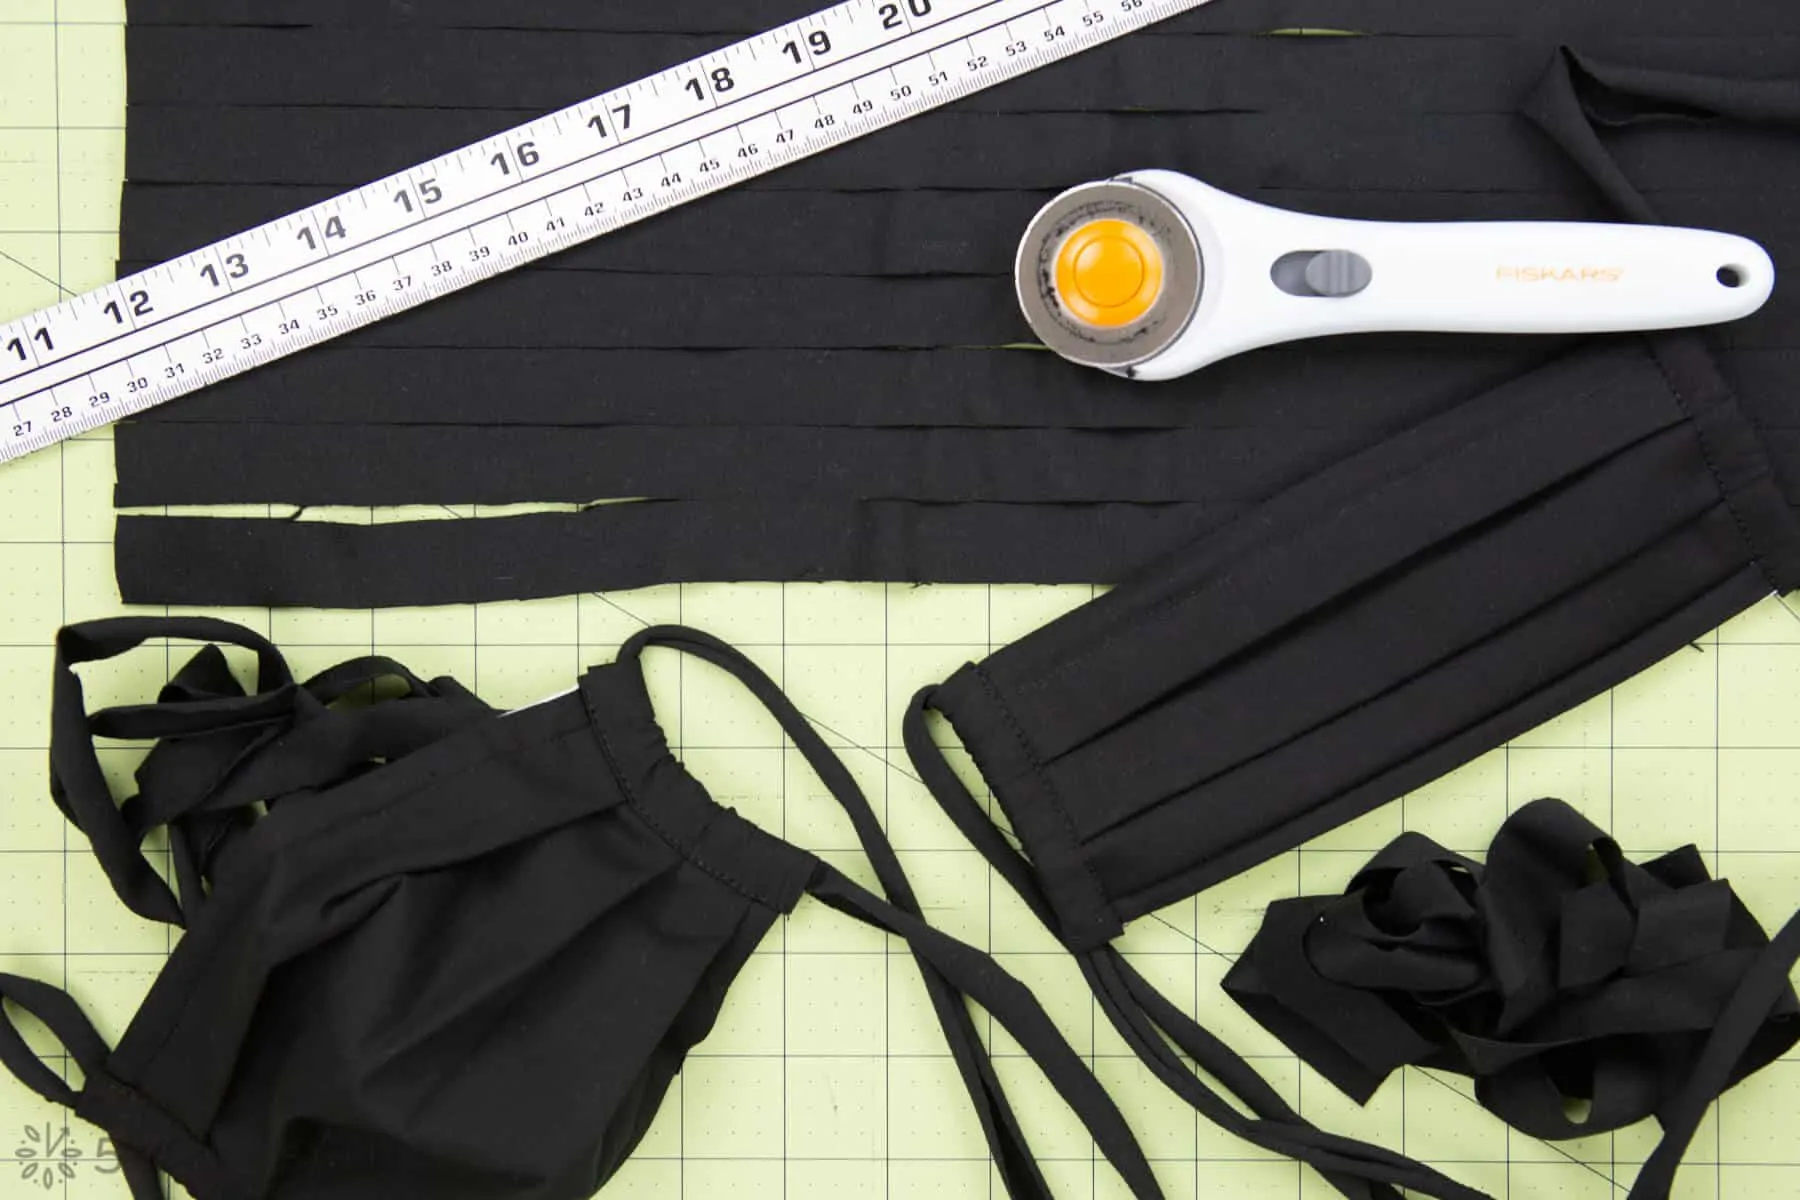
Also see how to make fabric ties for face masks from old t-shirts or leggings. These face mask straps are the most comfortable and super easy to make.
Share this Pleated Face Mask Tutorial
[Tweet “How to Sew a Pleated Face Mask with Filter Pocket – Free Pattern and Tutorial”]
Please note: This tutorial is for a non-medical face covering and is not intended to prevent disease or protect the wearer from disease. Please use this tutorial and face mask at your own discretion.
Written by Janice Croze, co-founder of 5 Minutes for Mom
Talk with me: @5minutesformom and Facebook.com/5minutesformom
Pin with me at pinterest.com/5minutesformom


Judie says
Where is the pleat making pattern? Can’t find it
Susan says
Hi Judie, I’m sorry you’re having trouble finding the pattern. The links are near the top of this post under the section heading “SIX SIZES OF OUR FACE MASK WITH FILTER POCKET PATTERN”
And there are multiple pattern sizes there.
Karla says
Hi, could you share a template for extra large adult ?