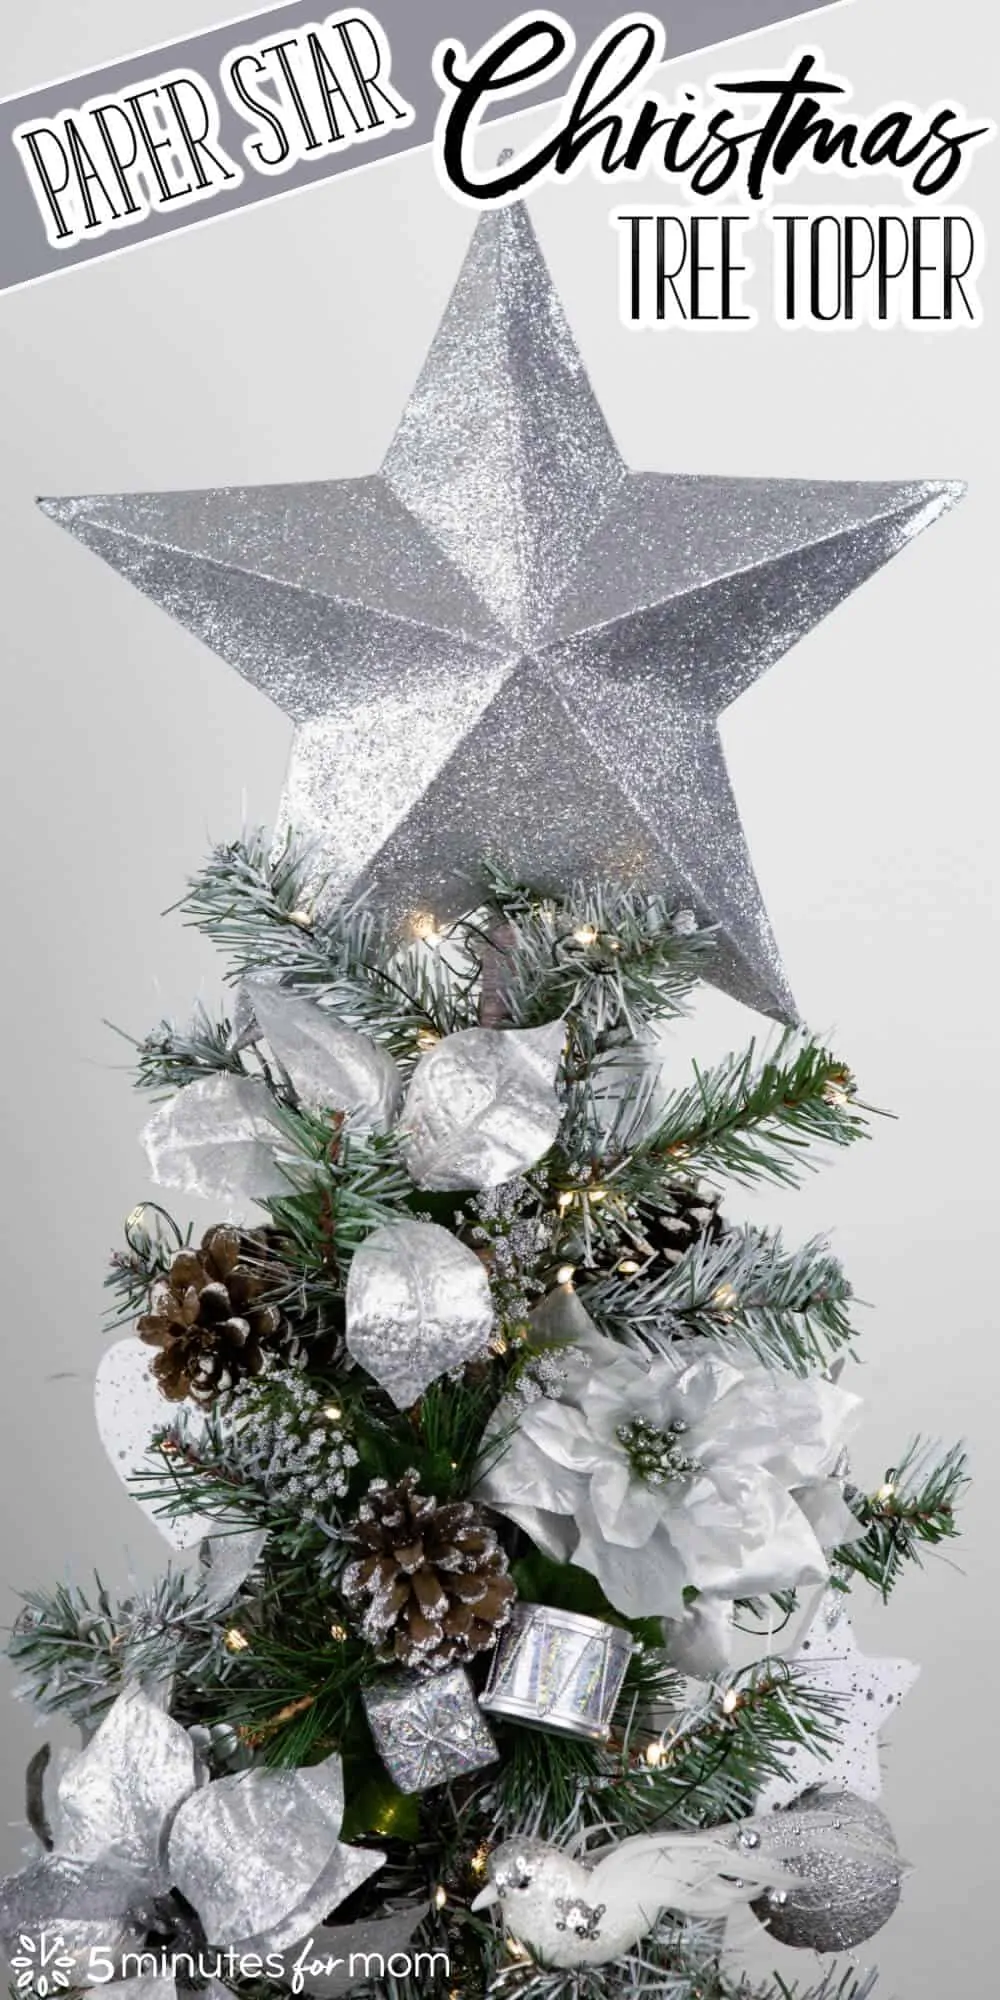
You can make spectacular 3D paper stars for stunning Christmas Tree Toppers or for dazzling decor any time of year with our step by step 3D paper star tutorial. Your gorgeous paper star decorations are destined to become family heirlooms that you reach for every Christmas season.

Last week, I posted step by step instructions, along with a video tutorial, on how to make five-point paper stars. Making paper stars is incredibly quick and easy once you get the hang of it. In fact, you can fold a paper star in about a minute.
This week, I want to show you how to transform those folded five-point paper stars into incredible 3D paper stars that you can make in any size and use as Christmas tree toppers or for decorations any time of year.
How to Make a 3D Paper Star Christmas Tree Topper
In this video tutorial, I walk you through how to fold the paper stars, along with the method I came up with that allows you to attach two stars together to create a three-dimensional star, and how to paint and decorate your 3D stars tree toppers and decorations.
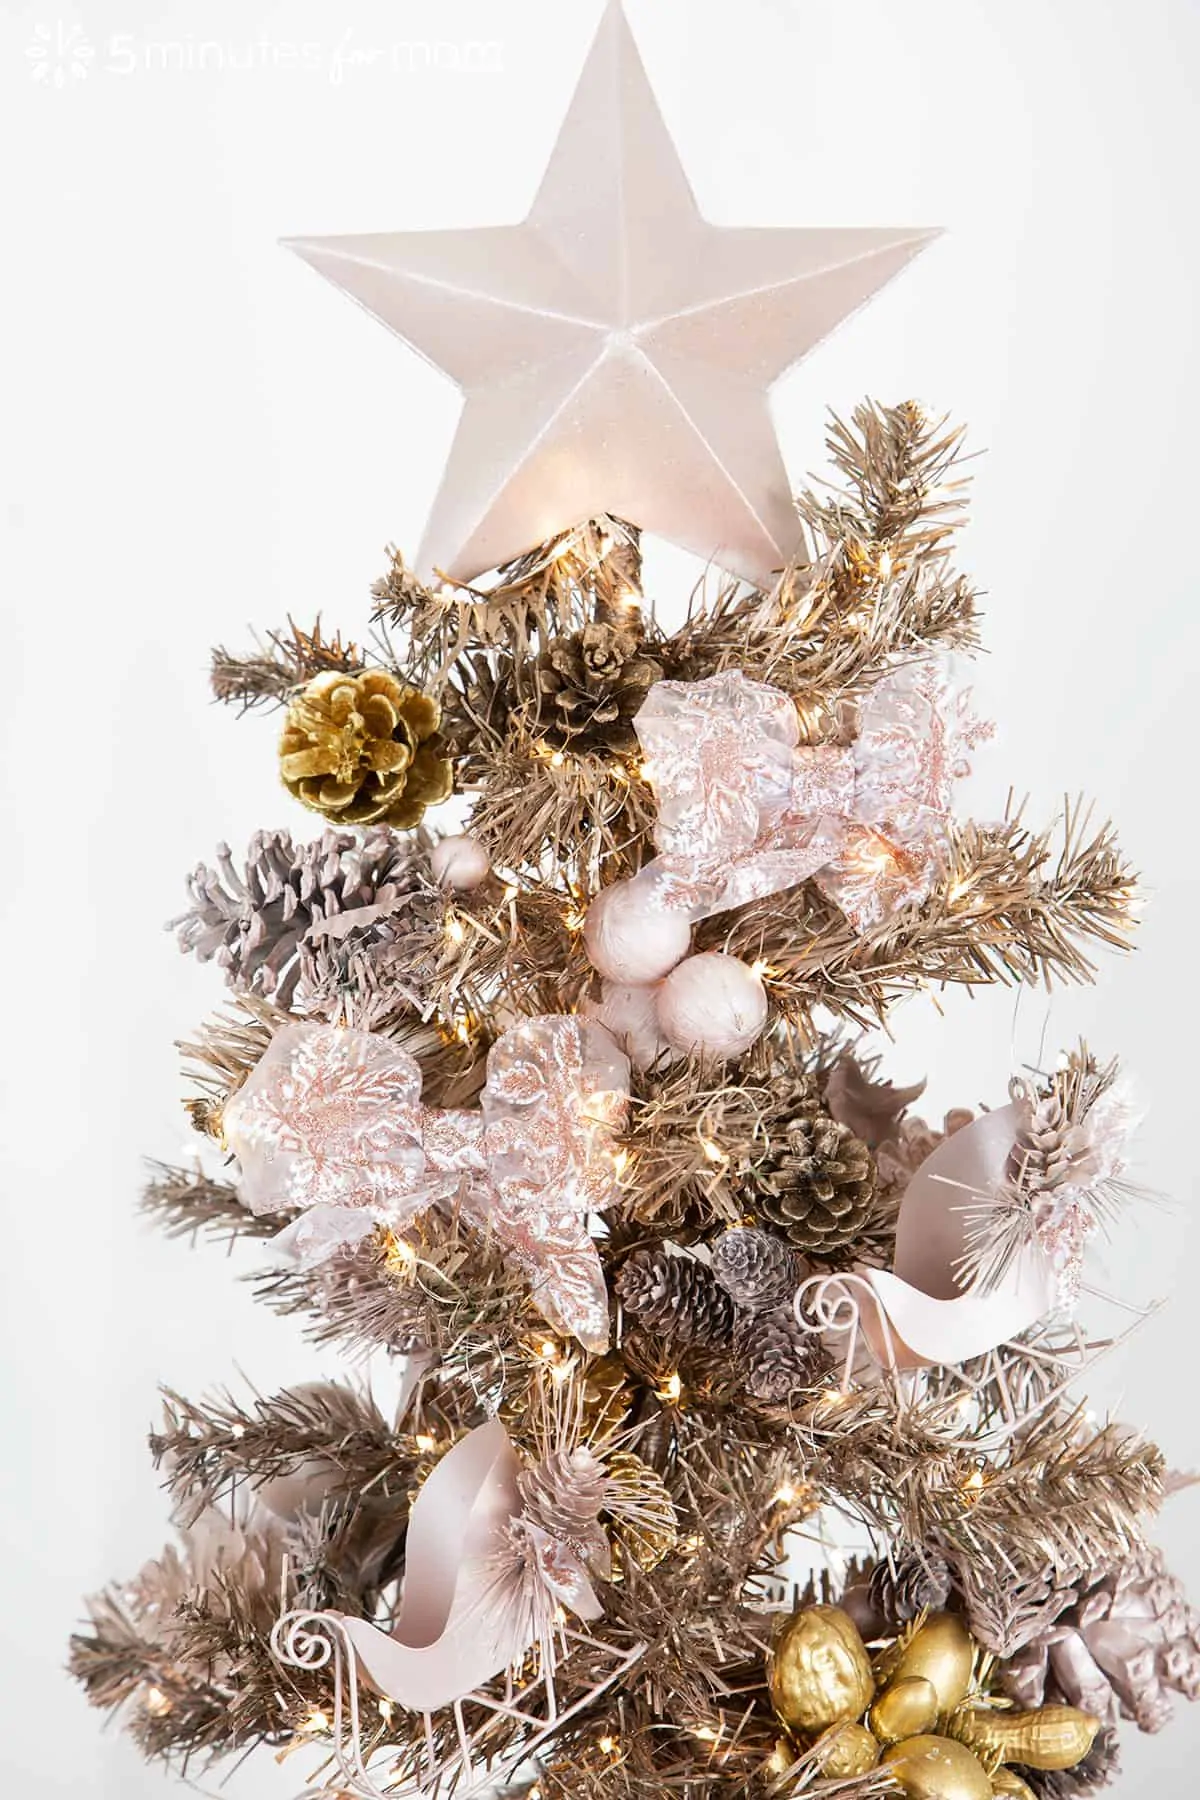
I first made these 3D star tree toppers last Christmas for my post about How to Spray Paint Christmas Trees. These three dimensional, five-point stars were the perfect toppers for my DIY spray-painted Christmas trees.
I wanted to publish a tutorial post last year for these fabulous stars, but I ran out of time.
So this year, I had to make time to write this post because I just have to show you how you can make these gorgeous DIY decorations yourself!

How to Make 3D Paper Stars
To make a three-dimensional paper star, you first need to fold two paper stars using the same method I showed you in my previous post, How to Make Paper Stars EXCEPT with one significant change which I walk you through in the steps below and in the video tutorial above.
SUPPLIES
- Square paper or cardstock – 2 pieces for each star
- Scissors
- Spray adhesive and/or glue gun
- White glue or Modge Podge
- Spray paint (optional)
- Glitter (optional)
- Glitter Sealer (optional)
Step 1
Cut two squares pieces of paper or cardstock.
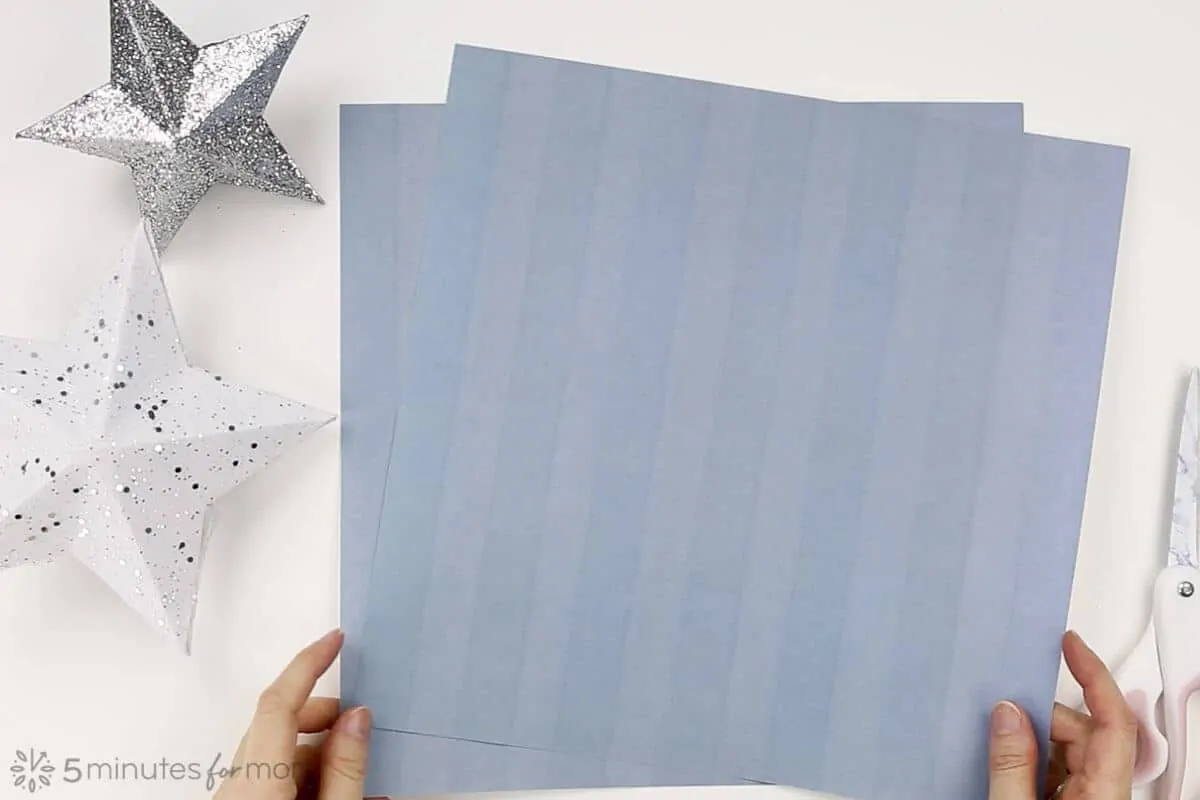
For a large star, I use 12″x12″ scrapbook paper. For medium stars, I use 8″x8″ and for smaller stars, I use 6″x6″.
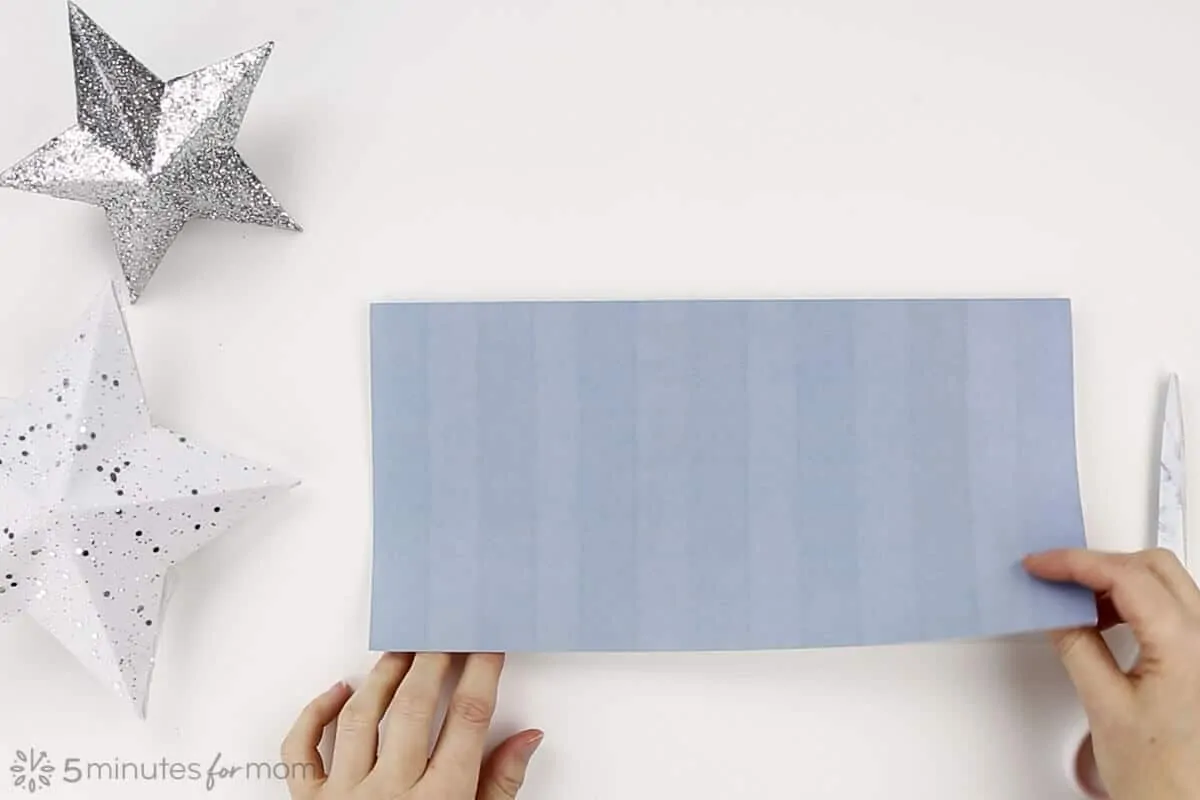
Step 2
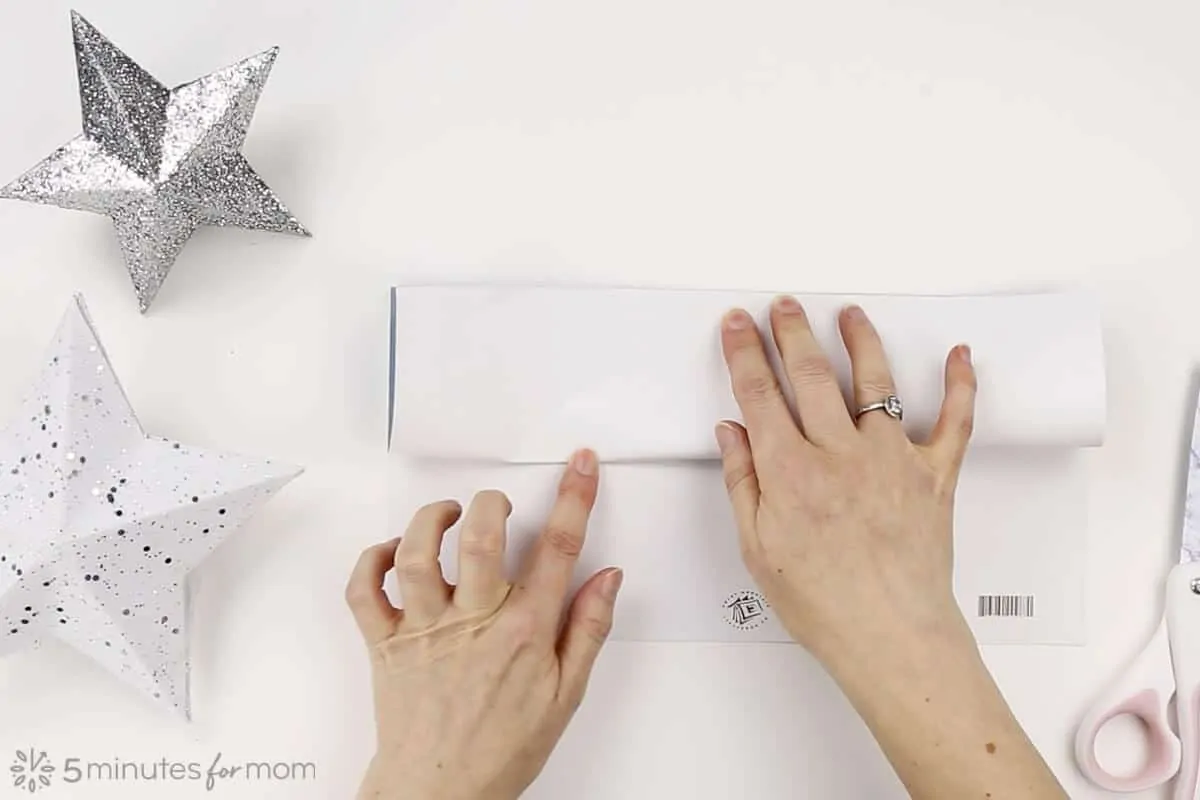
Fold one piece of paper in half with the open edge facing you.
You will need to make two separate stars, so start with one piece of paper and follow these directions until you have folded your first star. Then repeat the steps with your second piece of paper.
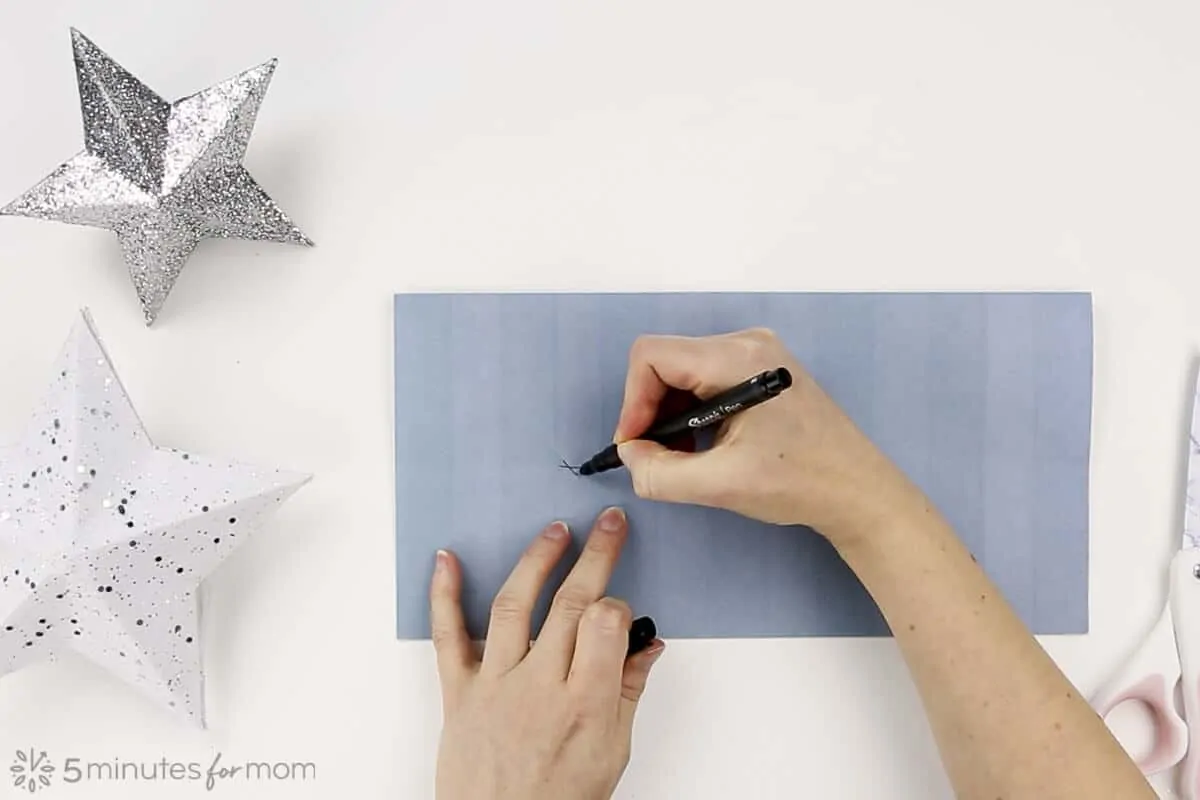
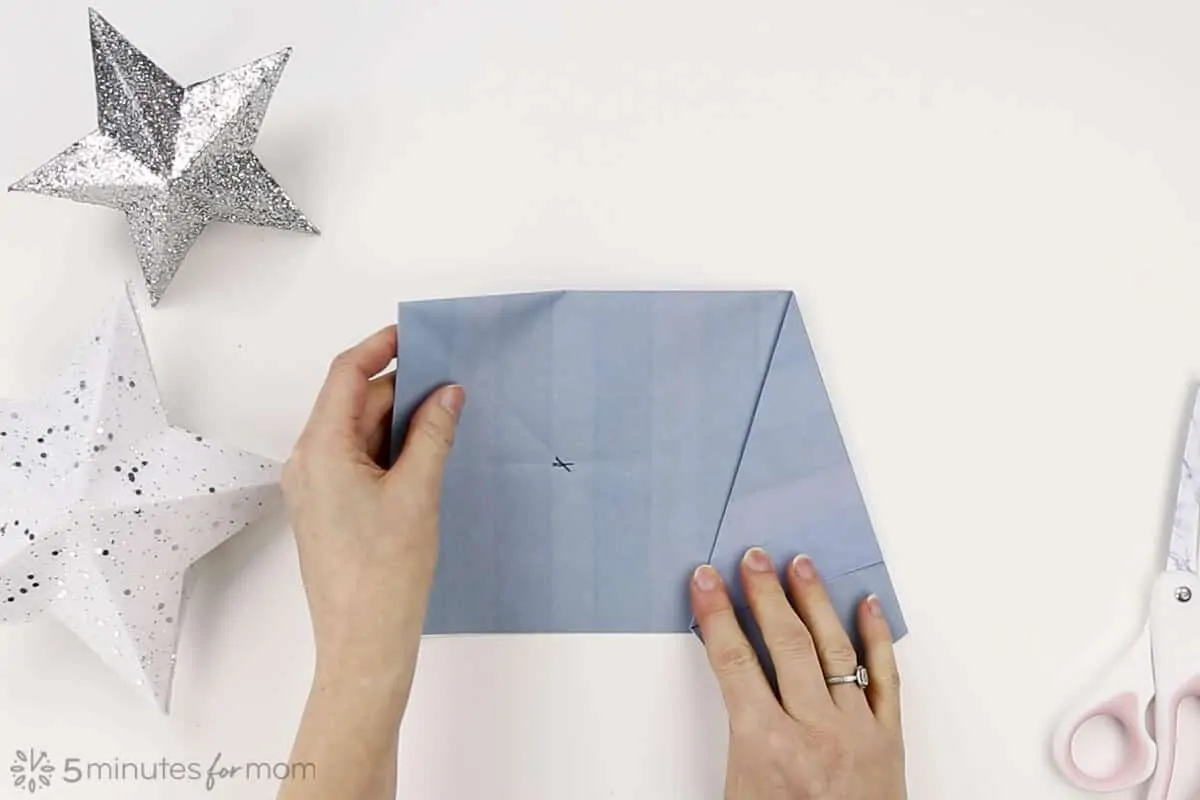
Step 3
Make a creased intersection to mark the center of the left side of the folded paper.
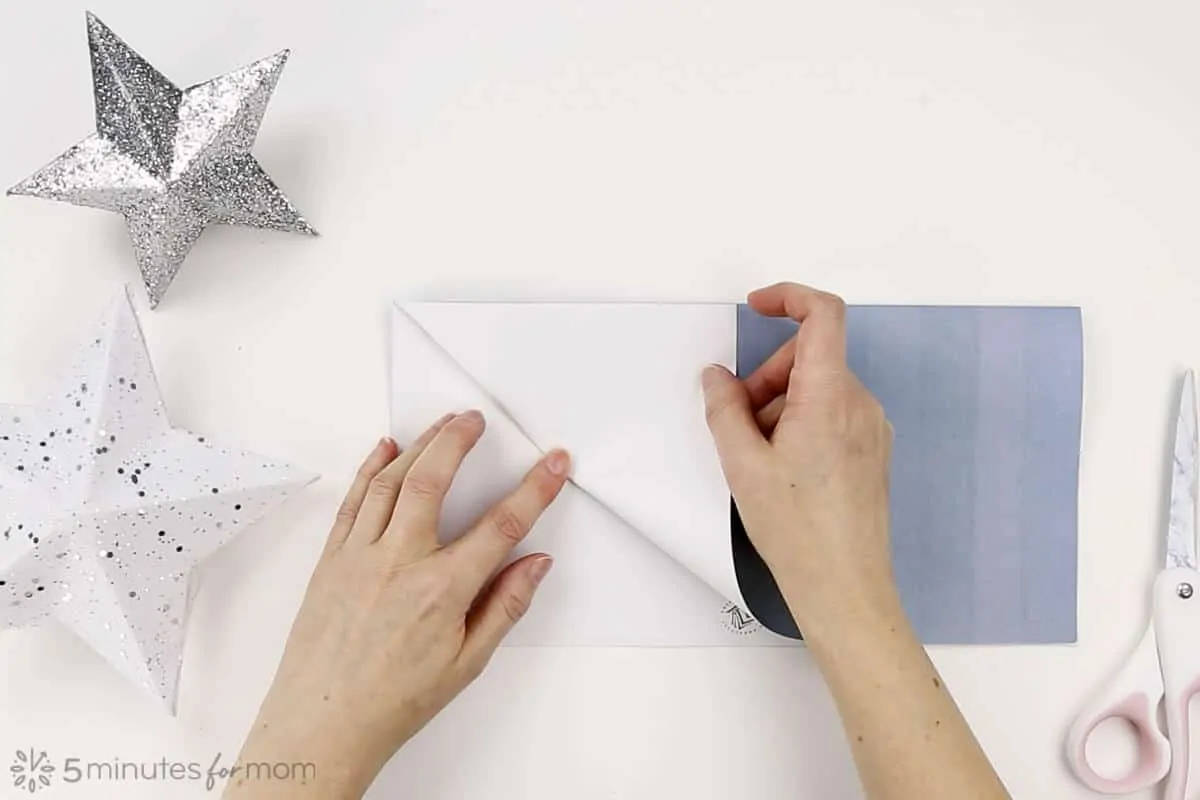
So you could see it, I marked the creased intersection. But you do not need to mark yours. You will cut off this part of the paper and it will not be a part of your star.
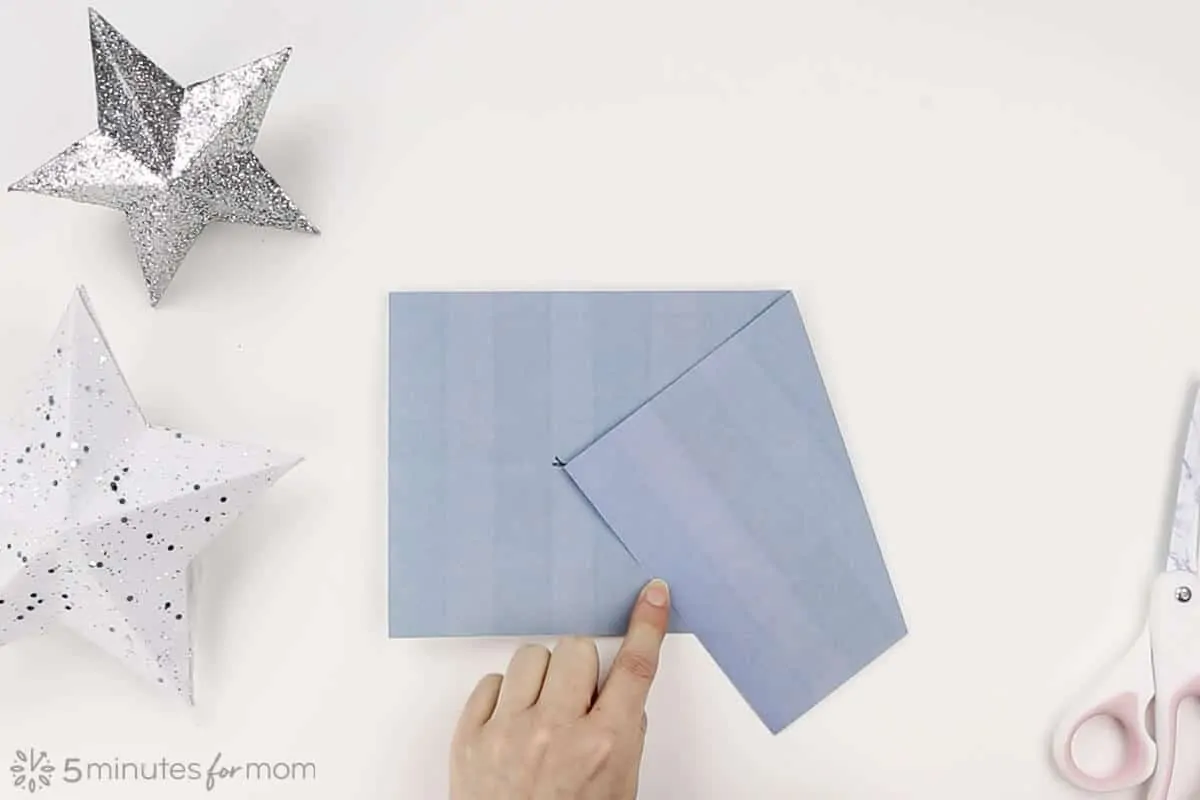
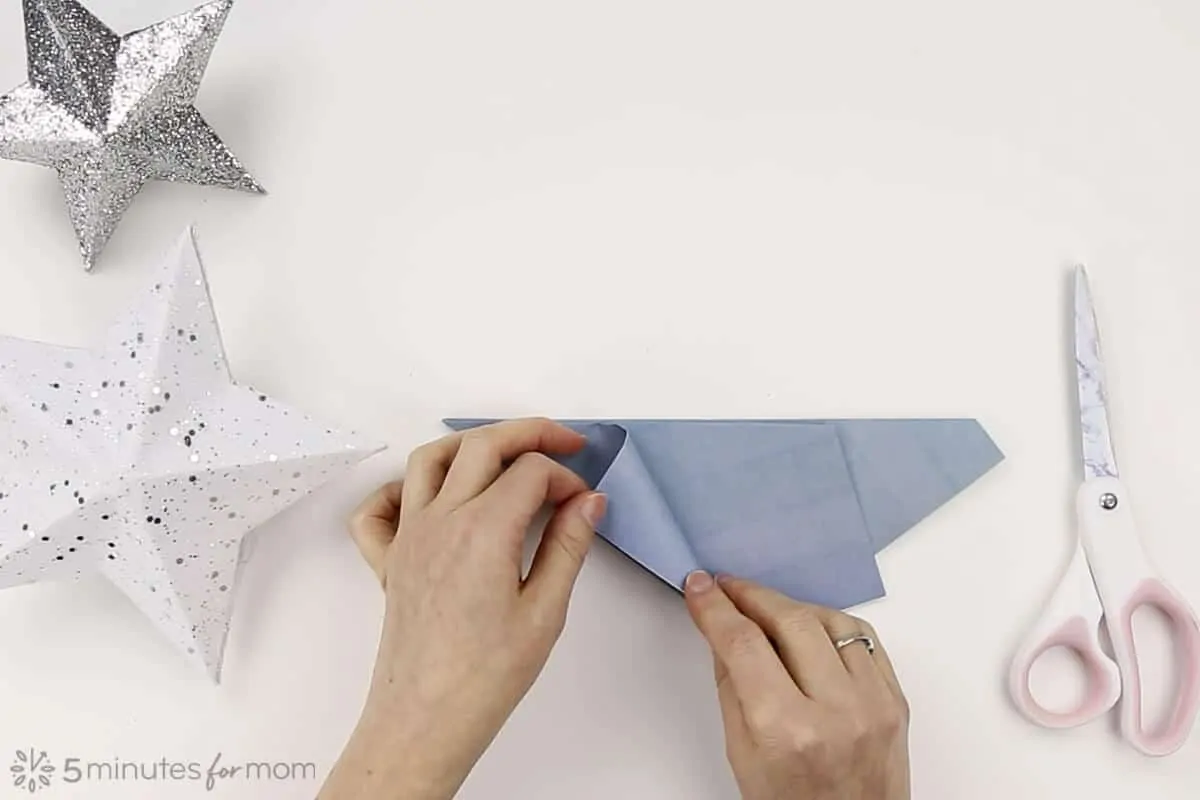
Step 4
Folded the top right folded corner to the point of intersection and press down folded edges.
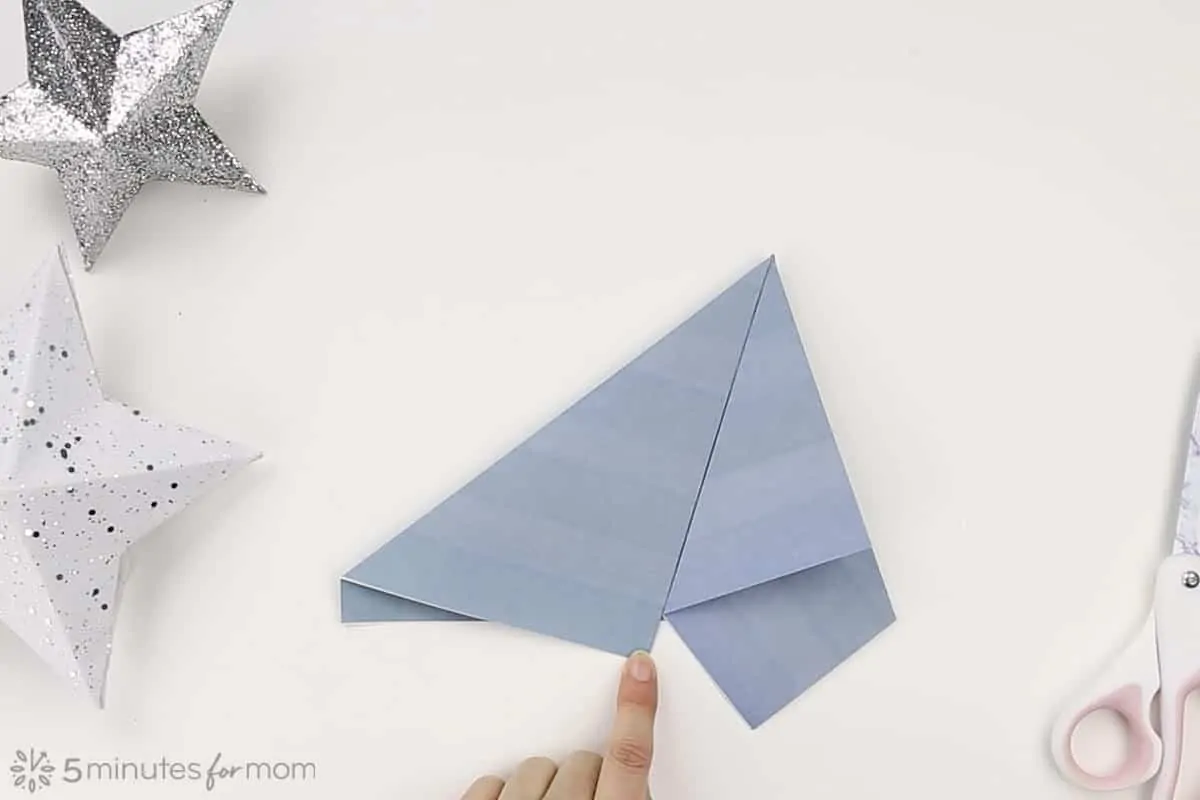
Step 5
Fold back so the folded edges are flush on the right side.
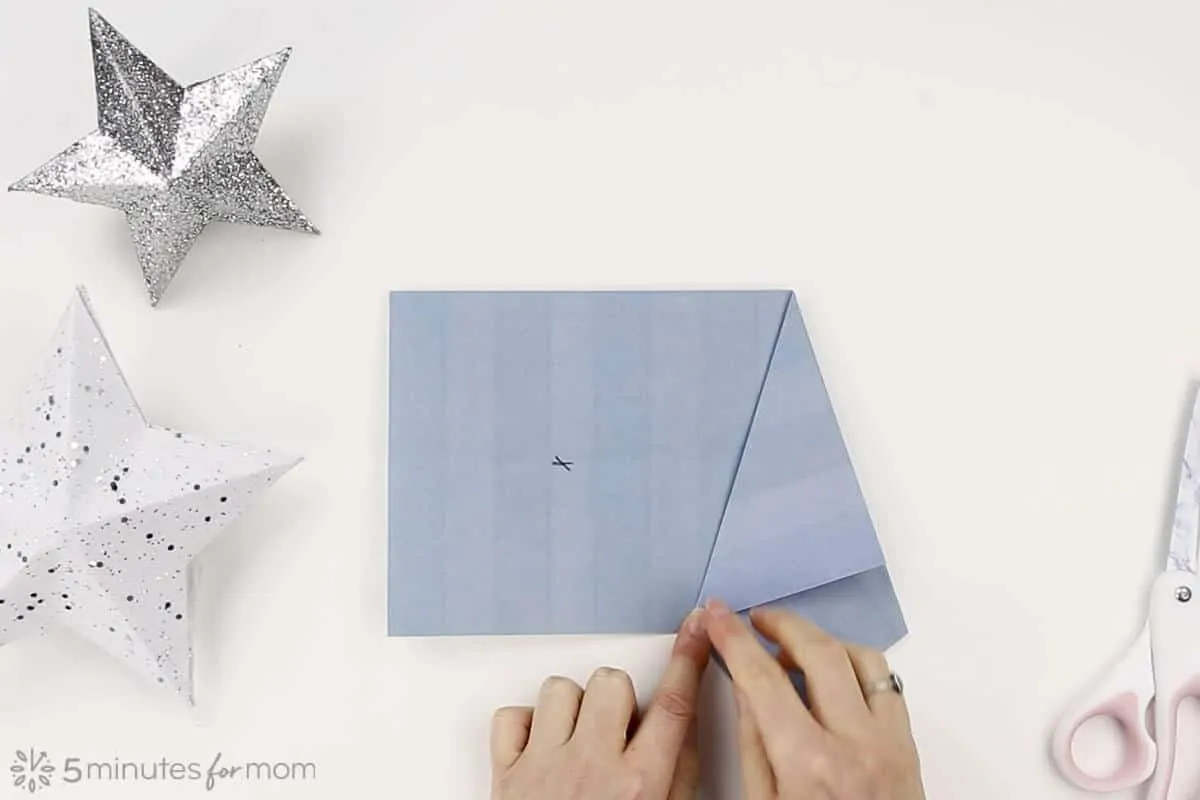
Step 6
Fold the top left corner down to the diagonal folded edge.
Step 7
Fold backward along the line where the diagonal folds meet.
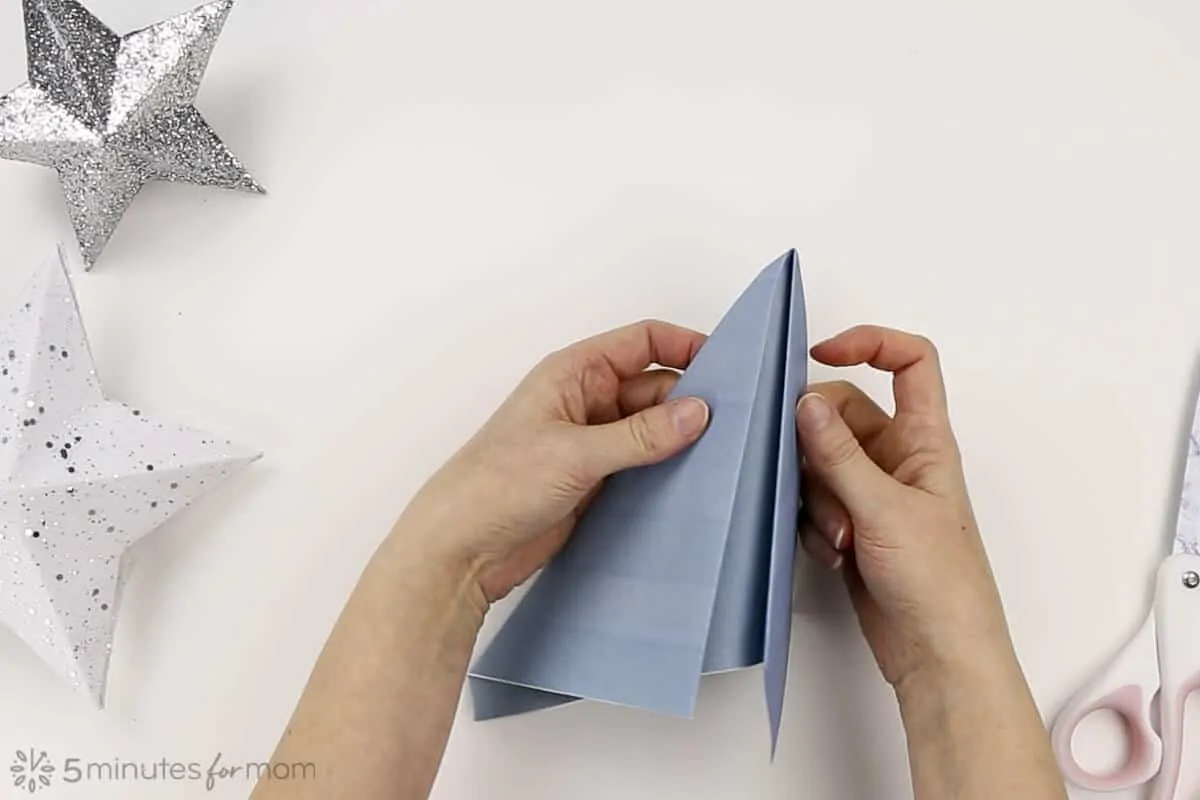
Now your paper will look like this. If you are confused, please watch our video tutorial.
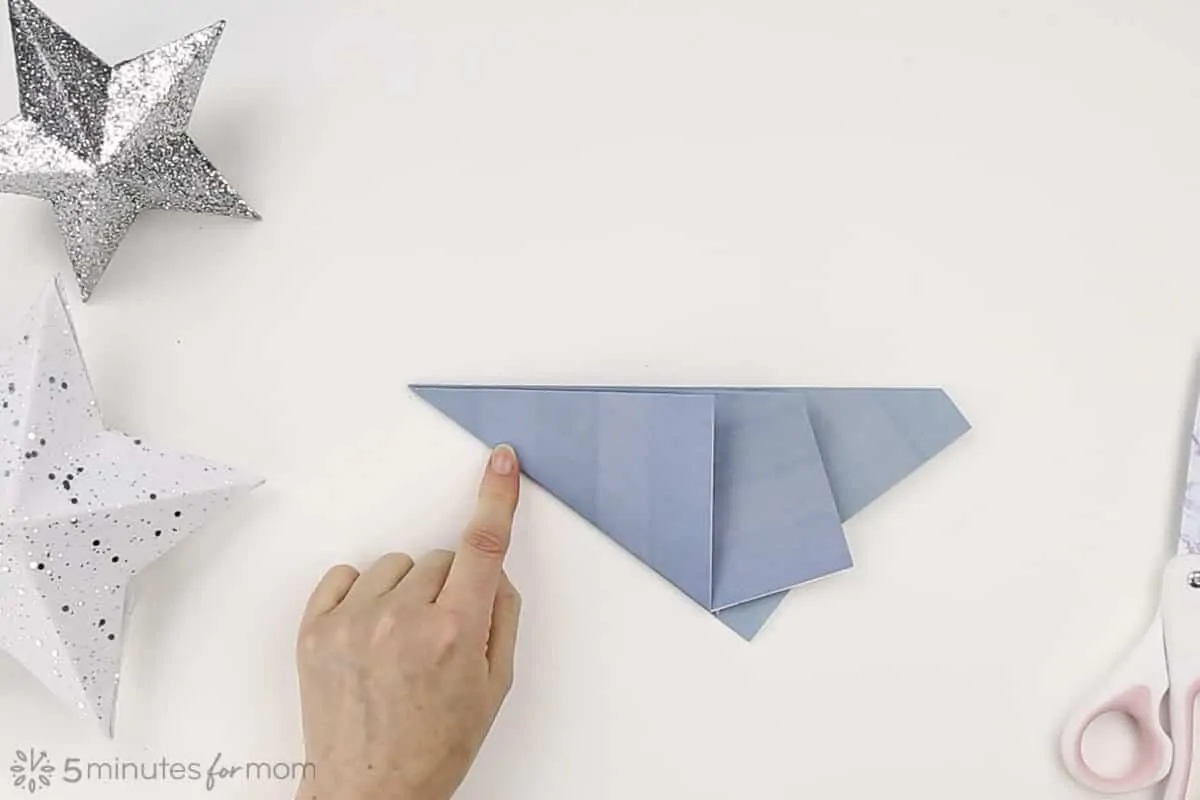
Step 8
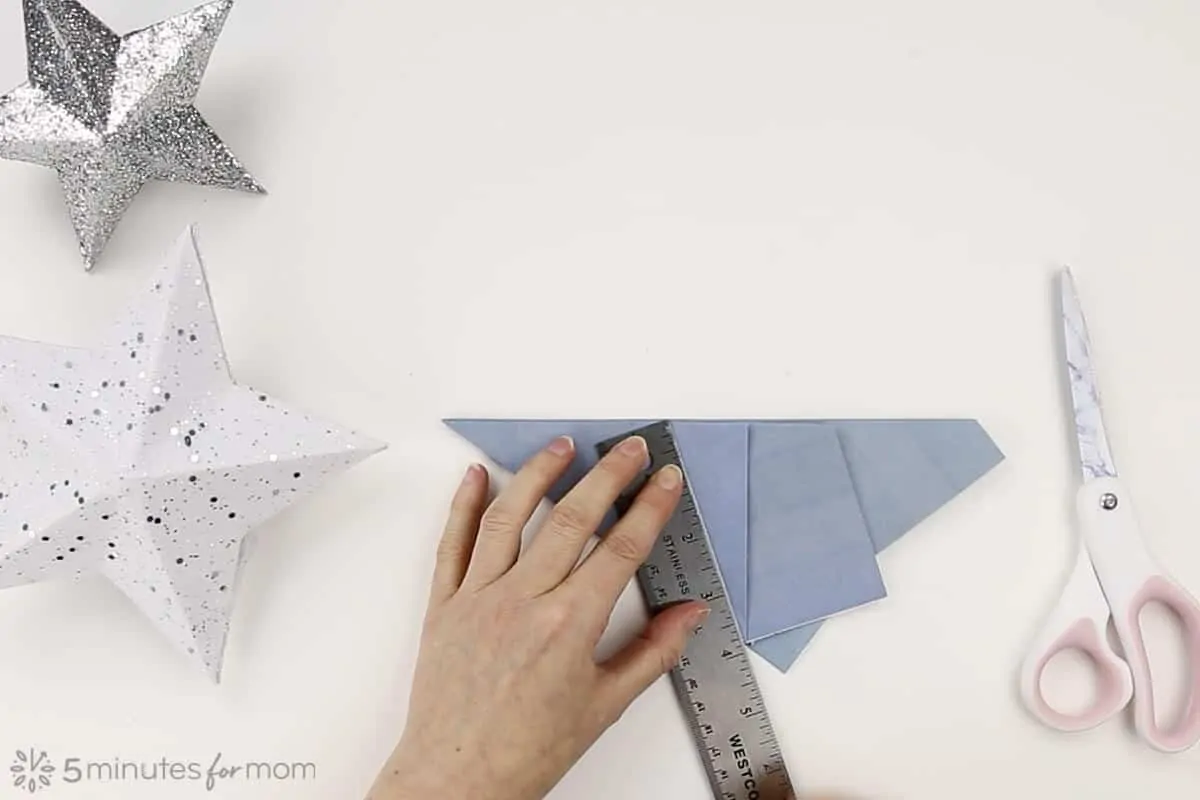
Next, you will make one cut to make a star.
But WHERE you make this cut will determine the size and shape of your star AND since we will be gluing two stars together, we need to make this cut wider than we would if we were just making regular paper stars.
As I explained in my previous tutorial, How to Make Paper Stars, to make uniform stars, you can create a creased cutting line by folding the triangle fold of paper back to the bottom fold, as shown below, and then cutting along that folded crease.
But since we need extra room to make flaps along the edges of the star in order to have something to glue together, we need to make the cut wider.
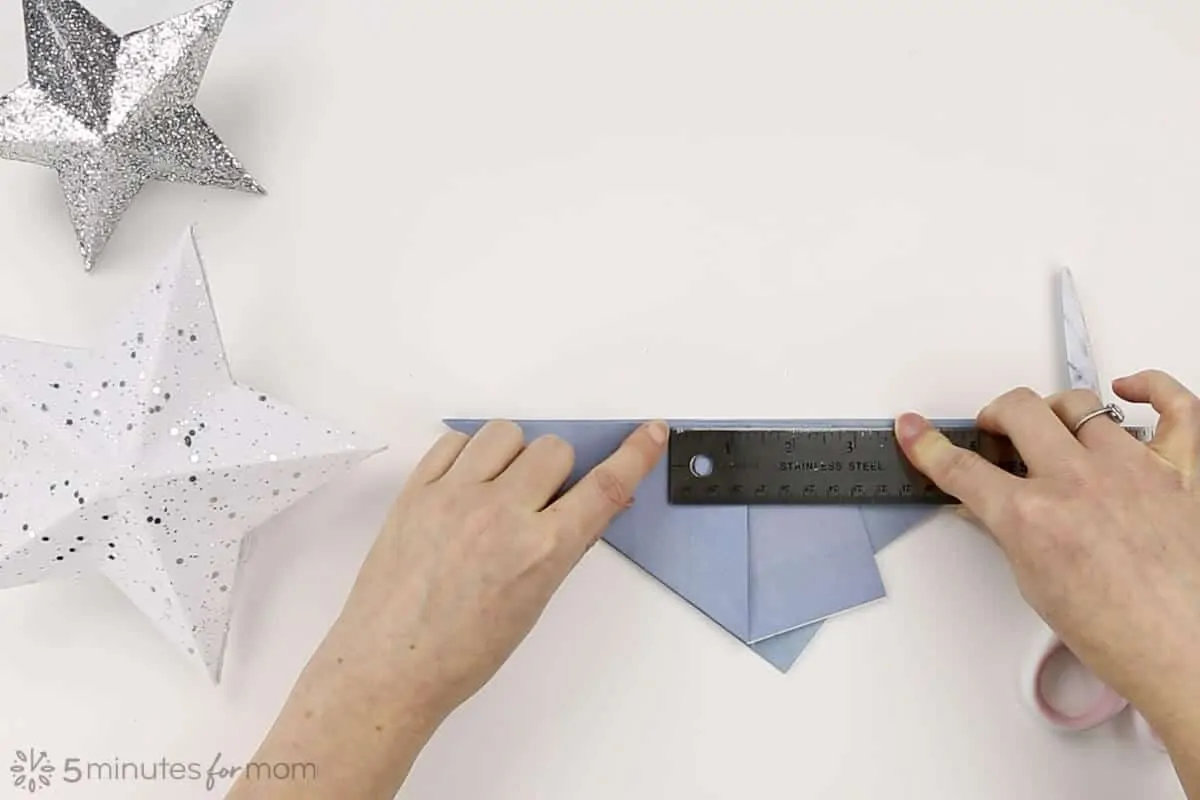
Cut along this line.
Step 9
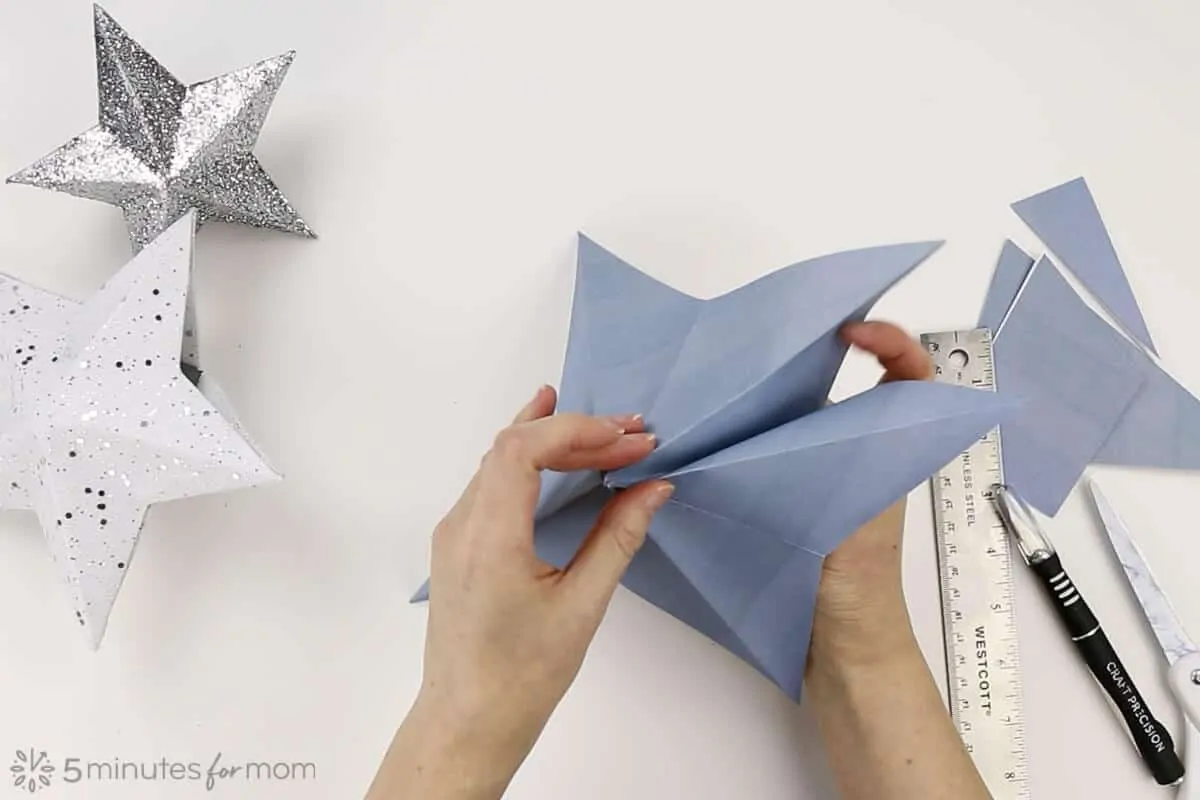
Open the cut triangle to reveal your star and then refold the peaks and valleys that are going in the wrong direction.
Half of your star has the correct peaks and valleys, but the other side will need to be refolded in the correct direction. The long folds should be peaks and the short folds should be valleys.
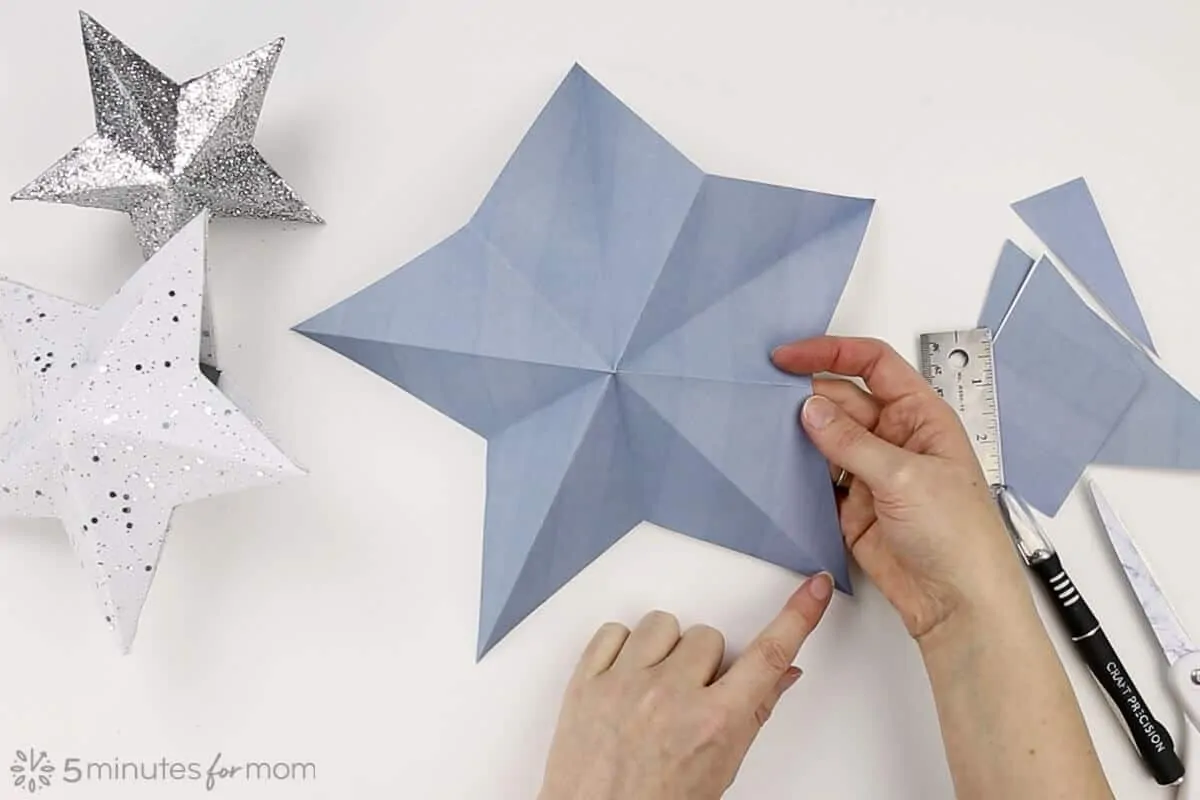
You will now have a folded paper star. Repeat steps 1-9 to fold your second paper star.
Step 10
Cut 3/8″ to 1/2″ slits into each short folded corner to create flaps for gluing together your two stars.

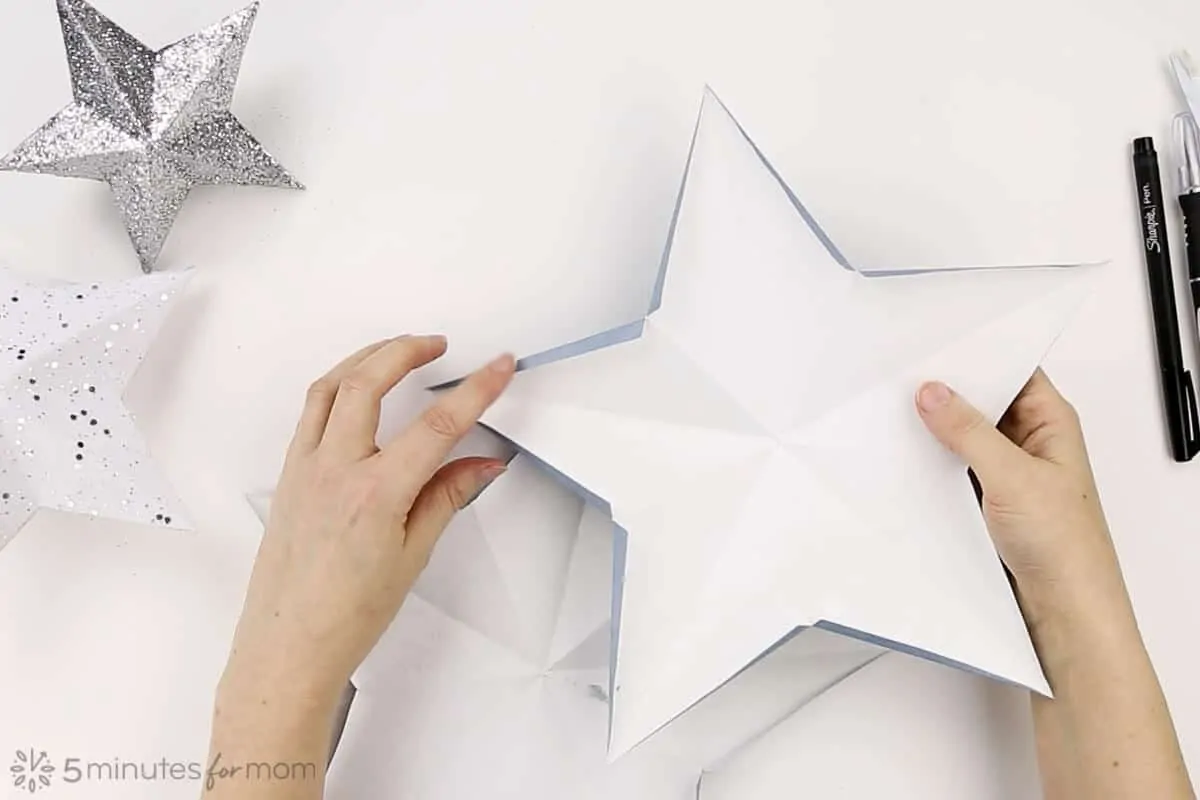
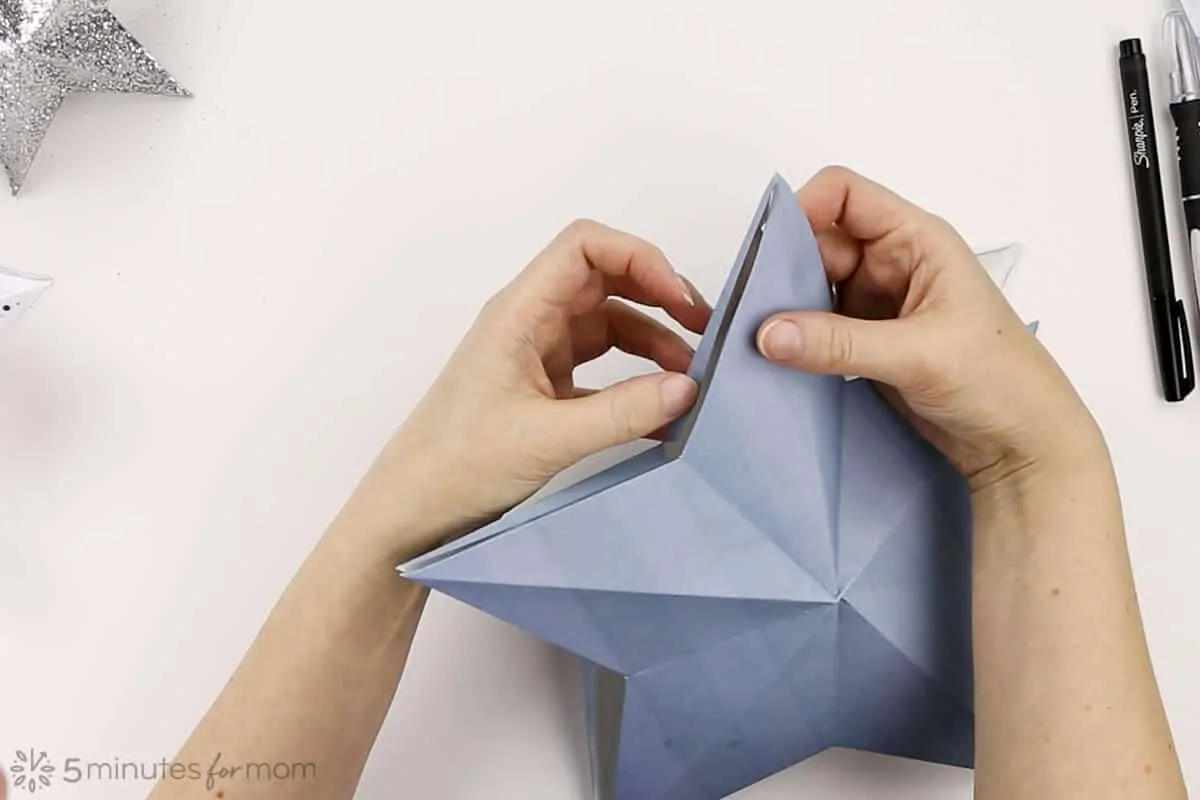
Step 11
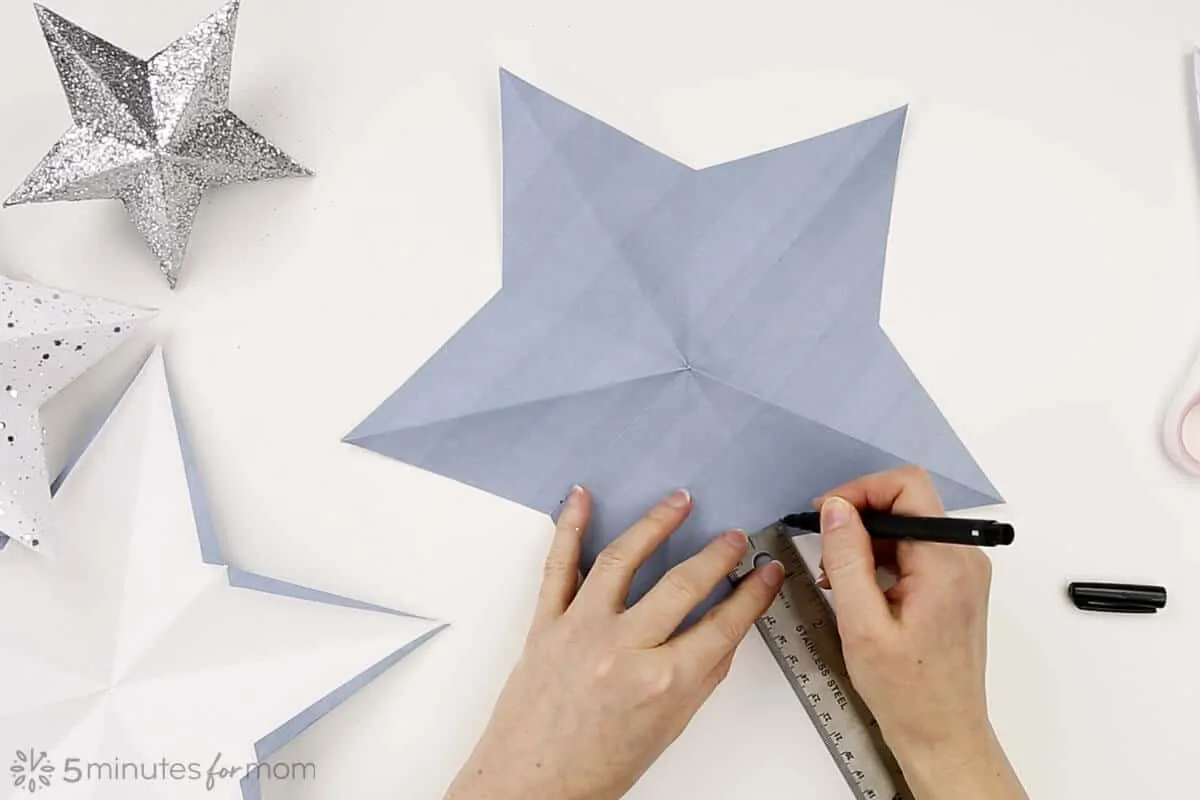
Fold back the flaps.
You may want to use the edge of a ruler to help you fold straight lines from the corner to the pointed tips of the stars.
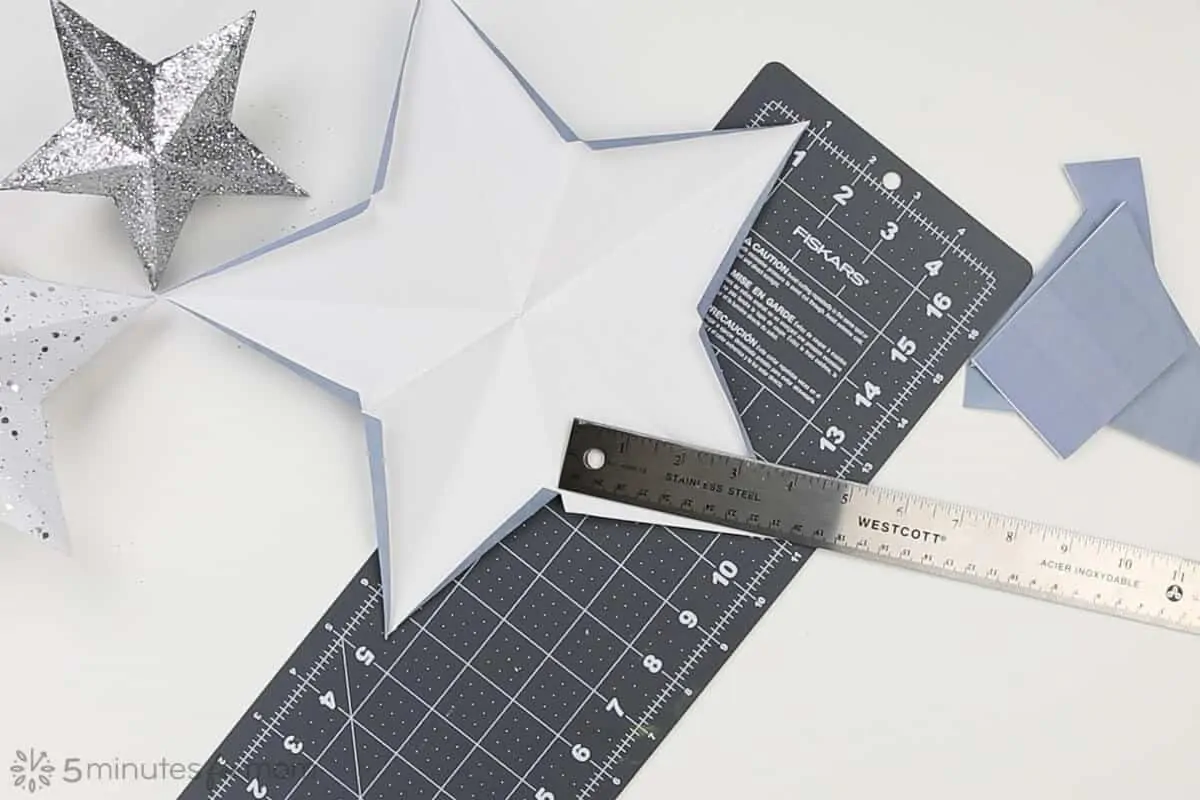
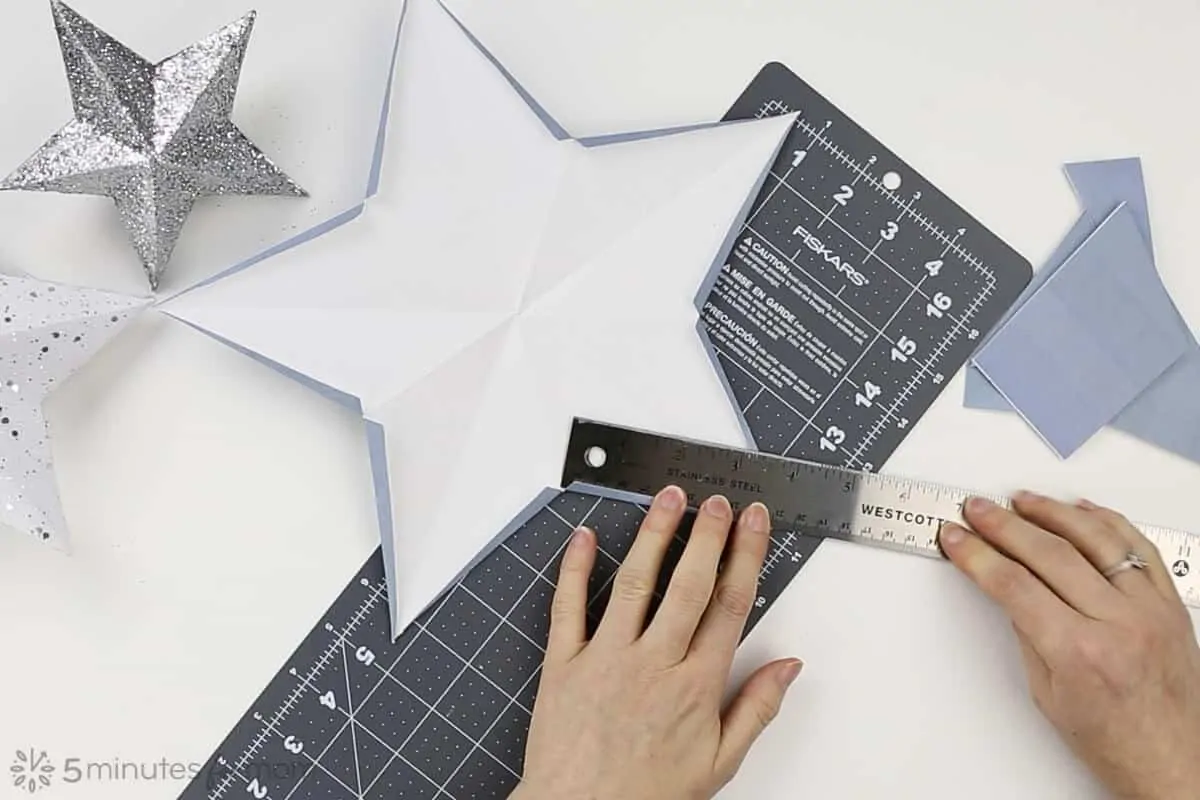
Repeat with second paper star so that you have two paper stars with folded flaps.

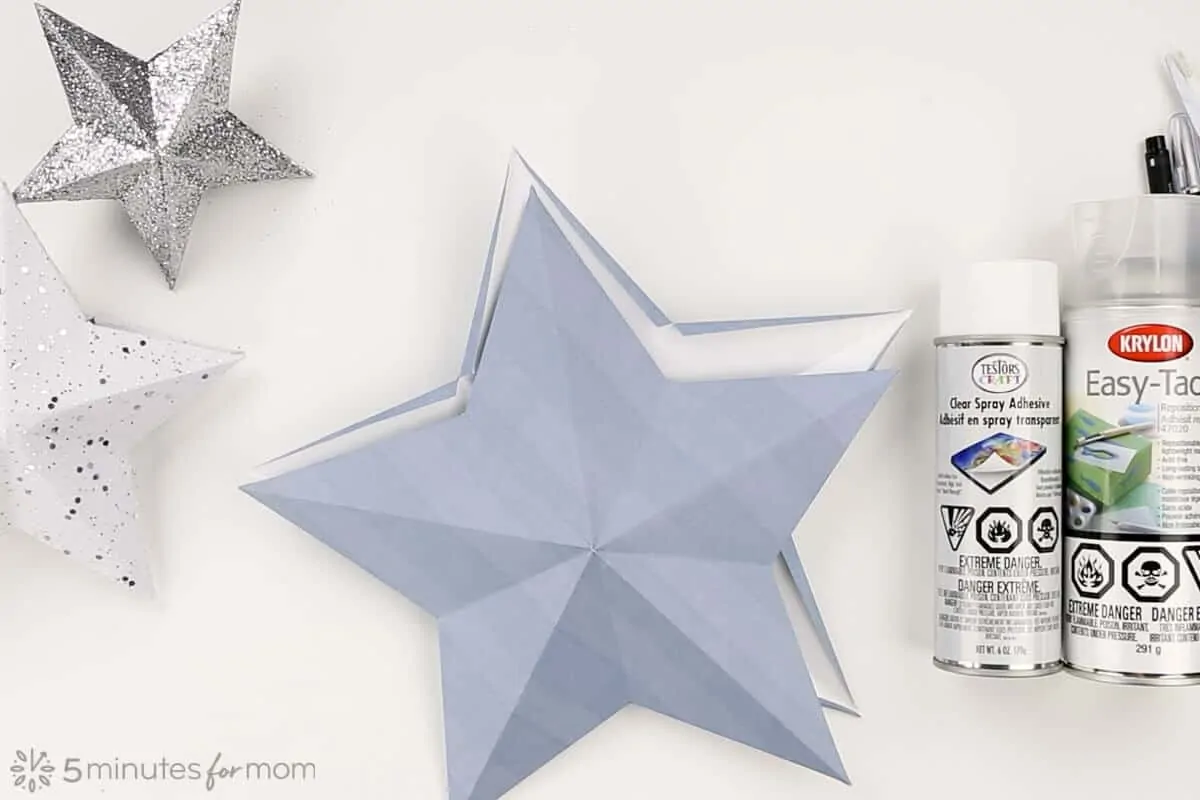
Step 12
Apply spray adhesive to flap edges and glue stars together, leaving the bottom edge open if making a tree topper.
Gluing the stars together is the trickiest part of creating these stars. If you try to use white glue, the glue will not dry fast enough to hold the star together.
So I use spray adhesive and then let the adhesive dry for a few minutes until it is tacky. Then you can reposition the stars as you try to get the flaps all lined up.
The Testors Craft Clear Spray Adhesive is a stronger adhesive that holds together better, especially when working with heavier cardstock. But that extra stickiness does make it harder to work with since it is not as “re-positional” as the Krylon Easy-Tac.
BUT, the Krylon Easy-Tac does not hold together as well. On my smaller stars, I used Testors Craft but on this large paper star, I used the Krylon and some of my edges came unglued after spray painting. So if using the Krylon Easy-Tac, you will have probably have to reinforce your edges with white glue, Modge Podge, or a glue gun.
You also may want to cut out a rough star insert to protect the inside of your star from the spray adhesive when you spray it on your flaps. I always skip this step and then hate myself for it when the inside of my stars try to stick together.
Spray the adhesive outside or somewhere with very good ventilation and then wait for 3-5 minutes or until the glue is tacky.
Very carefully, attach the stars along the folded flaps.
NOTE: For this mesh glitter covered star below, I cut out two stars from the mesh glitter fabric and used Testors Craft Clear Spray Adhesive to adhere the fabric to the two cardstock stars BEFORE I glued the two stars together.
After your stars are attached and the spray adhesive has dried, you may want to reinforce edges with white glue or Modge Podge. You can use a paintbrush and carefully paint on glue so that you don’t get glue on the star if you are not planning to cover the entire star in Modge Podge.
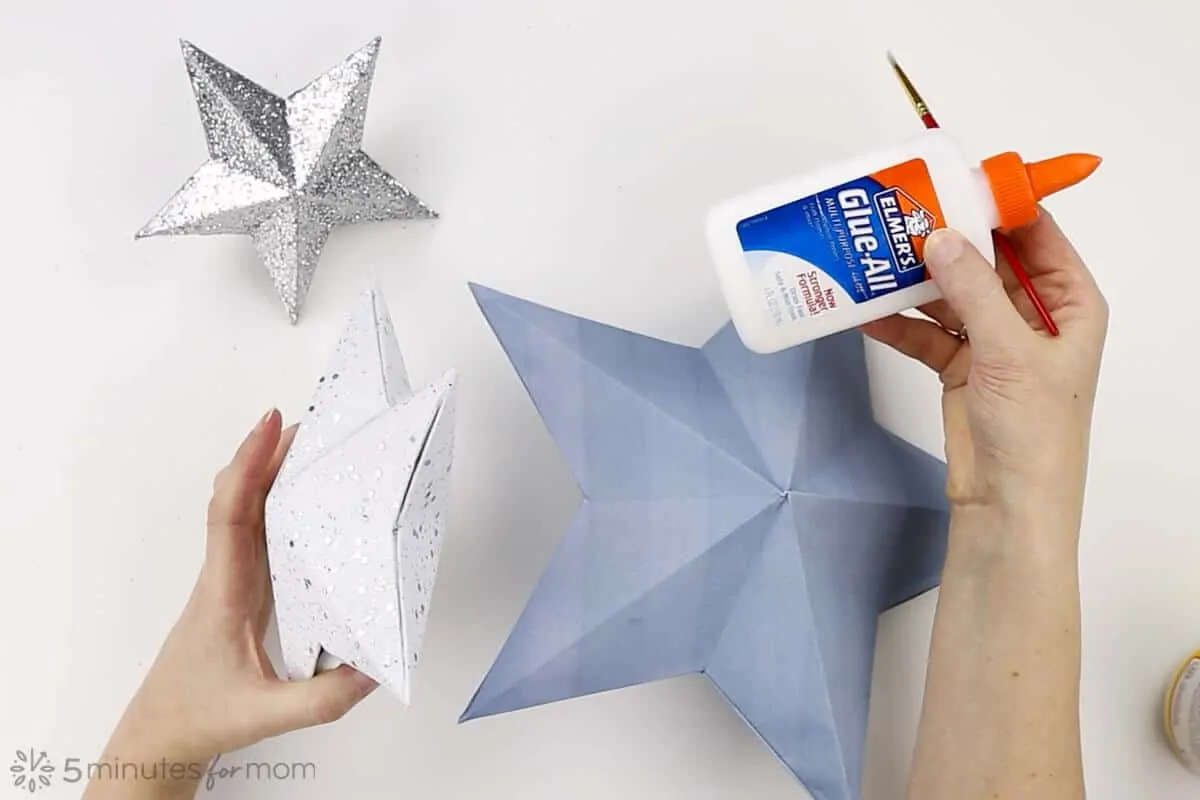
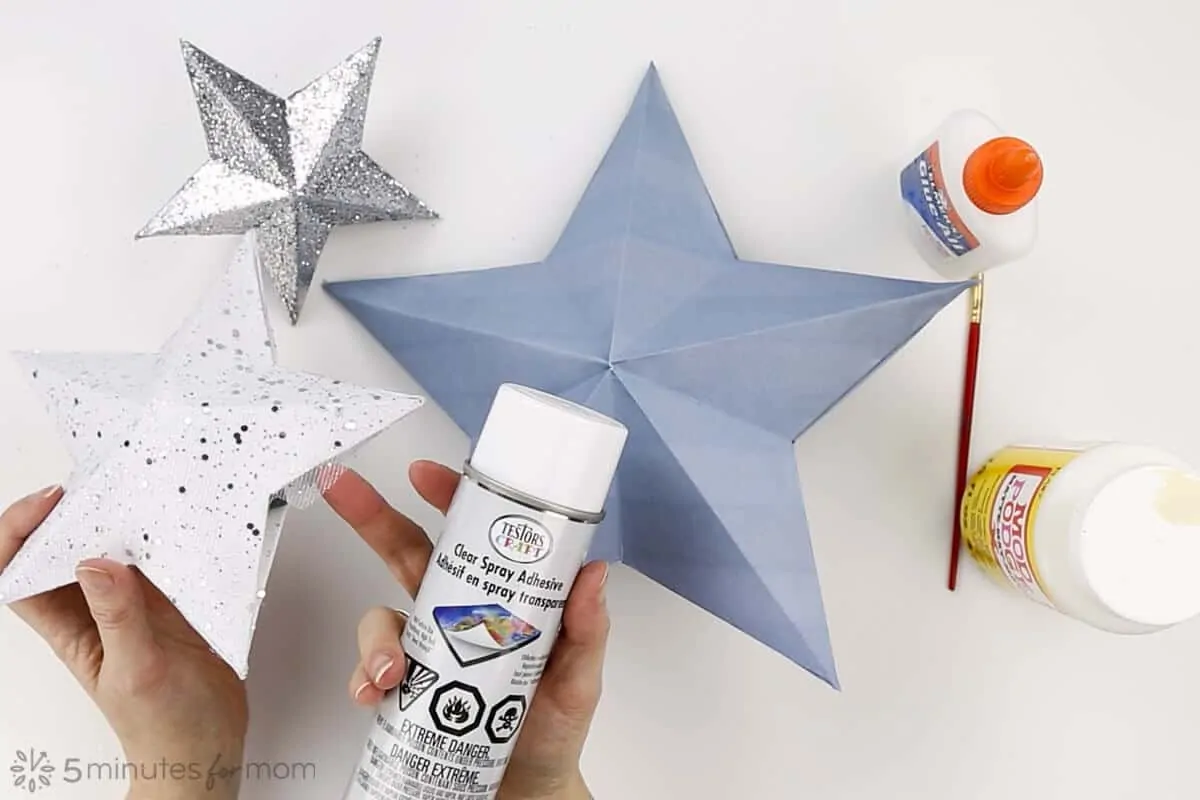
Step 13
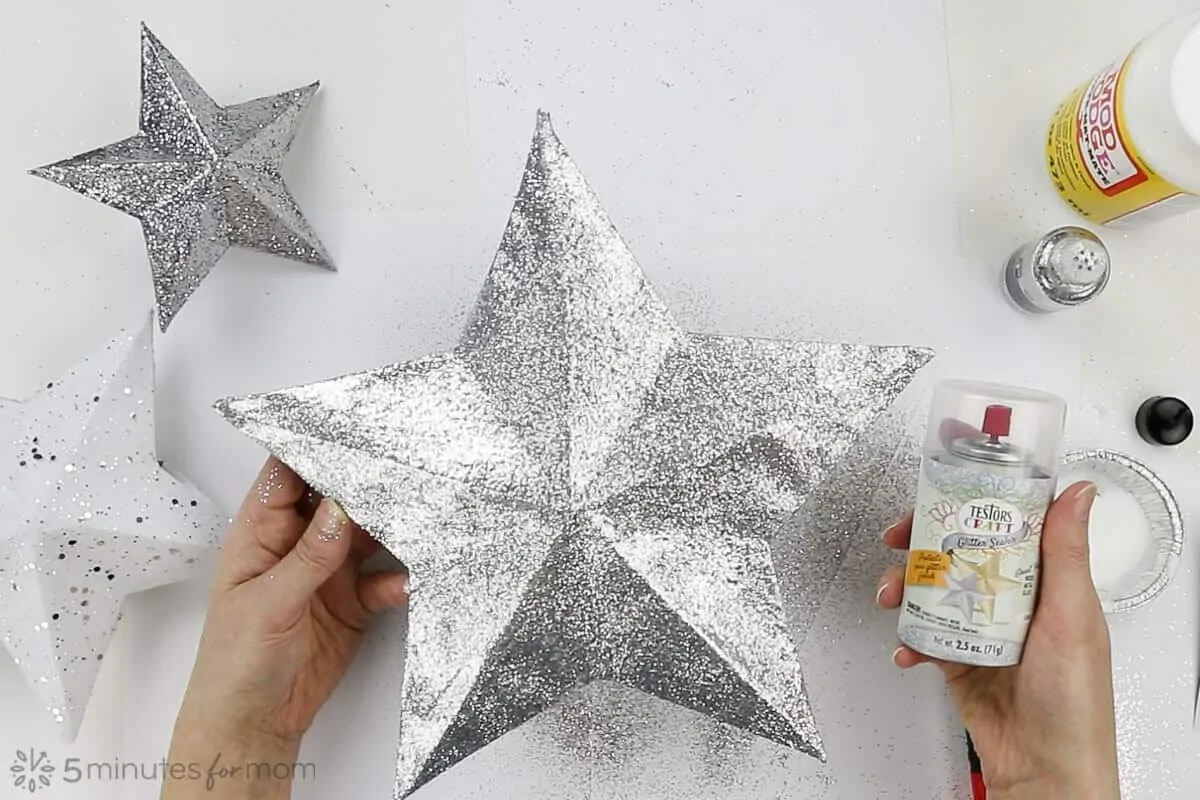
Decorate your star with spray paint and glitter.
You can leave your 3D paper star as it is, or you can dress it up with spray paint and glitter.
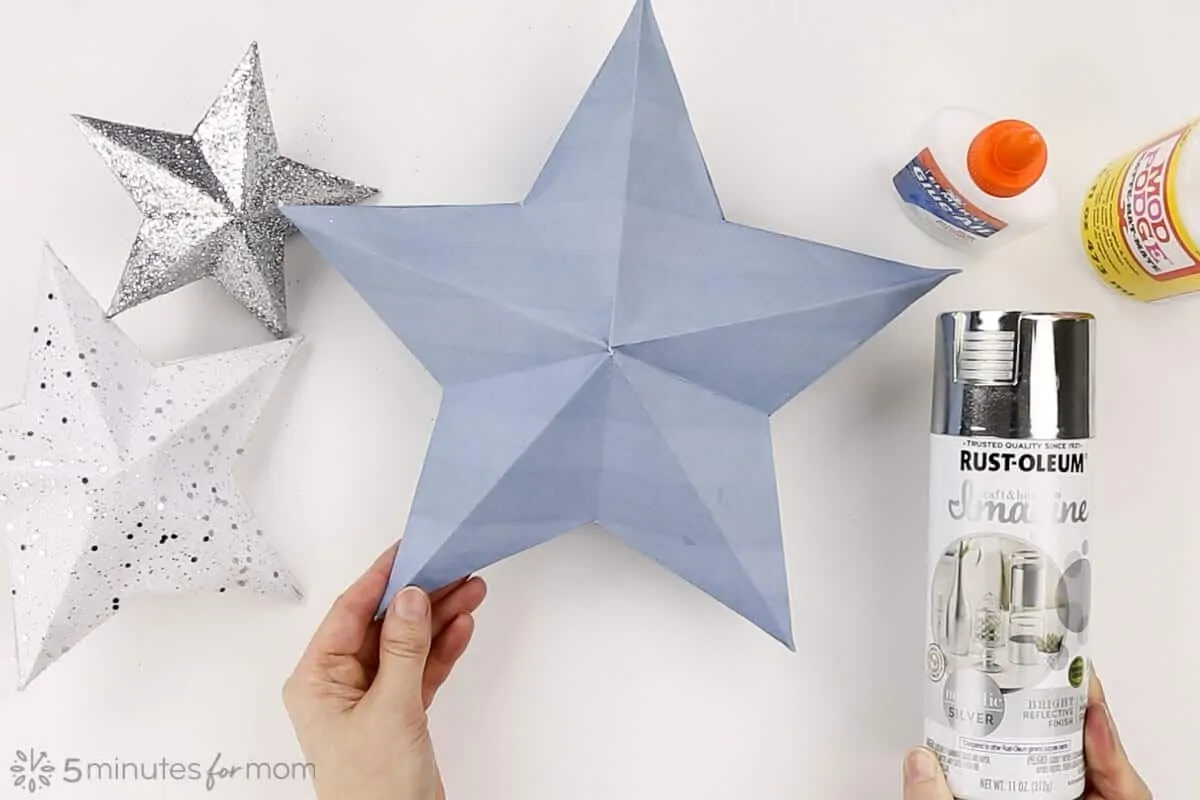
I used Rustoleum Imagine in Metallic Silver for my silver stars.
After the spray paint is dry, apply Modge Podge, or white glue, and glitter and allow to dry and harden. It will take several hours – I usually leave overnight – for the Modge Podge to fully dry. The Modge Podge will firm up and your paper star will develop more structure.
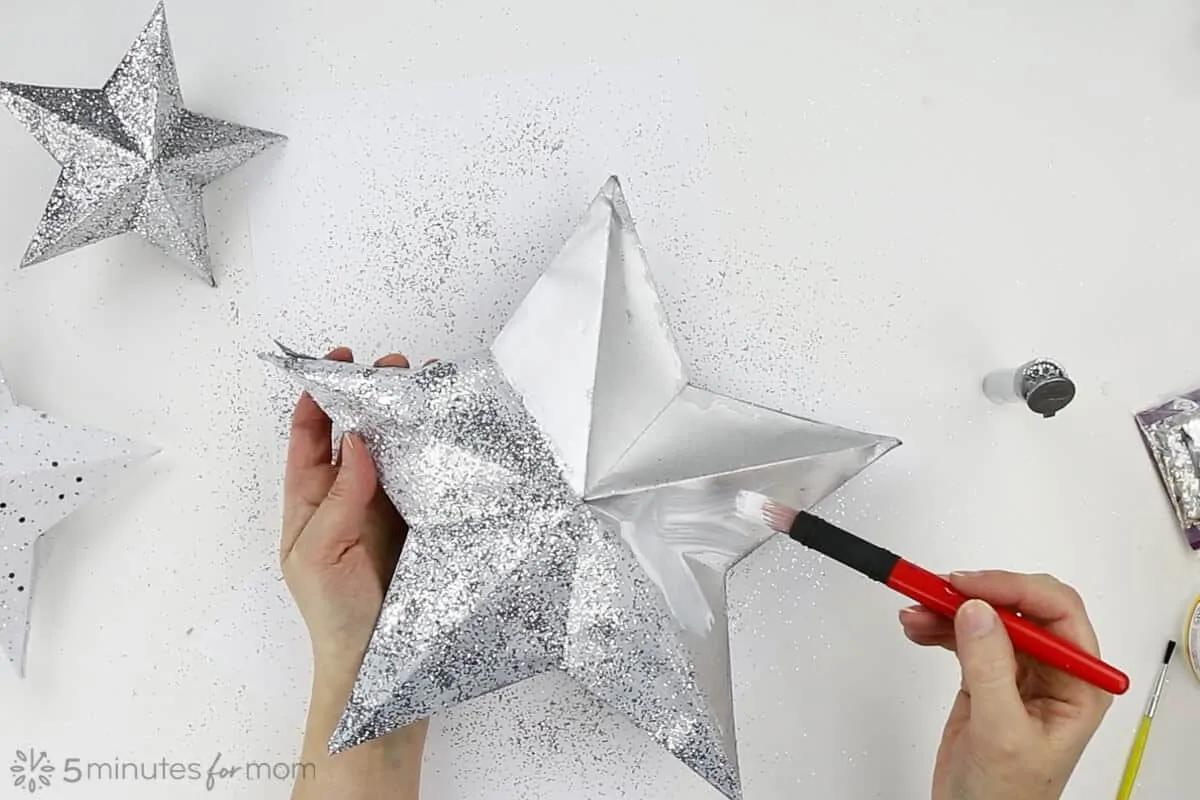
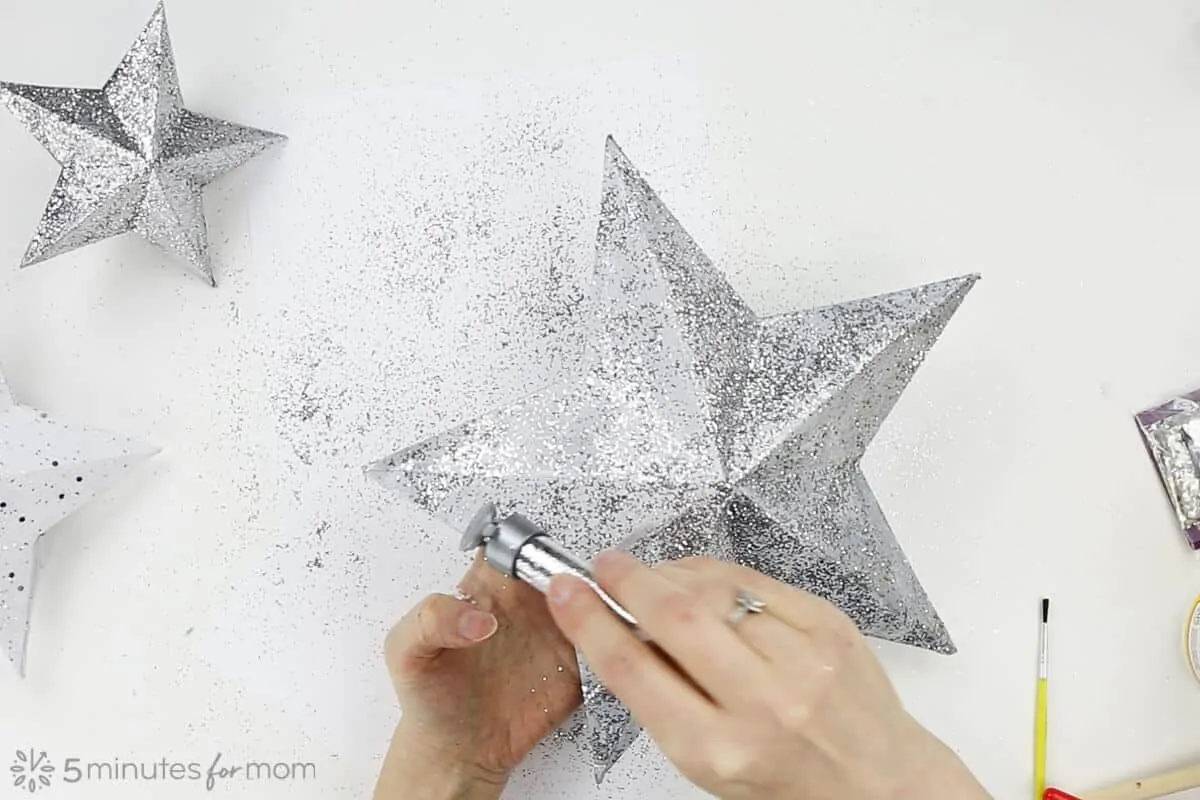
You may need to apply a second coat of Modge Podge and glitter. For my second coat, I had run out of silver glitter and I couldn’t find any more of the same kind of glitter. So I had to use a silver glitter that was finer, with smaller circles/specks of glitter.
So that is why my larger silver star looks different than my smaller silver star in the final photos.
After your coats of glitter are dry, spray a coat or two of glitter sealer over your entire star. I used Testors Craft Glitter Sealer.
Finally, if your star is a Christmas Tree Topper and you left the entire bottom edge of the star unglued, use a glue gun to close up the bottom edge, leaving a 3″ to 4″ opening in the bottom middle to place on the top of the tree.
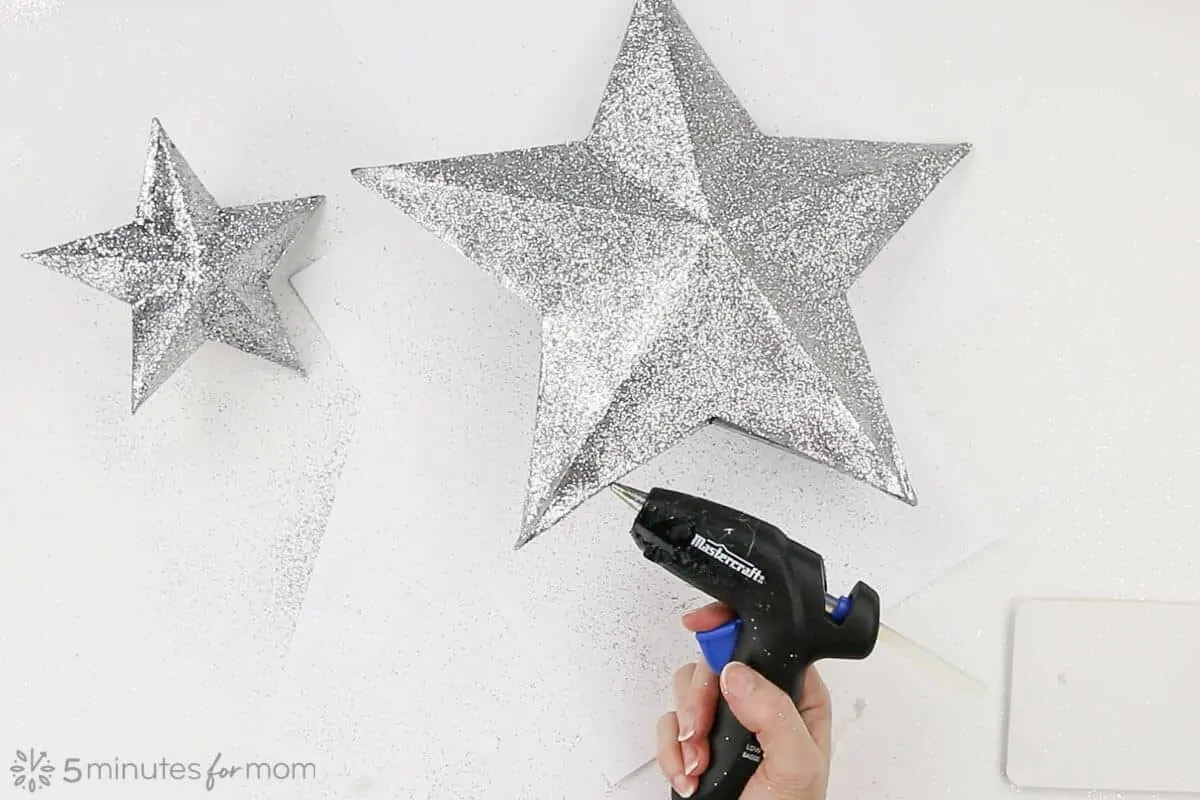
And congratulations! Your 3D Paper Star is finished!

Make Your Own Christmas Ornaments
Now that you’ve made your 3D Paper Star Christmas Tree Topper, here are some easy ways to make DIY Christmas Ornaments…
Written by Janice Croze, co-founder of 5 Minutes for Mom
Talk with me: @5minutesformom and Facebook.com/5minutesformom
Pin with me at pinterest.com/5minutesformom
Christmas Gift Guides
We’ve gathered a collection of gift ideas to help you with your Christmas shopping.

Be sure to check out each of our gift guides…
- Christmas Gift Ideas for Her
- Christmas Gift Ideas for Him
- Christmas Gifts for Kids
- Stocking Stuffer Ideas


Is your video tutorial still available? I can’t find it. Otherwise thank you for the wonderful tutorial to make pretty stars.
The video tutorial should show near the top of this post and start playing automatically if you scroll down the blog post. Is it not showing for you?
I’m not seeing the video tutorial either, in both this post and the How to Make 5-Point Paper Stars. Only ad after ad after ad is playing. I’d love to see the video, as I’m having trouble following the written instructions. 🙁
I’m not sure what is going wrong with our video player. I see what you mean… there are multiple ads showing and not the actual video. I will try to figure it out and get back to you. Thank you for letting us know.
I love it, thank you for teaching me that!!!!