This post may contain affiliate links. Read my disclosure policy here.
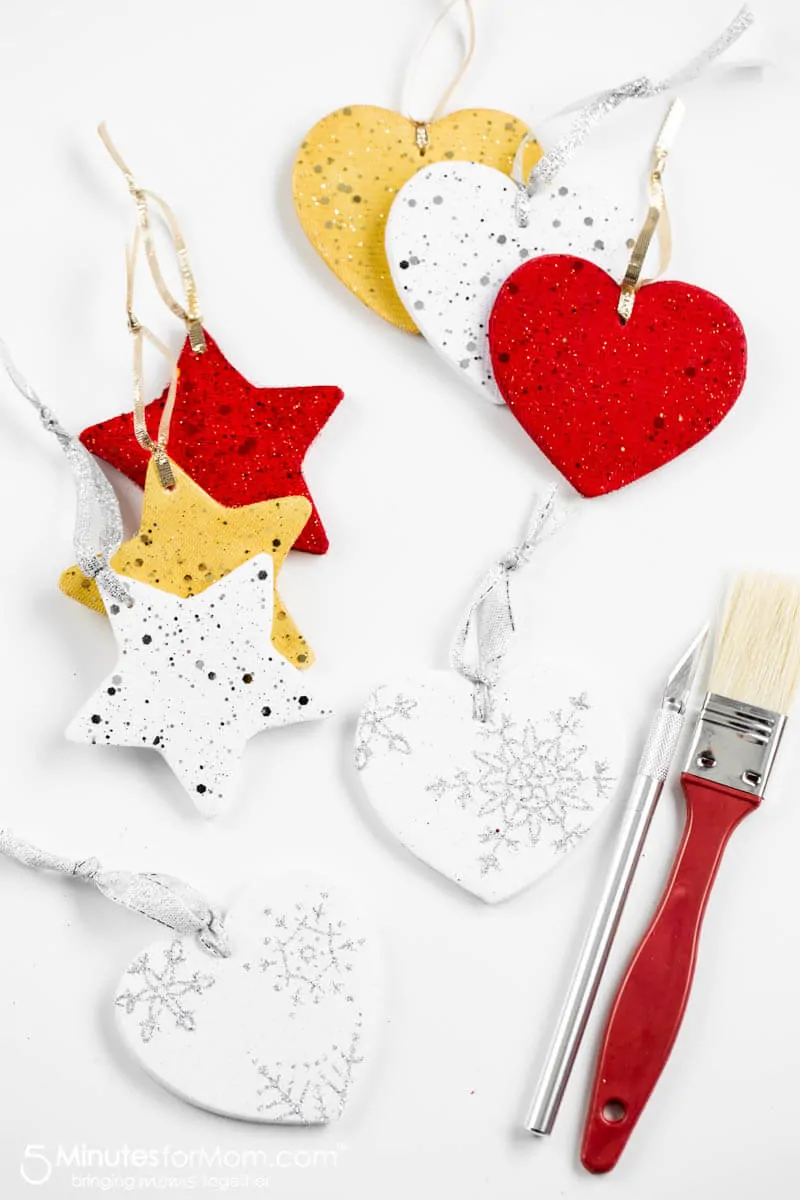
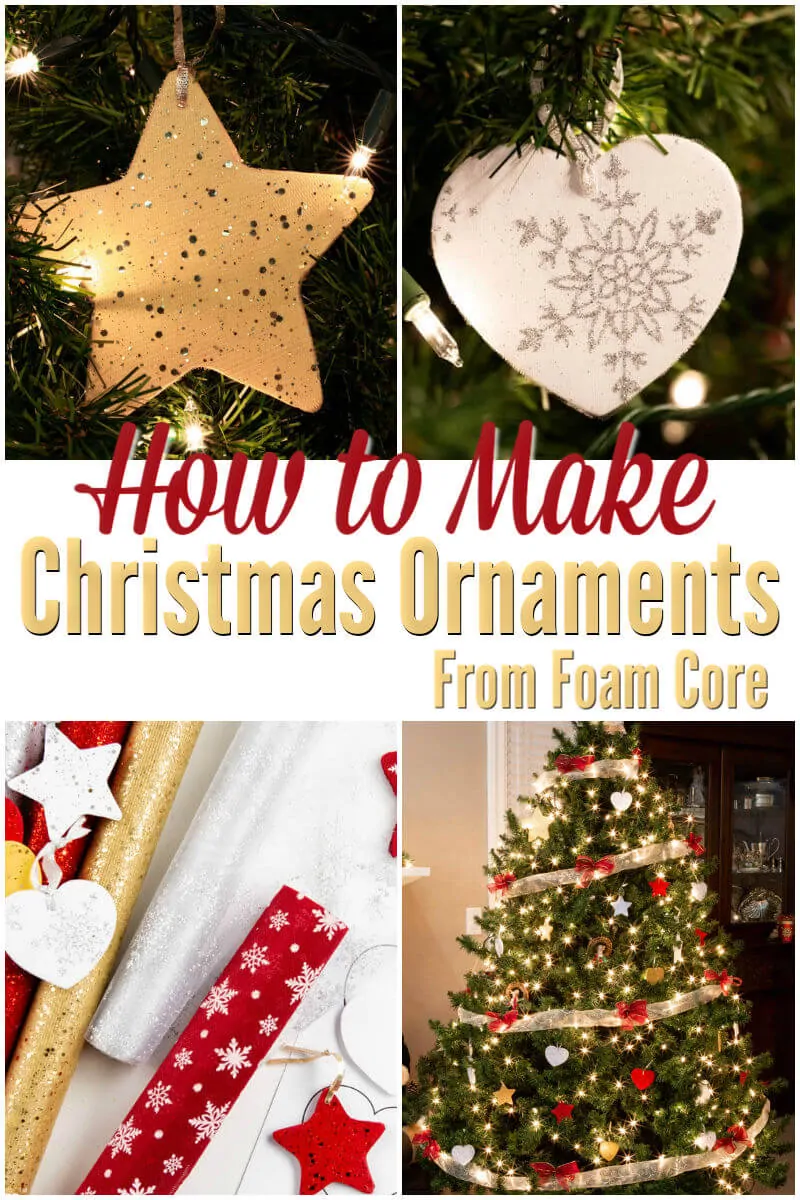
Did you know you can make fabulous DIY Christmas ornaments using inexpensive foam core that are so light they won’t weigh down your tree branches? For under five dollars, you can make a tree full of beautiful handmade ornaments — with no crafting or drawing talent required! We have free printable templates to make it extra easy for you.
Handmade Christmas ornaments are my favorite on any tree. I love holding memories in my hands.
Also be sure to check out our DIY Photo Ornaments and our tutorials on How To Paint Ornaments and Christmas Tree Painting.
I was creating a bunch of DIY holiday decor and Christmas tree ornaments when I got the idea to use FOAM CORE and festive fabric to create DIY Christmas ornaments.
I LOVE crafting with foam core. It is lightweight, inexpensive and easy to work with. After I started making a few ornaments with it, I couldn’t stop! I made tons of them!
I was so excited about my DIY foam core ornaments, I made a video tutorial for you showing you how exactly I made them.
These foam core ornaments are so easy and fun to make. You don’t need to have any artistic or drawing skills.
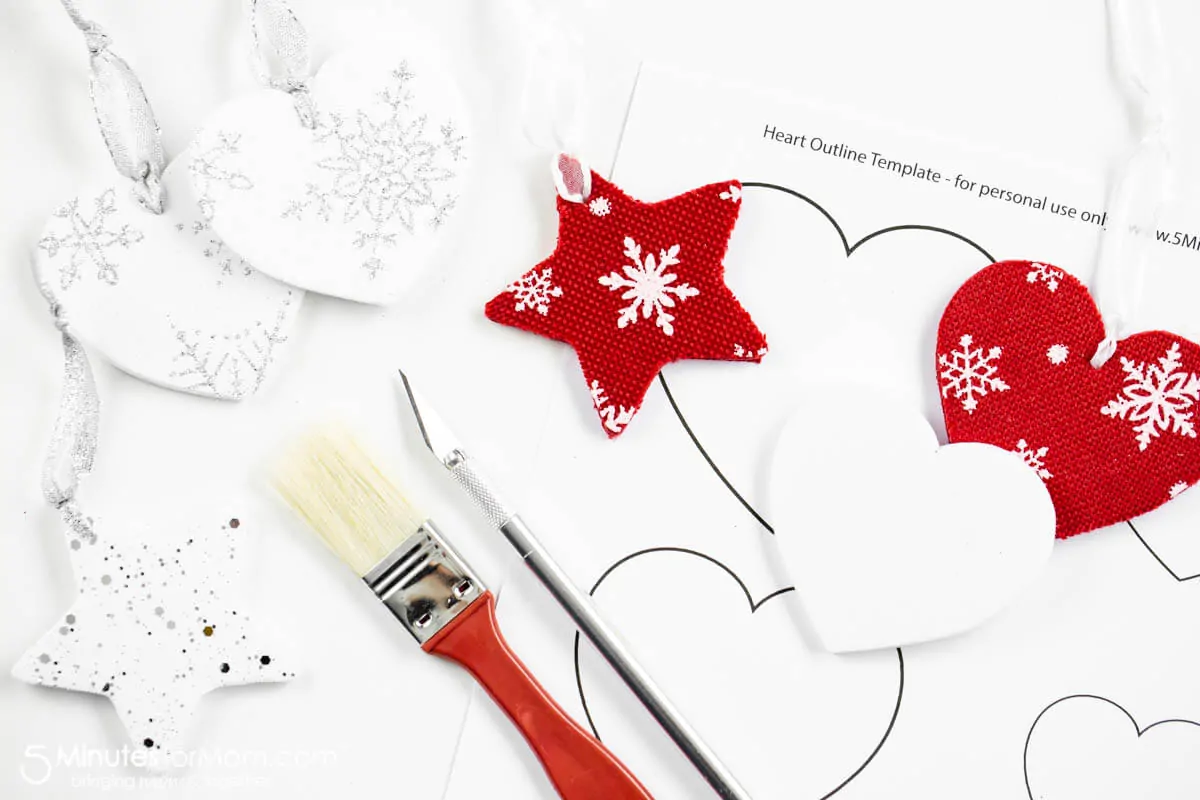
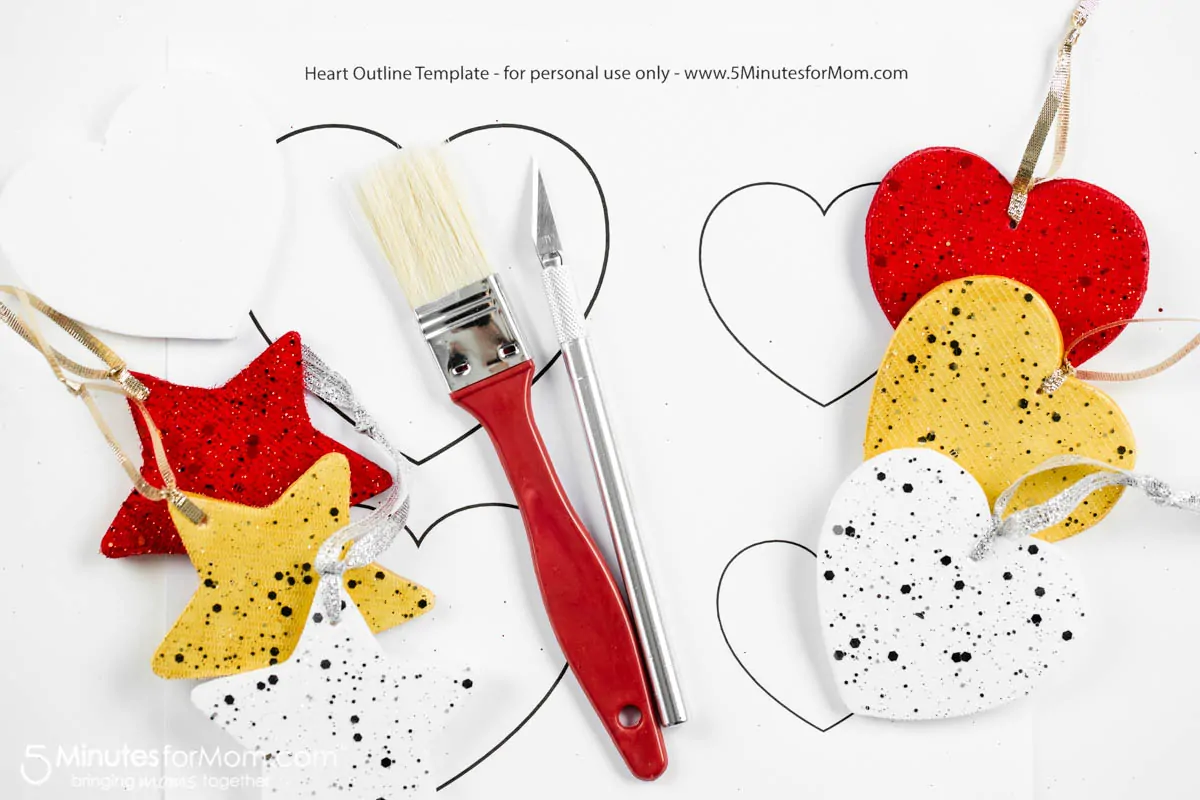
Just print out our FREE downloadable heart and star templates and cut out your shapes. Click here to download the heart printable and click here to download the star printable.
These DIY Christmas ornaments are a great craft to do with your kids or by yourself if you feel like a relaxing night of crafting. (Can I admit how much I love a quiet night of crafting by myself?)
Then after all your crafting fun, you will have beautiful handmade ornaments you and your family can use for years to come. And, if you have so much fun making them and you just can’t stop, these ornaments would make lovely gifts as well.
How to Make DIY Christmas Ornaments with Foam Core
You may already have everything you need to make these foam core ornaments. But if not, a quick trip to the dollar store or a few minutes on Amazon and you will be ready to go.
I actually had everything I used for my ornaments waiting for me in my craft supplies. So it was a very economical craft project for me.
I always have a ton of foam core at home. I buy it at the dollar store and I use it for photography backgrounds, reflectors, crafts, and more.
Recently, I had bought a bunch of different rolls of festive fabric at Dollarama, (the glitter was $2 a roll and the red snowflake was $3,) and I also have tons of extra ribbons and acrylic paint.
Supplies
- White foam core
- X-Acto knife
- Cutting mat (or thick cardboard)
- Festive fabric or gift wrap
- Matching acrylic paint
- Paintbrushes
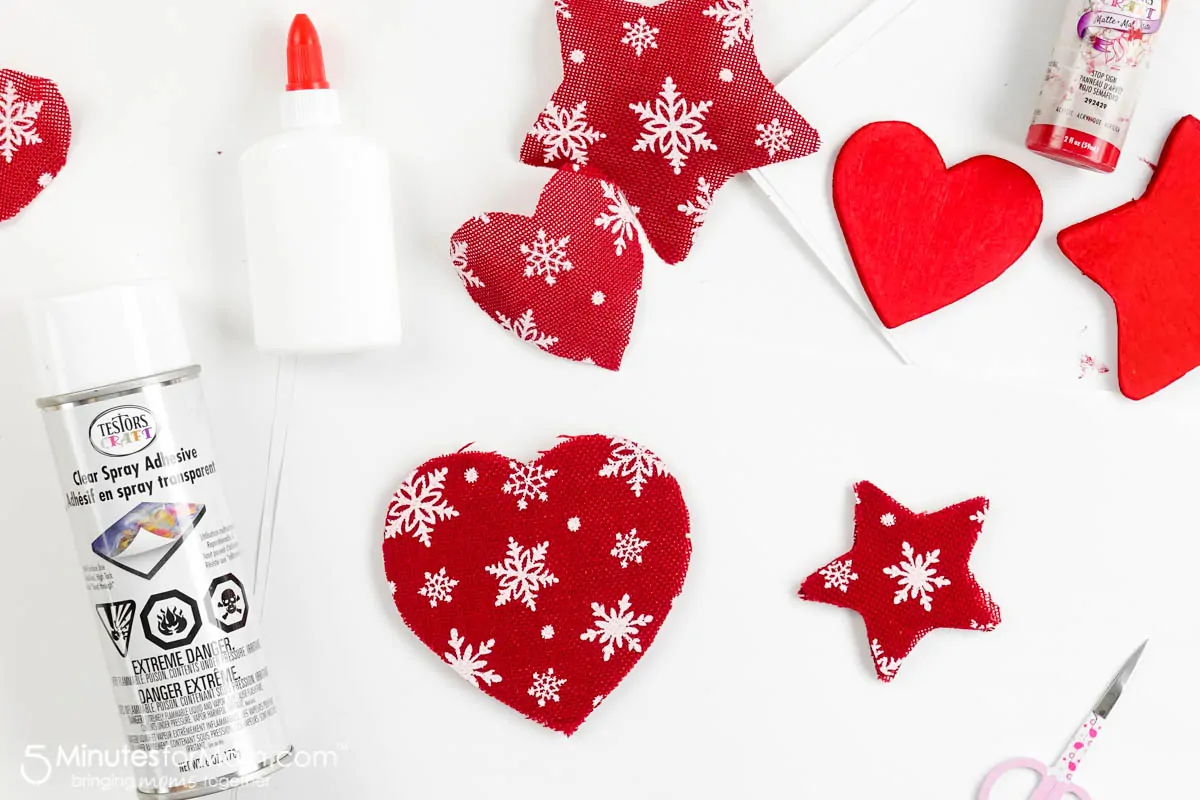
- Glue (white glue, Modge Podge, or spray adhesive)
- Ribbon
- Large needle
- Scissors
- Our FREE heart printable and star printable templates
Step 1 – Cut Shapes from Foam Core
Cut desired sizes and shapes from our FREE printable templates and trace shapes onto foam core.
Click here to download the heart printables and click here to download the star printables.
Using an X-Acto knife, cut out shapes from foam core.
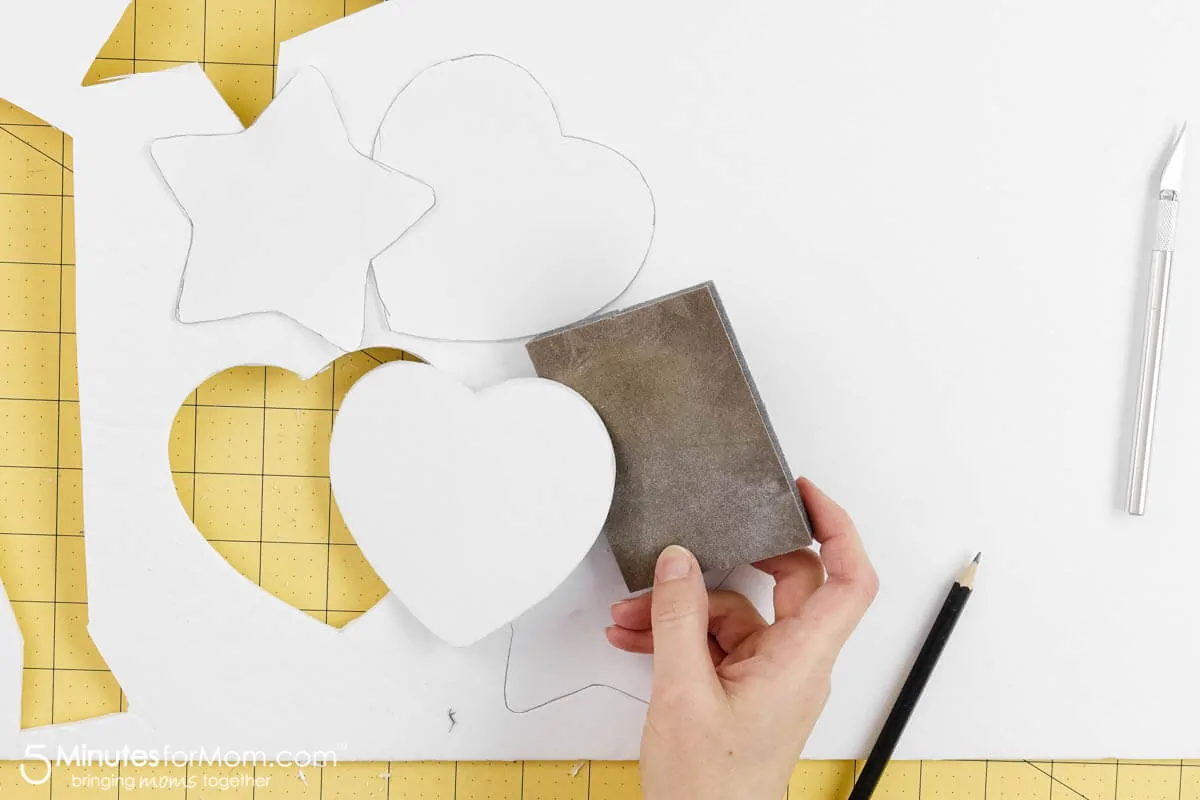
Step 2 – Sand Edges
Smooth the edges of your foam core pieces with fine sandpaper.
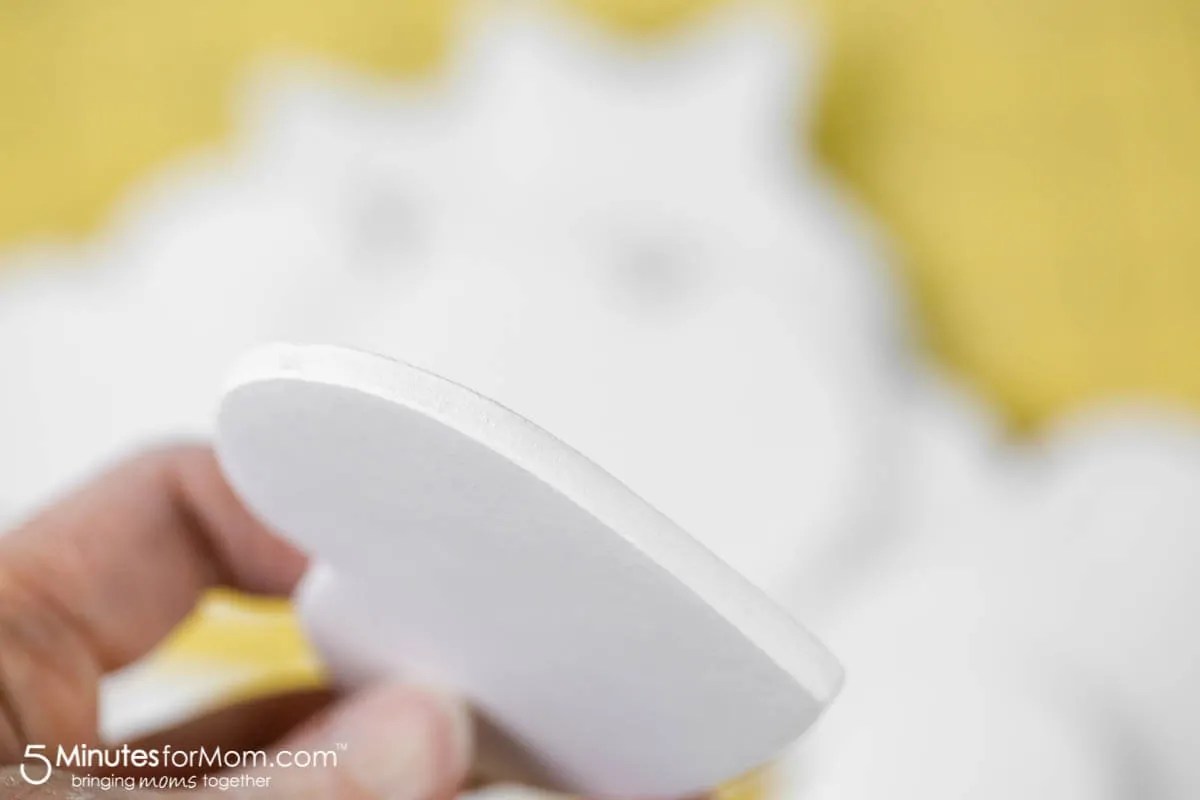
Sanding the edges of the foam core creates a beautiful, smooth and rounded edge.
Step 3 – Cut Fabric
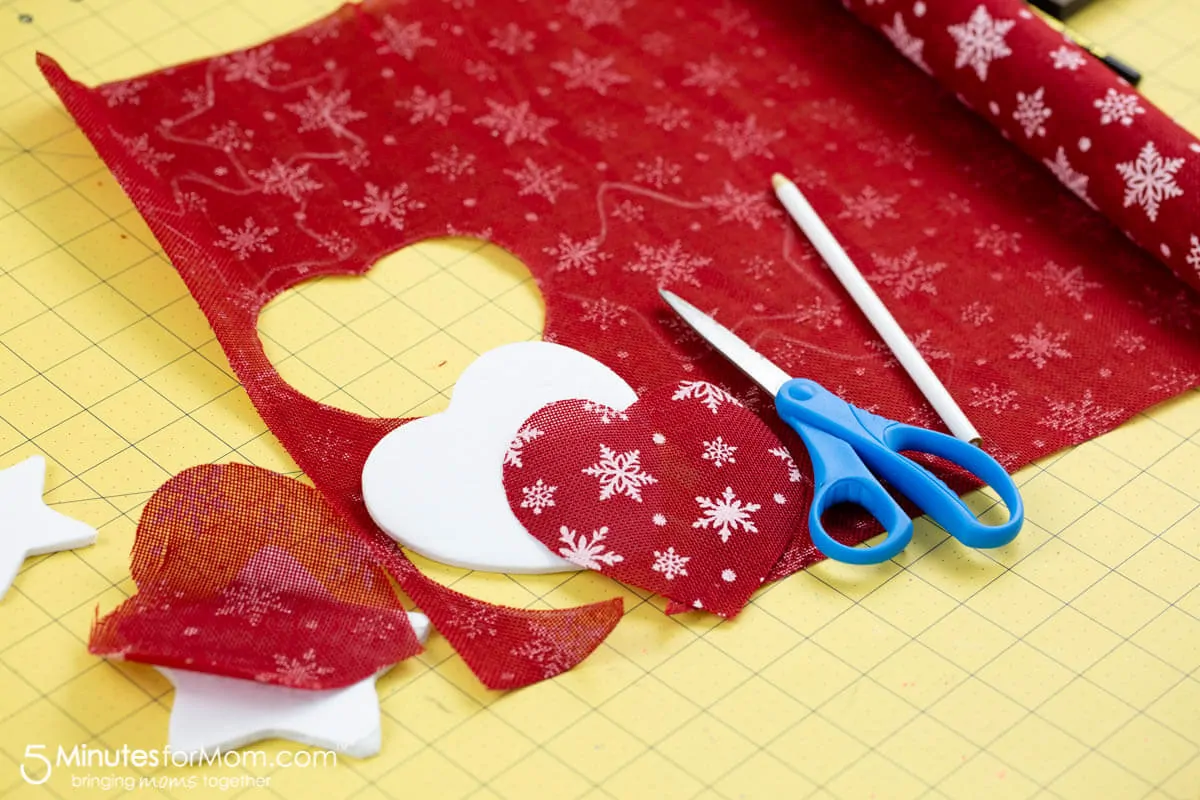
Next, you can cut your fabric. You can do this in a couple of different ways.
First, you can trace ornament shapes/templates onto the wrong side of your fabric.
Then you can out the shapes with scissors or a knife. Remember to cut two fabric pieces for each ornament.
This works well if you are using a sturdy fabric that is easy to mark and you want to be as thrifty with your fabric as possible.
Alternatively, if you are using a delicate fabric, just roughly cut out the shapes or squares of fabric.
Then, after you have positioned the fabric and glued in place, you can trim with scissors.
Step 4 – Paint Ornaments
If you are using colored fabric that shows the white foam core underneath, paint your foam core ornaments with a matching color of acrylic paint.
Step 5 – Glue Fabric on to Foam Core Ornaments
After the paint is dry, adhere fabric to both sides of foam core ornament using a light amount of spray adhesive, white glue or modge podge.
If you are using white glue or modge podge, spread a very fine layer of glue on to foam core and then place fabric on the ornament.
If you are using spray adhesive, spray and then allow to rest until tacky (about 1-3 minutes) before placing fabric.
Position fabric on the ornament and press down gently.
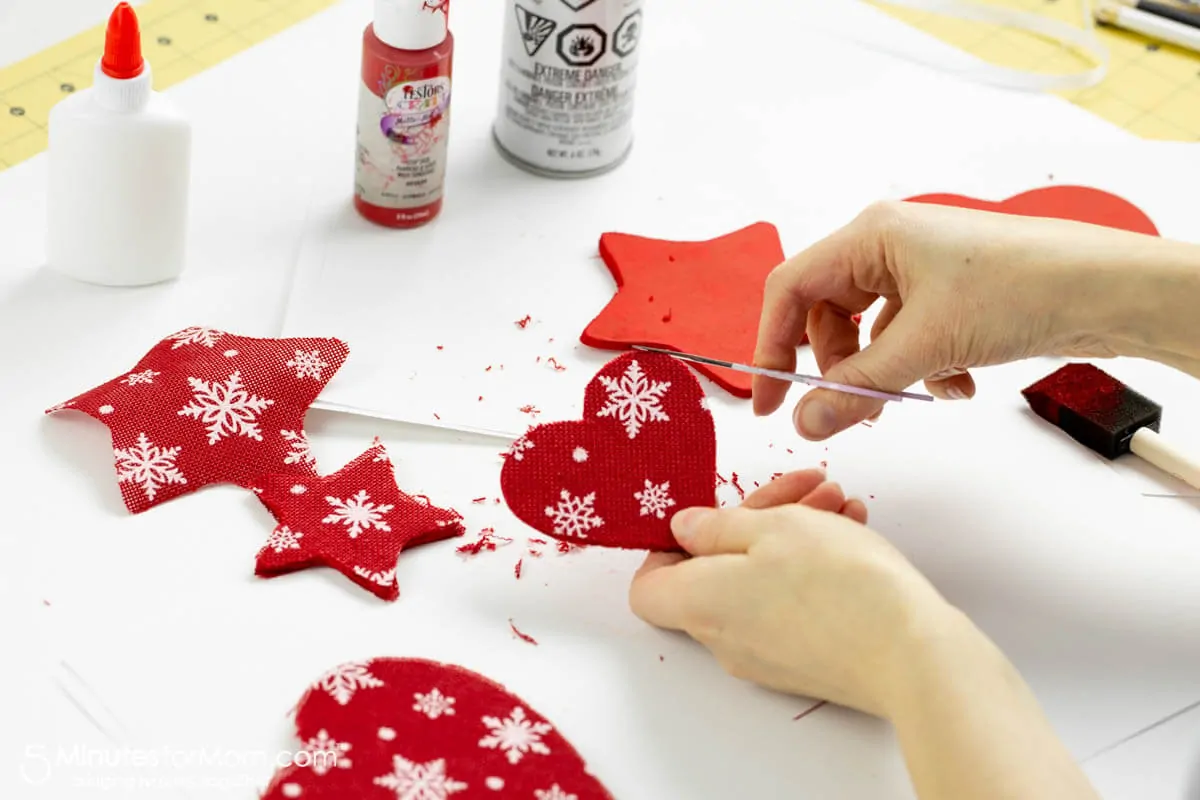
Step 6 – Trim Fabric
Once the fabric is firmly in place and dry to the touch, trim edges of the fabric with small scissors.
Step 7 – Attach Ribbons
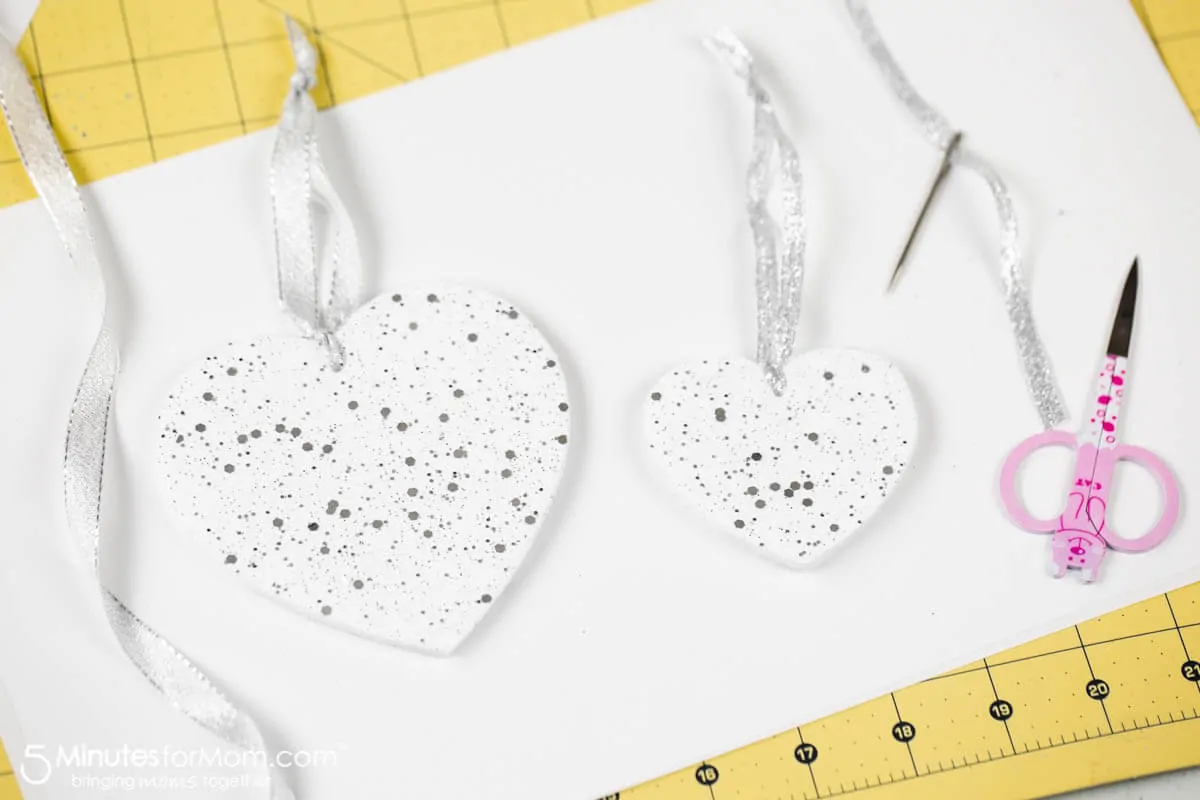
Cut pieces of ribbon 8-10 inches long.
Using a large needle, make a hole and thread ribbon through the top center of the ornament.
Tie a knot at the top of your ornament.
This first knot will help your ornament to hang straight on your tree.
Then tie a second knot to create a loop about 1-2 inches long that you will use to hang your ornament.
Trim ribbon ends if desired.
You are done! Admire your handiwork and have a wonderful holiday season!
Pin it for Later
Written and photographed by Janice Croze, co-founder of 5 Minutes for Mom
Talk with me: @5minutesformom and Facebook.com/5minutesformom
Pin with me at pinterest.com/5minutesformom
More DIY Christmas Decor
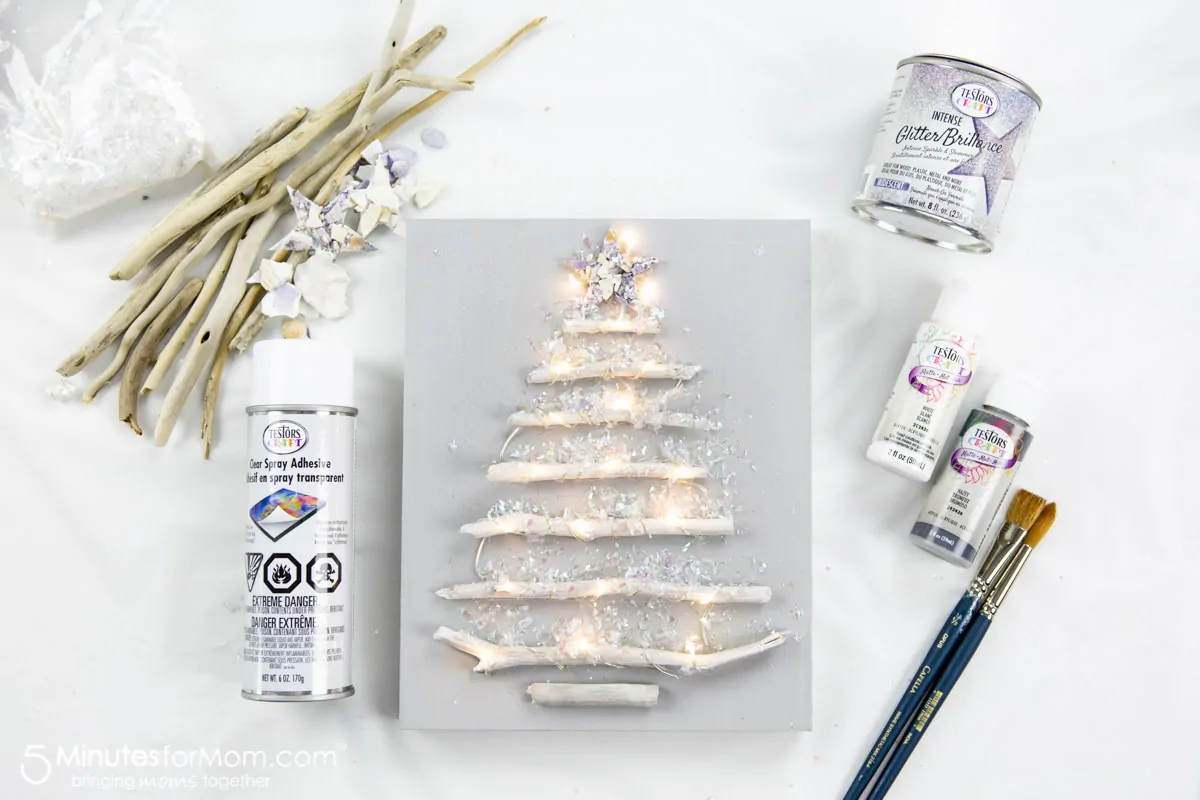
Driftwood Christmas Tree Craft
Another wonderful Christmas DIY project you’ll love making is this pretty DIY Driftwood Christmas Tree.
Holiday Gift Ideas
Find creative gift ideas in our Holiday Gift Guide.
We have Christmas gift ideas for everyone…














192.168.0.1 says
beautiful handmade ornaments
plano detox rosi feliciano says
Desta forma tão publicado Projecto Detox da Rosi Feliciano.
Makler Heidelberg says
Der Artikel ist wirklich intressant. Das Thema hat mich schon länger interessiert und ich konnte hier noch einiges interessantes finden. Ich kann es kaum erwarten, weitere Blogeinträge zu lesen. Danke
und Grüße aus Heidelberg Marco Feindler
queima de 48 horas não funciona says
A queima de gorduras é principal objetivo do Q48.
buy pbn backlinks says
Quality articles is the secret to be a focus for the people to pay a quick visit the web page, that’s what this website
is providing.
Smellyann says
Cool idea, thanks! I’m definitely going to do this next year!!