This post may contain affiliate links. Read my disclosure policy here.
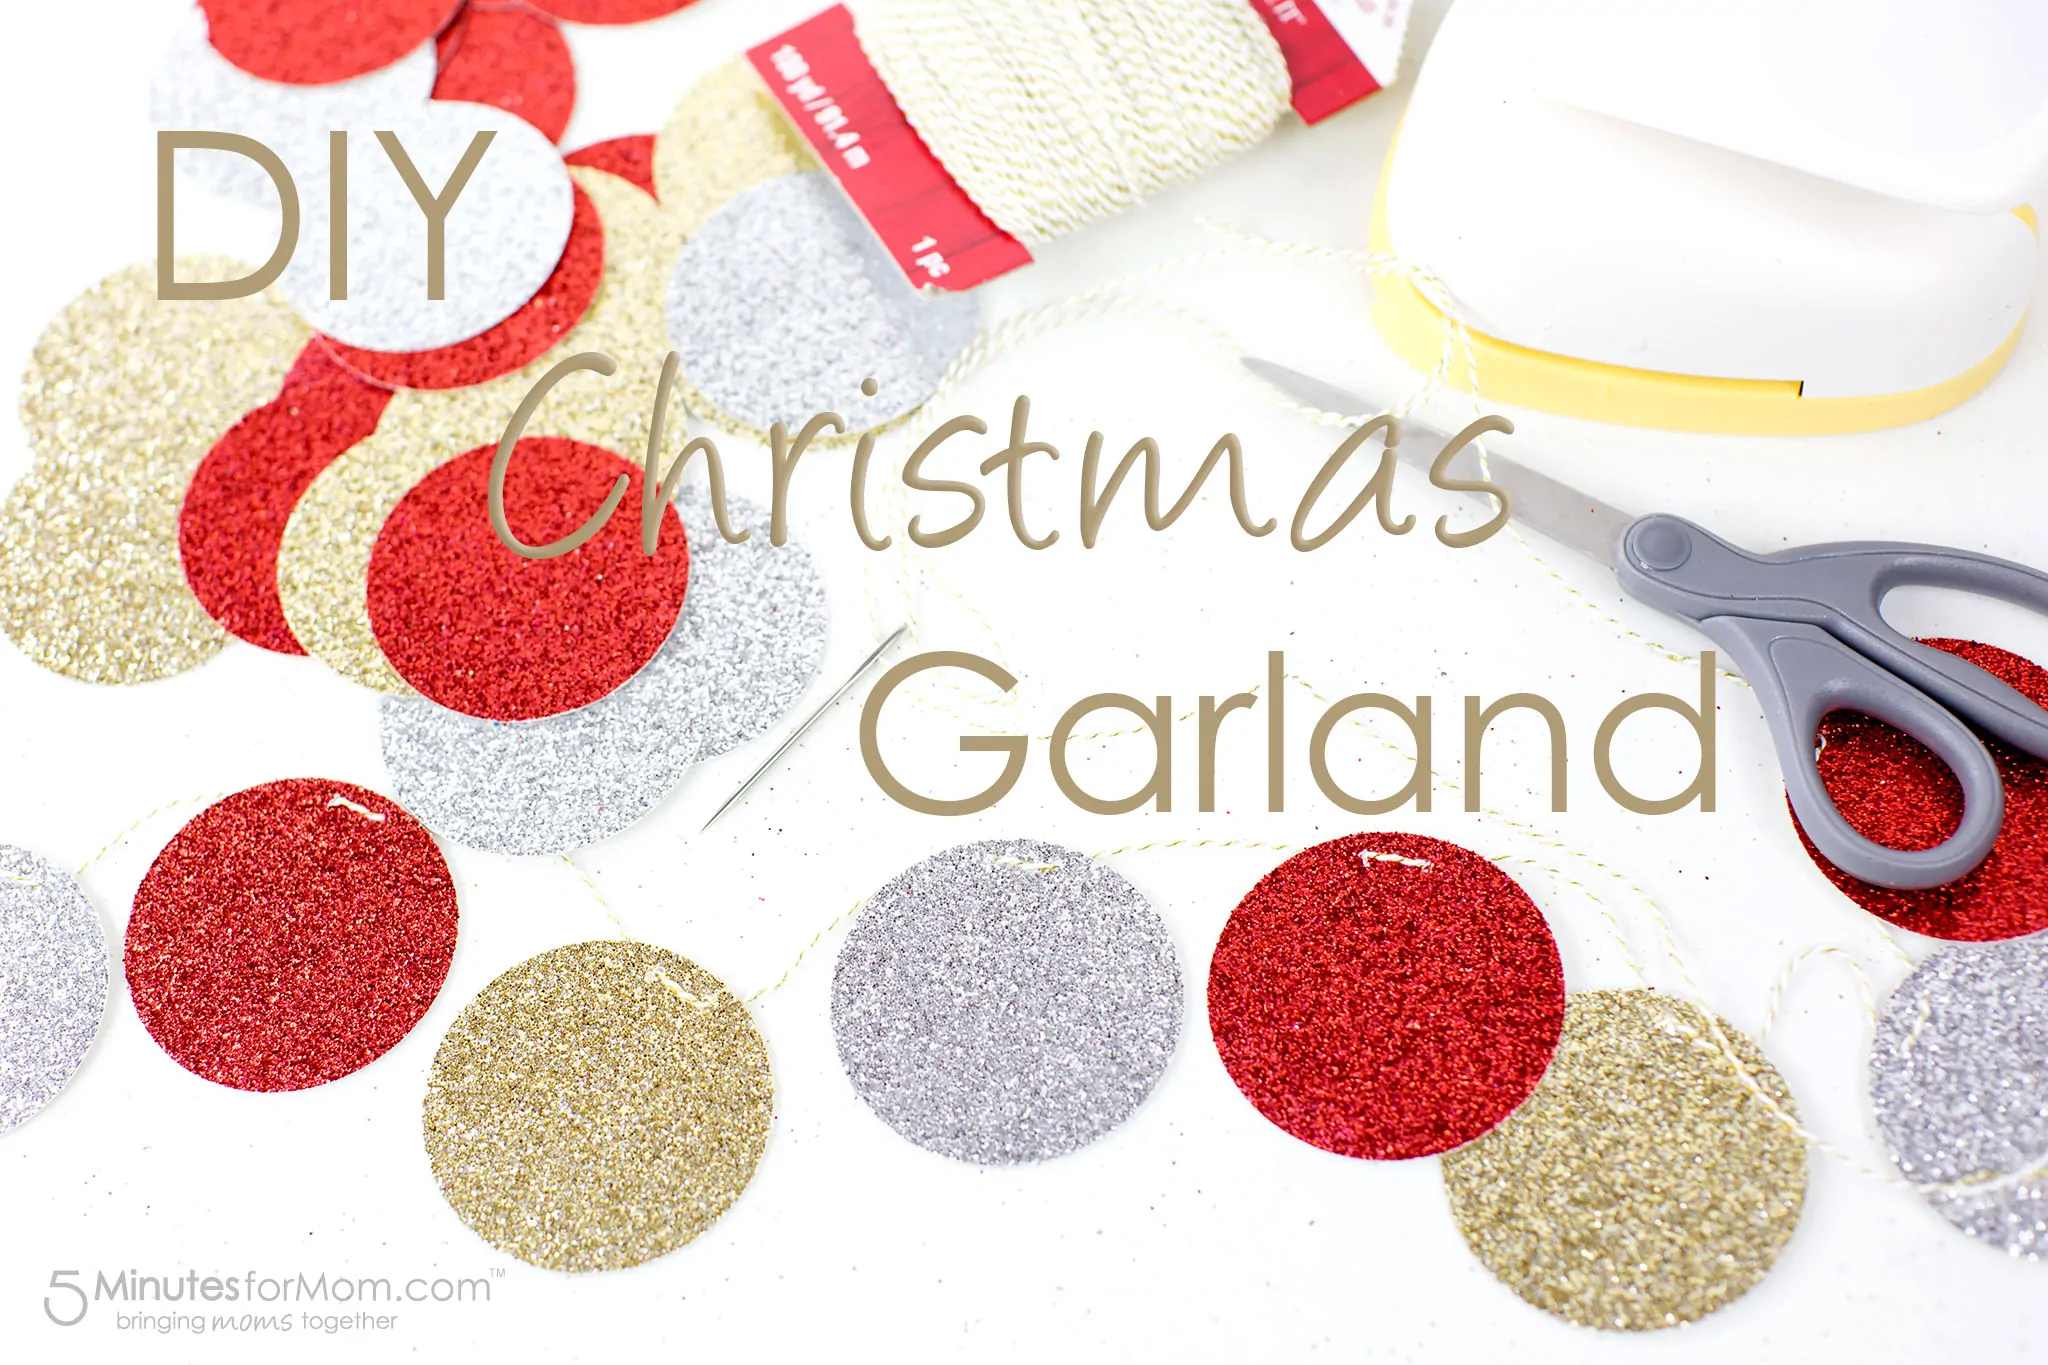
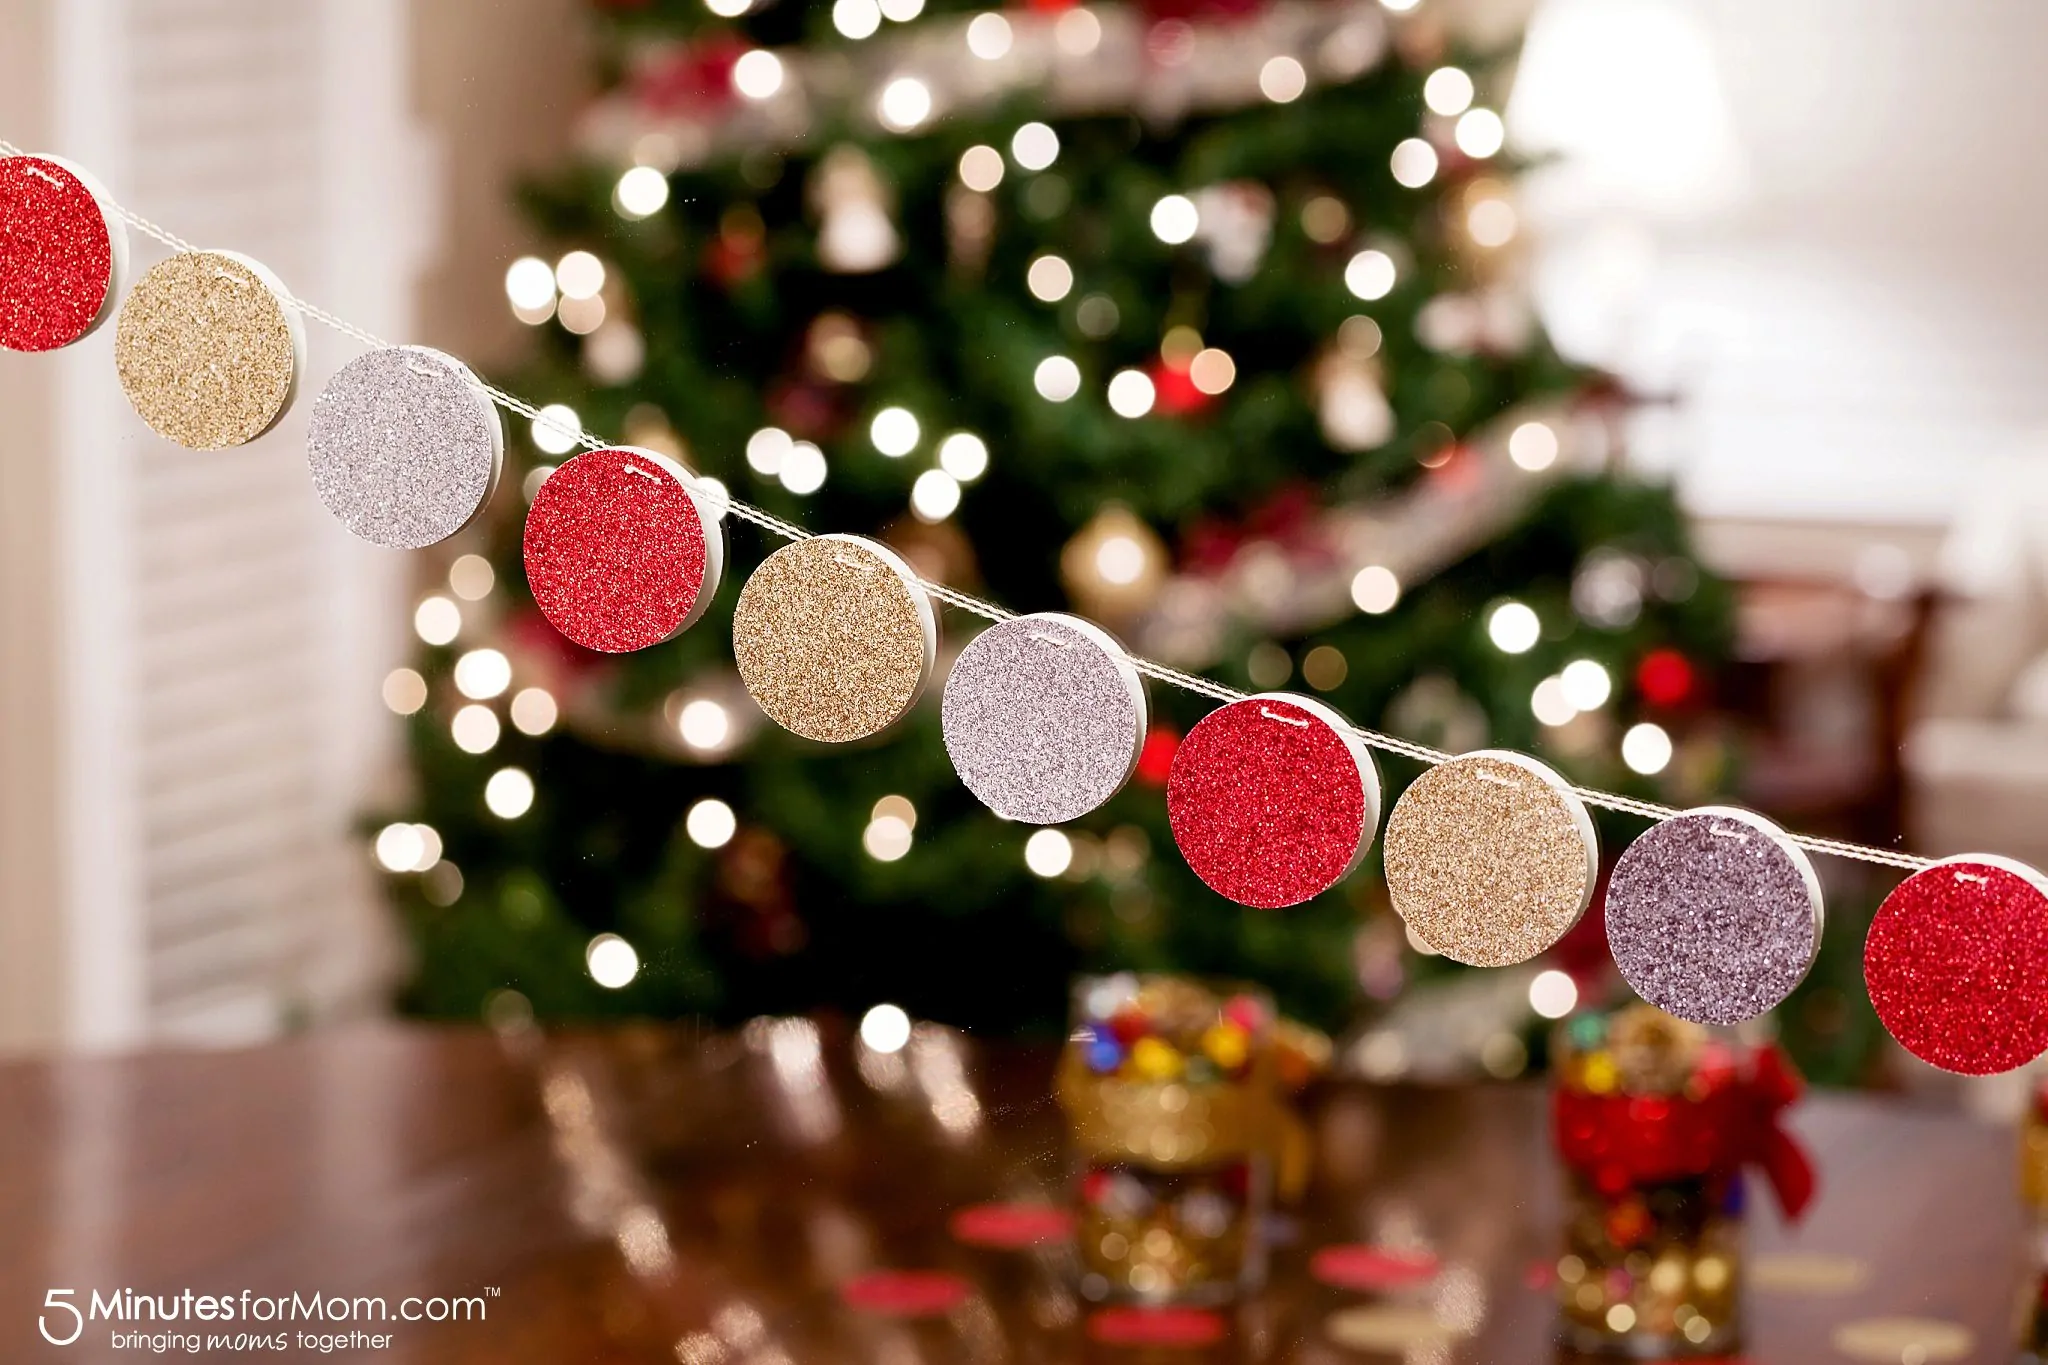
You’ll love how easy it is to make this pretty DIY Christmas Garland. Making your own Christmas decorations is a wonderful way to save money and you can enjoy spending time making memories while crafting with your kids.
Where are you at with your Christmas decorating? We’re deep into our holiday decorating and we’ve already eaten far too many Christmas cookies.
Even if you’re still busy with your Christmas shopping and holiday baking, you only need a few minutes to whip together this quick and beautiful DIY Christmas Garland to add some extra sparkle to your holiday decorations.
Watch how easy it is to make in our step by step video tutorial…
If you are looking for a festive – but easy – DIY decoration to add a special sparkle to your home, then you’ll love this fantastic holiday DIY.
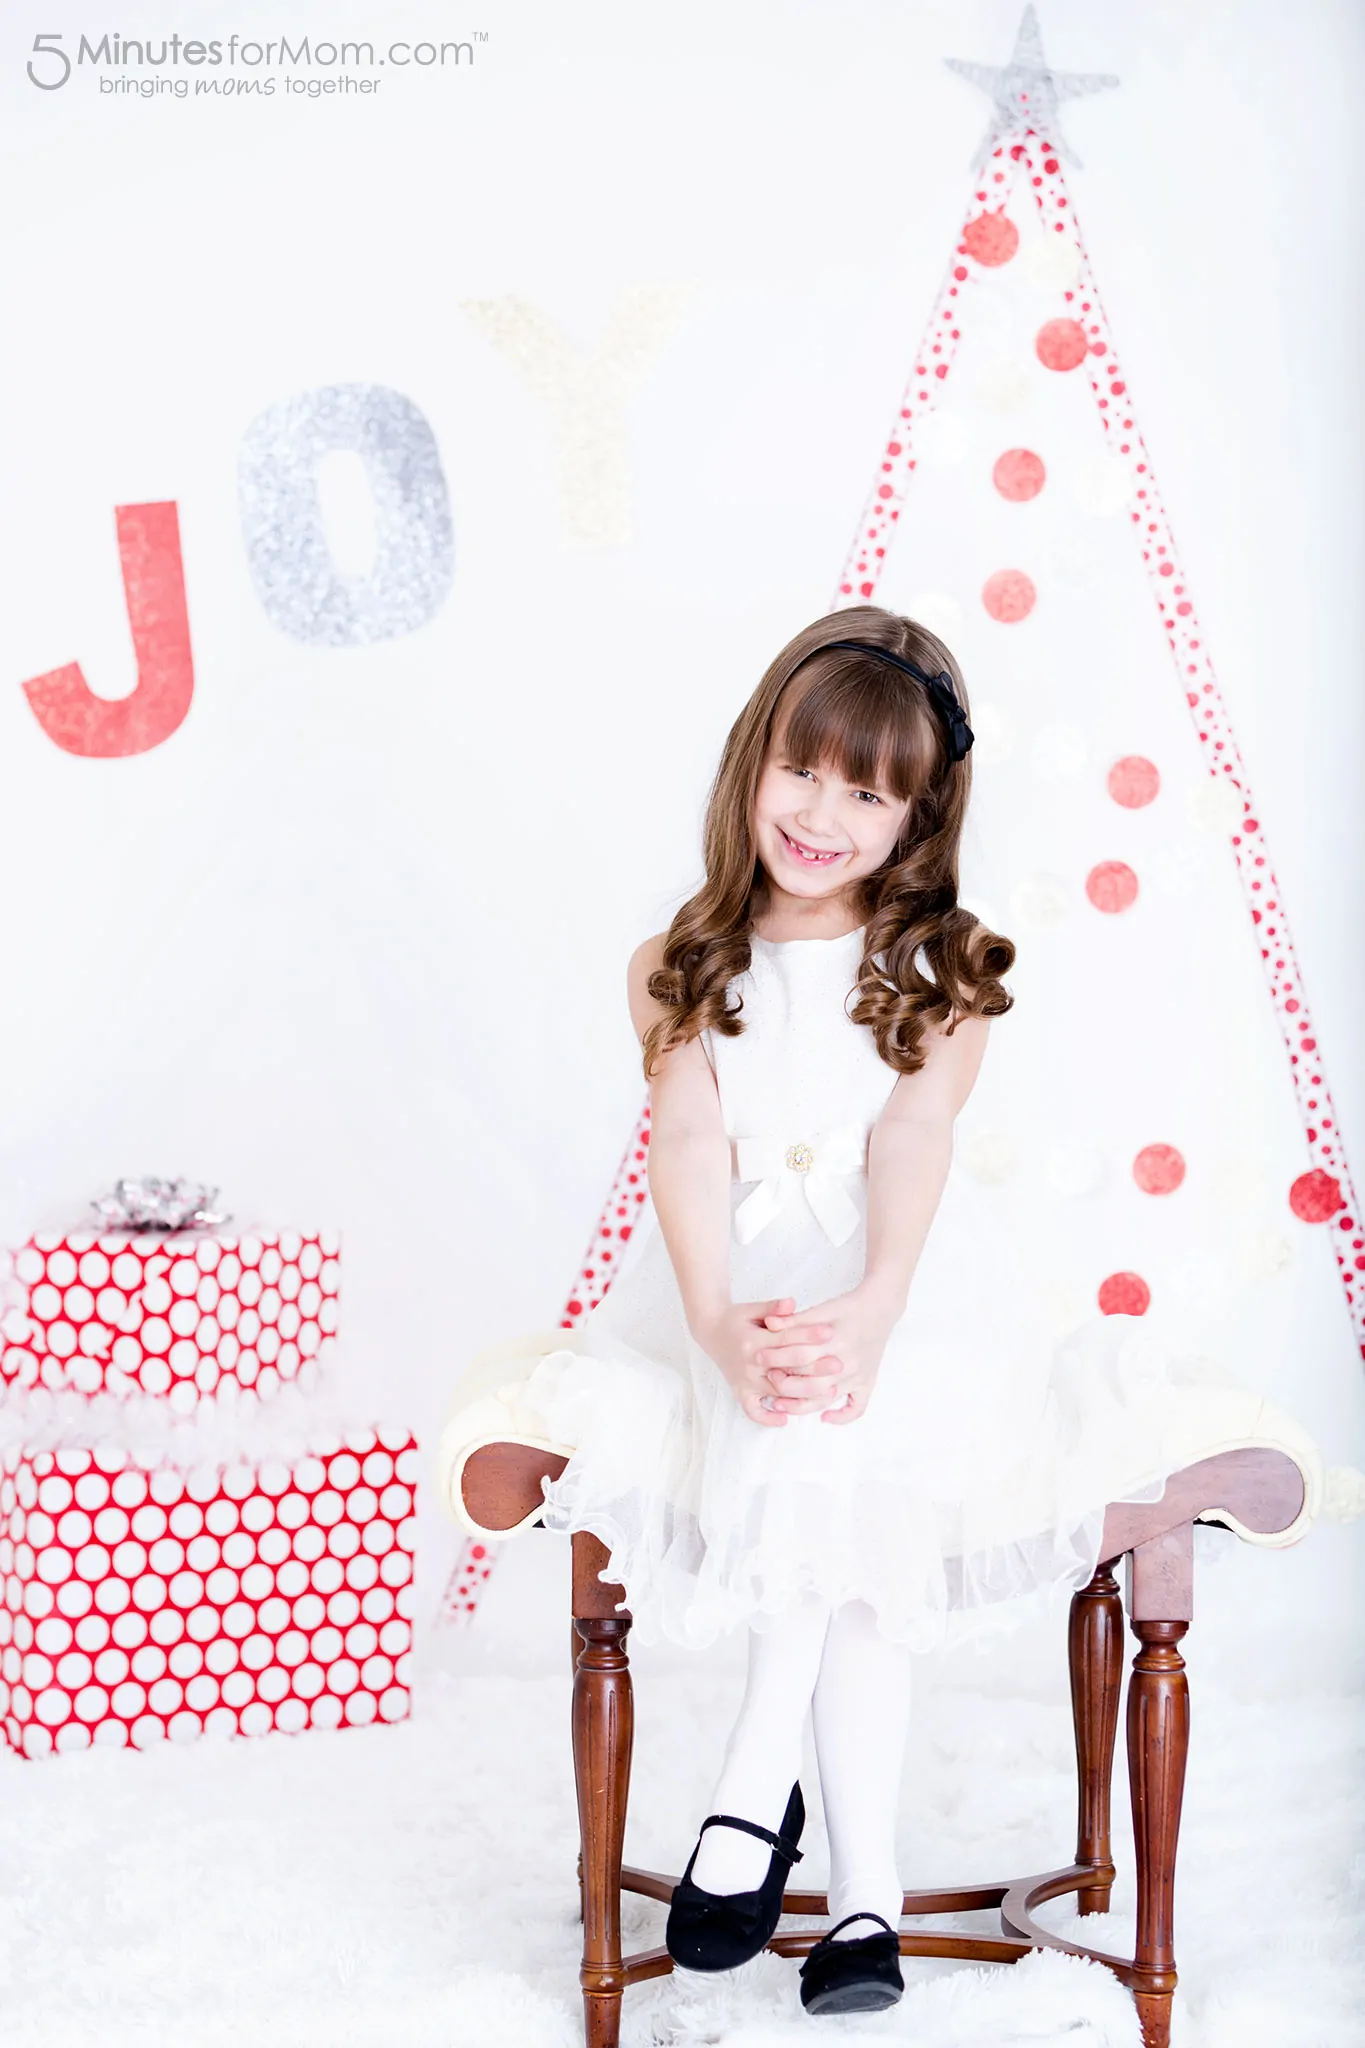
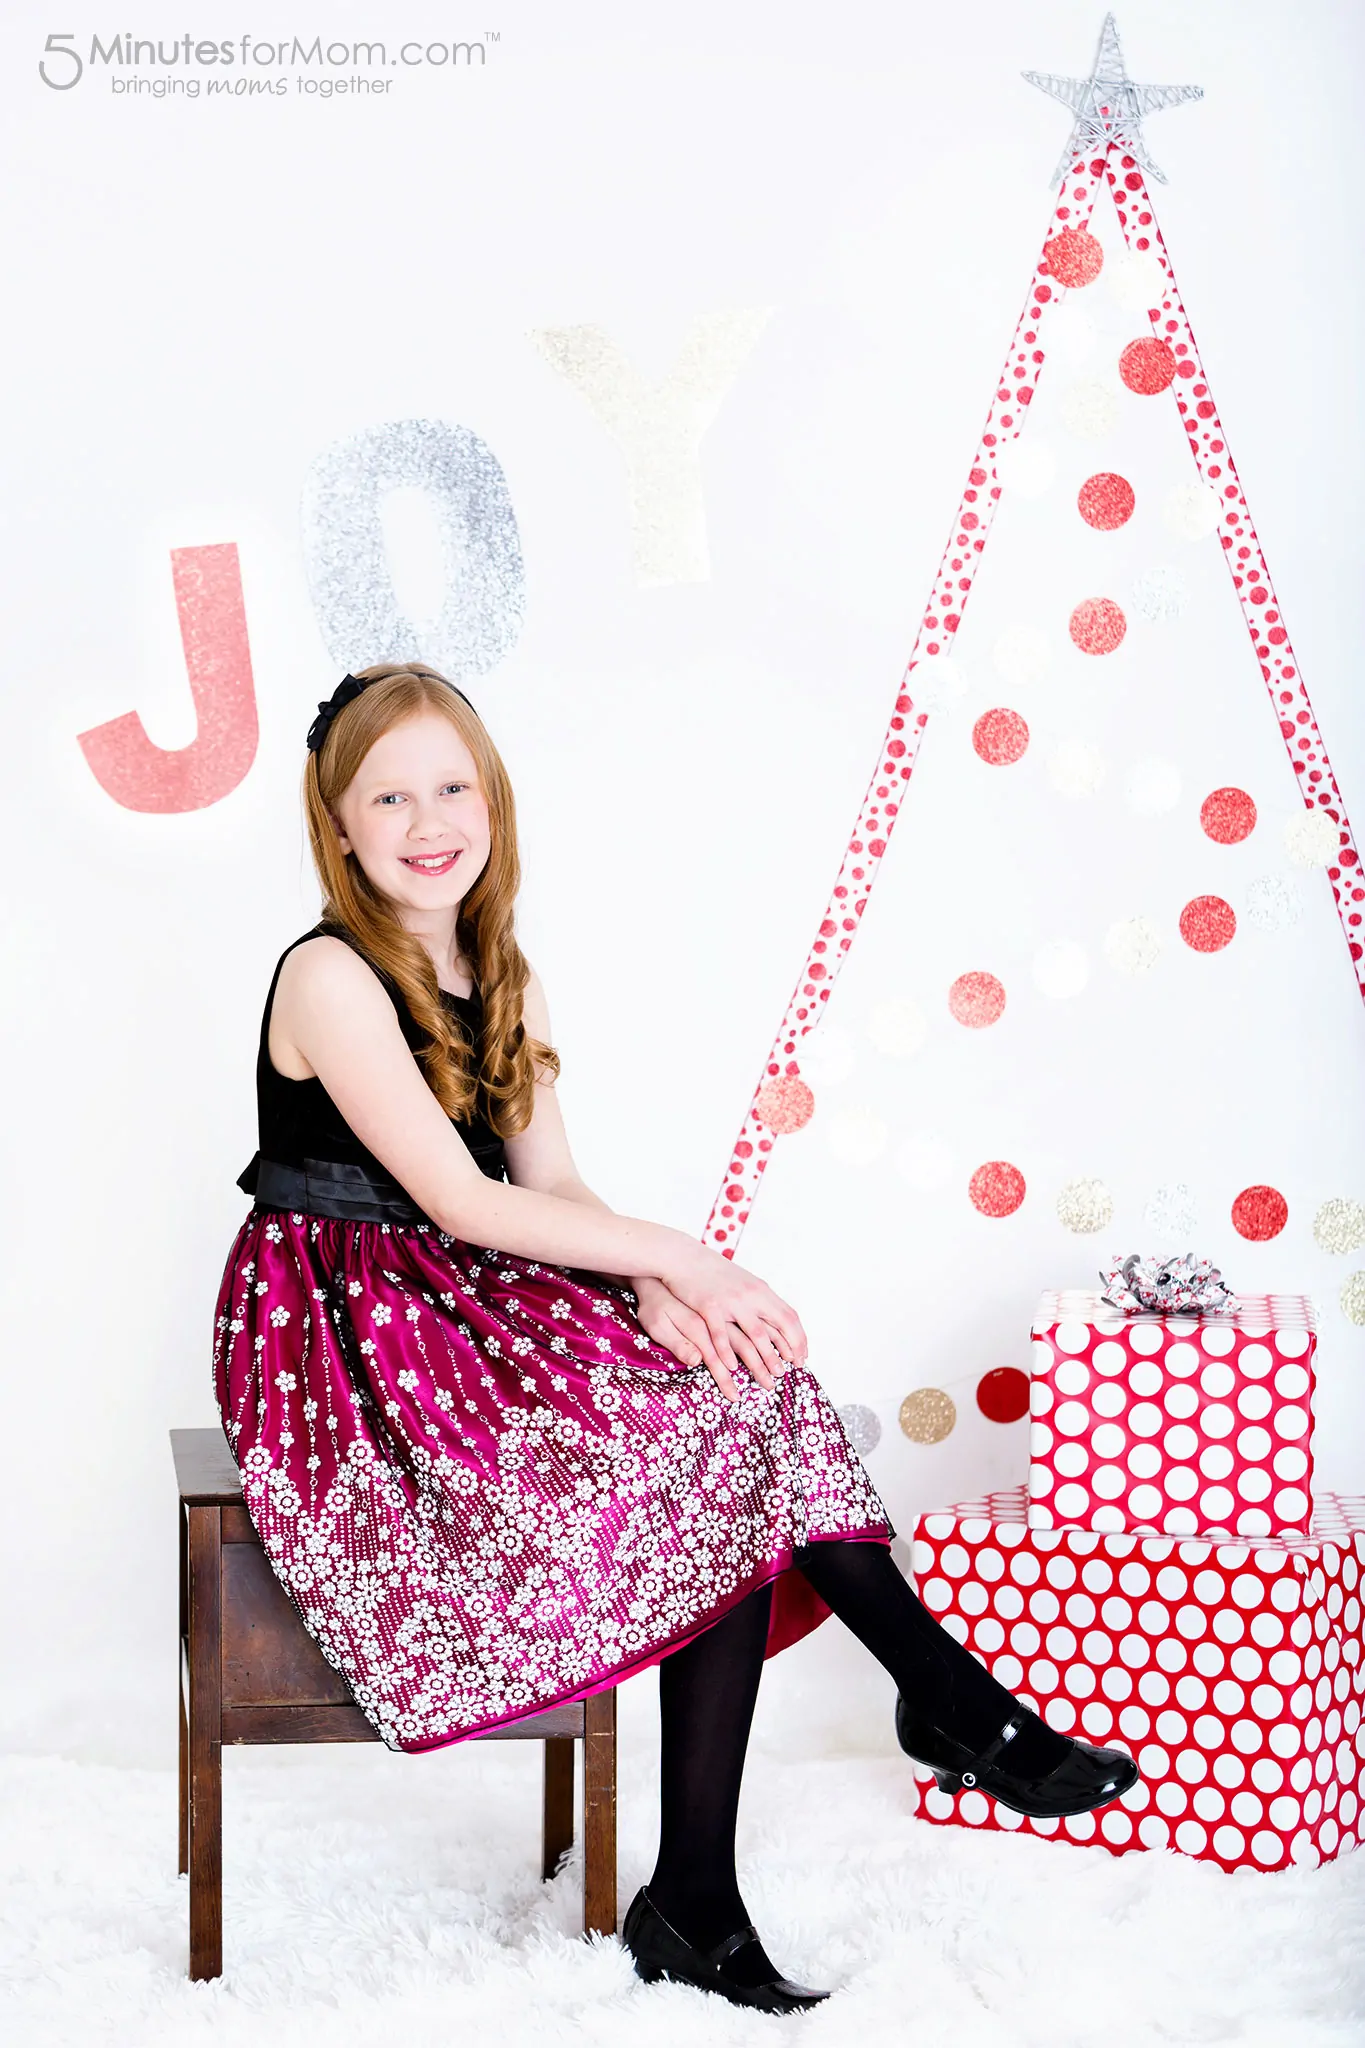
I created this garland for a backdrop for our family holiday photos in 2015, and I want to share it with you all again.
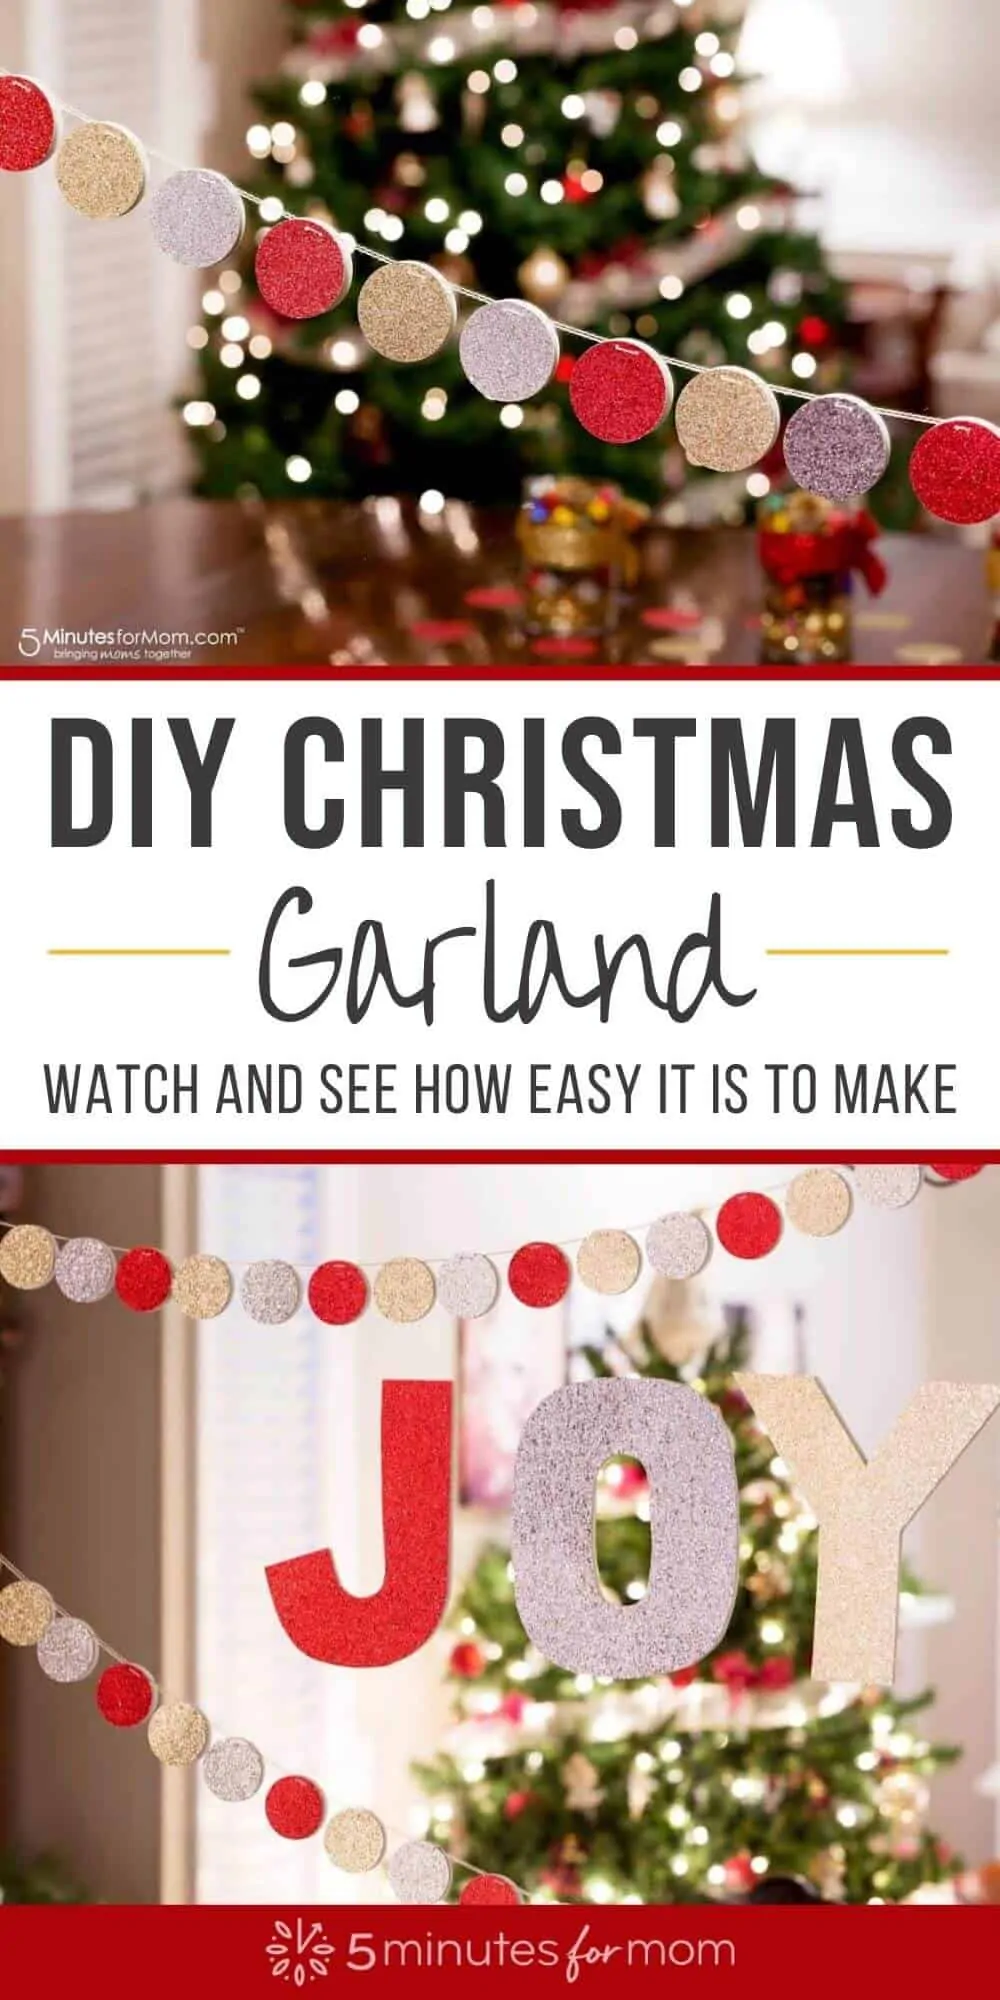
I taped ribbon to make a tree shape on my white seamless photo backdrop and then hung this DIY Christmas Garland I made from glitter scrapbook paper.
I also cut out the letters J-O-Y from the scrapbook paper as well.
Since I loved the garland in our photo shoot so much, I wanted to make one for our house too.
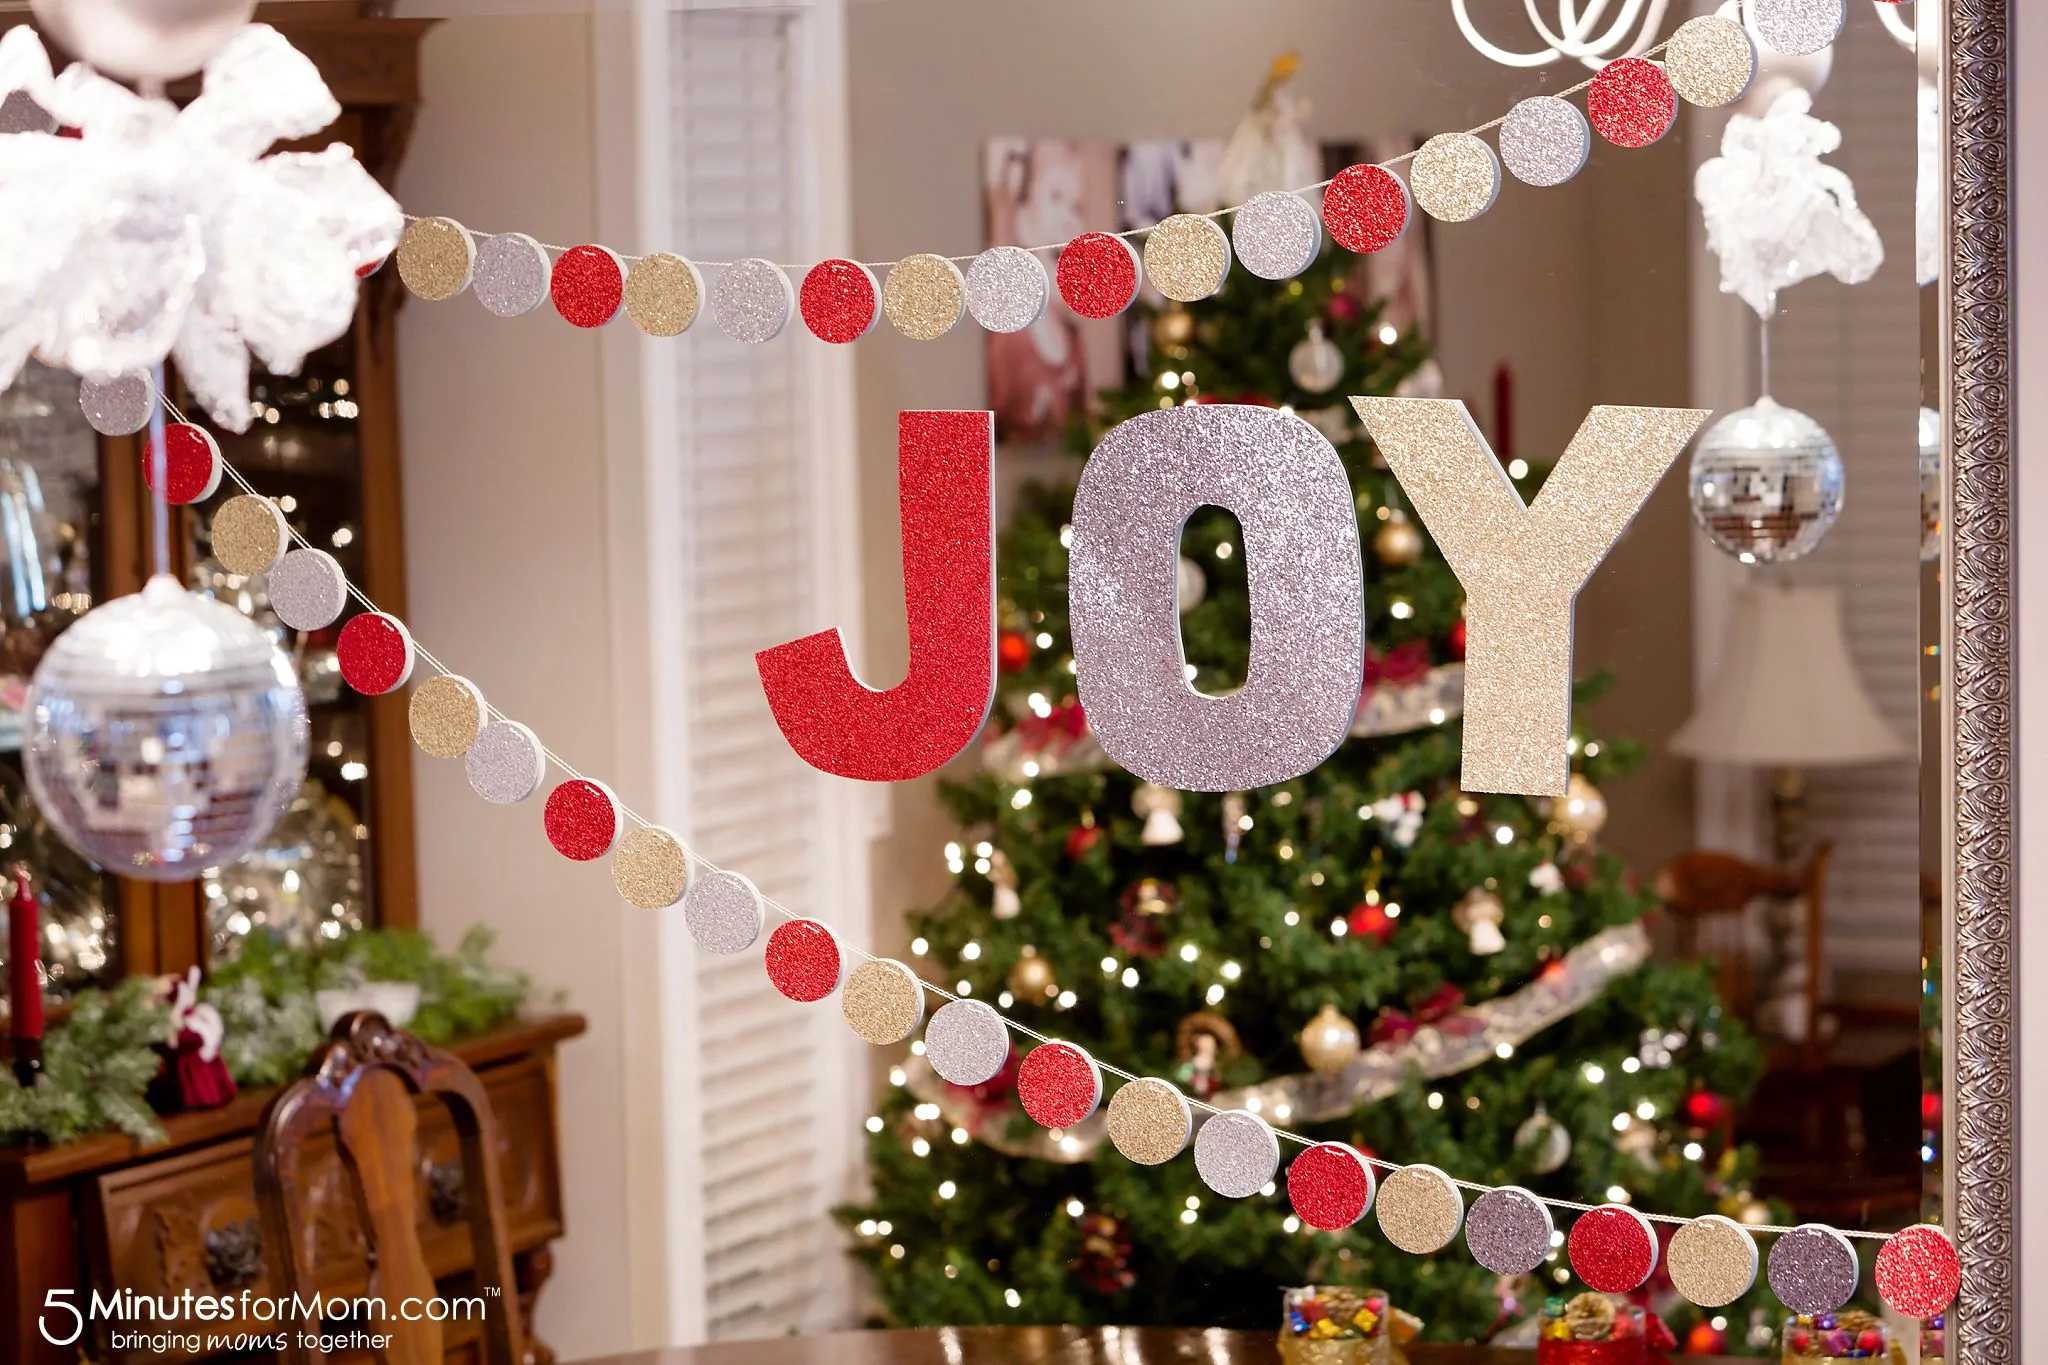
I made another garland and hung it on the large mirror that is above our dining room table.
I also added the JOY letters. I just love the glittery effect.
We use the same decorations every year, so it is so nice to add in some new elements.
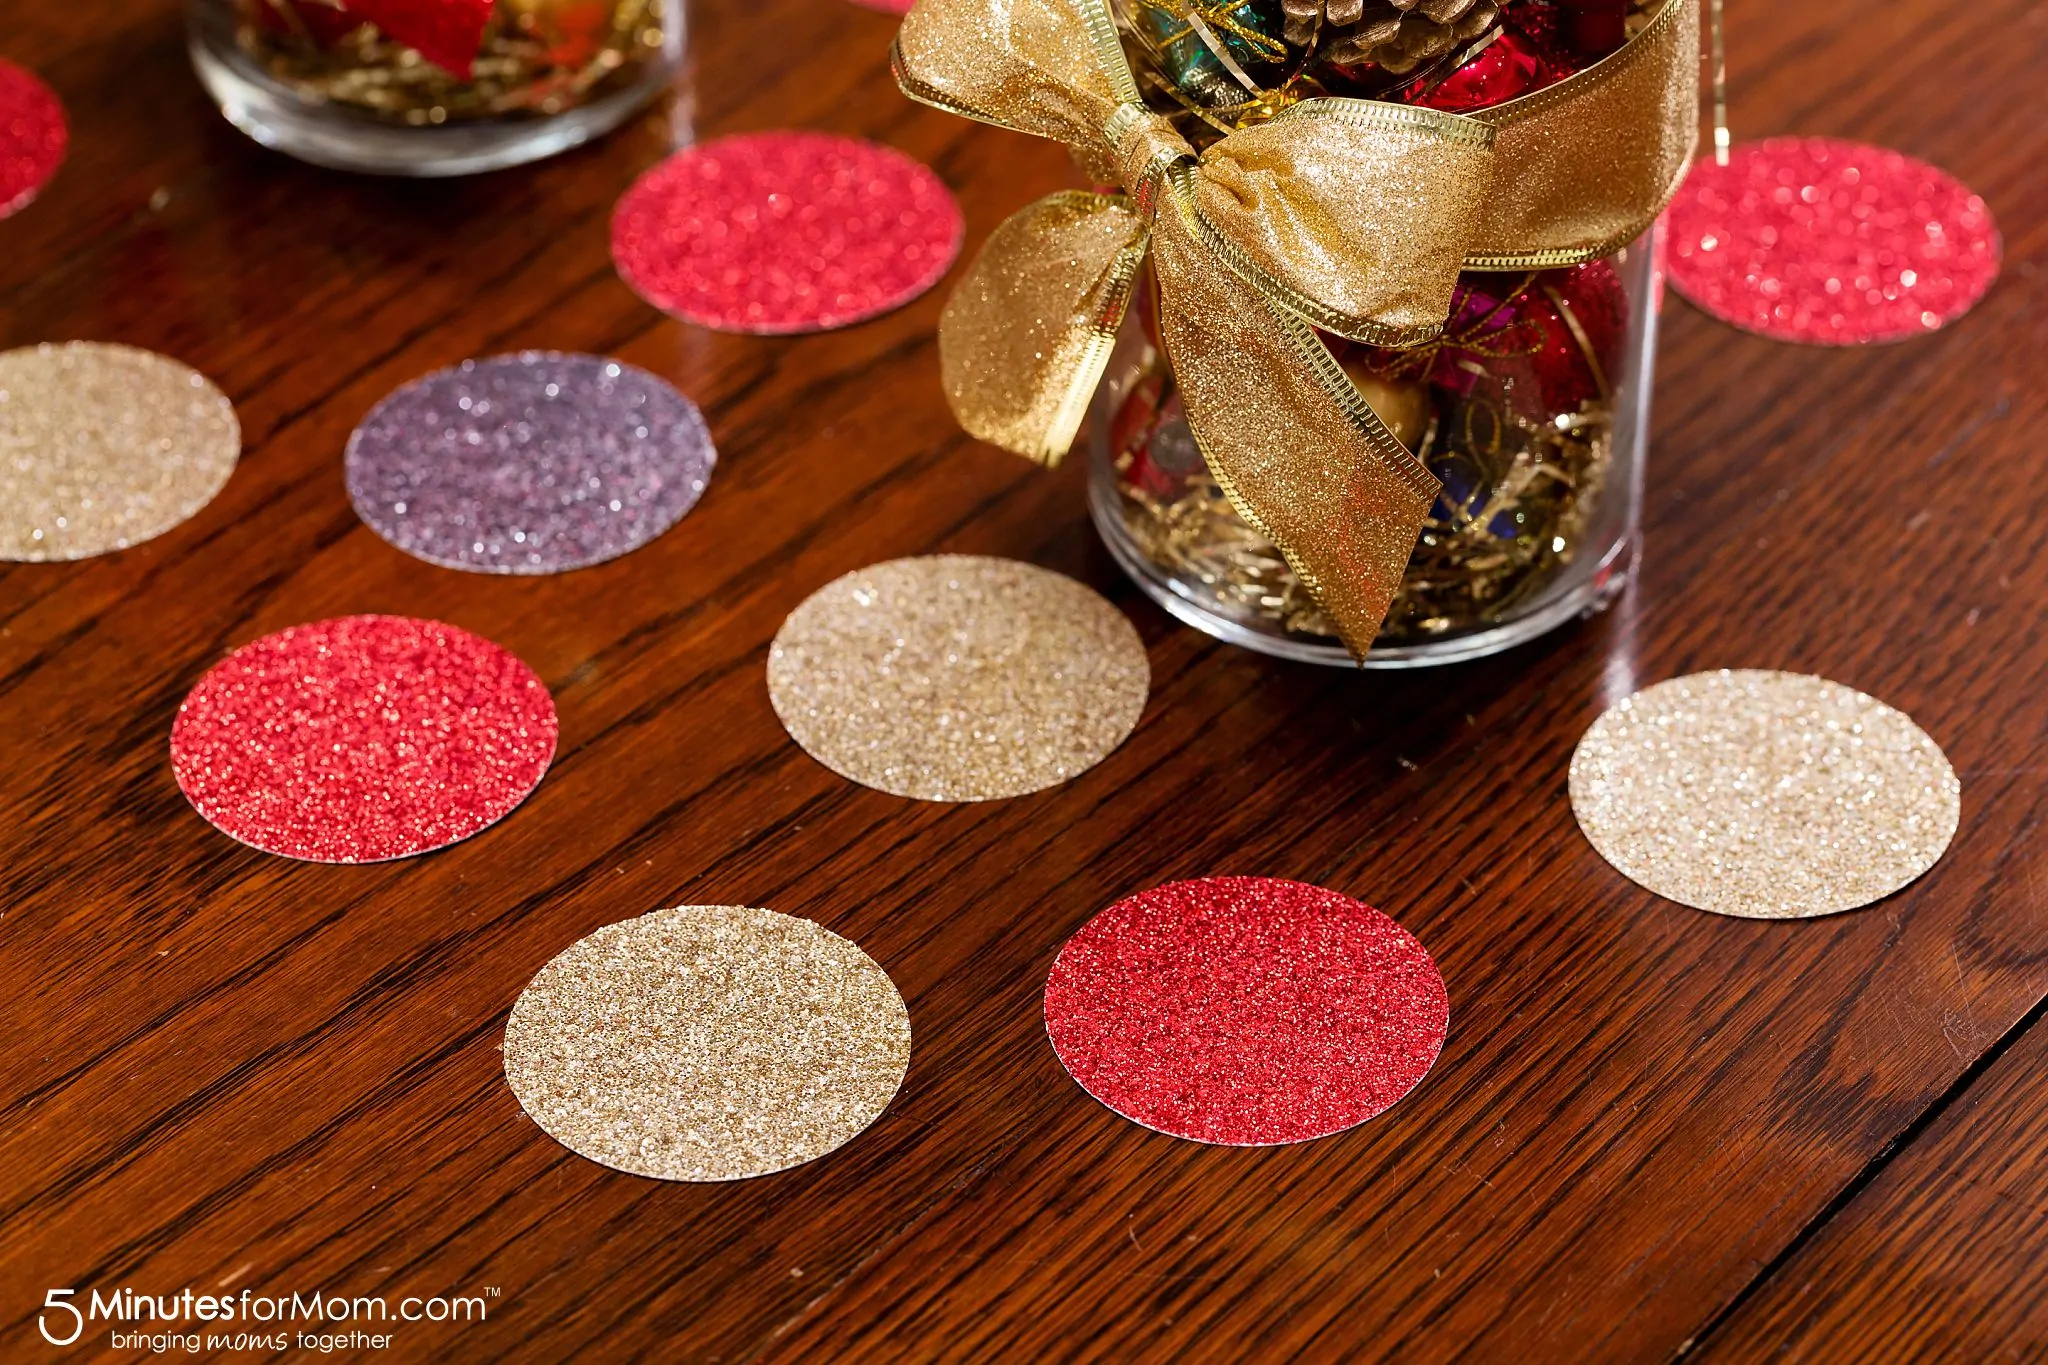
I placed the left over circles on our dining room table as some extra table decorations.
How to Make a DIY Holiday Garland
This garland is the perfect last minute holiday project. It will take you less than thirty minutes to punch out the circles, sew them together, and hang the garland.
With the kids home from school this week, you can get them involved. Older children can practice basic sewing skills and younger children can work on sorting and creating patterns with the colored circles.
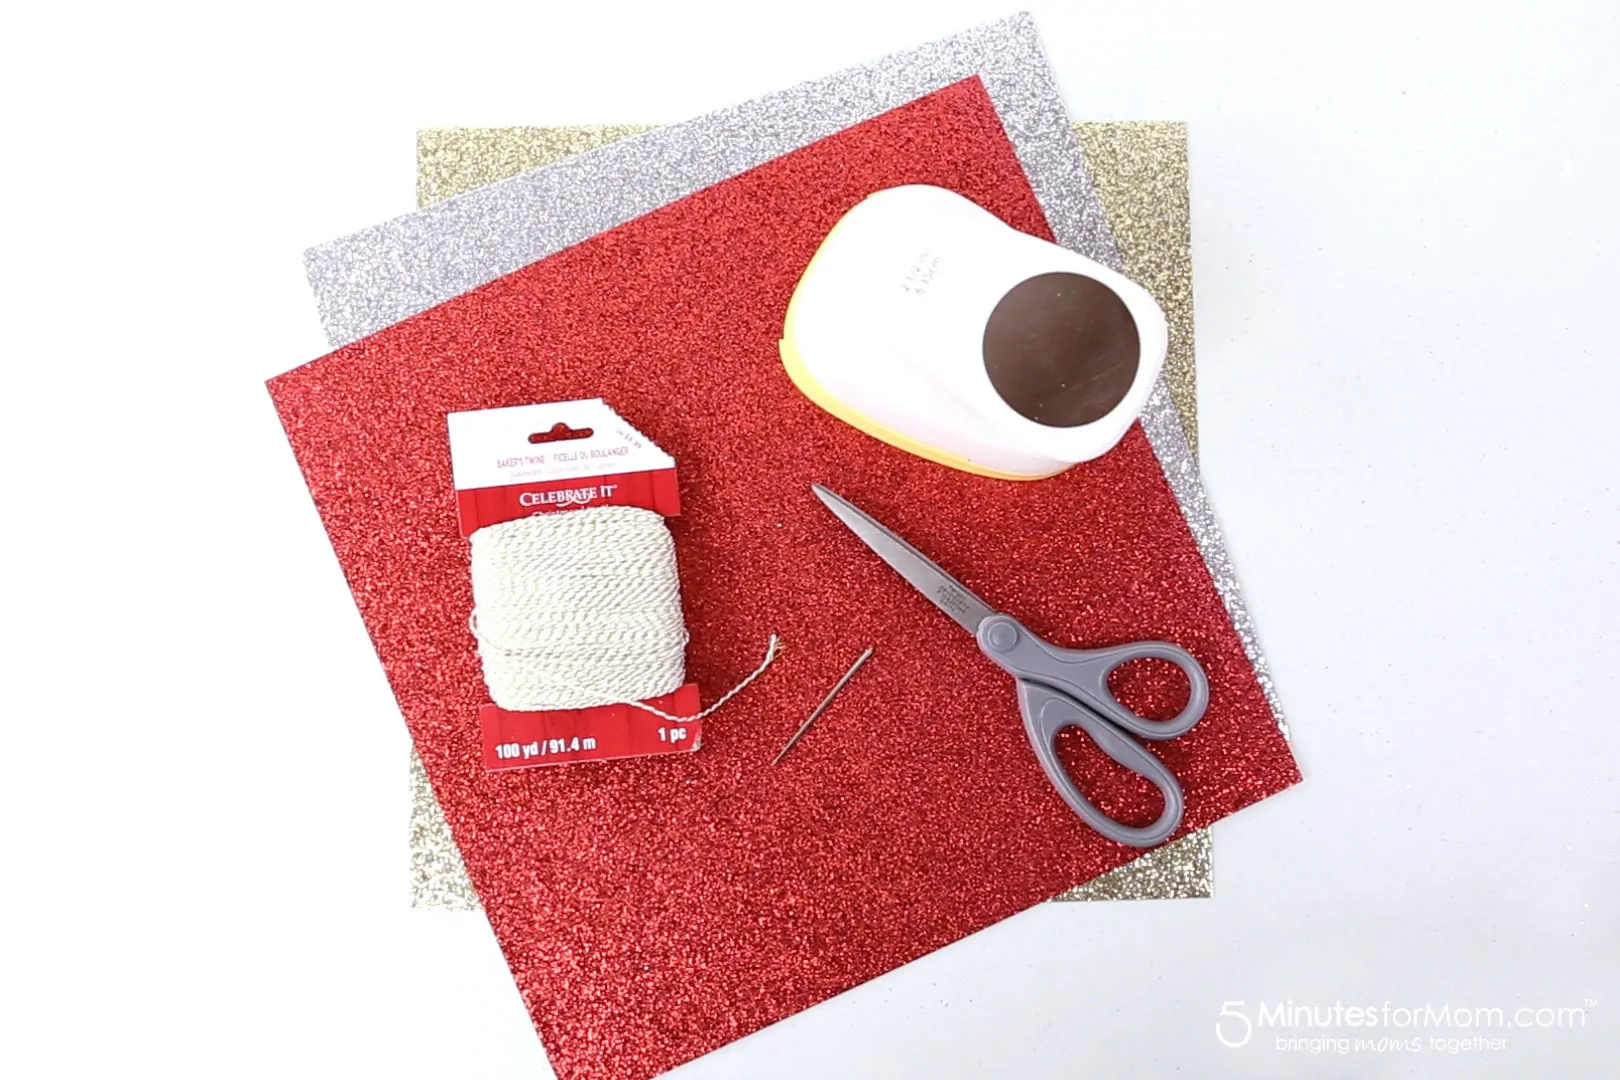
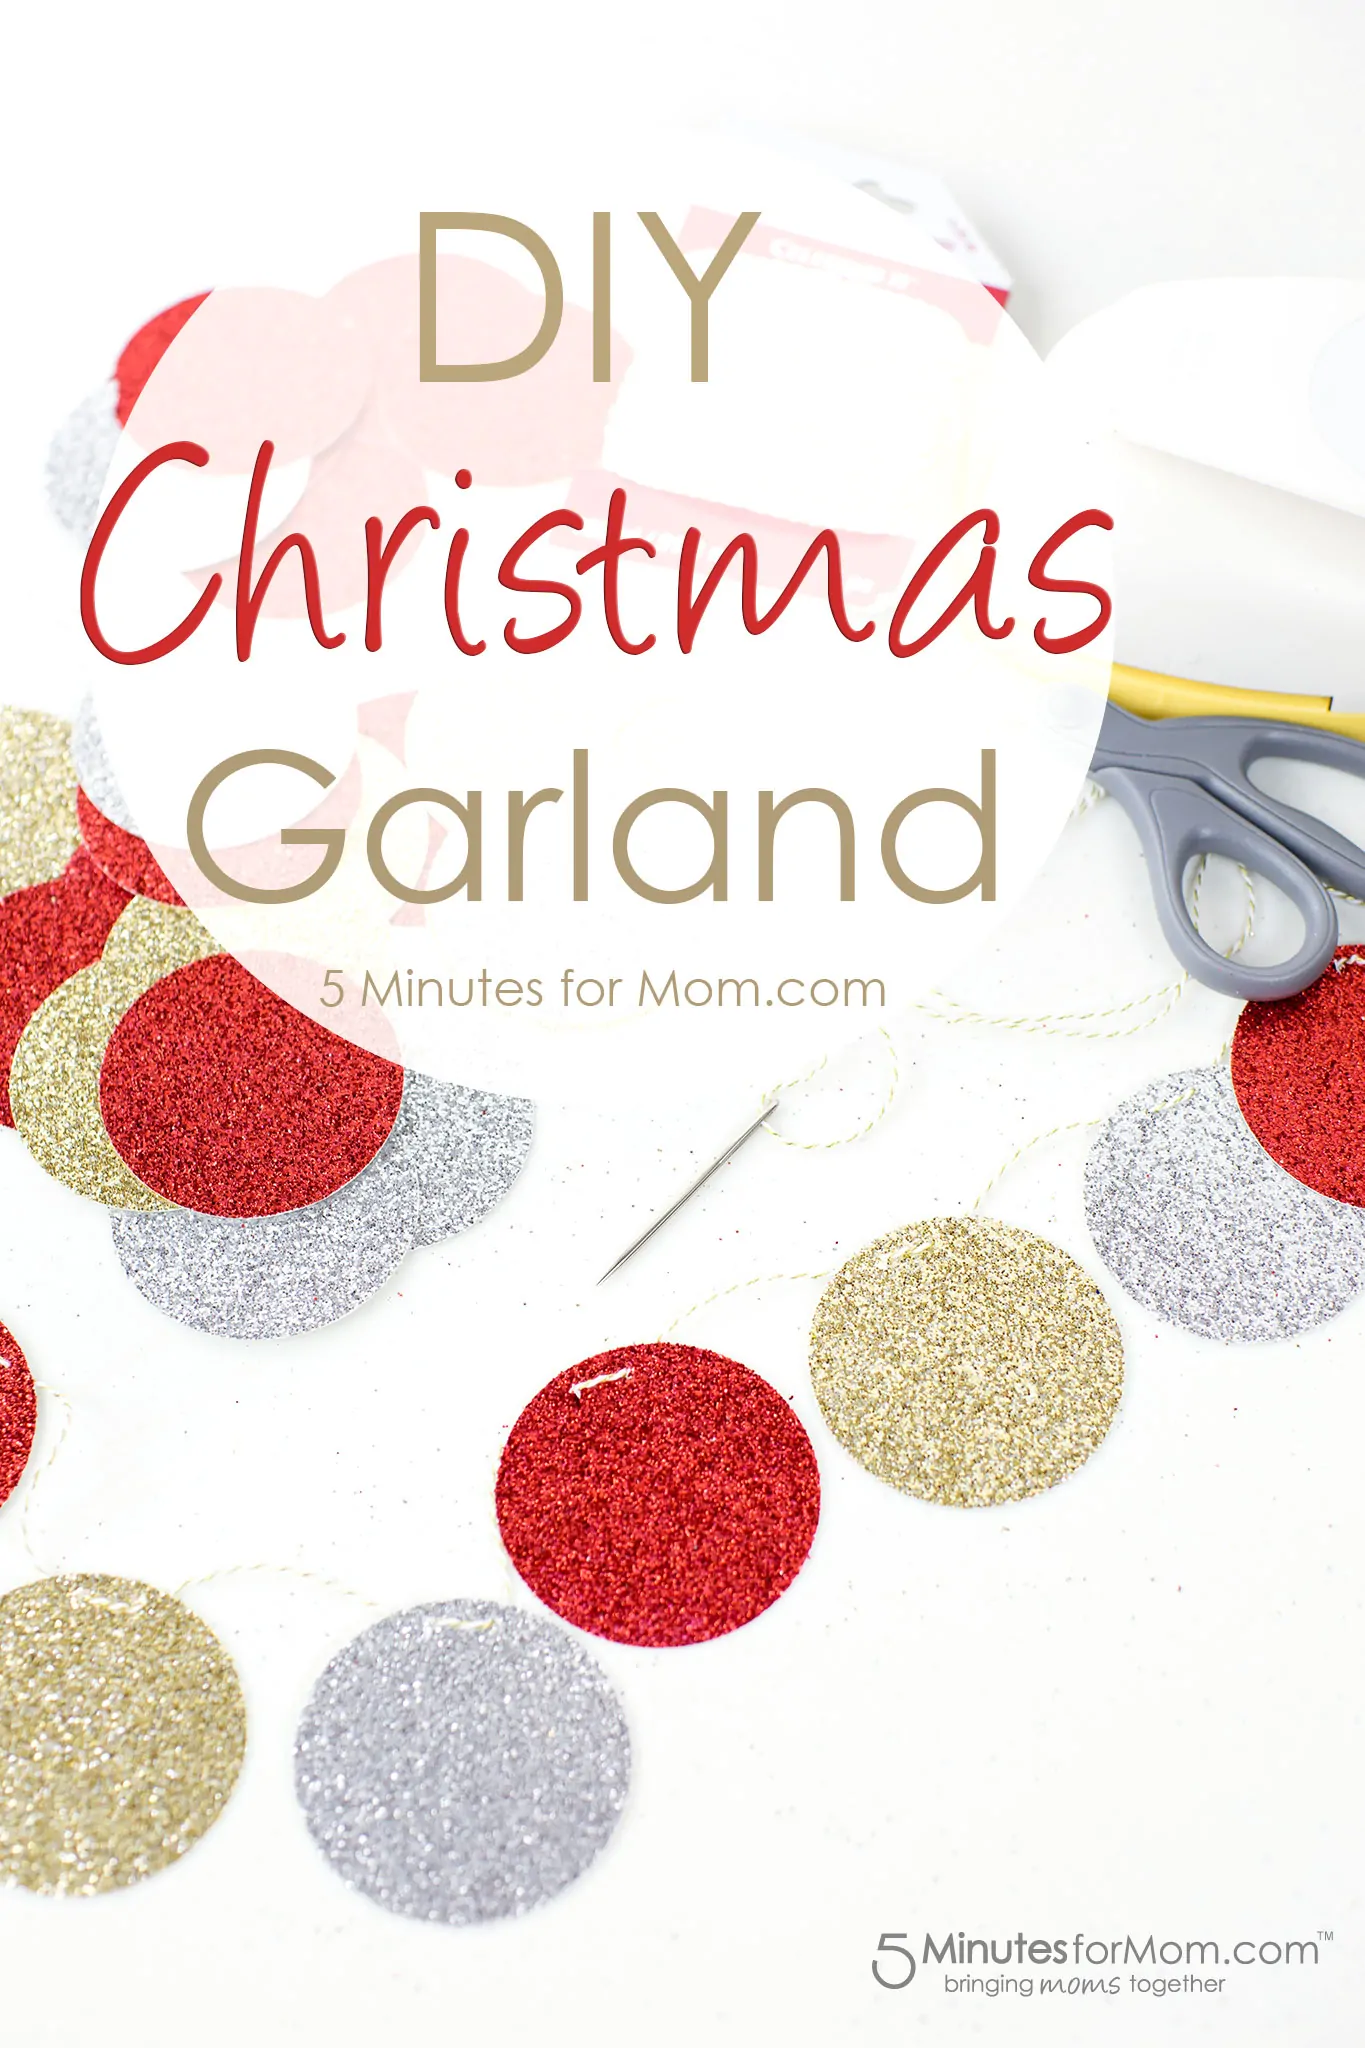
All you need to make the garland is some colorful scrapbook paper, (I bought my fabulous glitter scrapbook paper at the dollar store,) some string, (thread, thin ribbon, or wool will work too,) a large needle, scissors, and a 2 1/2 inch circle punch.
You can purchase a large circle punch like at craft stores such as Michaels. (Don’t forget to use a Michaels 50% off coupon when you buy it.)
If you don’t have a punch, no worries. Just cut out a circle – you can use a glass or can to trace a circle – and then use it as a template to cut out circles from your scrapbook paper.
First, punch or cut your circles. From one 12×12″ sheet of paper, you can get 16 circles if you are using a 2 1/2″ punch.
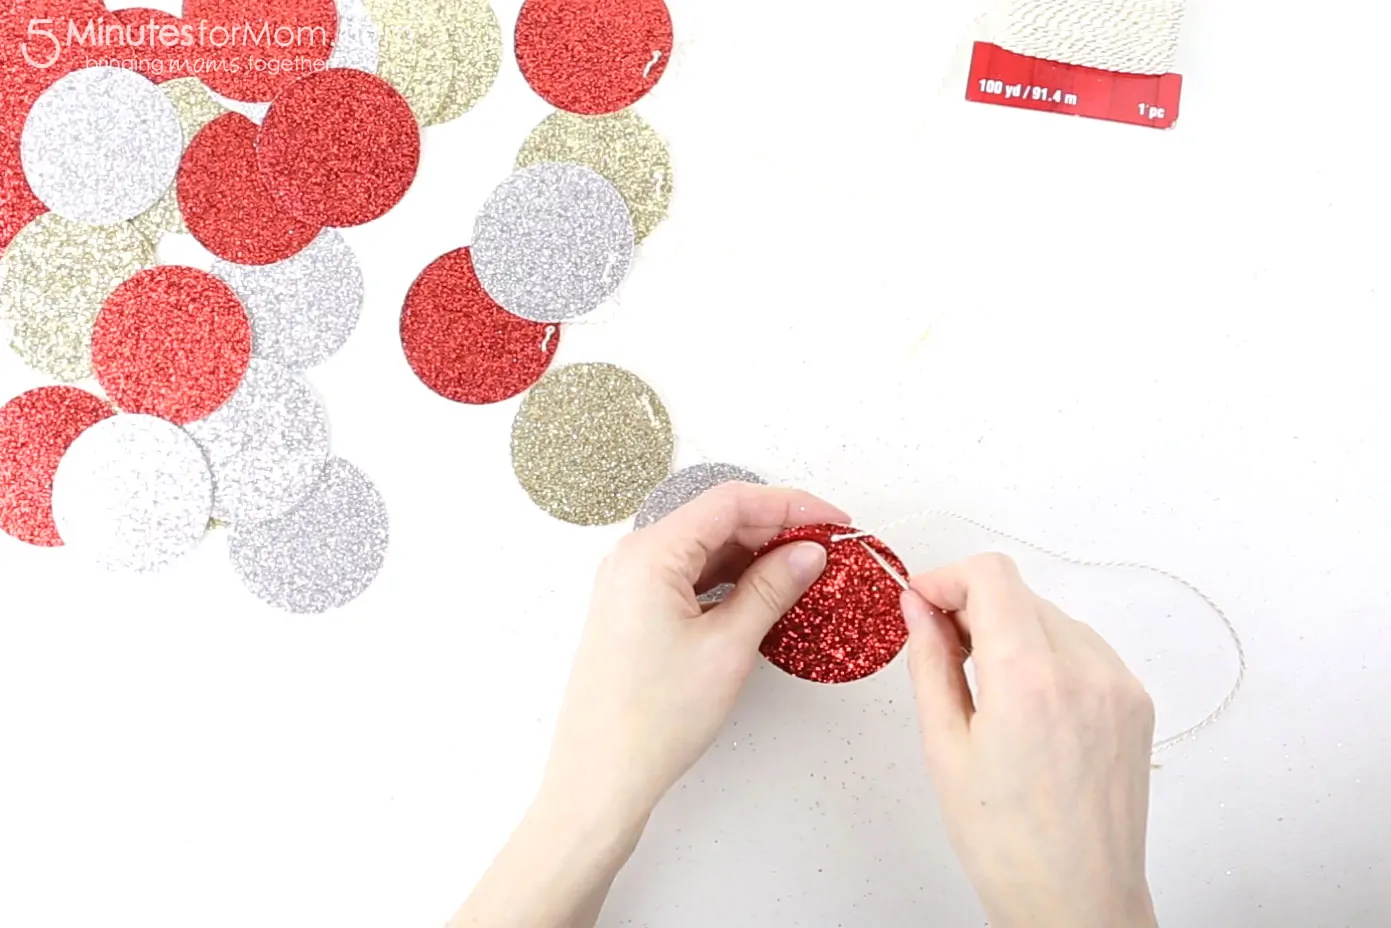
Then simply sew your circles together, piercing with your needle from the back of a circle and then from the front to the back.
Keep adding circles until the garland is your desired length. Once your garland is long enough, fine tune the spacing between your circles and hang your garland.
And if you want to watch (or share) this DIY Christmas Garland video on YouTube you can also find it here on YouTube.
More Christmas Crafts
We love making DIY Christmas decorations. Here are some of our our holiday crafts that you may want to try…
- 3D Paper Star Christmas Topper
- Christmas Tree Painting
- How to Make Paper Stars
- DIY Photo Ornament
- DIY Foam Christmas Ornaments
- DIY Christmas Pillows
- Driftwood Christmas Tree
- Painted Christmas Ornaments
Christmas Gift Guide
Check out each section in our Holiday Gift Guide for fabulously unique ideas…
Written by Janice Croze, co-founder of 5 Minutes for Mom
Talk with me: @5minutesformom and Facebook.com/5minutesformom
Pin with me at pinterest.com/5minutesformom




Anna says
Older children can practice basic sewing skills and younger children can work on sorting and creating patterns with colored circles. I love making DIY Christmas decorations. Once your garland is long enough, fine-tune the spacing between your circles and hang your garland.
Kelly thompson says
super cute!!!