This post may contain affiliate links. Read my disclosure policy here.
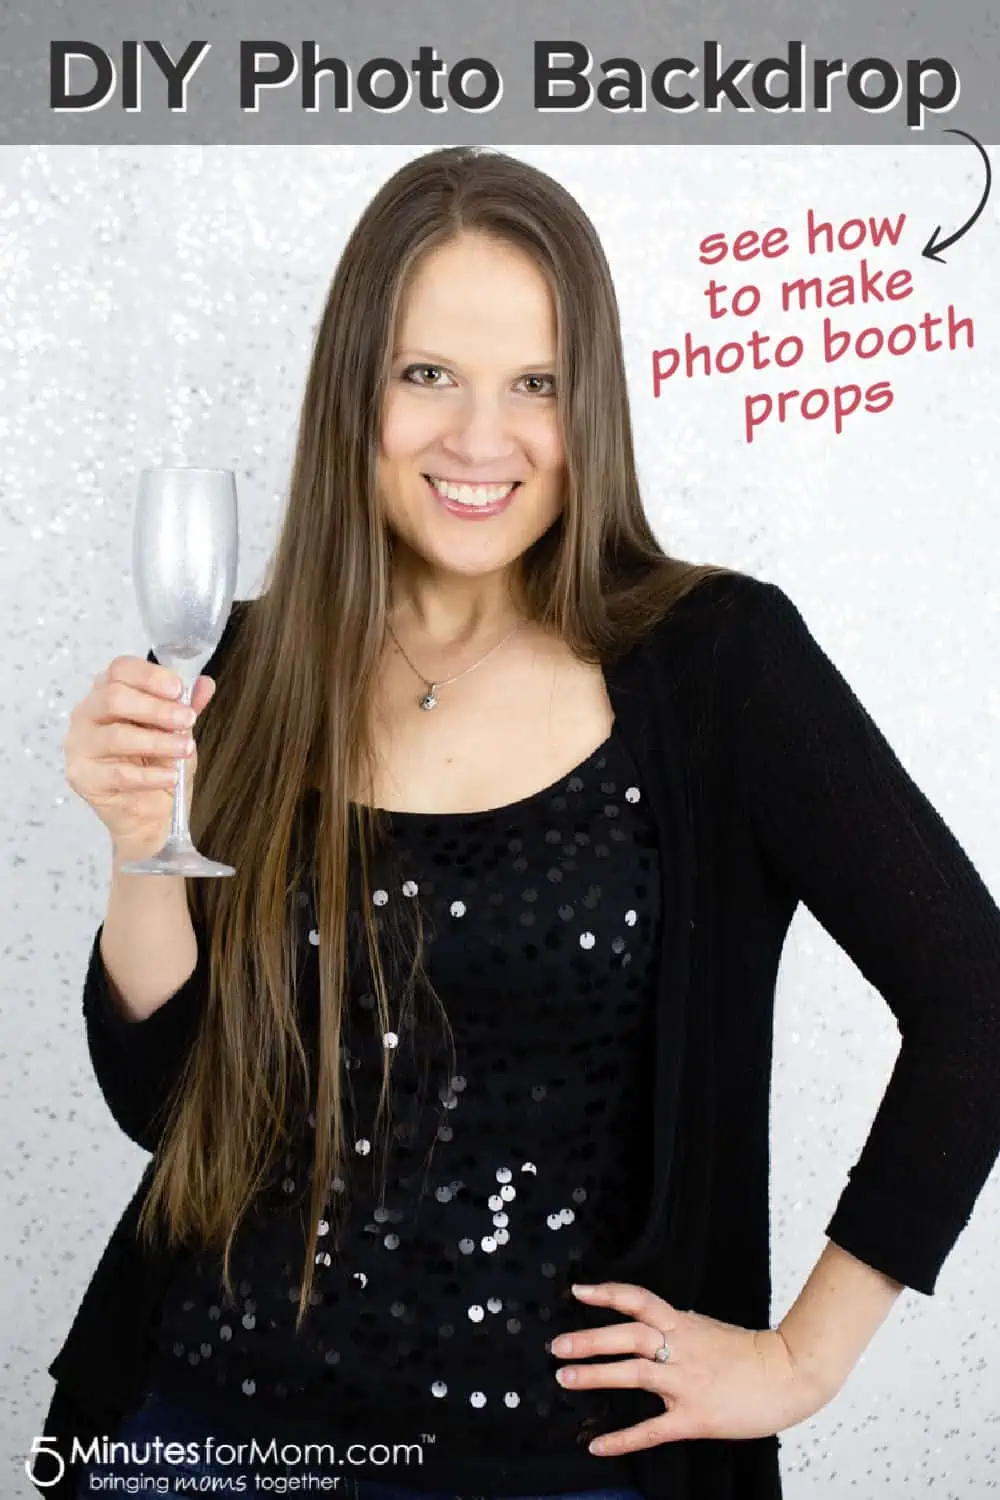
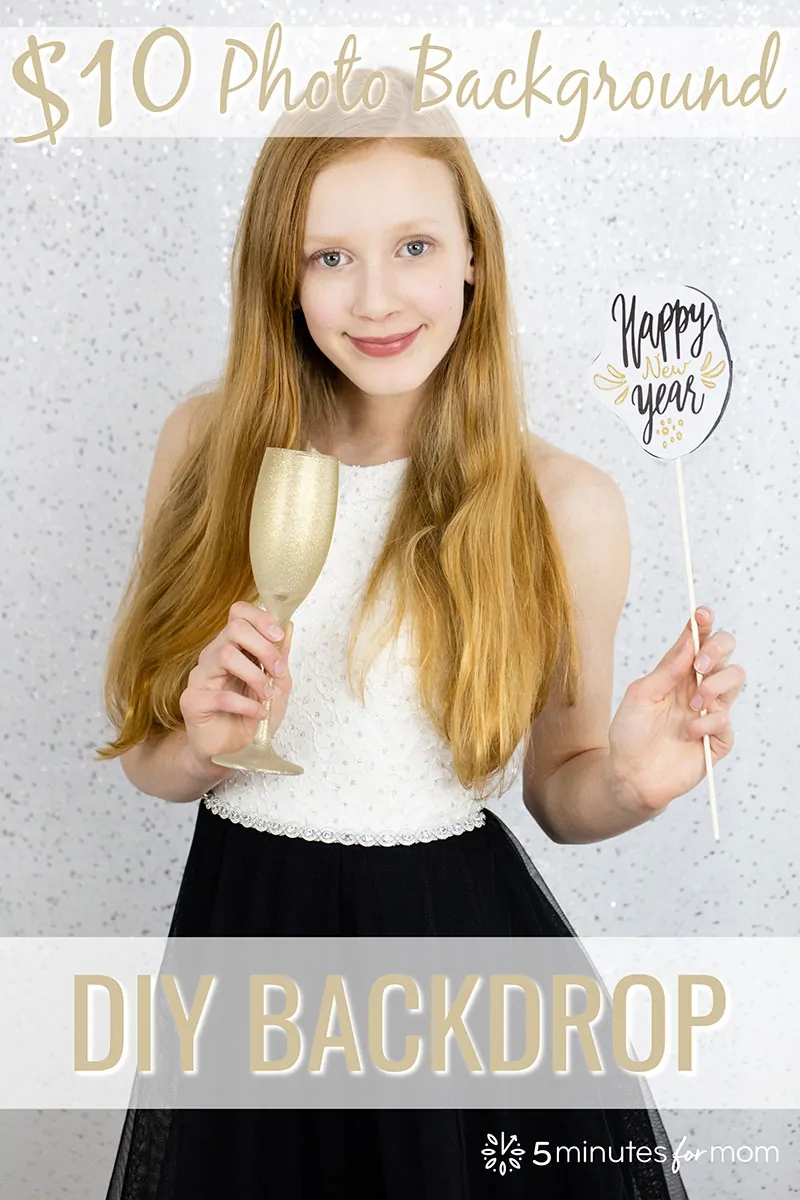
Do you want to see how to make a DIY photo backdrop? Gorgeous photography backdrops don’t need to be expensive. You can make your own photography background for next to nothing. Check out how to make this easy photo booth backdrop for only ten dollars…
As a photographer, a blogger, and a mom, I am always looking for the perfect background for my photos.
I have used all kinds of photo backdrops over the years, from 9-foot rolls of seamless paper to printed vinyl backdrops to foam core to various sizes and kinds of fabric — and they all have different pros, cons, and price points.
But it can actually be quite simple and affordable to make a photo backdrop that’s perfect for a holiday photoshoot or a photo booth.
For small photoshoots such as craft, food, or product shoots, I usually use pieces of foam core, wood, paper, or fabric to create DIY photo backgrounds.
And while I also have professional backdrops stands with 9-foot rolls of seamless paper in various colors for my studio work, I don’t always have the space, time, or desire for that whole set up.
As well, plain white or colored seamless backgrounds can get boring.
Often, you want something extra fun — especially if it is for a holiday-themed photo shoot or a party or a special event, such as a wedding photo booth or a New Year’s Eve Party photo booth.
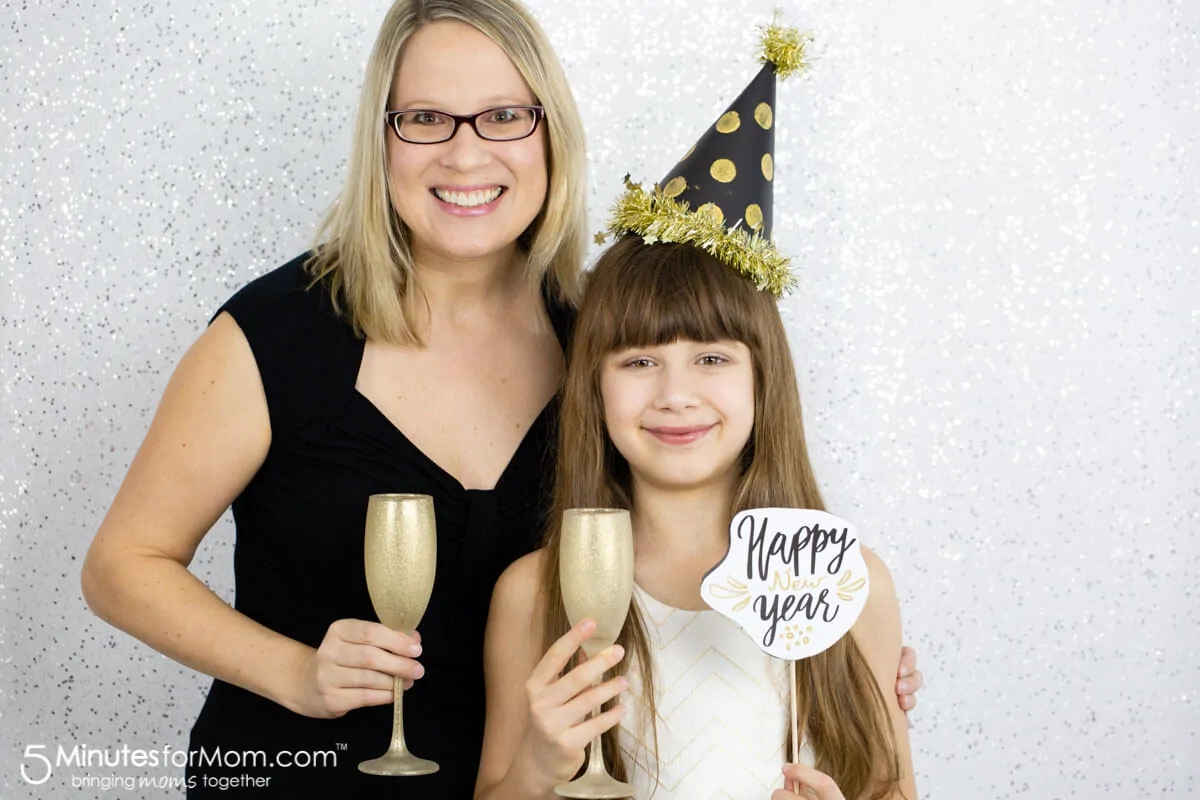
I was so thrilled with this low-budget DIY photo backdrop that I made for our New Year’s Eve photoshoot that I had to tell you how I made it.
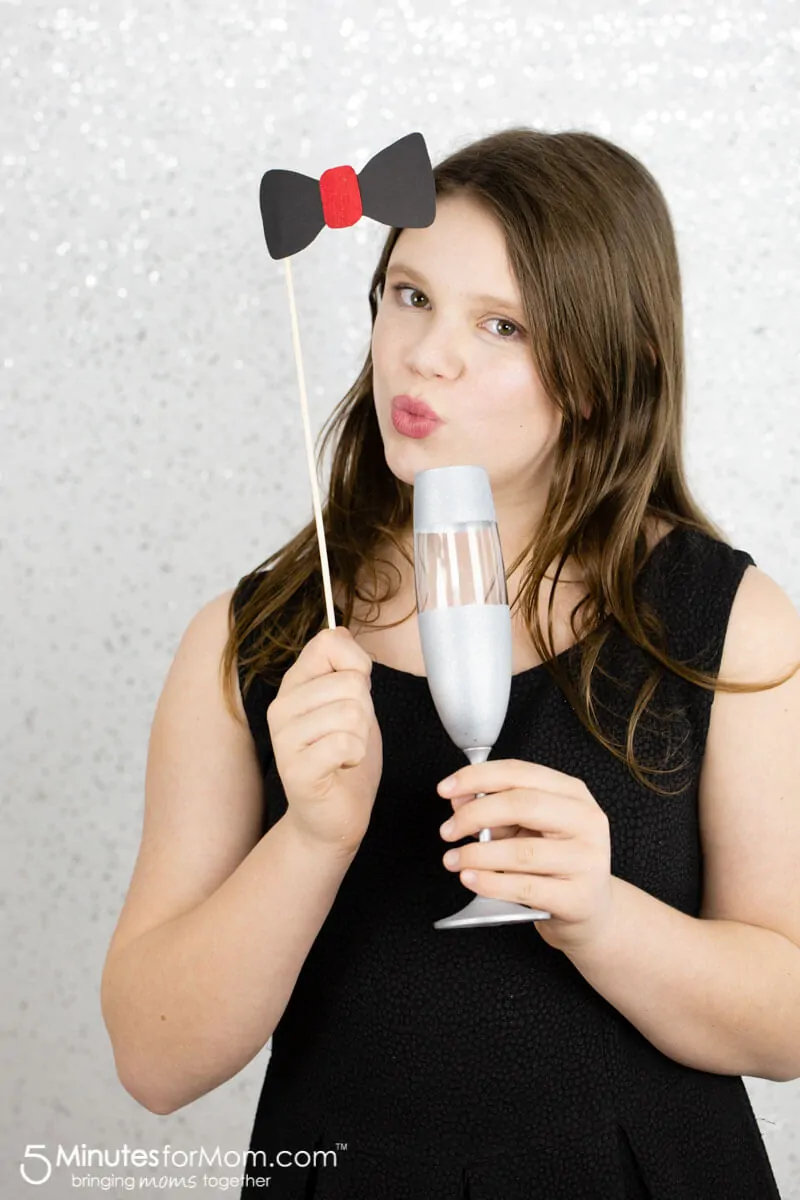
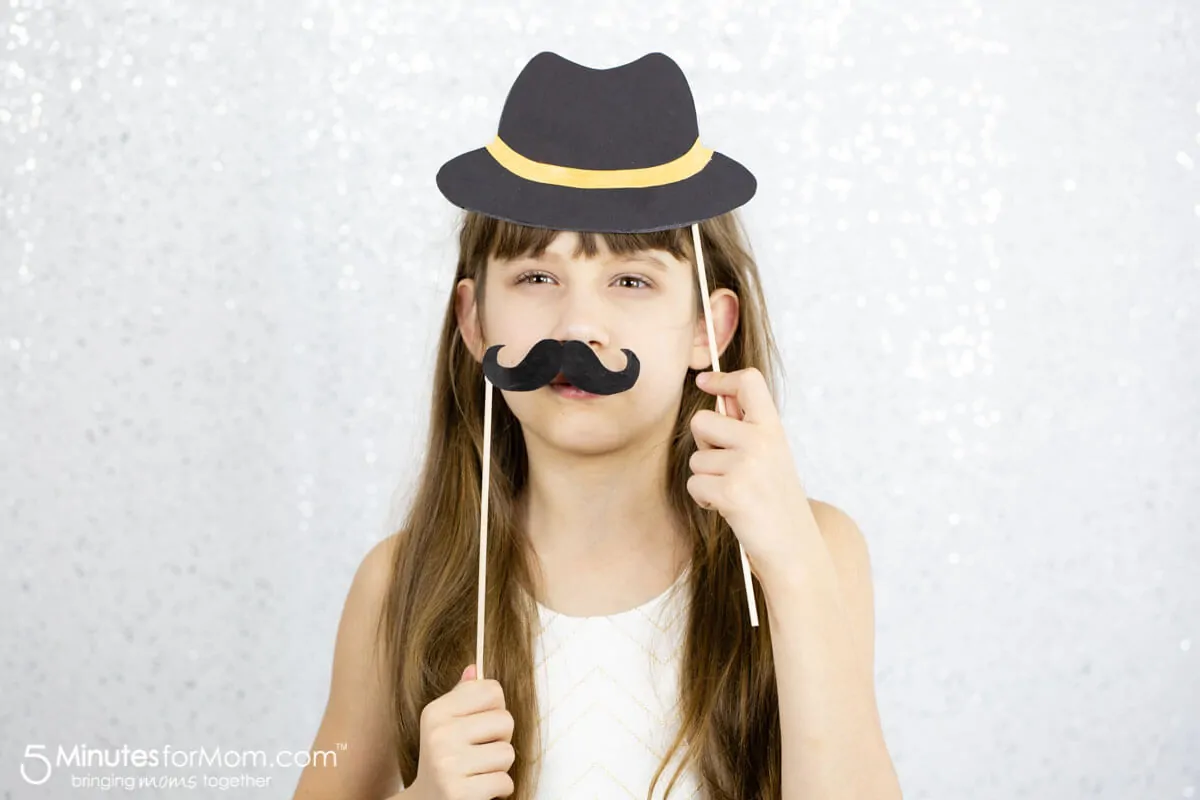
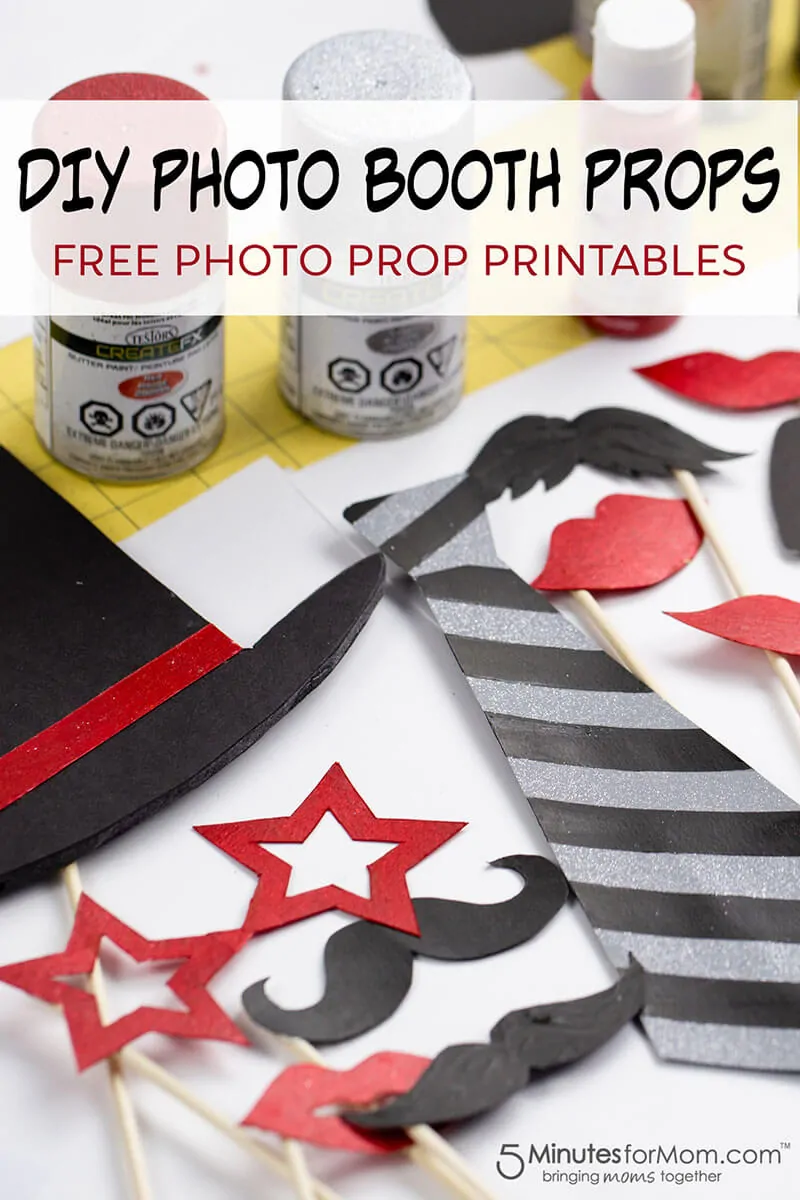
As you can see in the video below, you can add even more style to your photos with these DIY photo booth props…
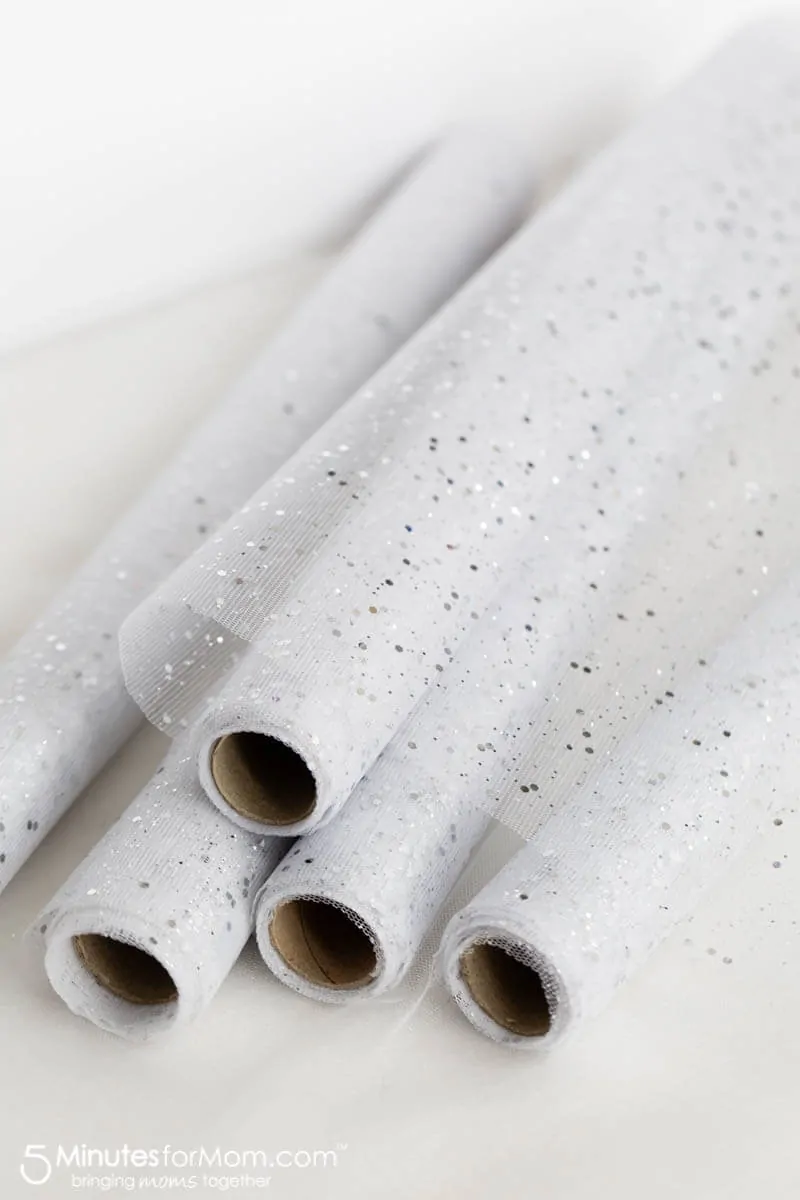
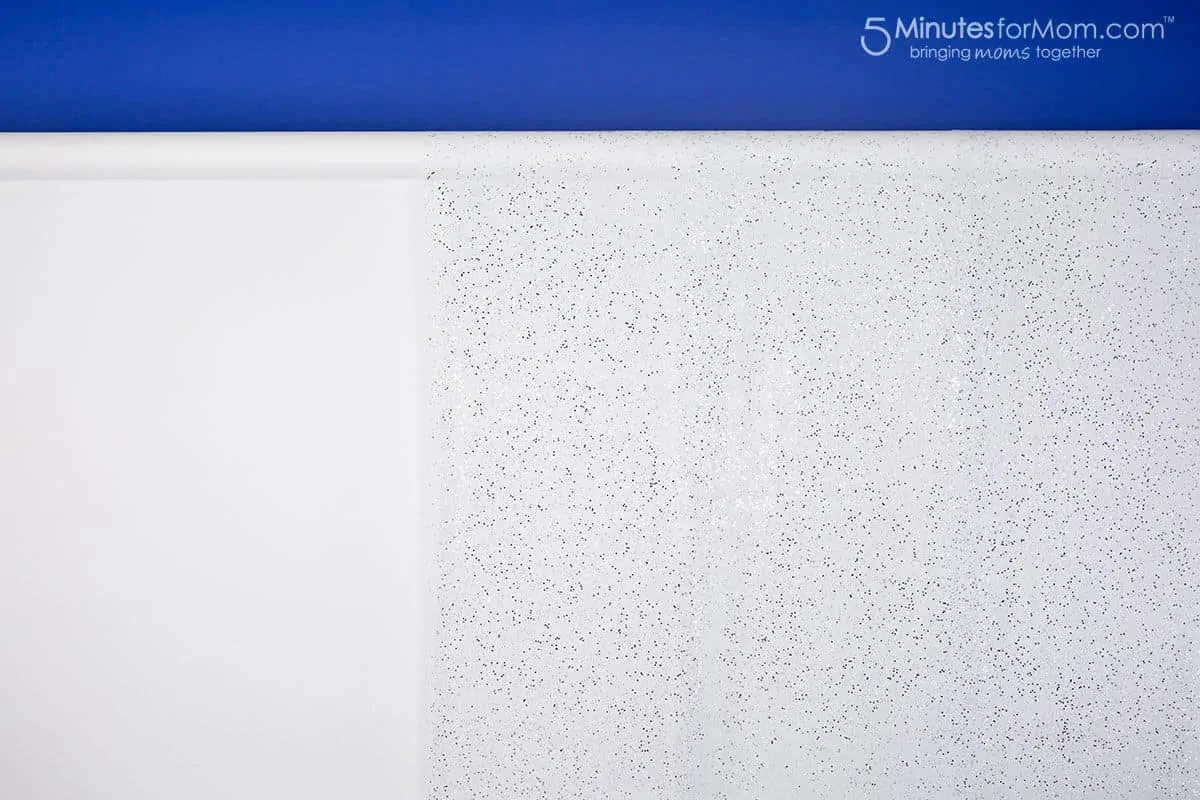
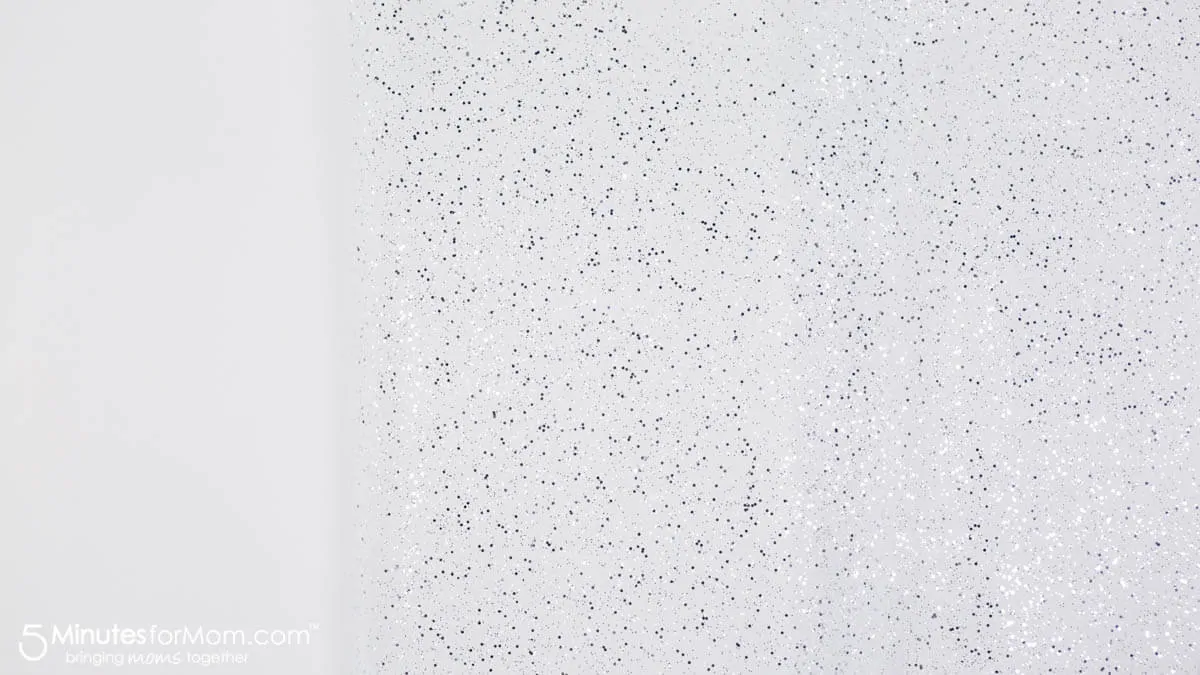
This glittery, easy DIY backdrop only cost me ten dollars — I made it out of five rolls of gift-wrap fabric that I bought at the dollar store.
Yes, this sparkling photo backdrop is simply made of inexpensive glitter fabric and it is so easy to set up…
How to Make a DIY Photo Backdrop
Step 1 – Prepare a Plain Wall or Area for your Backdrop
If the fabric you chose for your DIY backdrop is lightweight or translucent, you need to ensure the color of the wall behind it will not show through.
If you have light-colored walls, you can hang your background fabric directly on your walls.
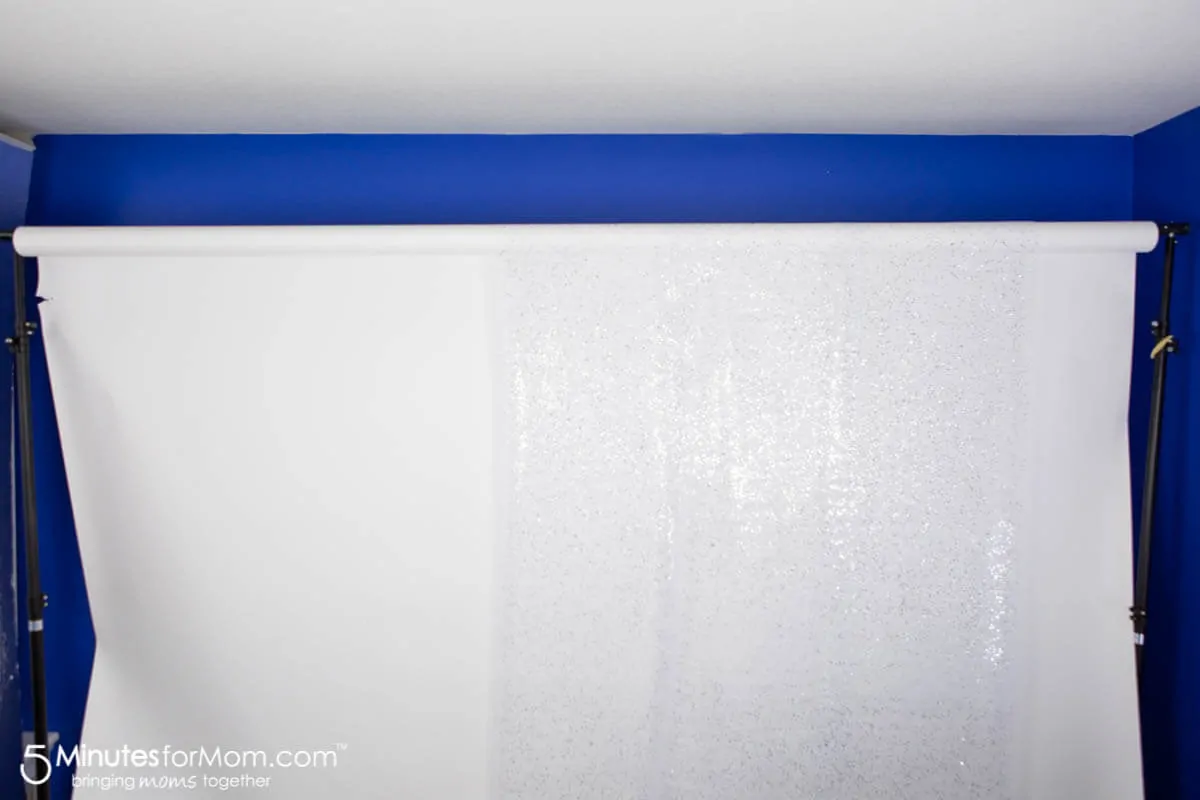
Since the room where I was shooting has blue walls, I needed to cover the blue with white paper before I attached the white glitter fabric.
In my case, I was able to squeeze my 9-foot seamless white paper and stands into the room and so I taped my fabric onto that white paper.
But, if you don’t have a 9-foot white seamless and backdrop stand, no worries.
You can cover the wall with white craft paper, wrapping paper, or poster paper.
The white behind the fabric doesn’t have to be perfect – anything will do.
Because you will have your fabric draping down in front of the white paper, you won’t see the seams where the paper connects. You just want to make sure that distracting colors don’t show through.
Step 2 – Hang your Fabric
Next, you need to hang your photo backdrop fabric or secure it to the wall.
If your fabric is lightweight, you may be able to use masking tape or painter’s tape.
Because my rolls of fabric were so light, I used green painter’s tape to hold them up, taping the top of each strip of fabric to my seamless paper to create the photography background.
If you are using a fabric that is too heavy to hold with painter’s tape, there are some other ways you can drape fabric for your DIY backdrop.
You can use a cheap curtain rod from the dollar store and attach it to the wall using command strip hooks so that you don’t damage your walls. If you are covering a wide area as I did, and you are using lightweight curtain rods, you may need to use two curtain rods to reach the entire way across.
Alternatively, you can tie a fishing line, or a rope, string, etc., across your space, attaching the ends on command hooks or hooks that you have secured in the wall studs or the ceiling.
To attach the photo backdrop fabric to the curtain rods or the fishing line, turn over the top few inches of each fabric strip and use clamps, large binder clips, or even safety pins to secure.
When you hang your strips of fabric, overlap the edges of the fabric 2-3 inches to keep the fabric curling open and showing the wall/paper behind.
If the fabric is rolling too much at the bottom, tape the bottom of the fabric to the wall.
Step 3 – Consider the Floor
If you are photographing people standing and you are just shooting them from the waist up, then you only need your backdrop to cover that area and you don’t have to worry about what the bottom of your photo backdrop looks like.
But most often, you want to ensure that the junction between the photo backdrop and the floor looks pleasing as well.
If you are photographing young children or babies on the floor, then you will need to have your background extend to the floor.
So if you want your DIY photo backdrop to extend to the floor for photos with little ones, one quick fix is to place a cozy blanket on the floor and that will help hide the bottom of the fabric as it reaches the floor.
But if you have people coming and going from your photo booth area and you don’t want anyone tripping or treading on blankets, you can cut your fabric strips to reach the floor evenly, and secure with double-sided tape to the wall or your white background paper.
For a polished look, you can buy a piece of white molding and place it along the bottom of the wall with the fabric backdrop tucked neatly behind it.
Photography Tip
When you are photographing in front of any backdrop, try and have your subject stand at least a couple of feet away from the background (as far away as space will allow.)
Moving your subject away from the backdrop will allow the photo background to blur a bit.
As well, you will want to shoot with a shallow depth of field — keep your aperture as wide open as you can, which will depend on how many people you are shooting, how much light you have, and what kind of lens you are using.
(Generally speaking, for a photo booth set up, you will probably want to shoot between f/4 and f/5.6.)
Photobooth Props
If you are planning a photo booth for a wedding or a party, we have FREE photo prop printables to make your photo props in our DIY New Year’s Eve Photo Booth Props post.
Whether your photobooth is for New Year`s Eve or for a wedding, anniversary, or birthday party, these DIY photo props will work beautifully.
Also Try These DIY Projects
Once you start making DIY projects, you’ll get inspired to keep going and create more and more.
Take a look at a few of these fabulous DIY ideas…
Written and photographed by Janice Croze, co-founder of 5 Minutes for Mom
Talk with me: @5minutesformom and Facebook.com/5minutesformom
Pin with me at pinterest.com/5minutesformom



Judith Gould says
I think this is very creative and original!
Dawn Schamp says
Janice, thank you for the easy to understand instructions for a photo backdrop! I write reviews for a wonderful blog, so I’m always looking for ways to make my pictures pretty. I’m so glad I came across this in my email! Happy New Year!!
Janice says
Oh wonderful Dawn — I am so glad you found it helpful! Thank you for the feedback! 🙂