This post may contain affiliate links. Read my disclosure policy here.
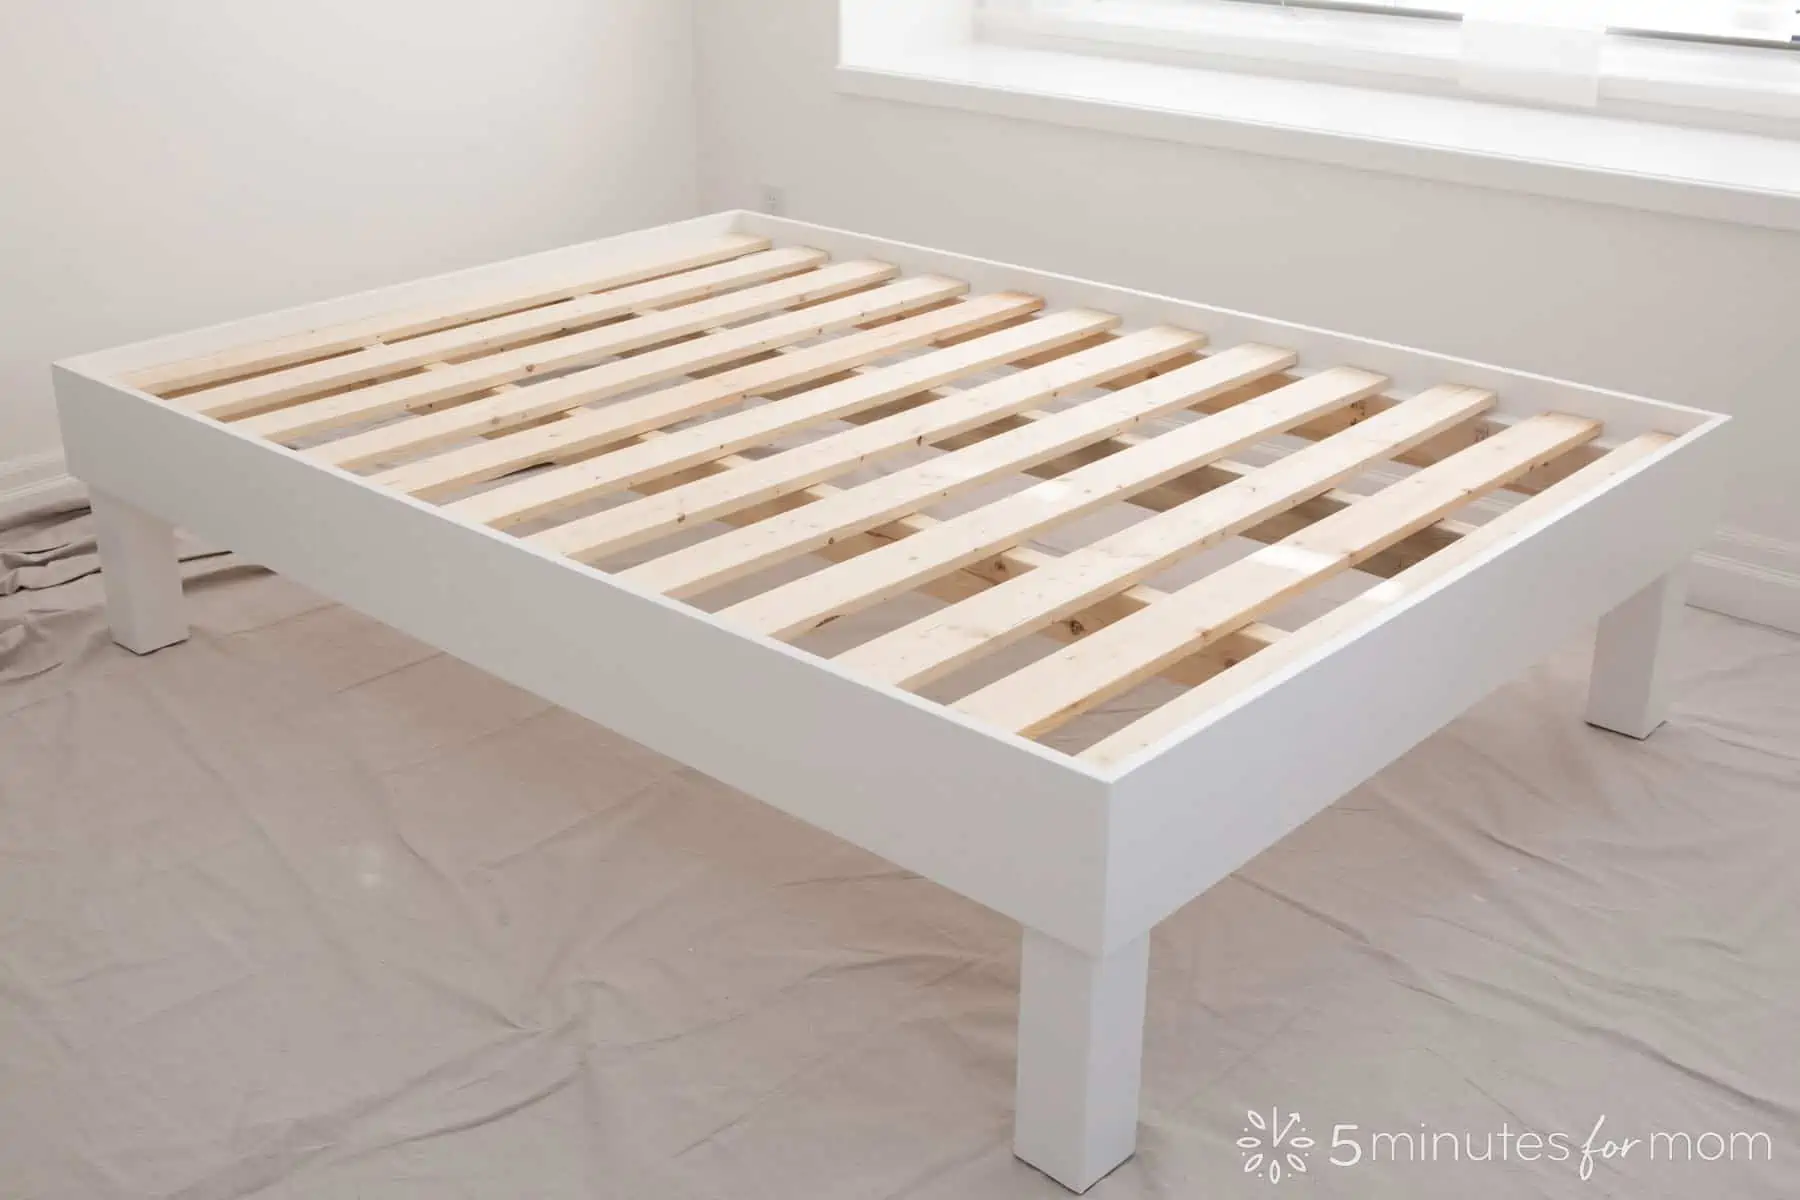
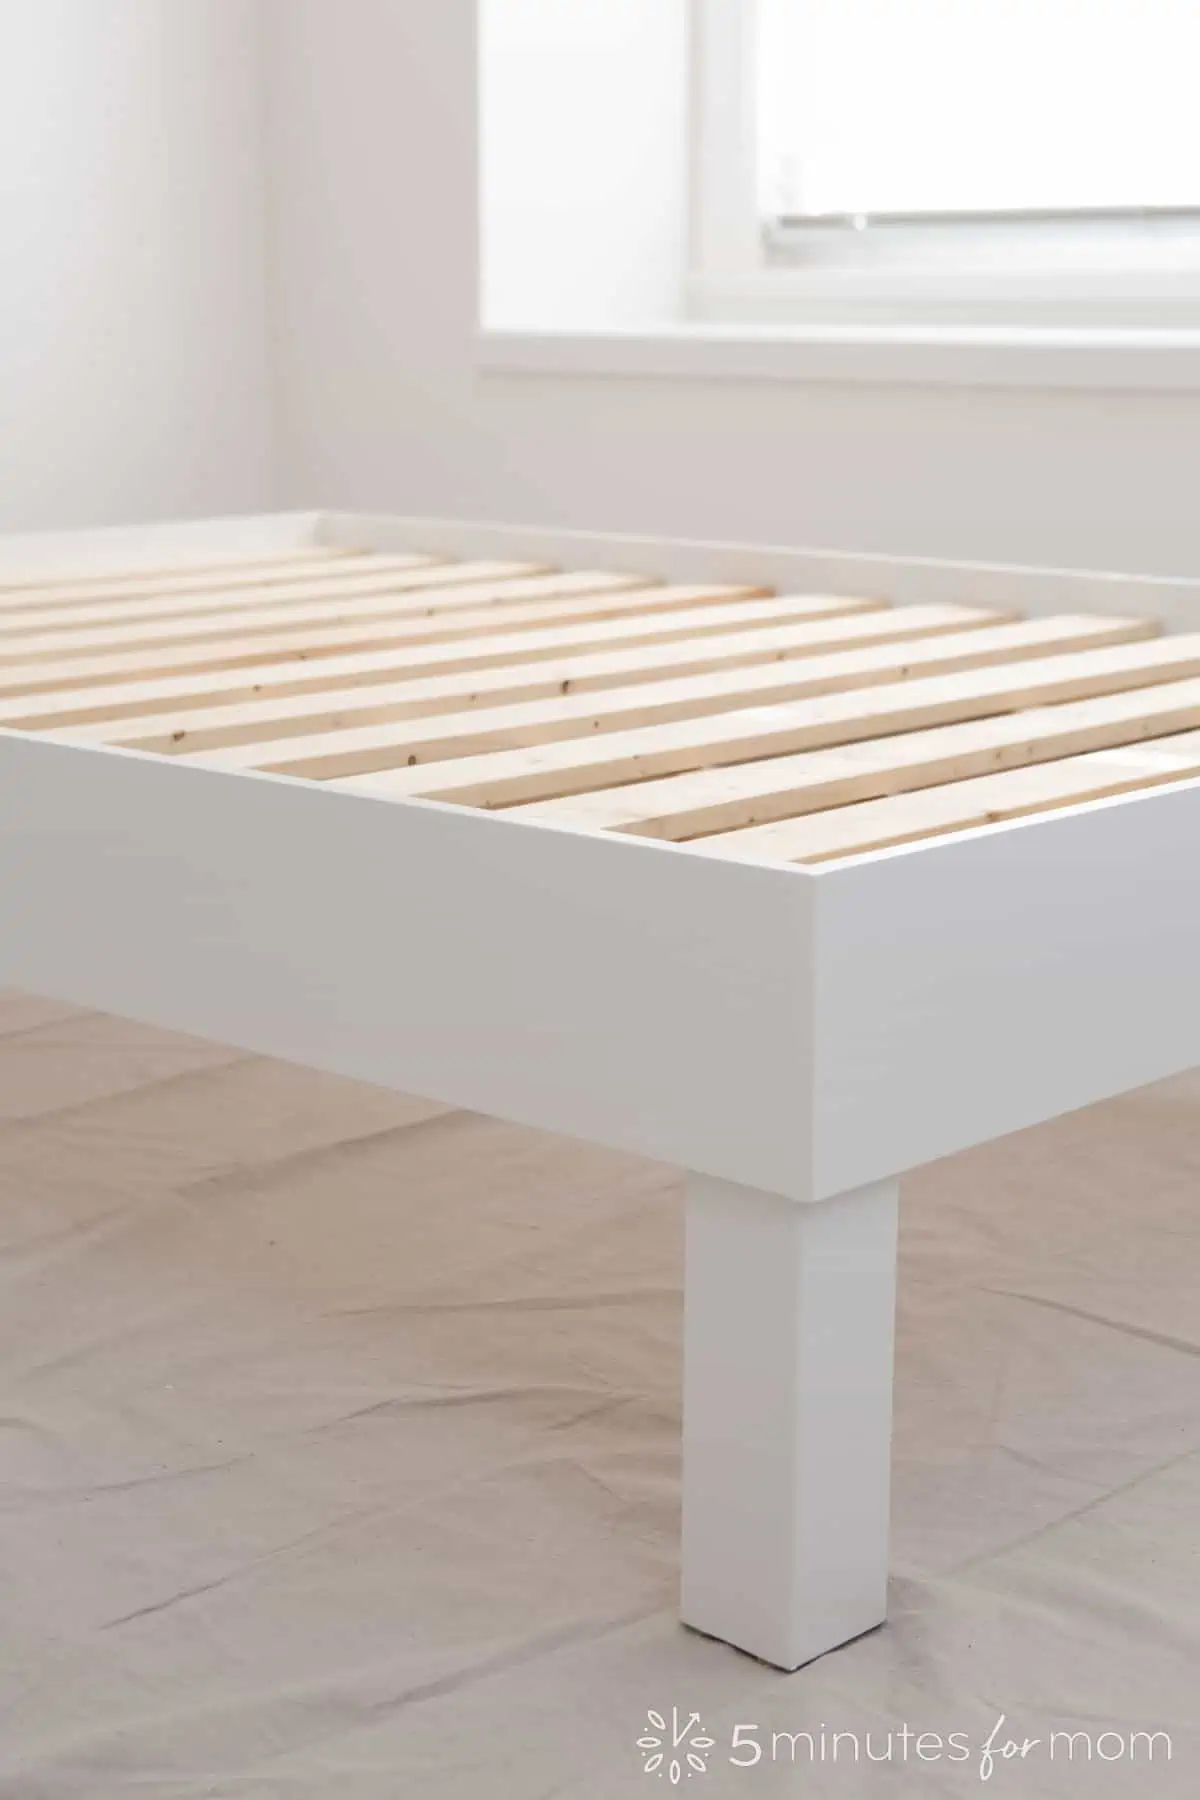
In this DIY Wood Bed Frame tutorial post and video, we walk you through everything you need to know about how to build a bed frame, including downloadable free building plans and lumber cut list.
Can I Make My Own Bed Frame?
Yes, you can build your own wood bed frame!
Sturdy, well-built wood bed frames are expensive to buy. But with just a few basic tools and some lumber from your local hardware store, you can make a beautiful, solid wood bed that will last for generations.
While building your own bed may sound daunting, it is actually a basic DIY project that even beginner DIYers can handle.
Building this full-size DIY bed frame for my daughter’s room is the most exciting and rewarding DIY project I have ever tackled. If you are considering making your own DIY wood bed frame, let me encourage you: “Yes, you can do it AND the final result will be so exciting, you might get addicted to building your own furniture!”
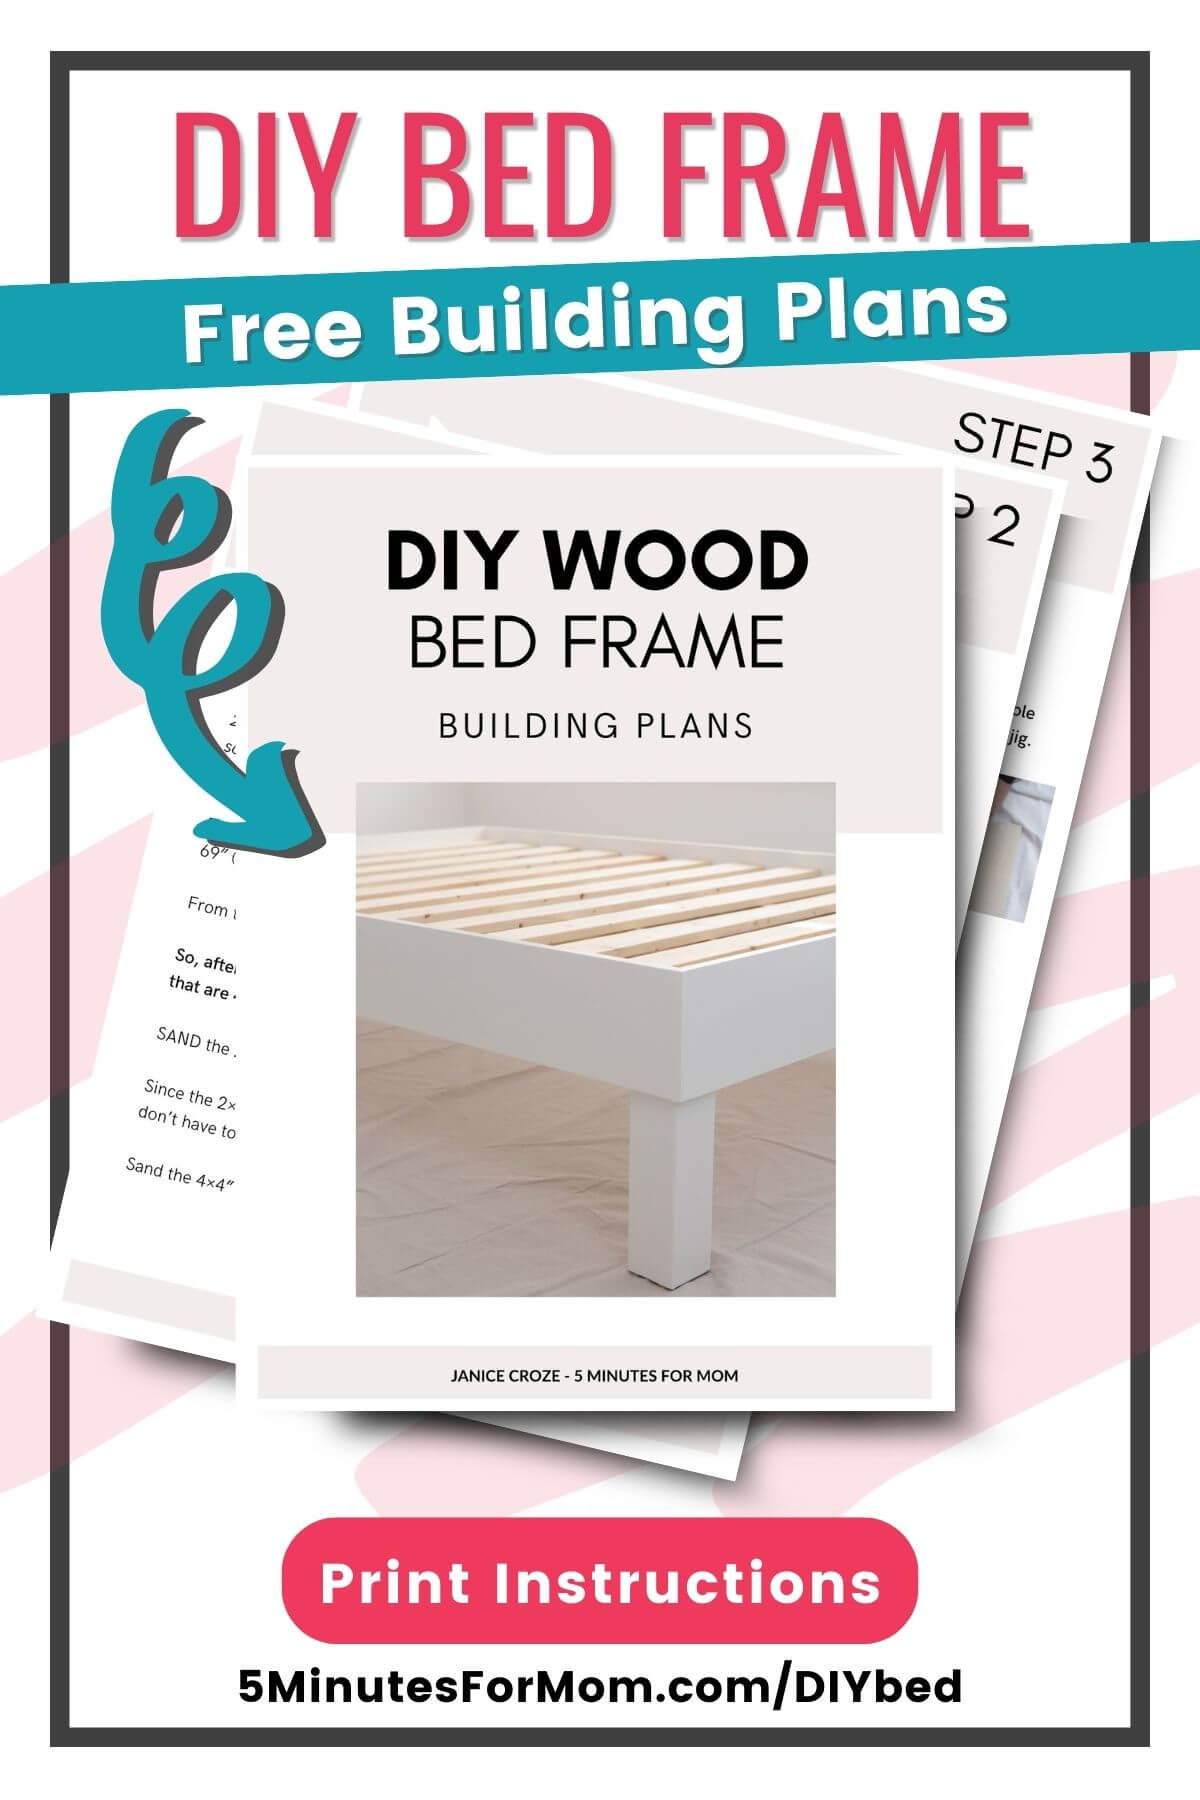
Download and Print the DIY Wood Bed Frame Building Plans here…
How Do You Make a Simple Bed Frame?
DIY Bed Frame Tools and Materials:
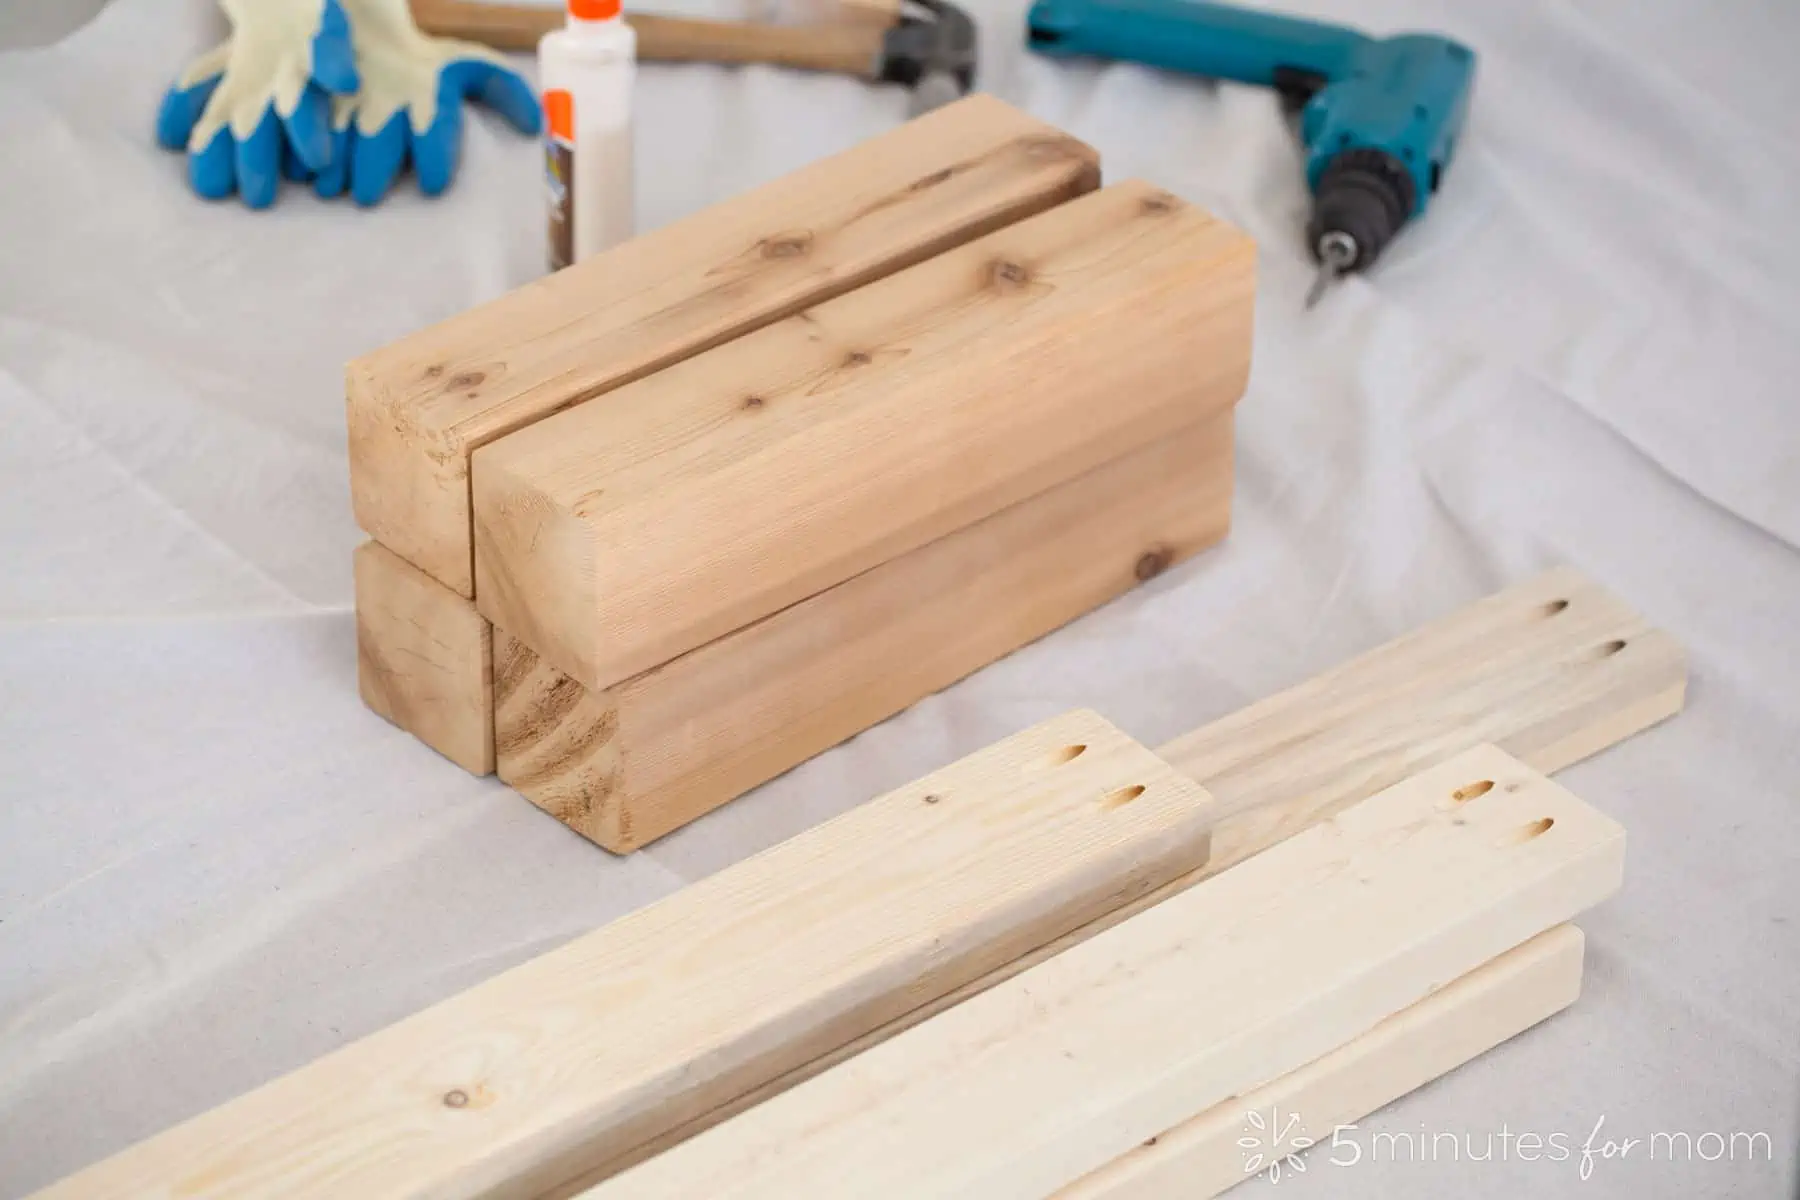
- Handheld drill
- Handheld sander
- Hammer
- Pocket Kreg jig
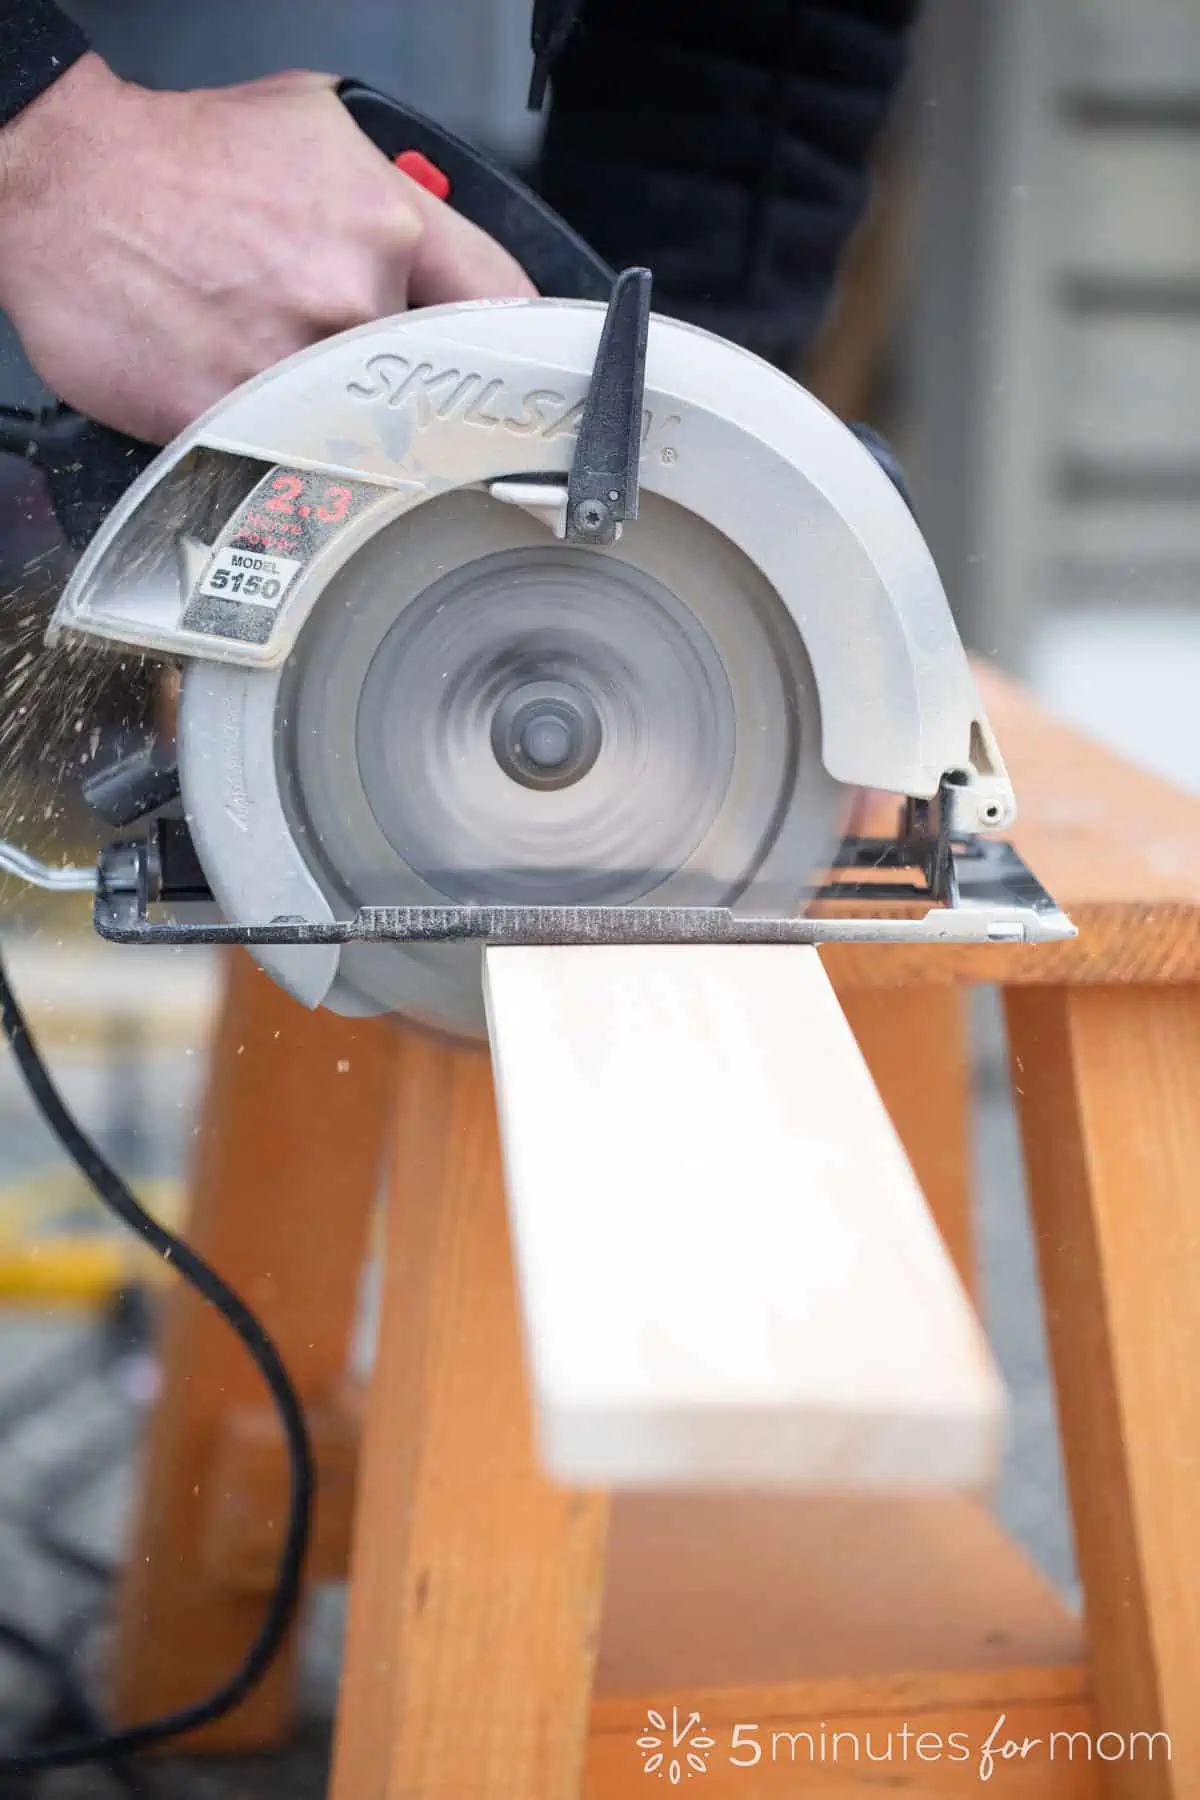
- Circular saw or jigsaw (optional but very helpful)
- Wood glue
- 2½” pocket hole screws
- 2″ wood screws
- Finishing nails
- Sandpaper
- Sandable wood filler
- All surface primer and optionally BIN primer
- Paint or stain
- Paintbrushes, rags, etc.
- Clamps
- Square
- Level
- Safety equipment – goggles, dust mask
- DIY bed frame building plans
Lumber Cut List for Double/Full Size Bed Frame
Please Note: if you do not have a circular saw (or a table saw or a jigsaw) you can have your wood cut at your home center, such as Home Depot. However, please go over all of your measurements carefully for the size of the bed frame/mattress you are making.
It is best to wait to cut the lumber for the apron (the 1×8″s) and the 2×4″s for the center support beams until AFTER your OUTER FRAME is built so you can measure to ensure you cut the exact sizes for the apron pieces and center support beams.
- 1 (One) 4″ x 4″ x 8ft Knotty Cedar post: CUT four 15¾” long posts (We used this 4×4 Western Red Cedar)
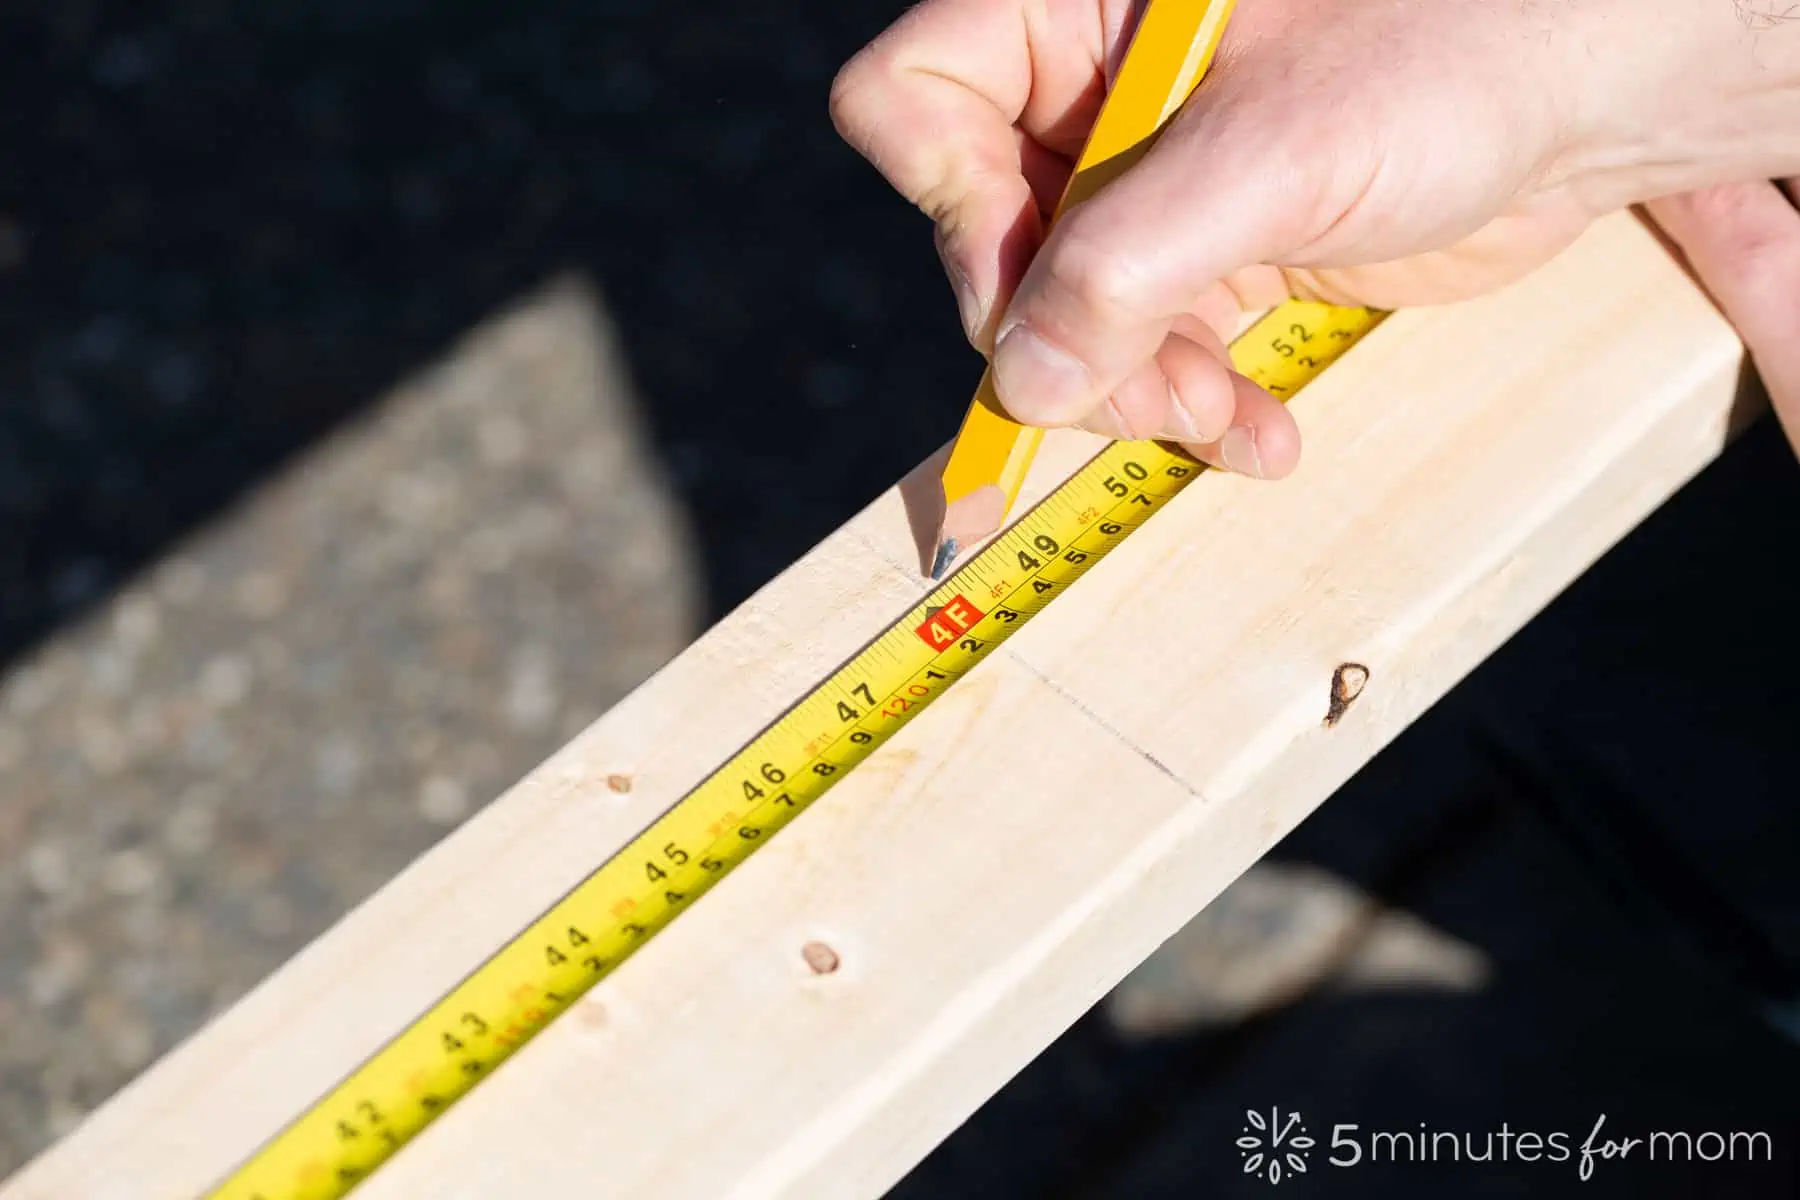
- 2 (Two) 2″ x 4″ x 10ft SPF Dimension Lumber: CUT one 69″ (frame sides) and one 48″ (frame head and foot) from each 2″x4″x10ft piece of wood.
- 1 (One) 2″ x 4″ x 14ft SPF Dimension Lumber: CUT two 73″ pieces (frame center support beams) NOTE: Cut this AFTER building the outer frame to ensure correct measurements.
- 2 (Two) 1″ x 8″ x 6ft Knotty Pine boards: CUT two 56½” long boards (apron head and foot) NOTE: Cut this AFTER building the outer frame to ensure correct measurements.
- 2 (Two) 1″ x 8″ x 8ft Knotty Pine boards: CUT two 76″ long boards (apron sides) NOTE: Cut this AFTER building the outer frame to ensure correct measurements.
- 12 (Twelve) 1″ x 4″ x 6ft Knotty Pine boards: CUT twelve 54½” long boards (center slats) OR 6 (six) 1″ x 4″ x 12ft SPF KD boards: CUT twelve 54½” long boards (center slats) OR rip 3/4″ plywood into twelve 3″ x 54½” slats
DIY Wood Bed Frame Instructions:
- STEP 1 – CUT and SAND 2×4″s and 4×4″ posts
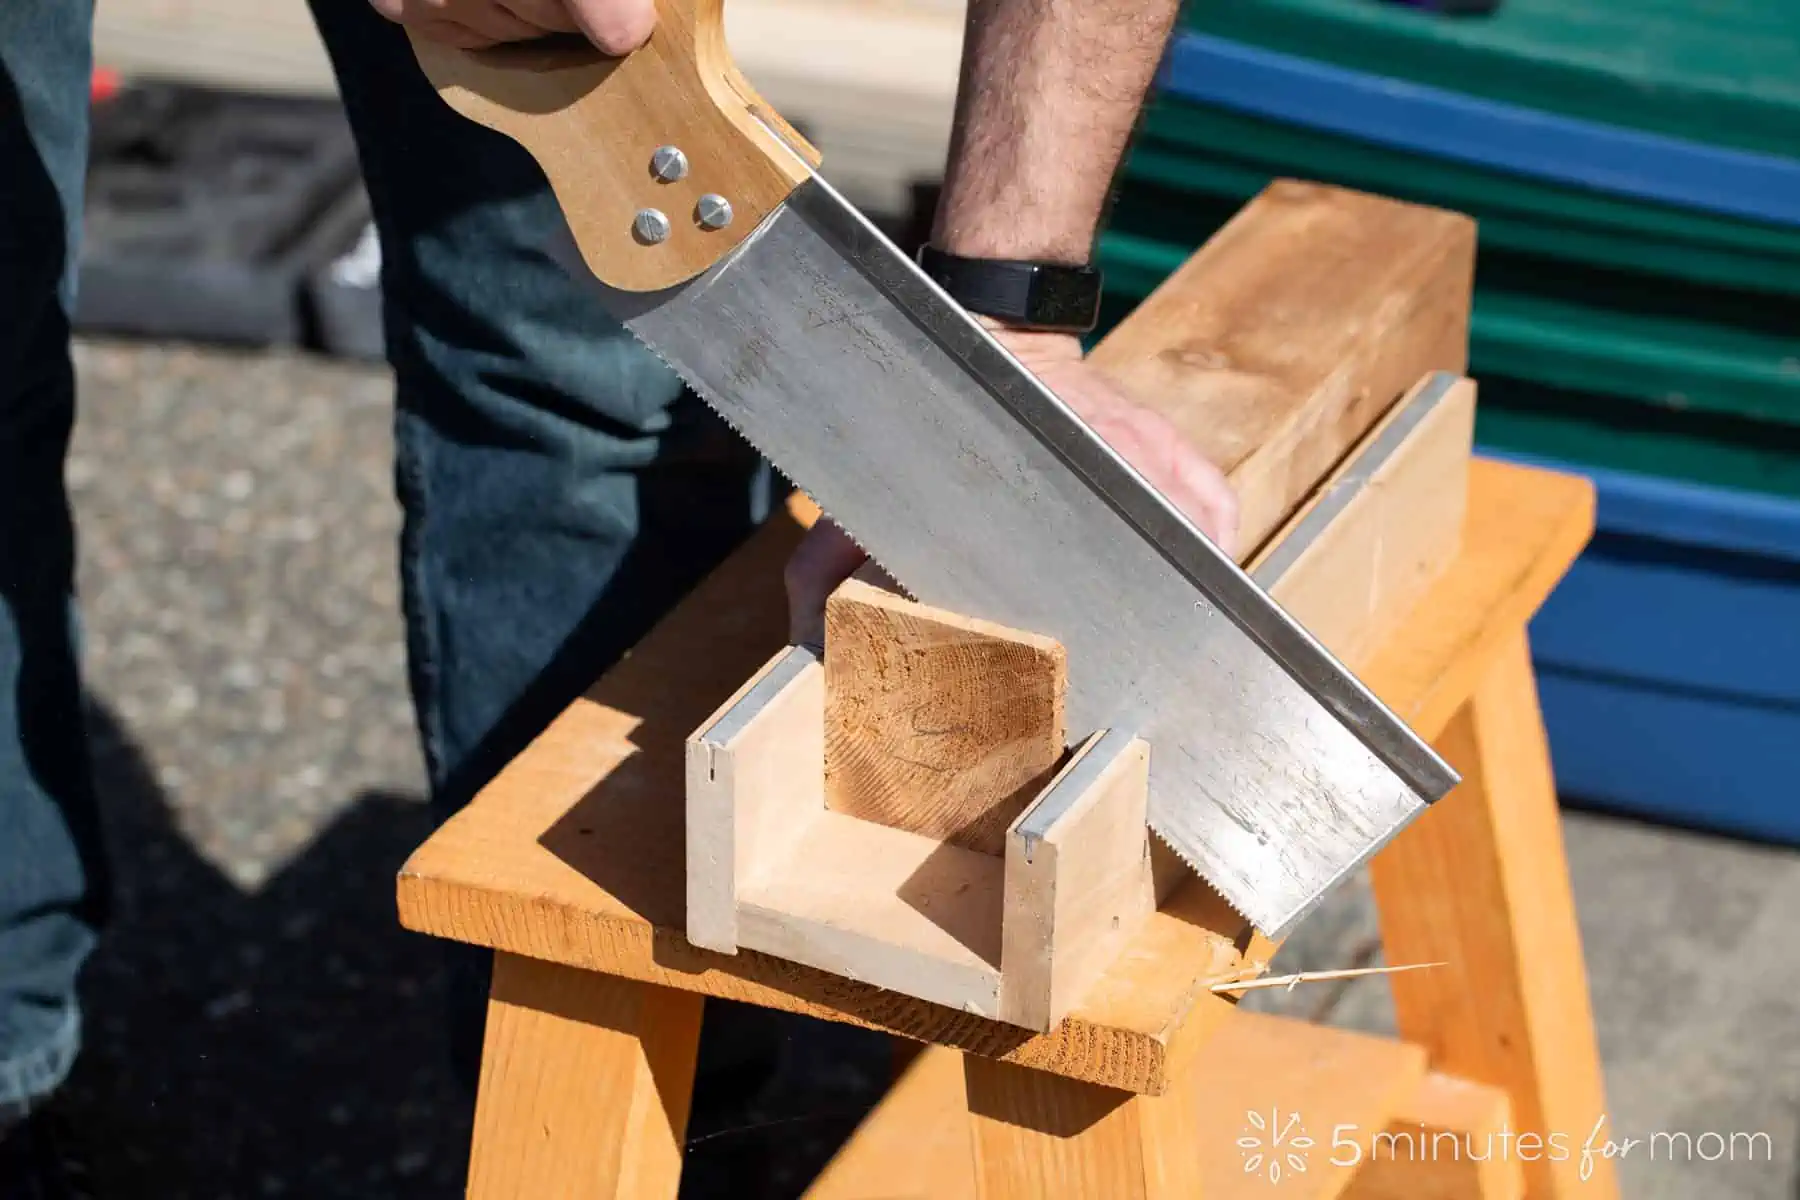
CUT and SAND your 2×4″s for the outer part of the frame and the 4×4″ post for your bed frame legs/posts.
(We suggest you wait to cut the lumber for the apron (the 1×8″s) and the 2×4″s for the center support beams until AFTER your OUTER FRAME is built so you can measure to ensure you cut the exact sizes for the apron pieces and center support beams.)
From each of your TWO pieces of 2×4″ x 10ft SPF Dimension Lumber CUT one 69″ (frame sides) and one 48″ (frame head and foot).
So, after cutting you will have TWO 2×4″s that are 69″ long and TWO 2×4″s that are 48″ long.
CUT four 15¾” long posts from the 4″ x 4″ x 8ft Western Red Cedar post).
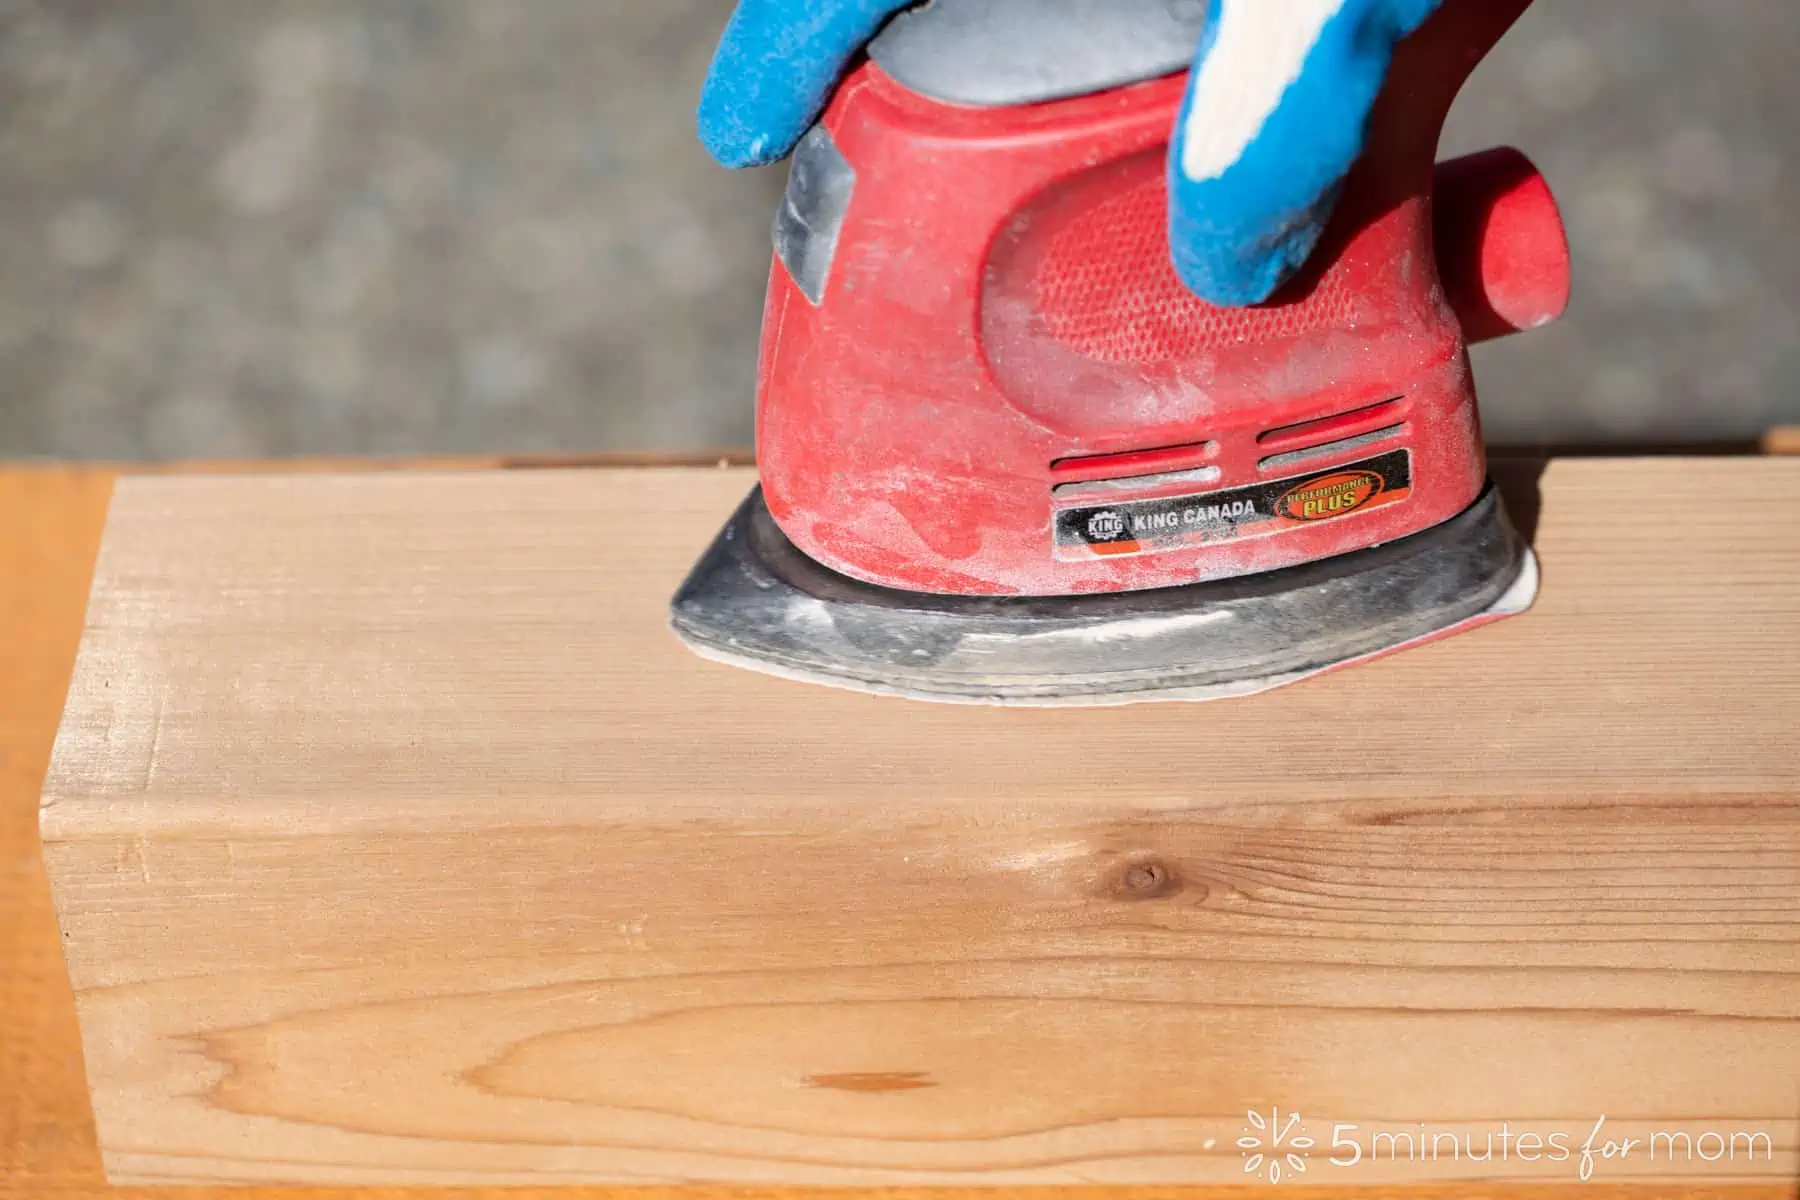
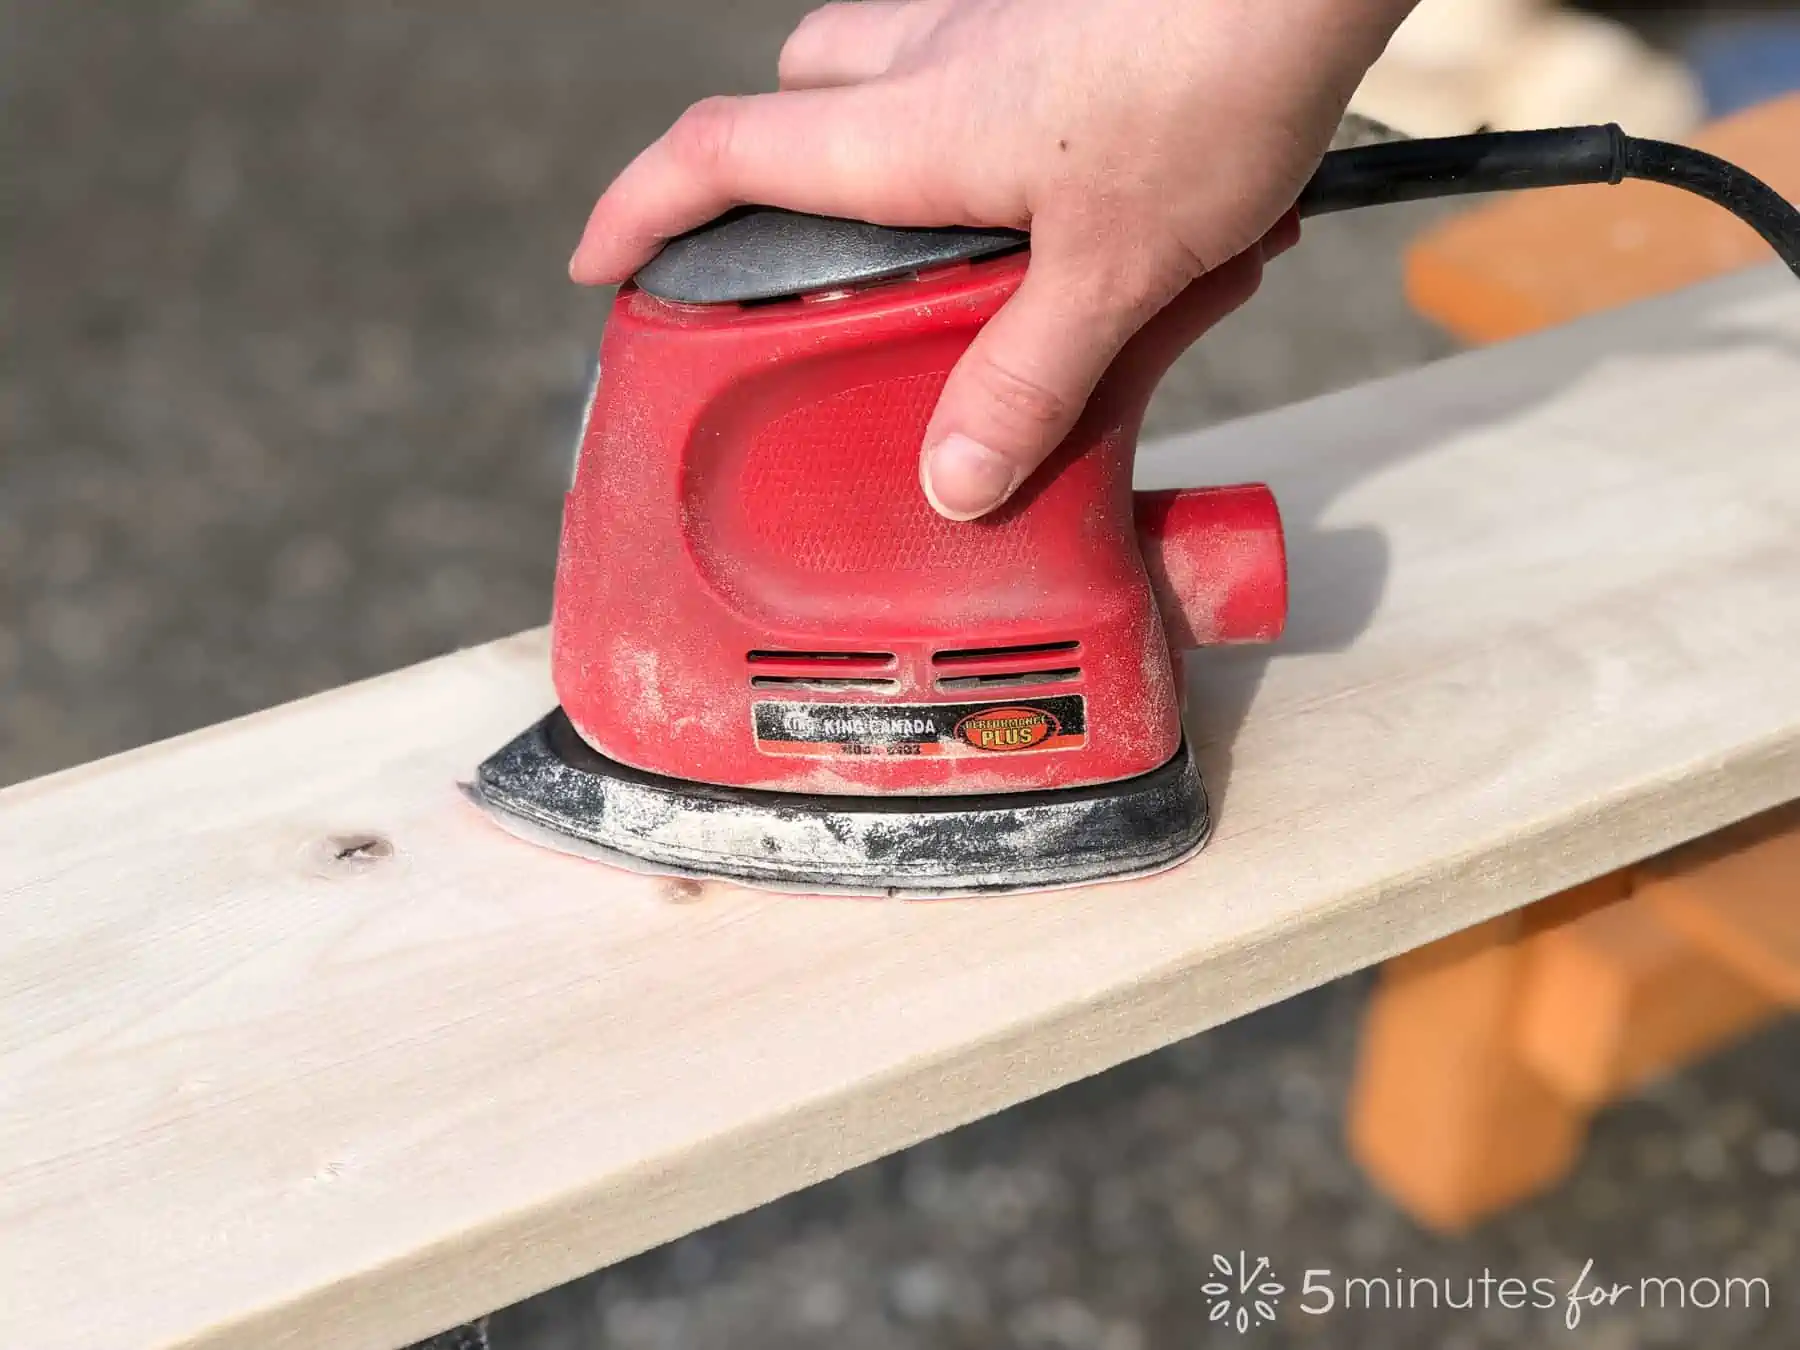
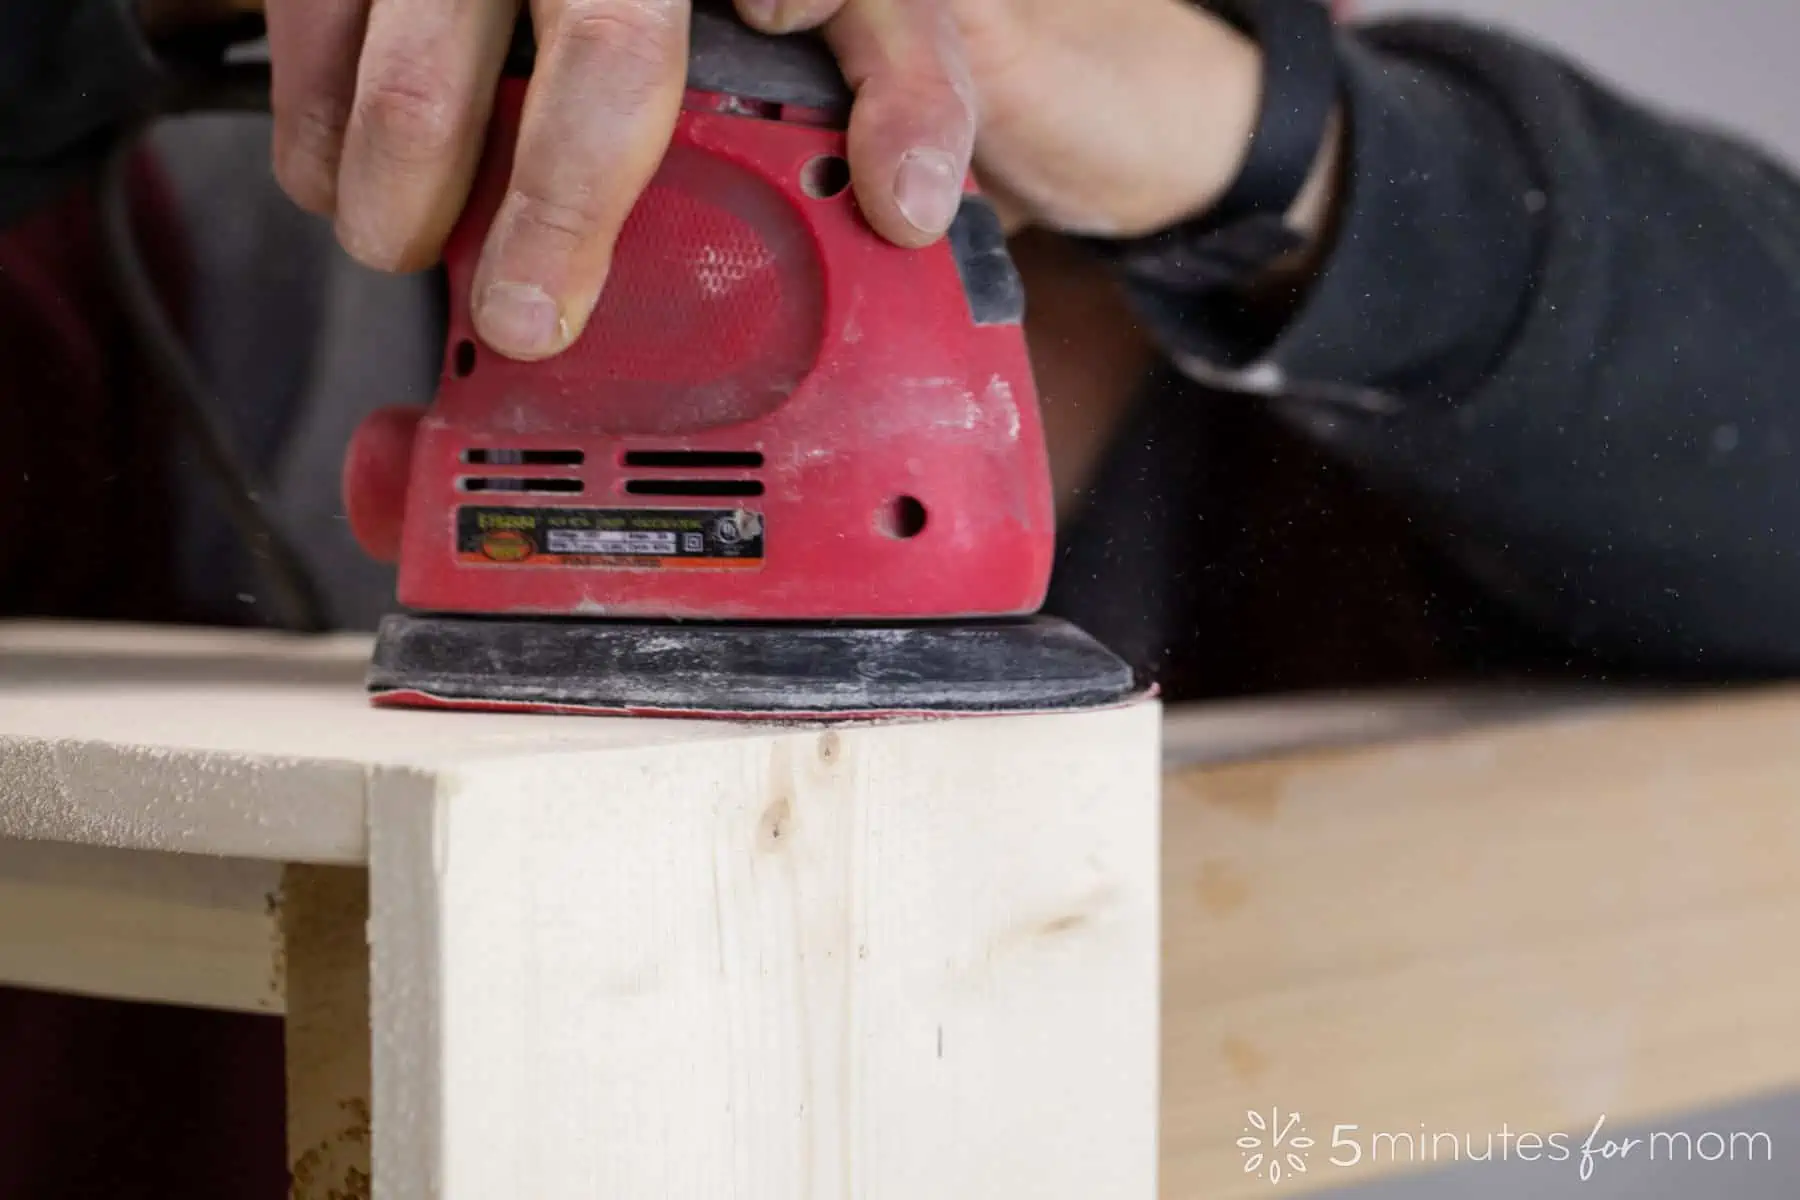
SAND the 2×4″ pieces and the 4×4″ bed legs/posts.
Since the 2×4″s are part of the bed frame and will not be seen or painted, they don’t have to be sanded thoroughly – or even at all. That is your preference.
But sand the 4×4″ leg posts well as they will be visible and painted/stained.
- STEP 2 – DRILL Pocket Holes
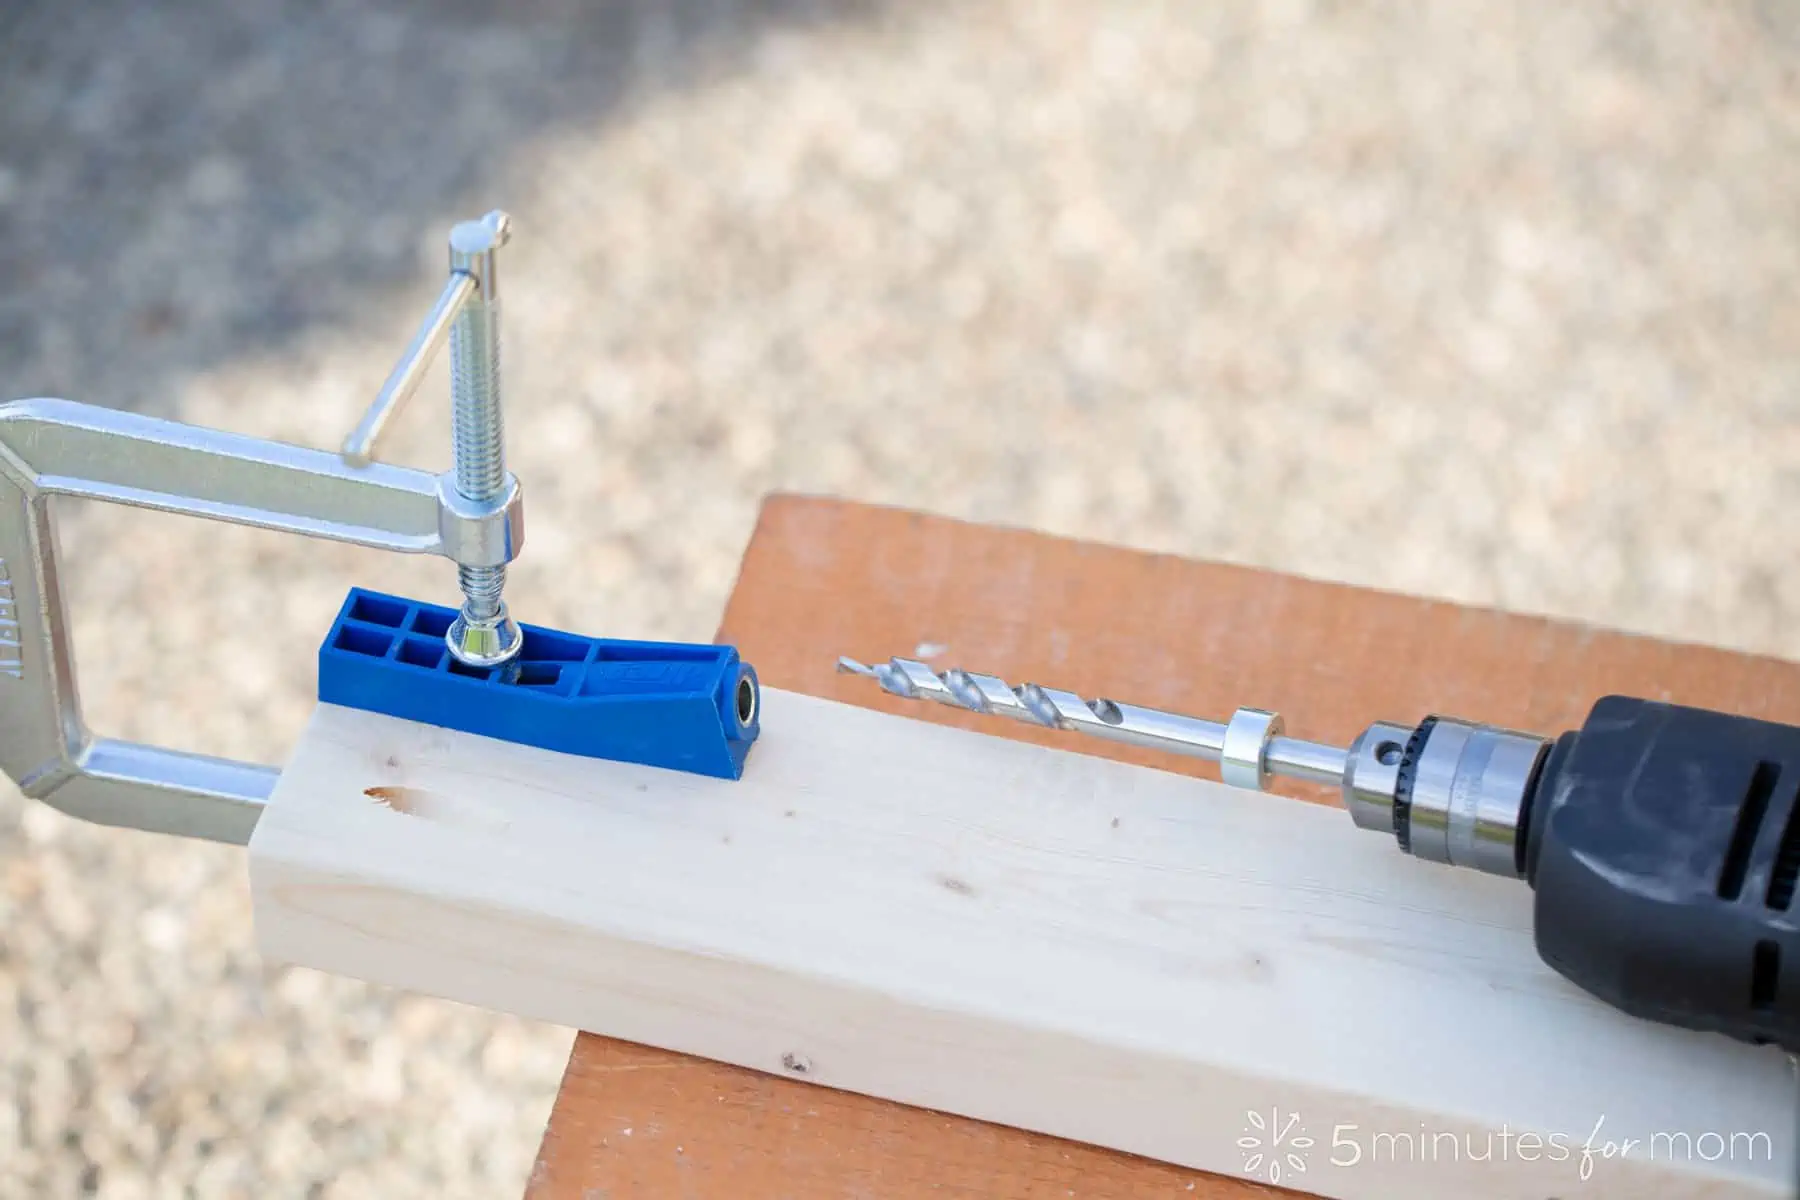
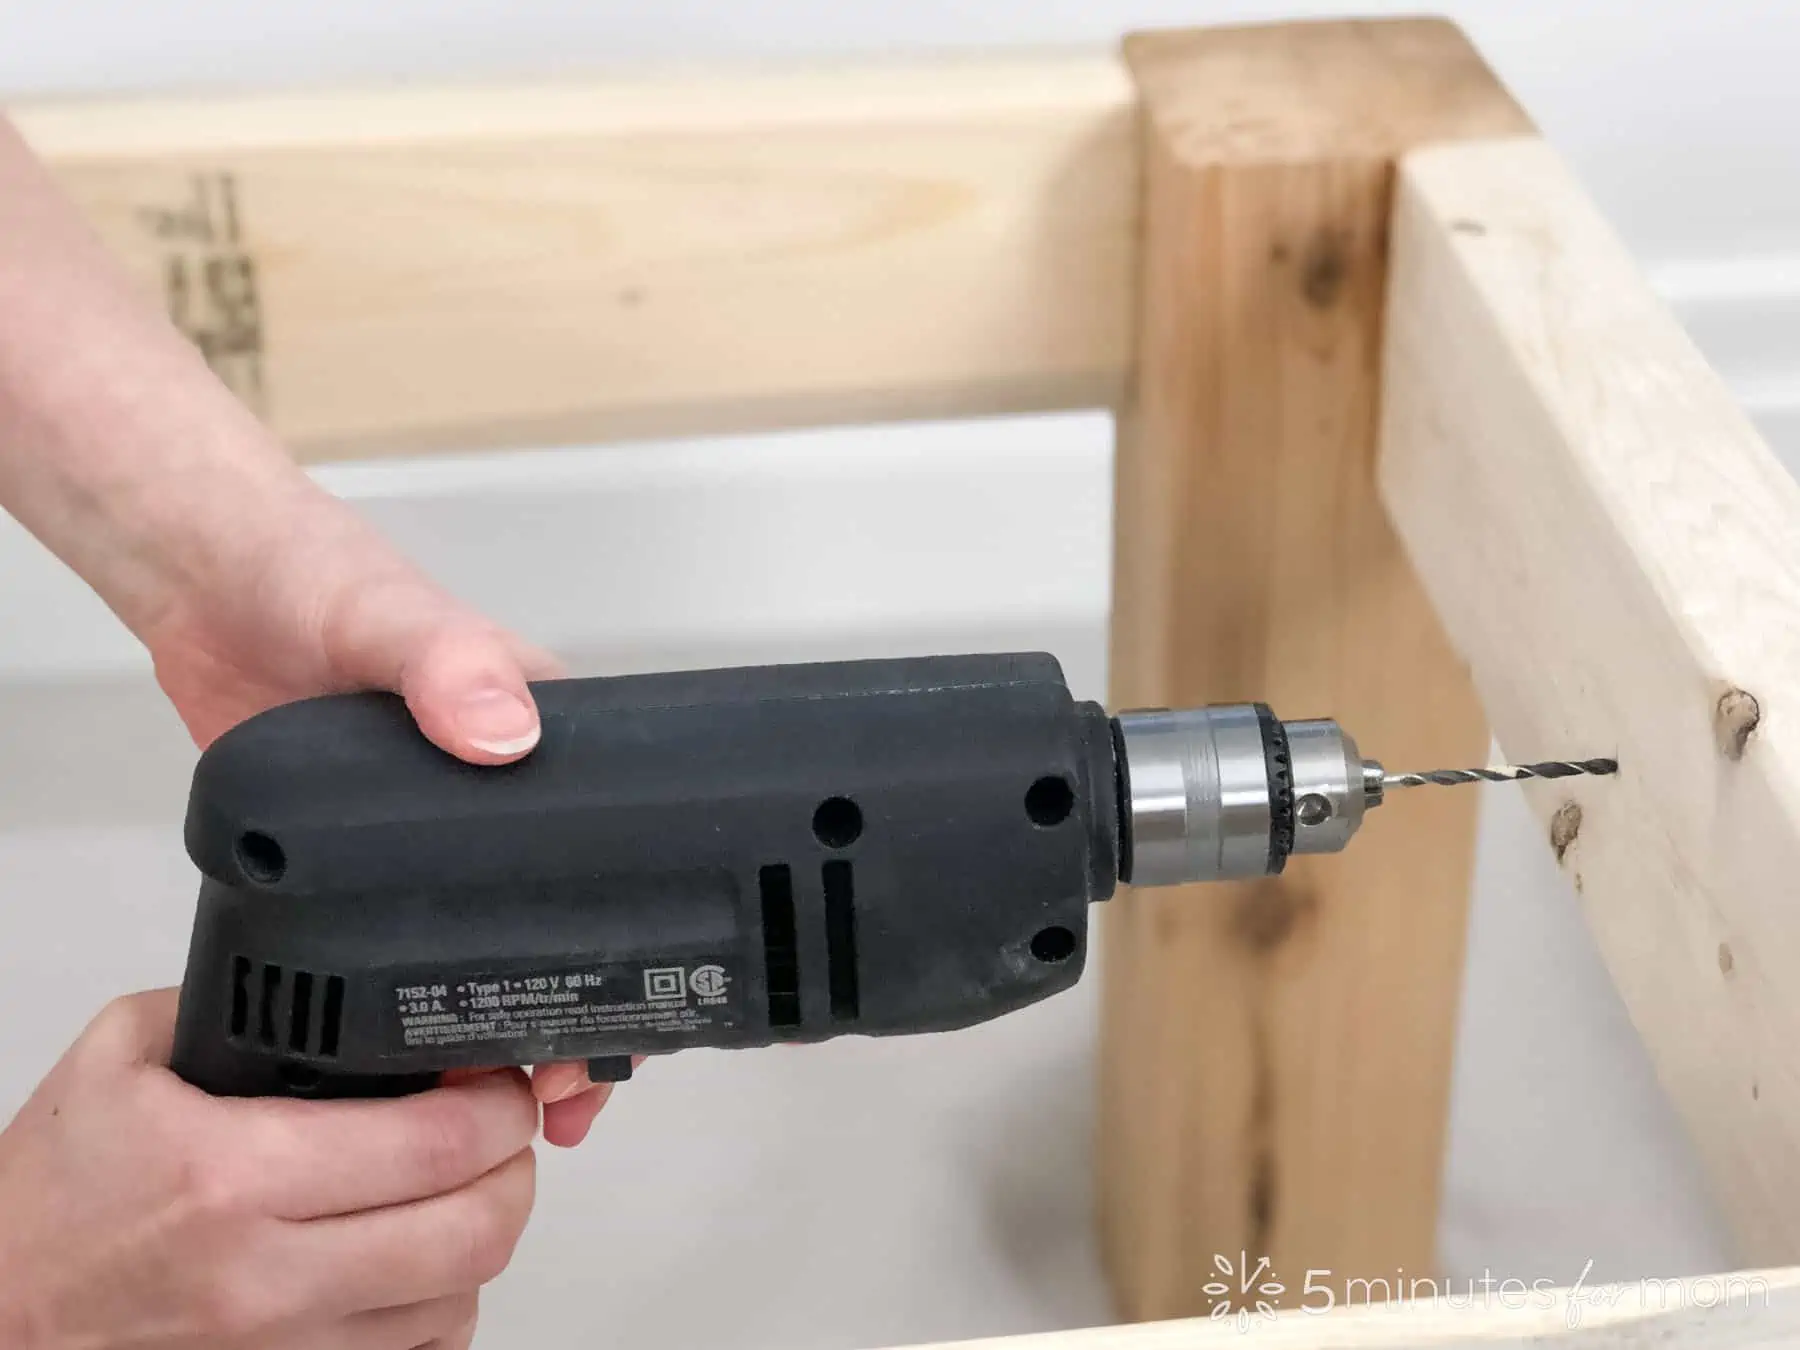
Before securing the frame together, drill pocket holes with the Kreg Jig into the outside ends of the 2×4″s.
See our video tutorial to see how we used the Kreg Jig.
If you have never used a Kreg Jig and want to learn more about using pocket holes, I found this video by Steve Ramsey on pocket hole joinery to be very helpful.
- STEP 3 – CREATE Bed Frame
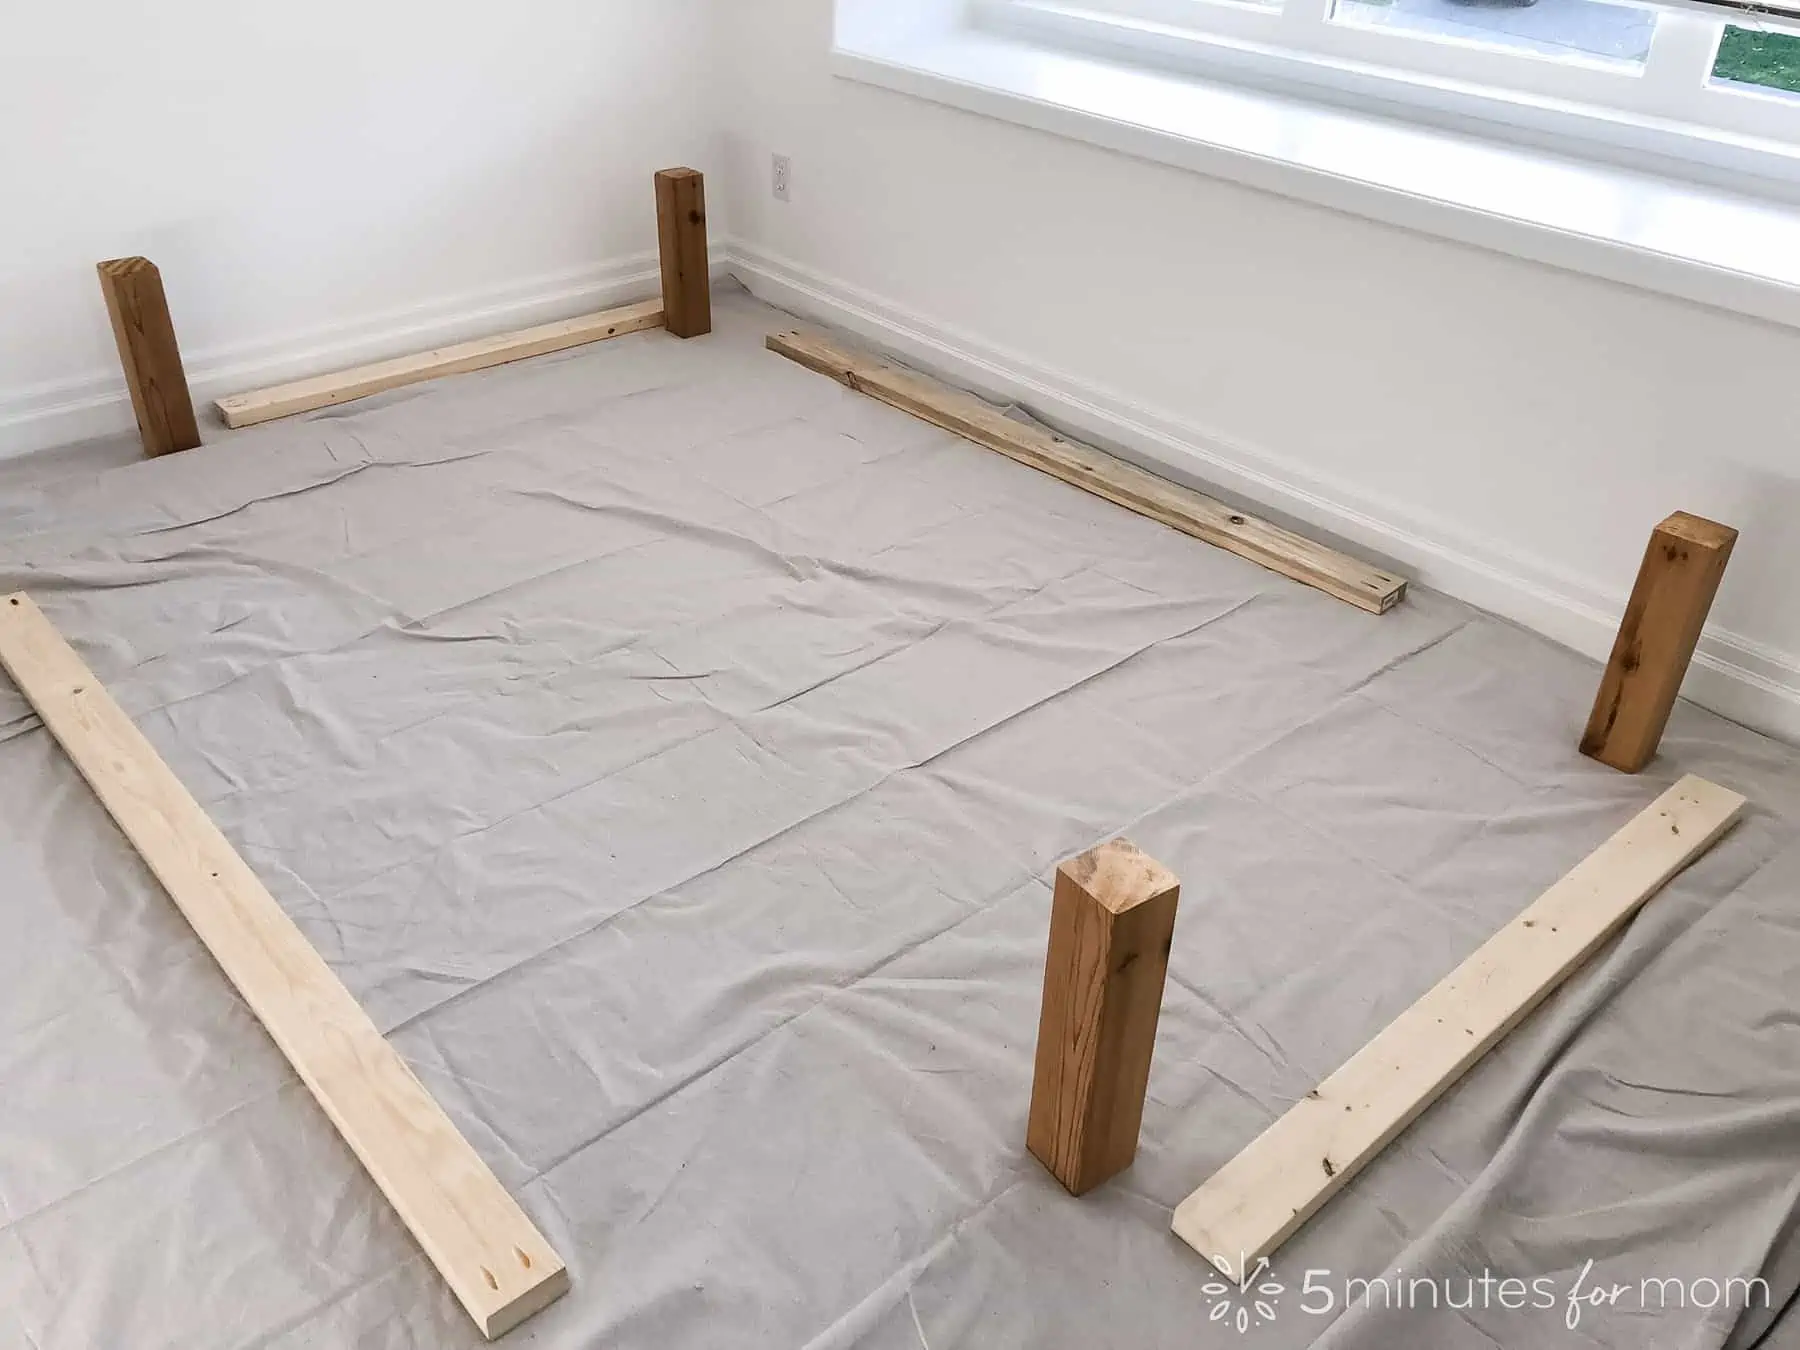
In a large workspace, or in the room you will be housing the bed, lay out the 2×4″s and the 4×4″ posts. You may wish to use a large drop cloth to protect your work area.
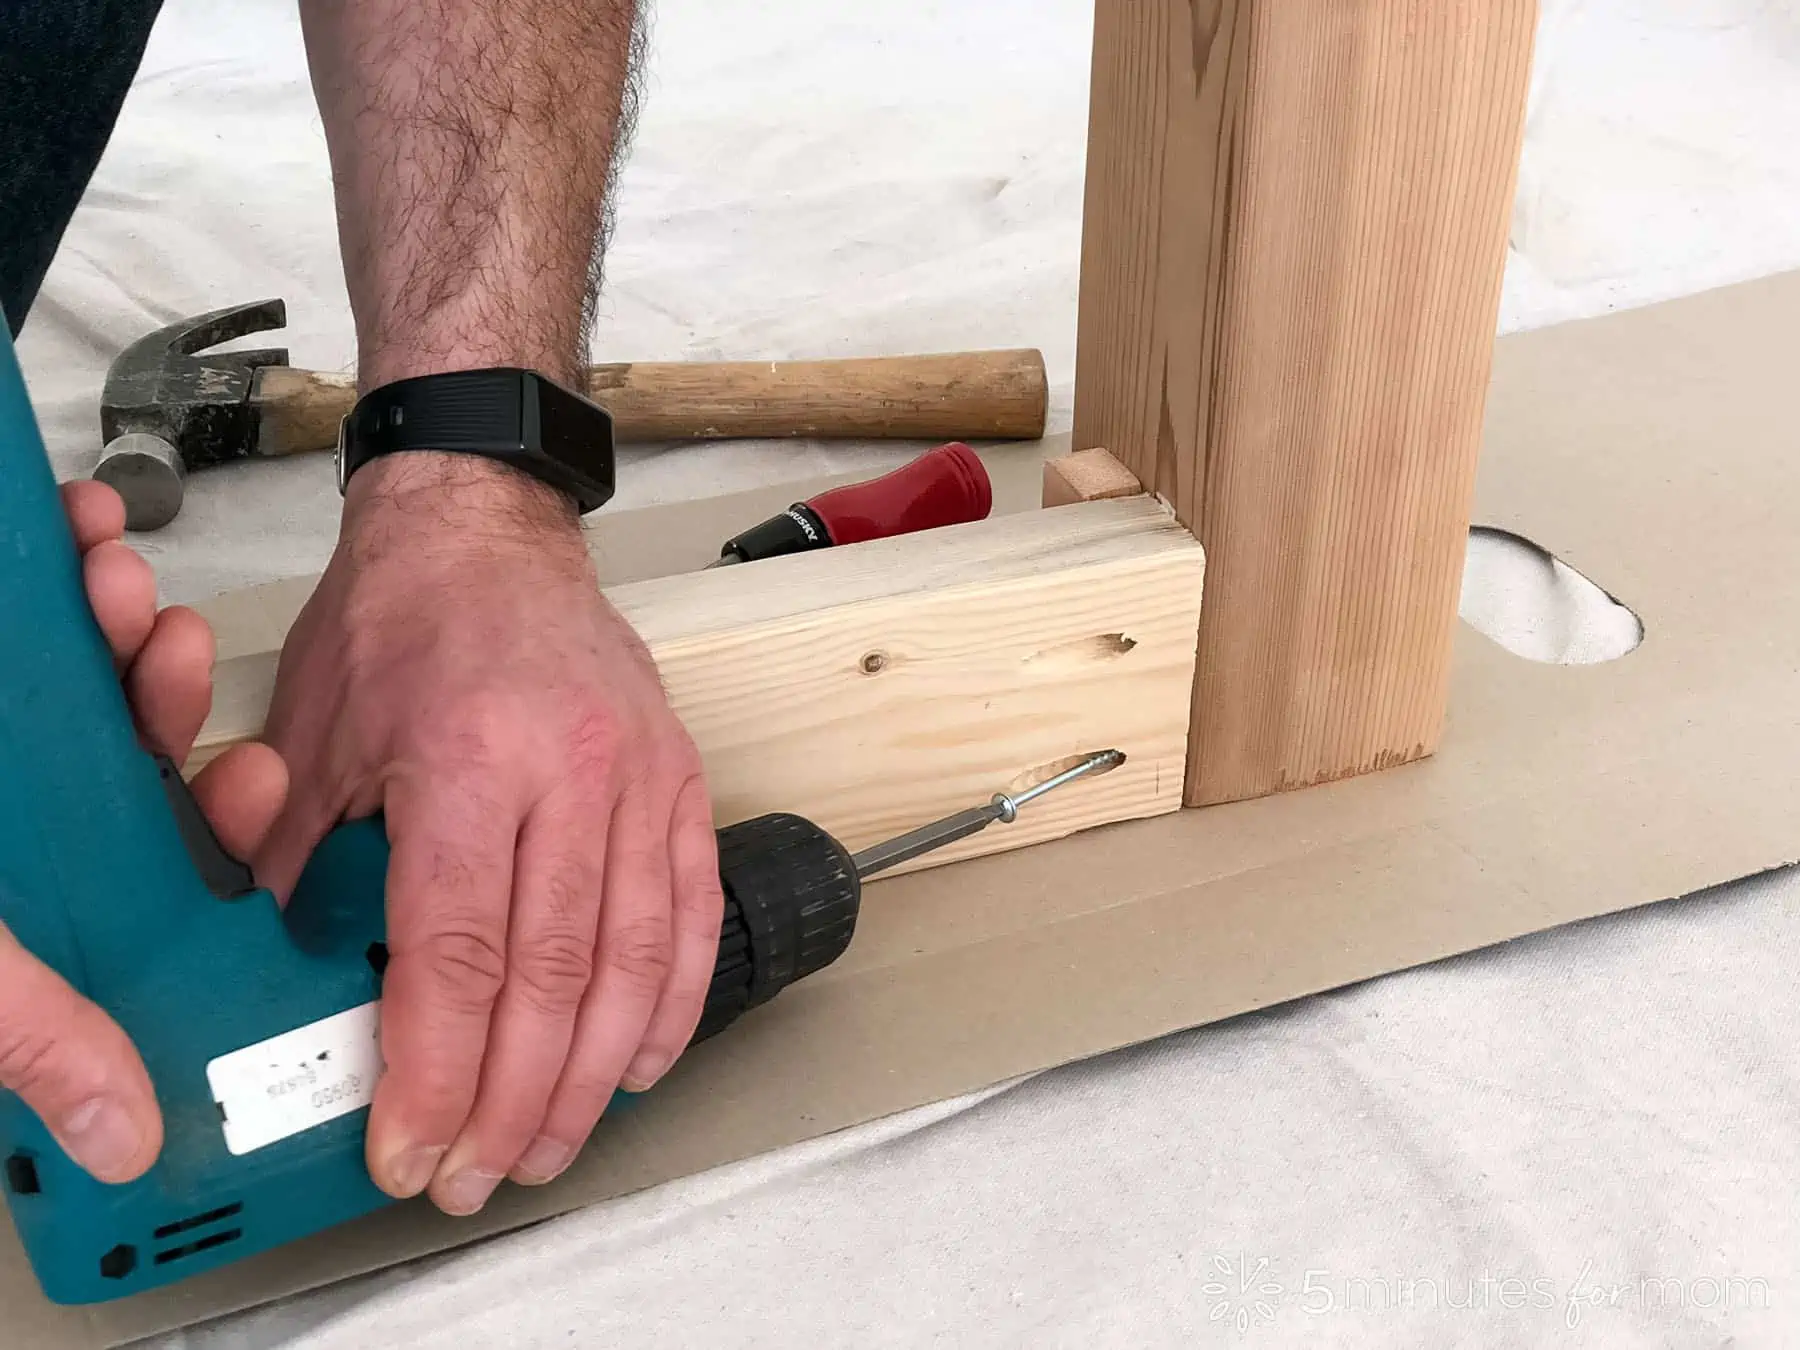
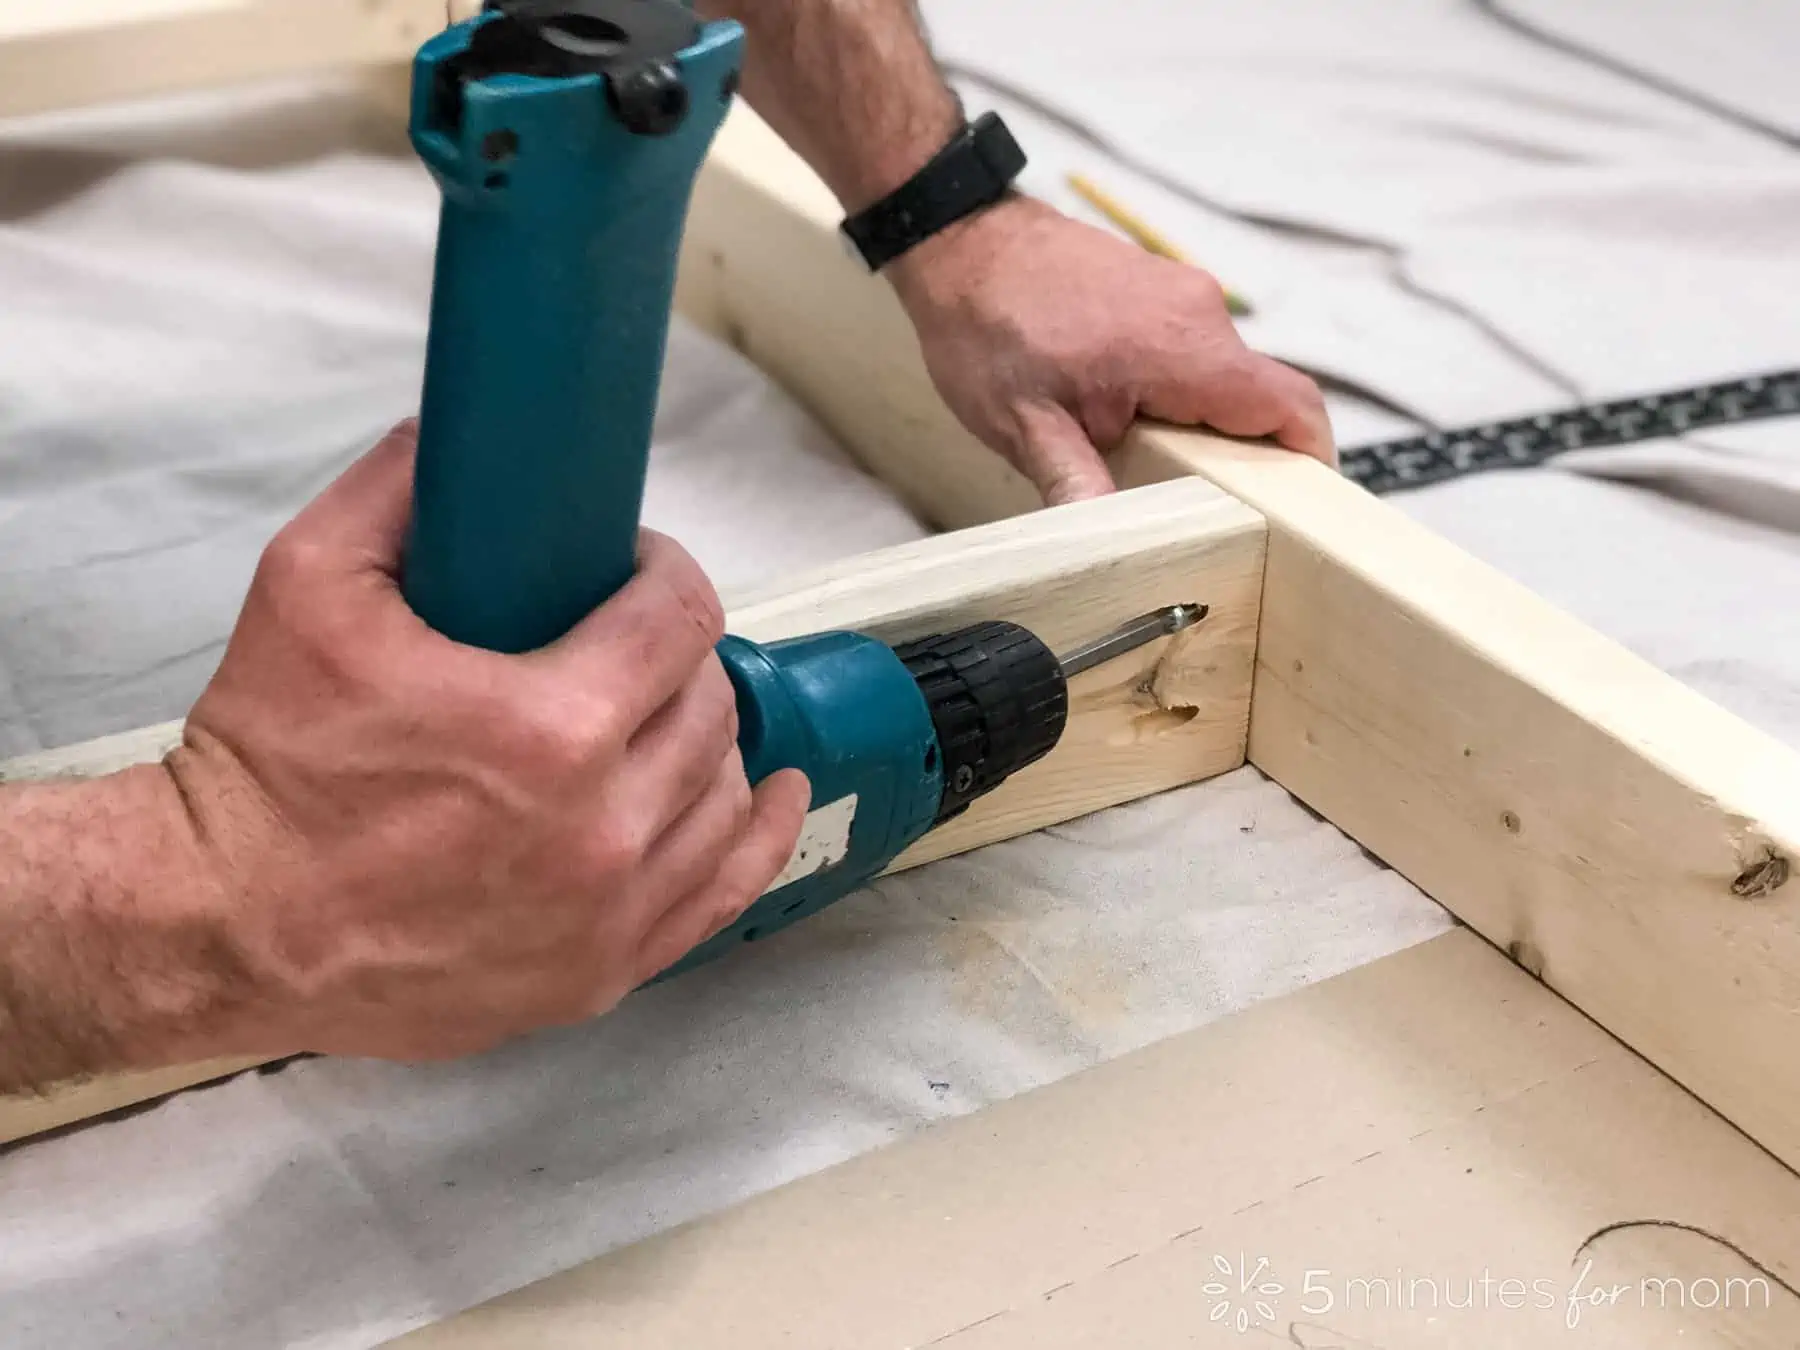
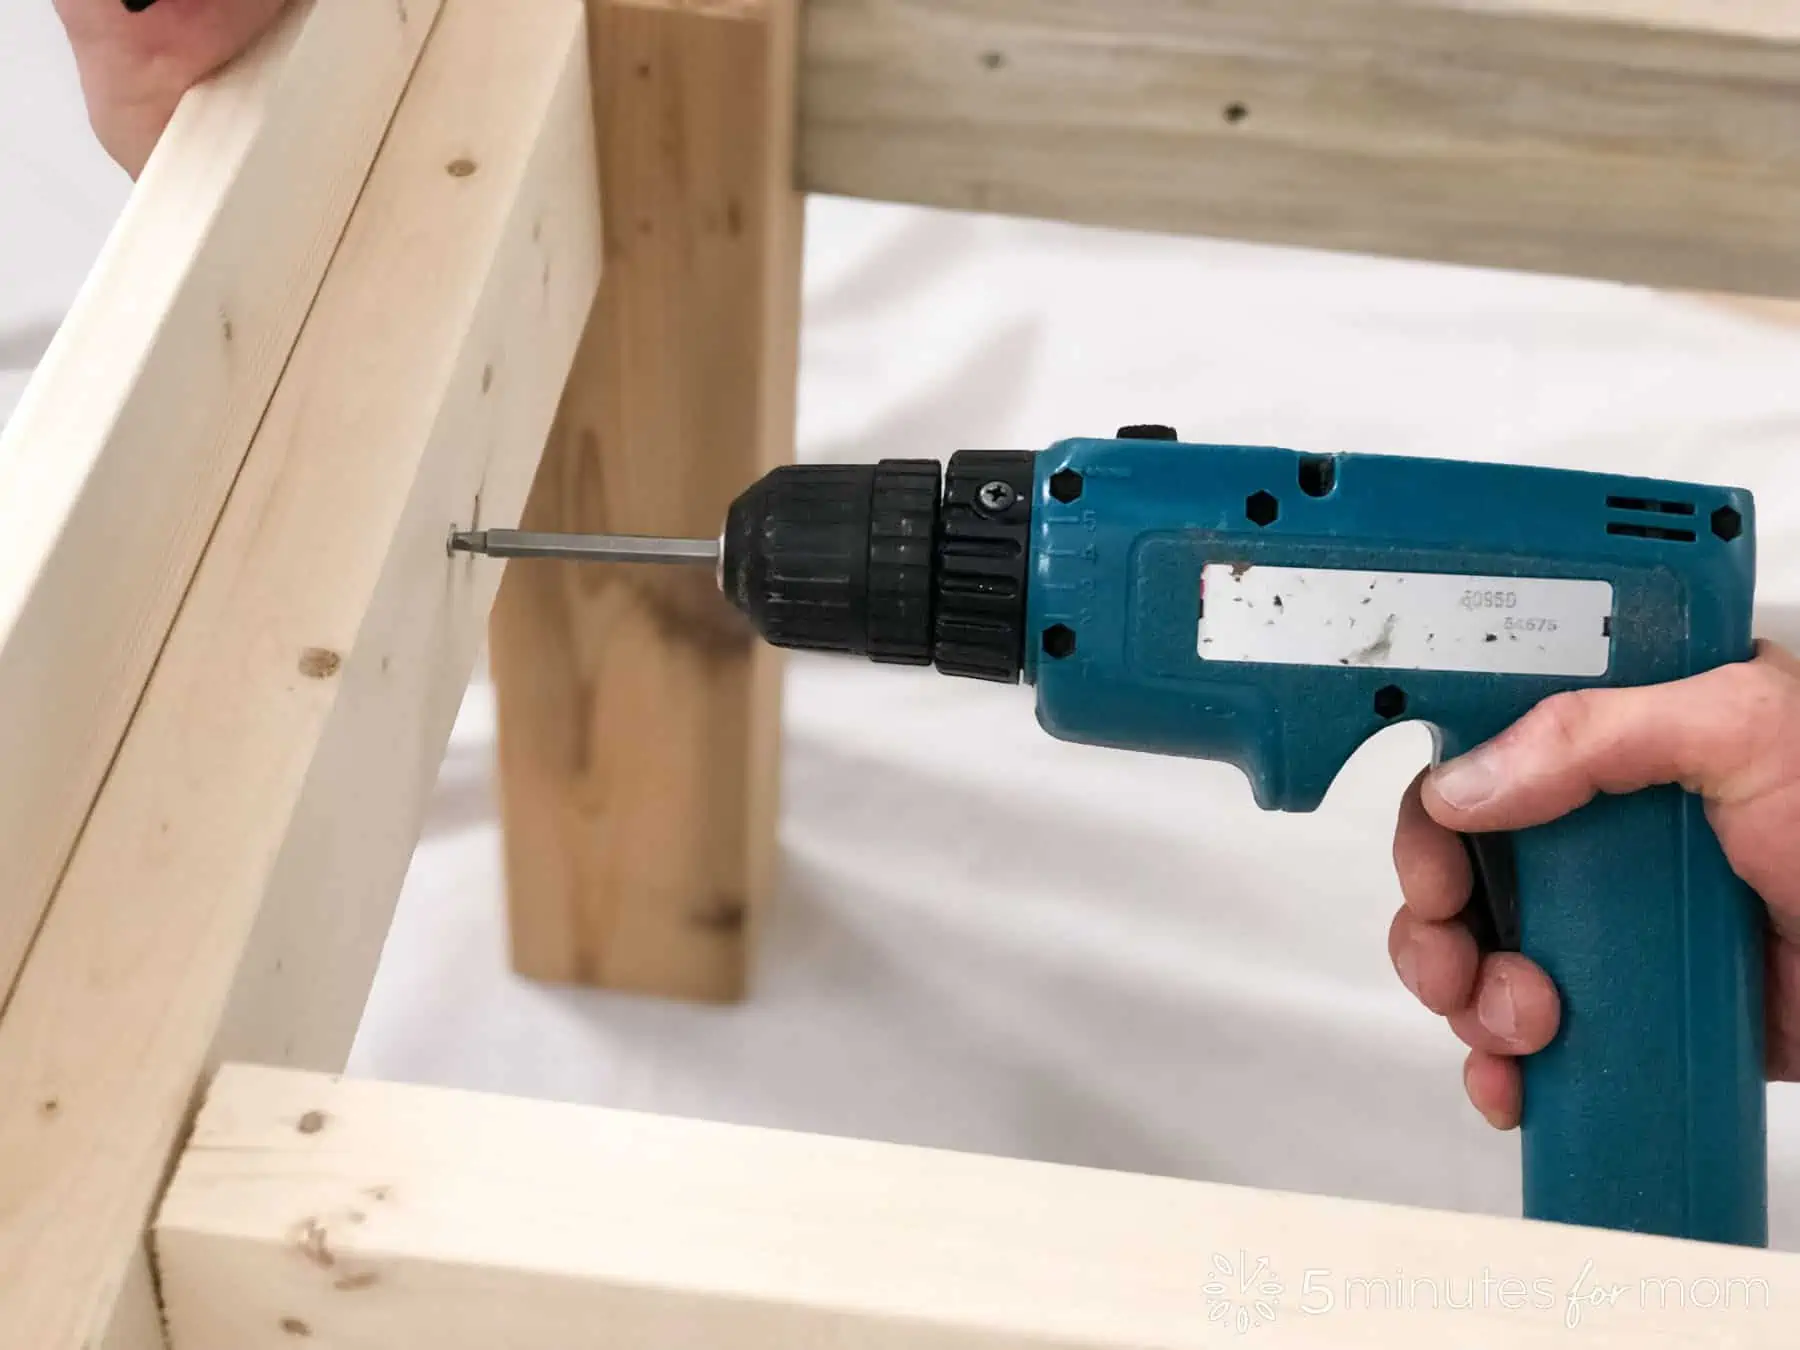
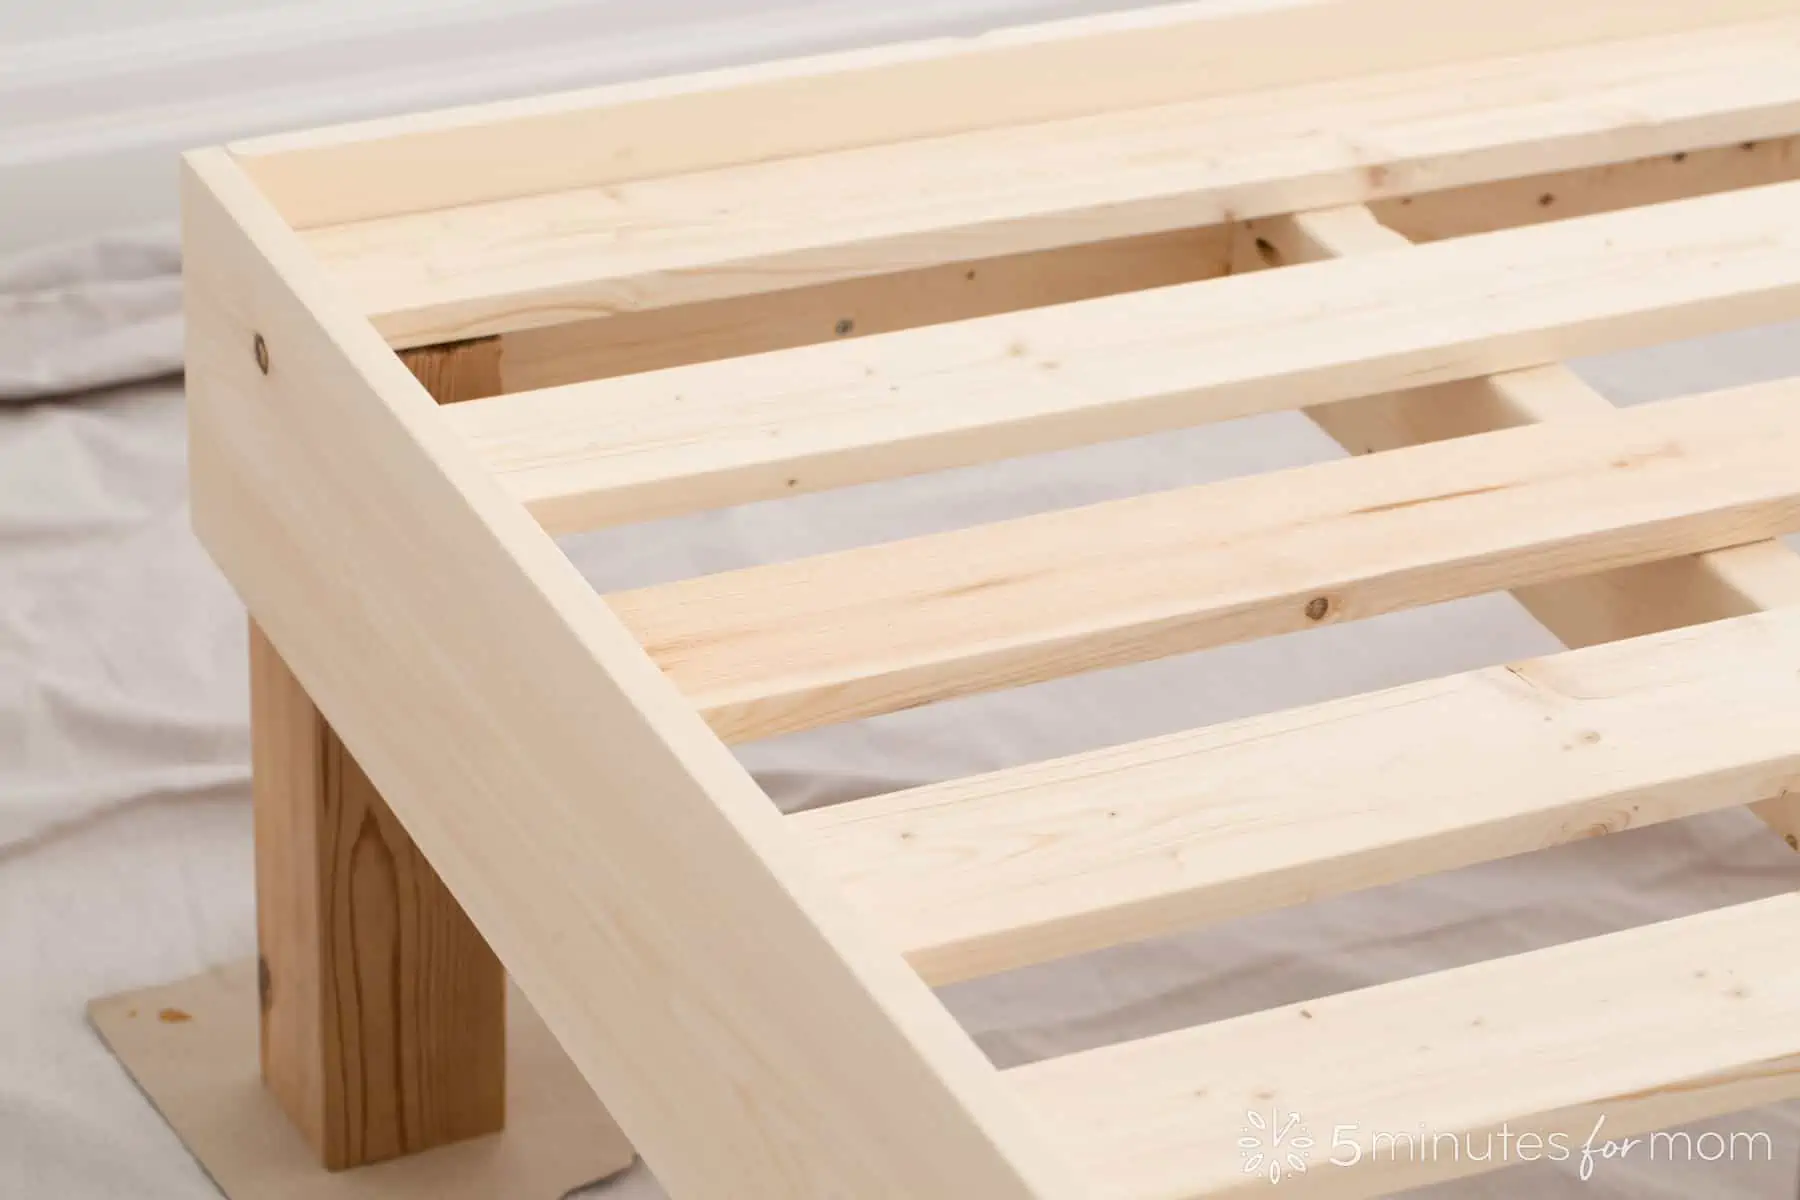
Assemble the frame, using a power drill with 2½” Course Kreg Pocket Hole screws to secure 2×4″s to the posts in the holes you drilled with the pocket jig.
IF you need to DISASSEMBLE the bed later, you can use Bed Rail Brackets to attach the frame sides to the head/foot 4×4″ posts. ALSO, note that if you are planning to disassemble the bed, you do not want to use wood glue as we do in the video and photos. Our bed is permanently secured and cannot be disassembled.
Optional – we used a shim to keep the 2×4″s in place when assembling the frame, as well, we applied wood glue before screwing in the jig holes. You could use clamps to secure instead of a shim.
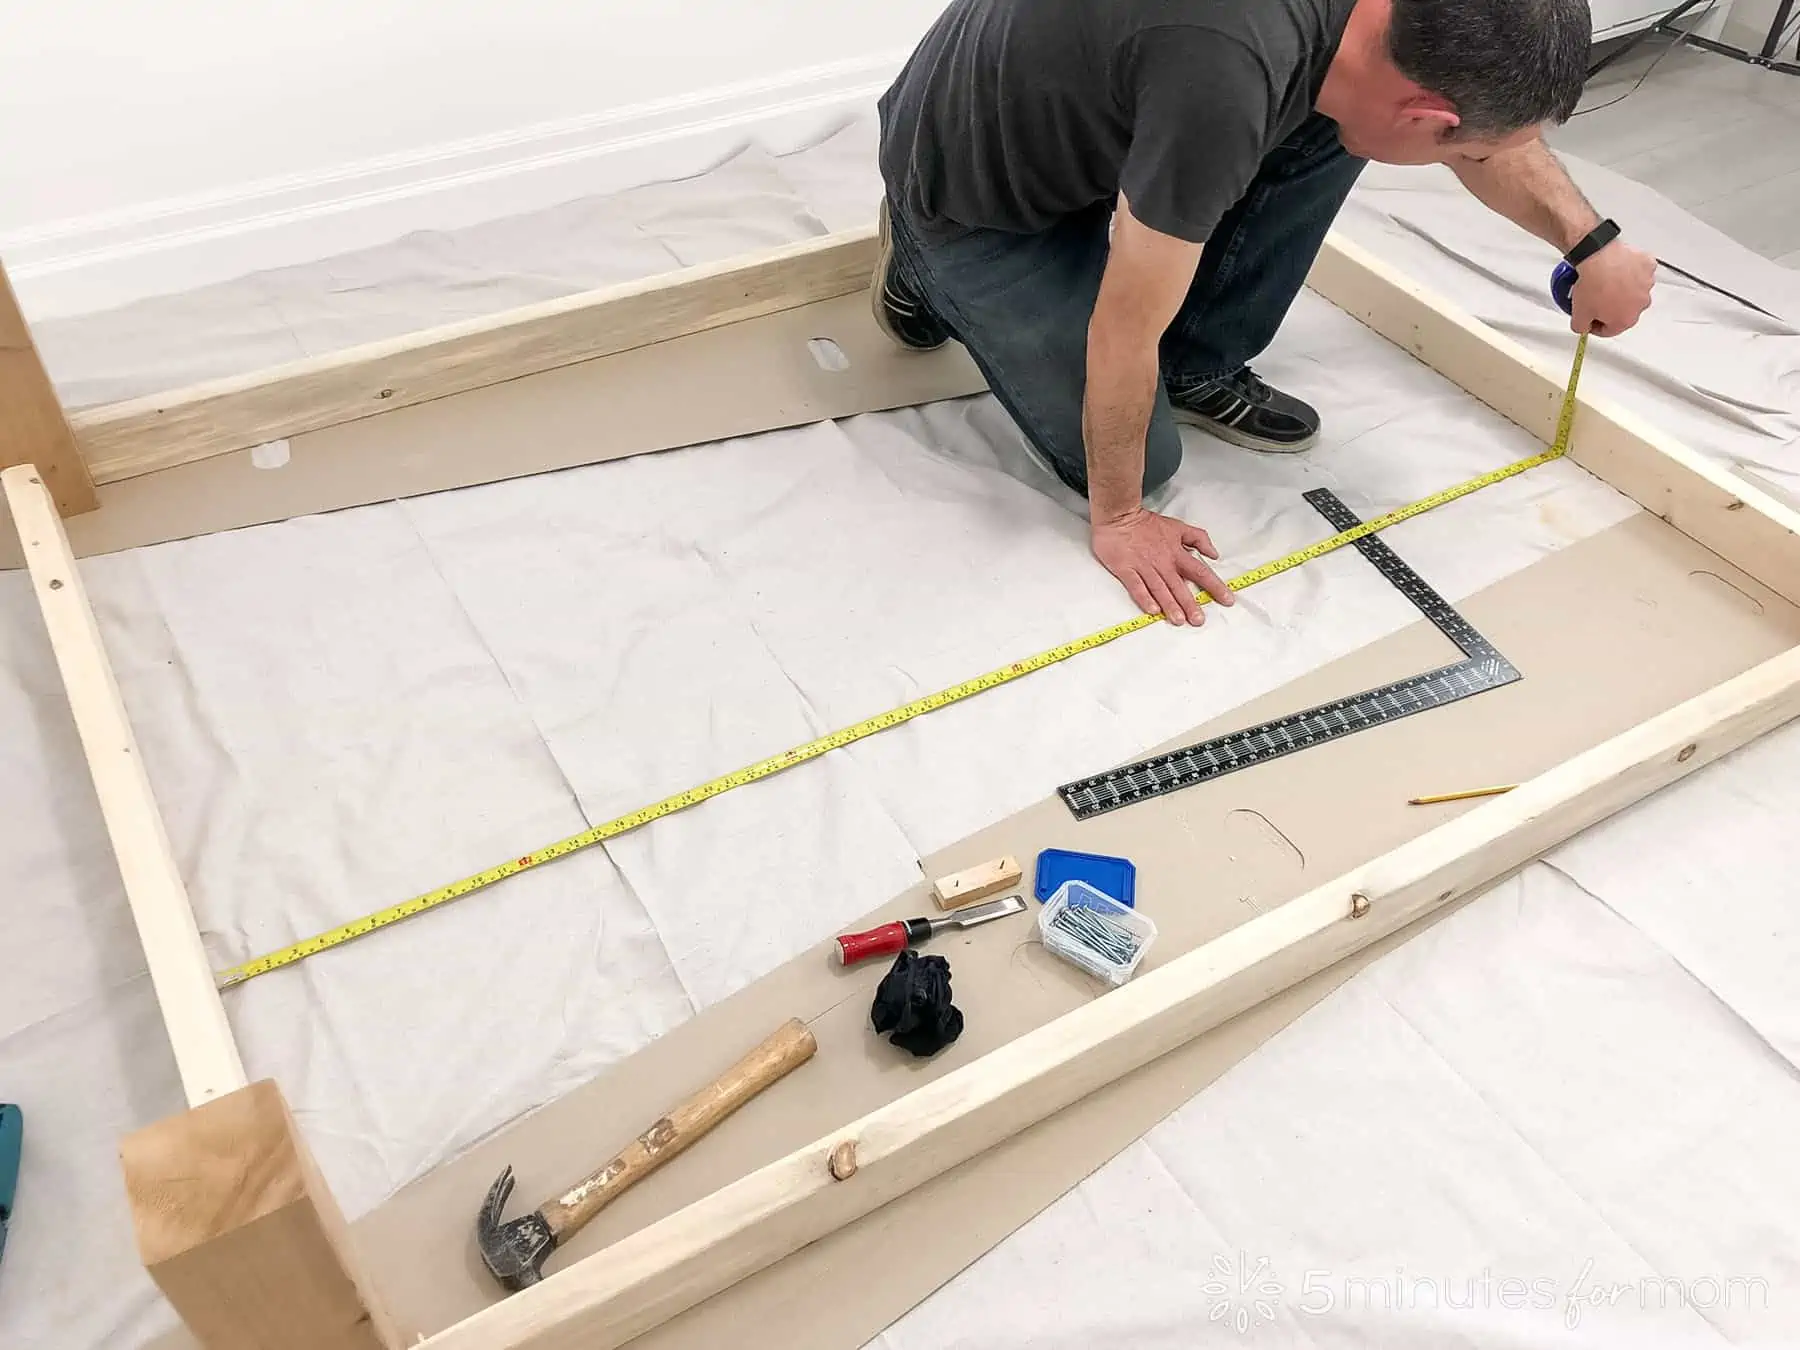
Ensure that the frame is SQUARE before attaching the final post and before tightening the screws.
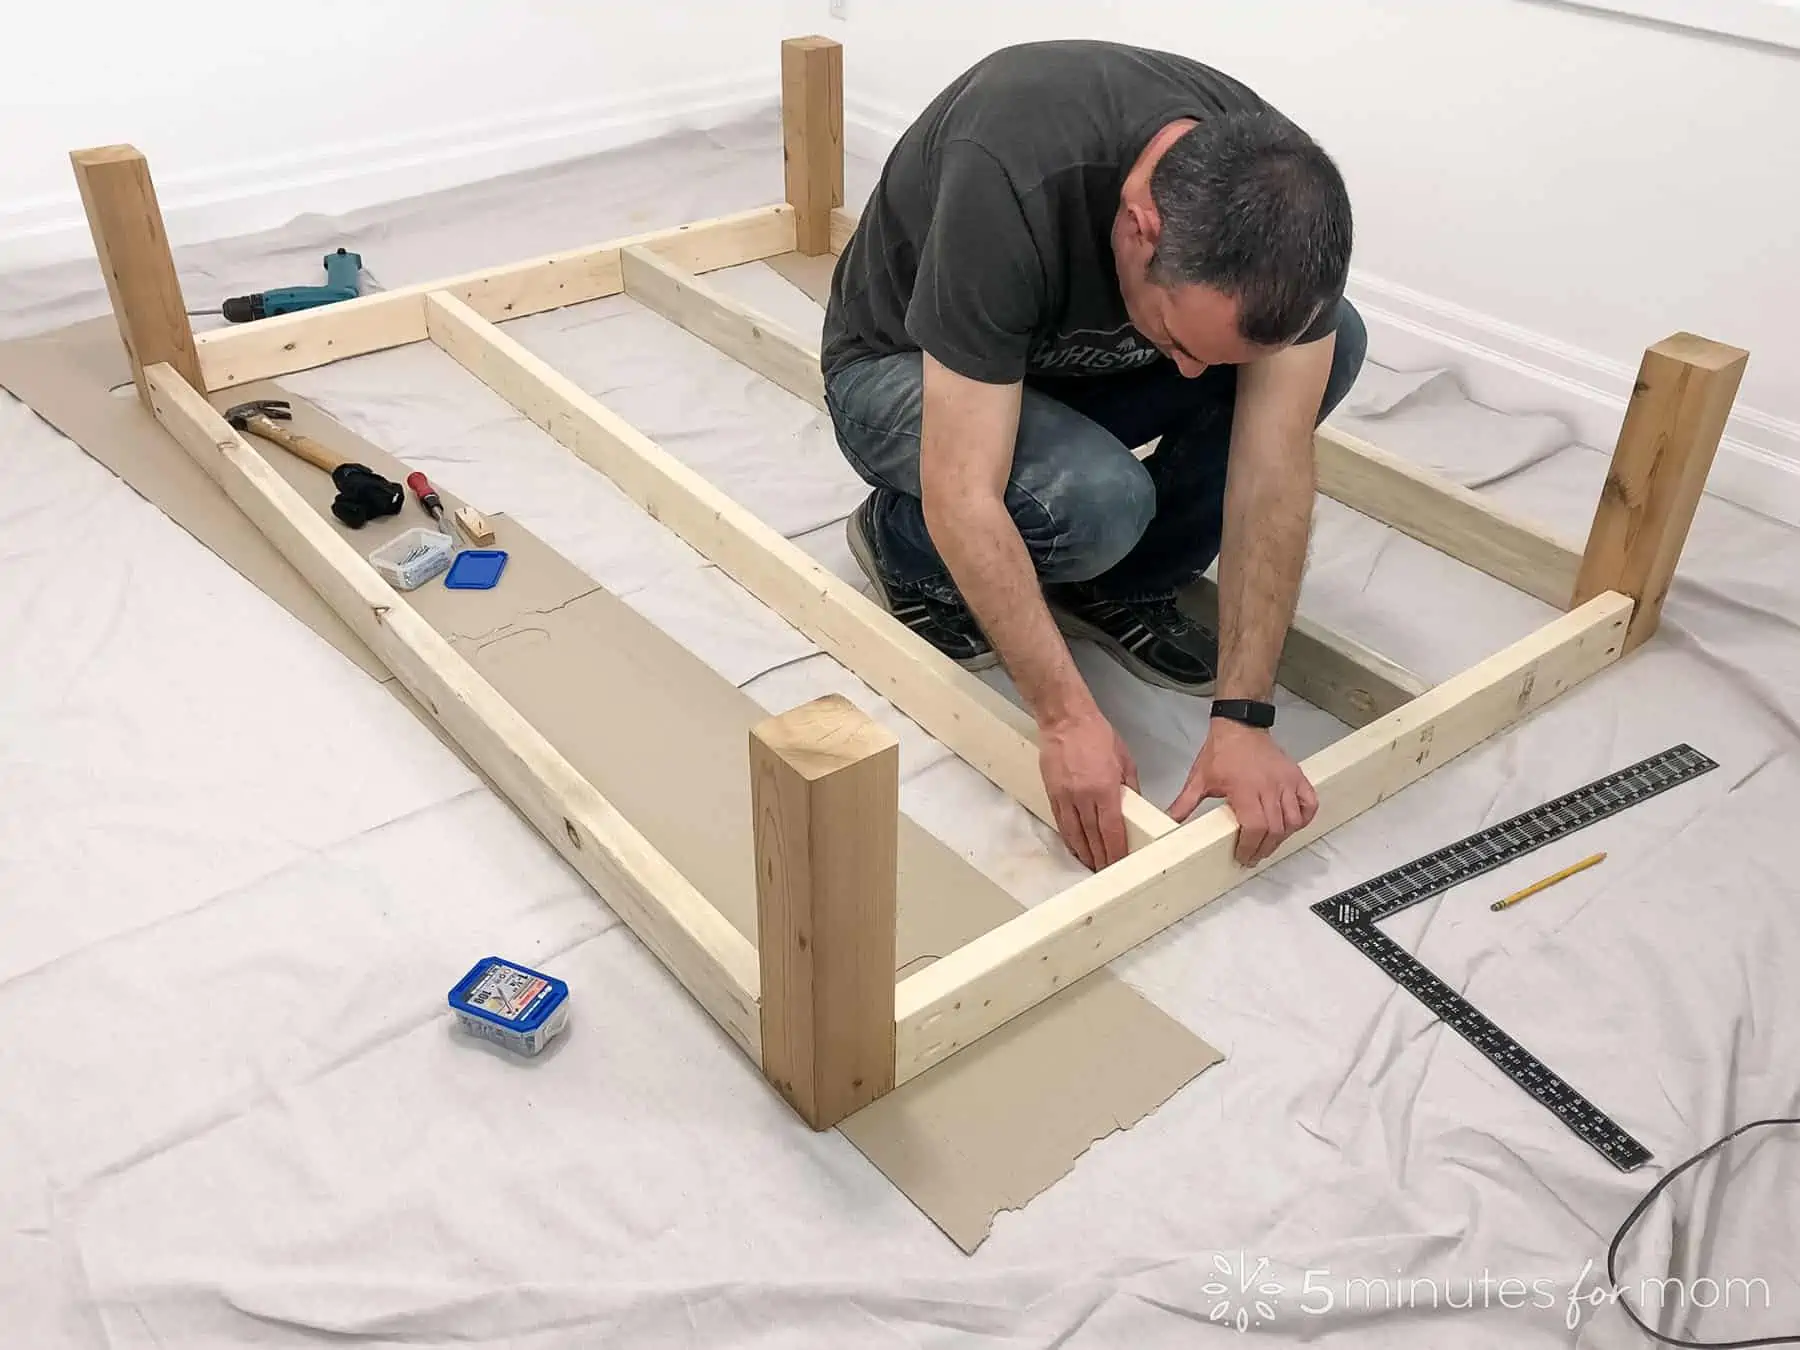
- STEP 4 – ATTACH Center Support Beams to Bed Frame
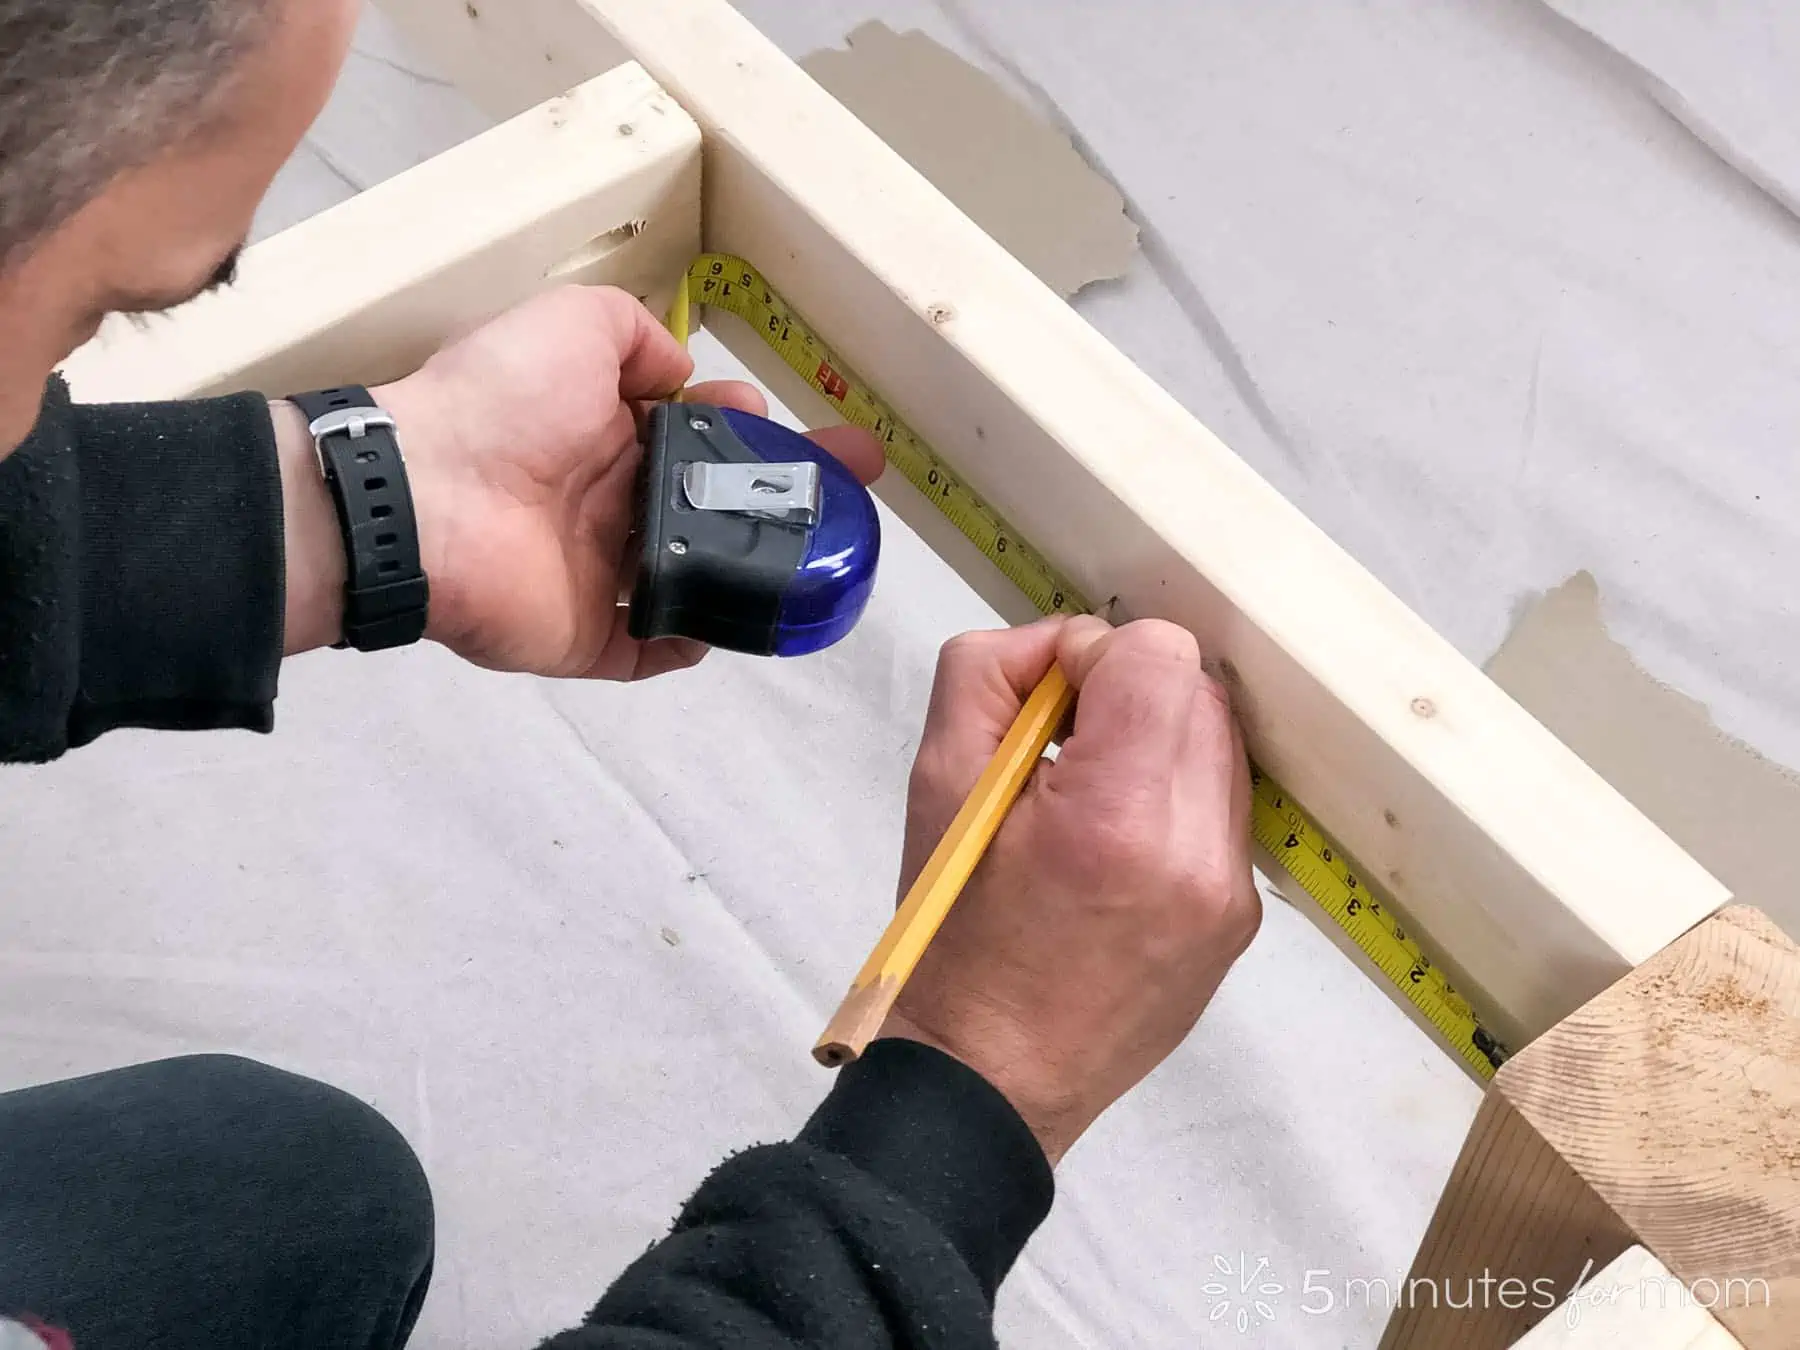
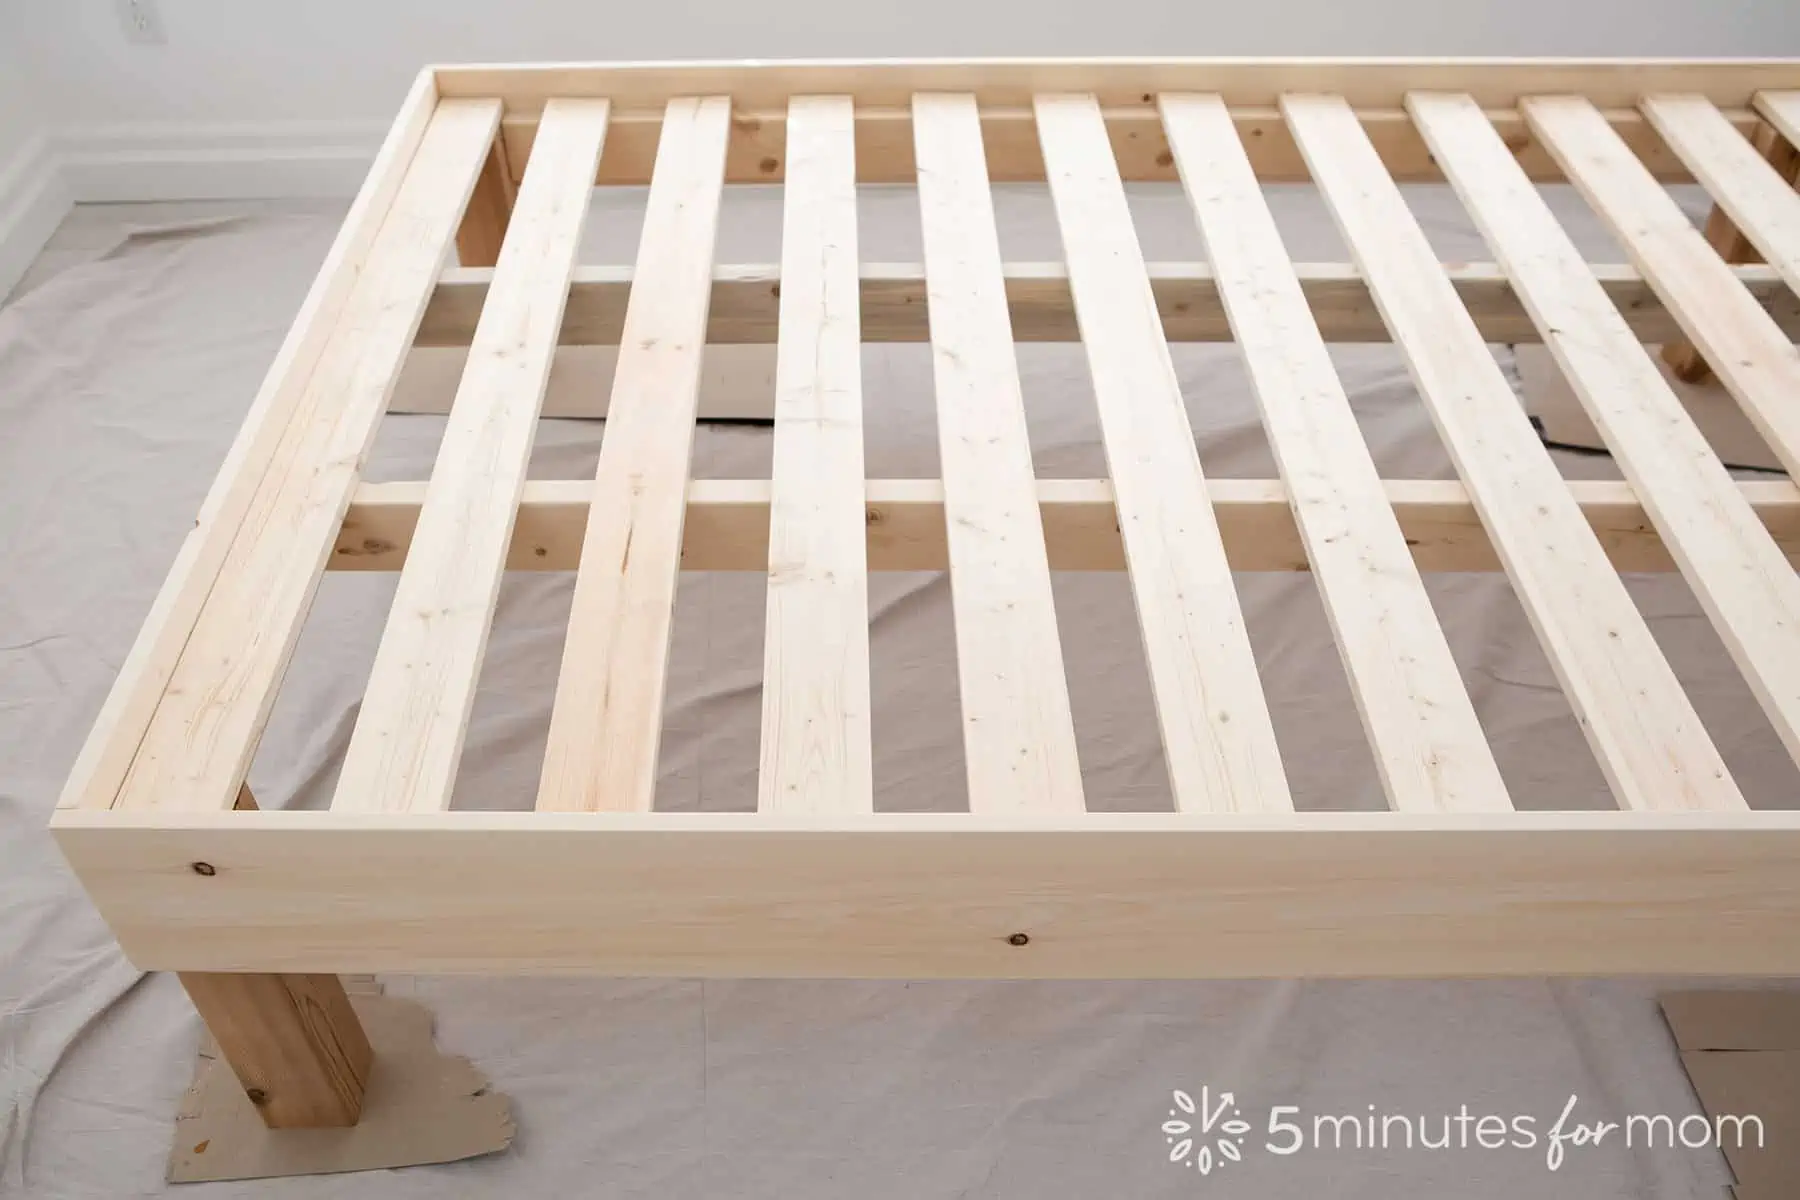
Once the outer frame is squared and secure, measure the length from the inside of the head 2×4″ to the inside of the foot 2×4″ to ensure the length of your center support 2×4″s should indeed be 73″.
Cut and sand the center support 2×4″s to fit.
Drill pocket holes in the two center support 2×4″s.
Screw the center support beams to the frame using 2½” Course Kreg Pocket Hole screws.
If you need the option to disassemble the bed frame later, you can purchase center support beam brackets instead of joining with pocket holes.
- STEP 5 – CUT and SAND Aprons and Bed Slats
Once your frame is complete, measure the distance of the sides of the frame and the head/foot of the frame to ensure your measurements for the apron is correct.
From the 1×8″s, cut two pieces 76″ long for the side aprons and cut two pieces 56½” for the head and foot of the bed.
From the 1×4″s, cut twelve pieces 54½” for the bed slats.
Sand all of the pieces, paying the most attention to the 1×8″ apron pieces.
(If your lumber is already cut and sanded, proceed to step 6.)
- STEP 6 – ATTACH Aprons
Before attaching apron pieces to the bed frame, drill holes in the outer 2×4″s.
Along the side 2×4″s, mark and drill holes at approximately 5″, 17″, 35″, 52″, and 64″, offsetting the holes so that they are not running along the same grainline.
Mark and drill holes on the head/foot 2×4″s in the center of the spaces where the support beams join the 2×4″, once again offsetting the holes so they are not on the same line.
Apply glue to the outside of the 2×4″s and then, using a power drill, screw the 1×8″ to the 2×4″.
We used 2″ wood screws and screwed from the inside of the 2×4″ into the 1×8″ so that the screw did not pierce through the 1×8.
Note: if you are using brackets so that you can disassemble the bed later, do not use glue on the post that faces the side aprons.
Also, one of our boards was slightly warped and it did not fit flush in one corner. So to fix the problem, we screwed the corner in as much as we could and then sanded it down. We filled in the screw hole so that it was not visible after painting.
After attaching the aprons, you can lay out your bed slats if you wish.
But, if you are painting or staining your bed frame, you probably will want to leave the slats off until you are finished painting.
- STEP 7 – PREP for Painting
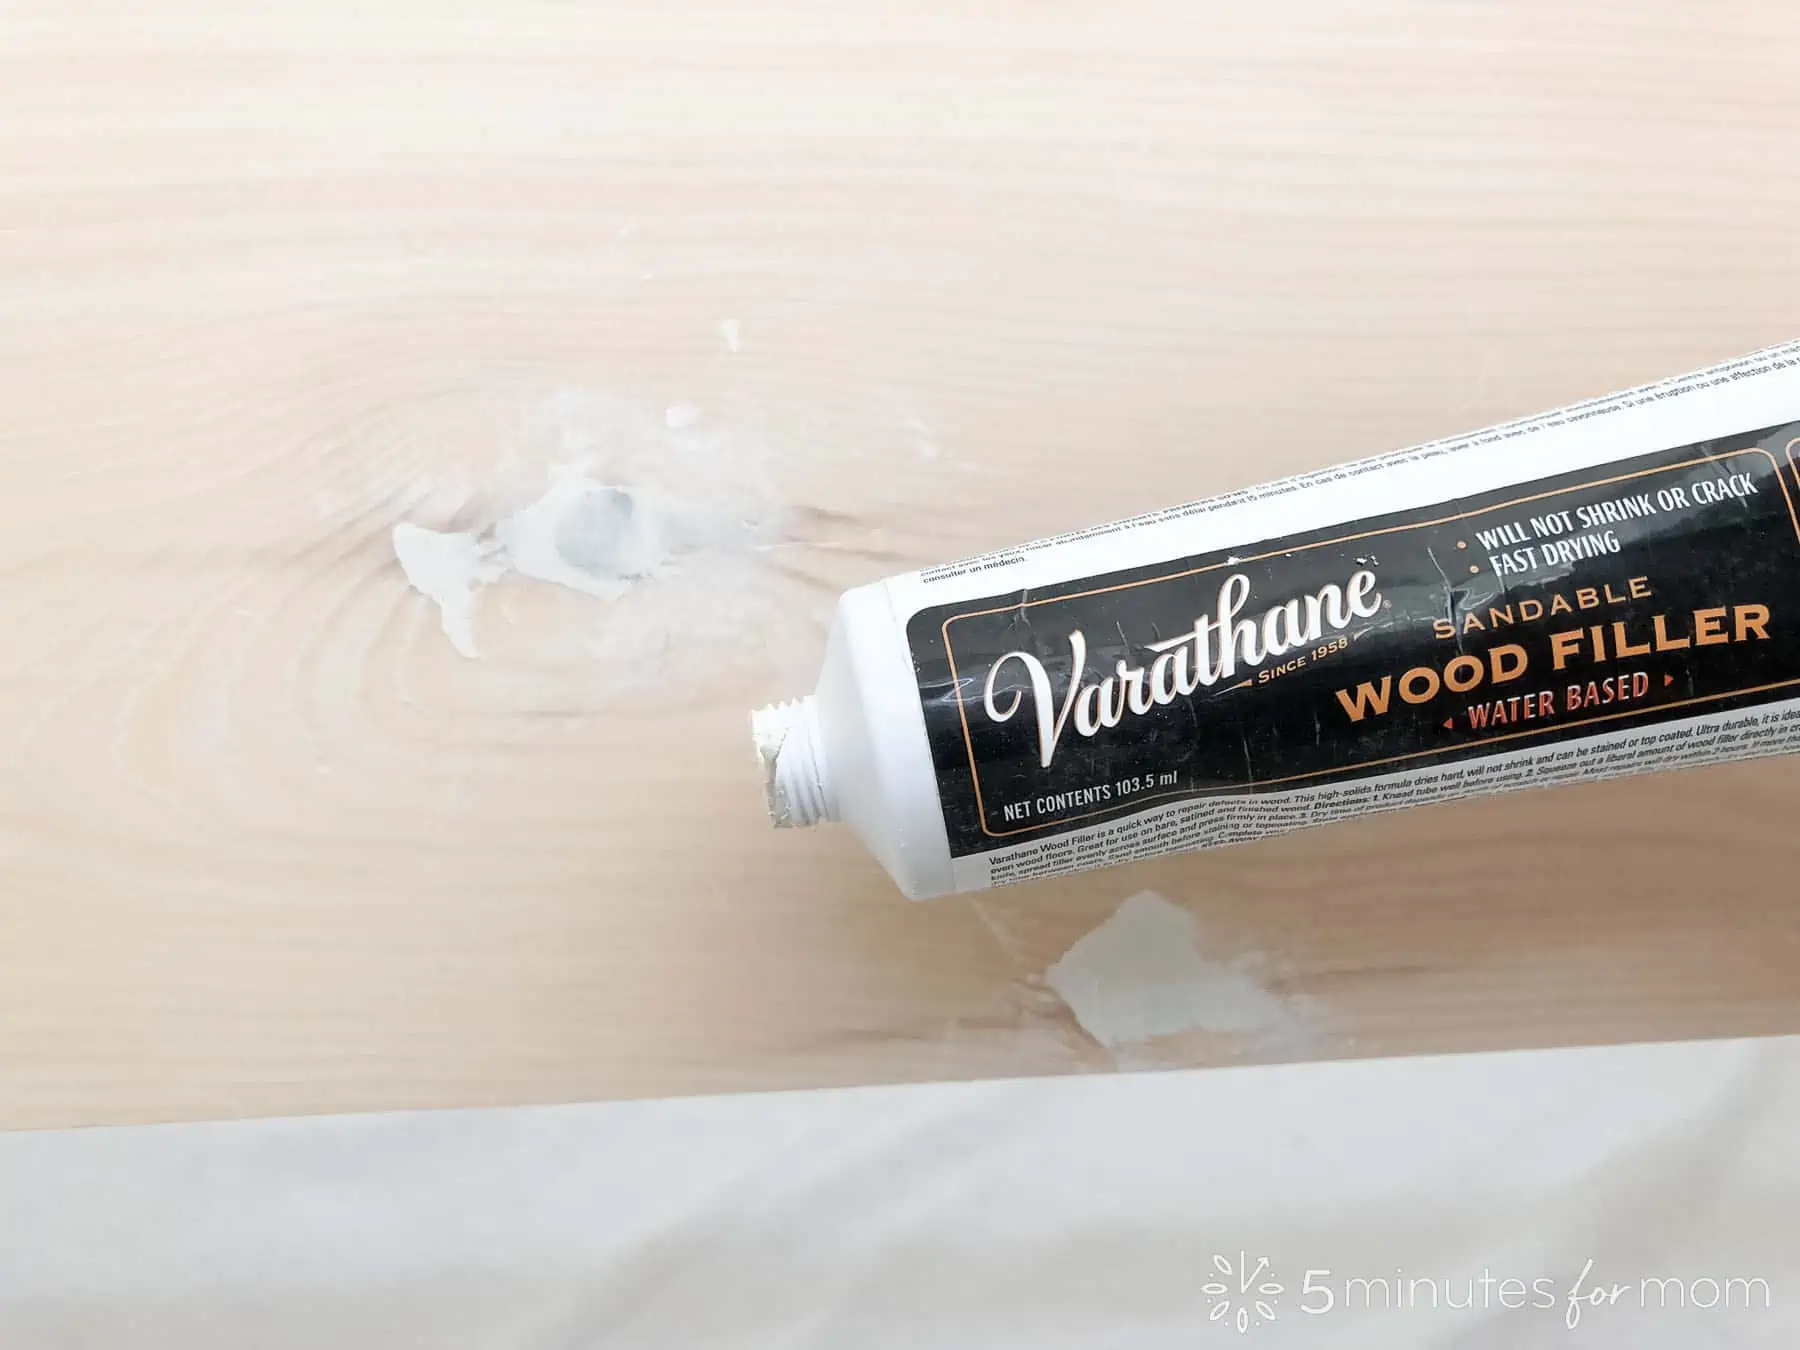
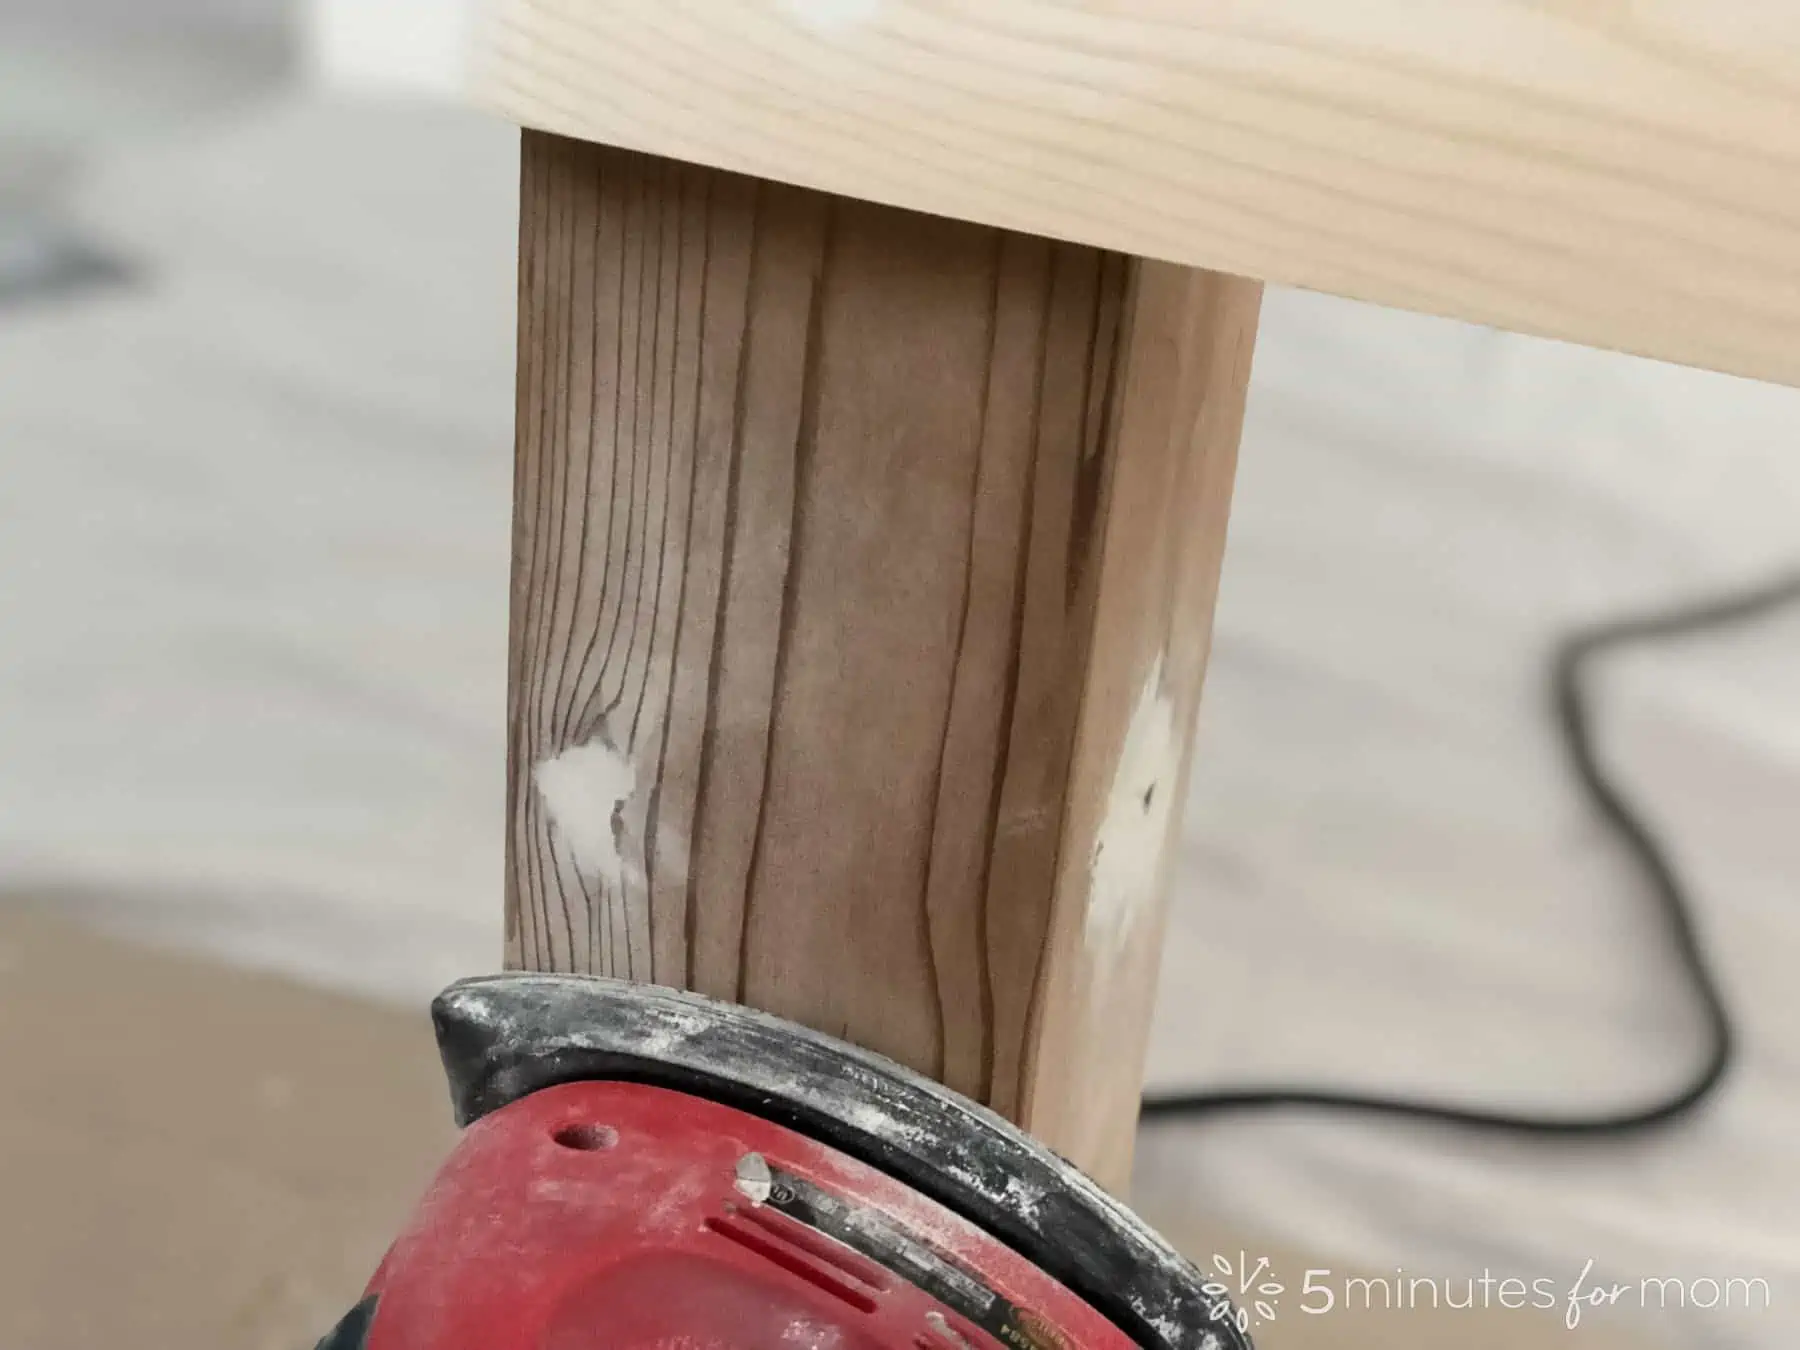
Fill any areas, including knots, that need fixing and smoothing. We used a water based, sandable wood filler.
Sand and wipe down to prepare for priming.
- STEP 8 – PRIME and PAINT
Apply primer before painting your bed frame.
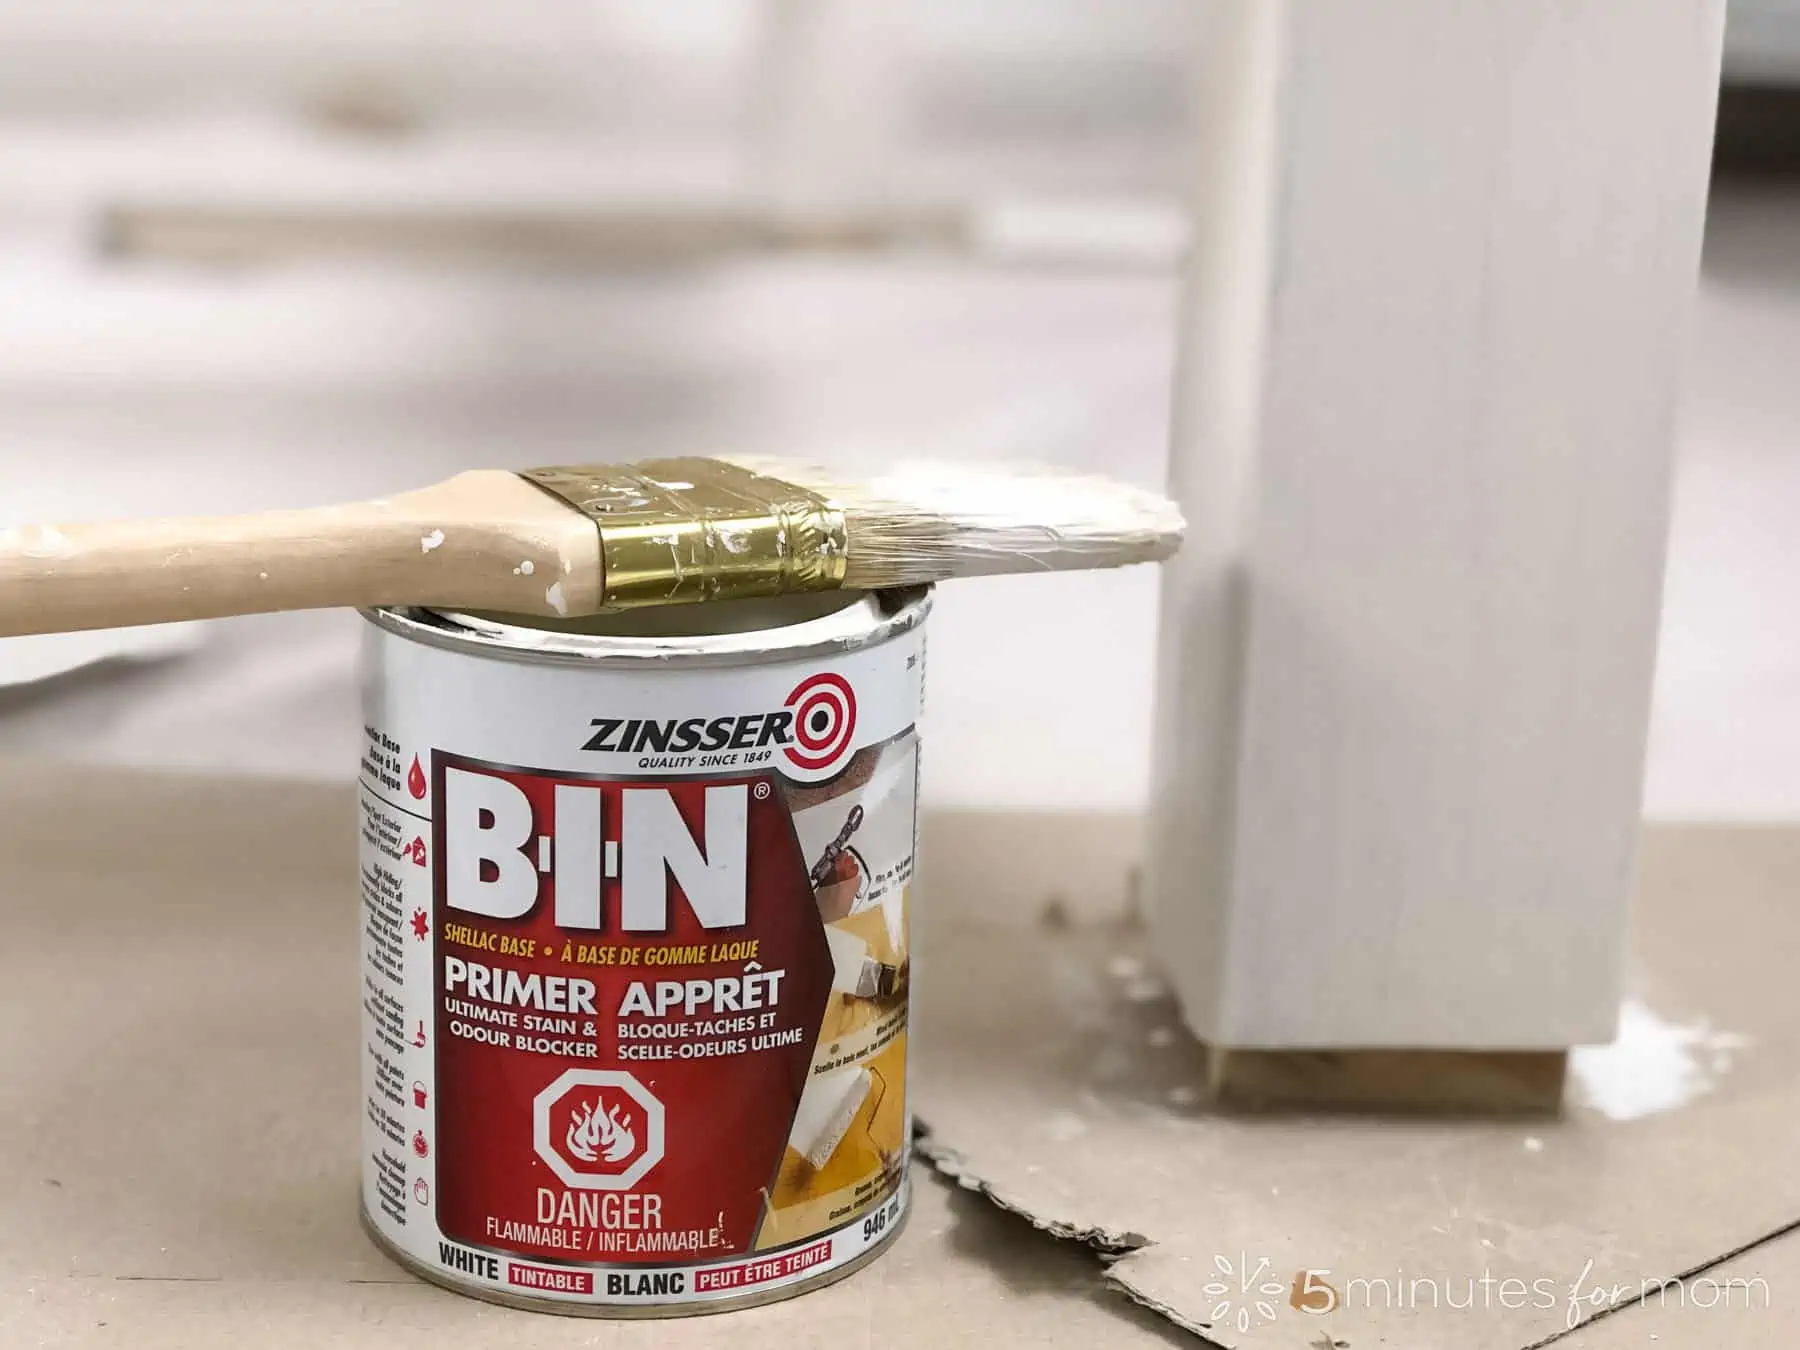
We applied BIN primer on knots and on the cedar legs to make sure that we didn’t have any yellow seeping through our paint in the future.
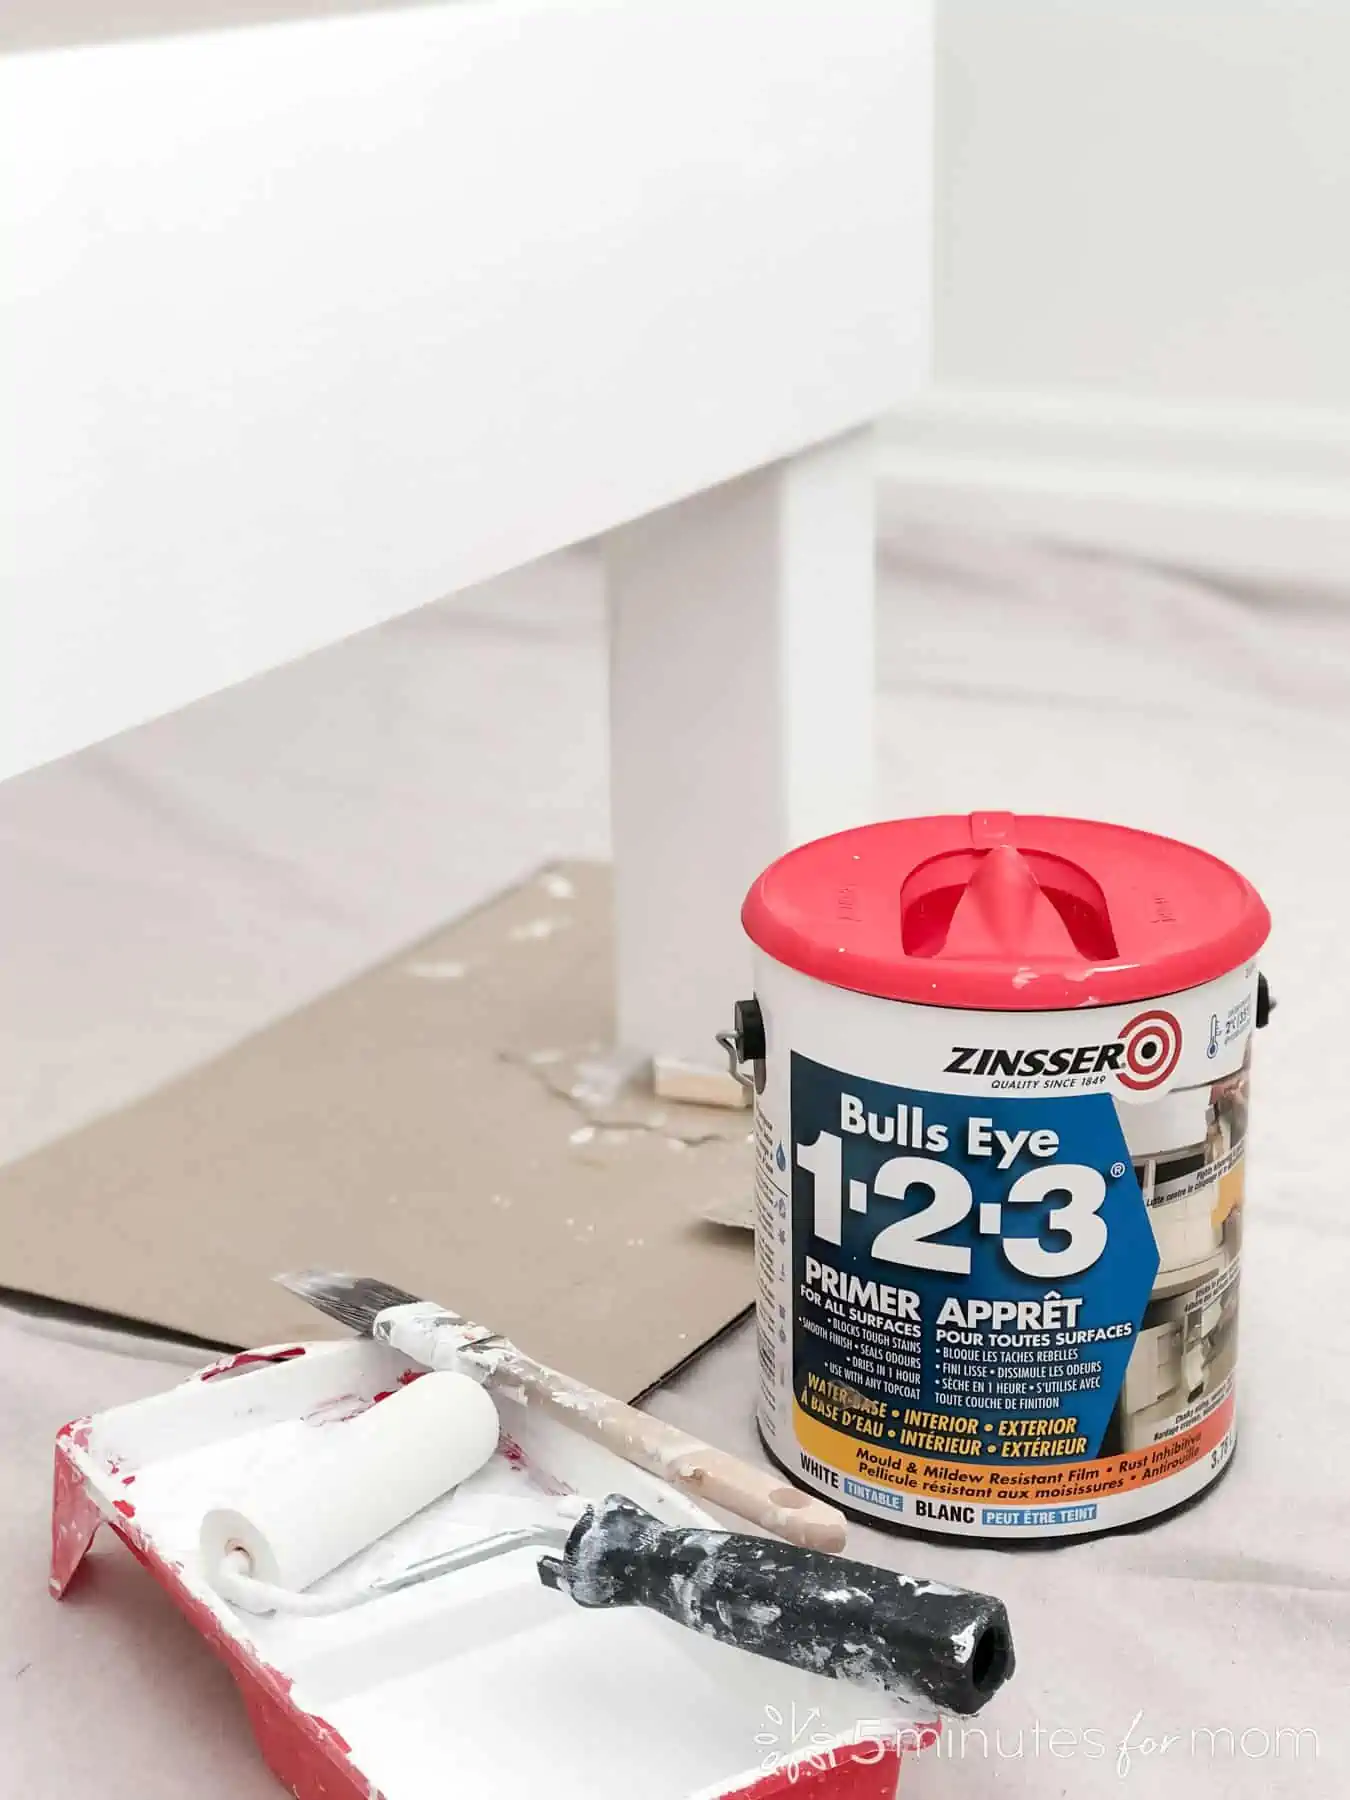
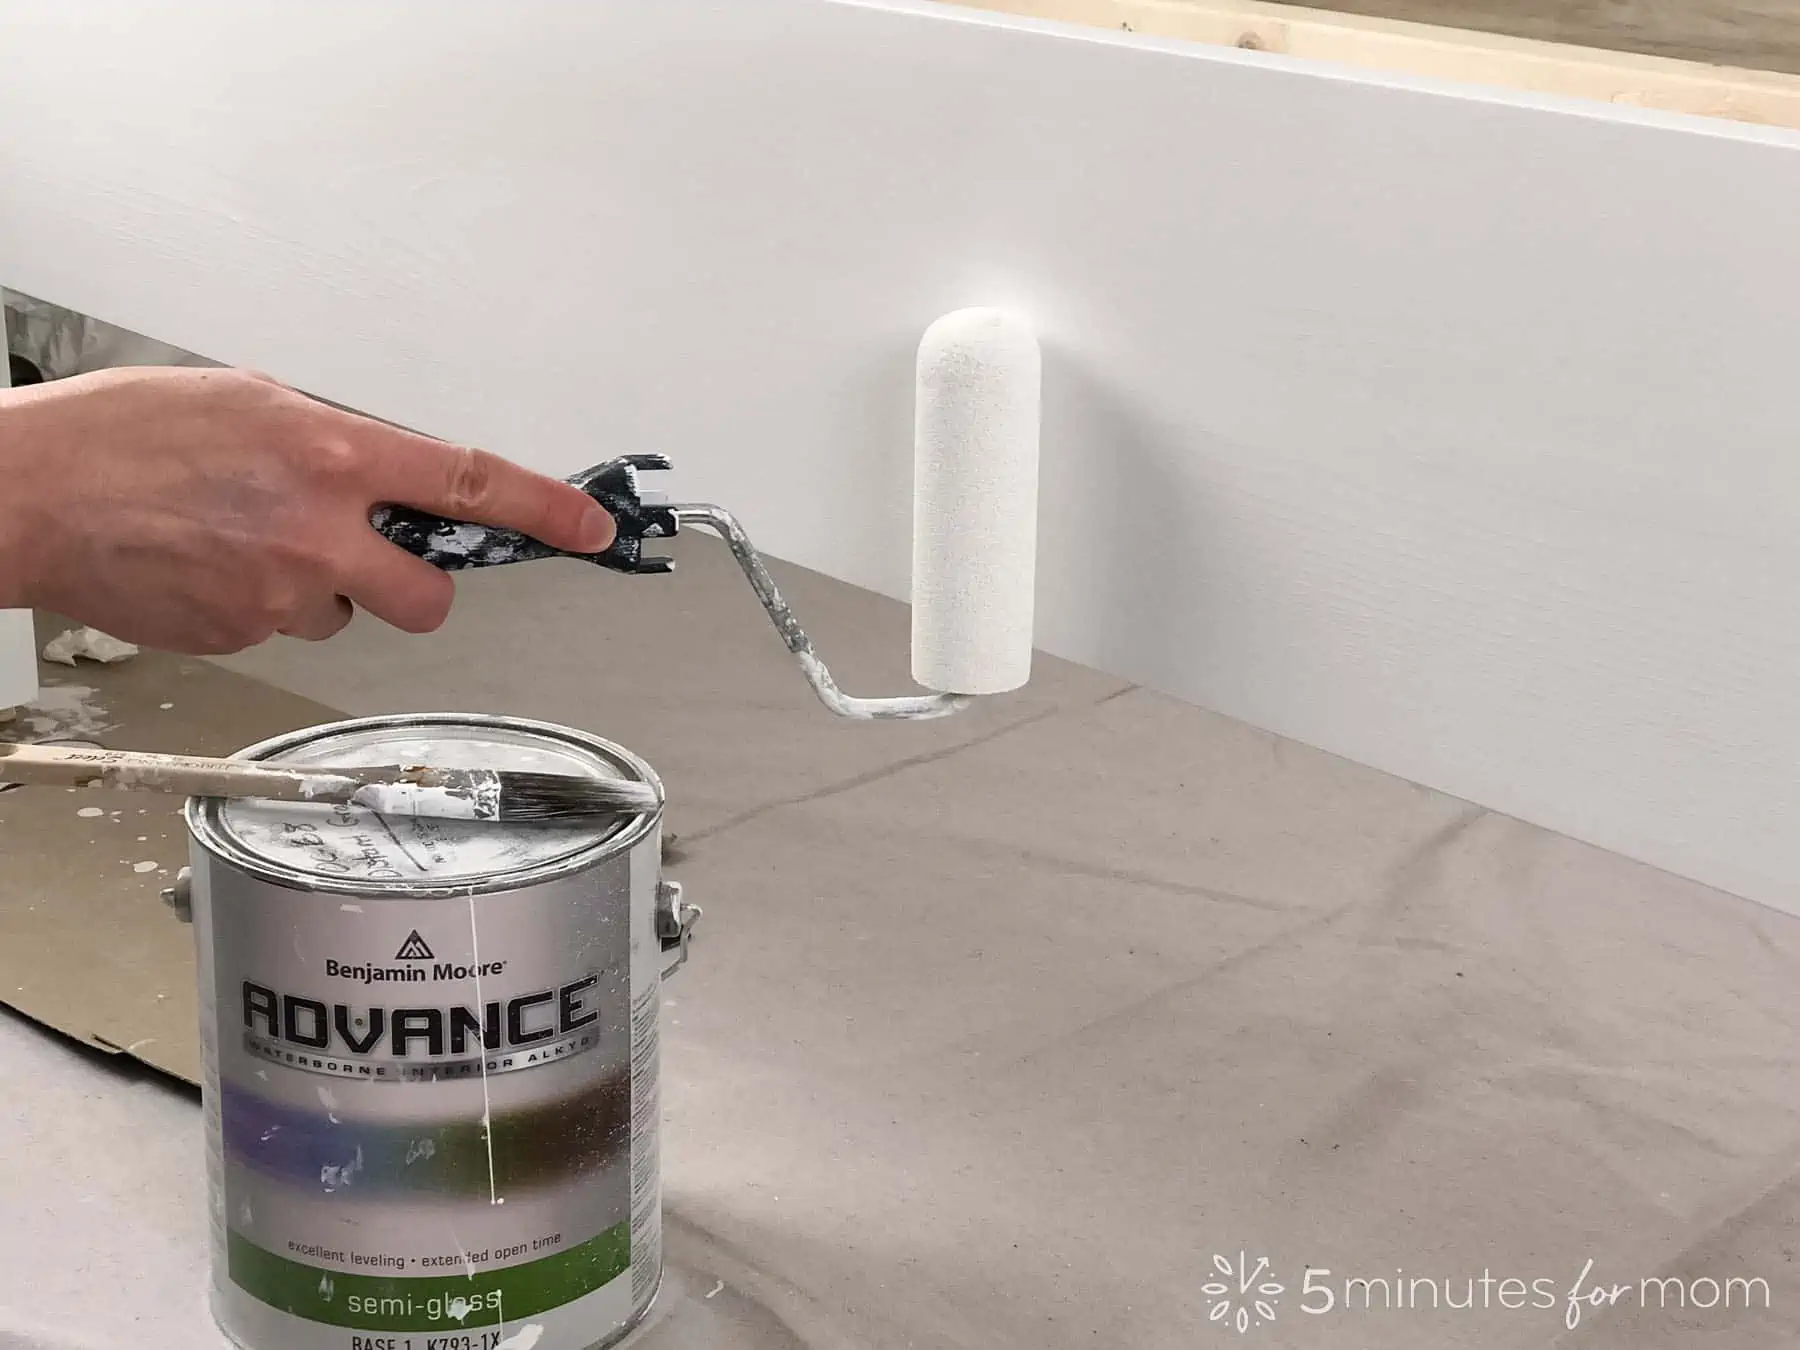
Next, we applied Bulls Eye 123 primer on all the visible parts of the bed frame that we will be painting.
Once your primer is dry, sand and wipe down well to remove all dust.
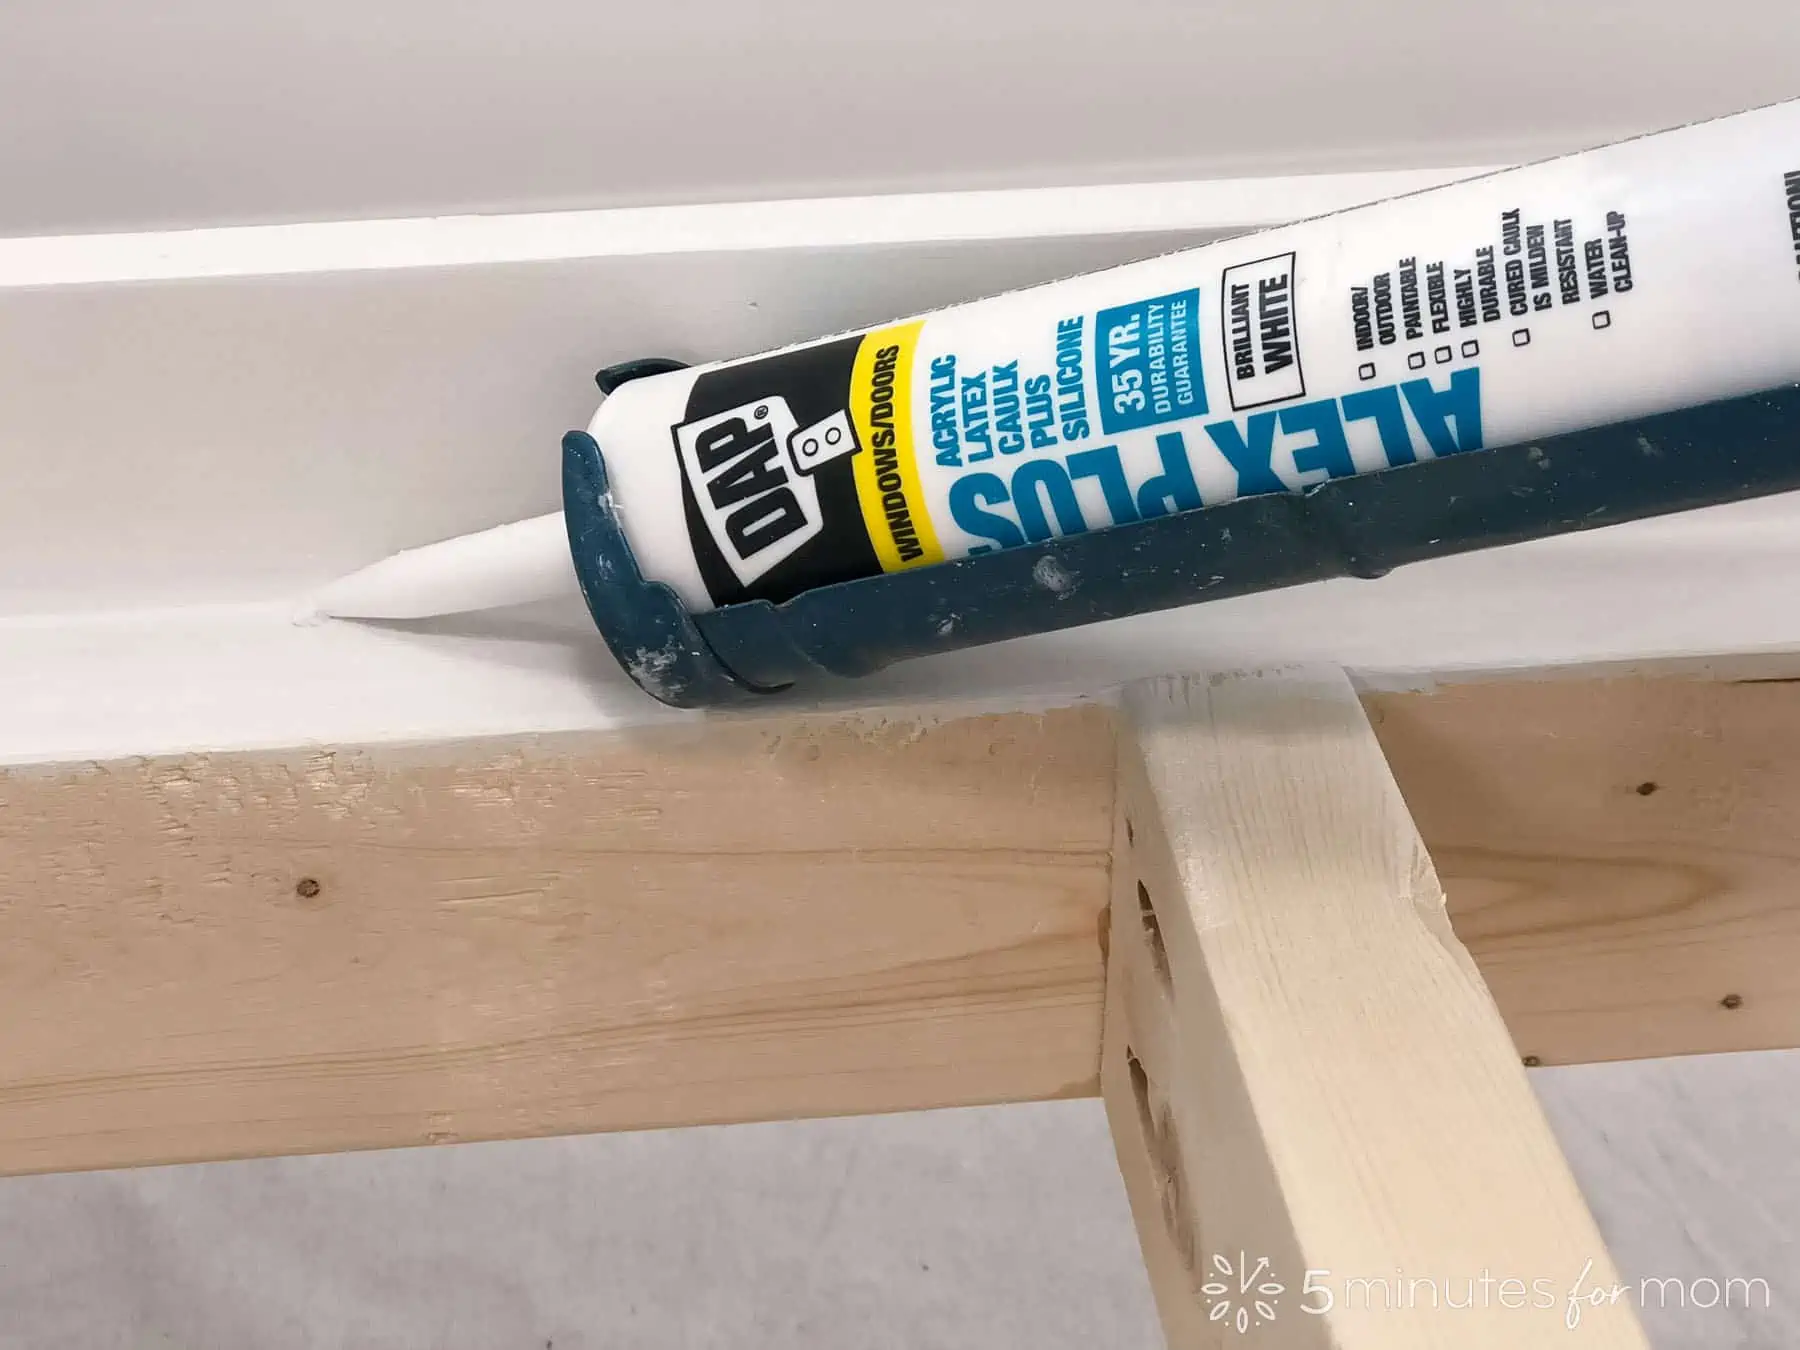
You may wish to caulk the space between the 2×4″s and the 1×8″s as we did.
When your primer and caulking are all dry and your bed frame is sanded, and wiped down, apply one to two coats of your topcoat paint.
- STEP 9 – ATTACH Felt Pads and Bed Slats
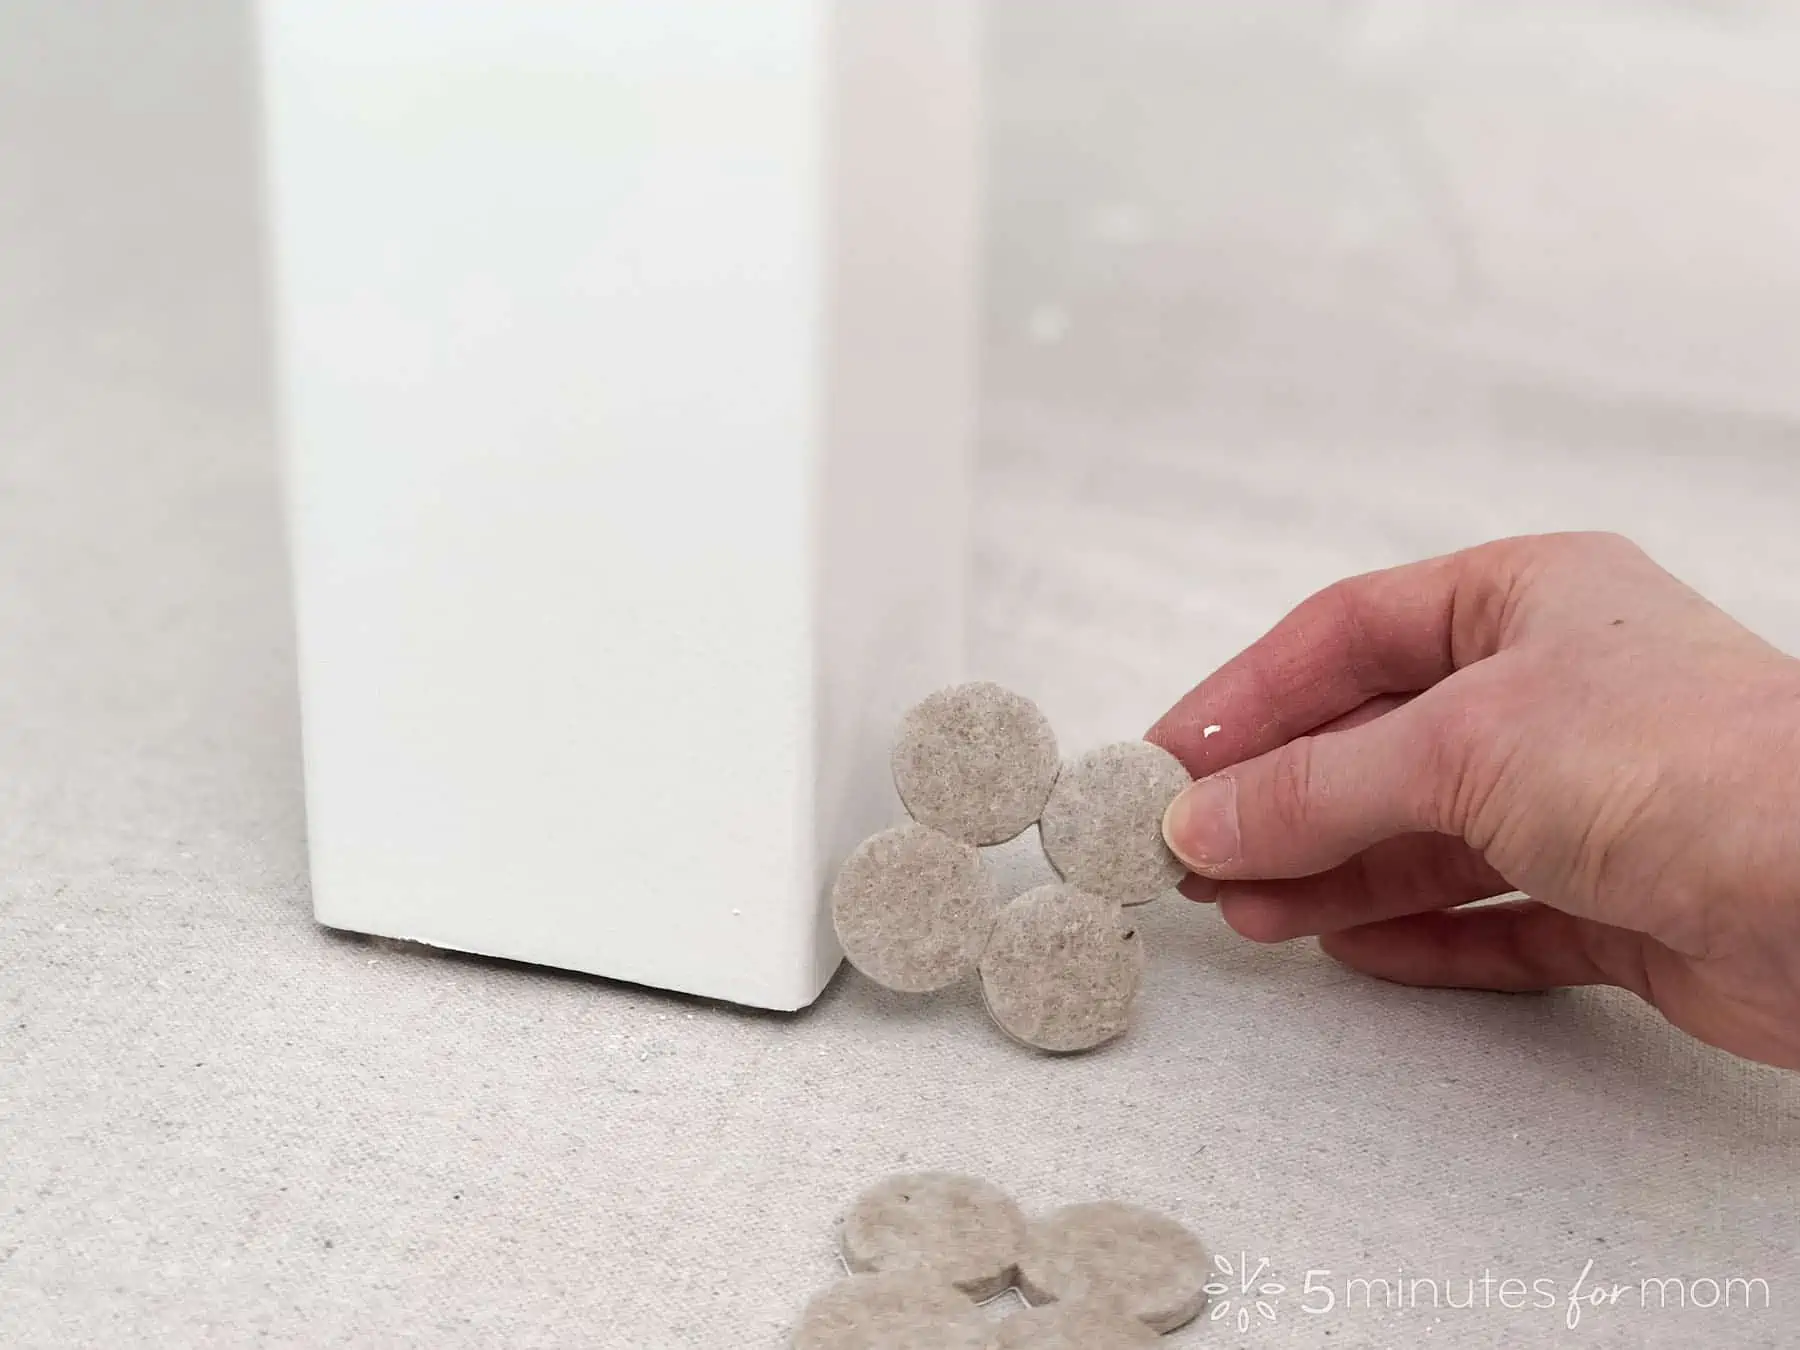
Once your paint is dry, you may want to attach felt pads to the bottom of the bed frame legs to protect your floor surface.
Finally, lay the bed slats, spaced out on the bed frame with equal distance between each slat, leaving around 2¾” to 3″ for airflow between the bed slats to keep the mattress from getting moldy.
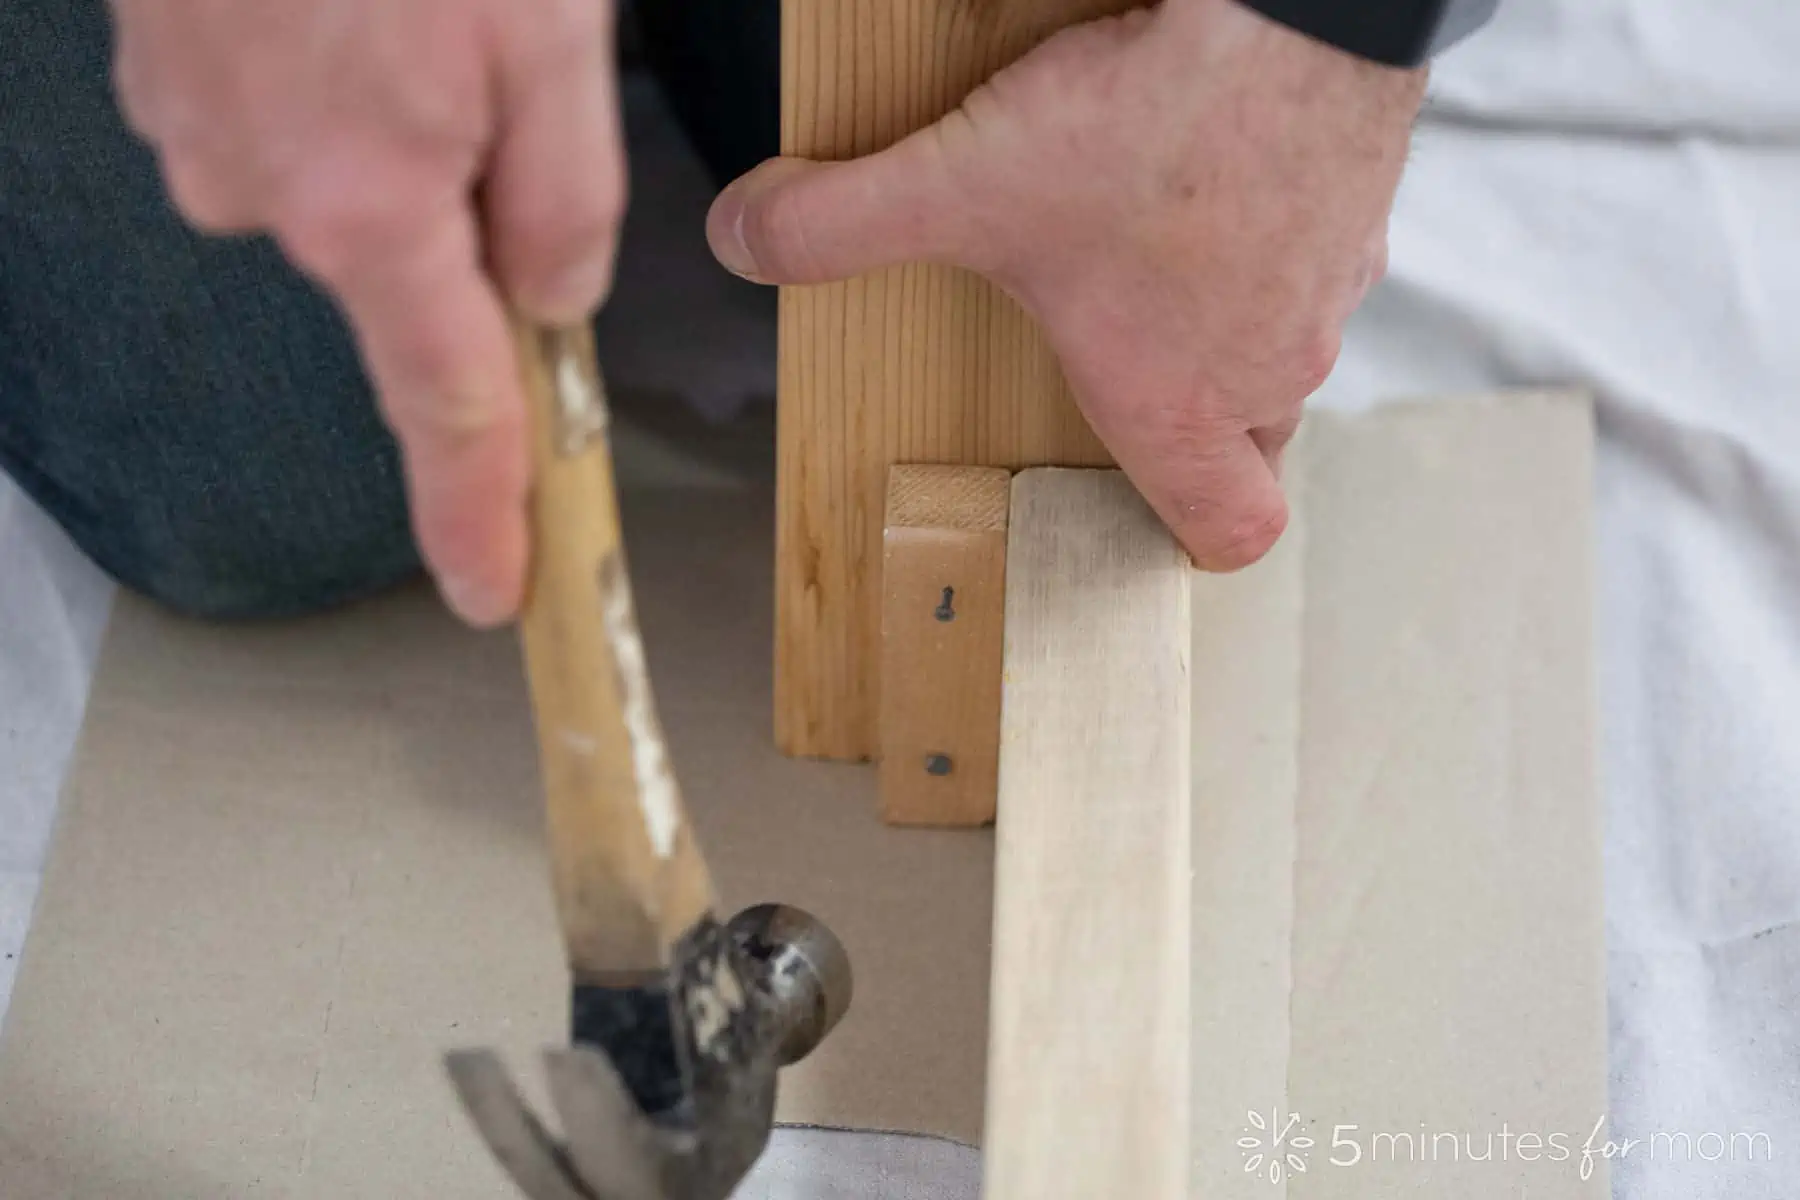
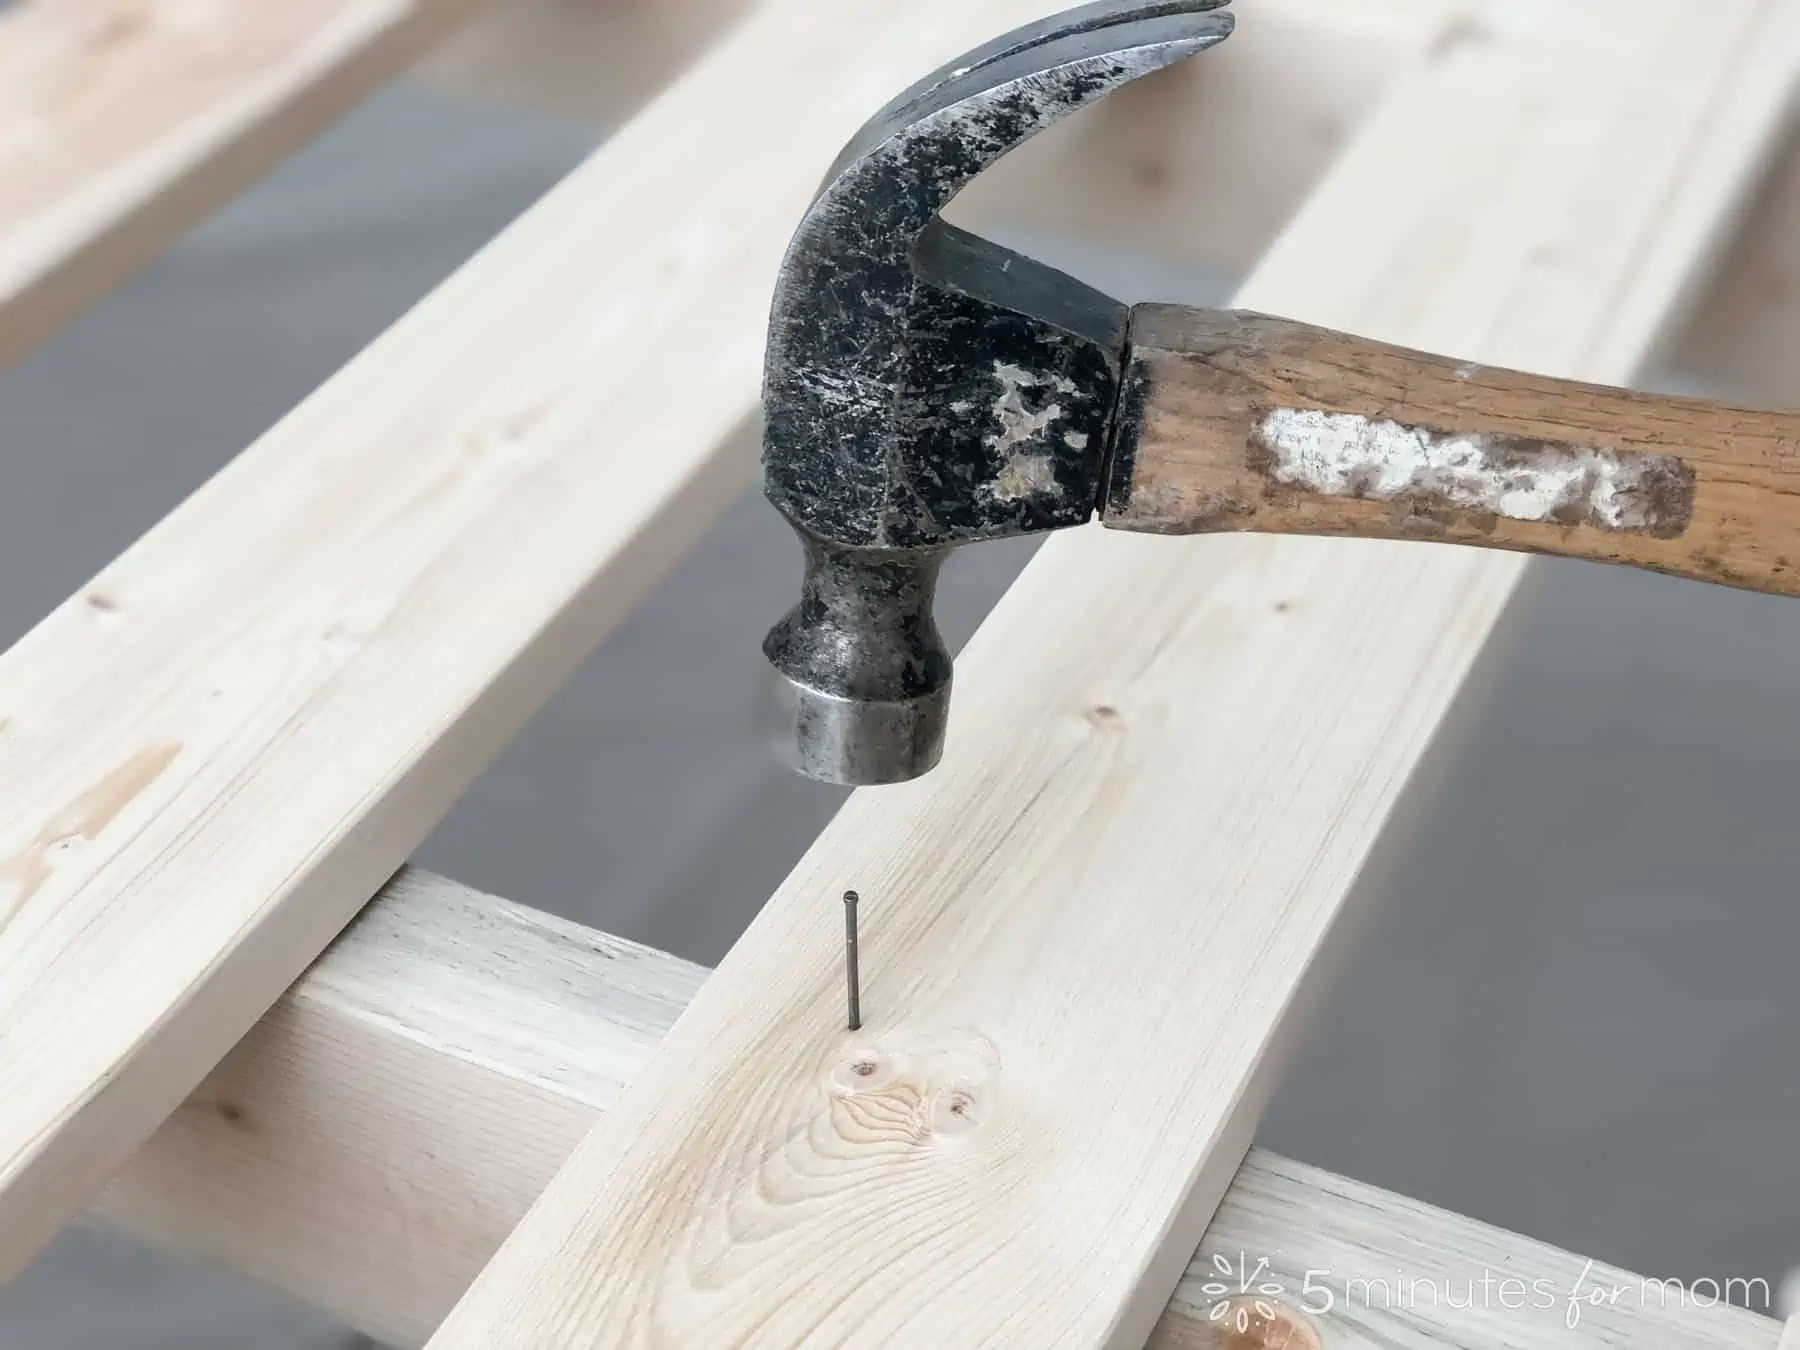
Secure the bed slats by nailing them in place with finishing nails.
If you need the option of disassembling the bed later, you could use spacers to hold the bed slats in place. Alternatively, you could screw the slats in place and remove the screws later, or you could just remove the finishing nails.
- STEP 10 – ADD Mattress and Celebrate
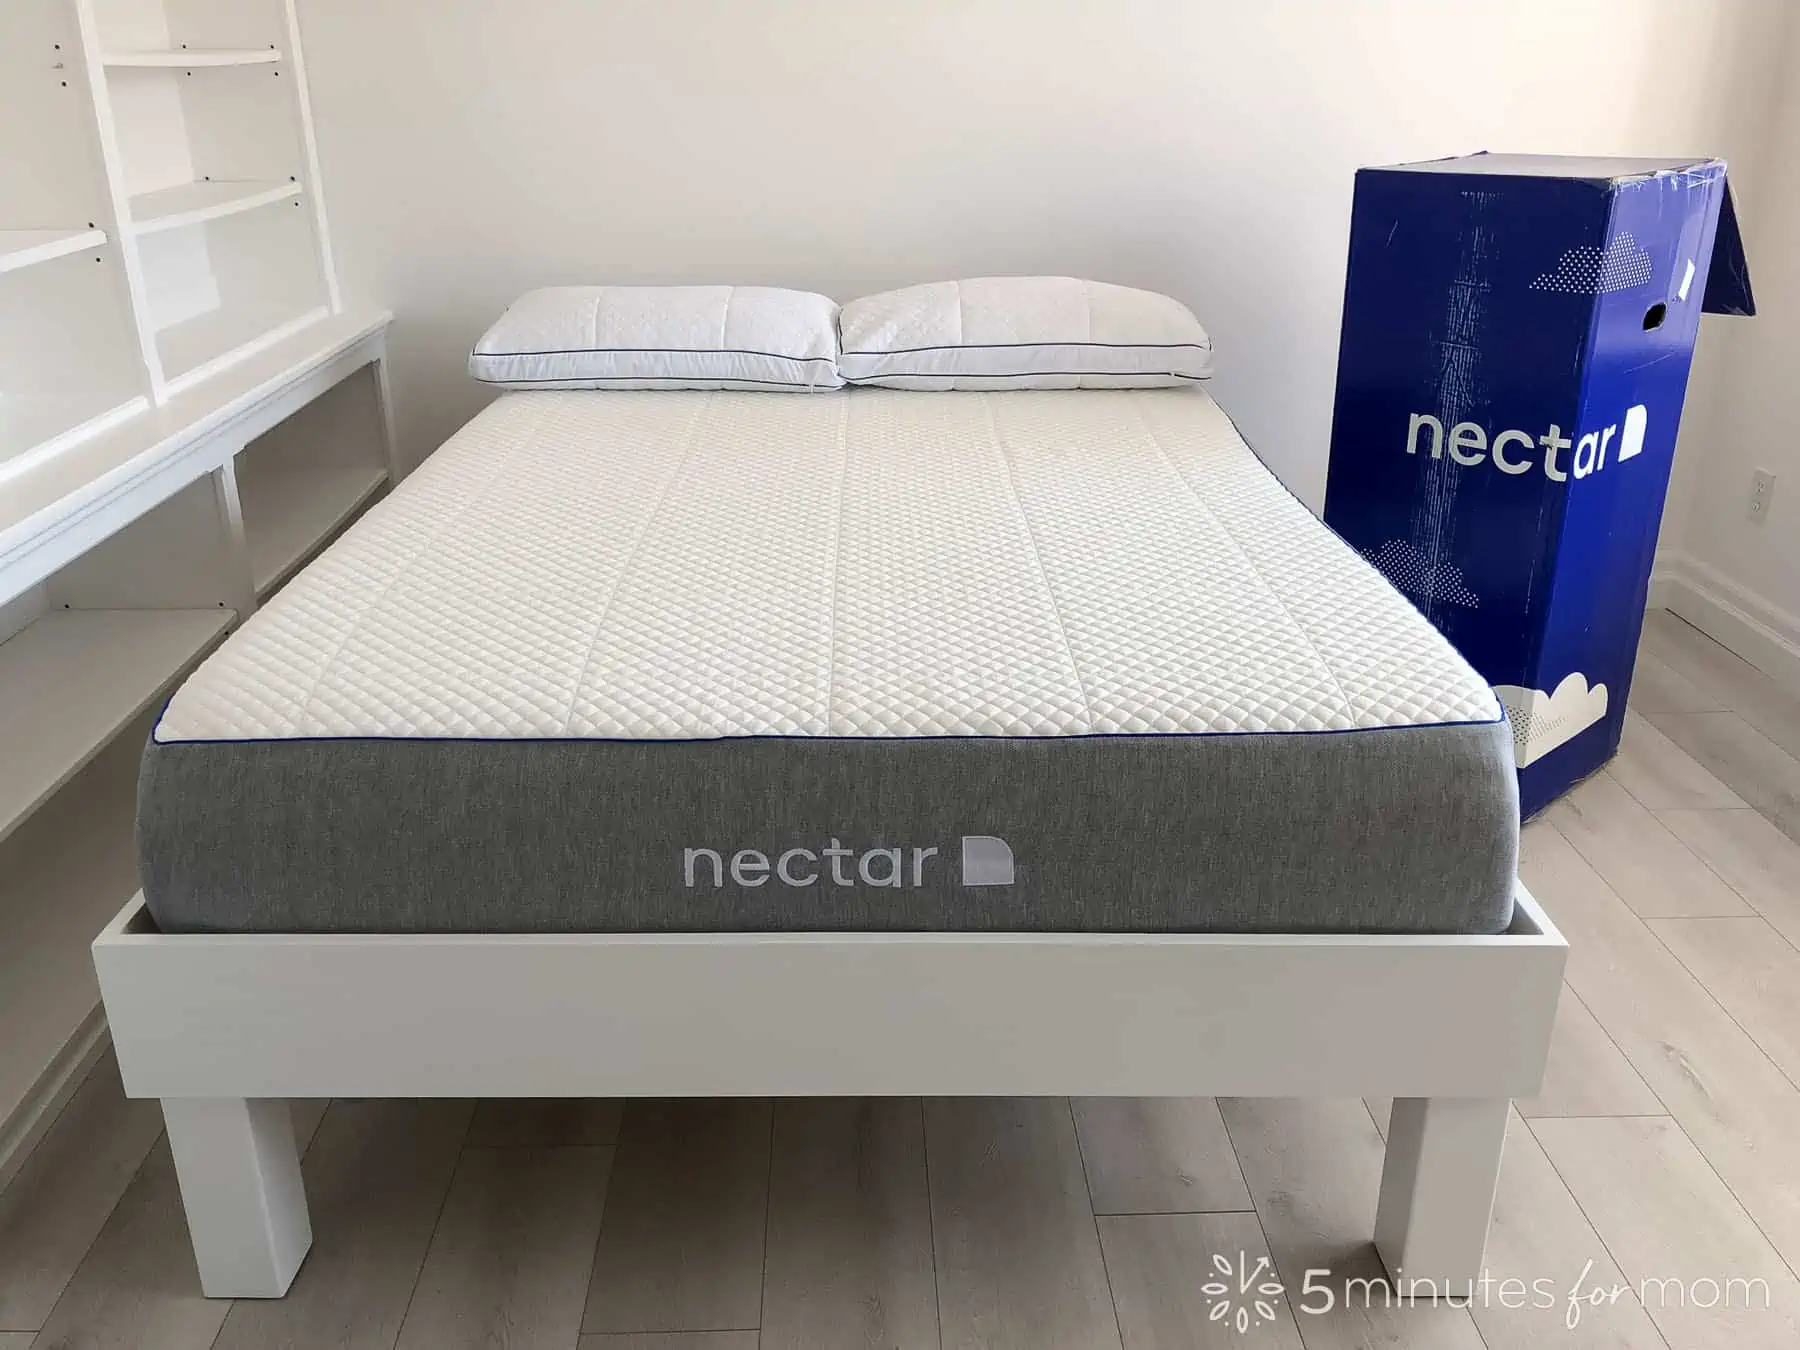
You have done it! Add your mattress and celebrate — you built a BED!
We topped our homemade bed frame with a fabulous memory foam mattress from Nectar.
- Oak
- Maple
- Poplar
- Mahogany
- Cherry
- Birch
- Walnut
- Fir
- Pine
- Cedar
- SPF
- For the structural framing of the bed, we used 2″x4″x12ft SPF Dimension Lumber
- For the side aprons of the bed frame, we used 1 x 8″ Pine boards.
- For the bed frame posts, we used this 4×4 Western Red Cedar. Because Western Red Cedar is often used for decks etc., Home Depot has 4×4 cedar posts, but not untreated 4×4 Pine or SPF posts. So we used Western Red Cedar for our posts. Since we were painting our bed, we didn’t mind using a different type of wood for the posts than the 1 x 8 Pine board we used for the apron.
But if you want to use the same type of wood for your posts as the rest of your DIY wood bed frame, you can glue/laminate together two 2×4″s or three 1×4″s if you can’t find posts in the same wood. Or, if you are using the Red Western Cedar posts from Home Depot that we used, you could use these 5/4-inch x 6-inch x 8 ft. Premium Cedar Deck Board for the bed apron and headboard so it all matches. Note, for the structural framing of the bed, you can still use the 2″x4″x12ft SPF Dimension Lumber that we noted above.)
- Twin — 38” x 75”
- Twin XL — 38” x 80”
- Full/Double — 54” x 75”
- Queen — 60” x 80”
- King — 76” x 80”
- California King — 72” x 84”
We hope this post inspires and helps you to build your own bed frame!
It really is possible – honestly, writing this post was far harder and took far longer than building the bed itself!
Please let us know in the comments if you are making (or considering making) your own bed frame. Please let us know if you have any questions – we are here to help!
And if you do make your own bed frame, please share and tag us in your social channels. We would be thrilled to see your work!
DIY Wood Bed Frame FAQ
We did a ton of research before starting this project. So here are some of the questions we asked ourselves before we began making this DIY bed fram.
Is it Cheaper to Build Your Own Bed Frame?
Quality, solid wood bed frames usually cost several hundred dollars or more.
When I needed a new bed frame and mattress for my daughter’s room, I was shocked at the high prices for good-quality wood bed frames. We wanted a bed frame that would not require a box spring and we wanted a beautiful, well-crafted bed frame that would last for years.
So, instead of paying several hundred dollars for a solid wood bed frame, we spent a fraction on lumbar and built our own simple bed frame and topped it with a super comfy mattress from Nectar.
What Kind of Wood Should I Use for a Bed Frame?
When it comes to choosing the type of wood for your homemade bed frame, you have many options and your final choice will usually come down to your budget for the project.
There are two main categories of wood: hardwood and softwood.
Hardwood is generally more durable and expensive as it comes from flowering trees which take longer to grow, creating wood that is denser and usually a darker color.
Examples of hardwood are:
Oak is a fantastic wood to use for building DIY bed frames. It is a strong, beautiful wood that is moisture-resistant and ideal for humid climates. It is also resistant to warping and insect/fungal attacks, but is dense and not easily carved.
Maple is another superb wood variety for building wood furniture. It is durable, it doesn’t swell or shrink, and it takes stain well. Similar to oak, because maple is so strong and dense it is not easily carved or easy to work with.
Poplar is perhaps one of the best options for building wood furniture. Poplar is the most affordable hardwood variety as it grows quite quickly. Poplar has a straight, fine grain and stains well.
For more inexpensive timber options, you may want to consider using softwood for your DIY wood bed frame, or at least for some components of your frame.
Examples of softwood are:
Douglas Fir is one of the strongest softwoods and wins the race when it comes to an all-around ideal wood for building wood bed frames.
Douglas Fir resists warping, adjusts well to humidity, and grips nails well without splitting. While Douglas fir is more expensive than pine, it is stronger and more durable than pine with tight close grain lines.
Pine is a very popular wood choice for building furniture due to its affordability. As well, many people prefer the rustic charm of knotty pine with its range of colors of whites to browns within the wood.
However, pine is not as strong and stable as fir, with broad grain lines which makes it more prone to twisting and warping.
Cedar is a softwood that is often used for outdoor furniture, decks, and patios, as well as furniture intended for clothing storage such as wardrobes, chests, and trunks as it is antibacterial, antifungal and naturally repels moths.
Since cedar is quite soft, it is not usually used in construction for structural components that need to hold a lot of weight. Also, because cedar is soft, it can dent or scratch more easily.
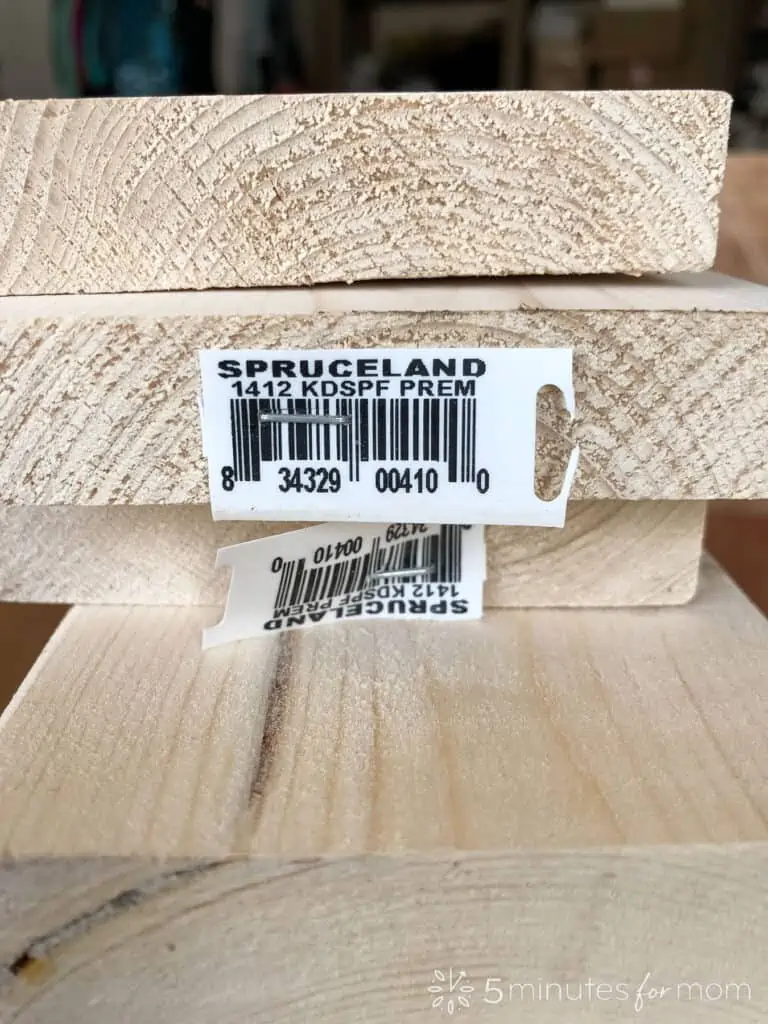
Finally, when you go to buy lumber to make your DIY bed frame, you will notice construction lumber that is classified as SPF.
What is SPF lumber?
SPF stands for Spruce, Pine, Fir and it is a classification of lumbar that includes the three similar species of spruce, pine, and fir from Canada and parts of the US.
Kiln-dried SPF lumbar is used for construction and framing because it is affordable and plentiful and has a high strength-to-weight ratio, glues well, and grips nails well.
(For an incredibly helpful article on how to use SPF lumber to create fine furniture, visit this article by Steve Maxwell, Tips & Plans for Building Fine Furniture from Construction-Grade Wood.)
PLEASE NOTE: Never use pressure-treated lumber for indoor projects. Pressure Treated lumber is specially treated for long-term performance outdoors and is not intended for indoor use.
What Lumber Did We Use to Build Our Bed Frame?
We wanted to keep costs as low as possible while building our handmade bed, so we used softwood instead of hardwood. You can see our detailed cut list below in the building plans under Tools and Materials. But here is a brief run-down of the lumber we purchased.
What Kind of Wood is Used for Bed Slats?
Bed slats need to be sturdy and thick enough to withstand the weight of the mattress without sagging or breaking and there needs to be adequate space between the slats for the mattress to breathe.
1×4″ pine boards or 1×4″ SPF KD boards are great, affordable wood options for bed slats.
(SPF is short for Spruce, Pine, Fir and it is a classification of lumbar that includes the three similar species of spruce, pine, and fir from Canada and parts of the US.)
Between the bed slats, leave around 2¾” to 3″ for airflow to keep the mattress from getting moldy.
“Can I use plywood for bed slats?” While plywood can be used instead of bed slats, a sheet of plywood as a bed foundation isn’t ideal because it doesn’t allow for adequate airflow to the mattress. However, you can rip the plywood into 3″ or 4″ wide slats or you can drill air holes into the sheet of plywood.
Also note, that plywood needs to be 3/4″ thick to offer adequate support. Thinner plywood may sag or break.
What Tools and Materials will I need to Make a Bed Frame
If you are like me, you don’t have a full woodshop or even a table saw in your garage. So, you might think that you won’t be able to build a bed with your limited tools.
But the fabulous news is that you can build a bed with just a few basic tools, including a handheld drill, handheld sander, hammer, an inexpensive pocket Kreg jig, and a hand saw. If you happen to have a circular saw or even just a jigsaw, it is helpful, but not critical. The folks at Home Depot or your home center can cut your lumber to size for you.
You will also need supplies such as sandpaper, screws, nails, clamps, etc. For a detailed list of the tools and materials I used, see the supplies list in the building plans below.
What are Standard Bed Sizes?
Before you buy your lumber to build your bed, you need to know what size bed frame you should make.
If you already have your mattress, then you can measure it and add about an inch to the inside width and length so that there is ample room between the mattress and the bed frame.
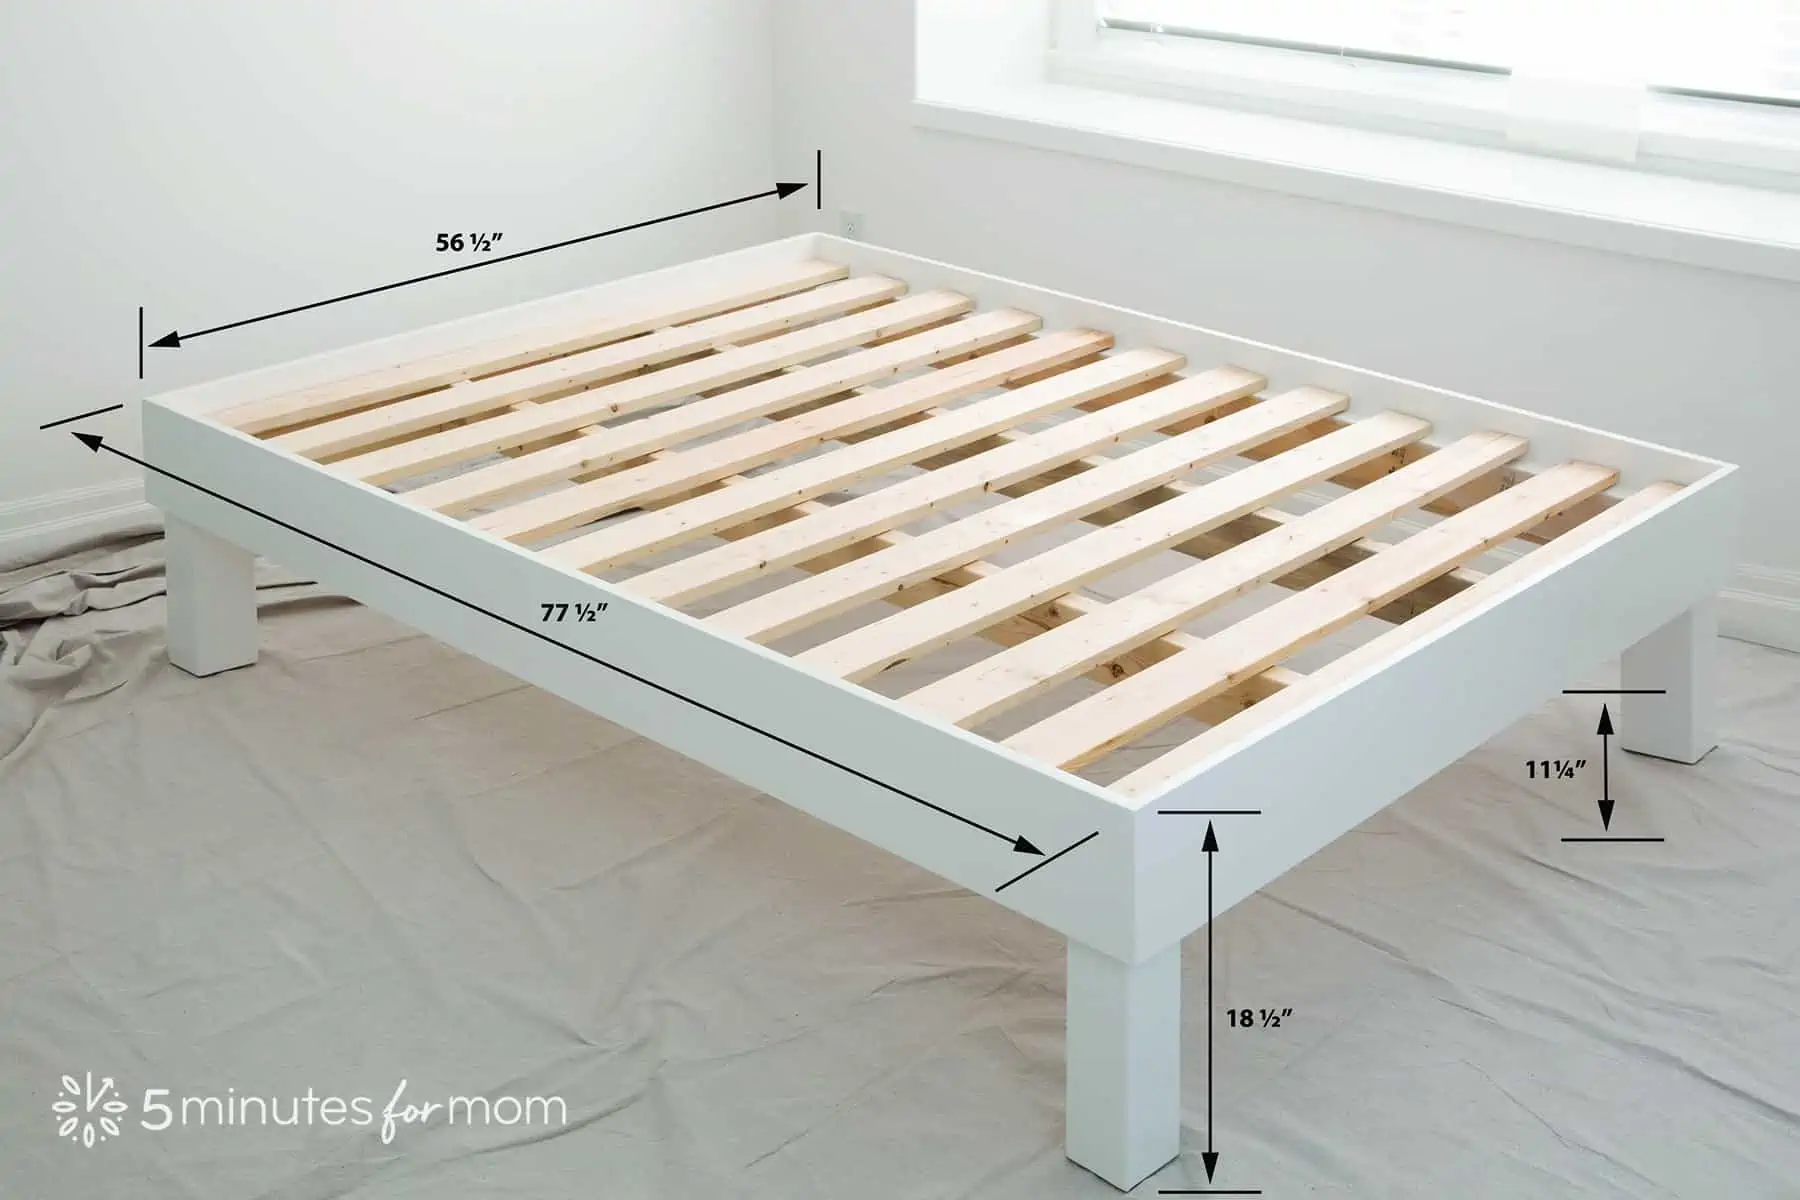
We made a Double/Full size bed frame to fit the full mattress we had from Nectar which was 54″ x 75″.
Common mattress sizes:
For the height of your bed, you can make it whatever height works best for you. Standard bed heights are usually around 25″, but can range from lower “modern” platform beds at around 16″ or 18″ all the way up to “old-fashioned” beds as high as 36″.
When choosing the height of this DIY bed frame for my daughter’s room, I wanted to ensure that I had enough clearance under the bed for storage, but still low enough for a modern feel.
So we made our bed frame 18½” tall, from the floor to the top of the “apron” on the frame. With the mattress, the bed height is about 26″ with 11″ clearance at the bottom of the apron for items to slide under the bed.
PLEASE NOTE: If you are building a queen or larger bed frame, you will have to alter the plans we have here for our double/full bed frame. A bed frame that is larger than a twin or double will need additional center support beams to accommodate the increased width.
As well, because our bed frame is only a Double/Full and we don’t plan on moving it in the near future, we chose to permanently secure the bed frame together.
IF you want to be able to DISASSEMBLE your bed frame, then you can use BRACKETS to secure the bed frame together. If using our plans below, you will need to make a few adjustments as I have noted in the steps below.
Also, please note that these plans are for the bed without a headboard. (I plan on making an upholstered headboard, but life is so busy that I still haven’t made it yet!)
You can easily adjust the plans below to add a headboard.
You could make a headboard using a panel of 1×8″s at the head of the bed. (Using the 1×8″s would match the apron around the bed.)
Or you could make an upholstered headboard or whatever other style you wish. I will update this post when I finally make our headboard!
Written by Janice Croze, co-founder of 5 Minutes for Mom
Talk with me: @5minutesformom and Facebook.com/5minutesformom
Pin with me at pinterest.com/5minutesformom
More DIY Projects You’ll Want To Try
Here are a few more of our readers’ favorite DIY projects…


John Manser says
I’ve been wanting to get into woodworking because the thought of working with wood seems really interesting. You’ve made some really great pieces and are very inspirational. Thanks for sharing.
Ashley says
Incredible post! I appreciate the attention to detail in every step… takes all the guesswork out of it. Thanks!
Janice says
Thank you for your encouragement! I appreciate your taking the time to let me know our post is helpful! I hope your bed making is a fabulous success!