This post may contain affiliate links. Read my disclosure policy here.
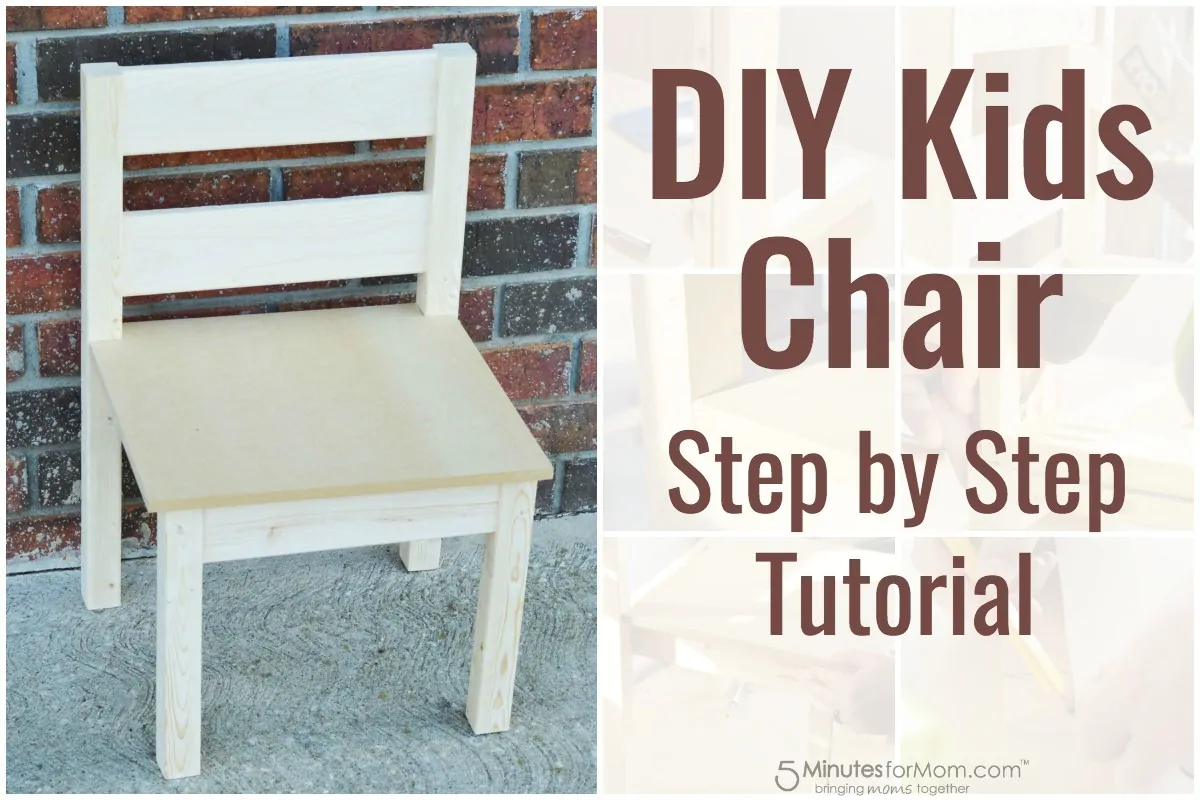
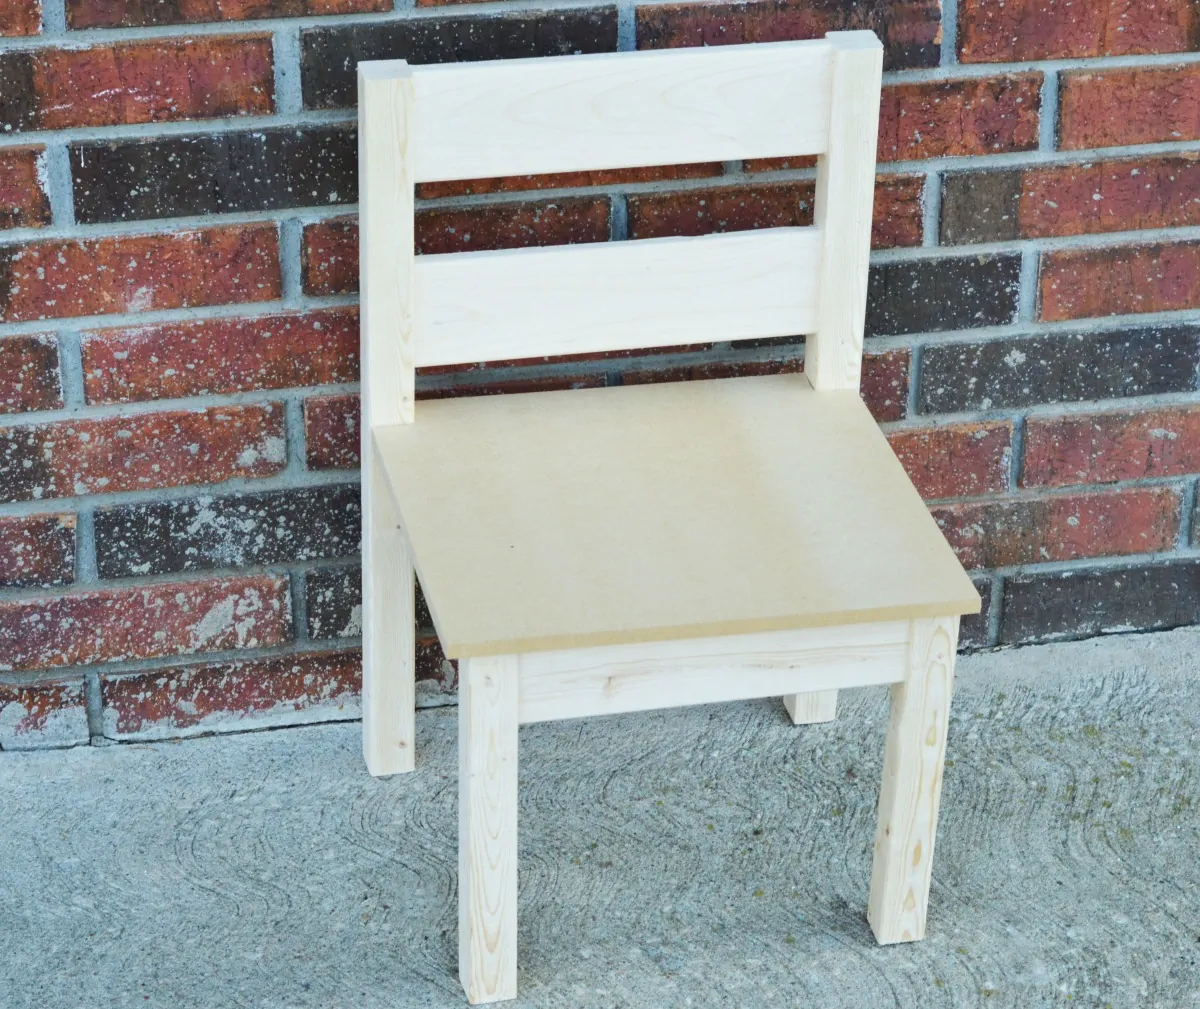
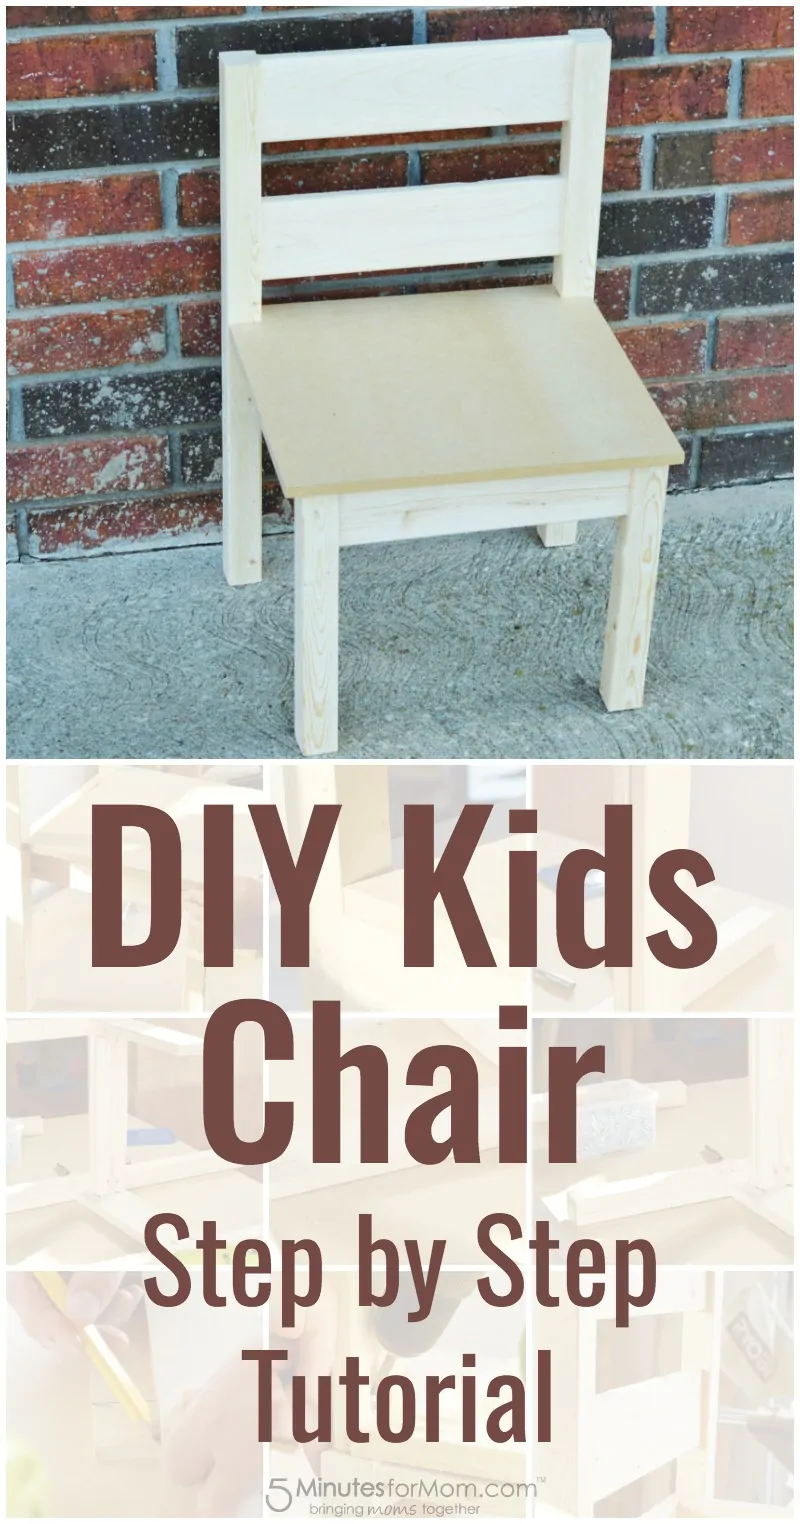
If you’re wondering how to make a chair, here is a step-by-step tutorial for a simple DIY Kids Chair. A friend of ours made this child’s chair and took step-by-step photos so that we could share this project with you.
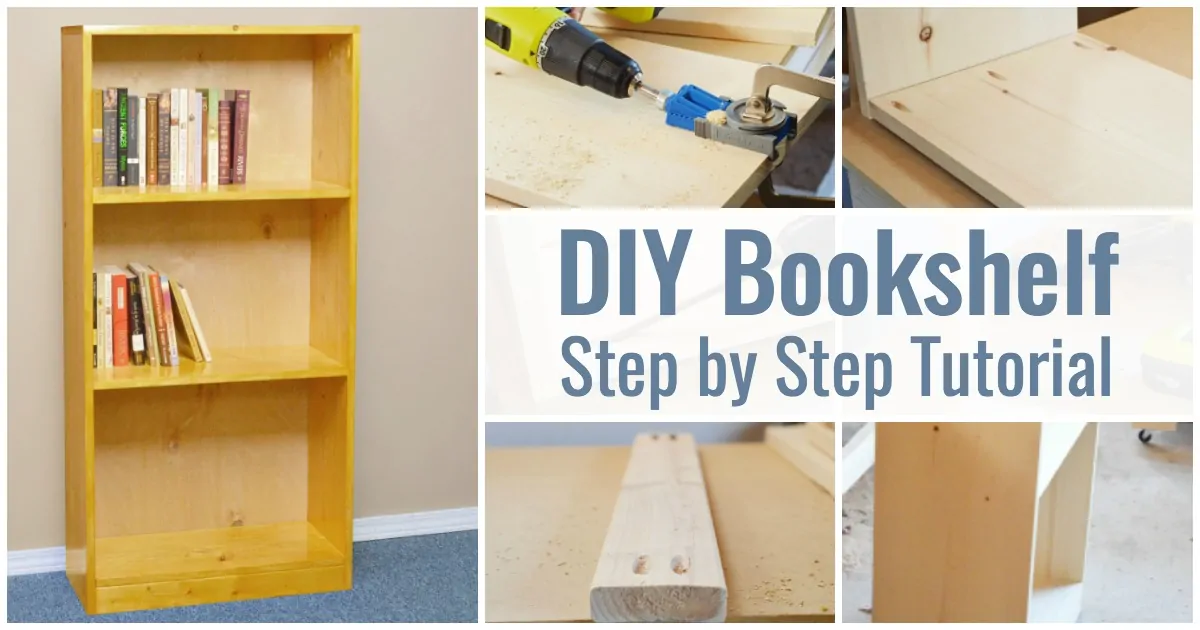
Recently we shared another step-by-step tutorial for a DIY Bookshelf and we plan to continue to share more DIY basic carpentry projects for you here at 5 Minutes for Mom.
DIY projects give you the thrill of building something yourself and the satisfaction of saving money. Be sure to also check out our DIY Wood Bed Frame blog post and video with step-by-step instructions and free building plans.
DIY Wood Chair Supplies:
- 1 – 1x3x6 wood
- 1 – 1x4x4 wood
- 1 – 2x2x6 wood
- MDF/Plywood 15 1/2 x 14-inch Piece
- 1 1/4-inch Pocket Hole Screws
- Miter Saw or Handsaw
- Kreg Jig
- Sander
- Wood Glue
DIY Wood Chair Directions:
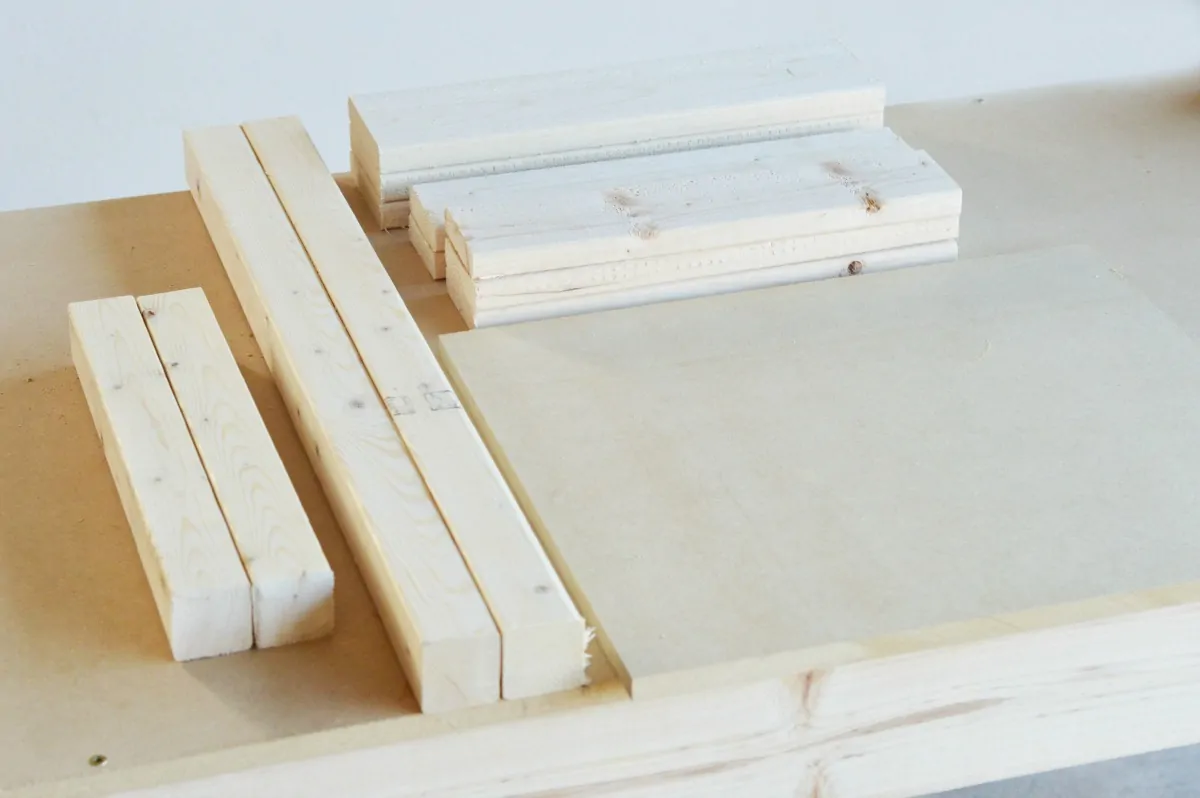
- Begin by cutting all your wood. If you don’t have a way to cut it yourself or you simply don’t want to, most lumber or hardware stores will cut it for free if you buy it through them. Below are the cuts you need for each board.
For the 1x3x6:
- 3 Pieces at 11.5 inches each
- 2 Pieces at 12 inches each
For the 1x4x4 (a 1x4x6 will most likely be the easiest to find):
- 3 Pieces at 15.75 inches each
For the 2x2x6:
- 2 Pieces at 2 feet each
- 2 Pieces at 1 foot each
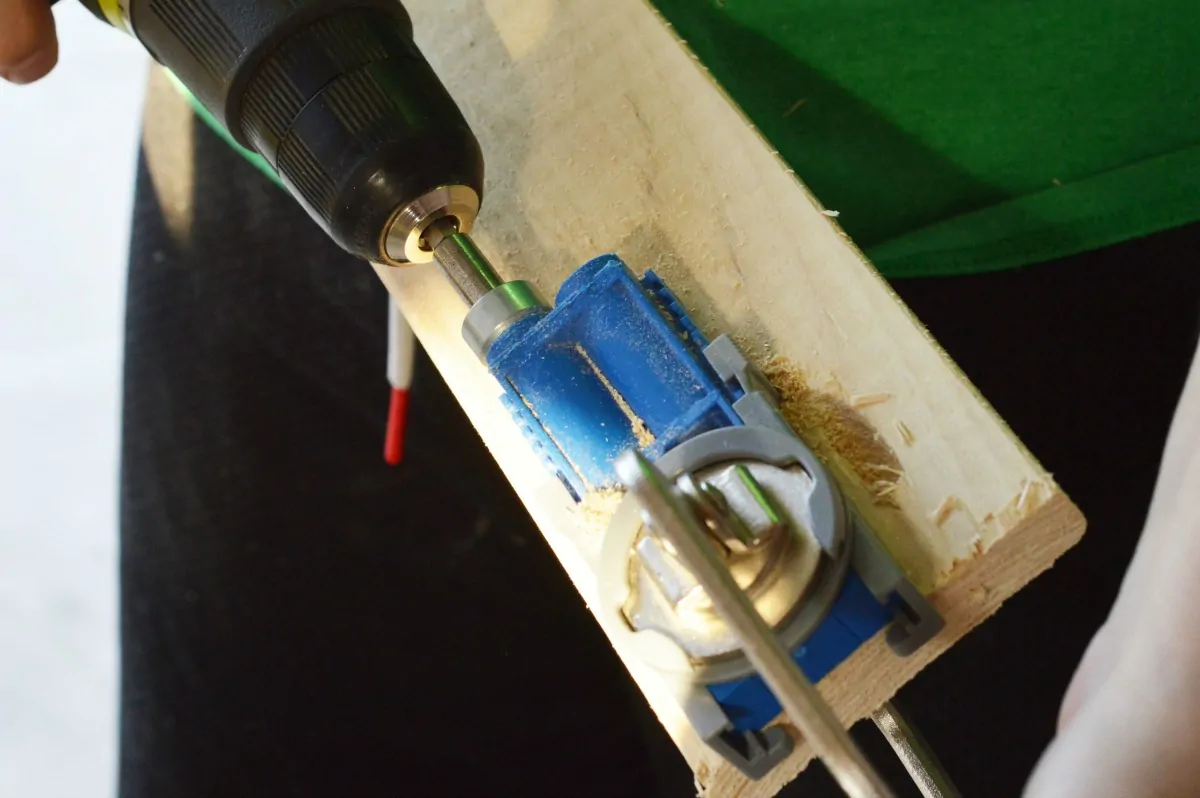
- After all your wood has been cut, it’s time to assemble your DIY kids chair. Your 2×2 pieces are your legs. The longer ones are the back legs. The 1×4 pieces are the backrest of the chair. One of those 1×4 pieces is what the seat of the chair is going to rest on. Using your kreg jig, put two pocket holes on each end of all of the 1x4s. You only need to put pocket holes on one side of the board for a total of 4 pocket holes in each 1×4.
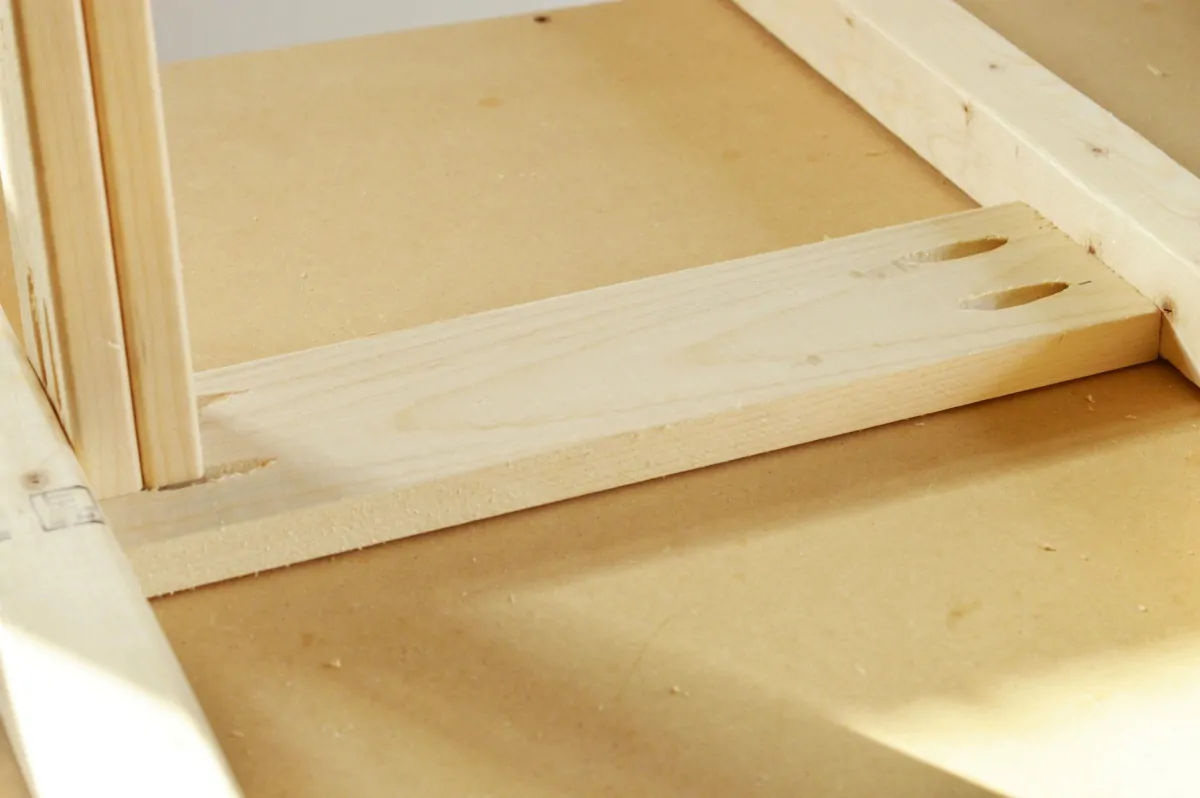
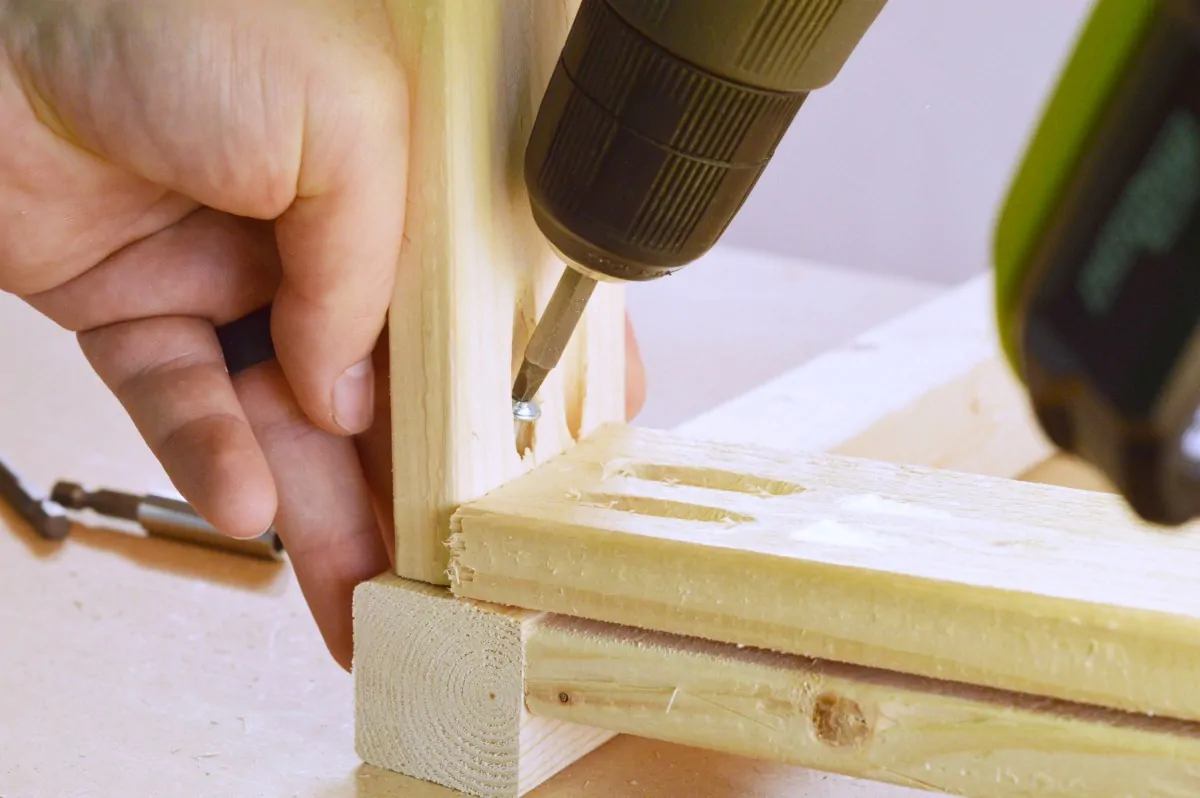
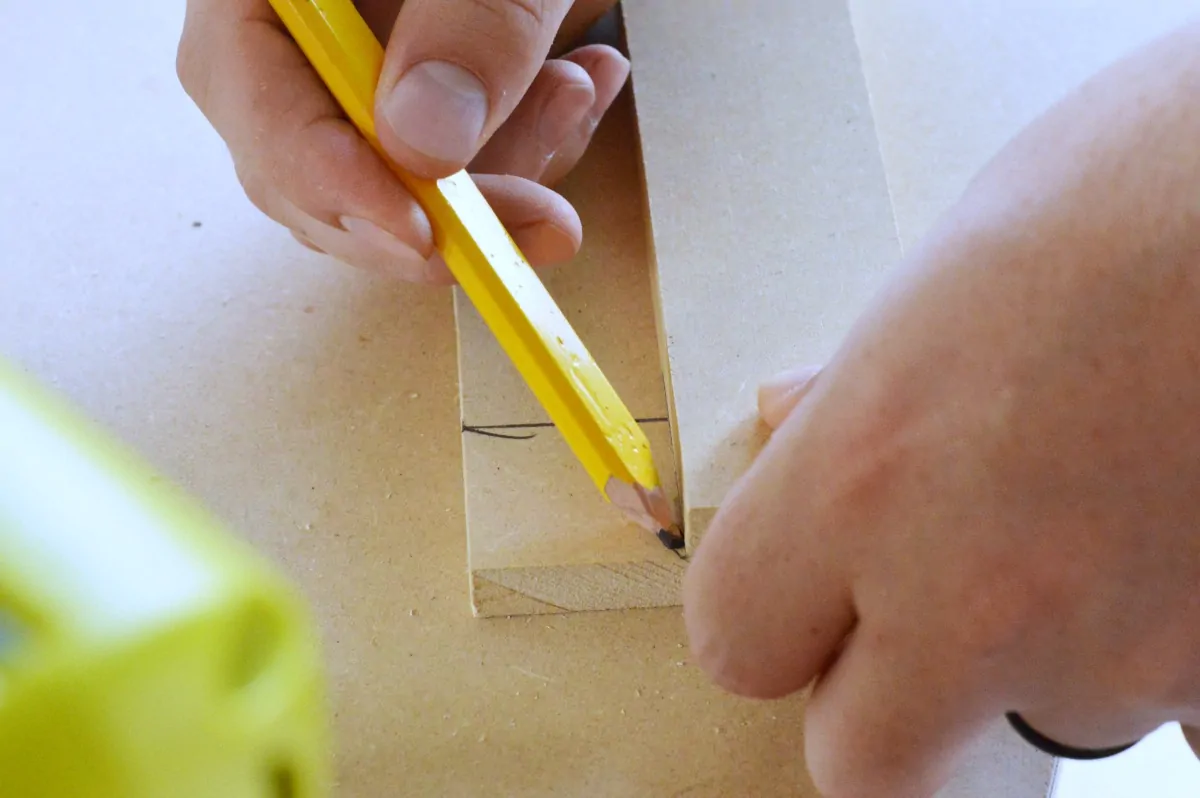
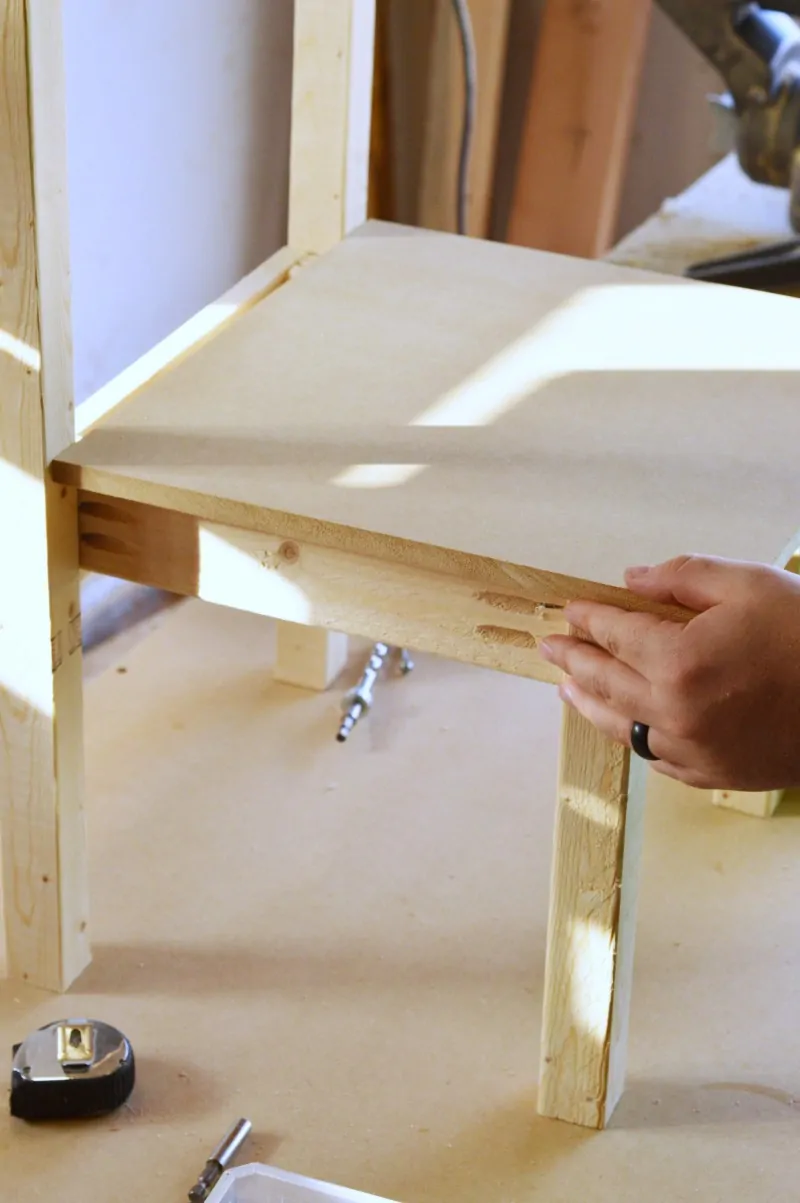
- Lay both of your back legs down (the longest 2×2 pieces) and using one of the 1×4 pieces, measure a foot down the leg, and screw the 1×4 in place. From the top of the 1×4 to the tip of the leg should measure one foot. Be sure that your pocket holes are facing up so they will be hidden once the seat is in place. Refer to photos for any confusion. Be sure that both legs are attached to the 1×4.
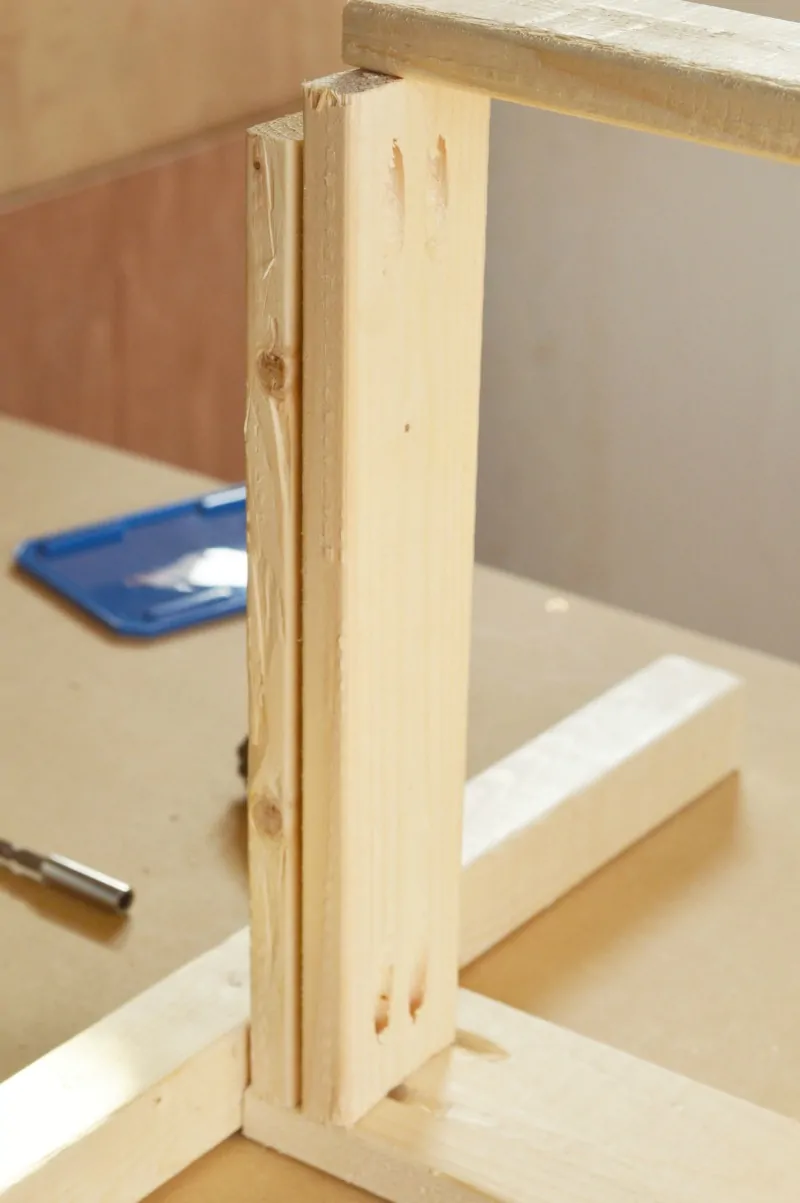
- Take two of your shorter 1x3s and two of your longer 1x3s put pocket holes in both ends, the same way you did for the 1x4s in the previous step. Attach both of the shorter pieces to each leg with their ends resting against the 1×4 you already have in place. The pocket holes will be facing out and the screws will actually be going into the 1×4 piece but the board will be resting against both the leg and the 1×4, standing up on its end. Do the same thing with your two longer pieces as well, just rest them against the shorter 1x3s already in place.
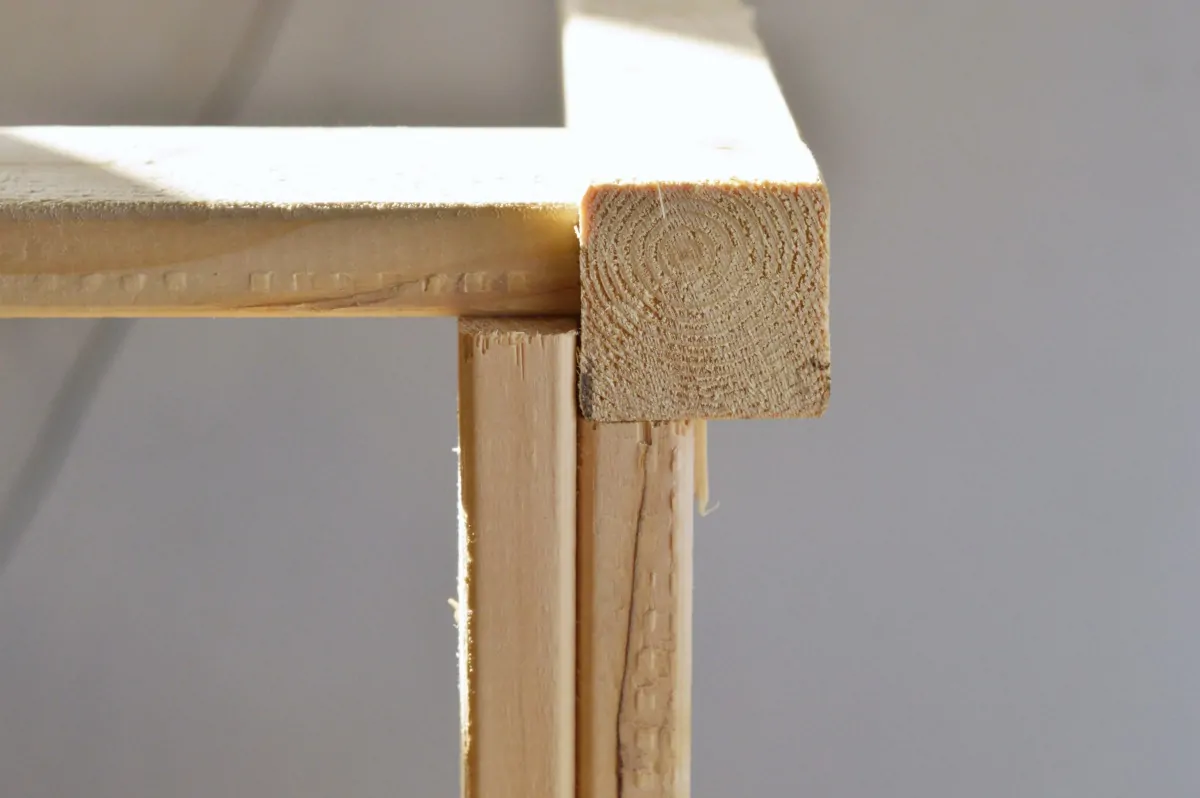
- Now, take both of your shorter pieces of 2×2 and attach them to the top of the 1x3s you should screwed into place. You will attach them by using the pocket holes at the top of the 1x3s.
- Now, take your last shorter 1×3 piece of wood and place pocket holes at both ends just as you did previously with all the other pieces of wood. Using the pocket holes at the top of your longer 1x3s already attached, screw the last 1×3 in place at both ends. Then, using the pocket holes you just made on the last shorter 1×3, screw the board into the front legs.
- Sand your entire wood chair down including the two unattached boards left before moving to the next step.
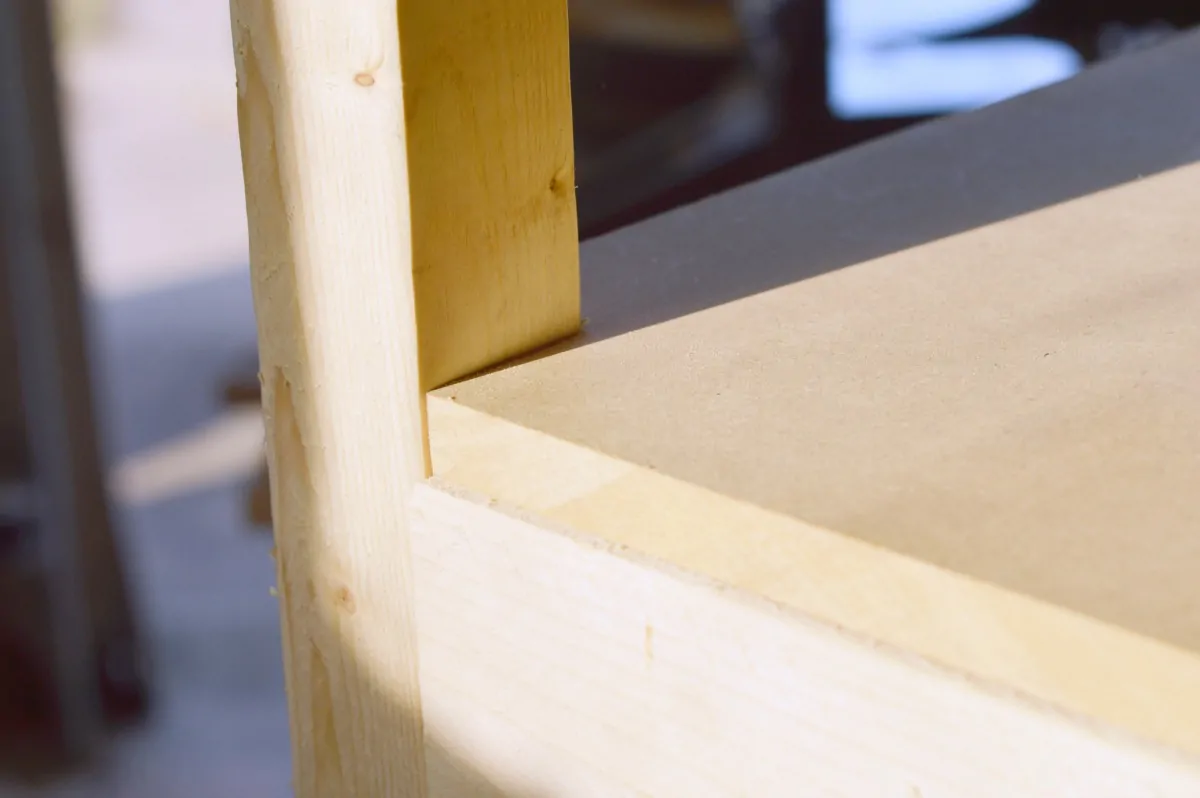
- Taking your piece of MDF board and on one side, cut a 1 ¾ inch x 1 ¾-inch notch out of each corner (only two corners should be notched on the board). This will allow the board to slip right into place without the back legs getting in the way. Using your wood glue, put a thick line along the entire top portion of the seat (not the MDF board, the boards that will hold up the seat). Use your finger or a utensil to spread the glue out. Put the MDF board into place on top of the glue and make sure it’s correctly positioned before place something heavy such as a few books on top of it. Leave the weight on the seat for about 2 hours before using.
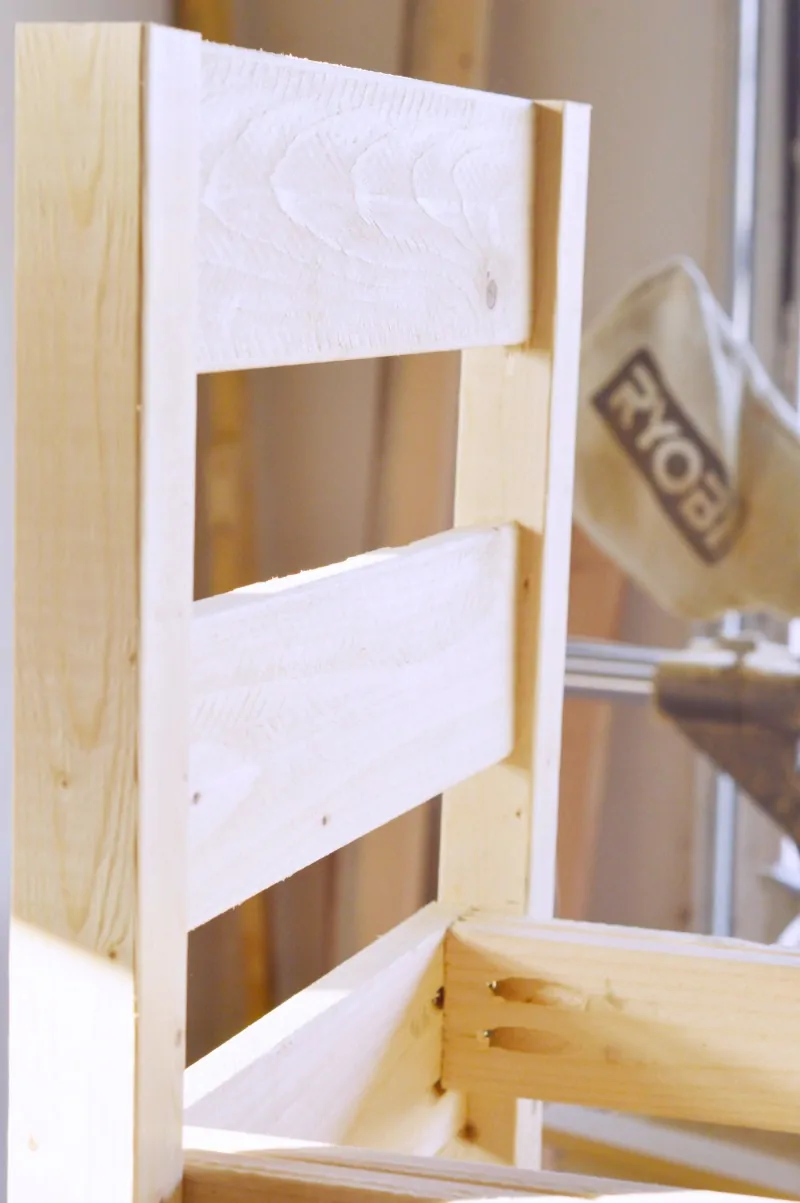
- Using your last two pieces of 1×4, put your backrest in place. The pocket holes should already be in place. Be sure those are not pointing towards the front of the chair but towards the back. One of the pieces of wood will go flush with the top of the child’s chair. Now, measure from the bottom of the piece of wood you just attached to the top of the seat and place the last piece of wood directly in the middle of the two.
- At this point, you can choose to decorate your chair by either painting it, staining, it, etc.
Congratulations! You finished building your first DIY Wood Chair.
If you haven’t yet tried this DIY Basic Bookshelf, you can build it next.
Pin this DIY Wood Chair for Later
Written by the team at 5 Minutes for Mom
Talk with us: @5minutesformom and Facebook.com/5minutesformom
Pin with us at pinterest.com/5minutesformom


Jeff Lande says
After a bit of head scratching, I figured out the 1×4’s have to be cut to 13″ for this to work…
Susan says
I’m so sorry for the confusion… thank you for sharing!
fotbollströjor says
fotbollströjor \n Does your blog have a contact page? I’m having trouble locating it but, I’d like to send you an e-mail. I’ve got some creative ideas for your blog you might be interested in hearing. Either way, great website fotbollstrojor sverigen and I look forward to seeing it grow over time.|
Marie says
What a super cute and easy diy! I love that once you build it you can easily personalize it to any child’s room decor. Thanks for sharing your tutorial with us at Merry Monday!
Jess says
Oh this is too cute! 🙂
I would love for you to share this with my Facebook Group for recipes, crafts, tips, and tricks: https://www.facebook.com/groups/pluckyrecipescraftstips/
Thanks for joining Cooking and Crafting with J & J!
Robin says
What a great tutorial for such a cute little chair. My kids have a table that need a couple of chairs these would be perfect. Thank you for sharing at the Creative Muster Party! Pinned
Robin | Fluster Buster
Mary - theboondocksblog says
What an adorable little chair. Thank you for giving us such a comprehensive tutorial. Maybe I, who am all thumbs, can even do it.
Laurie says
Cool! Wish I had some little around the house to make chairs for, my kids would have loved these! Stumbled and Pinned to share. Thanks for stopping in and linking up with us for Brag About It!!
Angela D. Boone says
I pinned this-I’m currently in search of a few cute little kids’ chairs, but since you posted this , I might just make them. What a great, easy to follow building plan. Thank you so much for sharing it with us at Merry Monday. I can’t wait to try it.
Cathy Kennedy says
A wooden child’s chair, what a cool DIY project! You make the job appear that anyone can do it, too. 🙂 I’m visiting from Inspire Me Monday. Have a nice day and if you like music then you’re invited to hit the dance floor with Monday Mewsic Moves Me! 😉
STEPHANIE ABBOTT says
Good job, guys. Adding to my Pinterest queue and Tailwind Tribe. 🙂
Susan says
So glad you like it! Thanks for sharing.