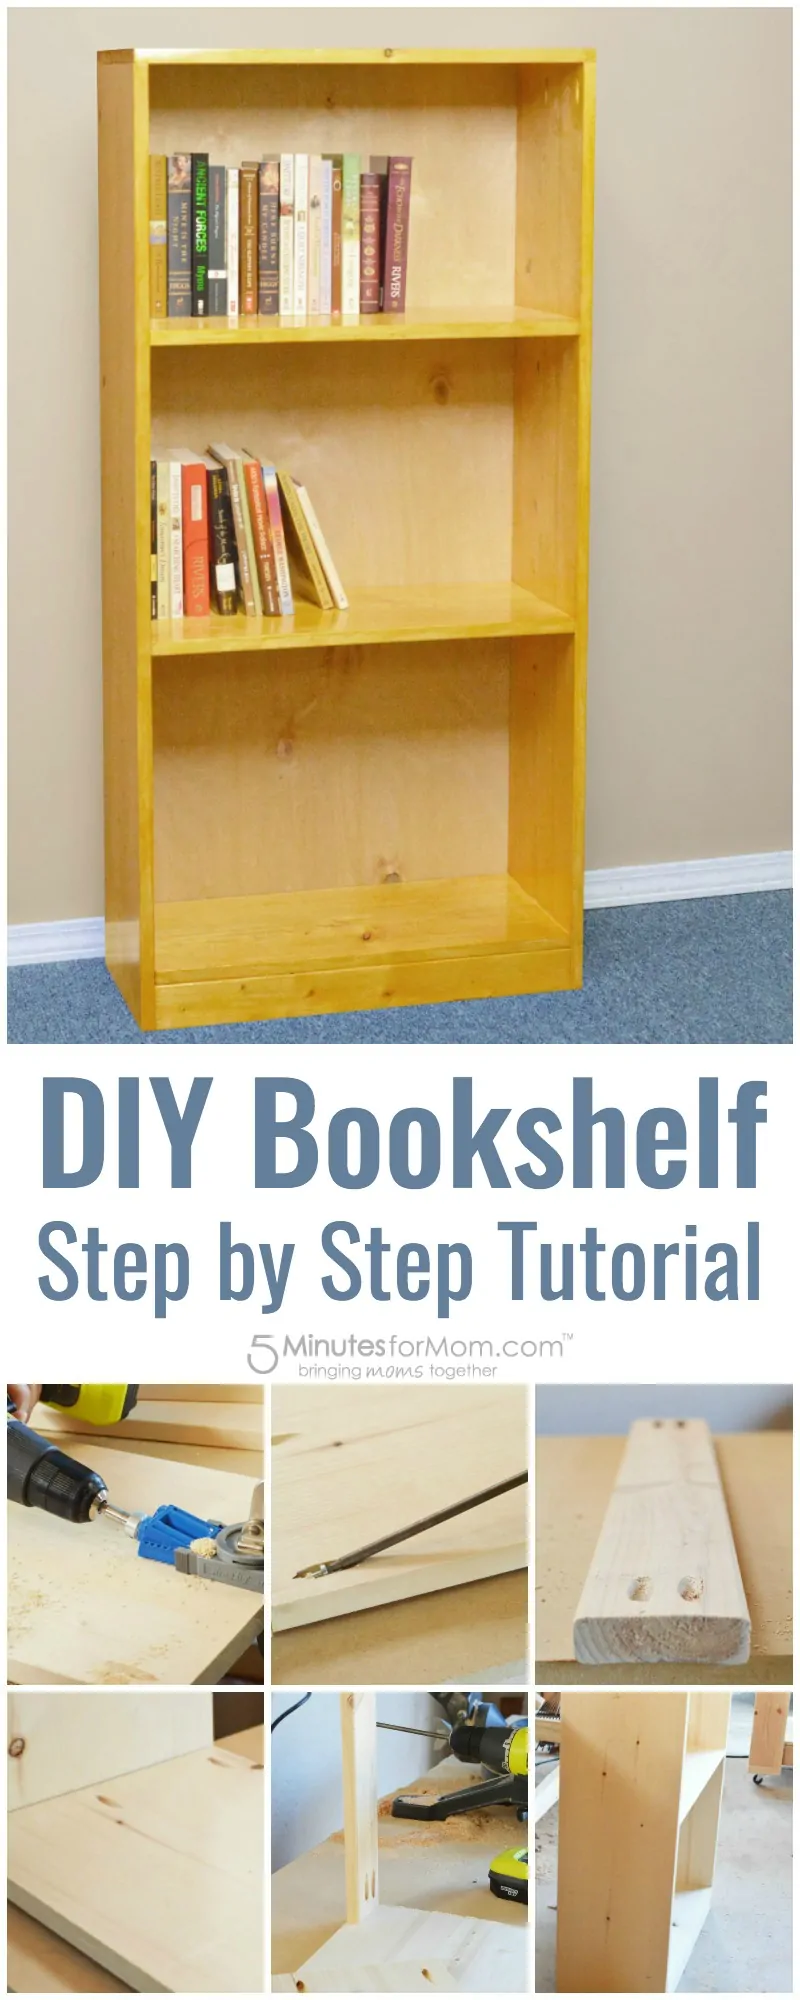
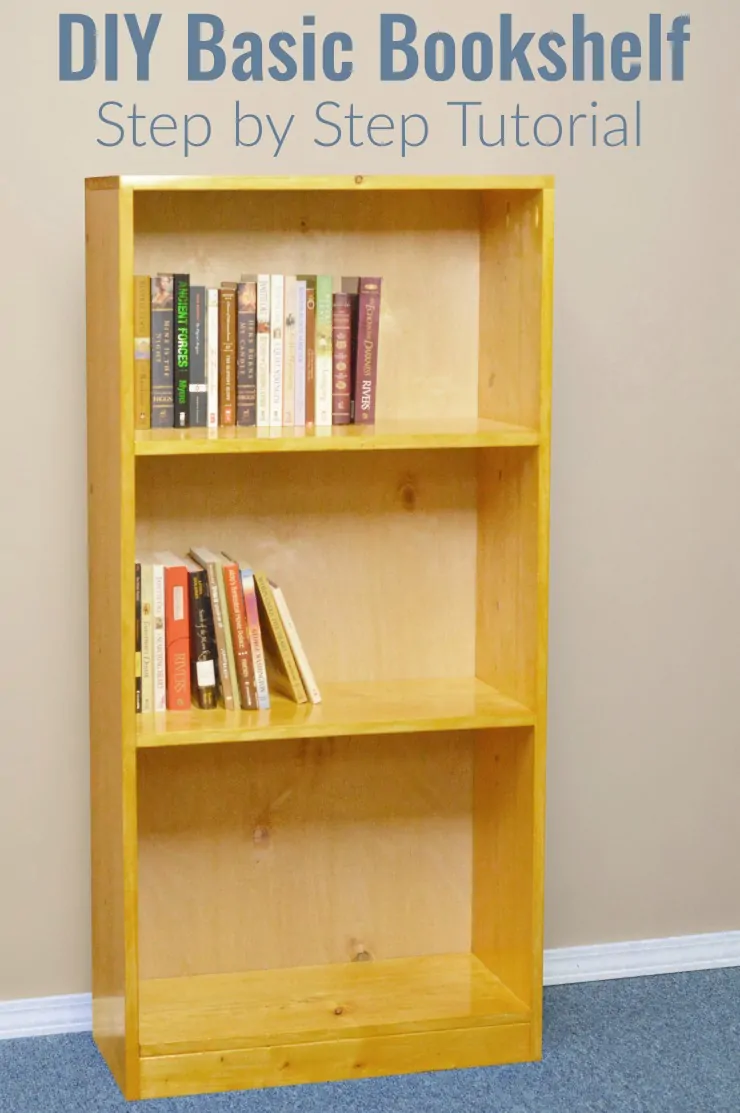
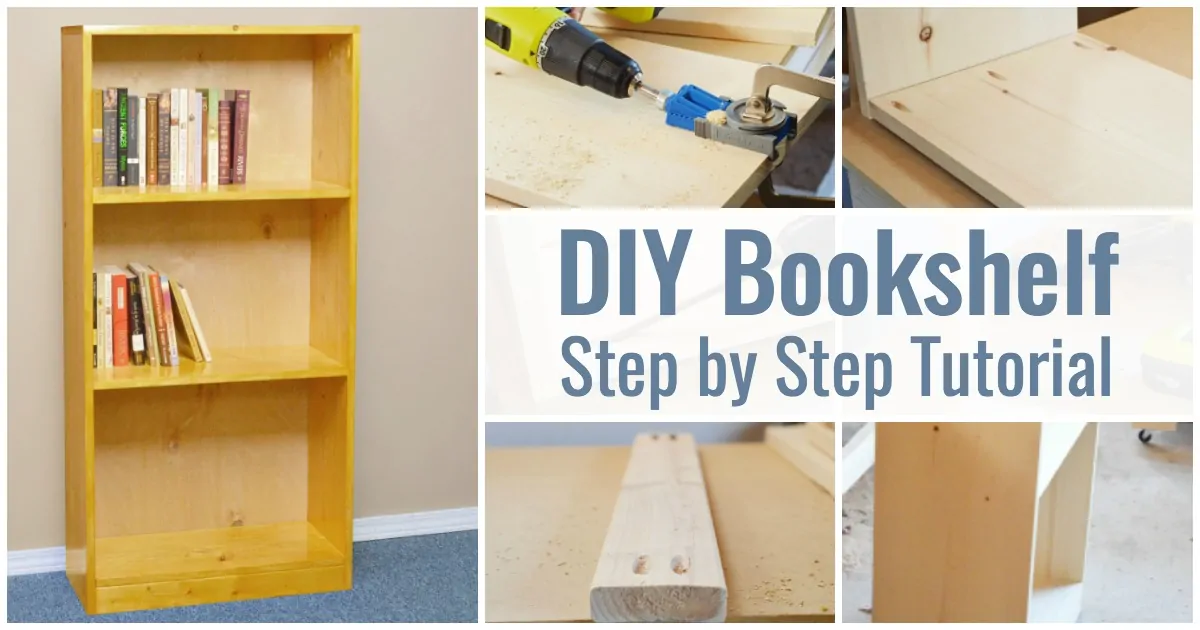
Making your own bookshelves is a great way to save money and once you learn how to build a bookshelf you can create a custom size bookcase to fit anywhere in your home. A friend of ours made this bookshelf and took step-by-step photos so that we could share this useful DIY Bookshelf project with you.
With all the DIY ideas and inspiration on Pinterest these days, it’s a perfect time to learn some basic carpentry skills so that you can take on all the fun projects you see pinned on DIY boards. You could even make a DIY Bed Frame.
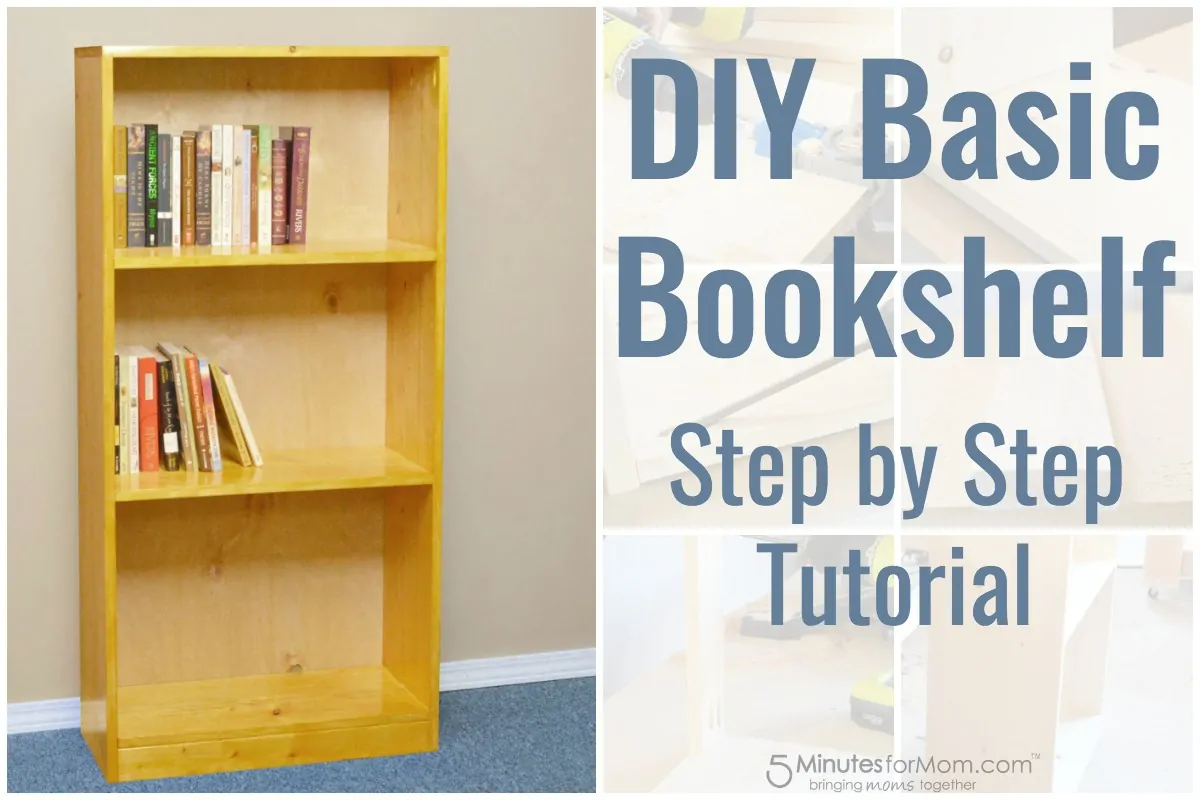
Take a look and then follow the steps to make your own basic bookshelf.
Supplies Needed:
- 2 – 1x12x8 Pine Wood
- 1 – 1x3x6 Pine Wood
- 2 feet by 4 feet Backer Board
- 1-inch Pocket Hole Screws
- Finishing Nails
- Miter Saw or Handsaw
- Drill
- Kreg Jig Junior
- Sander
- Tape Measure
- 1000 Grit Sand Paper (optional)
- Amber Shellac (optional)
- Shellac Brush (optional)
- Shop Towels (optional)
- Rubber Gloves (optional)
DIY Bookshelf Directions:
- Begin by measuring and cutting your wood. You will need one piece of 1×12 at 24 inches in length, three pieces at 22 ½ inches in length, and two pieces at 49 ¼ inches in length. You will need to cut your sole piece of 1×3 to 22 ½ inches in length. If you do not have a miter saw or you do not feel like cutting your own wood, most lumber stores, if you buy their wood, will cut your wood for free in the store.
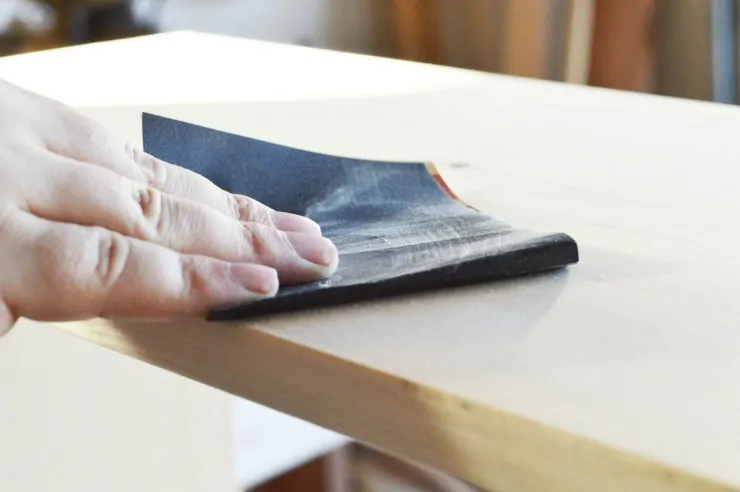
- Once all your pieces of wood are cut, using an electric sander (or sanding by hand is acceptable as well if you do not have an electric sander) you will want to thoroughly sand down each piece of wood with 80 grit sand paper. If you buy “select†wood, it usually is already smooth enough you don’t need to sand anything. However, it’s much more expensive which is why we feel it’s worth the little bit of extra work to sand it down ourselves. Sanding just allows you to try and make the board as flawless as possible; removes extra bumps or ink spots left by the company.

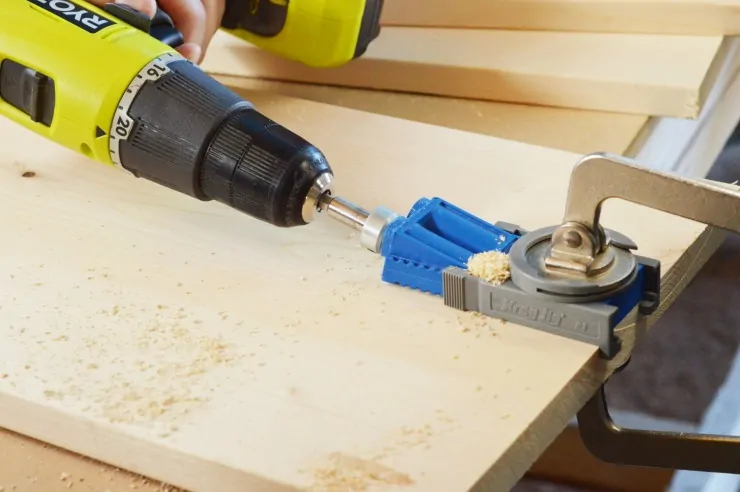
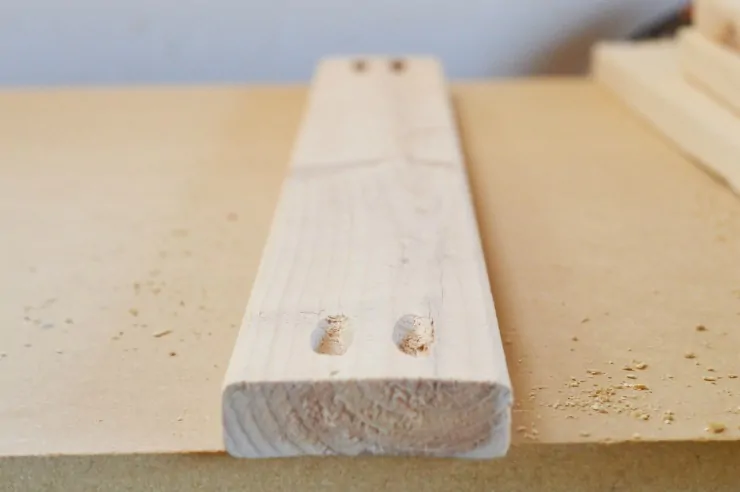
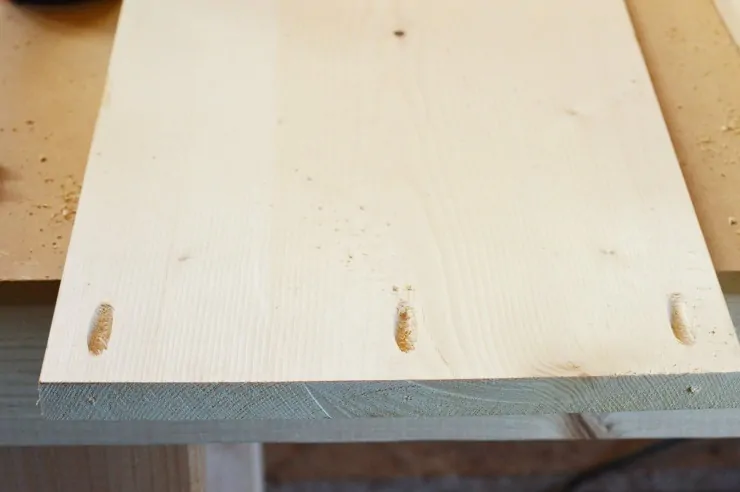
Sanding - Once your boards are sanded, you will need to drill your pocket holes using the Kreg Jig and your drill. The three pieces of 1×12 that are 22 ½ inches long will need three pocket holes on each end of one side of the board. There will be 6 pocket holes total on each one of those boards when completed. Your piece of 1×3 will need two pocket holes in each end of one side of the board for a total of 4 pocket holes in that board. Lastly, your two longest 1×12 pieces will need to have three pocket holes on one end on one side which will secure the top together.
Drilling Pocket Holes 1×3 Pocket Holes Pocket Holes For 22 1/2 Inch Boards
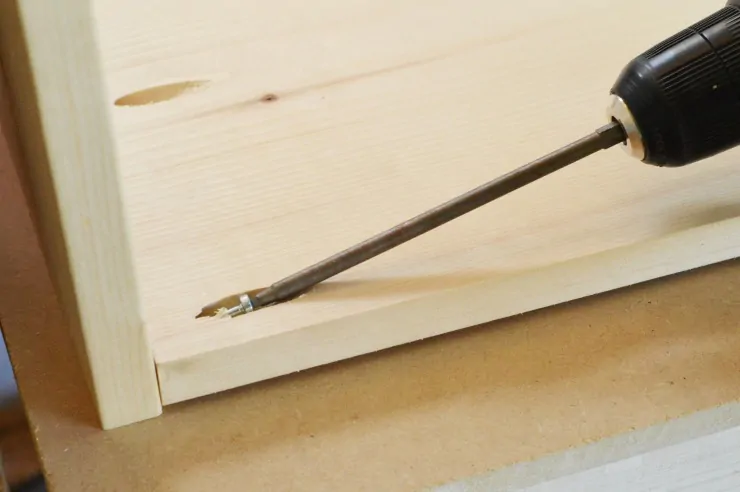
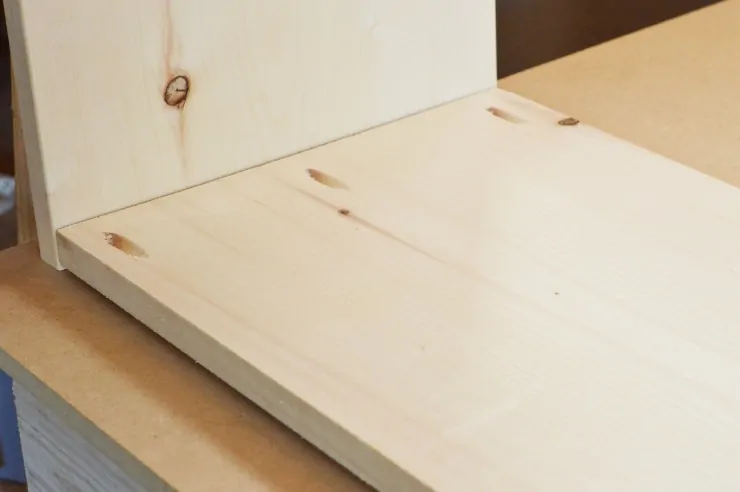
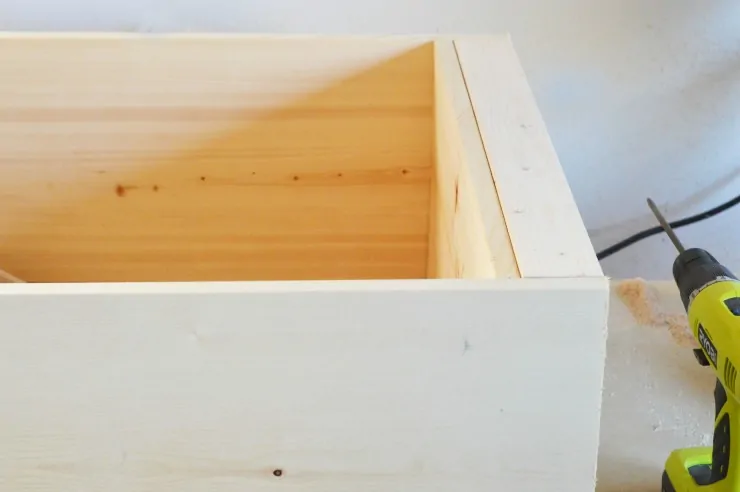
- Now begins assembly. Take your 24-inch 1×12 piece of wood and stand it up against something solid. Then take one of your 49 ¼-inch pieces of 1×12 and lay it flat right in front of the other board standing up and push the bottoms together so they’re flush with each other. The longer board should have the pocket holes facing up and they should be on the end touching the other board. Using your screws, line up the boards on each end so they’re perfectly aligned and screw the boards together.
Attaching The First Two Boards Together Attaching First Two Boards Continued - On the opposite end of the long board you just attached to the other board, you will need to attach the piece of 1×3. Line up one end of the smaller board with the edge of the larger board on the side closest to you (this will be the front of the bookcase). Make sure the pocket holes of the 1×3 are facing in. Screw the two boards together and then flip the entire group of boards you just attached to each other. The two smaller boards will then be supporting the larger board.
Attaching The 1×3 Board - Attach the second 49 ¼ inch piece of 1×12 to the open side of the frame you have begun to build. Do this in the same manner as the other board or however is most comfortable for you, just as long as the boards all line up with each other.
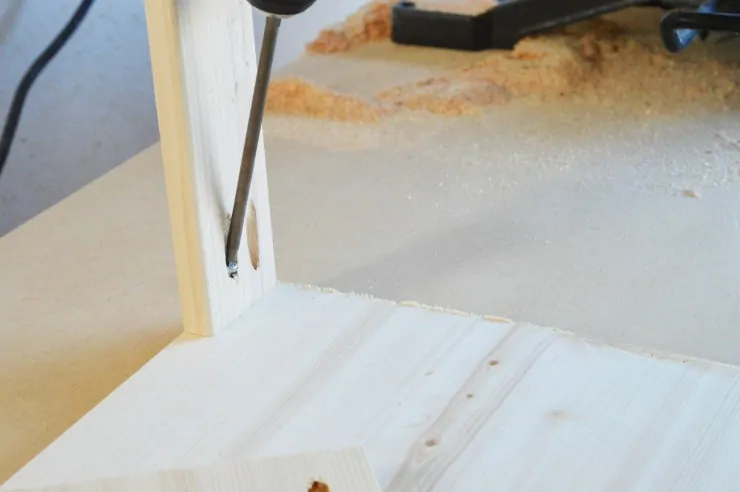
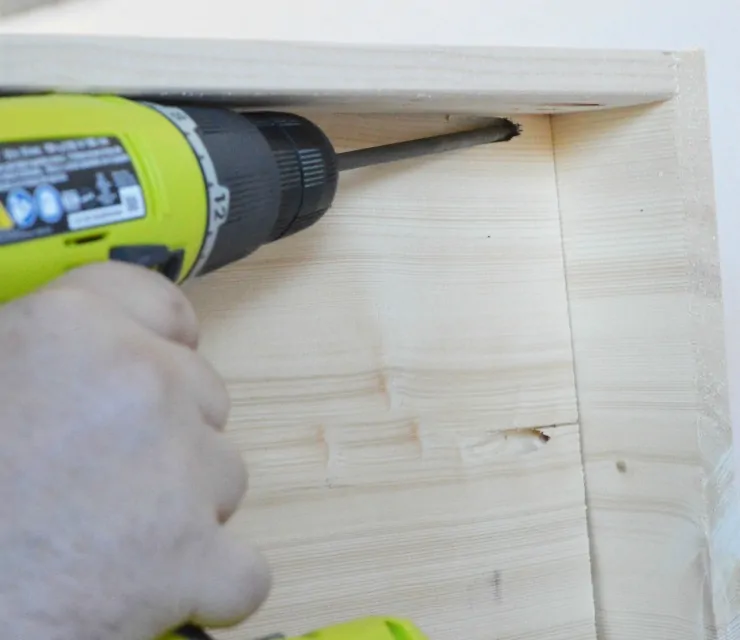
Bottom Shelf On Top Of 1×3 For Bottom Of Bookcase - Once you have your frame, make sure the front portion of the bookcase is facing up (this is the side that should have the 1×3 on it). Take one of your 22 ½-inch boards and place it on top of the 1×3 with the pocket holes facing out. This will be the inside bottom of the bookshelf. Keep that in mind for the way the boards need to be facing. Using the pocket holes on the underneath of the board, secure it in place.

Screwing In Pocket Hole Screws
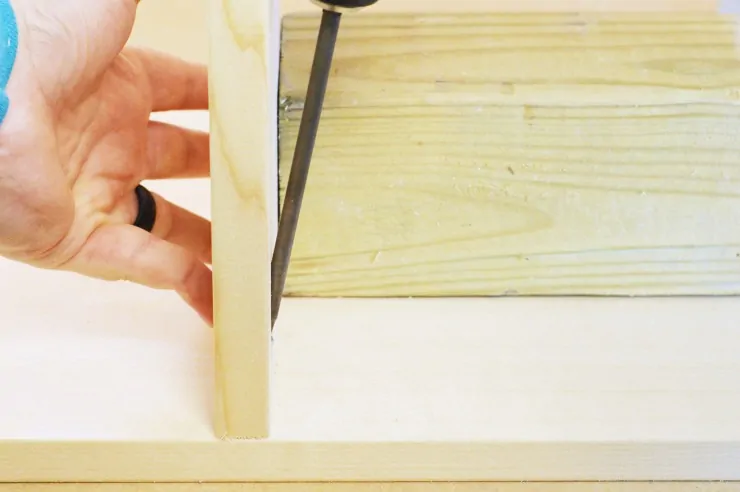
- Next, you will be placing another one of your 22 ½-inch boards inside the frame to make another level inside the bookcase. Measure 16 inches up from the bottom level you just secured and screw, in the same fashion as the last board, that board to the frame.
Attaching Shelves Inside The Bookshelf - Measure up 15 inches from that board and place your last level inside your bookcase, following the same steps as the other levels.

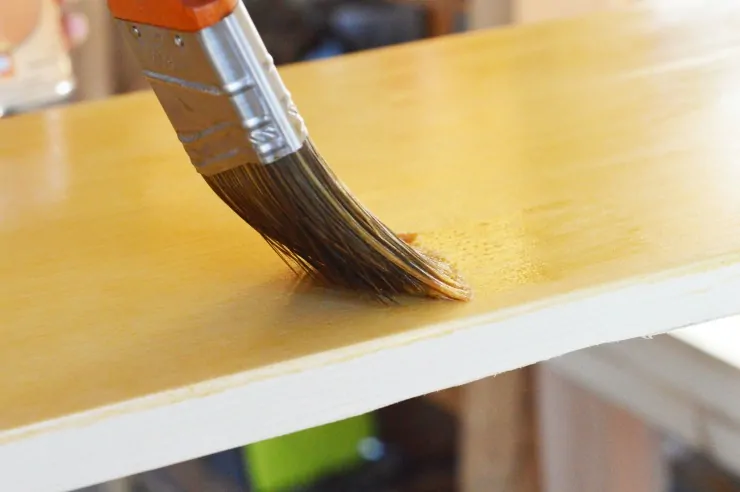
Almost Finished - At this point, if you would like to do any sort of shellac or staining, you would want to do that now before putting the back cover on. We used amber shellac for the one pictured. In order to do the shellac, simply take your brush and put a nice even coat all over your bookshelf. Be sure to dust it off before you start applying the shellac. Also be sure to not leave any drops or globs of shellac as it will be noticeable upon drying. We put on one coat and then let it sit for a few hours and then applied a second coat and let it sit overnight.
Applying The Shellac - Once your shellac is dry, take your 1000 grit sand paper and by hand, go over your entire bookshelf, lightly, not in a rough manner. This will make the wood feel a bit softer and more even. Dust off the bookshelf again.
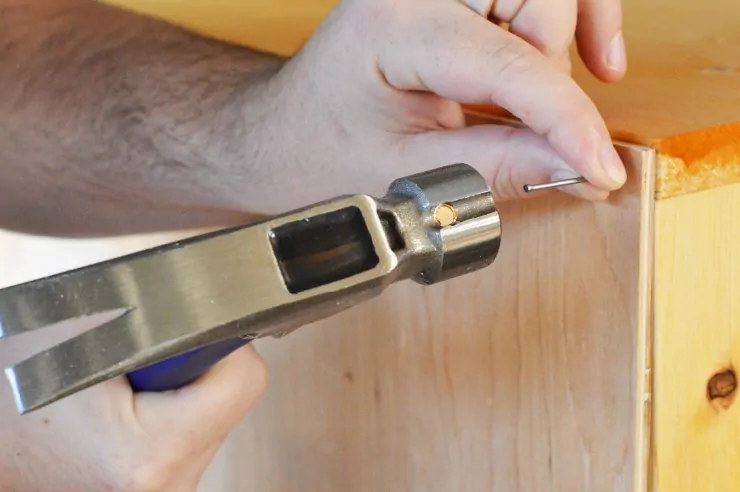
- Line your piece of backer board up and make sure it is flush with the top of the shelf which will make it sit in the perfect spot and length for the bottom of the shelf. They sell these backer boards in this size ready to go at a few major lumber stores, it’s a thin piece of wood that’s sort of flimsy and comes in various shades. Be sure to choose a shade that will match your bookcase. Tack the board in place with finishing nails all around it, evenly spaced.
Tacking On The Backer Board 
Completed Bookshelf
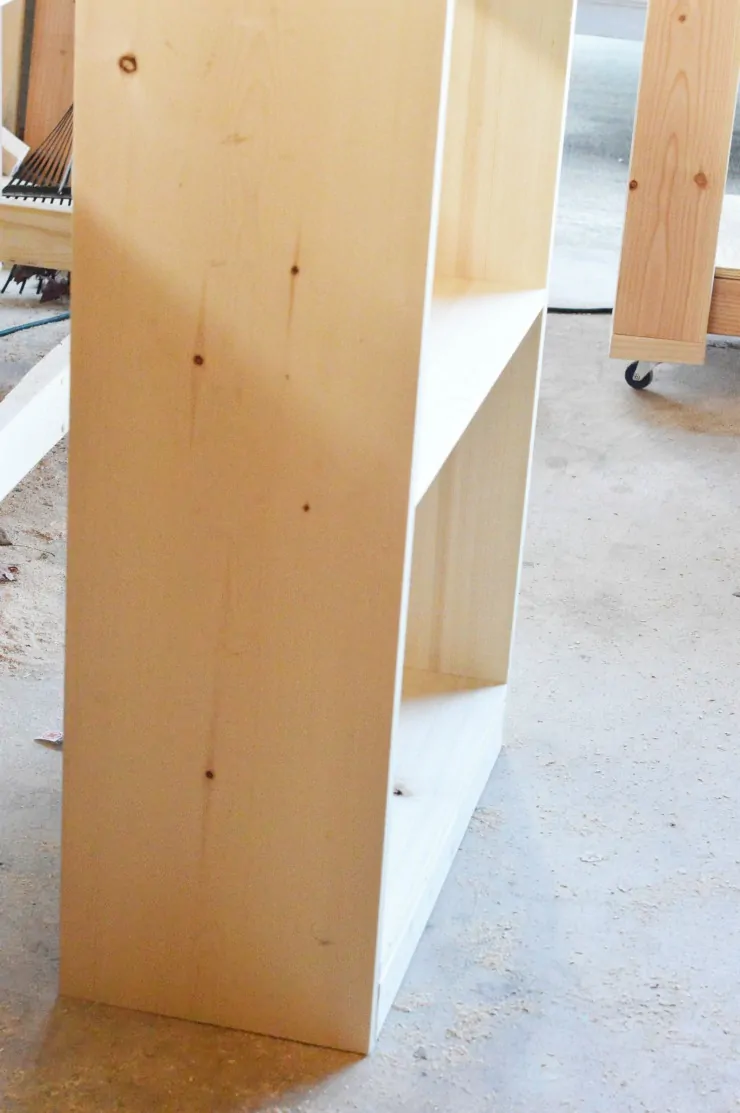
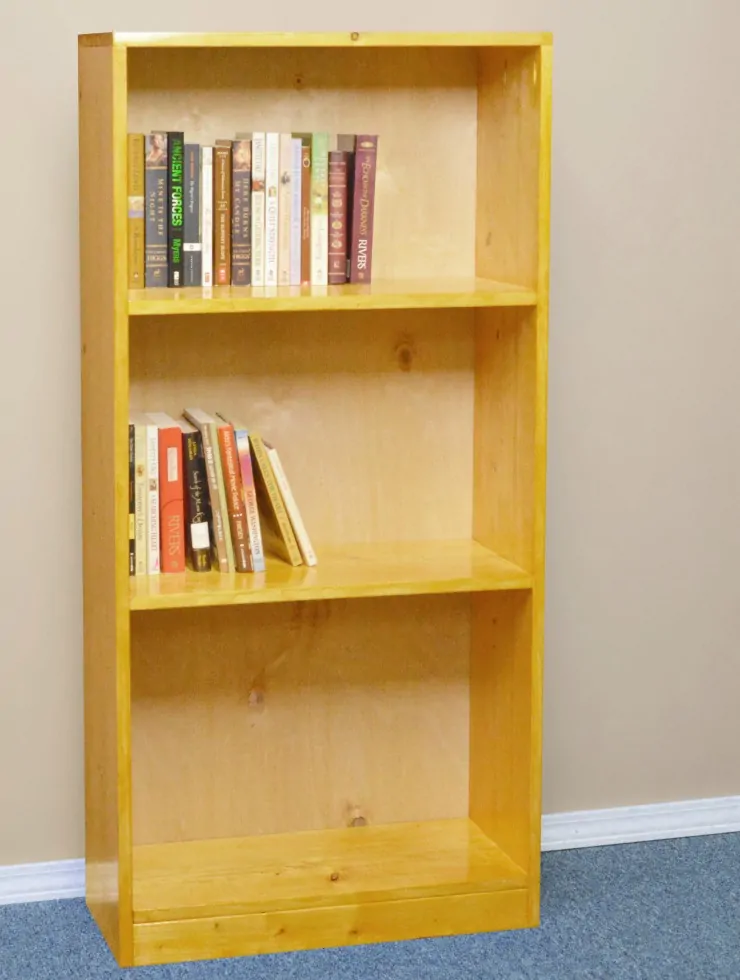
And there you have it… you’ve built your own bookshelf.
Take some photos and celebrate!!!
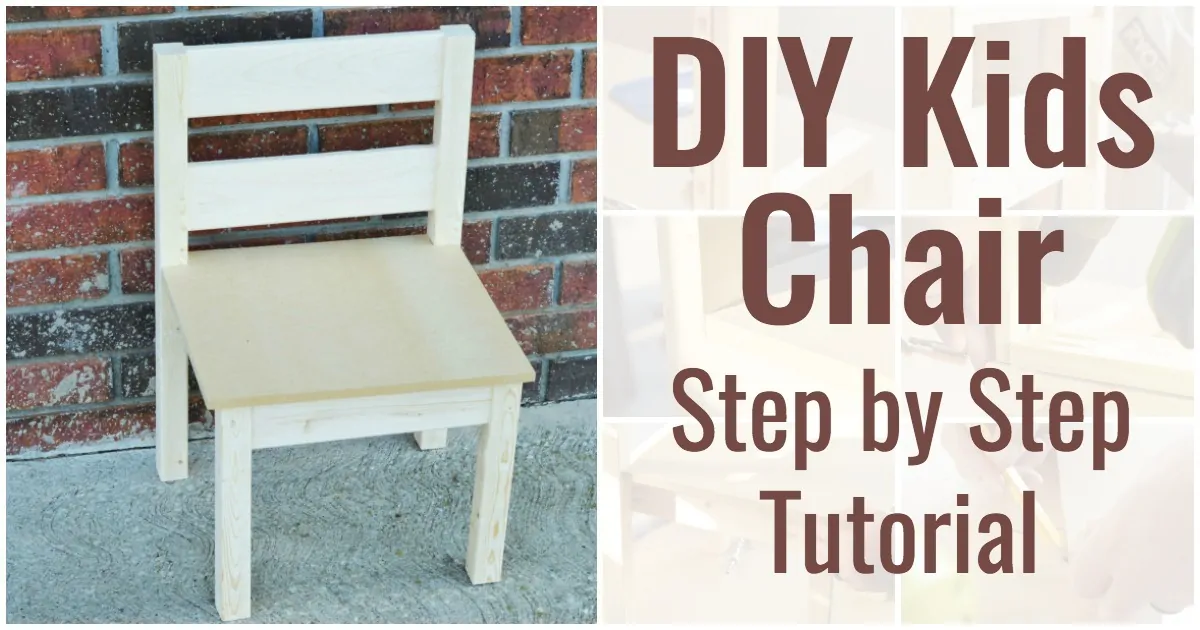
If you haven’t yet tried this DIY Kids Chair, you can build it next.
Pin it for Later
Be sure to pin this post so you can keep these instructions handy.
Written by the team at 5 Minutes for Mom
Talk with us: @5minutesformom and Facebook.com/5minutesformom
Pin with us at pinterest.com/5minutesformom


Thanks for the simple tutorial! I wanted an extremely basic bookshelf using the Kreg system and yours was the first one I found. I just finished putting mine together, now deciding what color I want it before doing backer board. It was a bit difficult to get the shelves level front to back, but I figured it out. It’s not perfect but it holds books and didn’t fall over immediately. Thank you!
This is such a great tutorial even a dummy like me could make one. Thank you ladies. I will definitely be pinning this idea. Now I just need to check if my husband has all the tools. And if he does, maybe he’ll help me!
This is an awesome tutorial and DIY. Pinned & shared.Thanks for joining the #InspirationSpotlight party!
This looks so great! 🙂
I would love for you to share this with my Facebook Group for recipes, crafts, tips, and tricks: https://www.facebook.com/groups/pluckyrecipescraftstips/
Thanks for joining Cooking and Crafting with J & J!
I have been looking for a bookshelf to put some photos and books on, but I hadn’t thought of making my own. I would love to so I could make it any color I want. The step by step looks so helpful, I just might be able to do it! I will let you know! Thanks for sharing at Celebrate It!
Great step by step tutorial! Thank you for sharing at Merry Monday!
Great step by step! Thank you for sharing at Dishing It & Digging It. 🙂
Really nice step-by-step tutorial, LOVE IT! Pinned.
Thanks for sharing.
The booshelf looks amazing, pinned it! And the tutorial is very helpful.
Who doesn’t always need a new bookshelf? Loving your simple tutorial. I wonder if my husband would let me line all of the basement walls with these… Lol! Thanks for the plans!
Thanks for this step-by-step tutorial. I’ve never tried to build anything from scratch like this. I might give it a try. Pinning.