This post may contain affiliate links. Read my disclosure policy here.
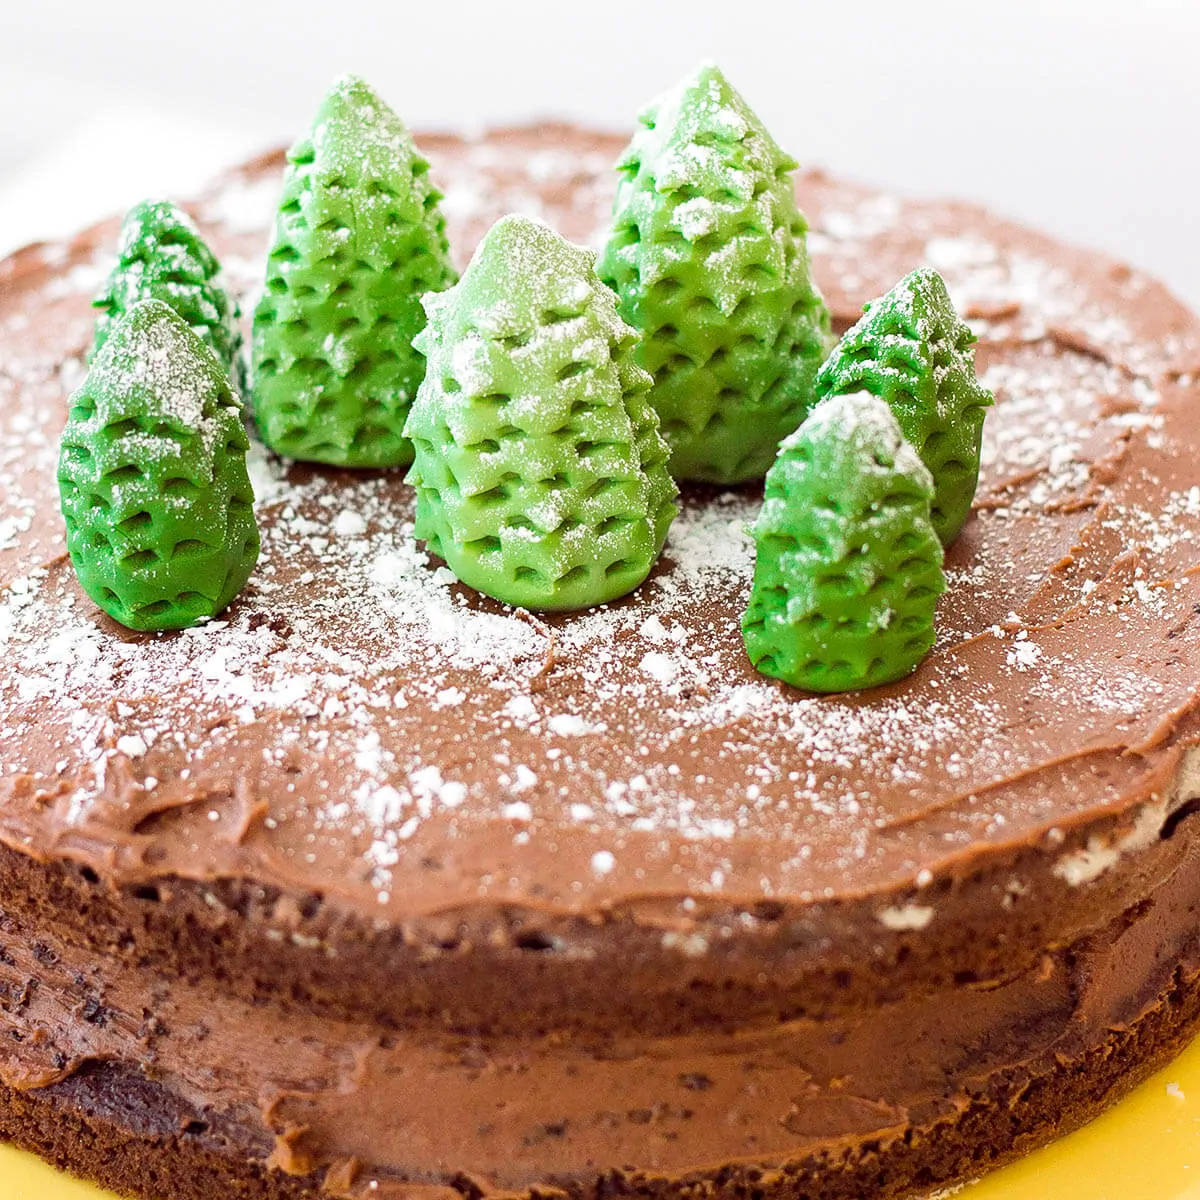
Wanting to bake a special holiday treat? Short on time? There’s nothing wrong with going for a cake mix. Here’s a way to elevate your next boxed cake: make it a Christmas Tree Cake!
I know many home bakers who are ashamed of reaching for store-bought cake mixes. But let’s face it, the holidays can be very overwhelming.
Give yourself a break. Today, we’re sharing our Christmas Tree Cake recipe. Guess what? We used a cake mix!
Hey, everyone! Lisa here from Fabulous Habits and I am incredibly excited to share my latest sweet creation. Growing up, my mom was always baking-up a storm. No shame here, she’d often turn to boxed cake when I was having a dessert craving. (In all fairness, my sweet tooth seemed to work overtime and so she accommodated the best she could).
I remember frosting the cake with my mom, in its 9×9 square pan. That’s literally all it was: a slab of cake for young me to enjoy.
The holiday season can be a very stressful time of the year. With dinner parties to host, a list of gifts to purchase… we all deserve a break, right?
Today, I’m taking a cake mix and sprinkling it with some holiday magic.
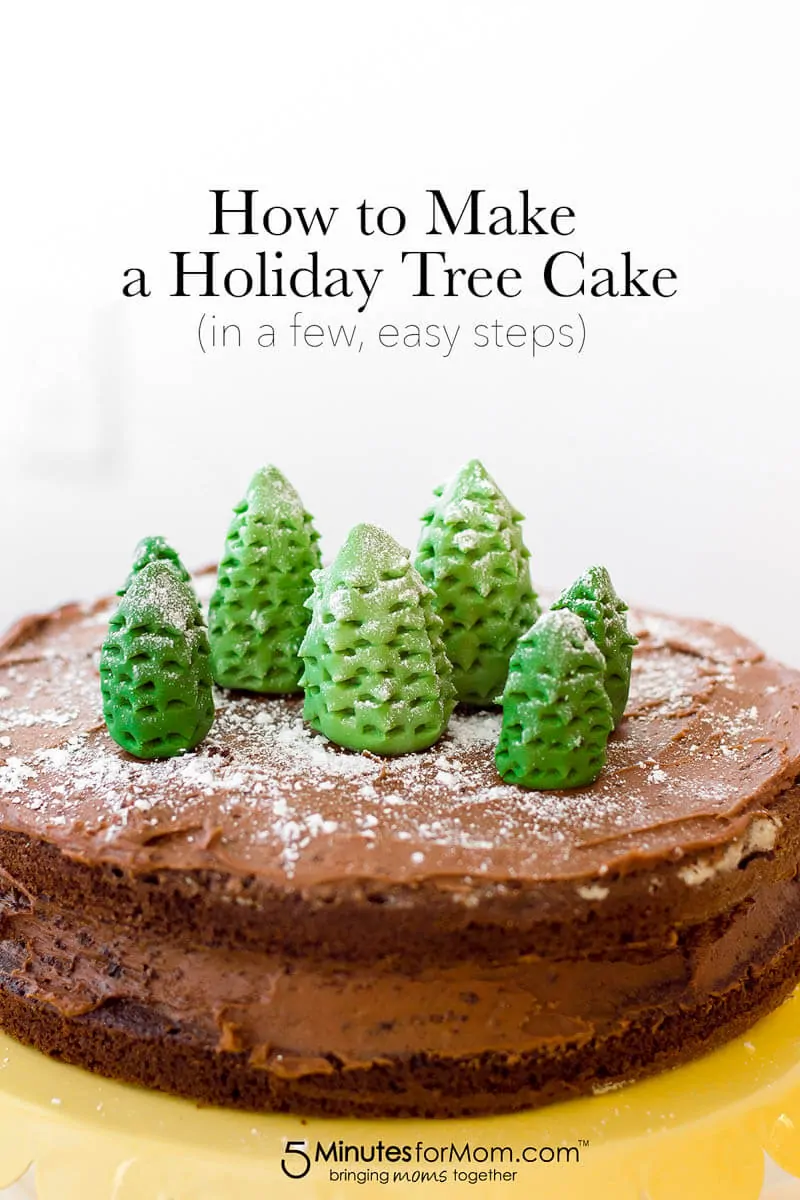
How to Make a Christmas Tree Cake
- Chocolate cake mix + all the ingredients to make it
- 1 1/2 sticks butter, softened, plus extra to coat your pans
- Flour for coating your pans
- 3 cups confectioners’ sugar, plus extra for sprinkling
- 2 tbsp cocoa powder
- 3-4 tbsp milk
- 9 oz. fondant
- Moss green gel food coloring
- 7 mini pretzel sticks
- 2 8-inch circle pans
Prep Work
Preheat your oven according to your cake mix’s directions (normally, 350 degrees F) and coat each pan with a generous amount of butter.
Once they are coated with butter, sprinkle flour into each pan and distribute evenly. You can do this by holding your pan on a tilt and tapping it with your free hand, which will move the flour around.
Bake the Cake
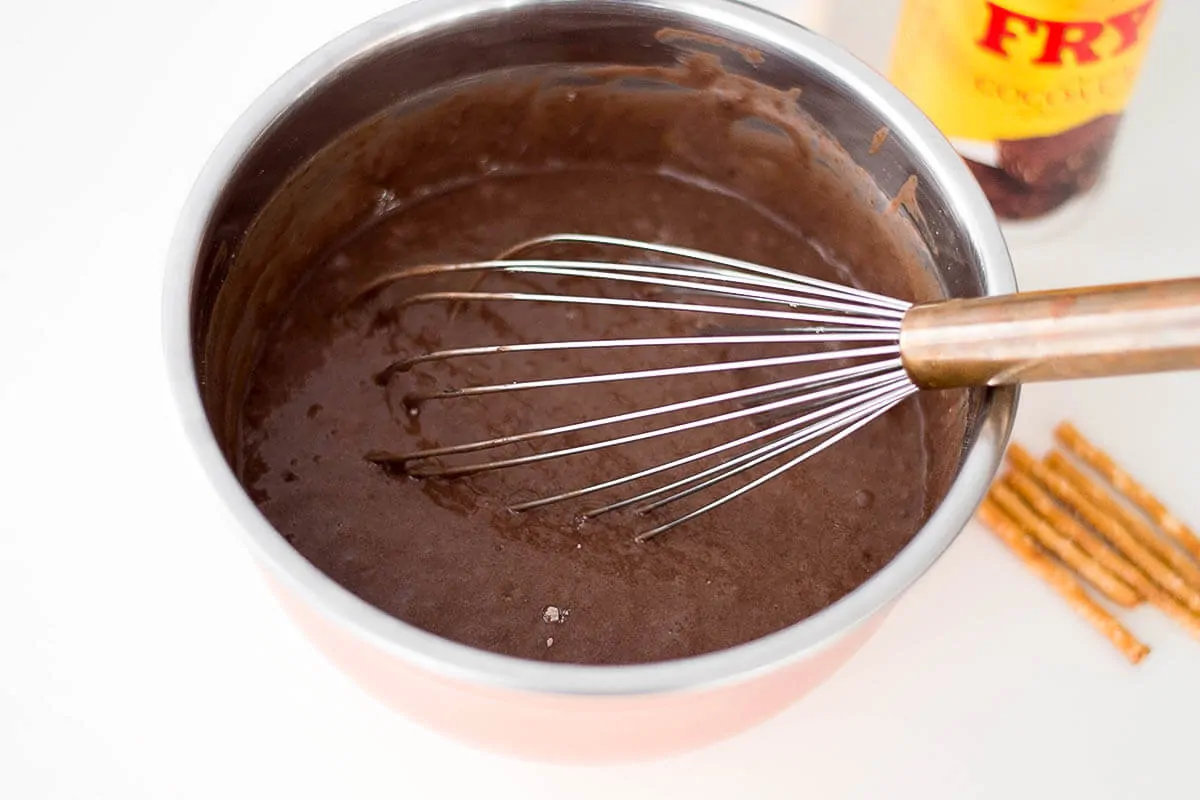
Prepare your cake batter according to your cake mix’s directions. Pour the batter into each coated pan and bake.
Preparing the Baked Cake
Once the cake is done baking, remove from the pans (you can do this by turning them upside down onto a wire rack) and allow to cool completely.
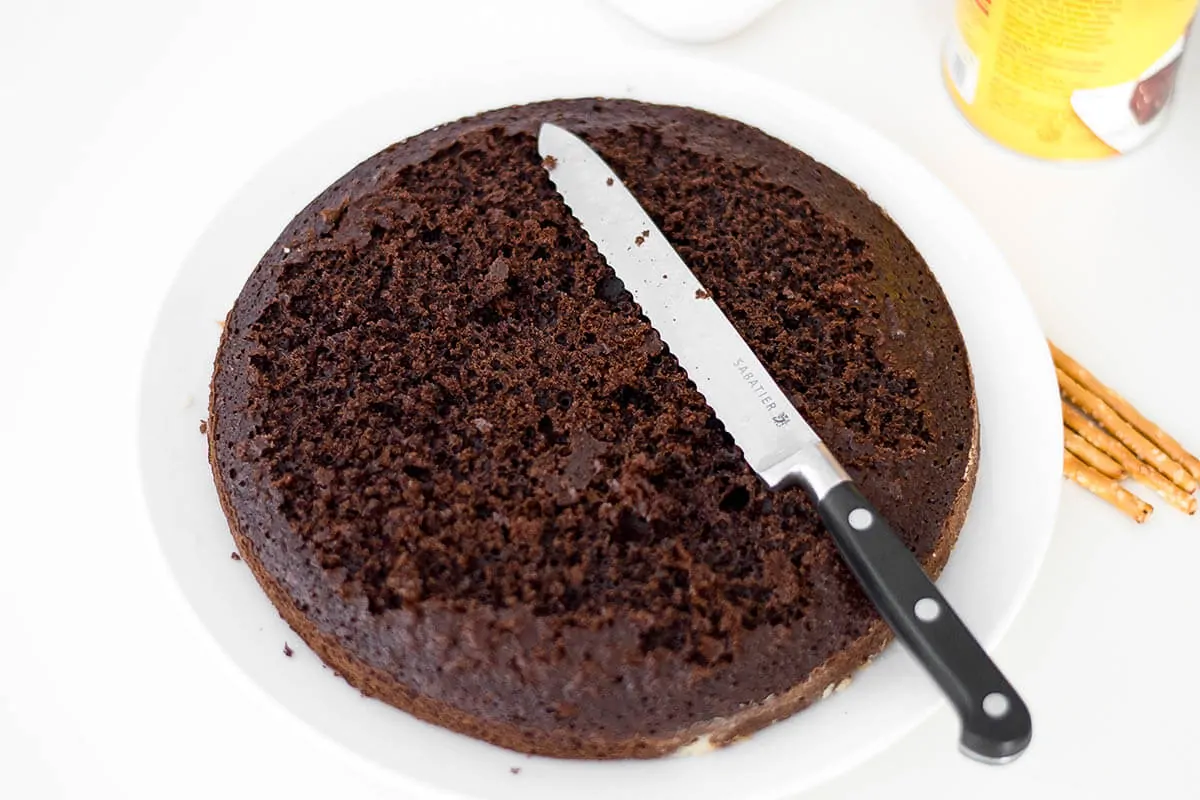
Once the cakes are cool, you can cut off the top of each one to give it a flat surface.
Delicious Buttercream
In a medium-sized bowl, use an electric mixer and beat butter, confectioners’ sugar, cocoa and milk on slow. Gradually increase the speed to high.
The buttercream is ready once all the ingredients are well-combined, smooth and form semi-stiff peaks.
Cake Stack
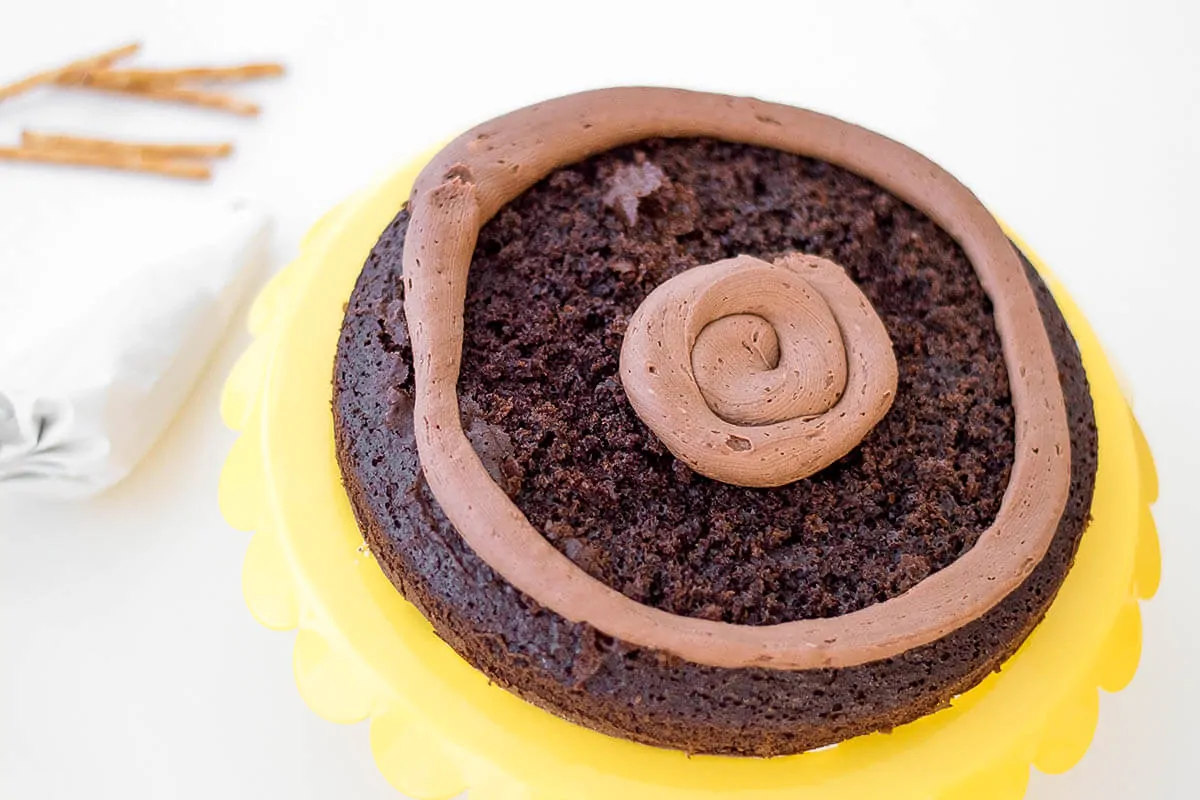
Place one of your cakes on a stand. Scoop half your buttercream into a frosting bag and frost the top, using an offset spatula to spread the buttercream.
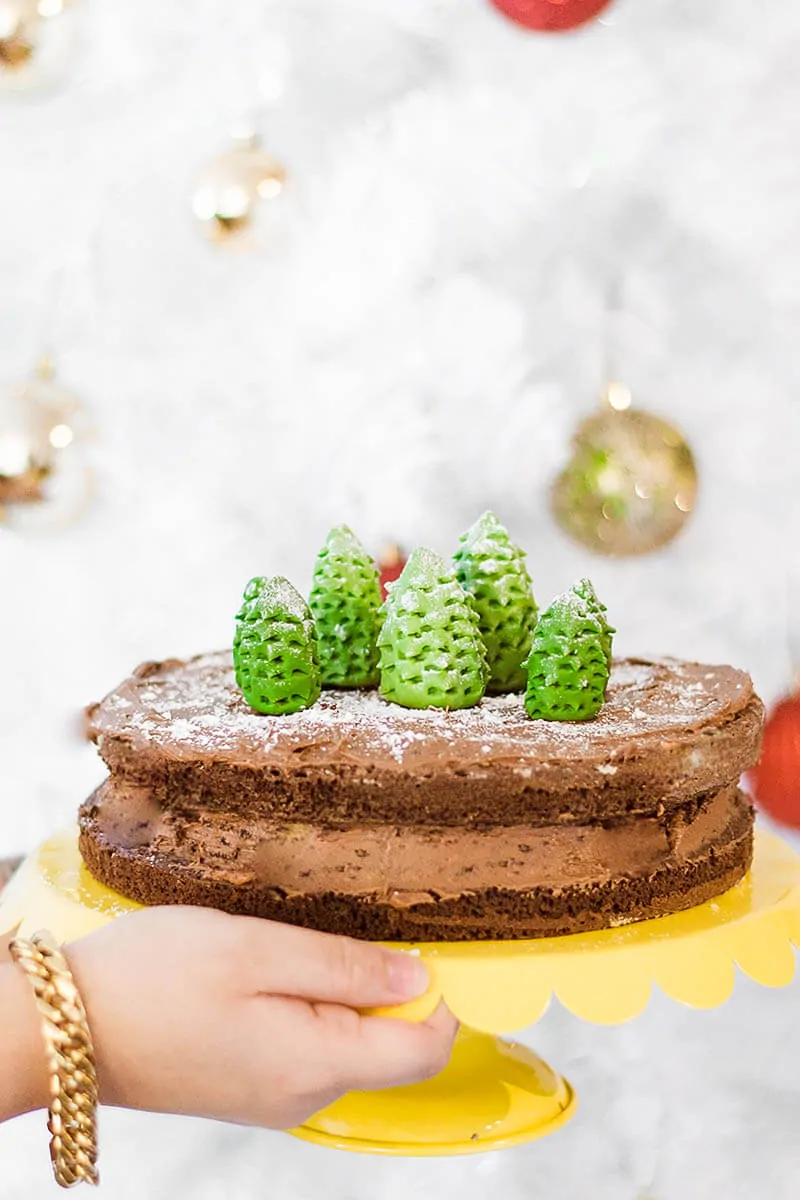
Stack your second cake on top of your first layer and frost the top with the remainder of your buttercream.
Fondant Work
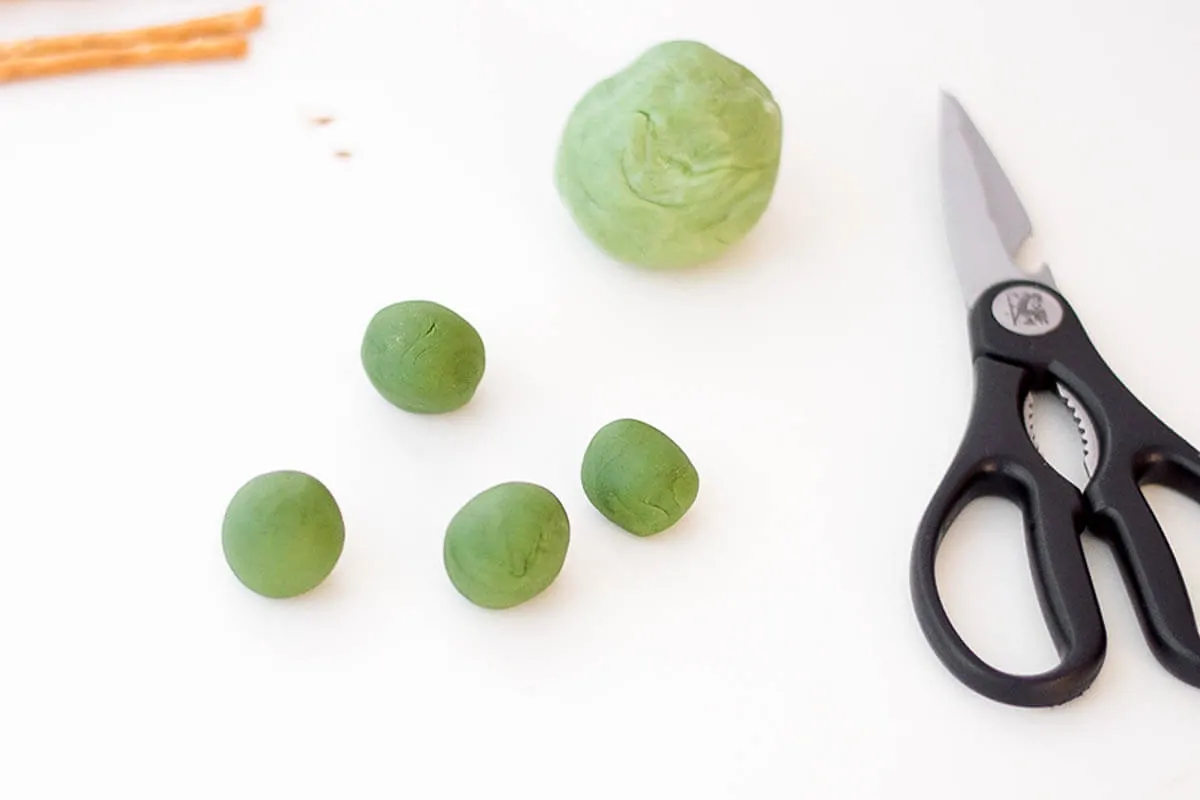
Separate your fondant so that you have one 4 oz. sphere and another 5 oz. sphere. Use your gel food coloring to tint each one. Add more gel food coloring to your 4 oz. sphere so that it’s slightly darker in color.
Divide your 4 oz. fondant into 4 smaller spheres. Divide your 5 oz. fondant into 3 spheres.
The Trees Take Form
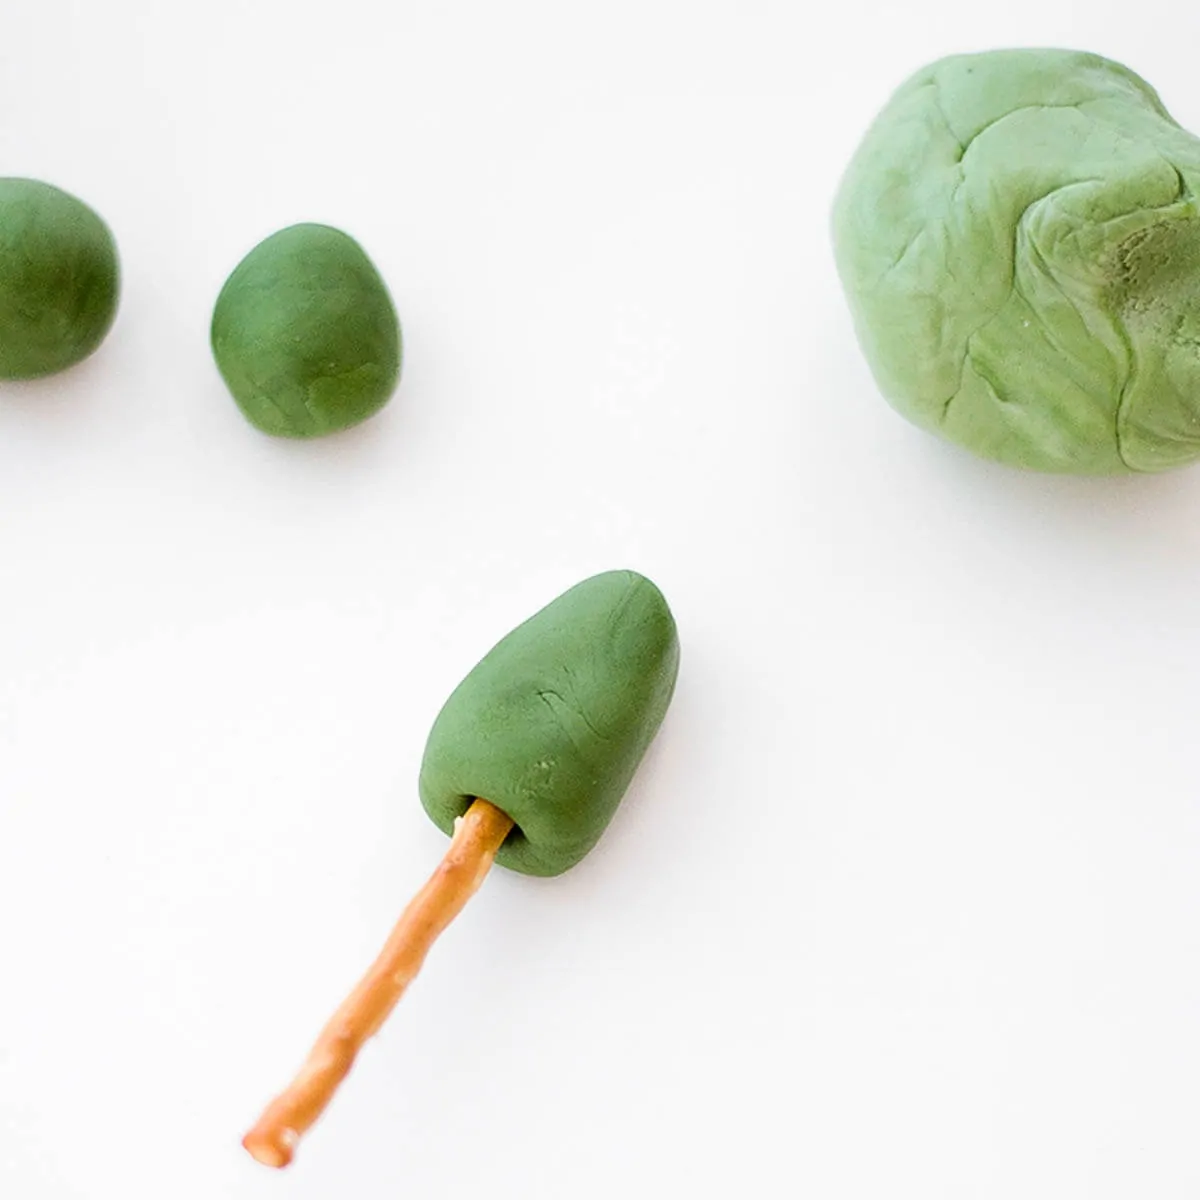
Once the spheres are formed, start shaping them so they are triangular in-shape. Insert a pretzel stick into each one. Using scissors, cut little pieces around each tree to give them texture.
The Finishing Touches
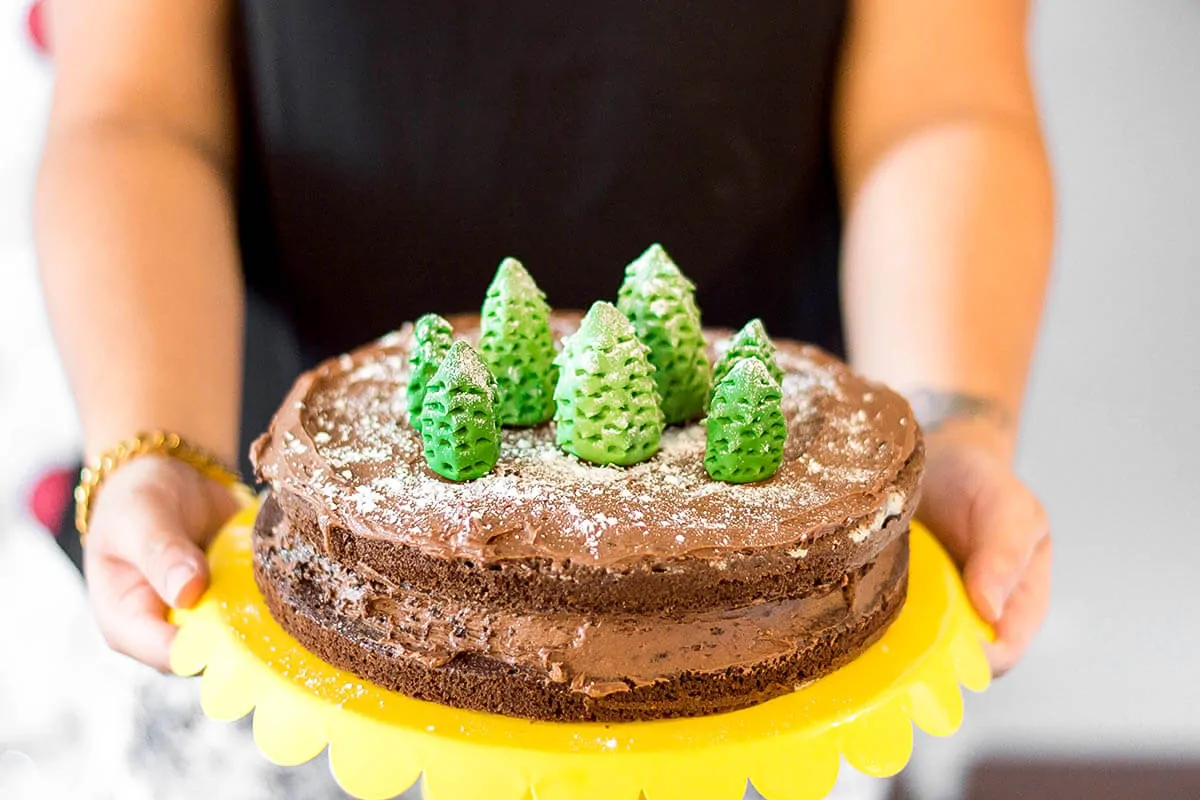
Insert each tree into your cake and sprinkle with confectioners’ sugar. Serve your Christmas Tree Cake and enjoy!
See? It really doesn’t take much to make a boxed cake mix look amazing!
Christmas Tree Cake
Ingredients
- Chocolate cake mix + all the ingredients to make it
- 1 1/2 sticks butter softened, plus extra to coat your pans
- Flour for coating your pans
- 3 cups confectioners’ sugar plus extra for sprinkling
- 2 tbsp cocoa powder
- 3-4 tbsp milk
- 9 oz. fondant
- Moss green gel food coloring
- 7 mini pretzel sticks
- 2 8- inch circle pans
Instructions
- Preheat your oven according to your cake mix’s directions (normally, 350 degrees F) and coat each pan with a generous amount of butter.
- Once pans are coated with butter, sprinkle flour into each pan and distribute evenly. You can do this by holding your pan on a tilt and tapping it with your free hand, which will move the flour around.
- Prepare your cake batter according to your cake mix’s directions. Pour the batter into each coated pan and bake.
- Once the cake is done baking, remove from the pans (you can do this by turning them upside down onto a wire rack) and allow to cool completely.
- Once the cakes are cool, you can cut off the top of each one to give it a flat surface.
- In a medium-sized bowl, use an electric mixer and beat butter, confectioners’ sugar, cocoa and milk on slow. Gradually increase the speed to high.
- The buttercream is ready once all the ingredients are well-combined, smooth and form semi-stiff peaks.
- Place one of your cakes on a stand. Scoop half your buttercream into a frosting bag and frost the top, using an offset spatula to spread the buttercream.
- Stack your second cake on top of your first layer and frost the top with the remainder of your buttercream.
- Separate your fondant so that you have one 4 oz. sphere and another 5 oz. sphere. Use your gel food coloring to tint each one. Add more gel food coloring to your 4 oz. sphere so that it’s slightly darker in color.
- Divide your 4 oz. fondant into 4 smaller spheres. Divide your 5 oz. fondant into 3 spheres.
- Once the spheres are formed, start shaping them so they are triangular in-shape. Insert a pretzel stick into each one. Using scissors, cut little pieces around each tree to give them texture.
- Insert each tree into your cake and sprinkle with confectioners’ sugar. Serve and enjoy!
Pin it for Later
Try These Family Fun Ideas
Here are some ways for you to enjoy time with your kids over the holiday break…
- Mix up a batch of homemade eggnog.
- Bake up a batch of perfect chocolate chip cookies.
- Paint Christmas ornaments to decorate your tree.
- Play family board games together.
- Craft paper stars in pretty colors.
- Create DIY photo ornaments and display your family memories.


Leave a Comment