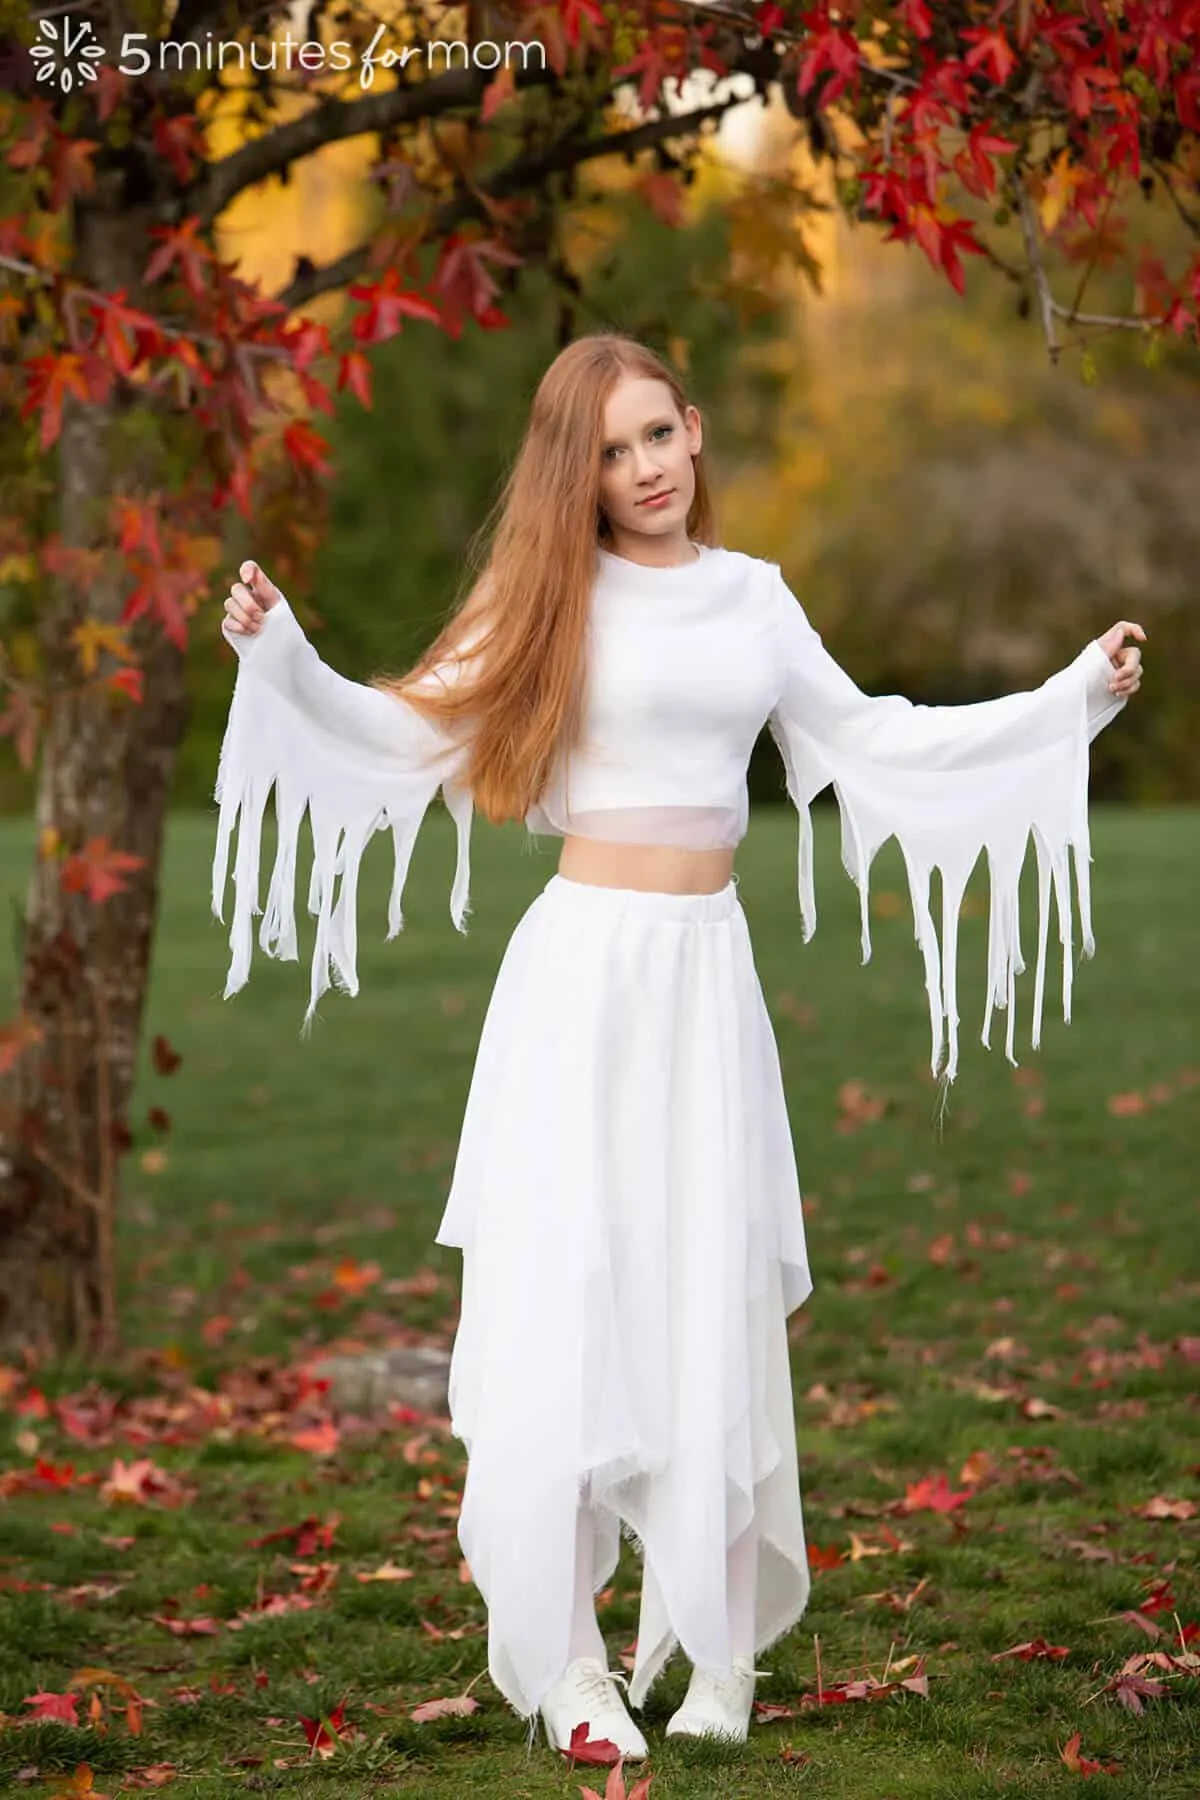
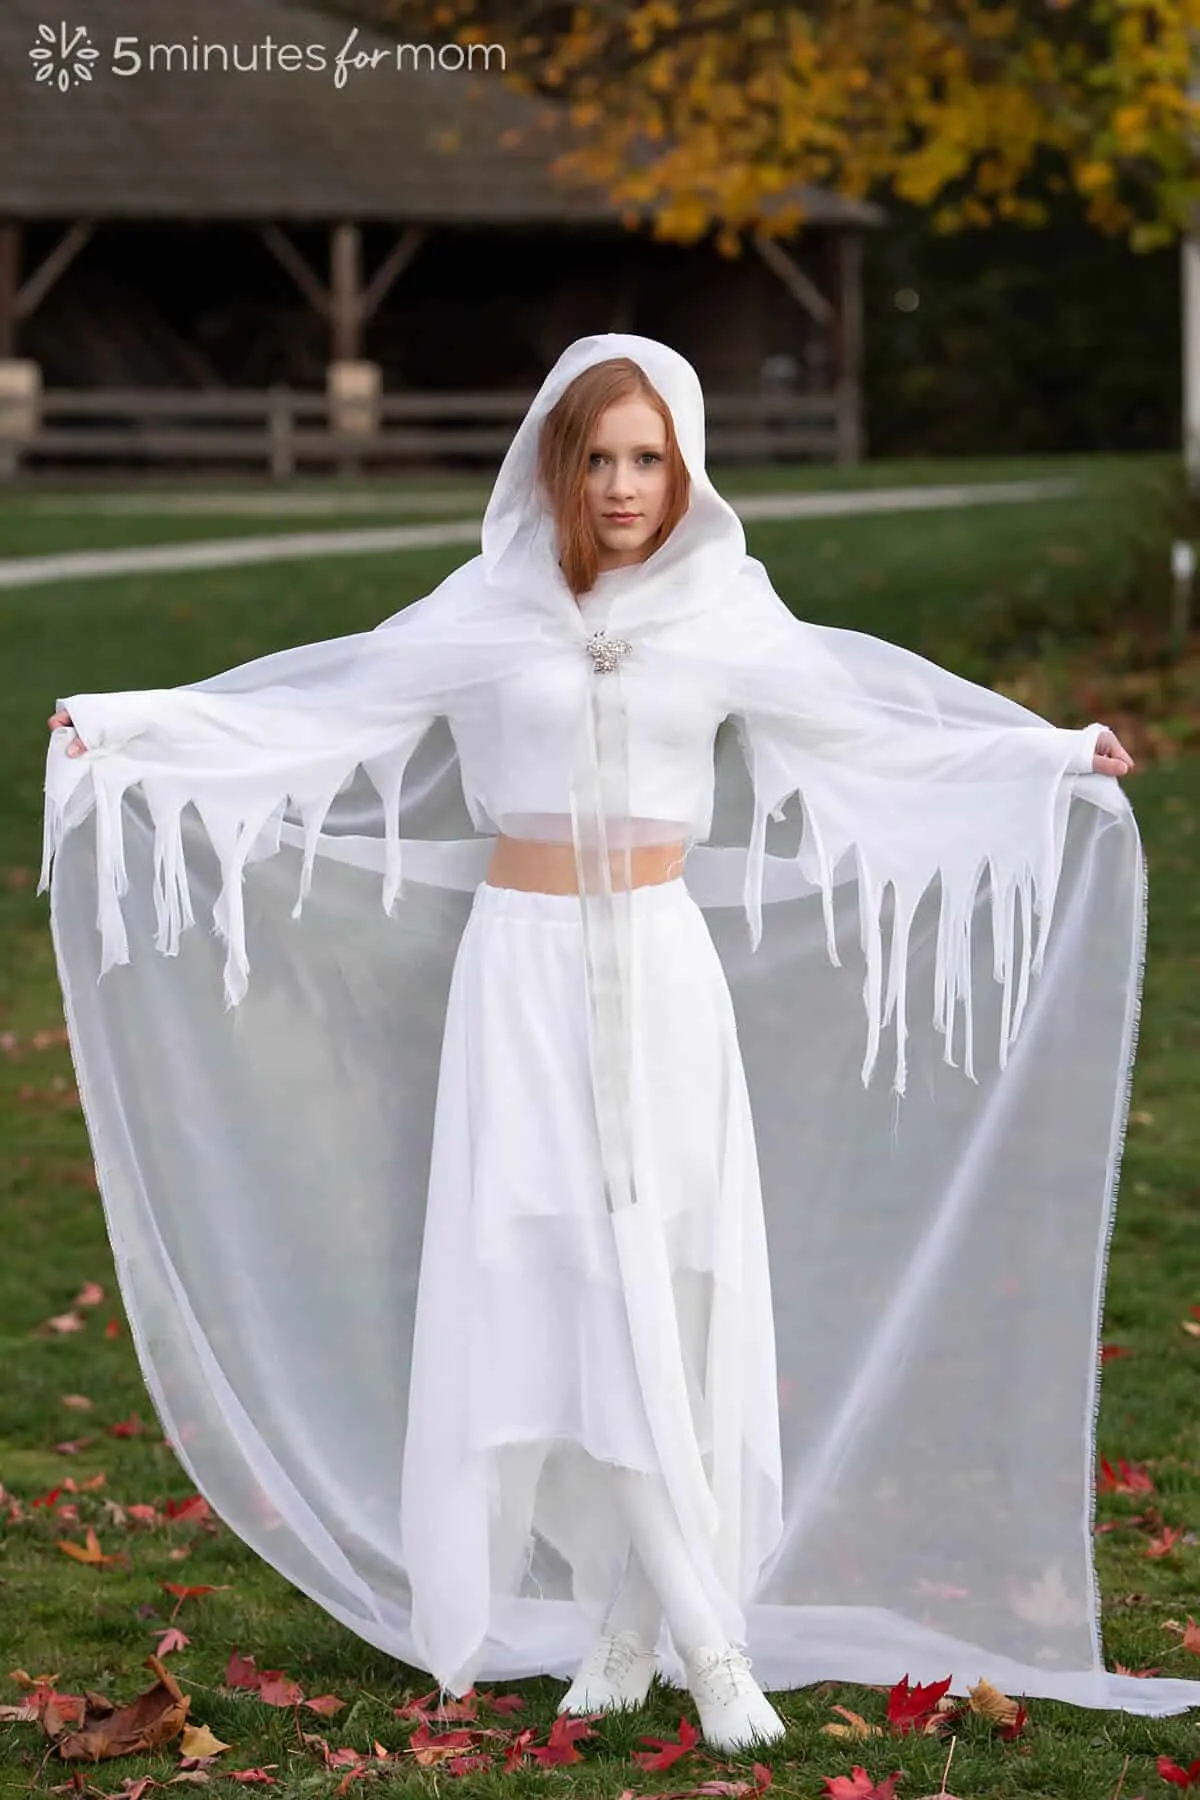
See how to make a handkerchief skirt and tattered long sleeve top to create an elegant yet eerie homemade ghost costume. This is Part 2 of our DIY Ghost Costume Tutorial. In the first post, we showed you how to make an organza ghost cape. With this shimmery organza and white chiffon costume, you can be both stunning and spooky on Halloween.
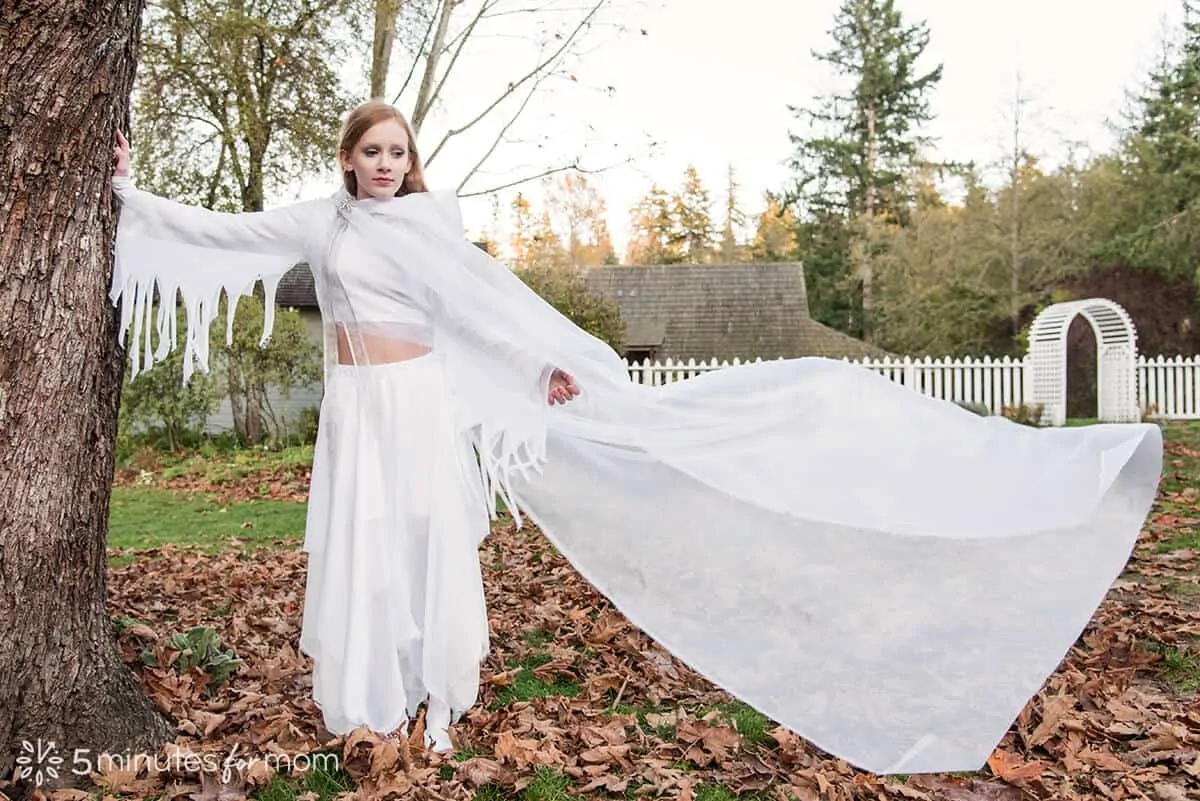
When my daughter, my nieces, and I design their Halloween costumes each year, we take a few things into consideration — the cold, often wet Pacific Northwest weather, the girls’ love of luxurious, fancy costumes, and our annual Halloween photoshoot.
With this ghost costume, my teenage niece, Julia, wanted an ethereal, flowing, hooded cape with a tattered crop top and a wispy, fluid skirt. She also wanted a pared-down version for school, since she didn’t want to go to high school in a full costume. So, during the school day, she just wore the tattered chiffon top with a pair of white jeans and white vans.
To find out how to make the organza hooded cape, click over to our first post DIY Ghost Costume – How To Make A Stunning Ghost Halloween Costume.
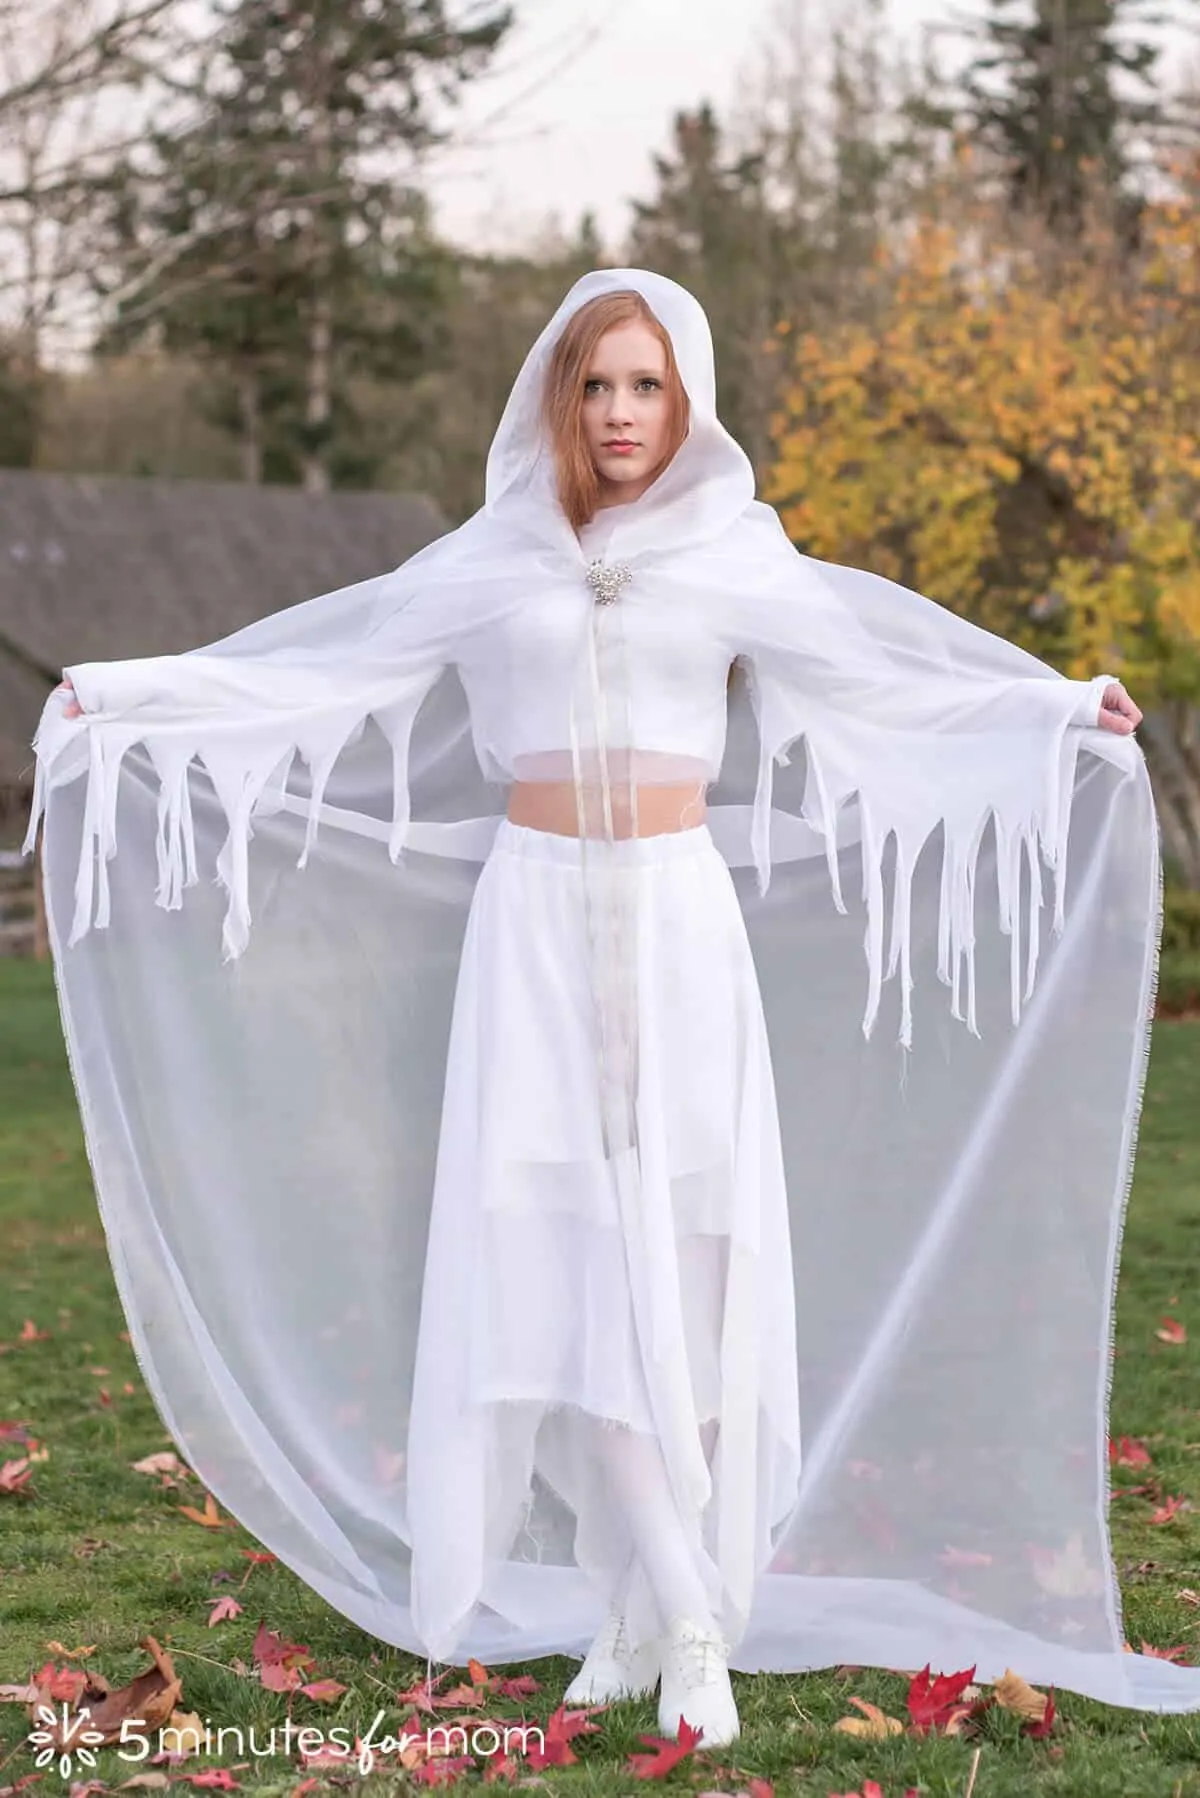
For the tattered top and skirt we used white crinkle chiffon which worked perfectly to create a sheer, lightweight tattered blouse and layered handkerchief skirt. (I had to use two pieces of chiffon from different bolts of fabric. One piece of fabric was actually off-white with a more textured crinkle. I put that piece on the bottom and the whiter one on top.)
If the thought of sewing with chiffon sounds intimidating, don’t worry! Since we are going for a torn, ghostly look, we are NOT hemming the fabric. We are leaving all of our edges raw so it is a super-fast sewing project.

Since chiffon is transparent, I also made a basic white slip for Julia to wear under the handkerchief skirt, (I used a polyester charmeuse that I had in my fabric stash,) and she wore a long sleeve white knit crop top that she already owned underneath the chiffon top.
How to Make a Handkerchief Skirt
I love skirts and dresses with handkerchief hems! The asymmetrical design feels so whimsical and reminds me of summer days when my daughter and nieces were young and they seemed to live in sundresses.
The BEST part of sewing a handkerchief skirt is how EASY it is — especially if you aren’t hemming the fabric.
While chiffon frays and normally you would need to hem it. But, since we are going for a shredded, ghostly look, we want fraying edges.
Typically handkerchief skirts are made with square pieces of fabric, but we actually used two rectangles of fabric to enhance the asymmetry and make the skirt longer.
A handkerchief skirt is cut the same way you would cut a circle skirt, using the math formula for a full circle skirt.
I know the math of circle skirts can be very confusing but don’t worry, I will walk you through exactly how I did the math for this skirt. (I have done some very deep-diving into the math and the various circle skirt calculators out there and I am working on an in-depth post about circle skirts which I will publish soon.)
The short story is: the math of determining the radius from a circumference (your waist measurement) is very simple: r=c/2Ï€ But, things get more complicated when you consider seam allowance(s), ease, the kind of fabric you are using, and what kind of circle skirt (full, 3/4, half, 1/4) you are making.
To find the radius of a full circle when you know the circumference, the formula is:
Radius = Circumference / (2Ï€)
So, if we use our waist measurement as the circumference it will work to give us a radius, but we also must consider seam allowances, wearing ease, and if we need it to slide over our hips.
When we do circle skirt math, we need to find the radius using our waist measurement + ease + side seam allowance – waist seam allowance.
If you have had varying results using different circle skirt calculators or formulas for circle skirts it may be a result of websites/designers using different formulas for adding seam allowances and waistline seam allowance or not specifying if the formula is adding side seam allowance or waistline allowance.
Side seam allowance needs to be added to the waist measurement and waistline measurement must be subtracted from the radius.
Further confusing matters, some formulas use a generic “2” in the formula without specifying if that “2” is in metric or Imperial. If you plug a 2 into a formula with inches you will have a very different result than if you plug a 2 into a formula with centimeters.
SO, how do you make a circle skirt pattern that works for you, your fabric, and your design?
The key is to understand what is really happening with the seam allowances in the formulas — and for many people the simplest method may be to stick to the basic mathematic formula, only adding in the ease to the waist measurement. Then, after you have found your radius, you can add the seam allowances (the waistline seam allowance and the side seam allowances,) when you draw your pattern.
OR what might work for you is to deal with the waistline seam allowance within the math formula and THEN if you need side seam allowances, depending on your fabric size, you can add those in manually after you have drawn your pattern. (This is the method I usually use.)
Remember, if you are cutting a full circle skirt with the fabric folded in fourths and you will be pulling the finished skirt over your hips, then you do NOT need side seam allowances. BUT, since you are not adding a zipper and you are pulling it over your hips, you need to add that ease to your waist measurement in the formula.
(For a deeper looked into the different ways to add seam allowances to circle skirt patterns and the formulas for full circle skirts, 3/4 circle skirts, half-circle skirts, and 1/4 circle skirts, check back for our upcoming post on circle skirt math.)
For this handkerchief skirt, we used a woven (non-stretch) chiffon and made a waistband with an elastic in it.
So, to make sure that the skirt was big enough to pull on over the hips, we used Julia’s hip measurement instead of her waist measurement.
Because we made a full circle cut in the fabric and we didn’t have any side seams, we used the formula for a full circle and we only had to consider the seam allowance at the waistband.
Thus, the formula we used was:
Radius = Circumference / (2Ï€) – waist seam allowance
In other words:
Radius = (Waist Measurement + ease to fit over hips) divided by 6.28 minus 1.5cm
Or if using Imperial:
Radius = (Waist Measurement + ease to fit over hips) divided by 6.28 minus 0.65″
If you want to skip doing the math yourself, you can use this circle skirt calculator by Hand London. Their calculator includes seam allowance and they also have a great post explaining circle skirt math and the formula their calculator uses.
There are two drawbacks to the By Hand London app though — they do not include 3/4 circle skirts and they have set skirt length measurements.
Another calculator you can try is the Omni circle skirt calculator. But please note that this app only includes a 2cm seam allowance for the waistband. So please remember to add extra ease to your waist measurement if you are not using a zipper and you need to slide the skirt over your hips and add side seam allowances if you are using side seams.
ALSO, please note that the Omni calculator uses metric when it writes the formula on their website. R = waist / 2Ï€ – 2 So you need to change the “2” in their formula to your waistline seam allowance in inches if you use their formula.
So when you are working out how to make a handkerchief skirt or a circle skirt, you follow the same mathematical process.
To calculate the length of fabric you need for a circle skirt, the formula is:
fabric length = skirt length + radius + hem allowance
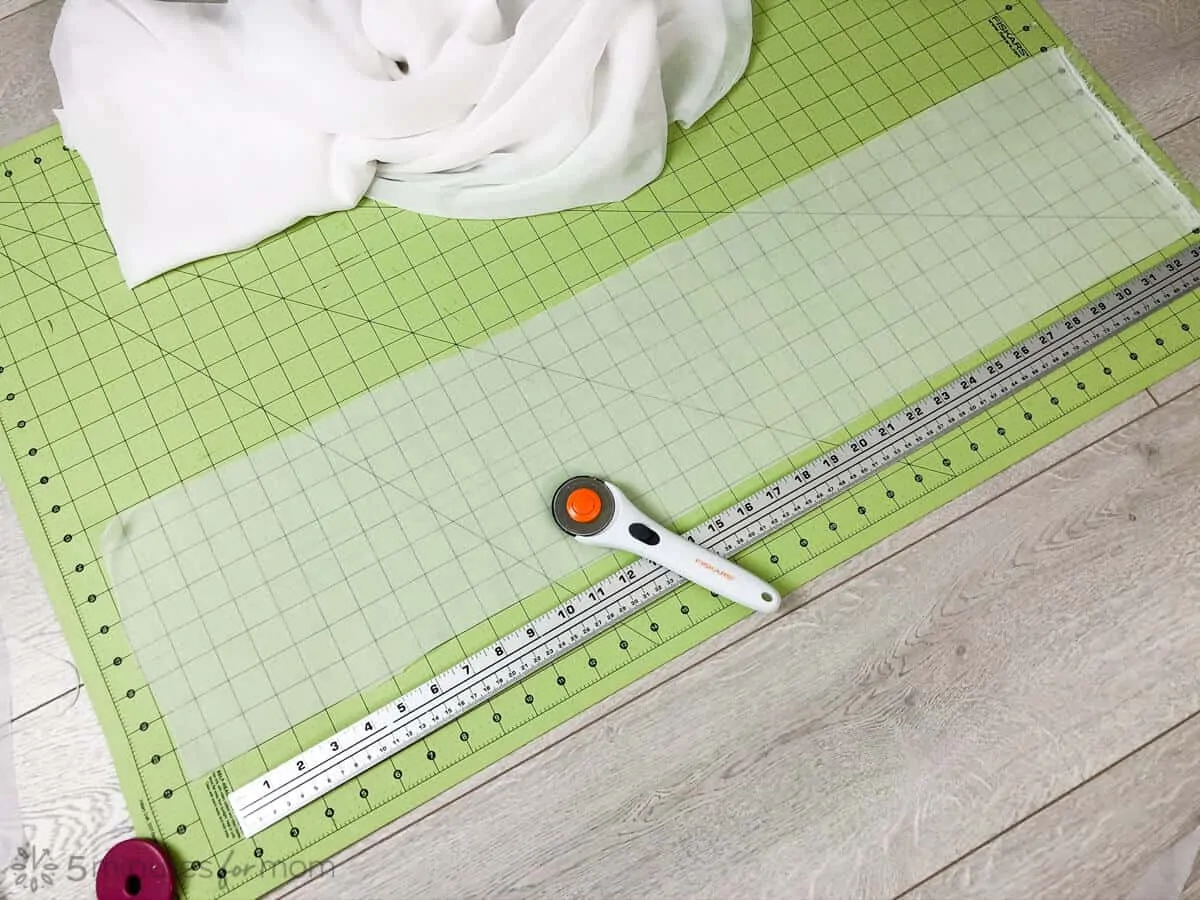
But for our ghostly handkerchief skirt, we used the 58″ fabric width from selvage to selvage and cut two rectangles that were 58″x42″.
We wanted to keep the frayed edges, so I didn’t have to do any hemming.
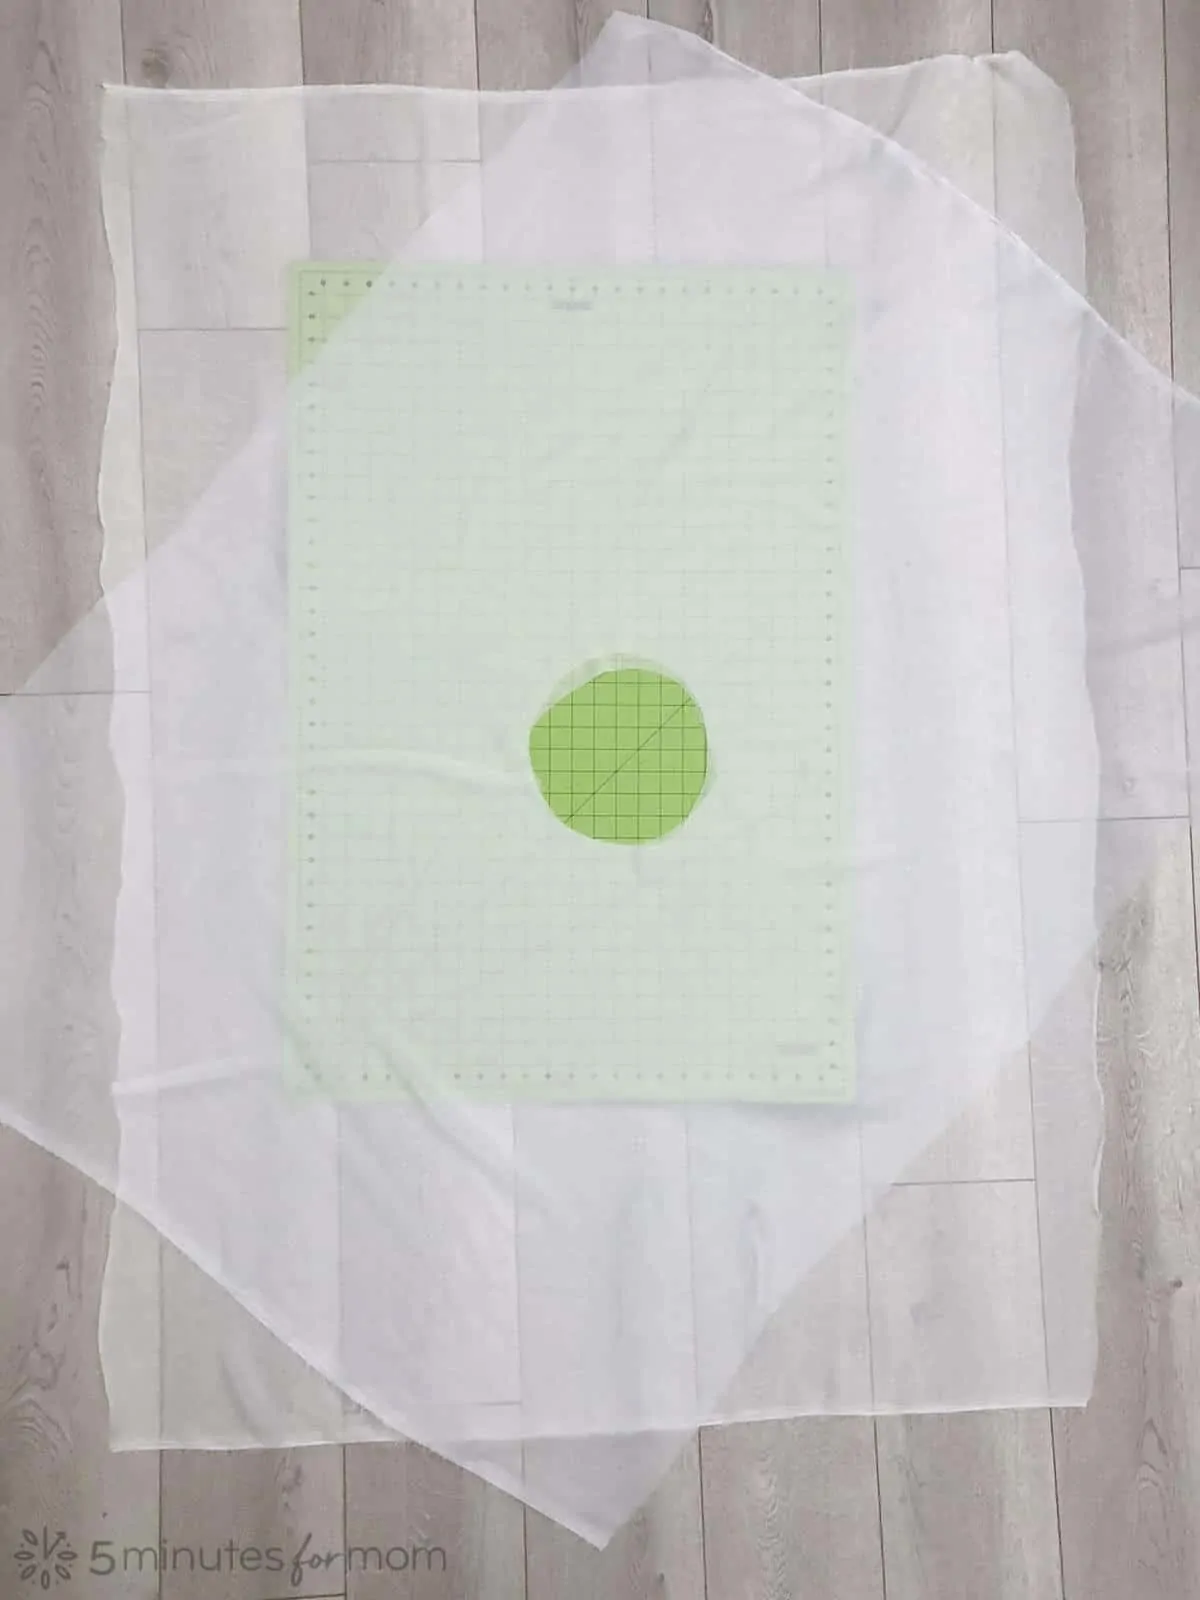
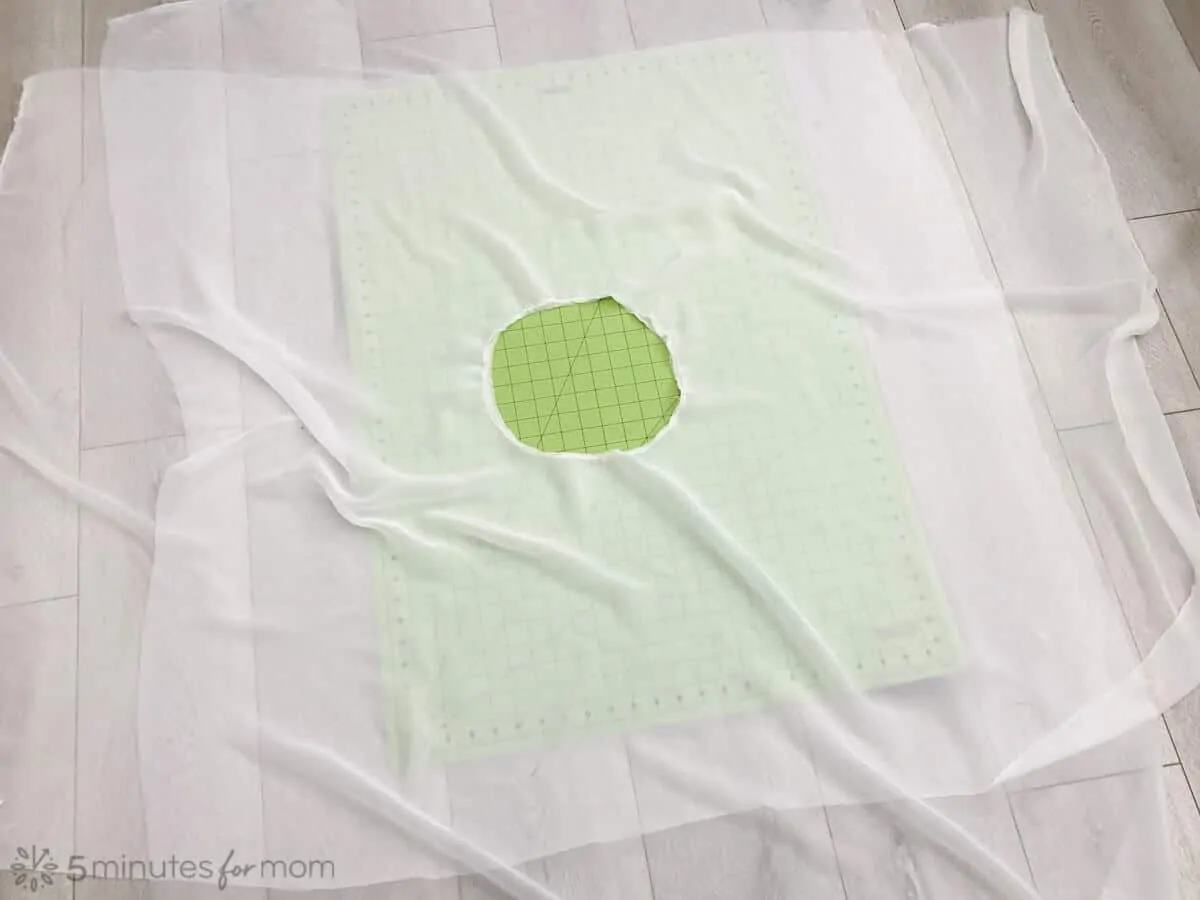
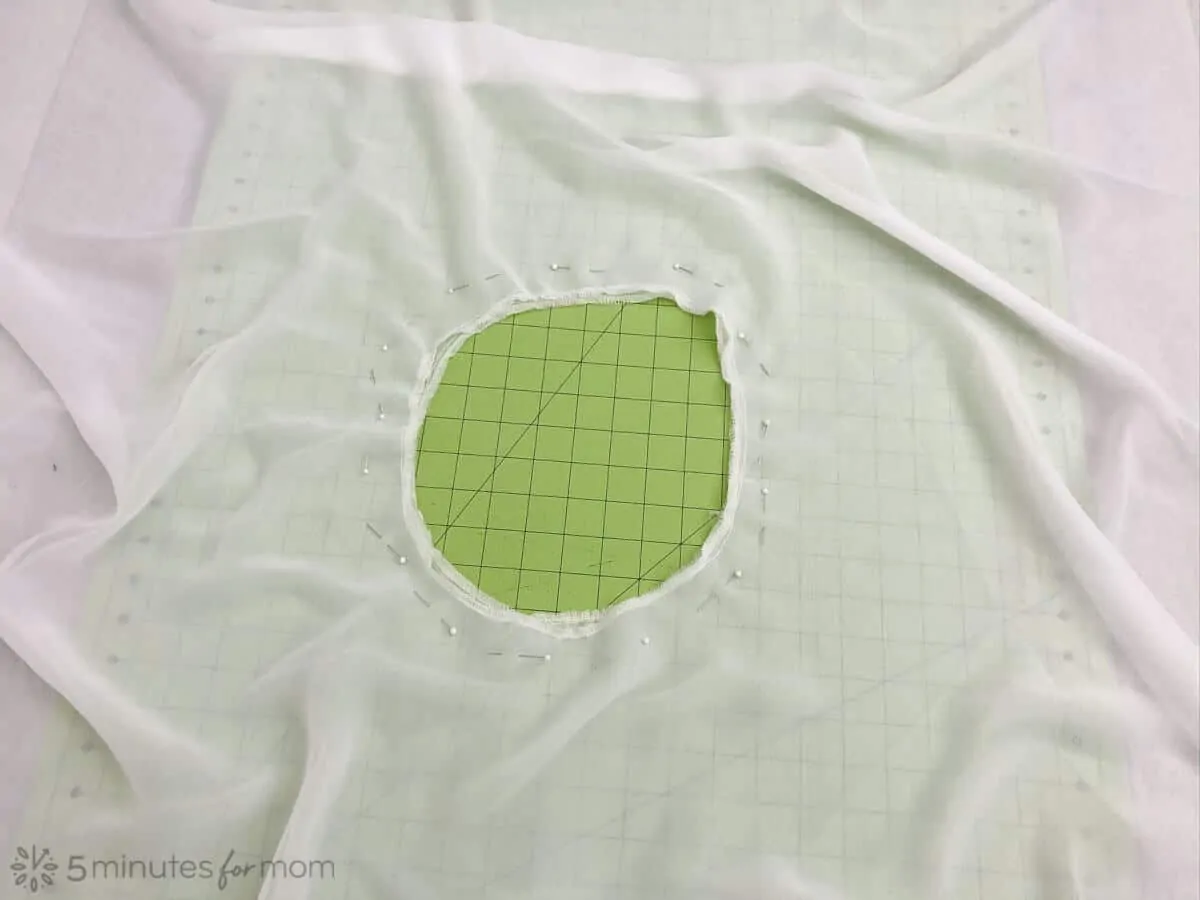
Before I cut the fabric, I folded it in fourths so that the pattern sits with folds on both sides.
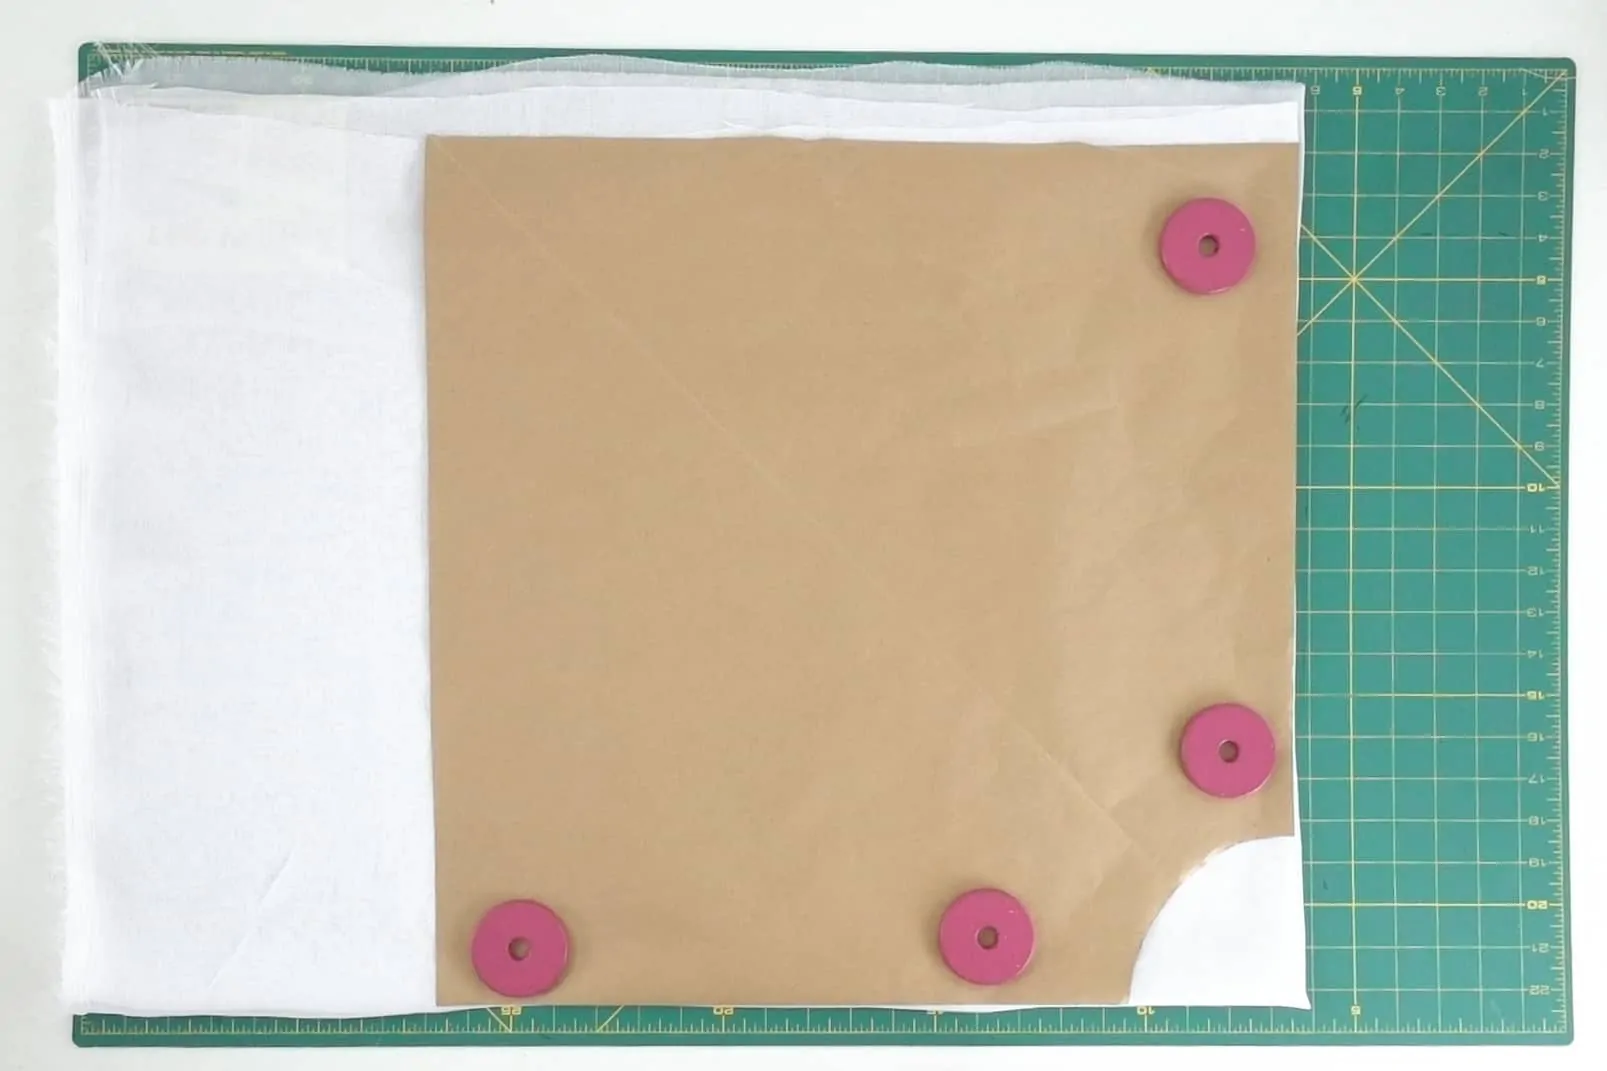
I cut our waist radius using our pattern. leaving the length of the rectangles untouched.
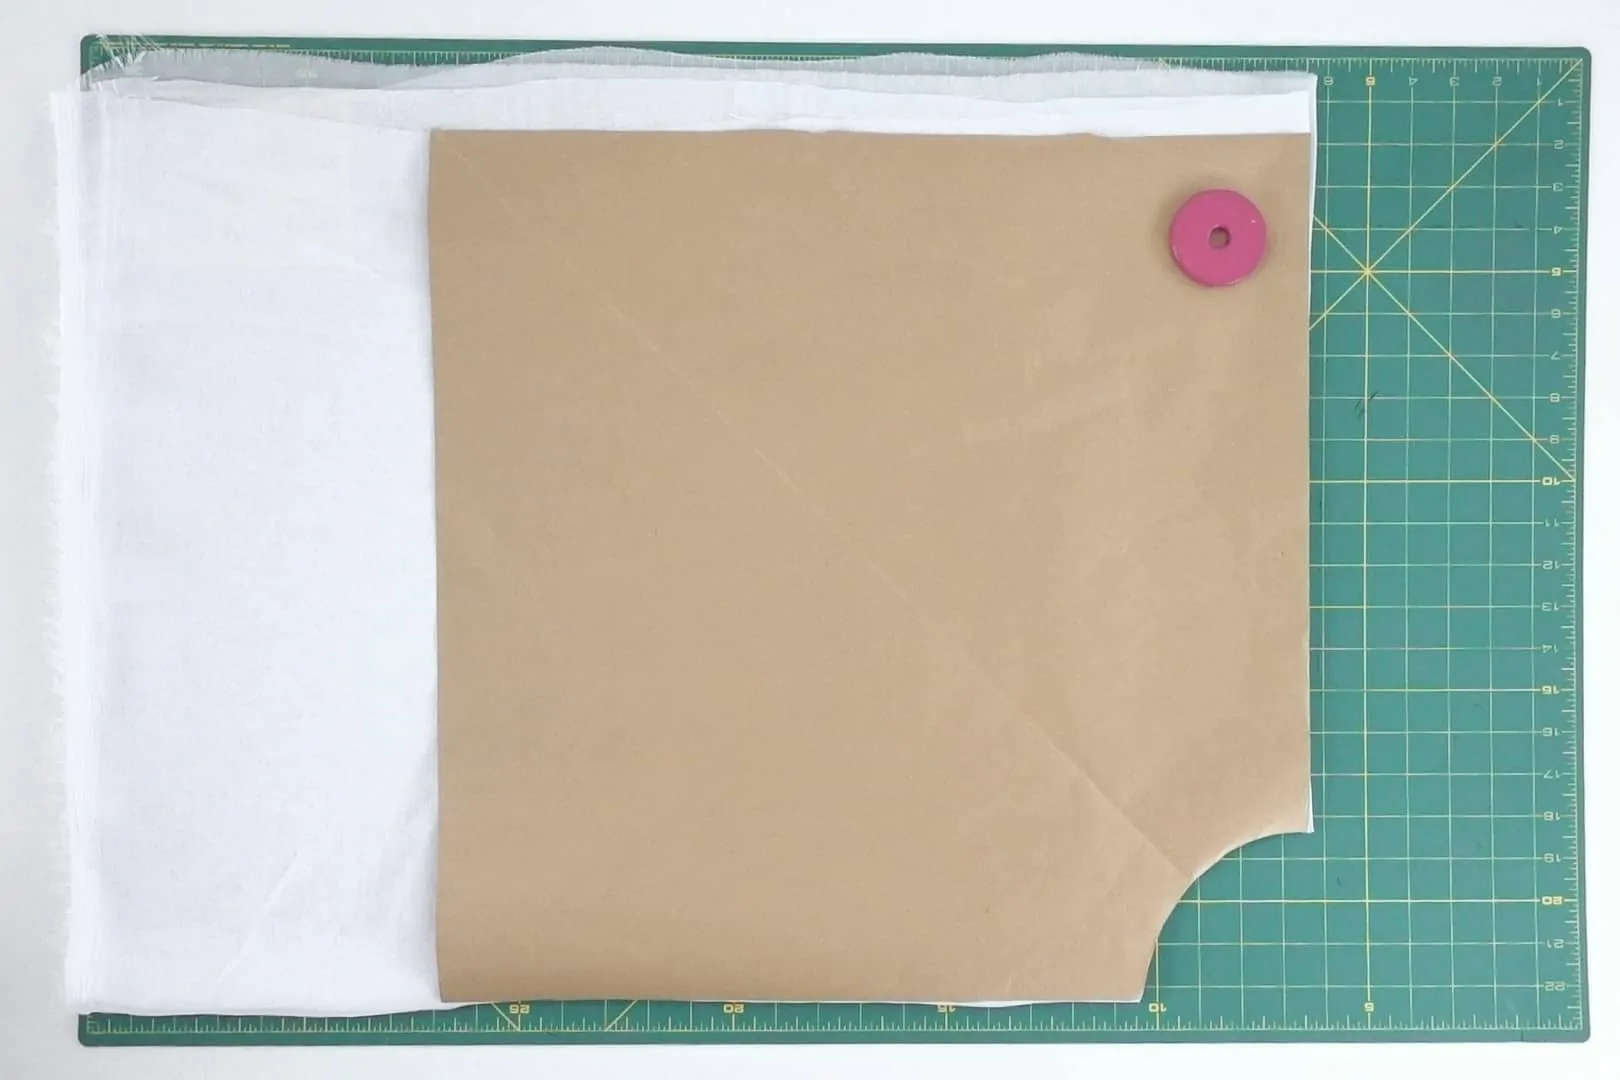
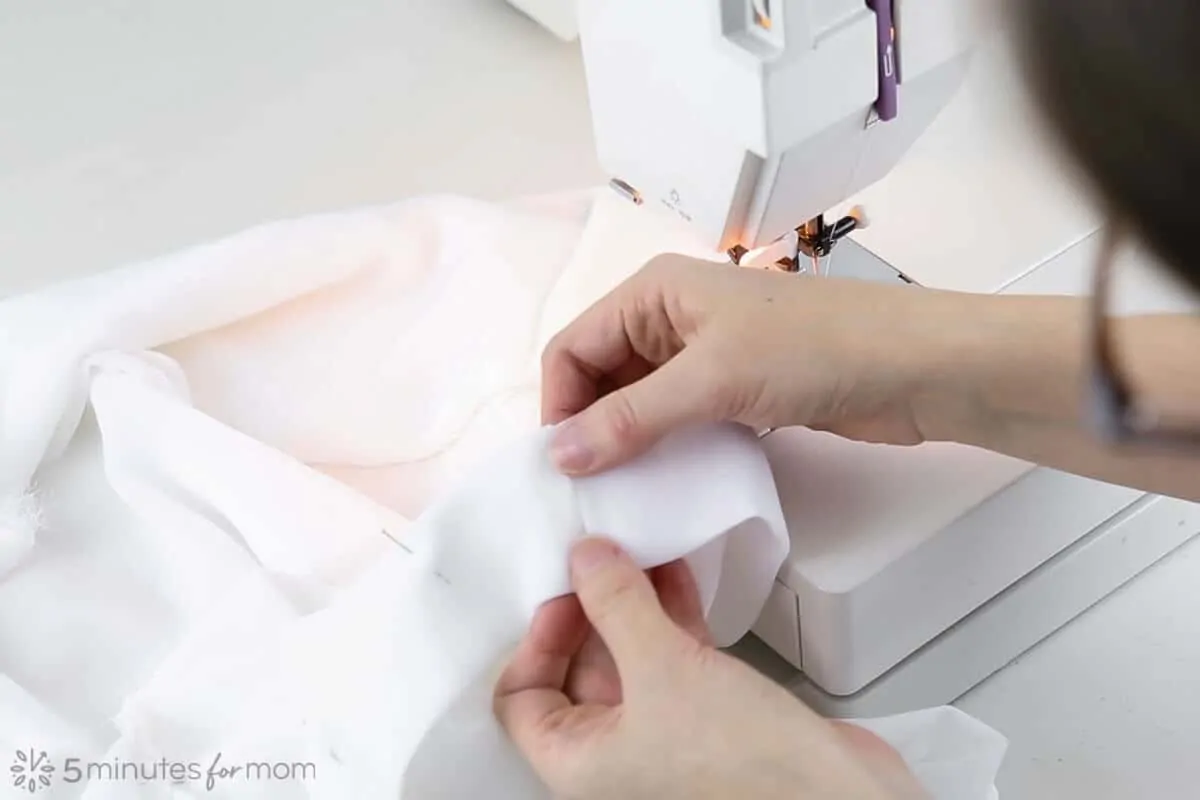
I staystitched the fabric edge of the waist opening on each rectangle at about 1cm or 1/2″ to keep the chiffon from stretching out of shape.
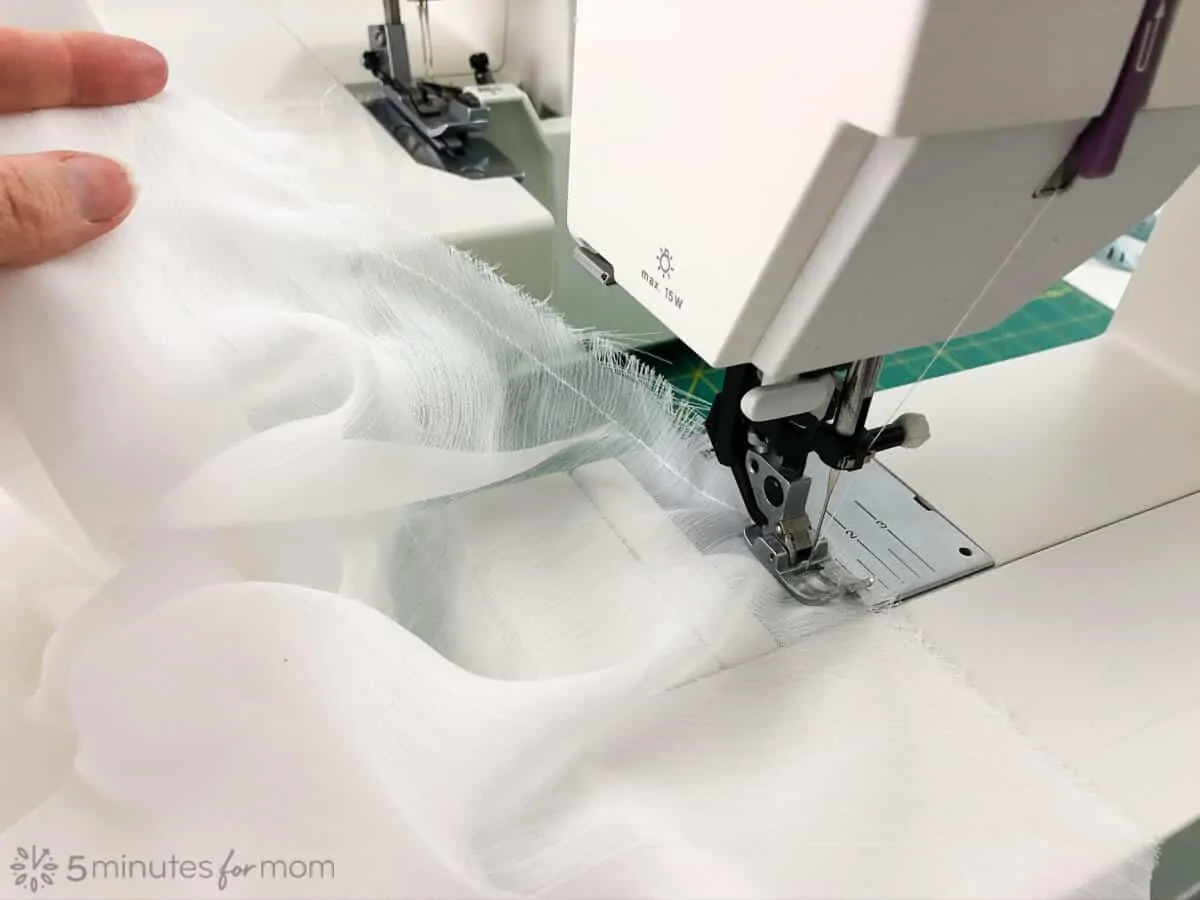
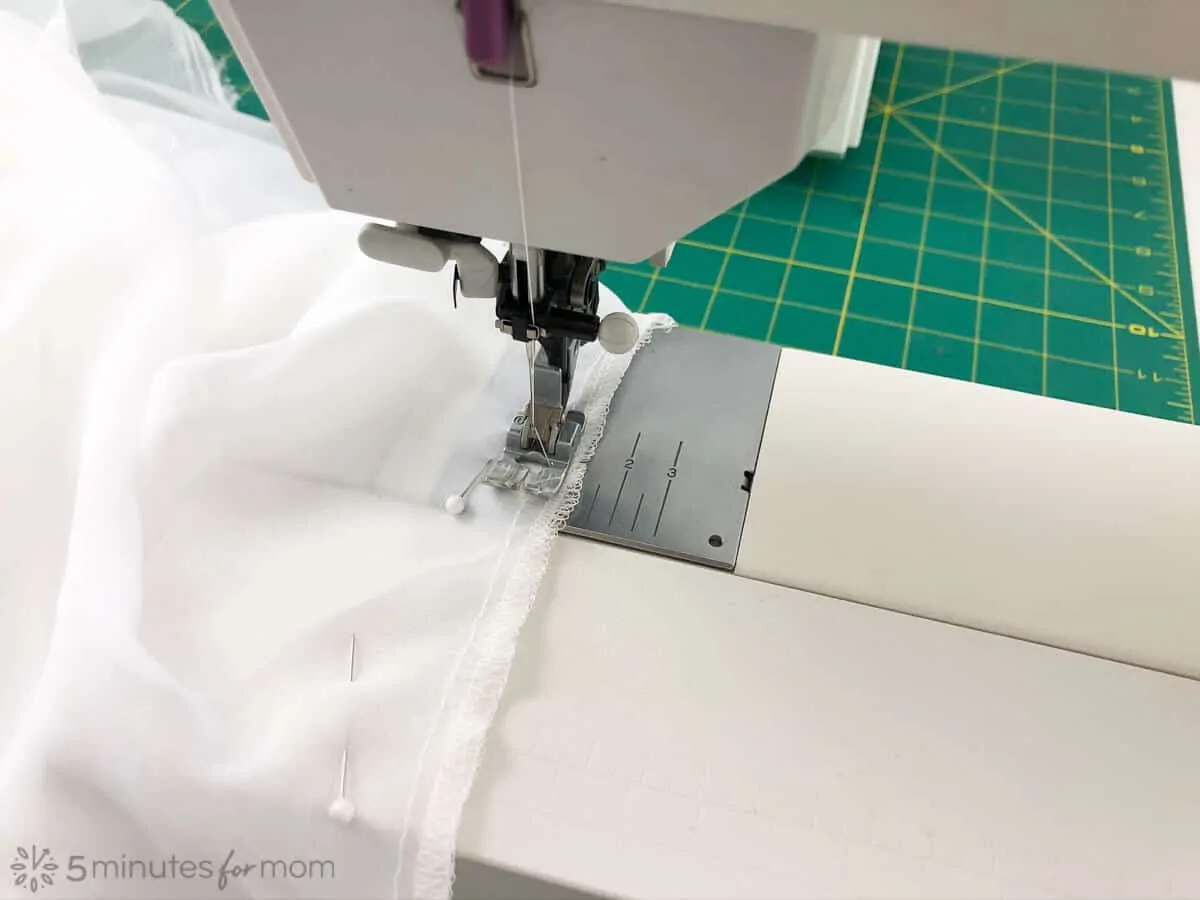
My chiffon was fraying so much that I also decided to serge the edges after I stay stitched.
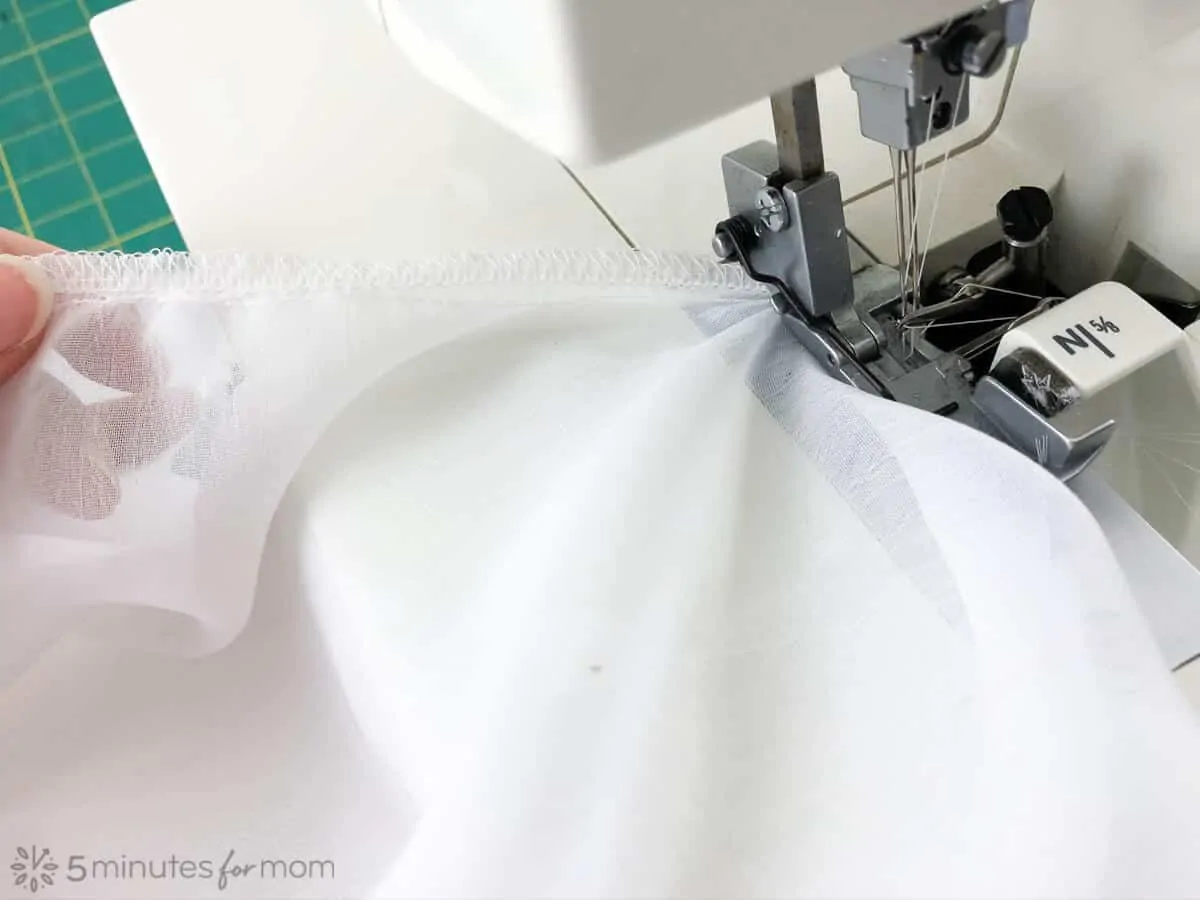
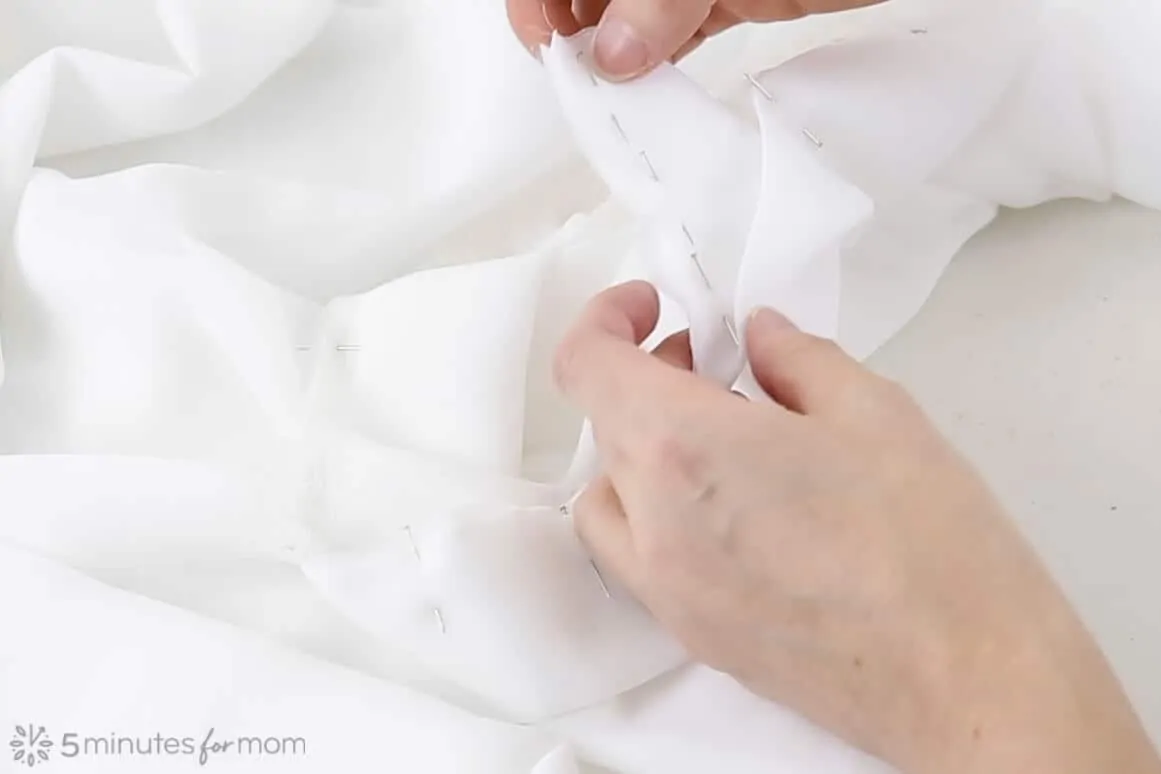
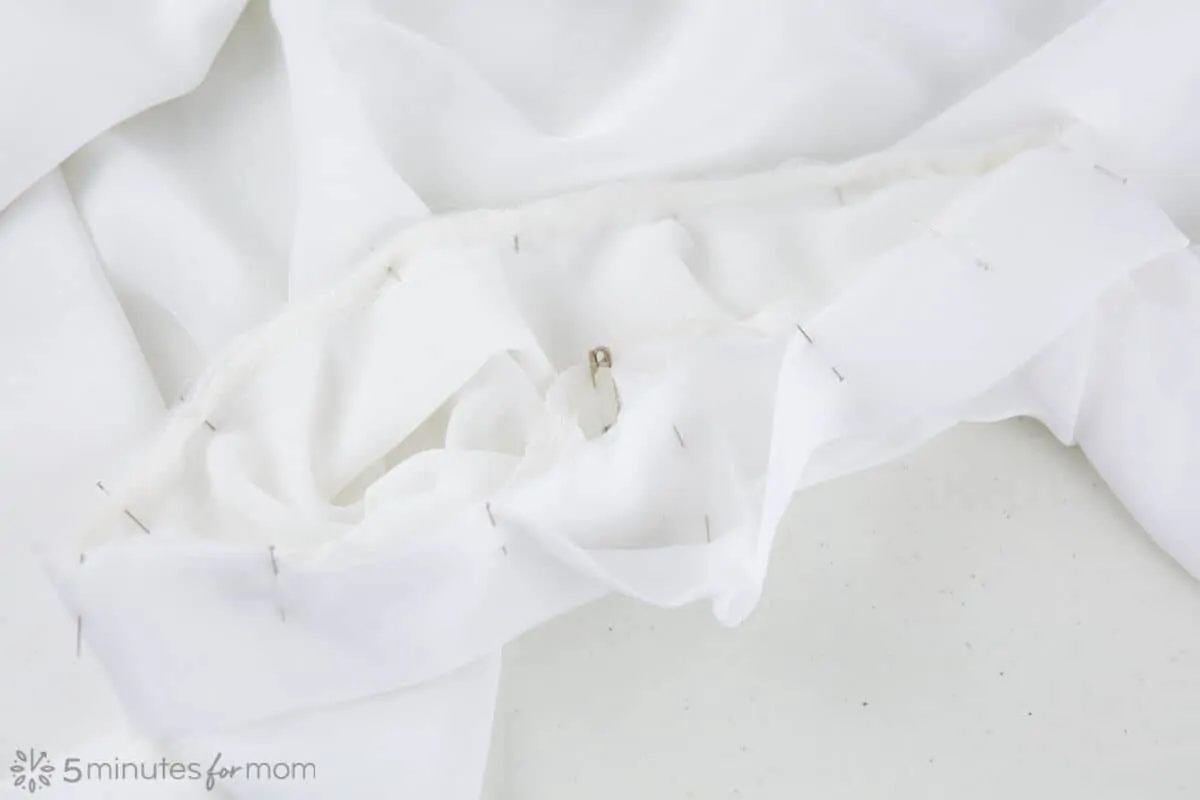
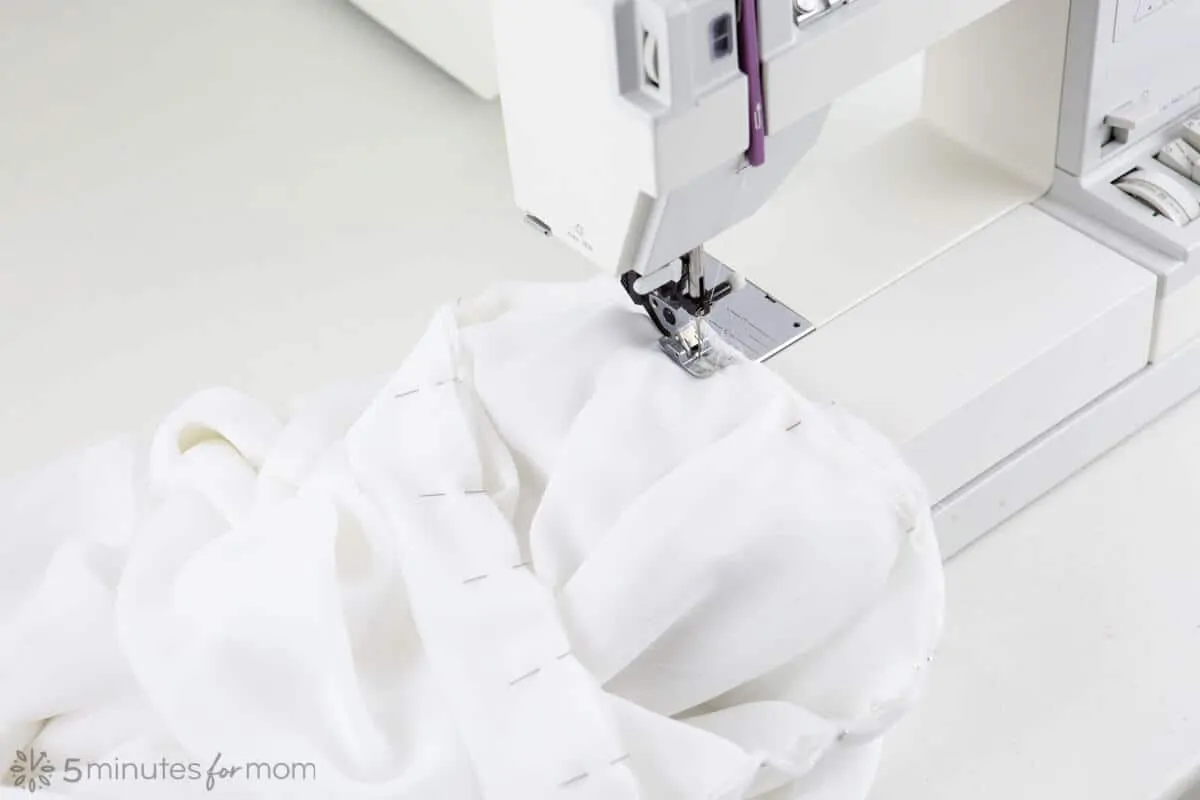
Next, I laid out the two rectangles on top of each, staggered, and pinned the two pieces together near the waist opening.
Then I sewed the two pieces together, keeping the staystitching in the seam allowance.
(At this point, you may want to check to see if your skirt will be able to go over your hips.)
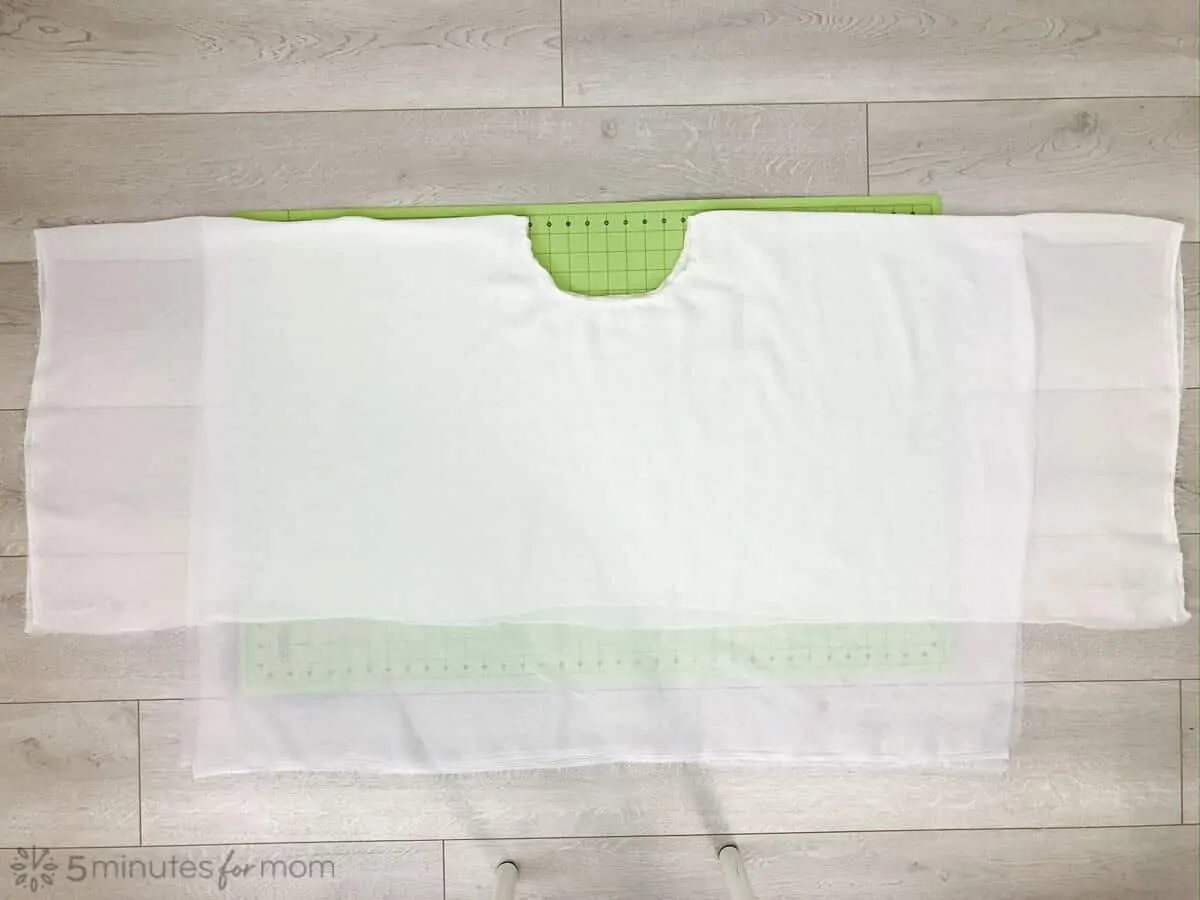
After confirming the fit on Julia, I laid out the skirt and marked the center back with a safety pin.
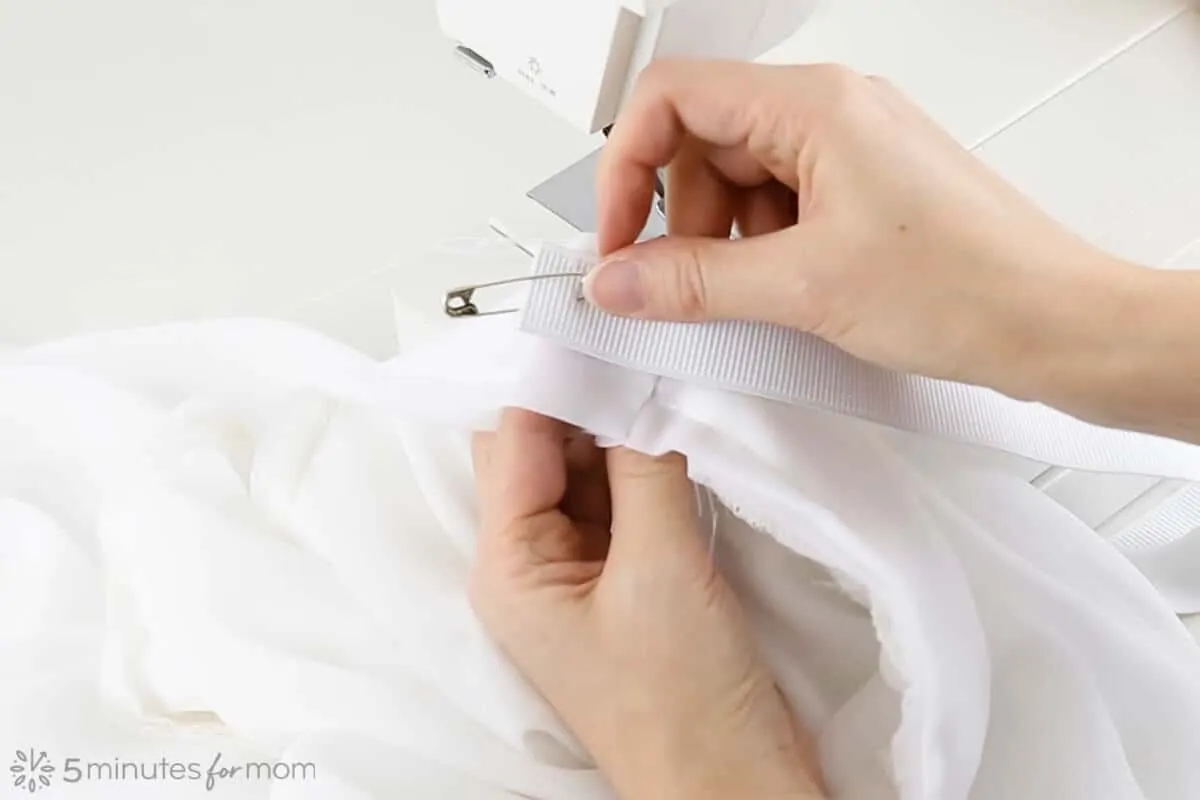
For my waistband, I cut a rectangle of chiffon that was 20cm (8″) deep and 86cm (34″) long.
I folded the 20cm x 86cm strip of chiffon in half, lengthwise, with wrong sides together, and then folded again so the folded waistband was about 5 cm (2″) deep and pinned to secure.
Next, I pinned the waistband to the waistline of the skirt, with the right sides together, with the raw ends meeting at the center back.
I trimmed off the excess length of the waistband so that the pieces only overlapped by a couple of centimeters. Then I opened the ends up and pinned raw edges together. (You can do this step of closing the waistband first, before folding and pinning on the waistband, I just happened to do it while sewing on my waistband.)
I stitched them together and then refolded the waistband and pinned to the waistband, marking an opening at the back center to insert the elastic.
I stitched the waistband to the waistline, right sides together, and leaving the small opening at the back center to insert elastic.
Then I threaded a 1″ wide piece of elastic that was about 4cm (1.5″) longer than Julia’s waist measurement. Use a safety pin to help thread the elastic through the waistband, also pinning the end of the elastic to the opening so that it doesn’t get lost inside.
I overlapped the ends of the elastic by about 2cm and stitched to secure. After checking the fit, serge the seam allowance or finish with a zig-zag stitch.

How to Make a Tattered Long Sleeve Top for a Ghost Costume
We are almost done! In our previous post, we made the organza hooded cape and now we have finished the chiffon handkerchief skirt. So it is time for our last piece of our haunting ghost costume — the tattered long sleeve top.
I have to admit, when I made this costume for my niece, I was in a mad sprint to the finish line. I sewed the top in the middle of the night before the photoshoot and I was in such a rush that I didn’t take any photos of the process.

So I will do my best to go back now and try to cover how I made it.
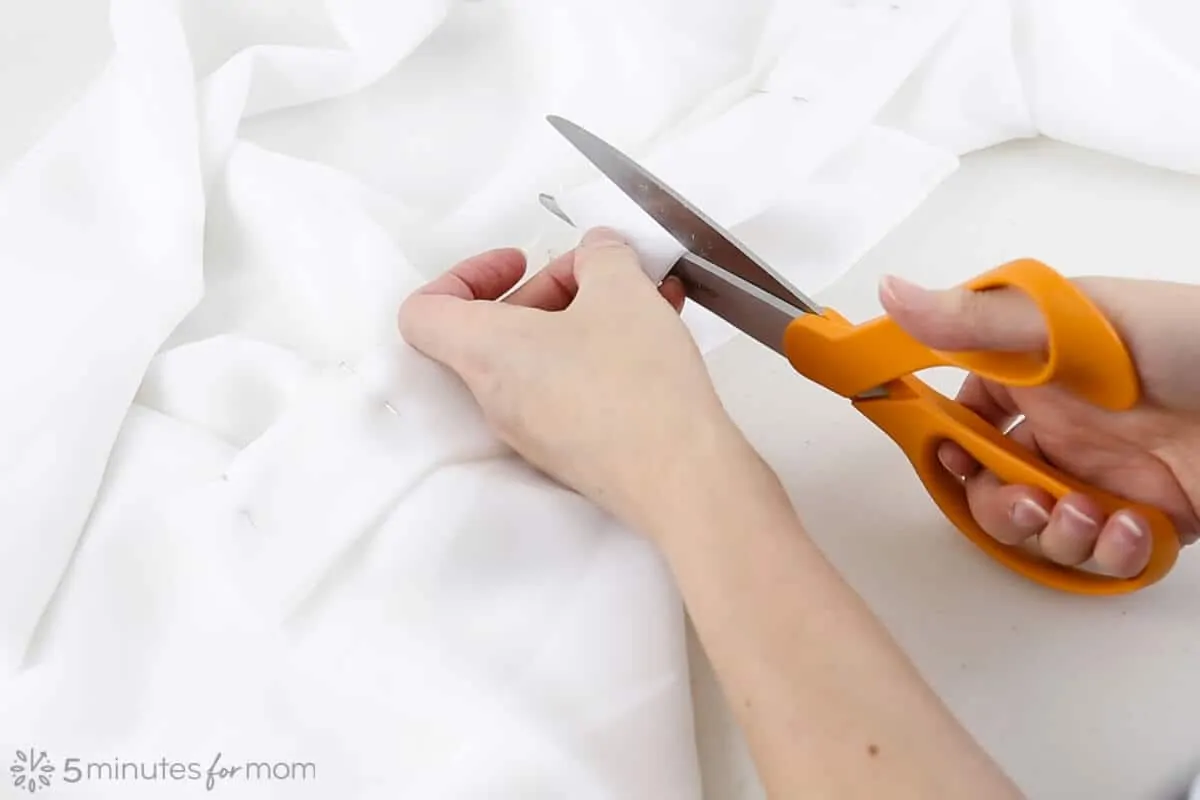
Because this chiffon top is meant to look torn and tattered, (and because it was the middle of the night and I was very tired,) I whipped this shirt together and didn’t work carefully as one usually would when creating a chiffon blouse.
The end result was meant to be fraying and torn, so I worked as fast as I could and made a very basic, long sleeve cowl neck overlay top.
I drew up a simple bodice pattern. You can trace one of your favorite tops to make your own pattern OR you can use any basic shirt pattern you like. Just remember, if you are using chiffon it is a woven fabric and doesn’t stretch. So you will need to add wearing ease.
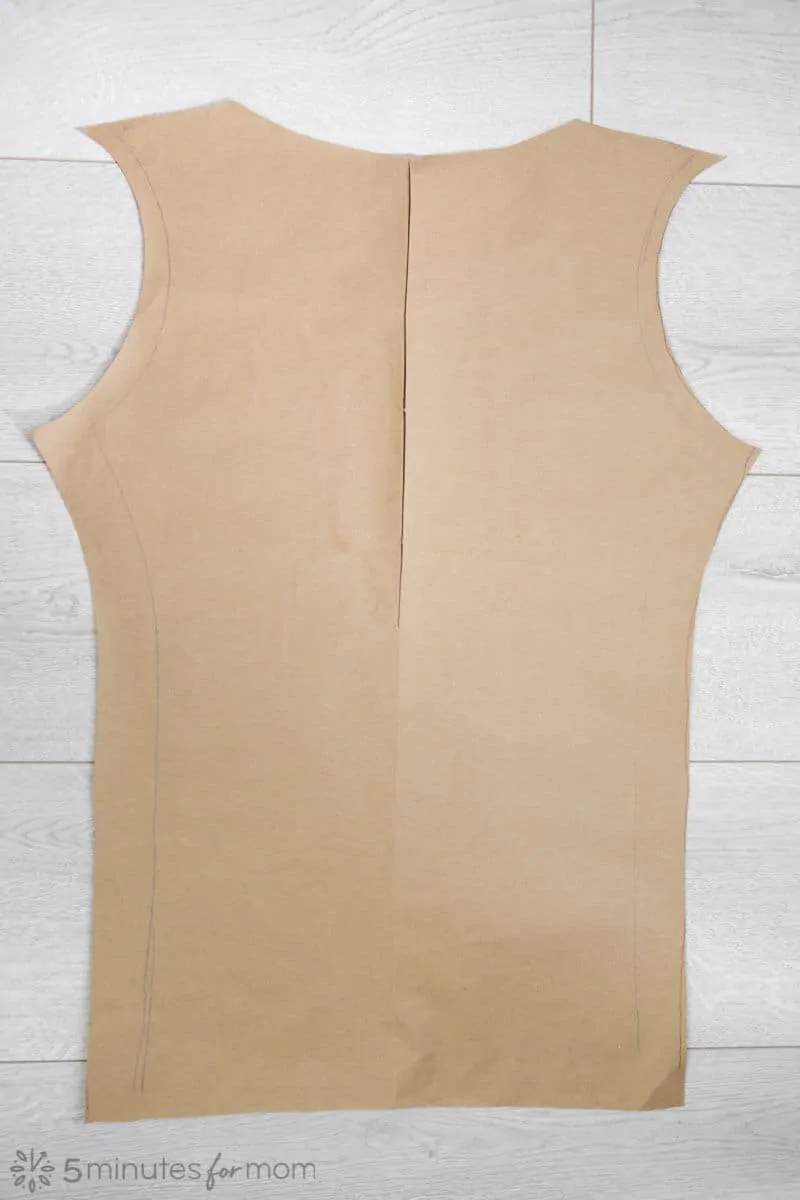
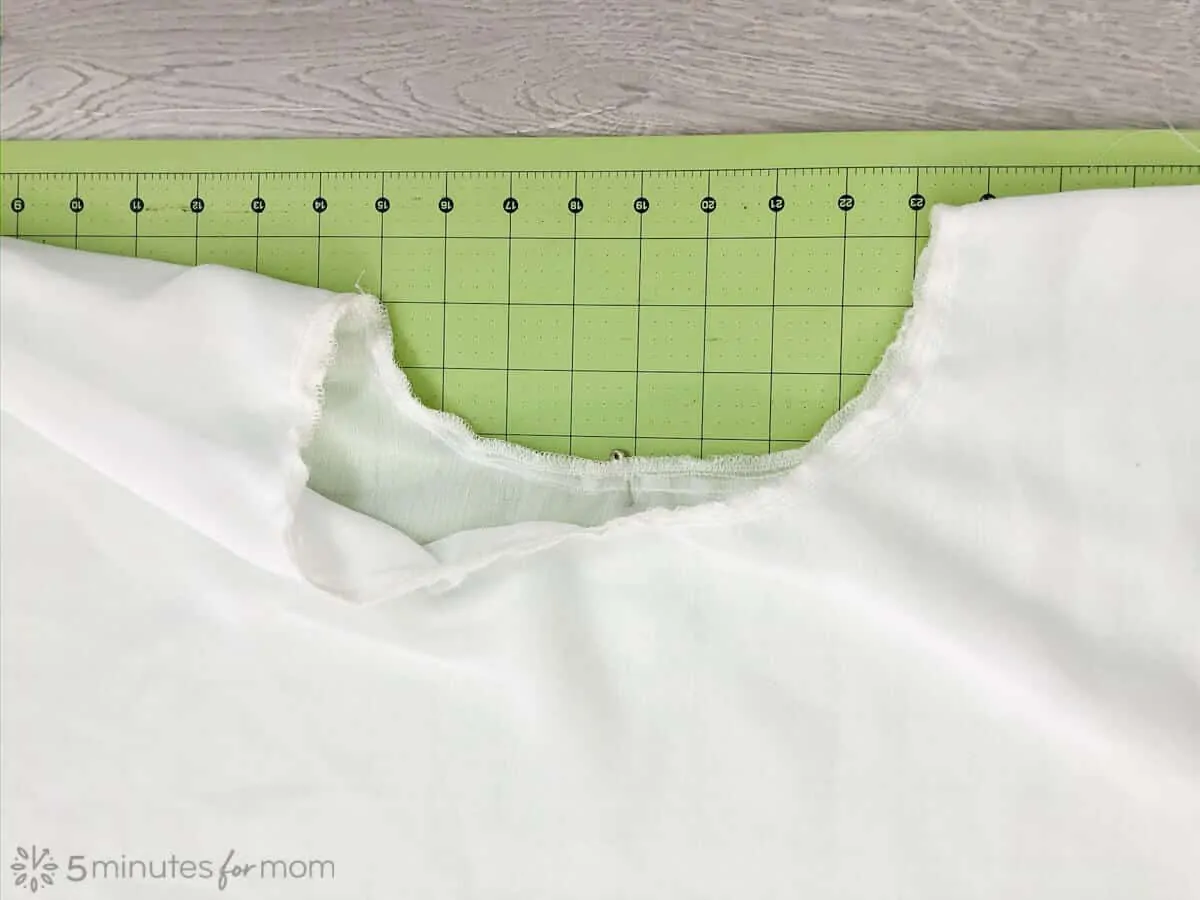
To add to the flowing look of the outfit, I decided to do a cowl neck. So I slashed and spread down the middle of the bodice block to open up the neckline to make the cowl neck.
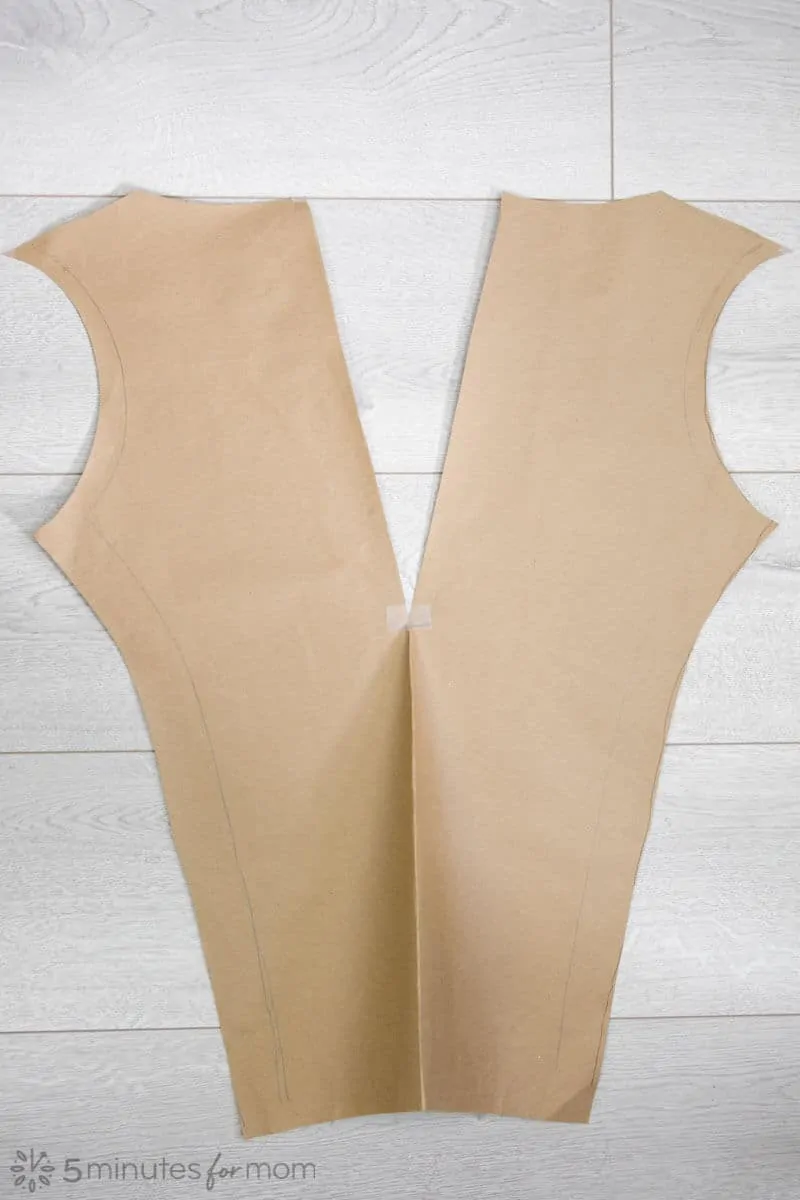
Then I traced a drew a new pattern piece. Note: since we wanted the selvage for the top of the cowl, I placed the top of the pattern (the neckline) along the selvage.
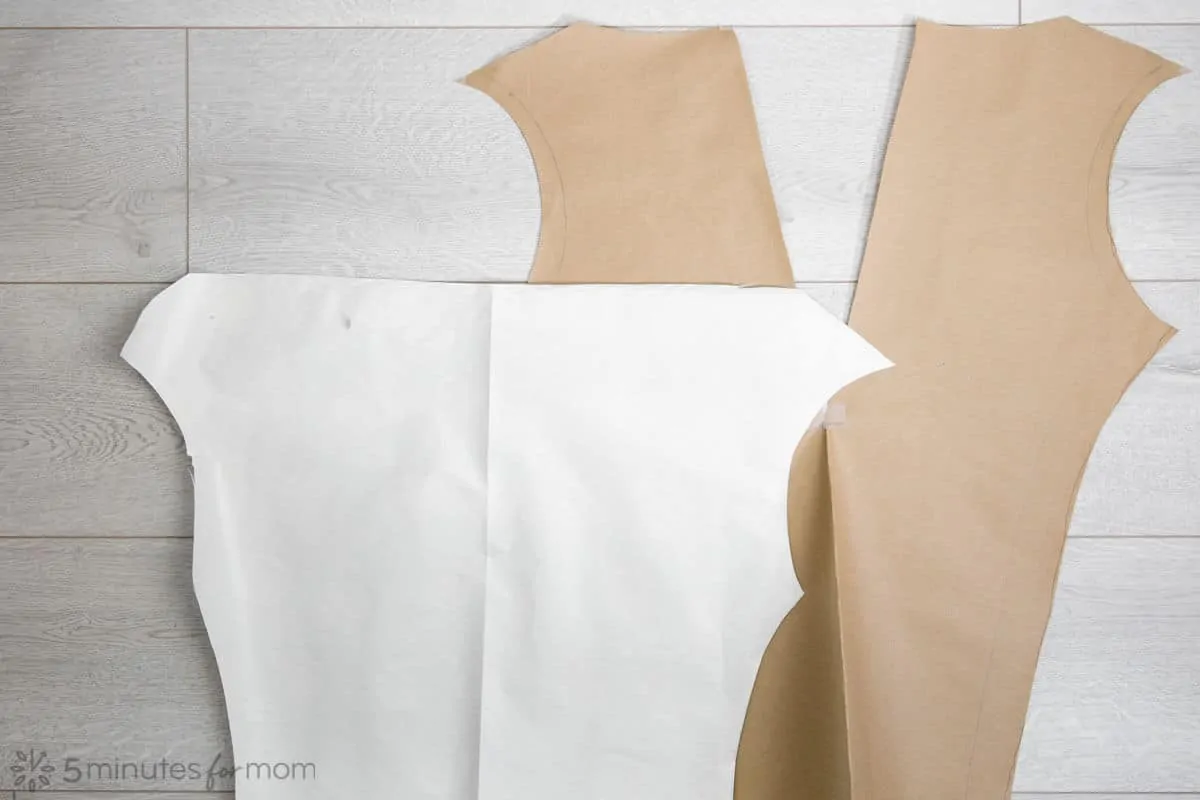
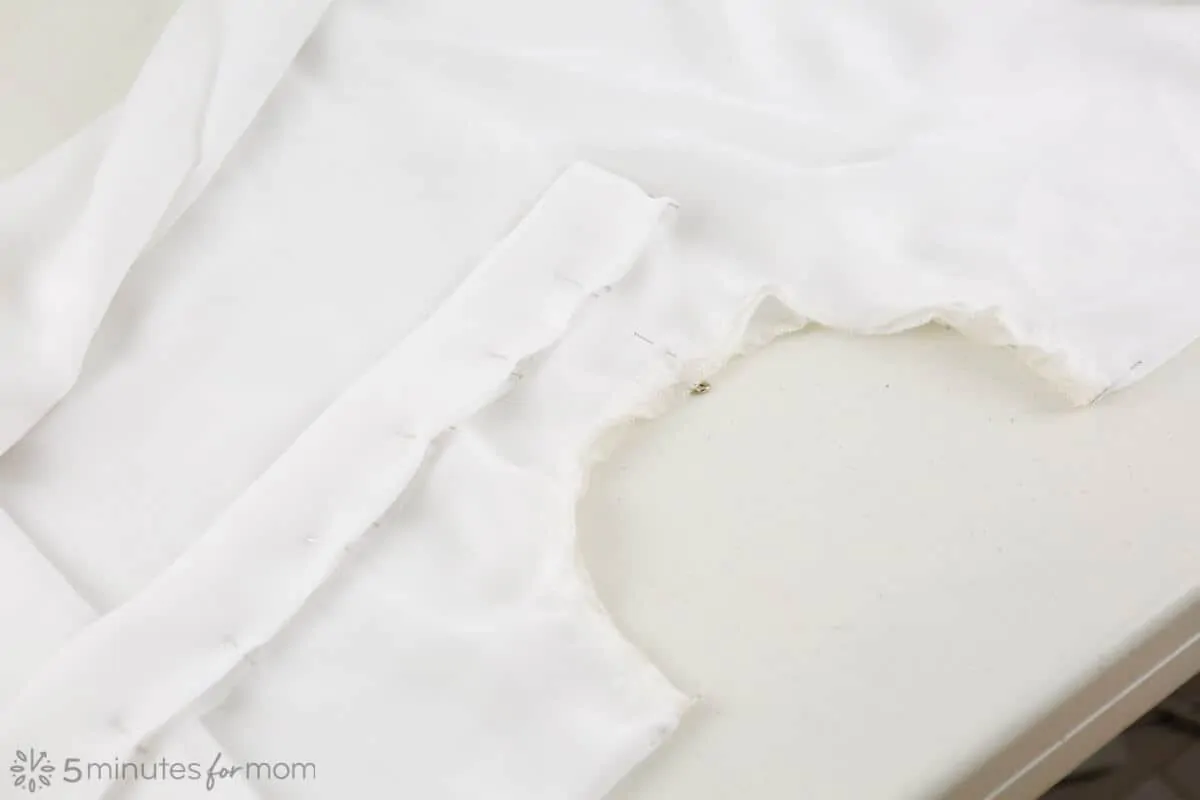
For the sleeves, I drew a basic long sleeve and then cut extra fabric above and below the arm to have fabric for the tatters.
I wish I had taken photos of cutting the fabric. So sorry!
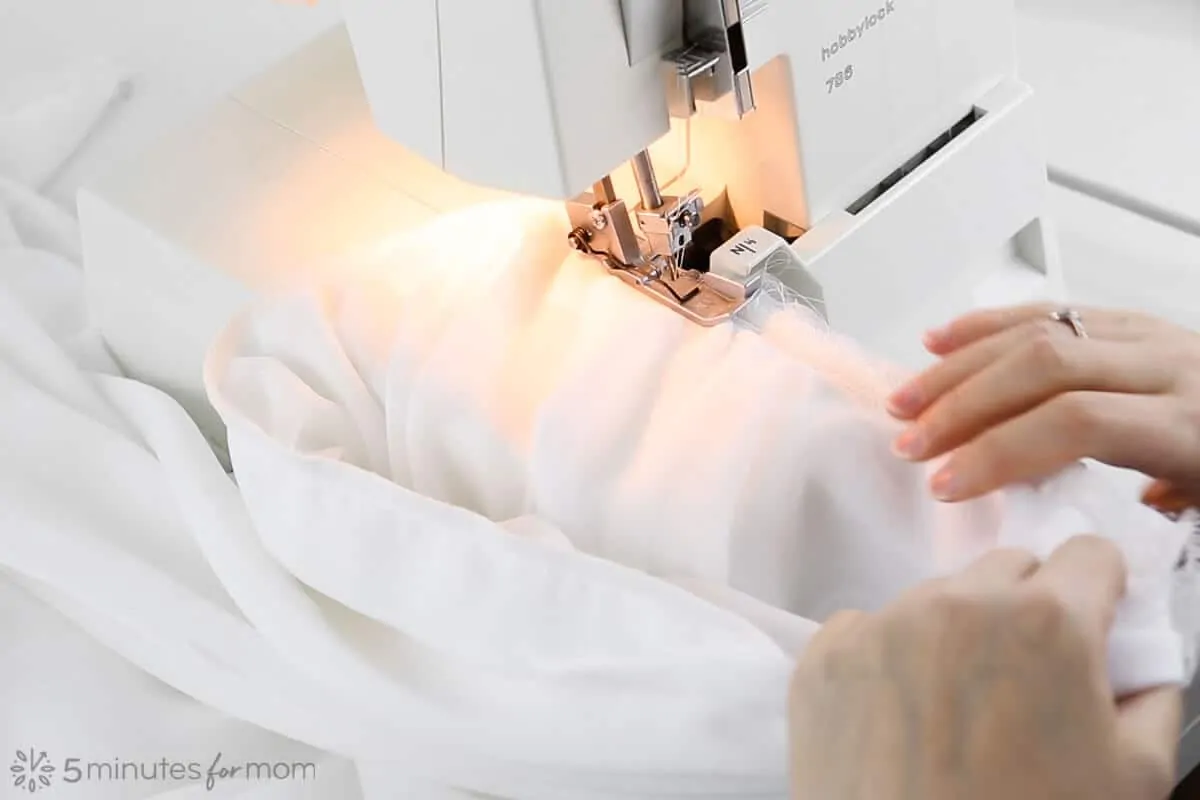
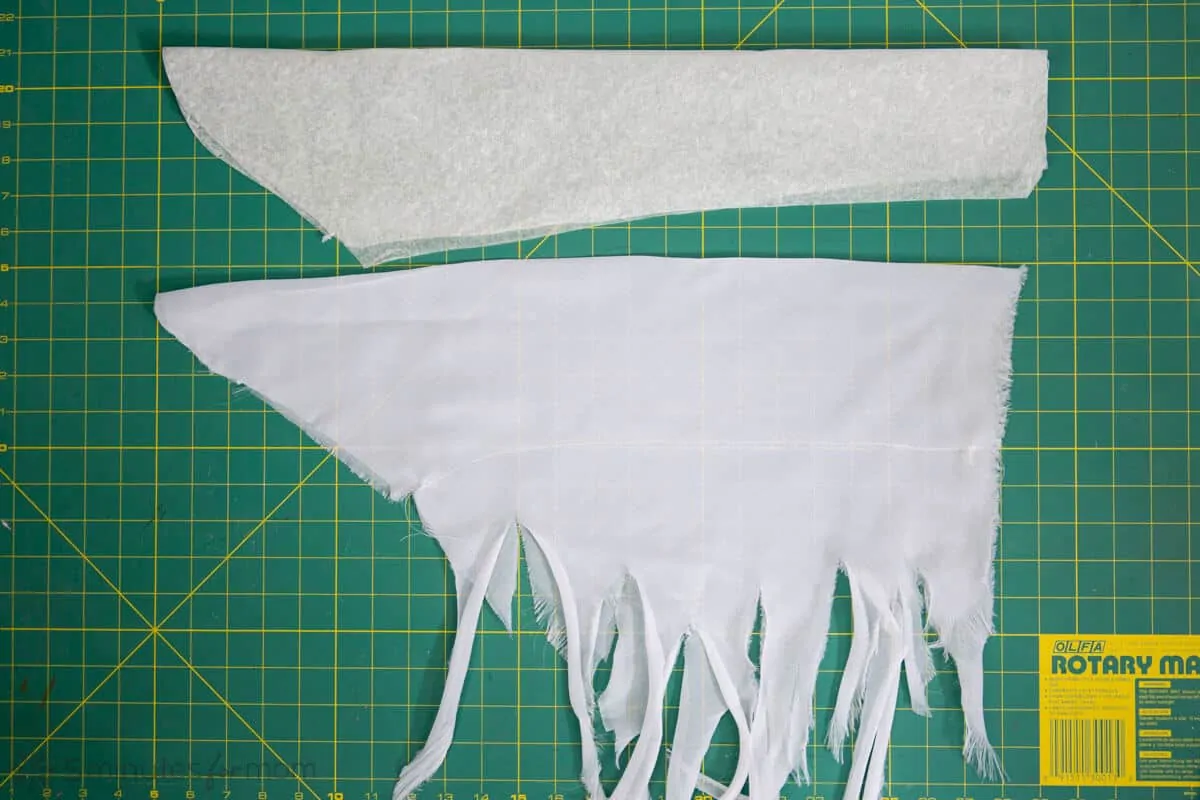
Here is a photo of the sleeve once I had sewn the seam along the bottom of the arm and cut the tattered edges. (I actually took the sleeve off to show you it since I didn’t get a photo when I was making it. Since I had serged the seams, I just cut it off so that is why the armhole cut is messed up.)
To sew the sleeve seam, fold the sleeve lengthwise, with right sides facing out, instead of facing each other as you normally would. Make a line of stitching along the bottom of the sleeve. Then make cuts and tear the fabric to create the dangling tatters.
Next, sew your shoulder seams and your side seams to make the bodice. To attach the sleeve to the armhole, leave the sleeve right side out and slip it inside the bodice, with the bodice turned inside out, so the right sides are together. After sewing, I serged the seams.

For our tutorial on how to make the organza hooded cape, click over to our first post DIY Ghost Costume – How To Make A Stunning Ghost Halloween Costume.

Written by Janice Croze, co-founder of 5 Minutes for Mom
Talk with me: @5minutesformom and Facebook.com/5minutesformom
Pin with me at pinterest.com/5minutesformom
More Halloween Costume Tutorials
We love sewing Halloween costumes for our girls! Here are a few more ideas you may like…
Olivia looked stunning in our DIY Minnie Mouse Costume and had a blast posing for photos.

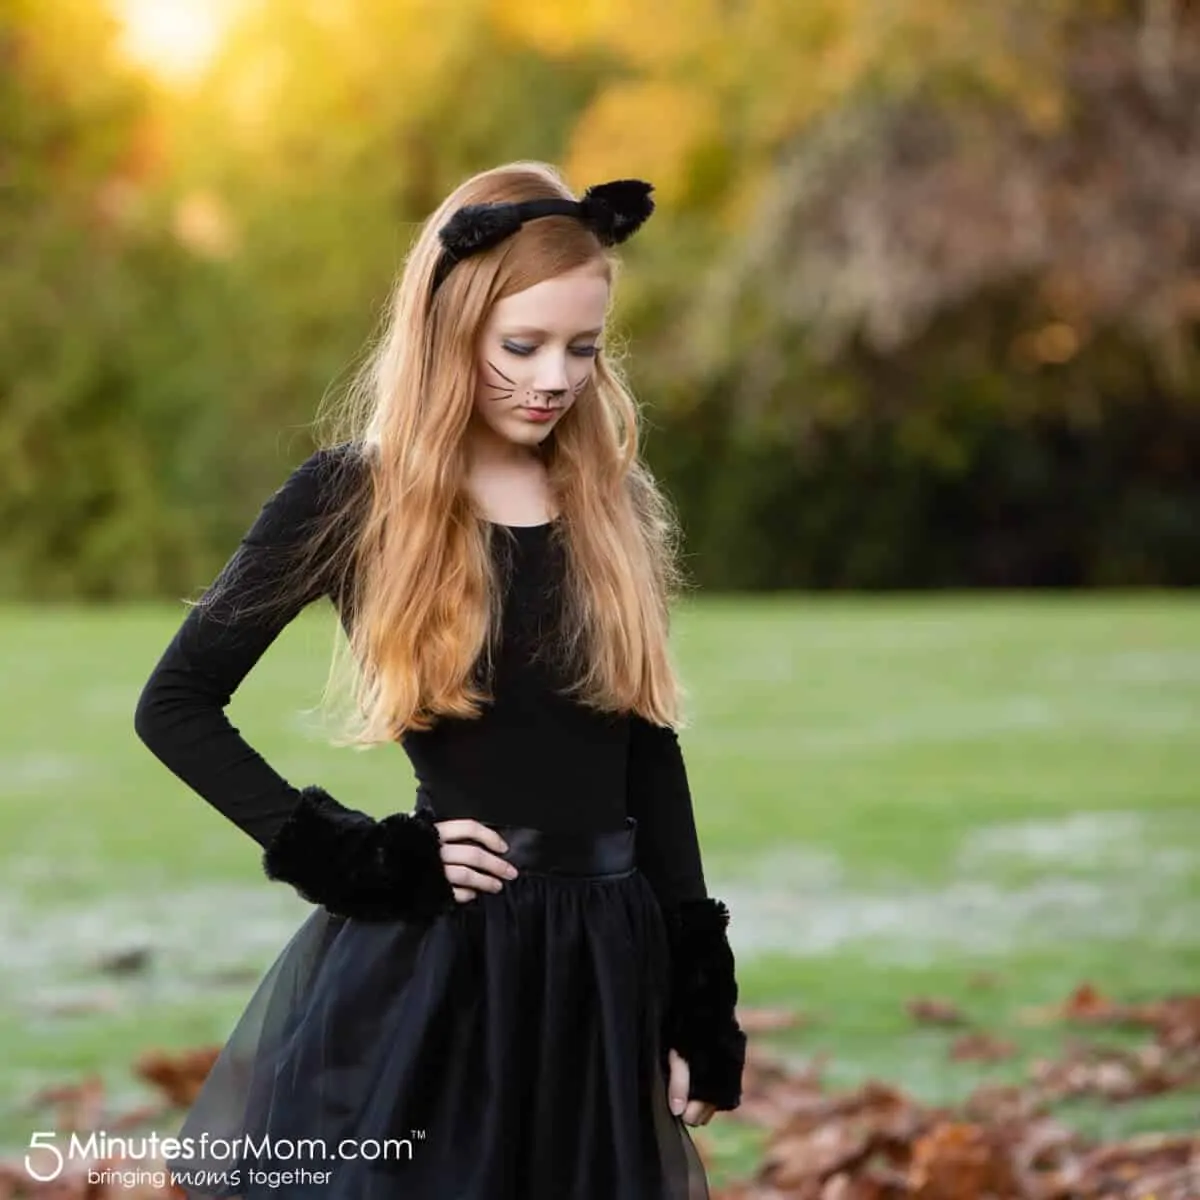
When our girls were little, we made these cute cat costumes for kids. And when Julia was thirteen, we designed a more grown up DIY Black Cat Costume.
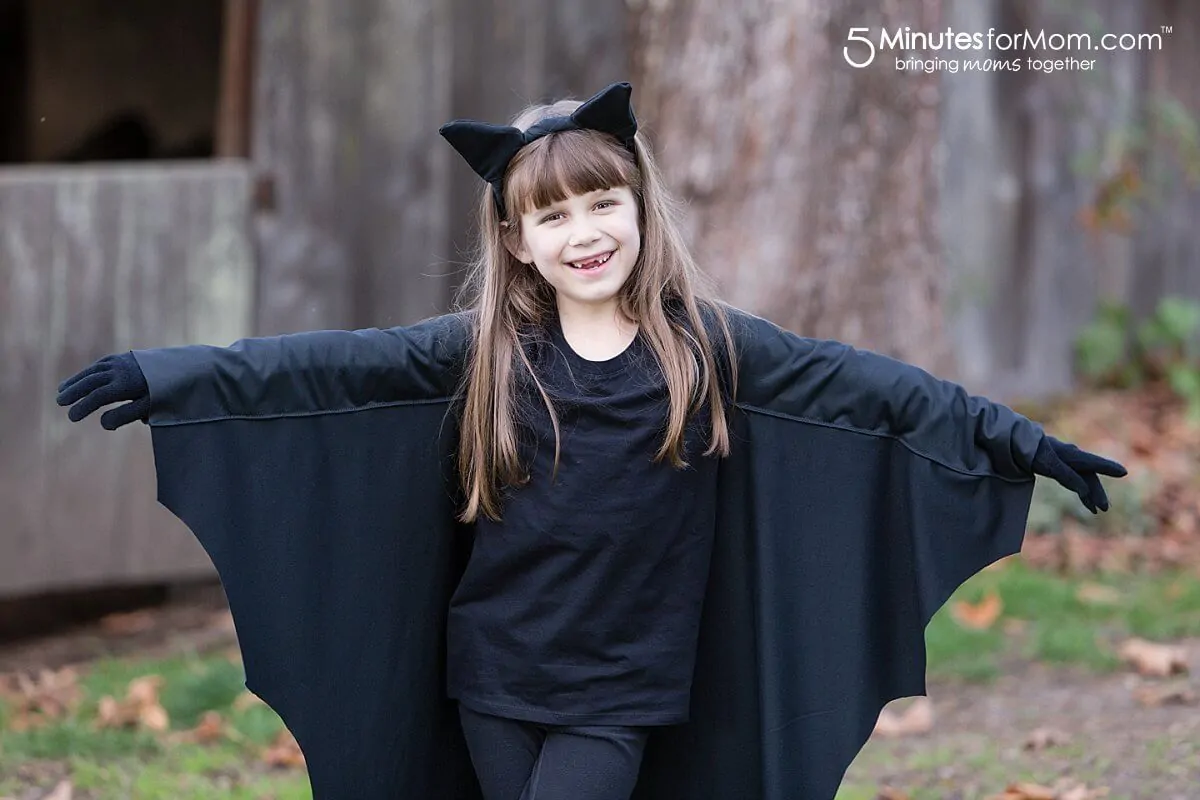
We’ve made lots of different costumes over the years, but one of our most popular continues to this simple DIY Bat Costume. It’s quick to sew and comfy to wear. Our girls played in these costumes for the rest of the year.


Is it possible to get a printable instructions for the ghost costume?
I woud love to purchase a top like this from you. I can’t sew to save my life.