This post may contain affiliate links. Read my disclosure policy here.
Hosting Easter dinner? Short on time? Give yourself less than 30 minutes and you’ll have this ultra cute and ultra colorful easy Easter Centerpiece for your spring party. And if you have kids, they’ll love to help make this Spring DIY.
Hello, everyone! Who’s ready for spring?! Lisa reporting from Fabulous Habits and today, I’m here to show you my latest DIY creation.
Playing hostess is not always an easy feat. I would know – I love throwing parties. And trust me, sometimes the stress levels get extremely high.
I love paying attention to little details. Whether it be thematic sweet tables, invitations, or color-coordinating plates and cutlery, I become somewhat “Monica-ish” (reference: FRIENDS, for those of you who aren’t on the same 90s nerd-level as me) with how particular I get.
But you know what? Sometimes, there just isn’t time… and that’s okay!
I’ve been wanting to spruce up our place for spring/Easter’s arrival. But lately, life has felt completely upside-down. Our family’s schedule has been busier than ever so I haven’t been “DIYing” as often as I’d like.
But you know what? Us mamas deserve that time to sit down and do what we love.
So I booked myself a chunk of time to complete this adorable easy Easter Centerpiece – and I hope you do the same!
How to Make Your Own Easy Easter Centerpiece
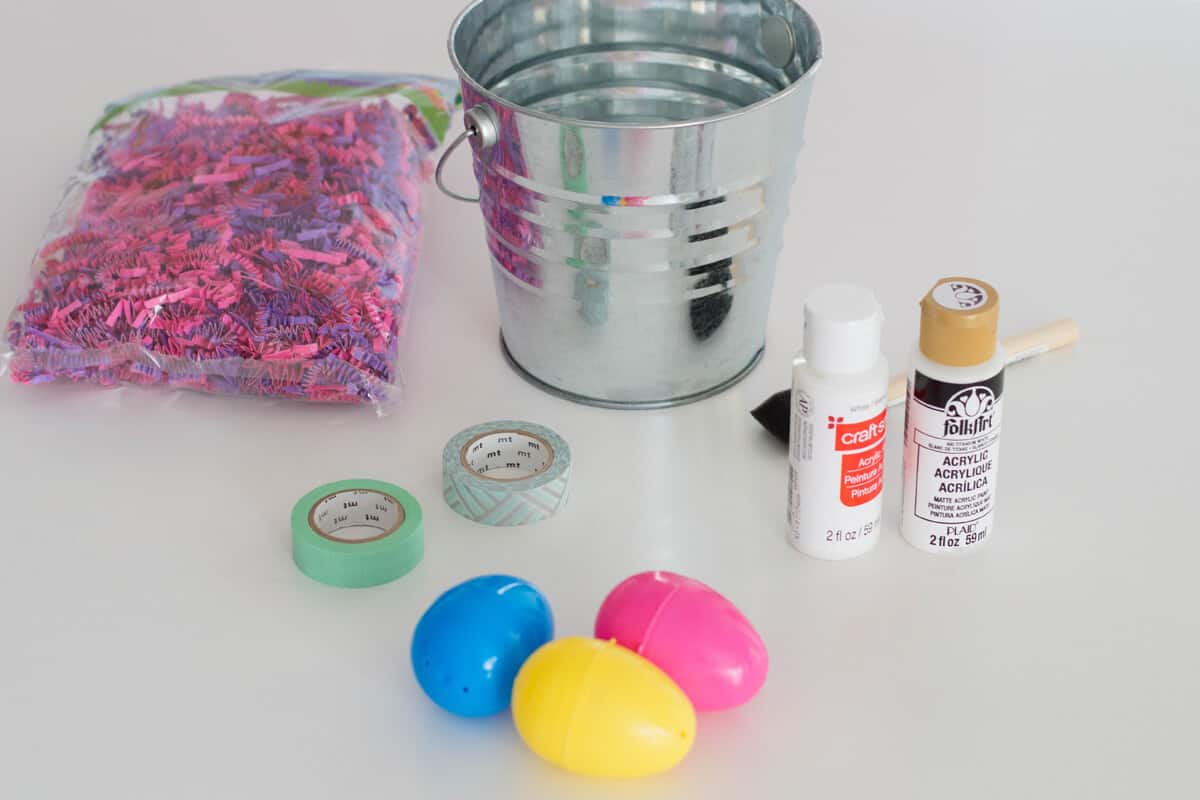
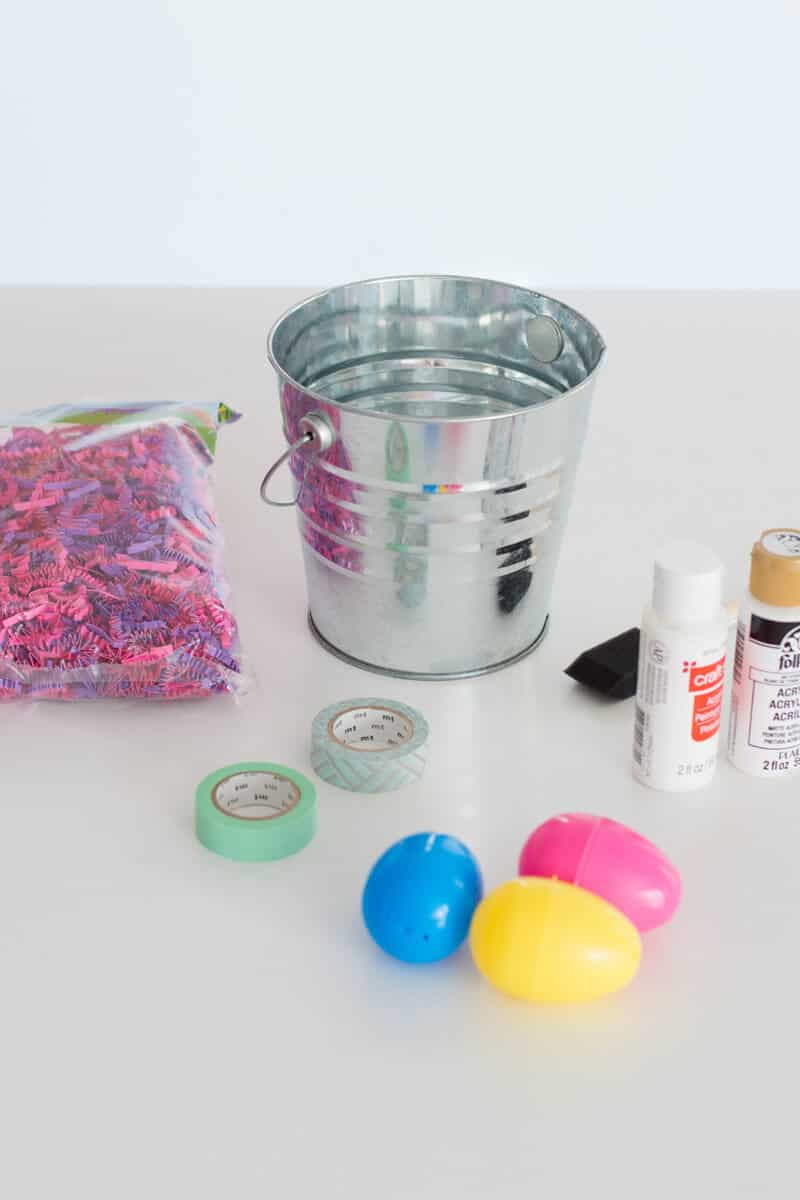
Supplies Needed
- Small tin bucket
- White acrylic paint
- Foam paint brush
- Washi tape of your choice
- Shredded decorative paper (most dollar stores will sell them in an Easter theme during this time of the year)
- Plastic Easter eggs
Roll Up Your Sleeves and Paint
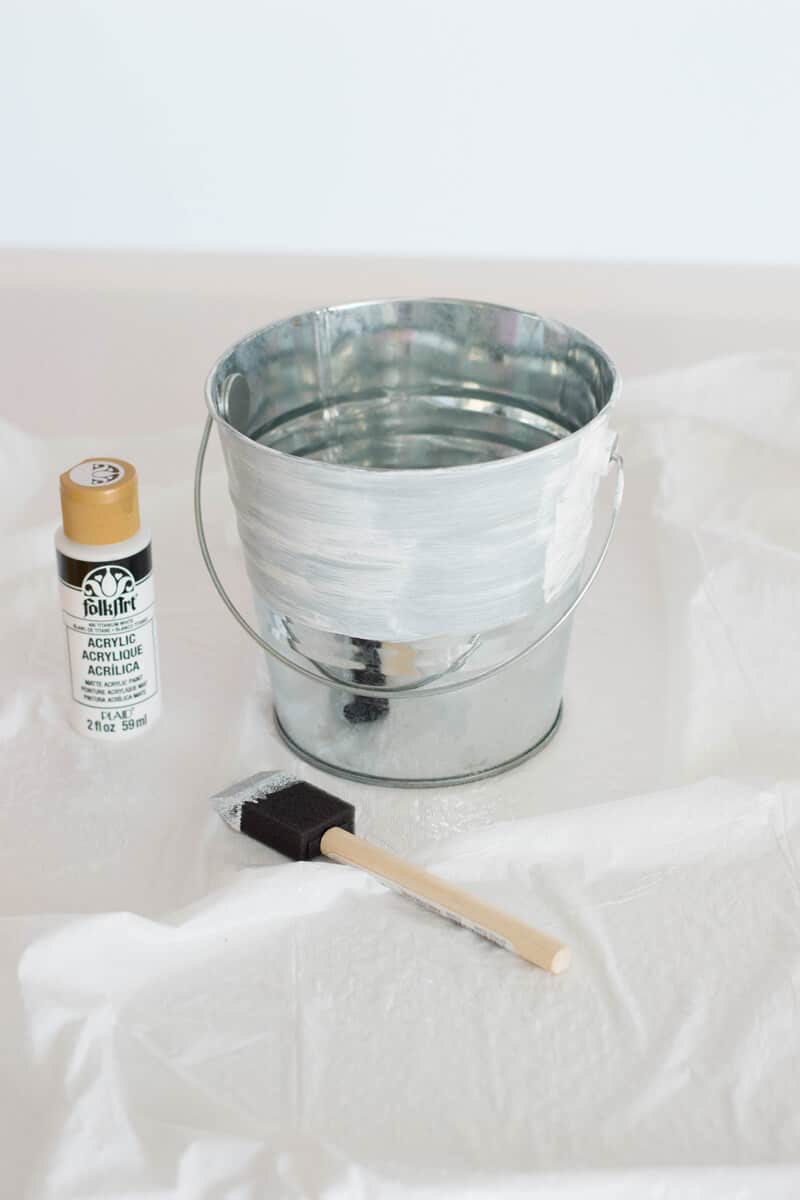
Start by adding newspaper or garbage bags on your working surface – this is to avoid any sort of mess with the paint.
Paint the top half of your tin bucket with one thin coat of acrylic. Allow to dry, about 10 minutes and paint on another coat. Allow to set, about 10 minutes.
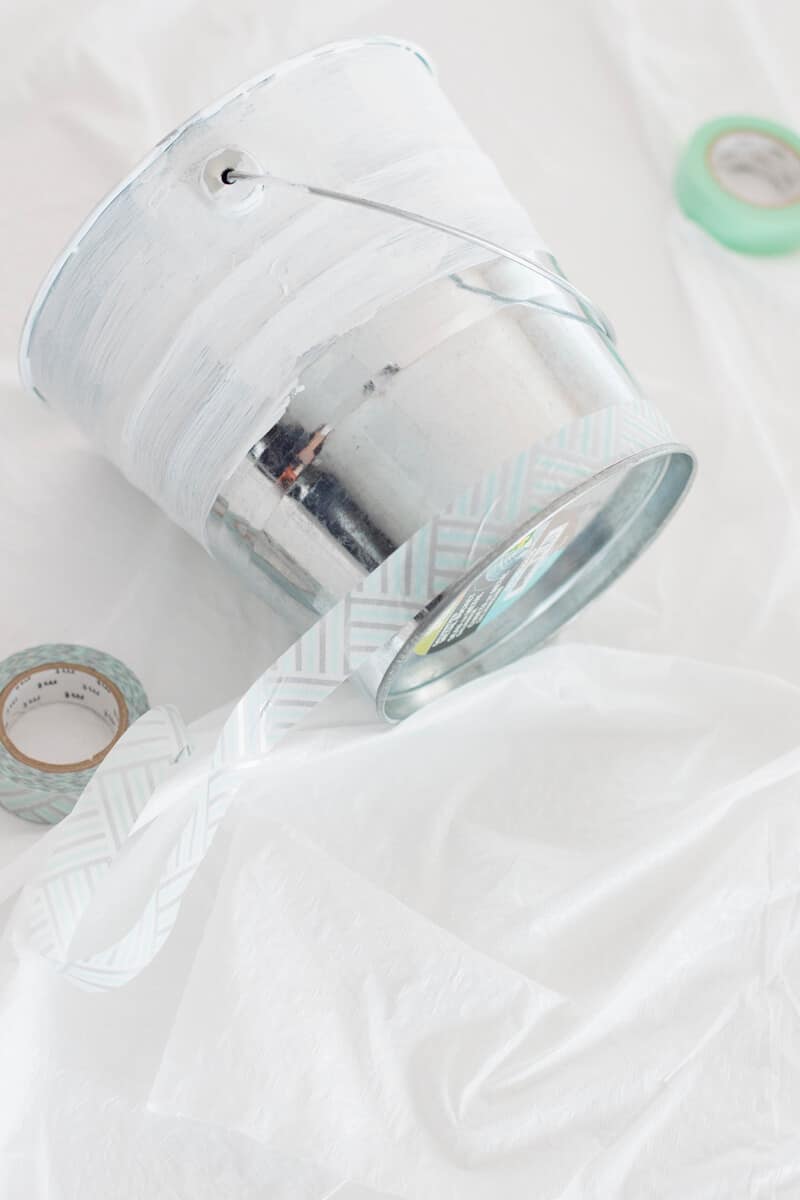
Washi Tape
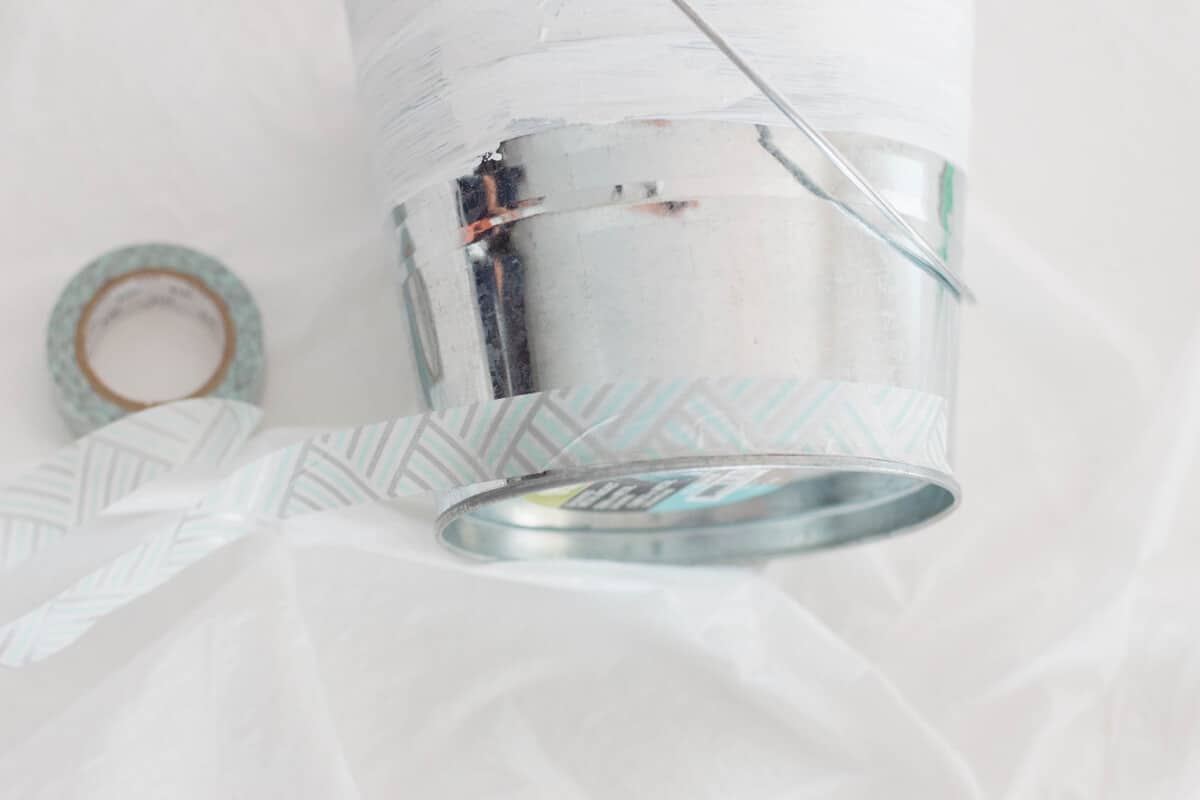
Tape the bottom half of your bucket with washi tape. Depending on the color you use, you may have to add on layers to have the color/design really pop out.
(Don’t you just love washi tape? There are so many fun ways to use it when crafting… like these DIY Washi Tape Wooden Letters.)
The Finishing Touches
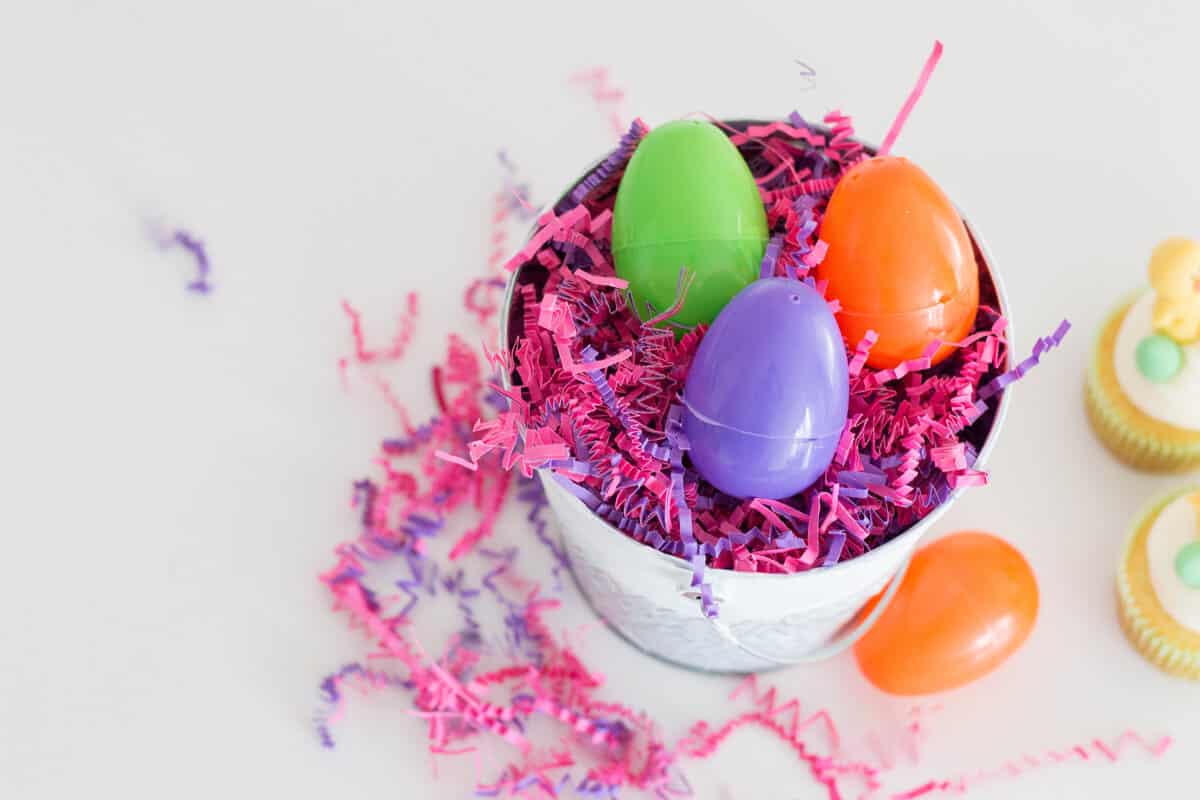
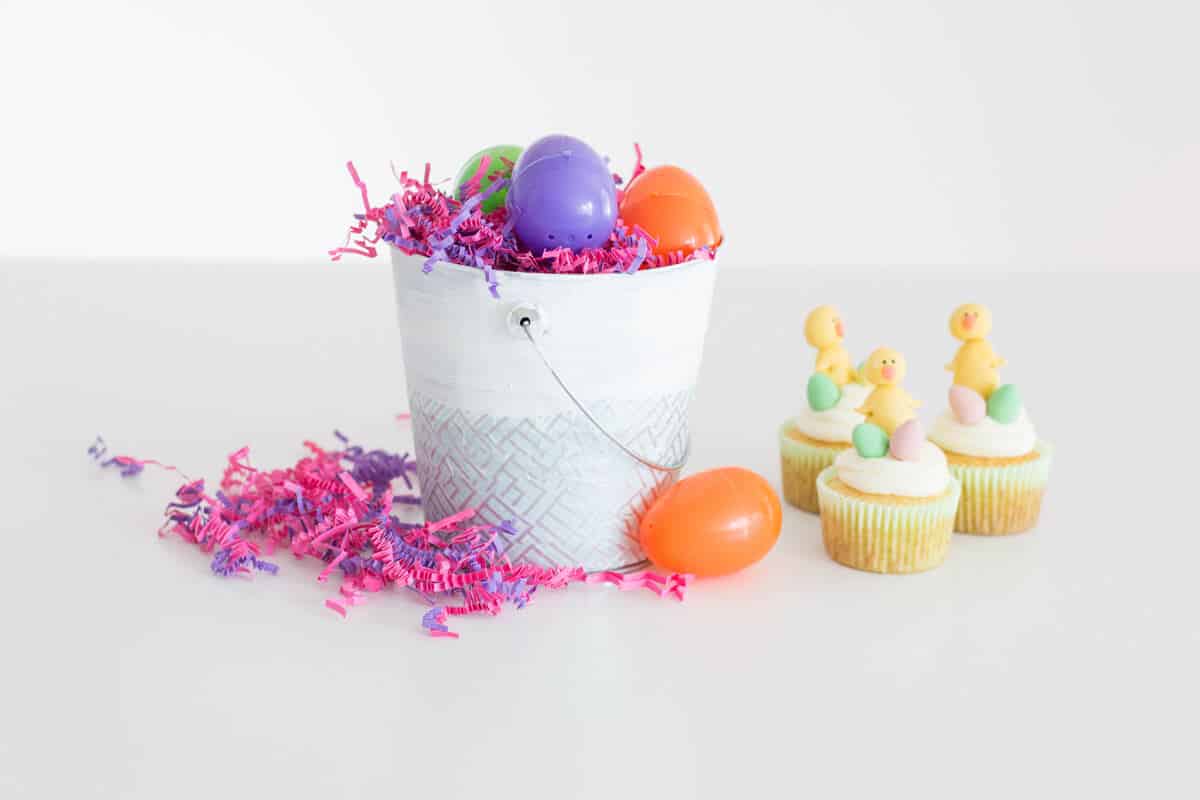
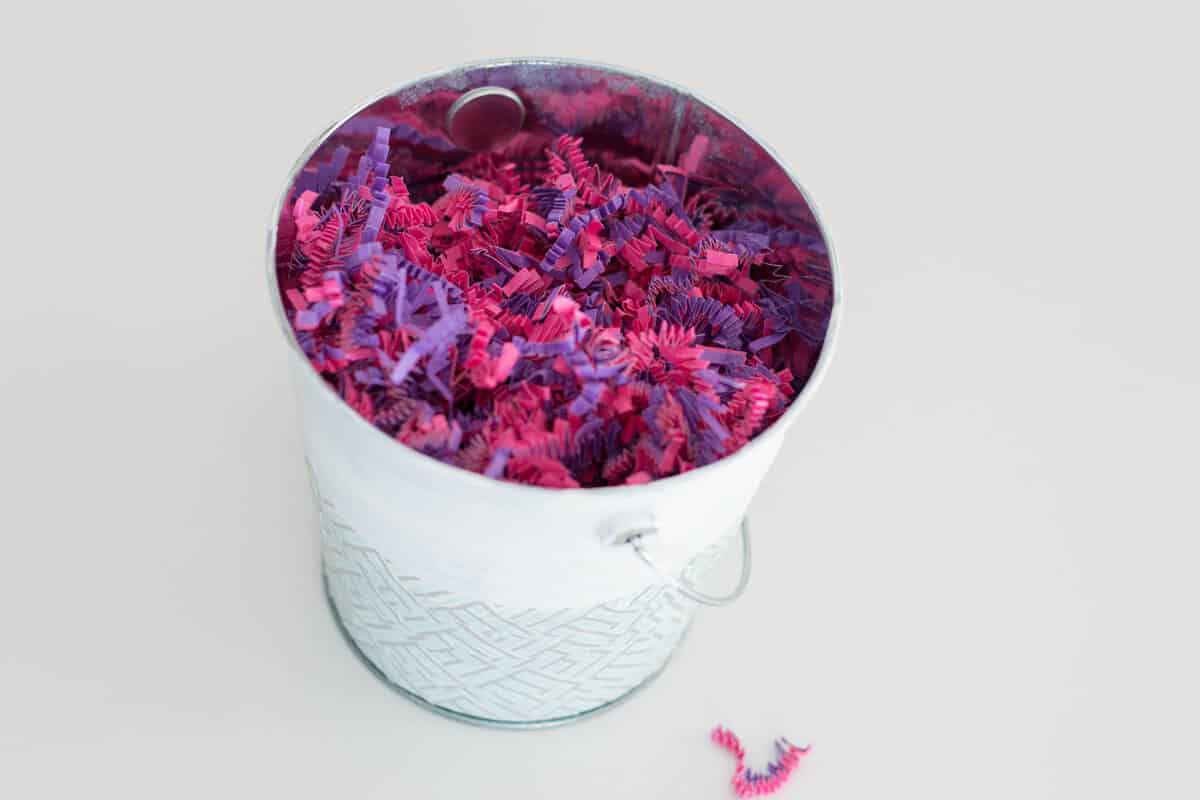
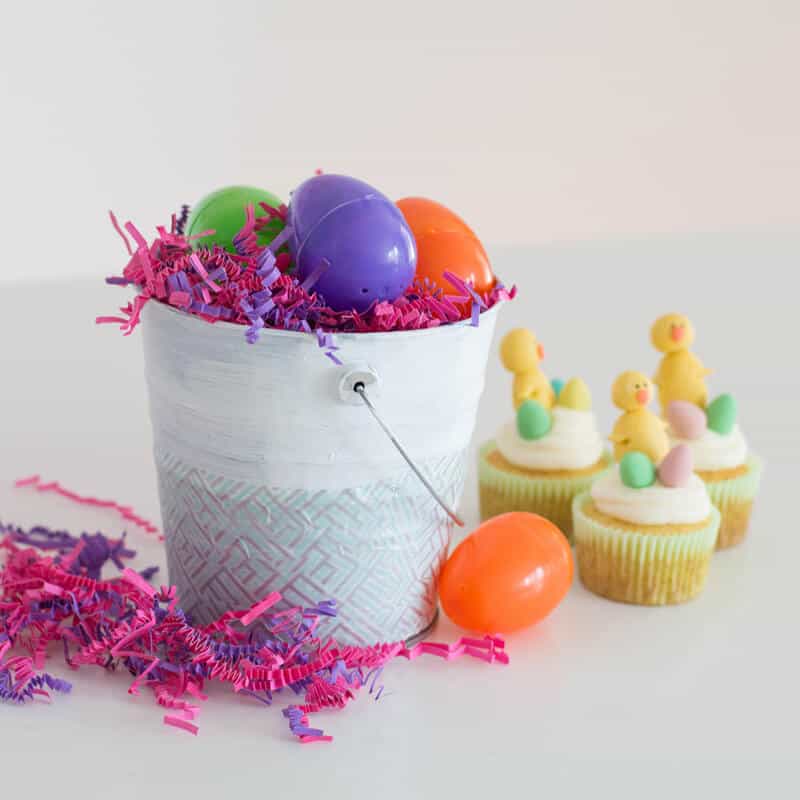
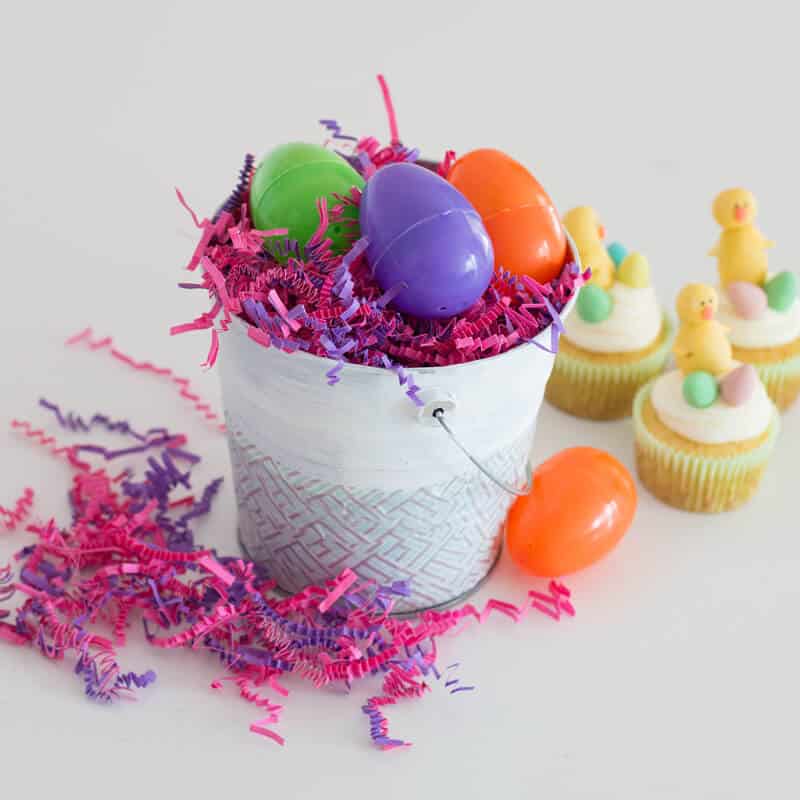
Fill your bucket up with the shredded paper and top off with Easter eggs. You can also make some of these Easter Cupcakes to set next to the bucket as extra decoration.
…yup, it’s seriously that simple. And you know what the best part is? I found all of the supplies for this easy Easter centerpiece at the local dollar store.
So, just to sum it up:
- Quick & easy (check!)
- Budget-friendly (check!)
- Easy to do with the kiddos? (check!)
- Super cute and totally colorful (check and check!)
What kind of decor do you put up for the Easter holiday?
Pin it for later!



Leave a Comment