This post may contain affiliate links. Read my disclosure policy here.
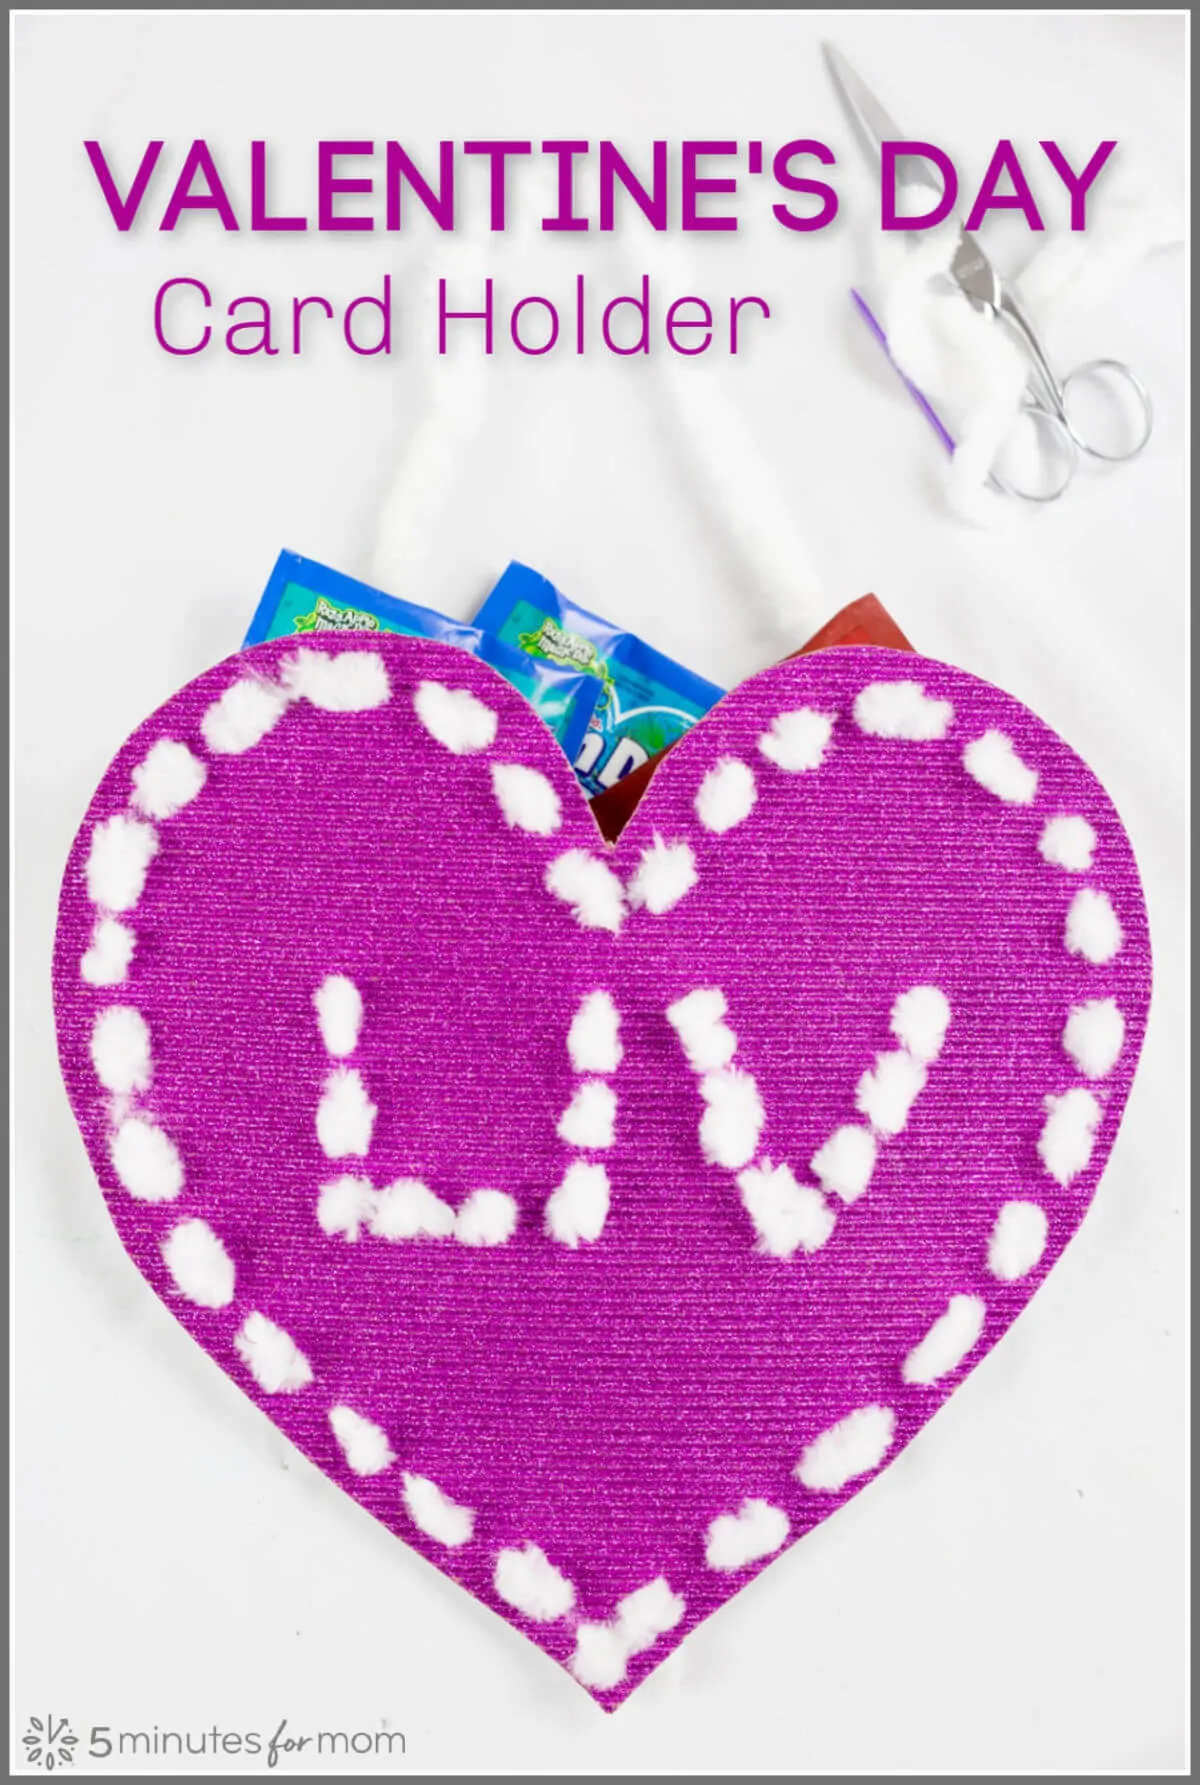
It is time to get ready for all those Valentine’s Day cards and candies. So we have a fun and easy heart shaped Valentine Card holder your kids can make to use at school or at home.
It is almost Valentine’s Day and, if you have grade school children in your household, then that means it is time for making Valentine’s Day cards and Valentine’s Day card holders or Valentine’s Day boxes.
Our kids usually make their Valentine card holders at school, but sometimes they also want to make a Valentine box or a Valentine holder at home as well.
Last year, Olivia was not at school the day they made theirs, so we had to make one at home. Olivia didn’t mention this to me until the night before Valentine’s Day, because, of course.
Fortunately, I have a good supply of card stock and craft supplies, so we quickly got to work.
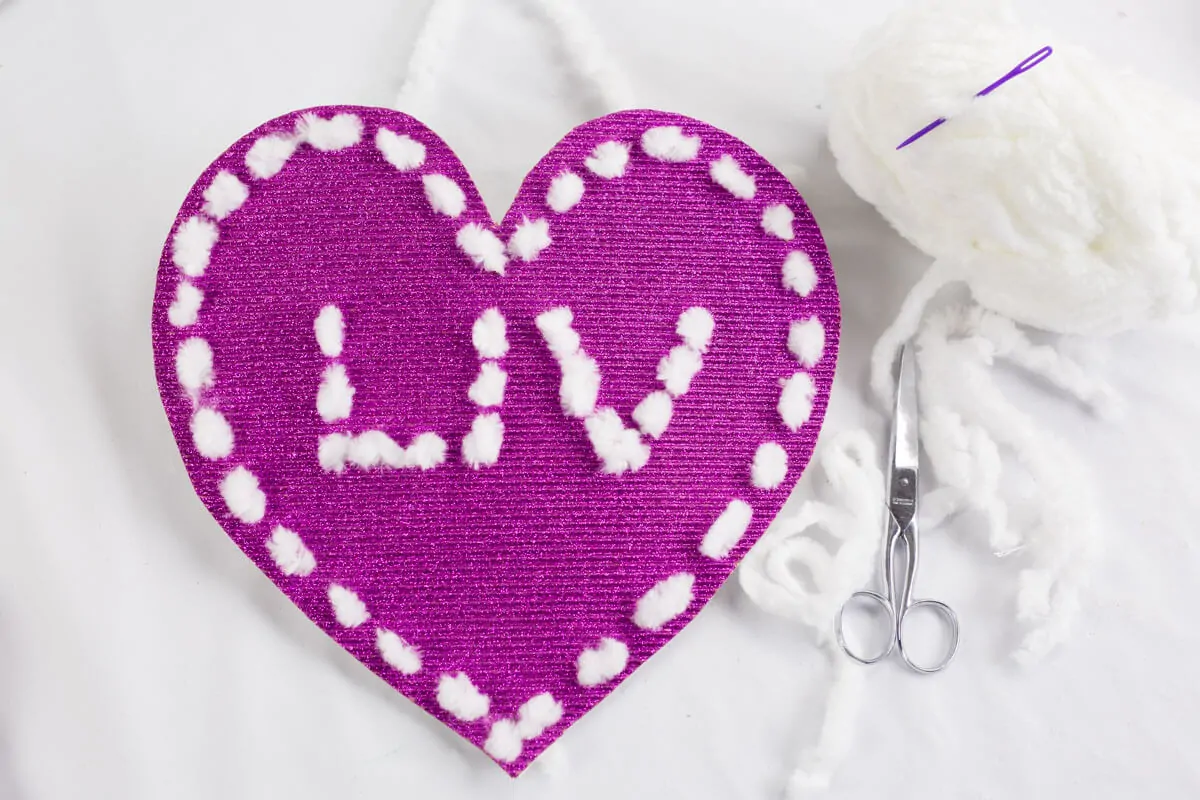
Olivia was in fifth grade at the time and they had been working on their sewing skills. So we made a heart shaped envelope holder that Olivia sewed together with fluffy yarn.
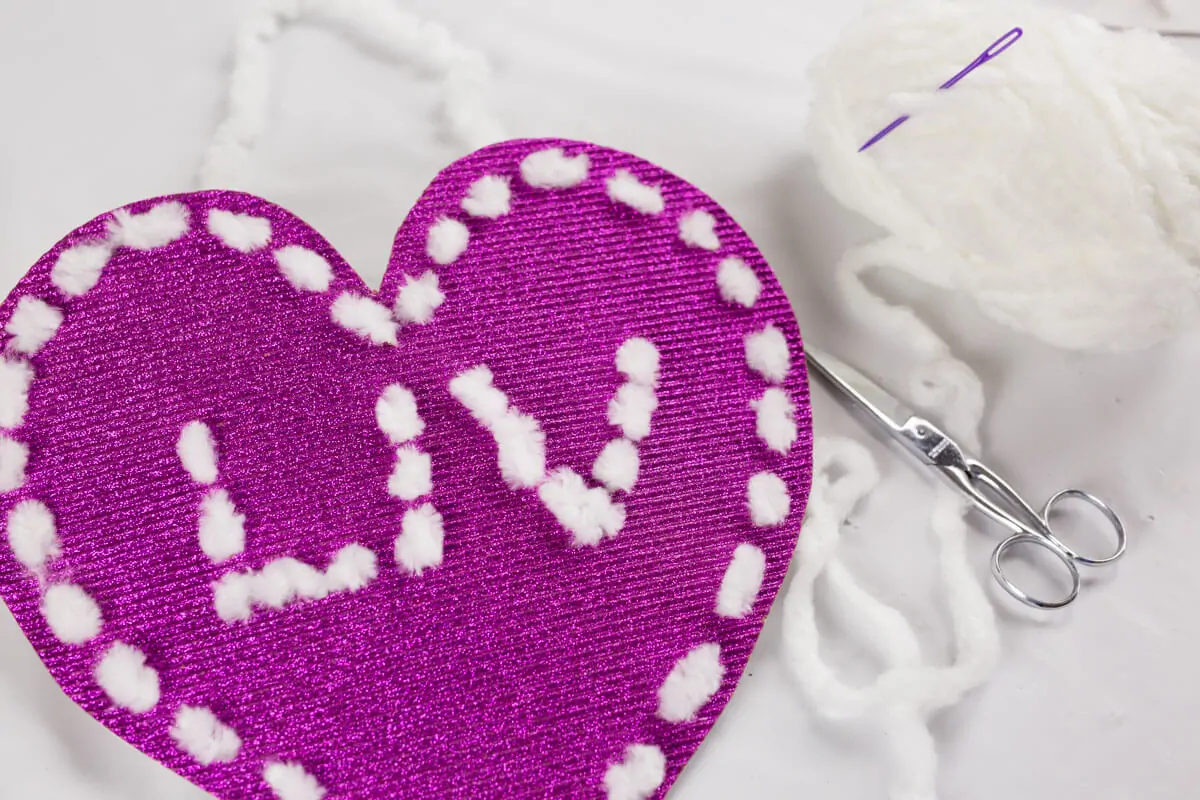
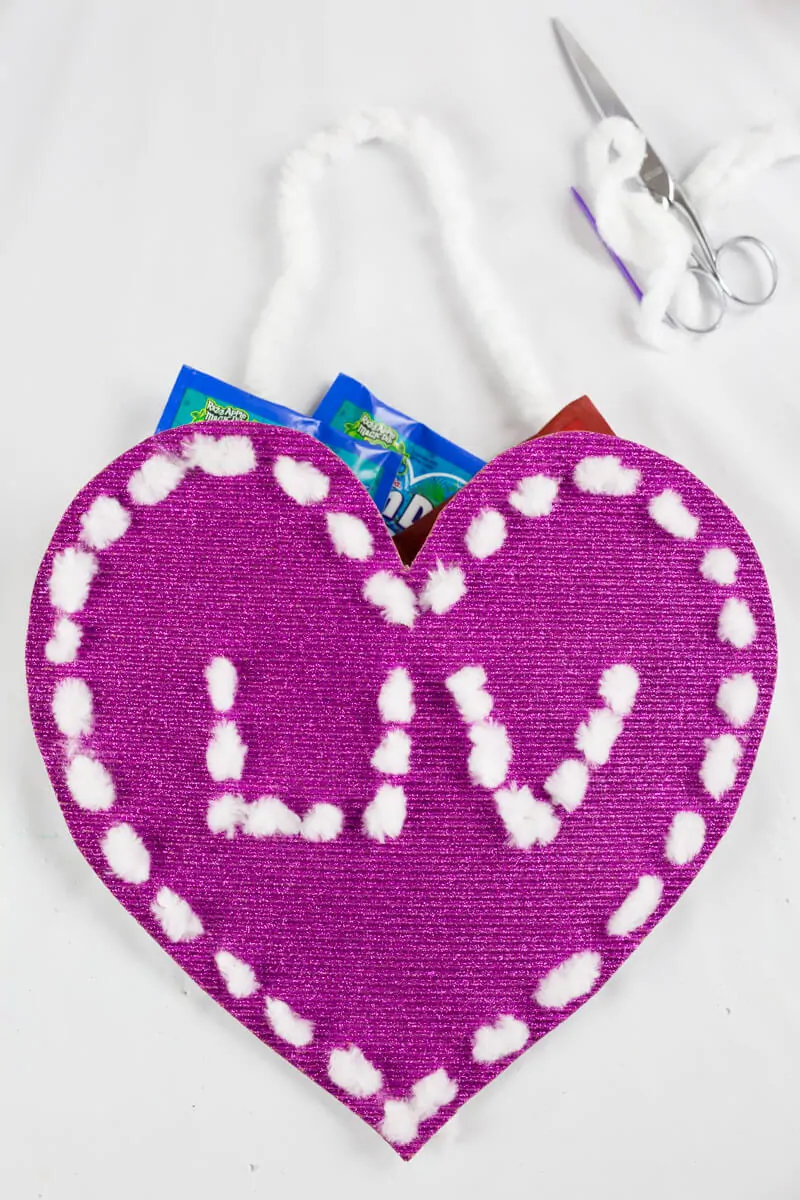
After she was finished making it, we decided the front was a little plain. So we stitched “LIV” on the front.
We definitely suggest decorating the front of your heart envelope BEFORE you sew it together. It is far more tricky to sew a design on the front once it is already attached to the back.
How to Make a Heart Shaped Envelope Valentine Card Holder
Step 1 – Make a Heart Shaped Template
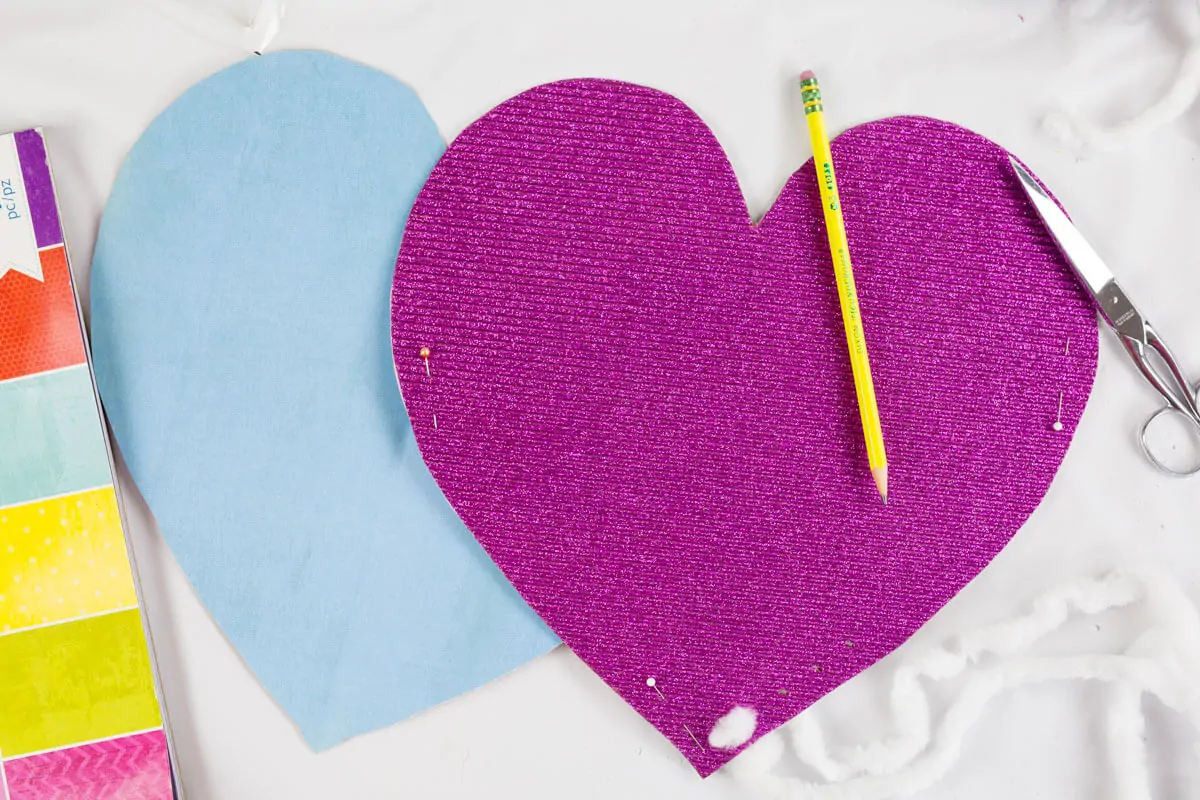
Draw and cut out a large heart shape on a 12×12 piece of paper to use as a template.
To ensure you have an even shaped heart, fold the piece of paper in half and draw half of the heart. When you open the paper, you will have a full heart.
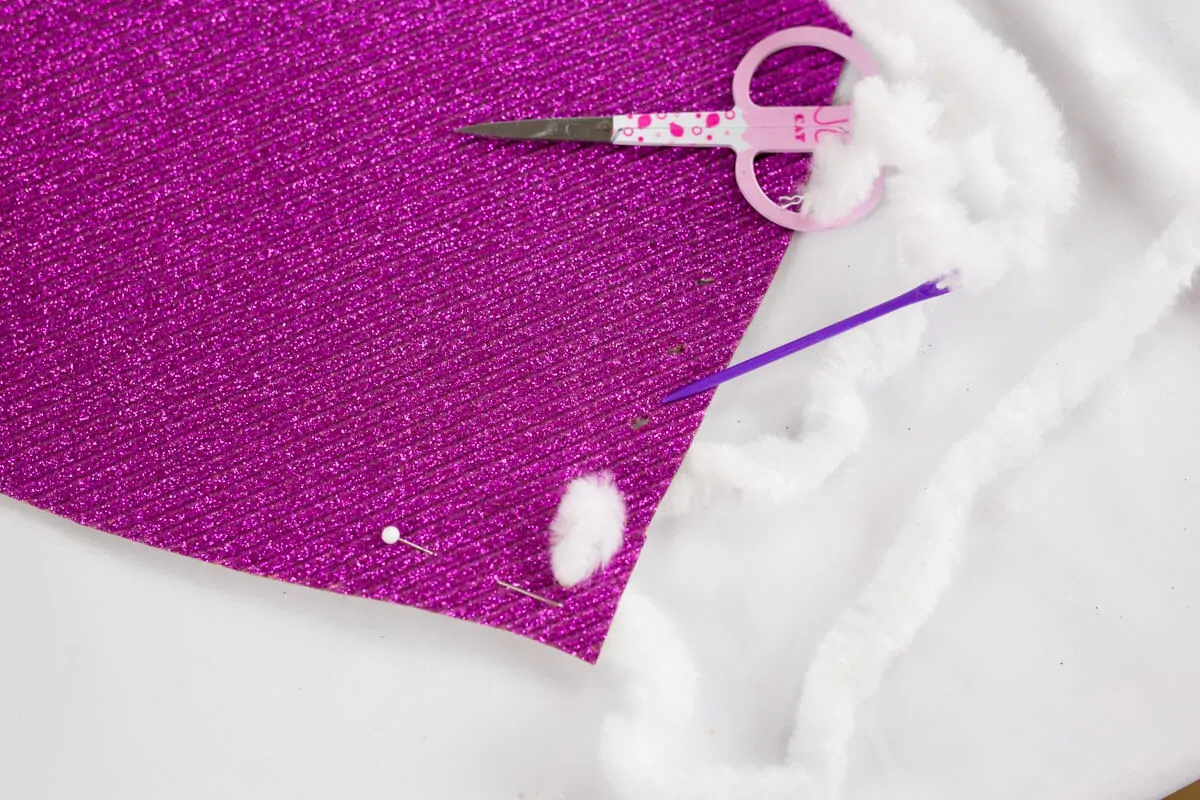
Using your template, cut out two hearts from 12×12 card stock. We used a bright pink glitter piece of card stock for the front of the heart and a plain light pink piece of card stock for the back.
Step 2 – Decorate the Front Piece of the Heart
If you want to sew a name or design on the front of your heart, it is best to sew it on first, before you have attached the back piece of the heart.
We didn’t plan to add Liv’s name until after we had sewed the two pieces together. So we had to do it after, which is far from ideal. You don’t want to have to deal with that situation.
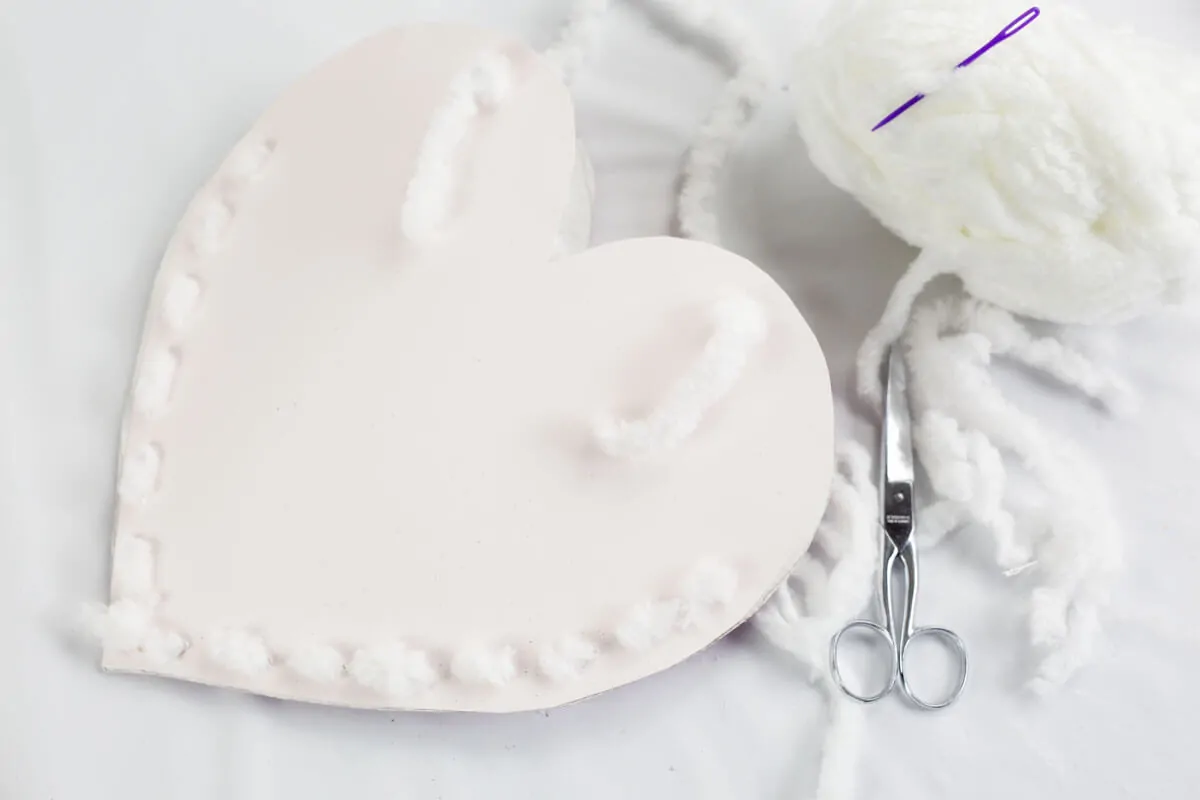
Step 3 – Sew Together the Front and Back Bottom of the Heart Envelope
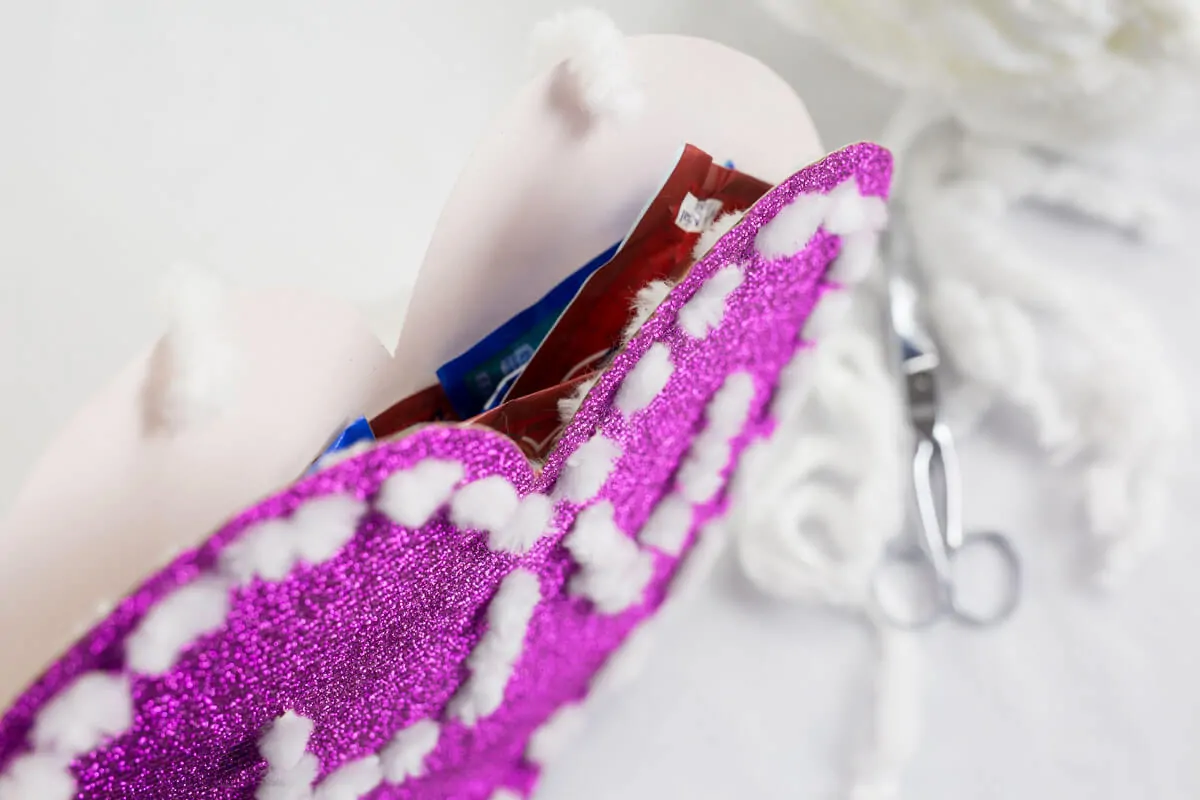
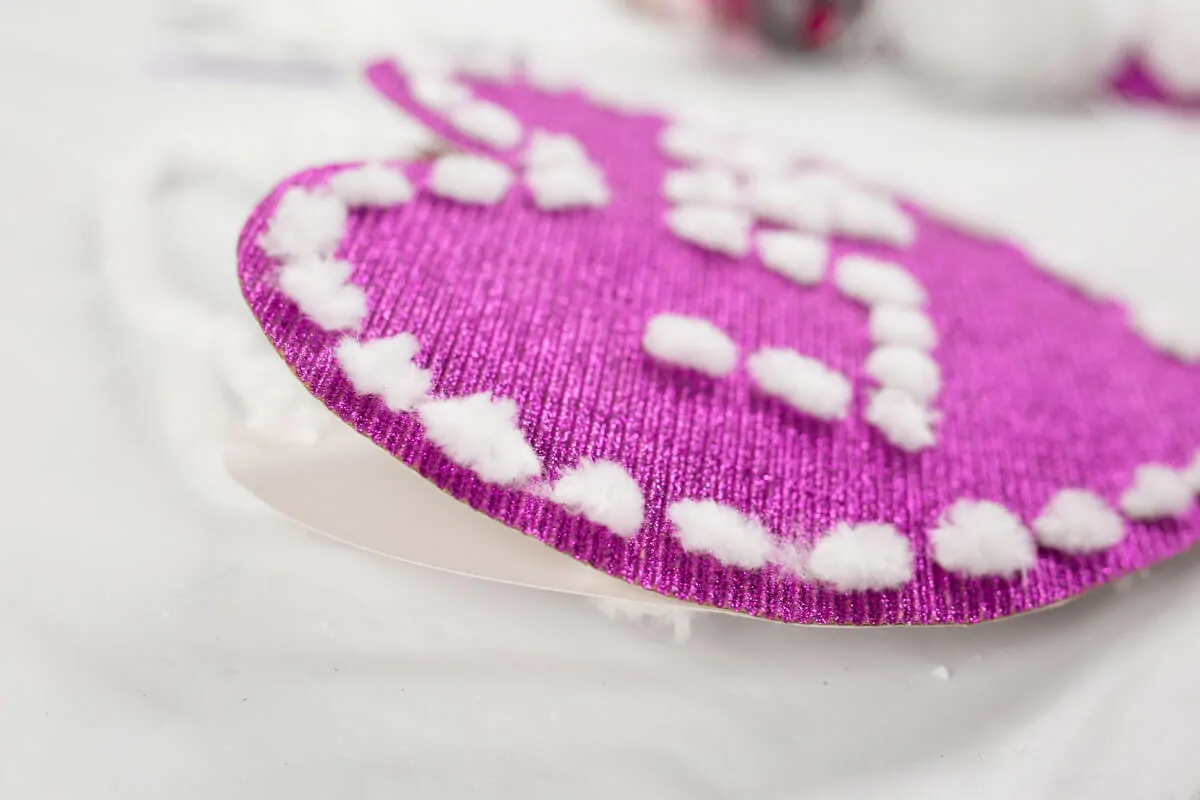
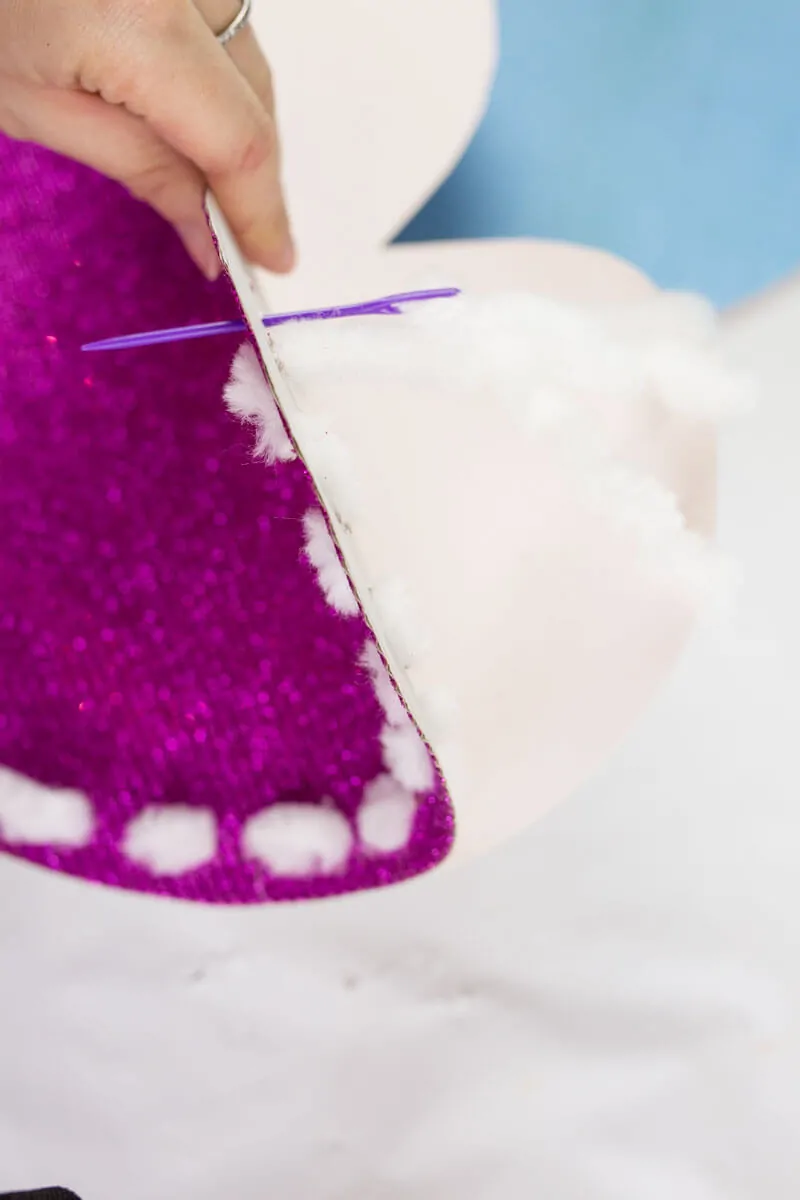
Now, you can sew the bottom part of the front of the heart to the bottom part of the back of the heart to create the envelope holder.
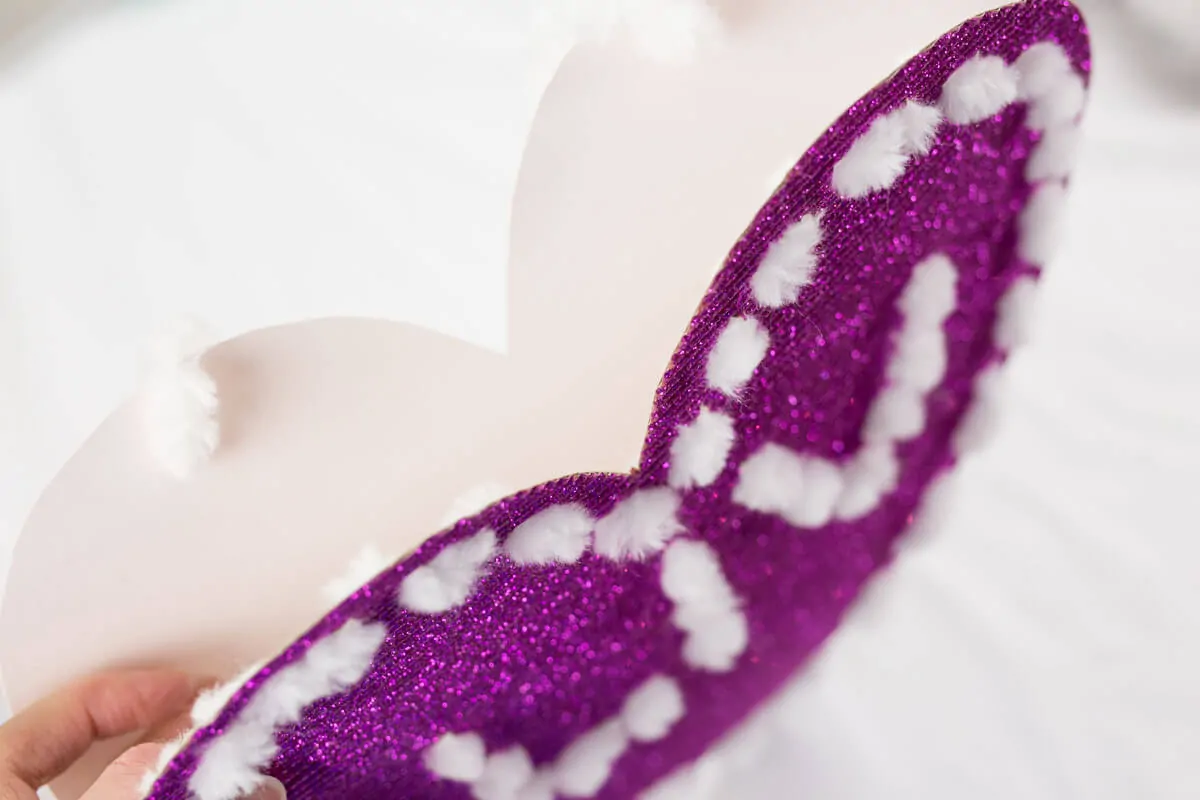
IMPORTANT: Make sure you only sew the front and back together until about 3/4 the way up the heart. We continued the stitching along the entire outline of the front piece of the heart simply as a design element.
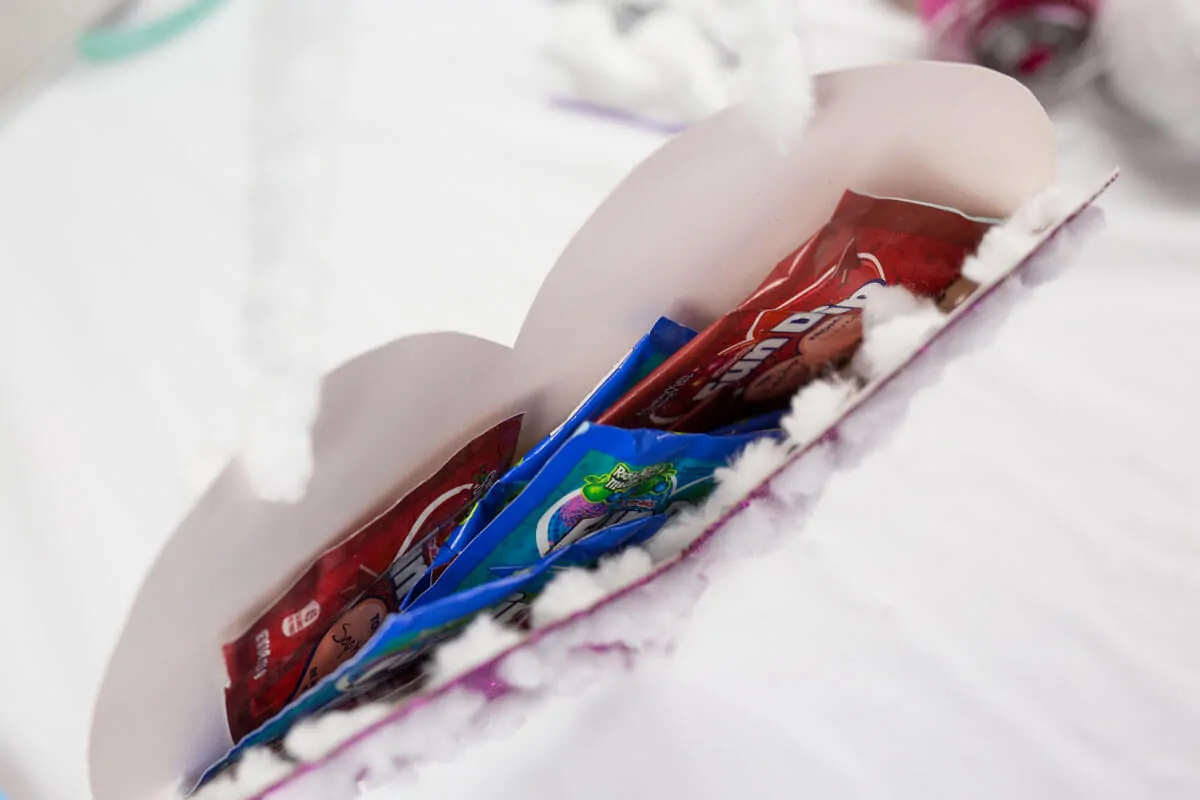
You need to leave the top part OPEN for the cards to go in.
TIP: If your child needs some extra help to evenly sew or to sew through thick card stock with a plastic embroidery needle, you can pierce holes with sharp scissors or needle and then they can follow the pattern of holes to sew their heart together.
Step 4 – Attach Yarn to Hang the Card Holder
Cut a piece of yarn, ribbon, or string about 18-20″ long.
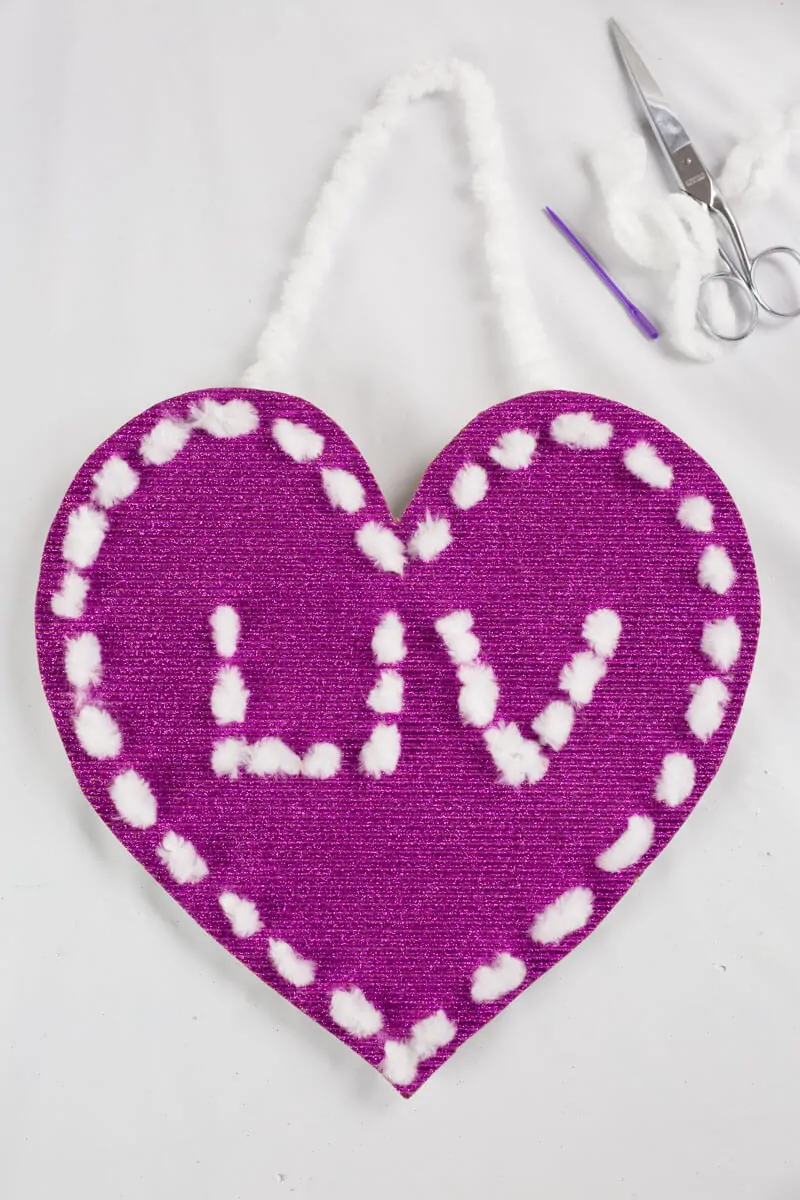
On the back piece of card stock, thread the yarn from the front through to the back and knot at the back, creating a loop to hang up the Valentine Card Holder.
You are all done! Your Valentine’s Day Card Holder is all ready for Valentine’s Day cards and candy…
Written and photographed by Janice Croze, co-founder of 5 Minutes for Mom
Talk with me: @5minutesformom and Facebook.com/5minutesformom
Pin with me at pinterest.com/5minutesformom
Pin it for Later
More Valentine’s Crafts You Might Like…
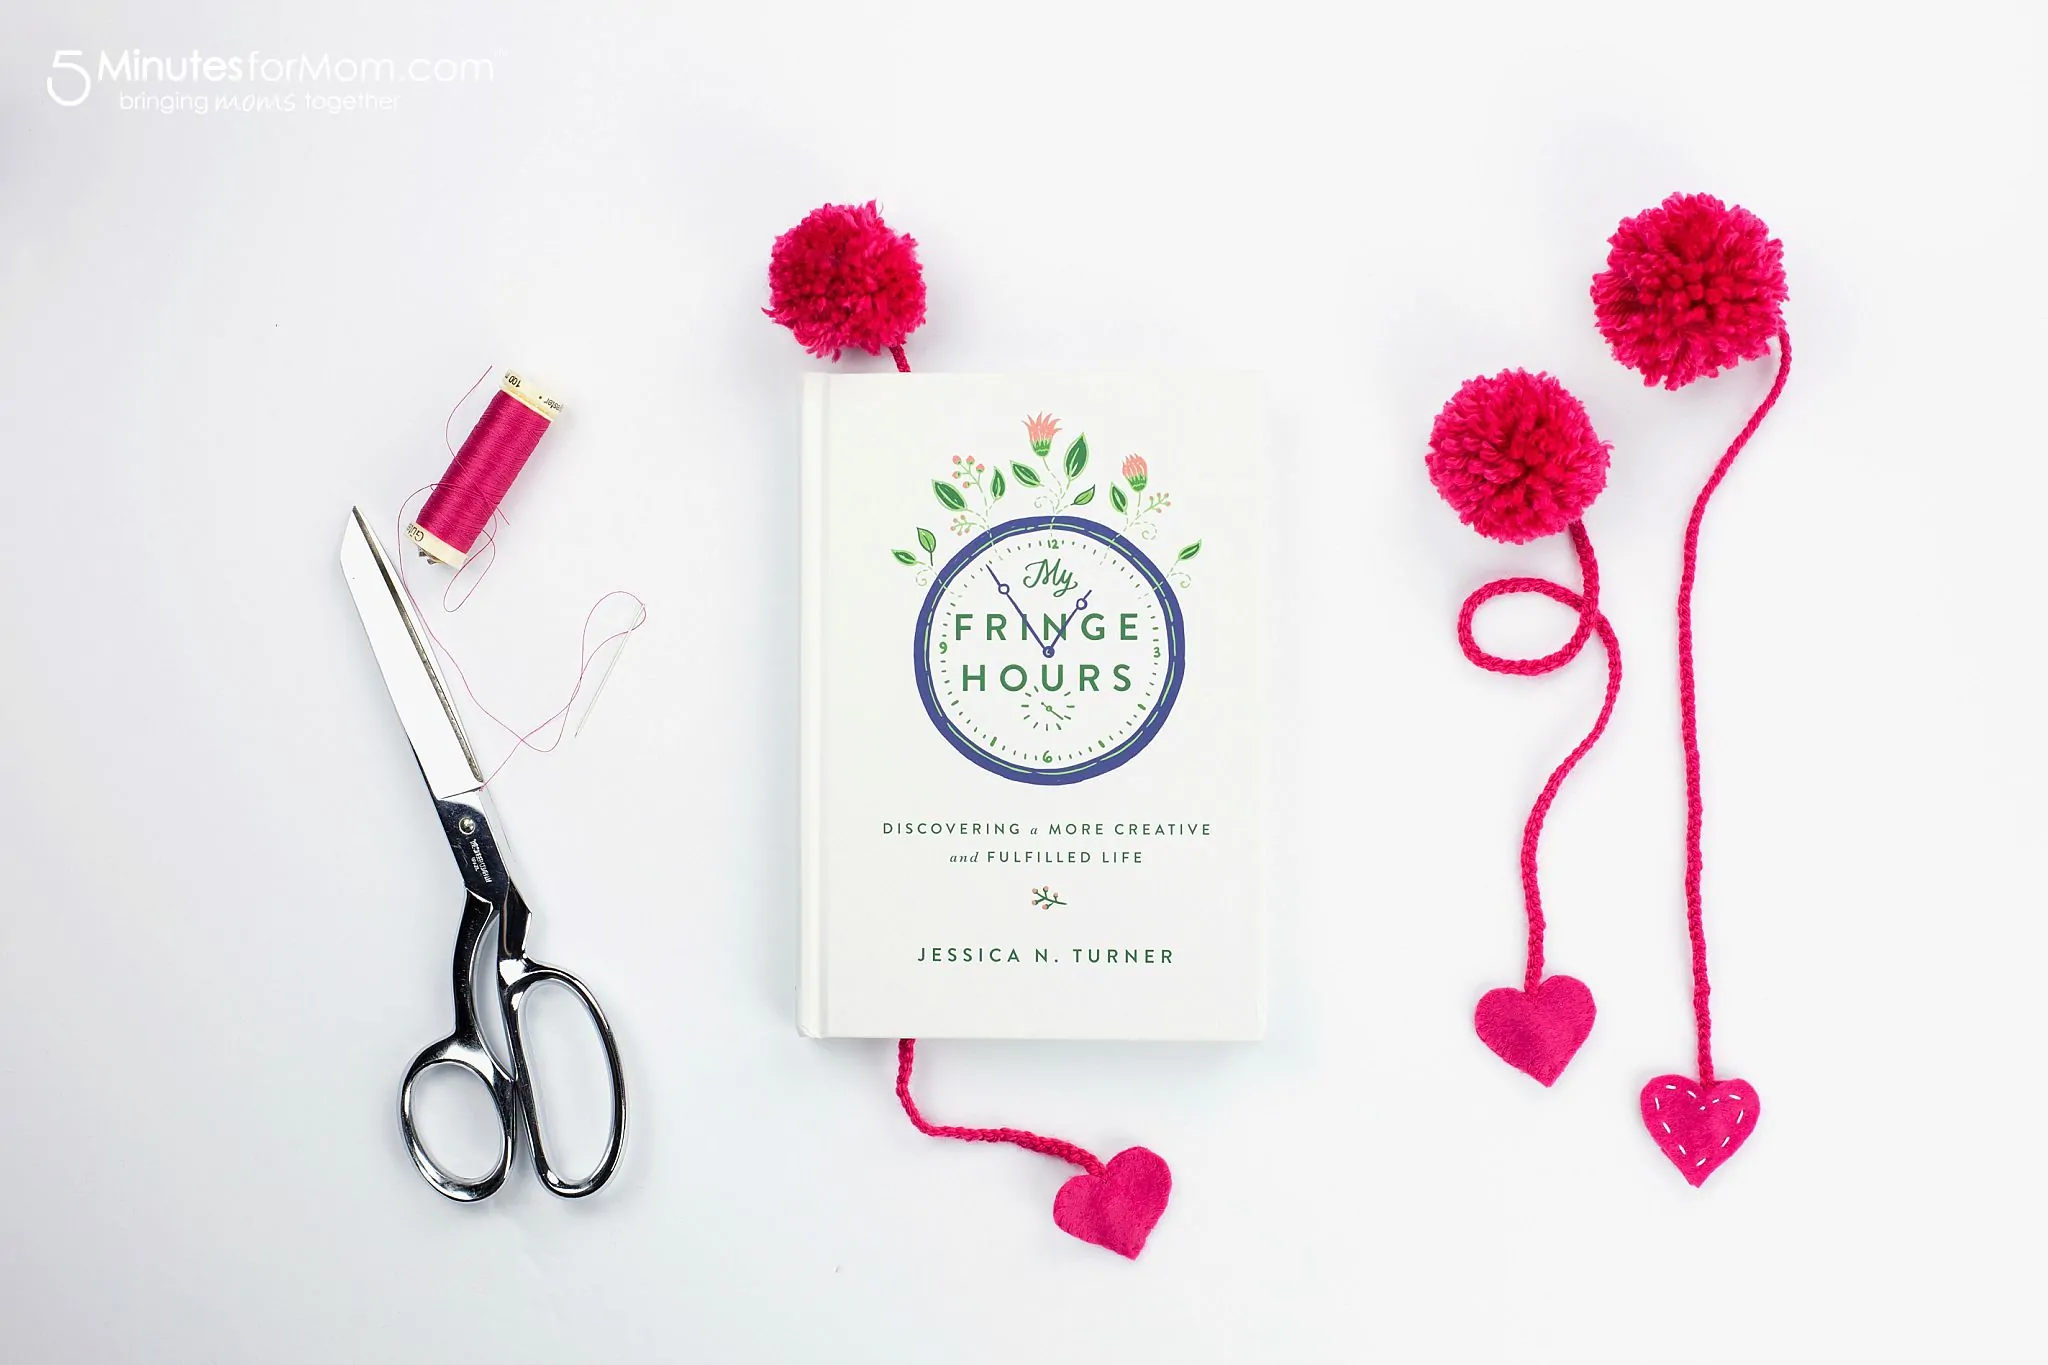
Yarn Pom Pom Braided Bookmarks with Felt Hearts
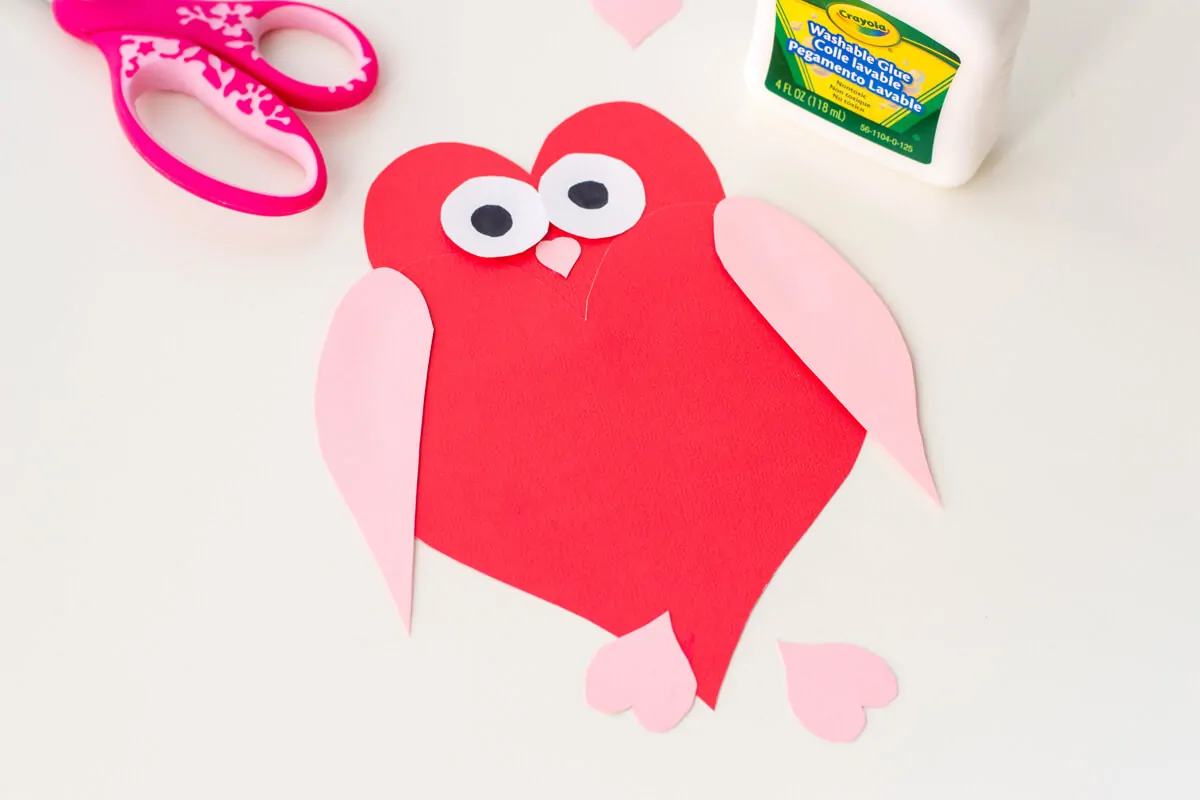
Owl Heart Shape Paper Craft – DIY Valentine’s Day Cards


sara says
This is an amazing work. Thank you. I’ve always been interested in such works. I’ll try to share it with my fuzia friends at https://www.fuzia.com/. you can also check my works on fuzia