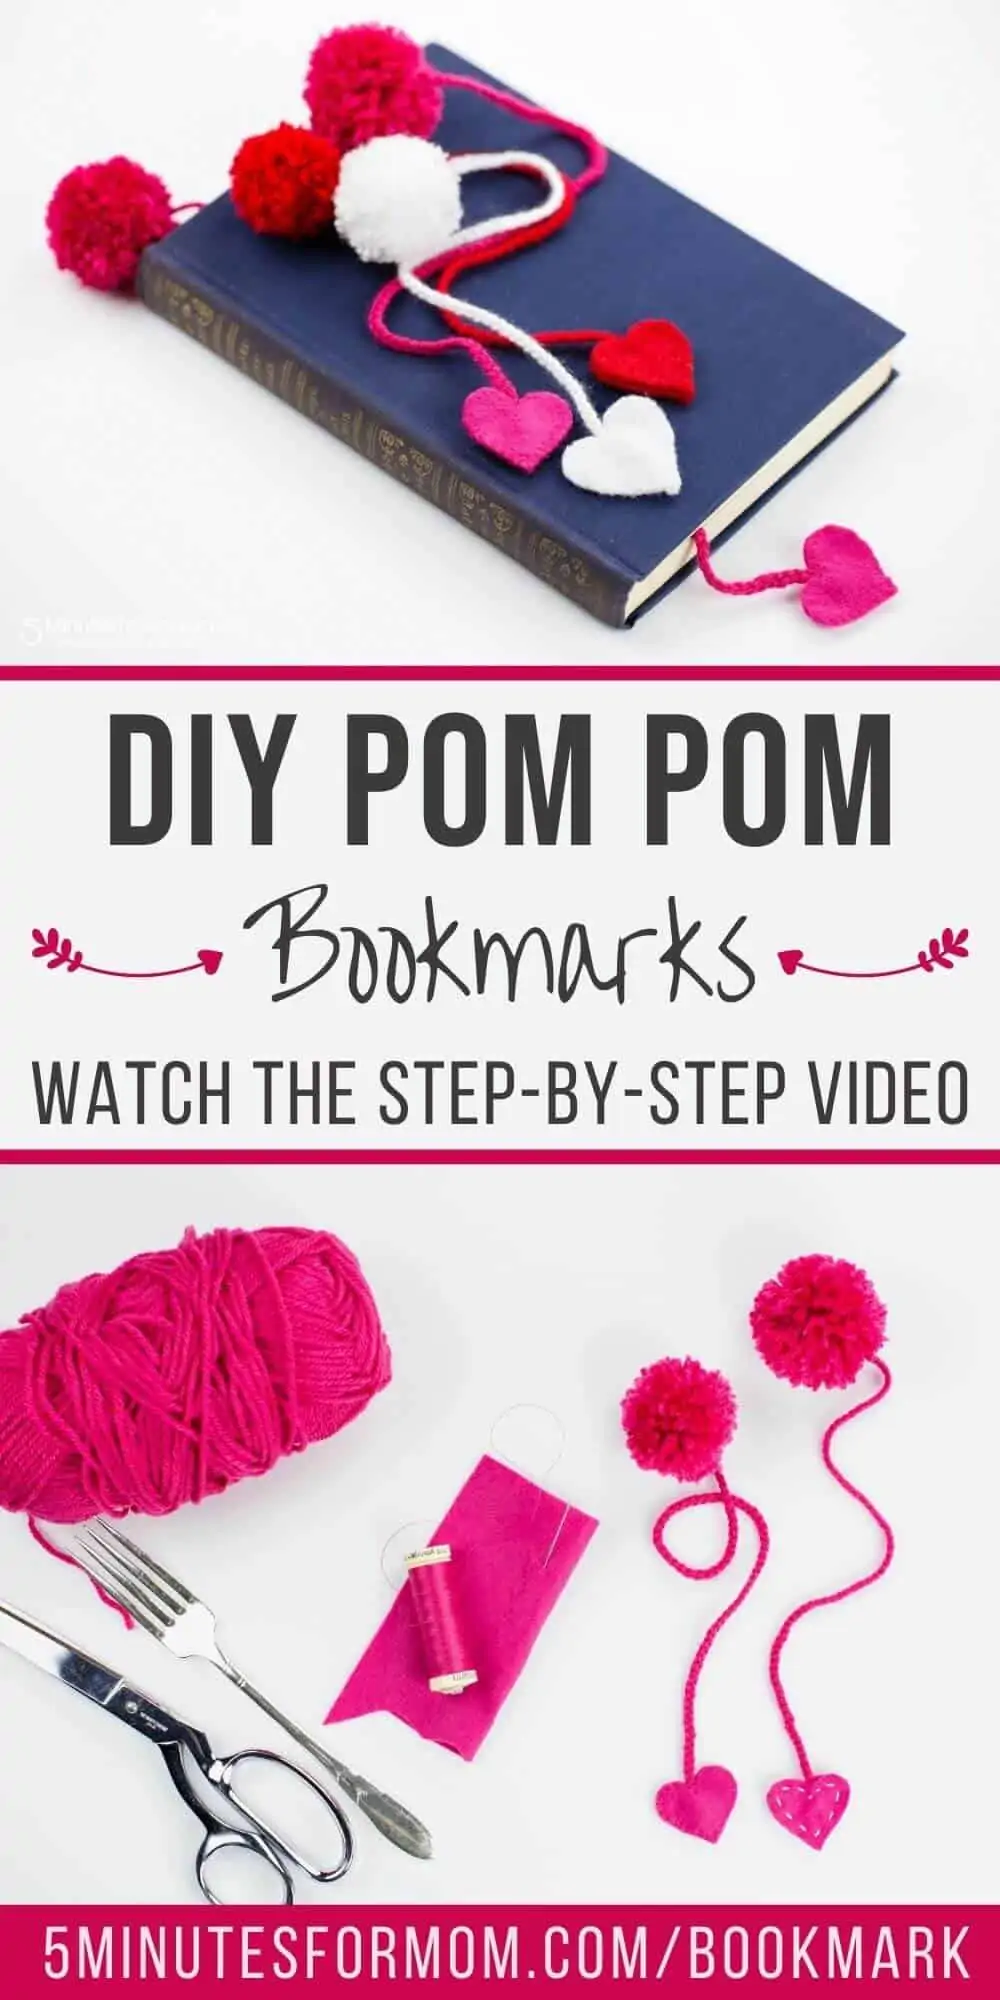
Do you want to see how to make yarn pom poms? Watch how to make a pom pom and then how to turn it into a DIY pom pom bookmark in this step-by-step craft tutorial.

Are you looking for an easy craft to make for Valentine’s Day? You’re in luck! We’re going to show you to make a pretty yarn pom pom bookmark.
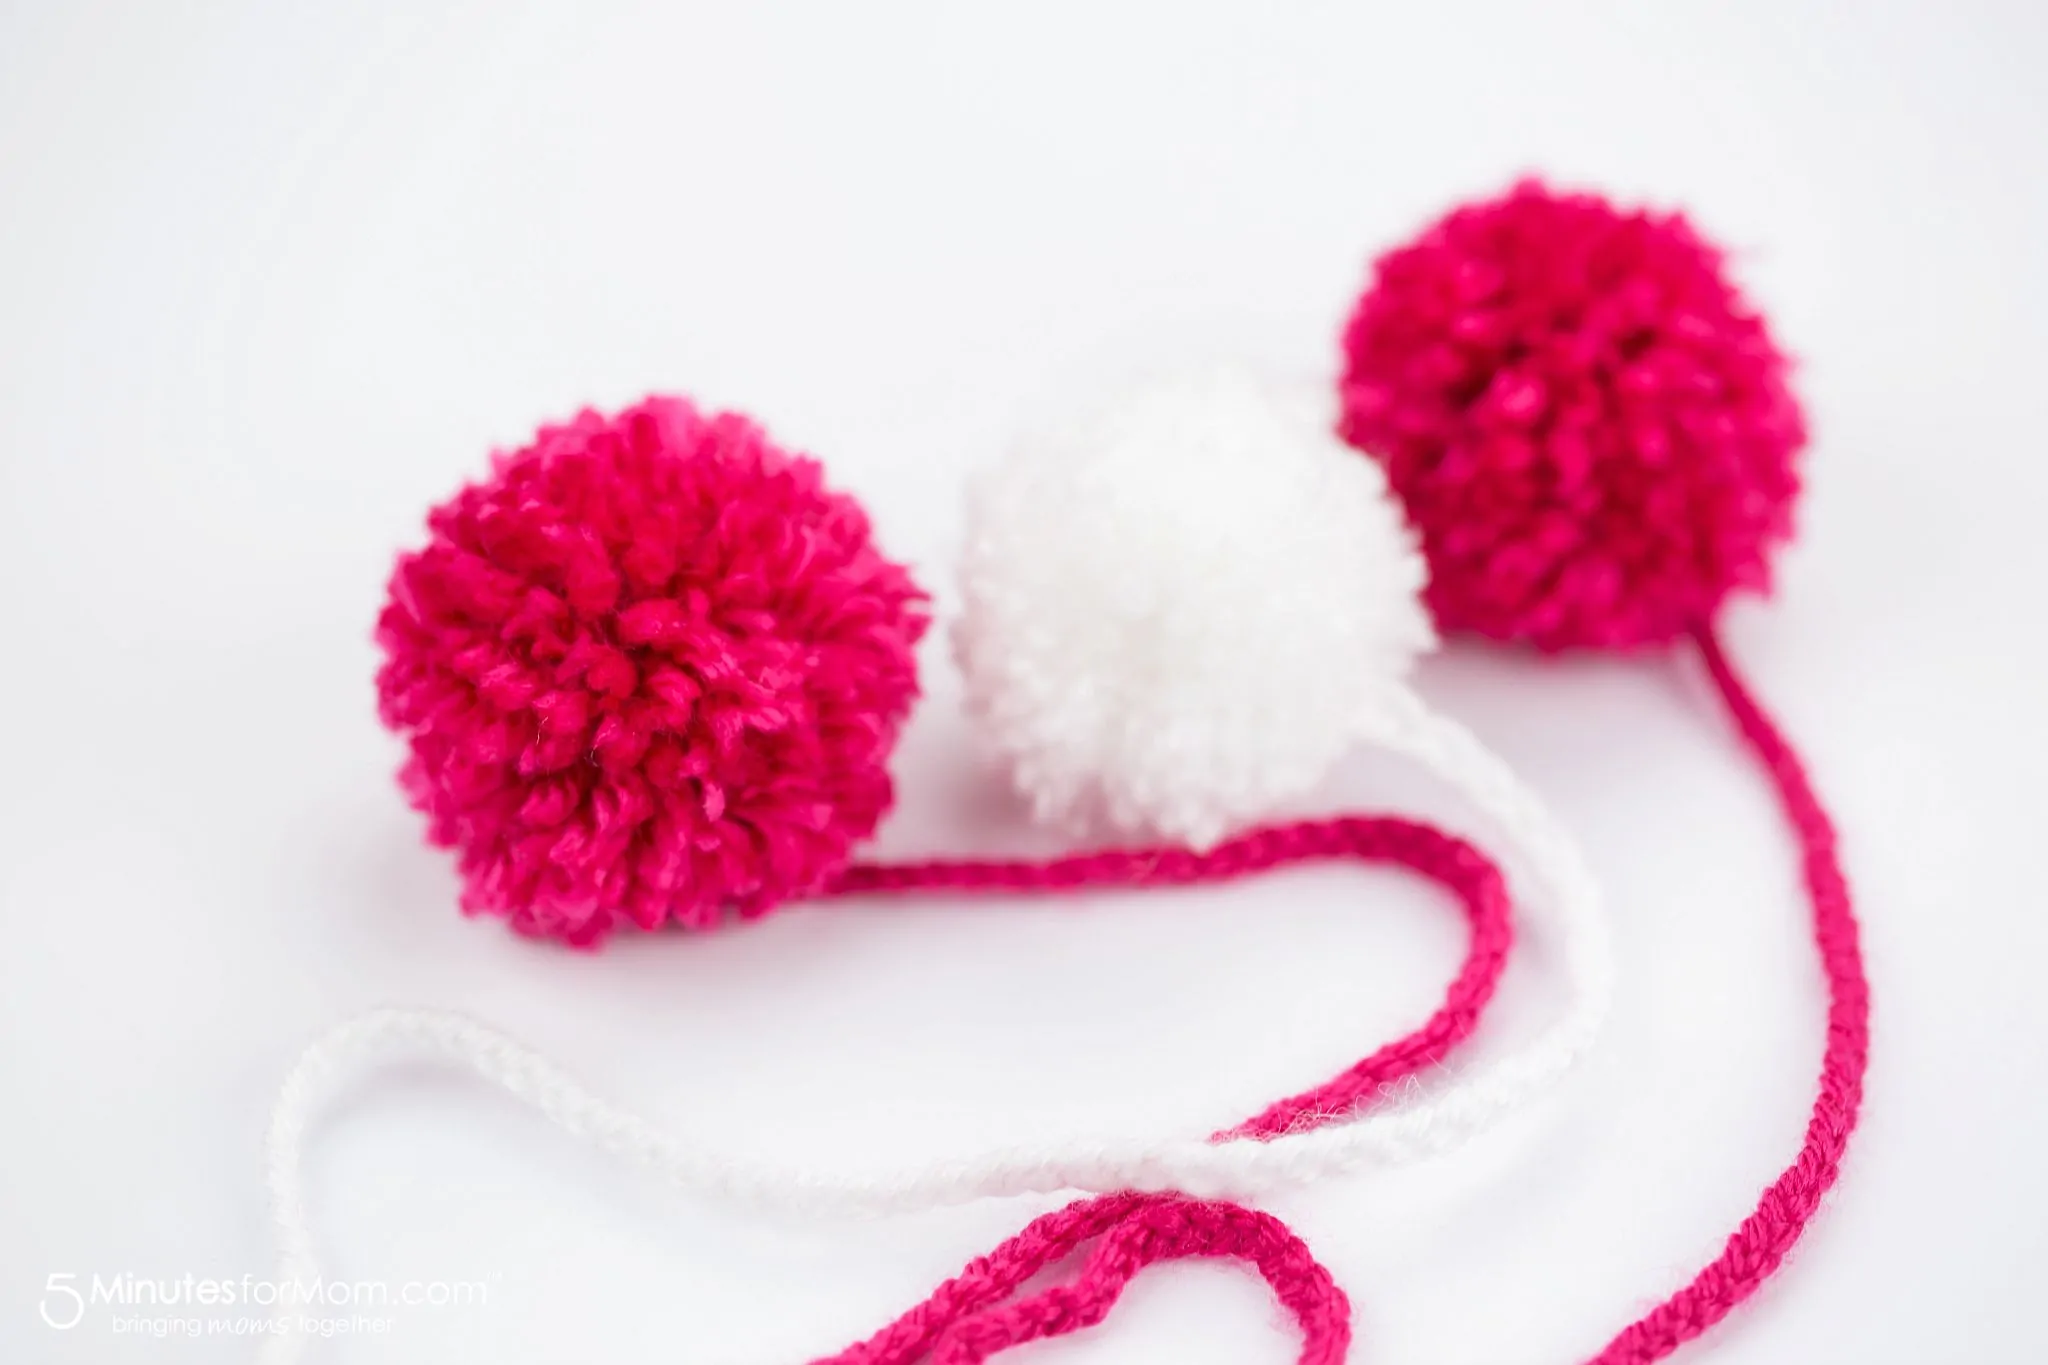
How To Make Yarn Pom Poms
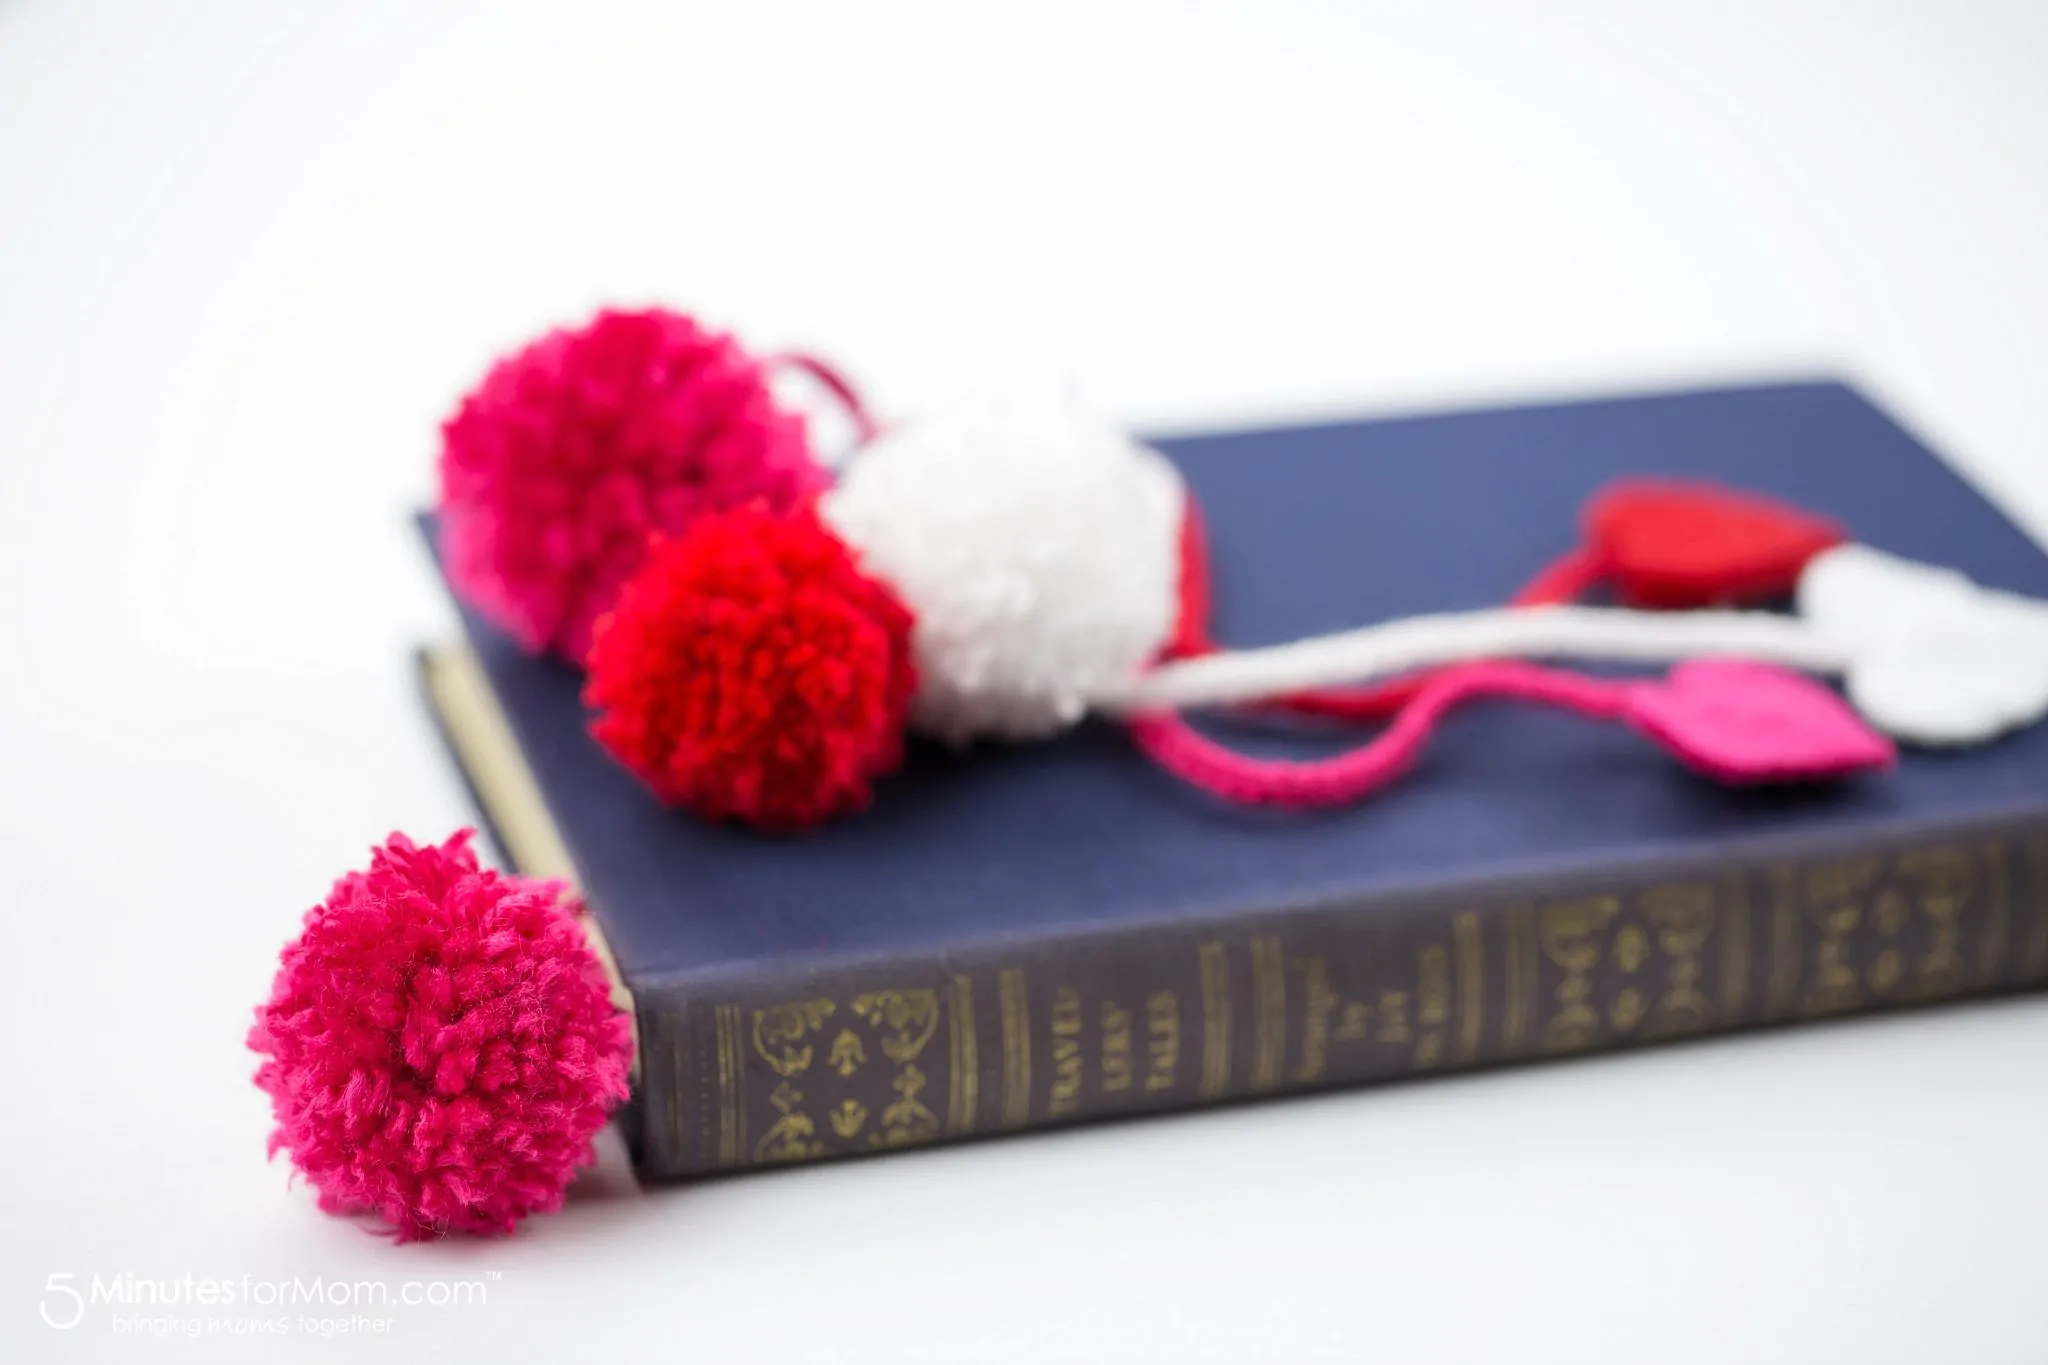
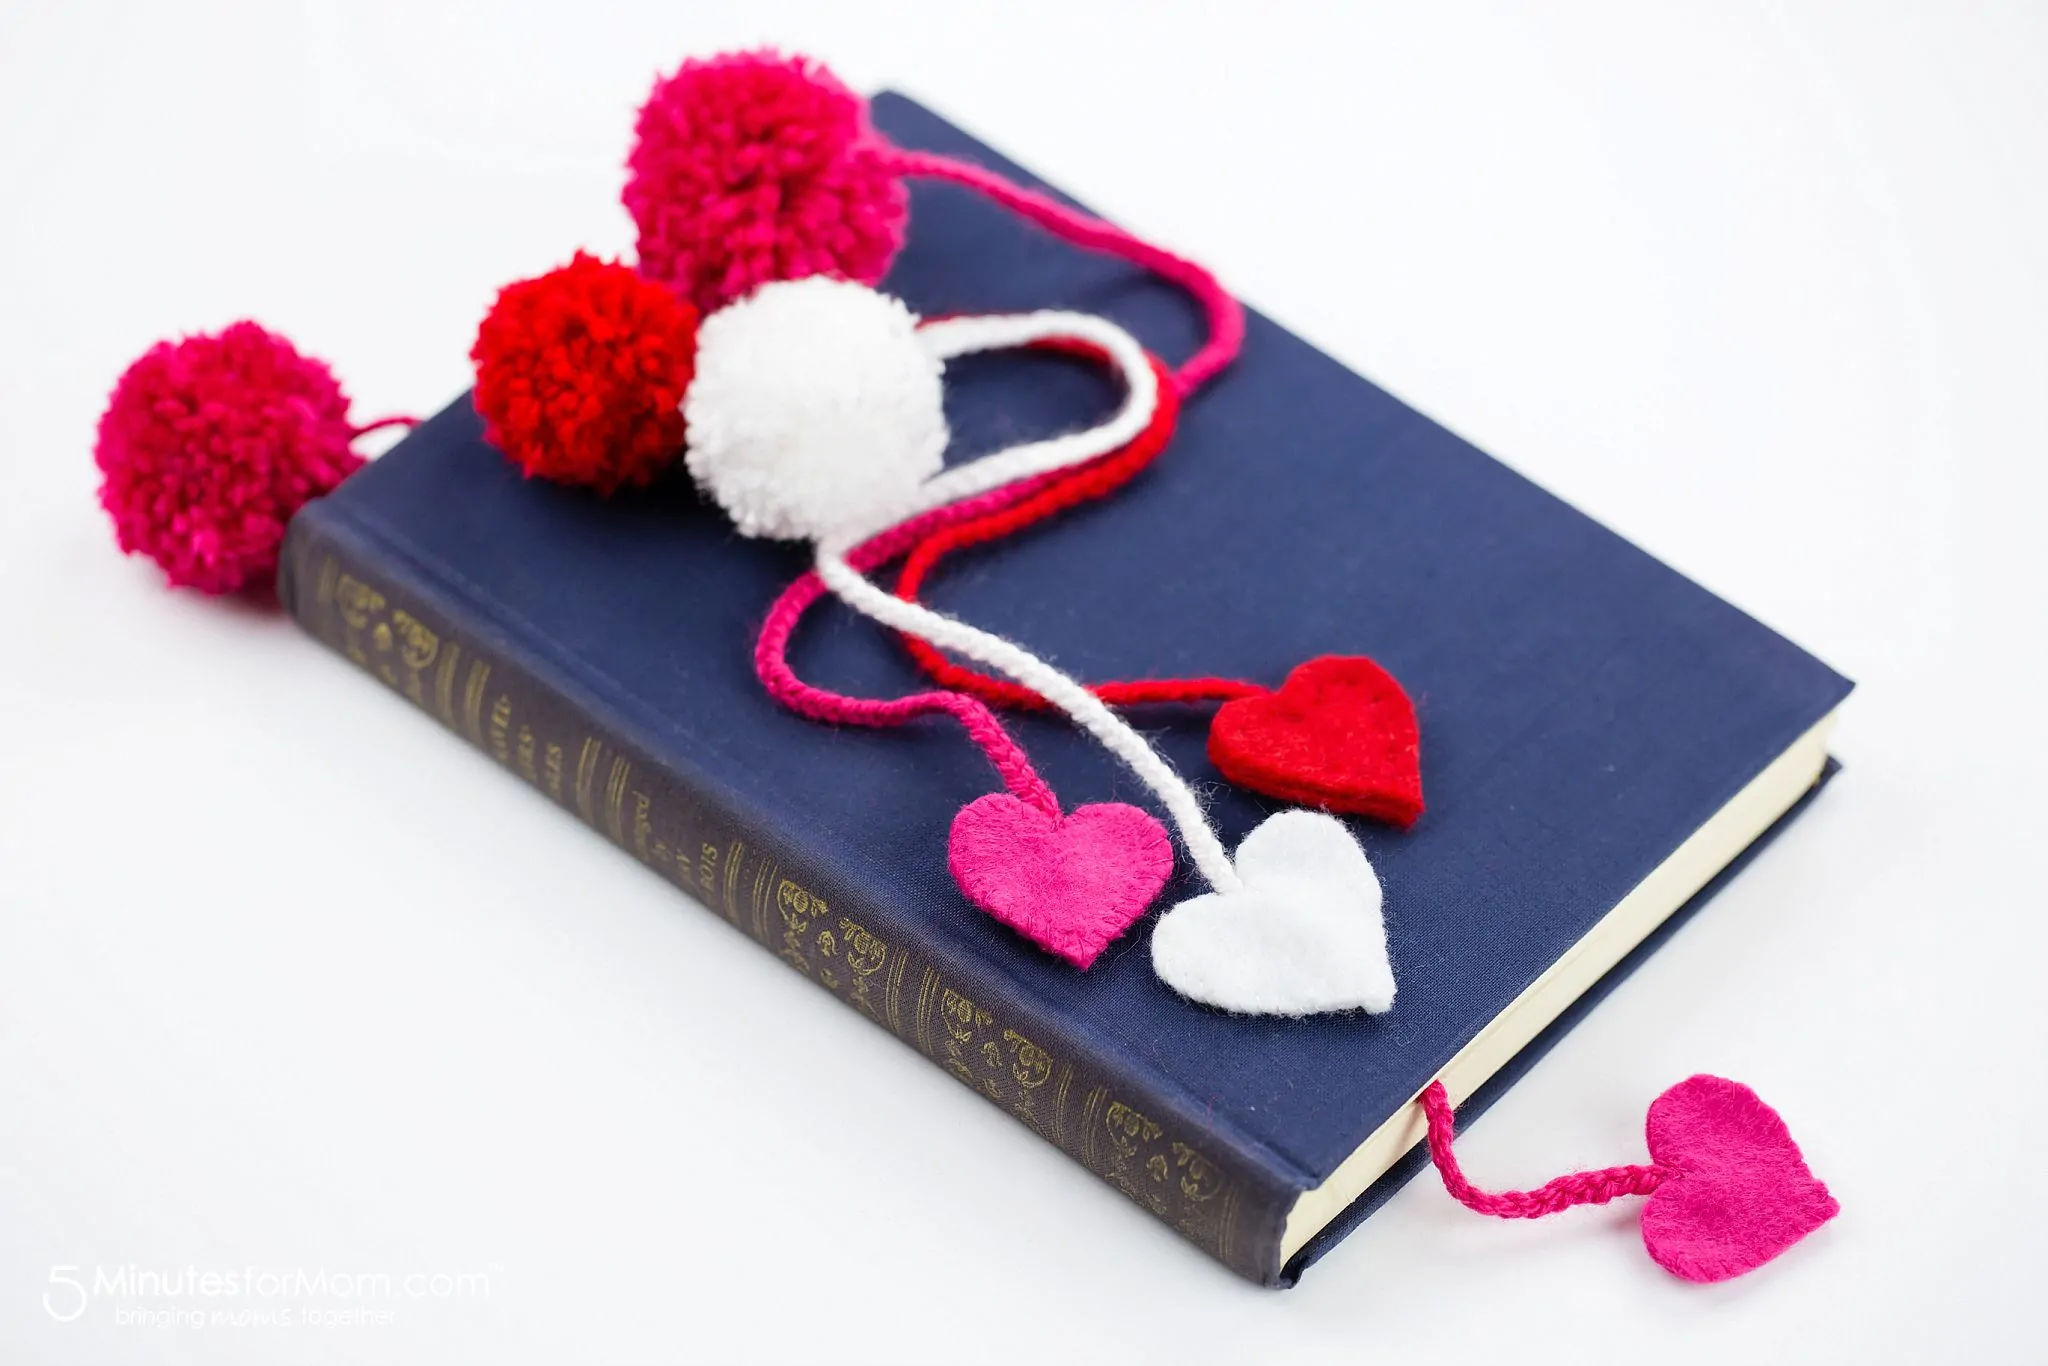
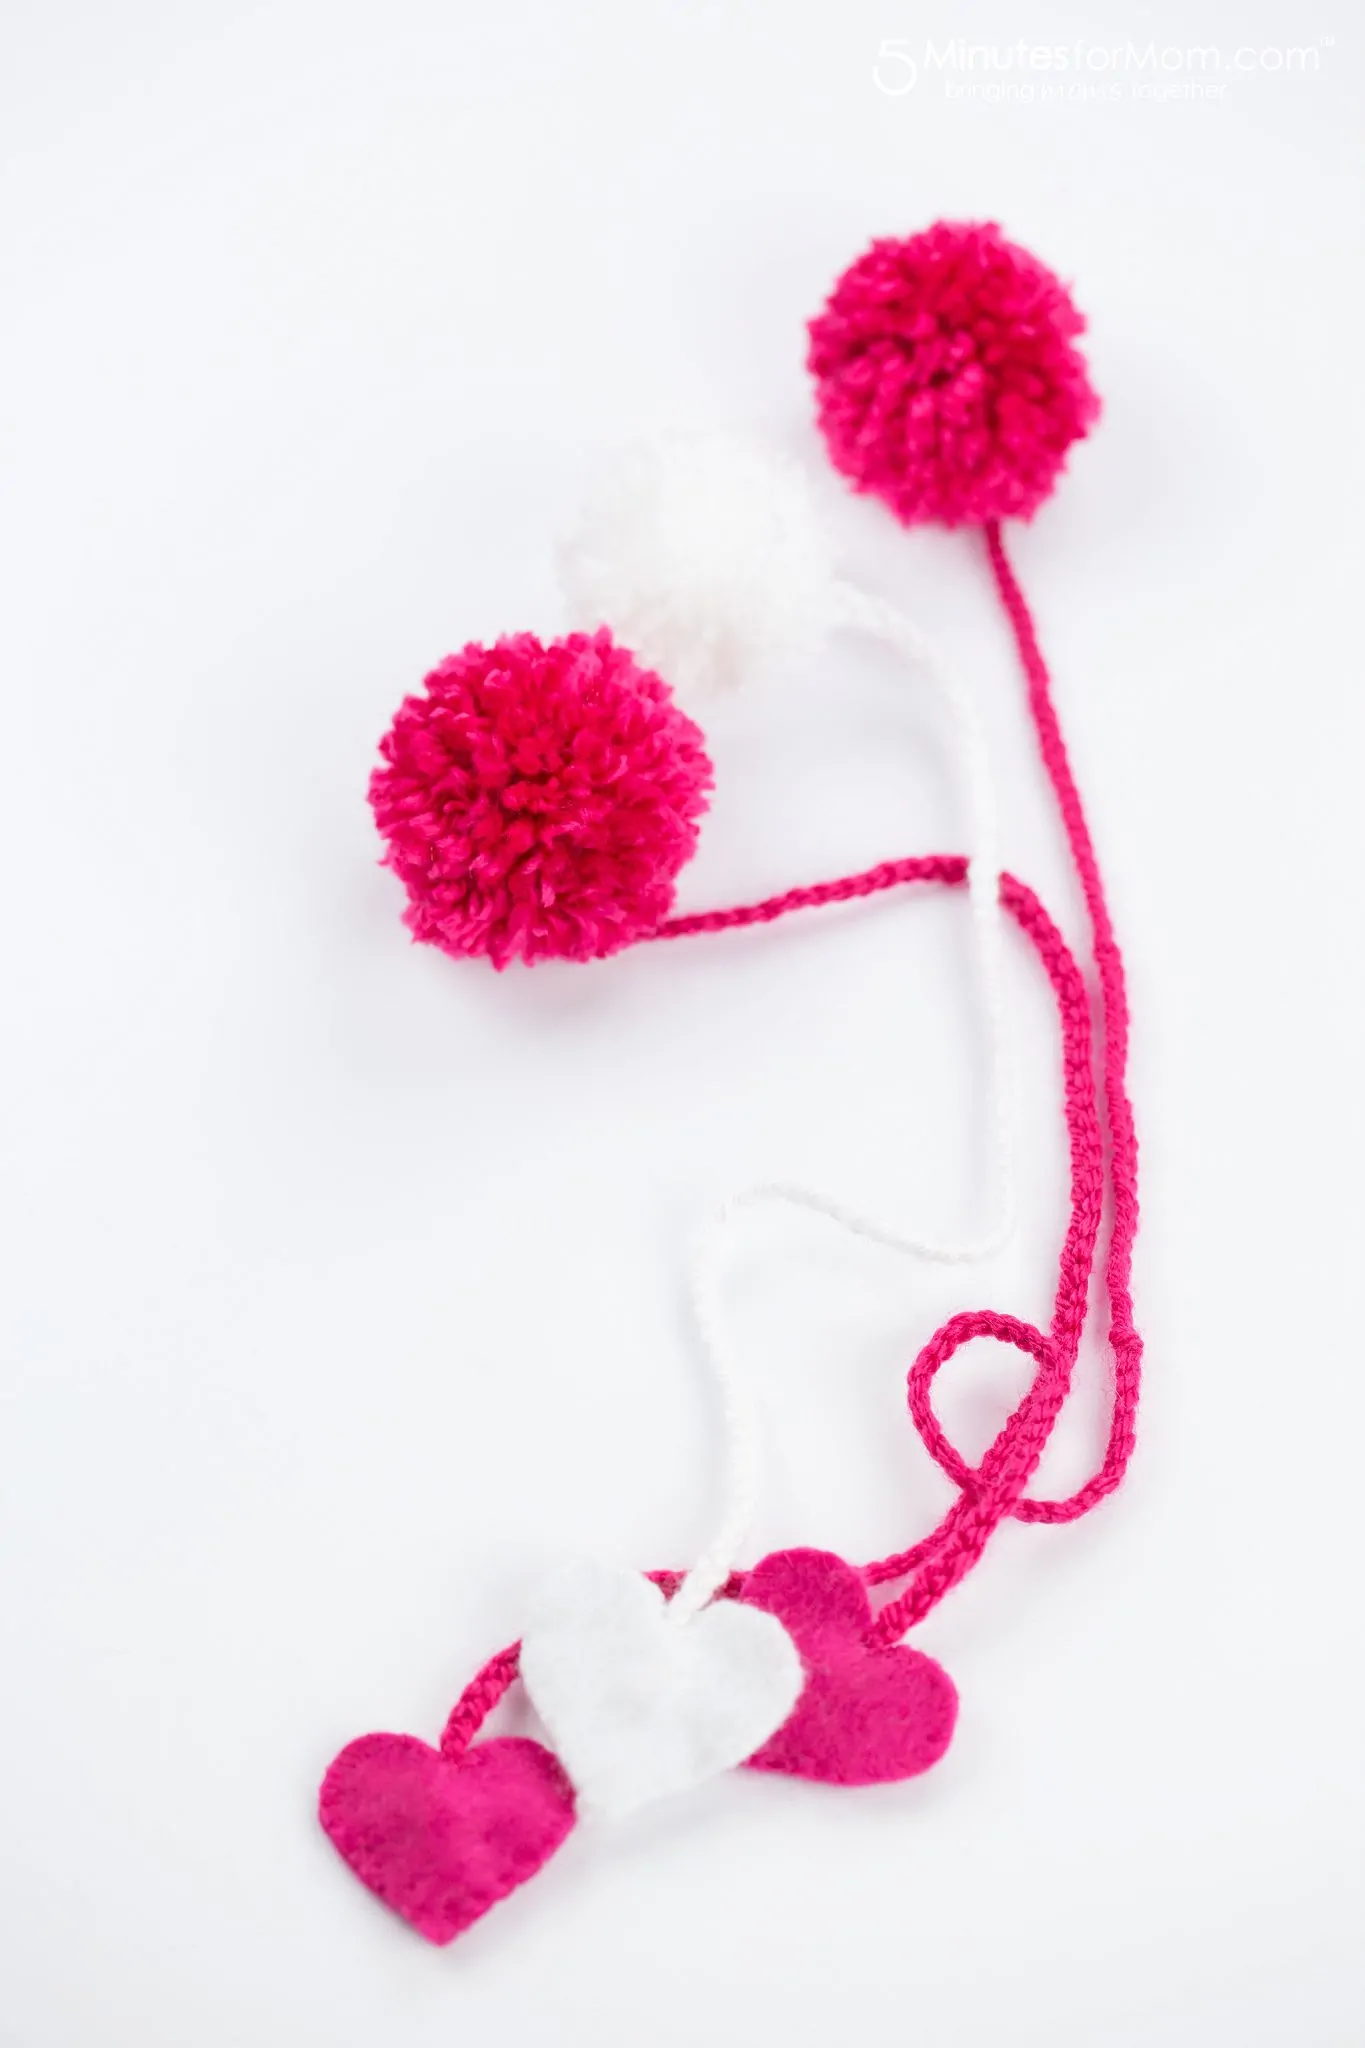
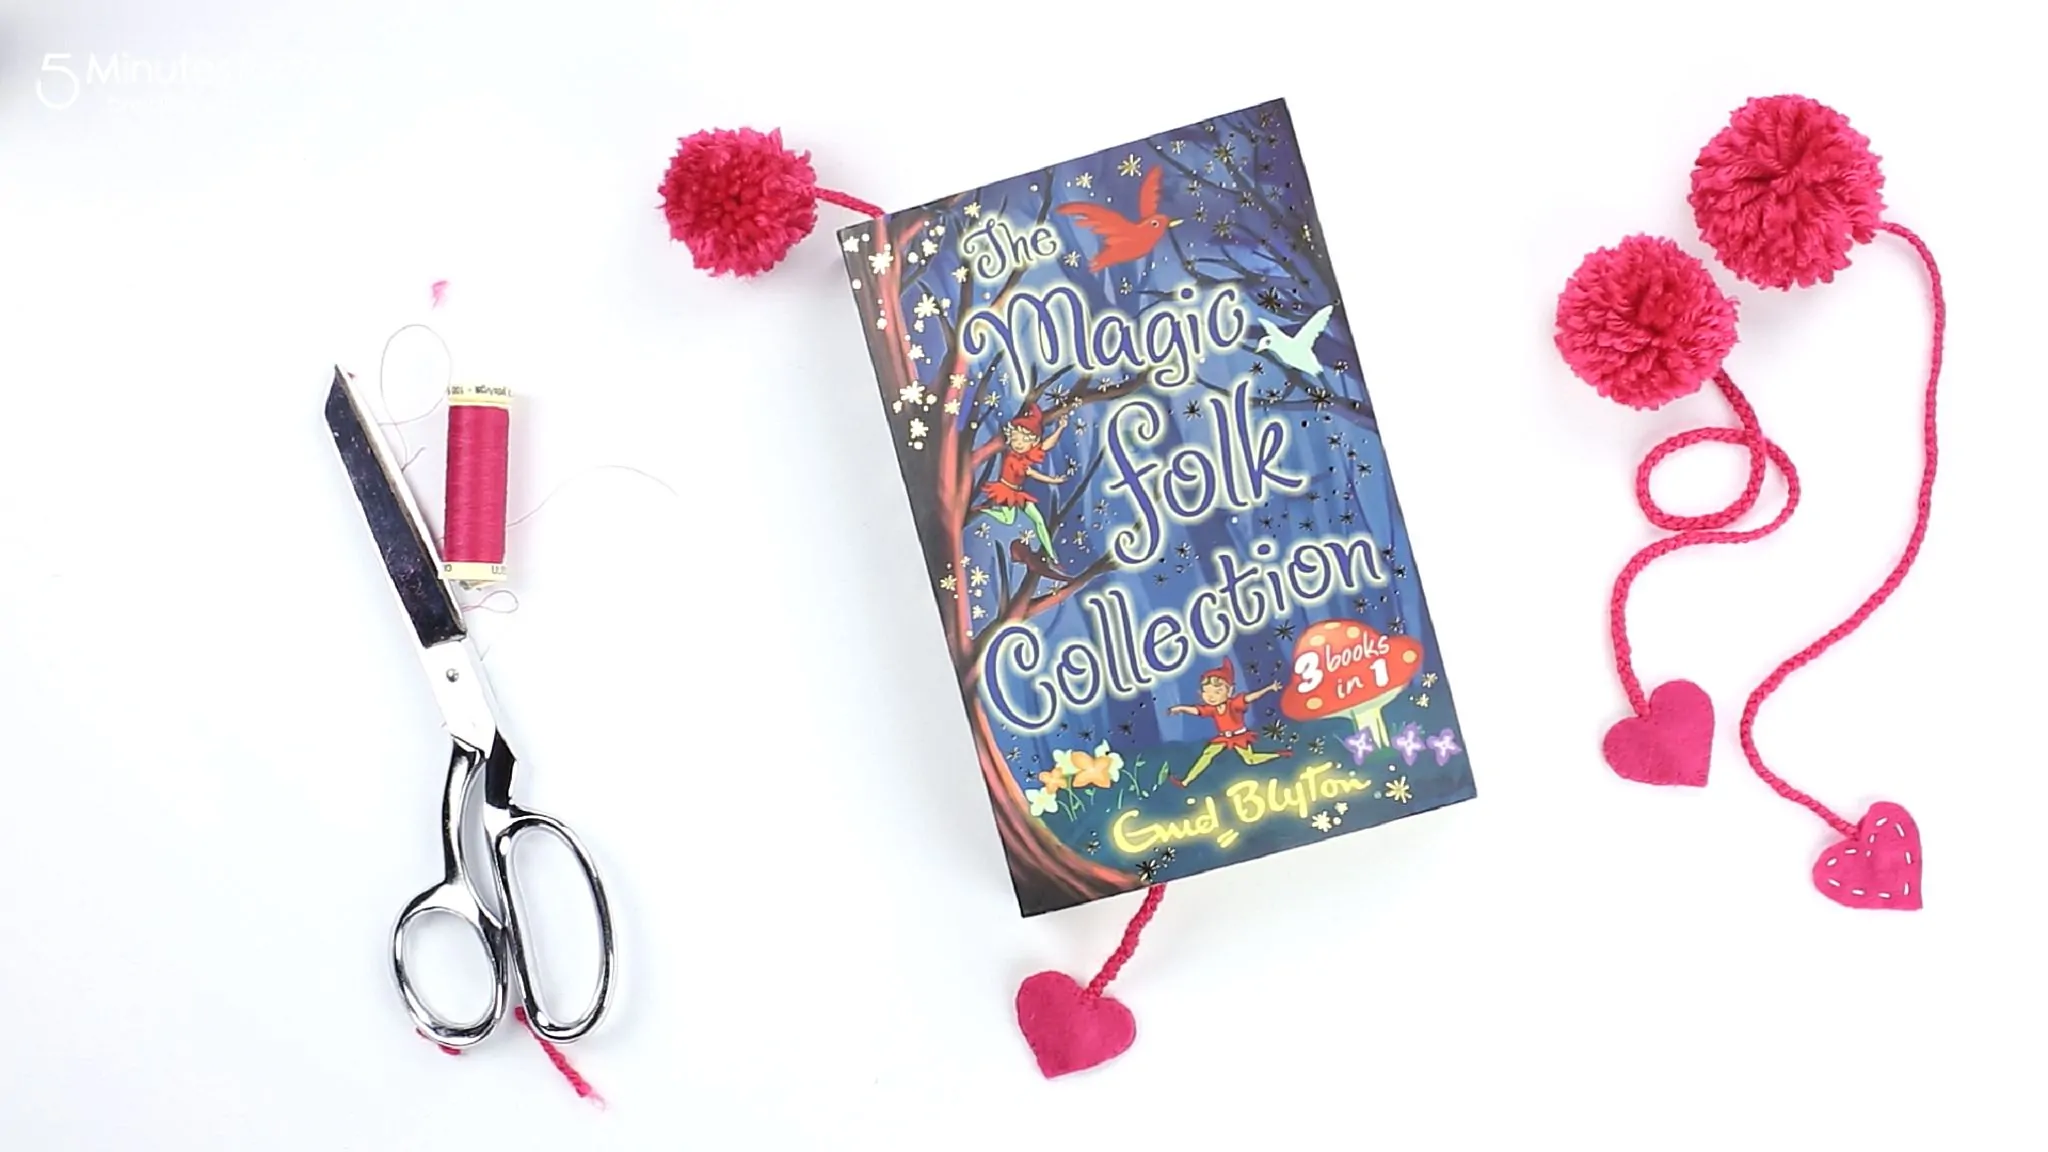
For Valentine’s or any day of the year, these Yarn Pom Pom Bookmarks with Felt Hearts are a super sweet and fun craft to make and to give.
When we were kids and my Nana arrived for her visits, Susan and I would scramble to try and carry her suitcases to the guest room.
Some of my clearest memories with my Nana are of sitting on the bed “helping” unpack Nana’s suitcases.
Her suitcases were an unusual pattern, made from a black and white woven wool fabric and unlike any of the suitcases we had in our house.
And on each of them, she had yarn pom pom balls tied to the handles, I suppose so she could clearly identify them when traveling. Although, I am sure no one else had suitcases like hers.
I find it strange that now, in my 40s, I still remember those yarn pom pom balls and pulling my fingers through the strings as she unpacked her bags for one of her treasured month long visits.
It has been more than thirty years since I wound up yarn balls to make a “pom pom”.
I loved winding the yarn into big balls and then forcing the scissors to cut through the wool until, magically, we had created fluffy pom poms that we could turn into yarn animals or whatever else our imaginations could dream up.
So, when I was trying to think of some fun Valentine crafts, I decided to revisit my yarn pom pom days.

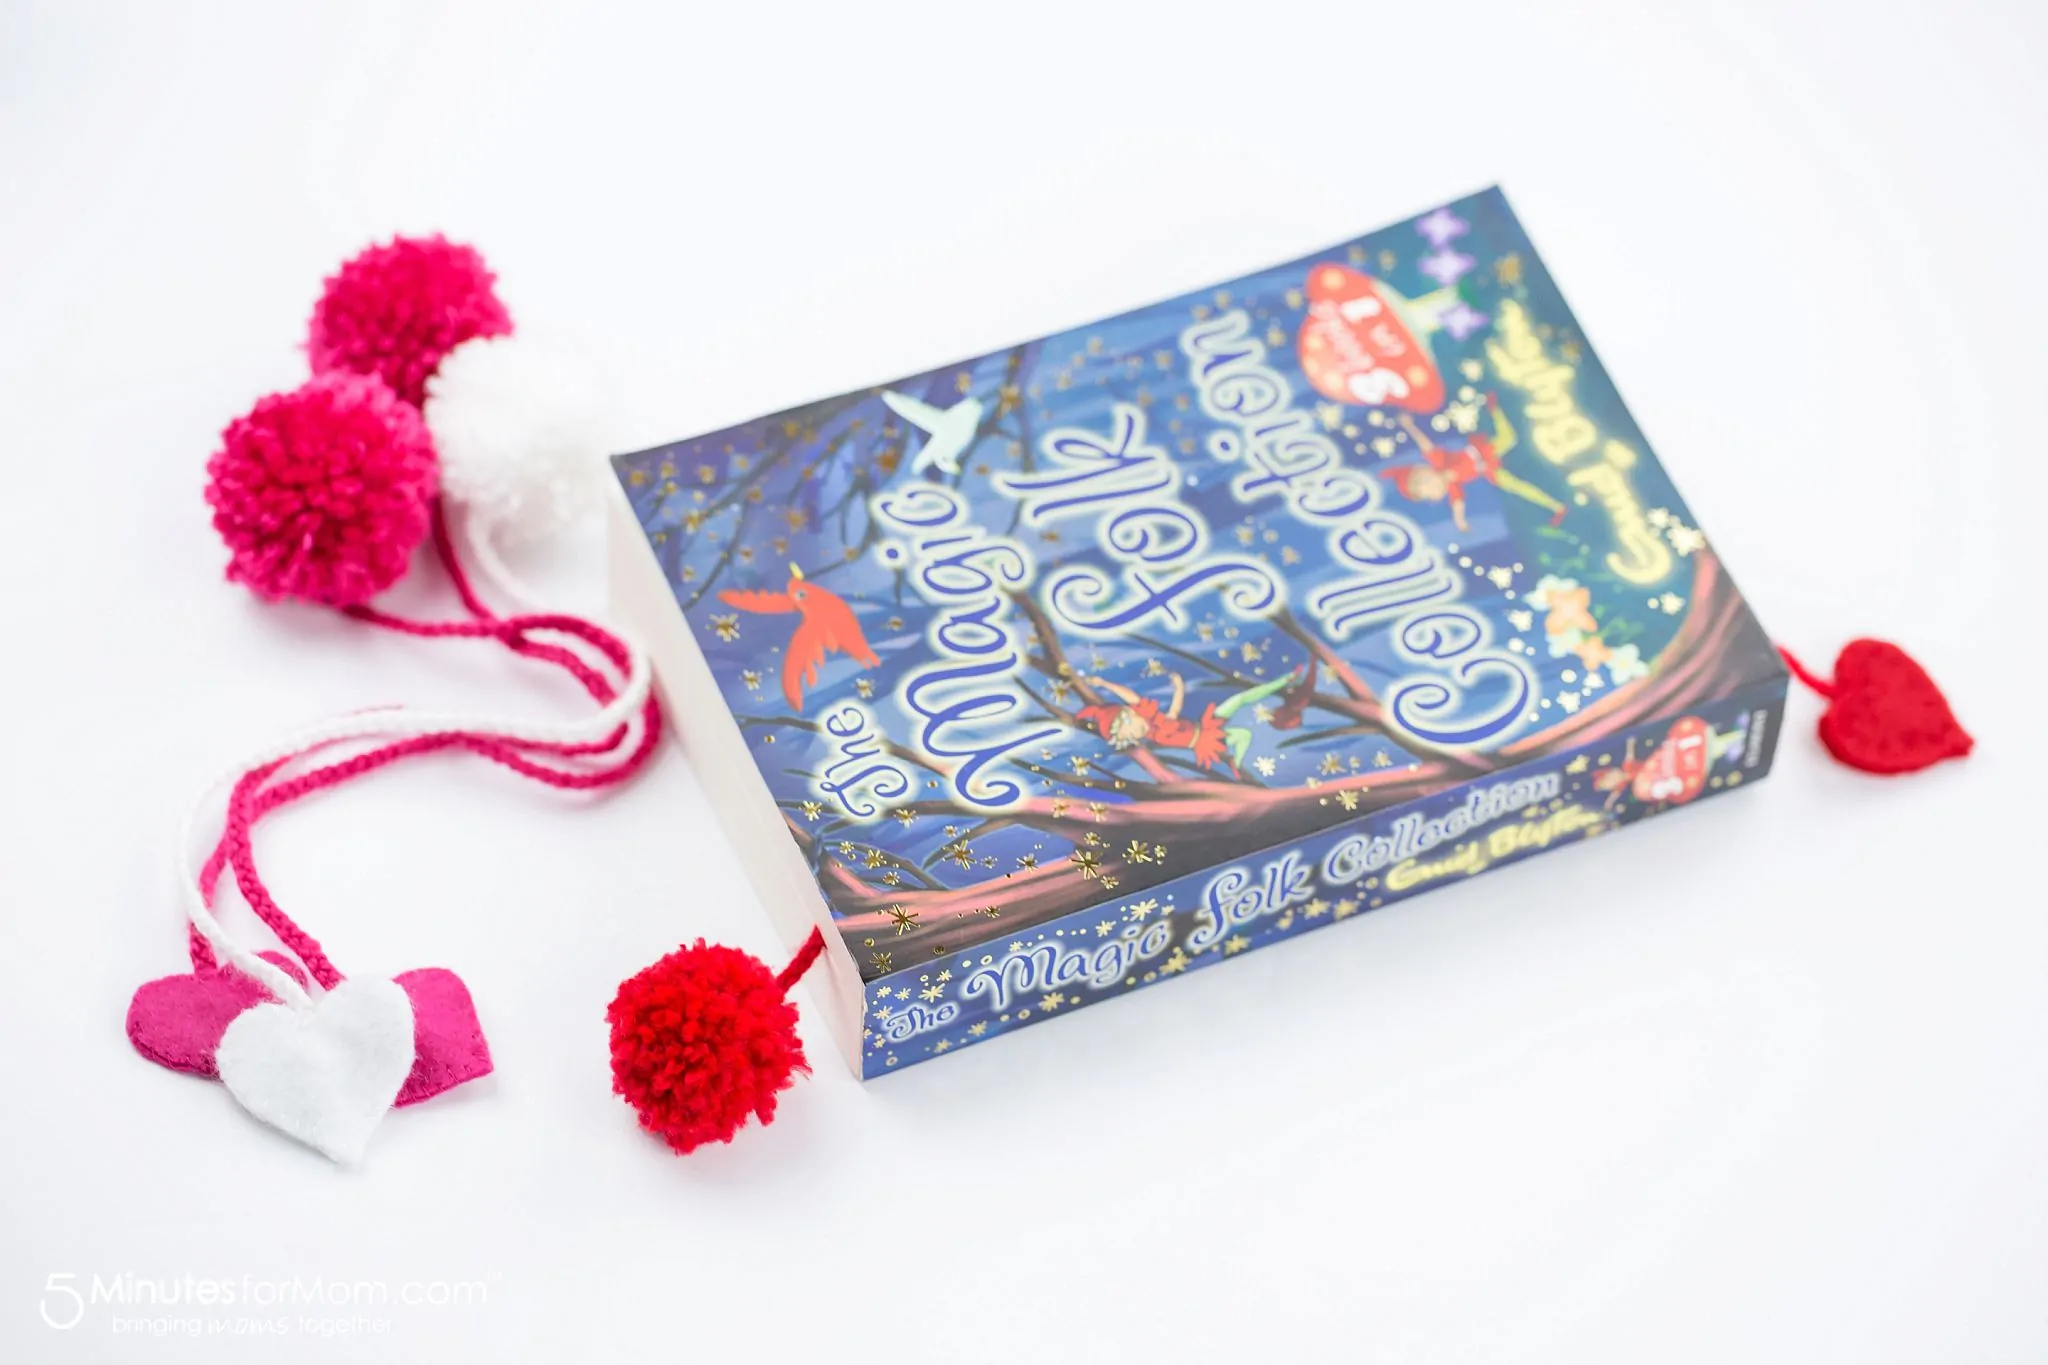
I had seen the Yarn Ball Bookmarks on Design Mom popping up on Pinterest and it made me think about creating a Valentine version.
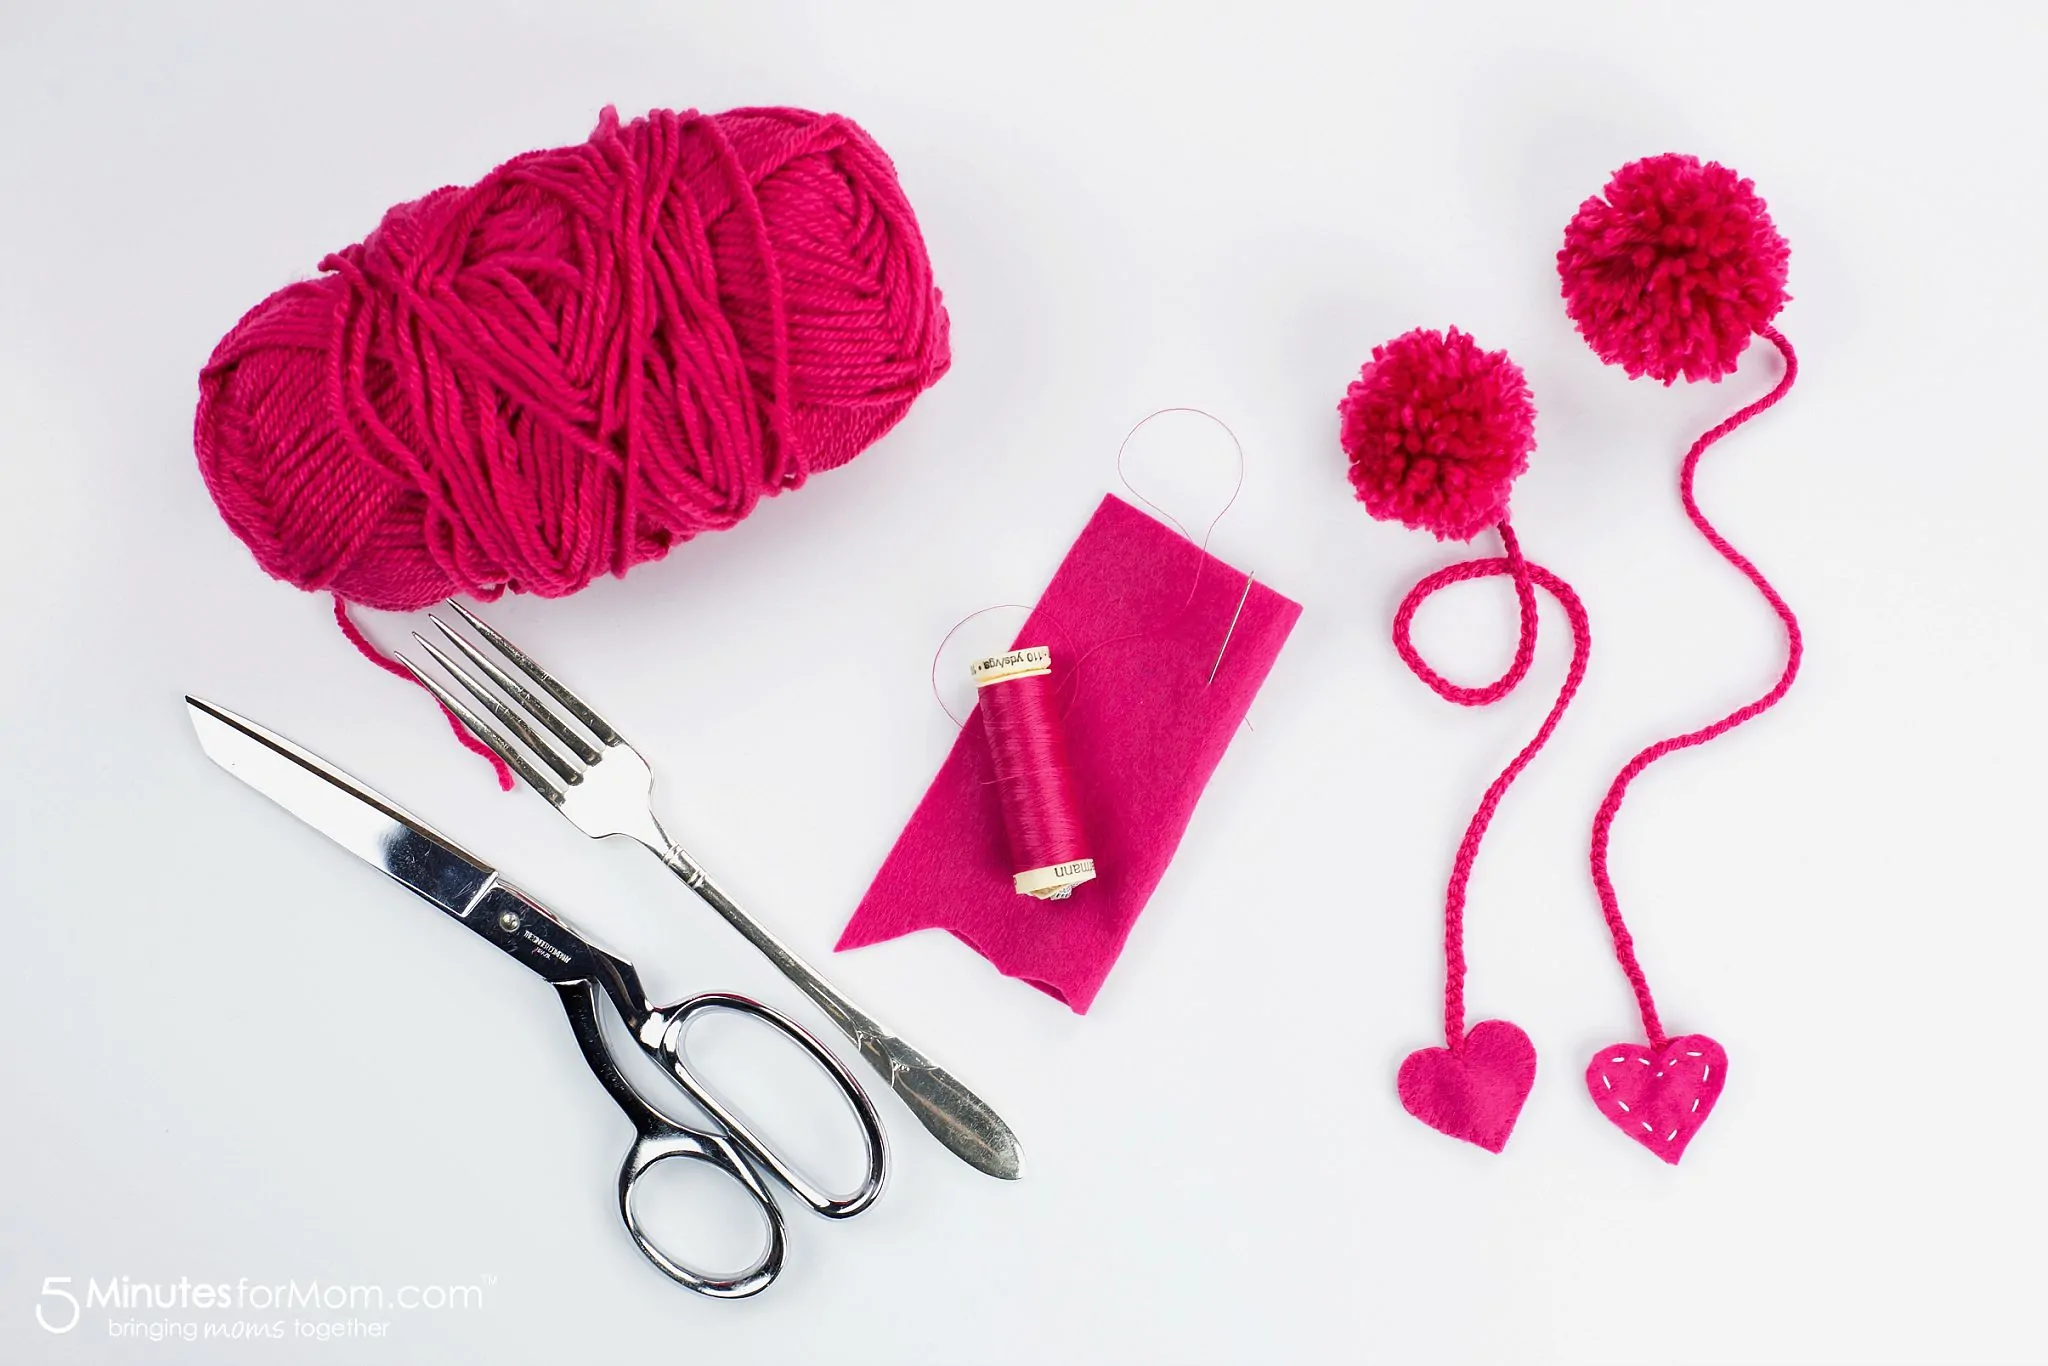
I bought some Valentine color yarn – skeins of pink, red, and white – and dug around in my felt collection for some matching felt.
I wanted a substantial “tail” to my pom pom bookmark, so I decided to create a braided yarn tail.

And to add in some Valentine whimsy, I adorned them with felt hearts.
These Yarn Pom Pom Braided Bookmarks with Felt Hearts were so much fun to make. I ended up making more than a dozen of them, having the girls join in and make some of their own.

I loved making these yarn pom poms so much — next up I think I am going to make a yarn pom pom carpet for Livvie’s room.
DIY Pom Pom Bookmark
If you have never made a yarn pom pom before, no worries. They are super easy.
You can make yarn pom poms in a number of different ways. For the pom poms I used on my bookmarks, I did several different methods to test out which size and method I liked best, including using a fork, my fingers, and making multiple balls at once using the back of a chair.
I think the easiest way to make pom poms is using a fork as you can see in the video above.
The video tutorial embedded above is also on our YouTube channel here, if you want to watch on YouTube.
And if you prefer a written tutorial, here you go…
How To Make A Yarn Pom Pom Bookmark
Step 1. Cut two pieces of yarn, each 40″ long.
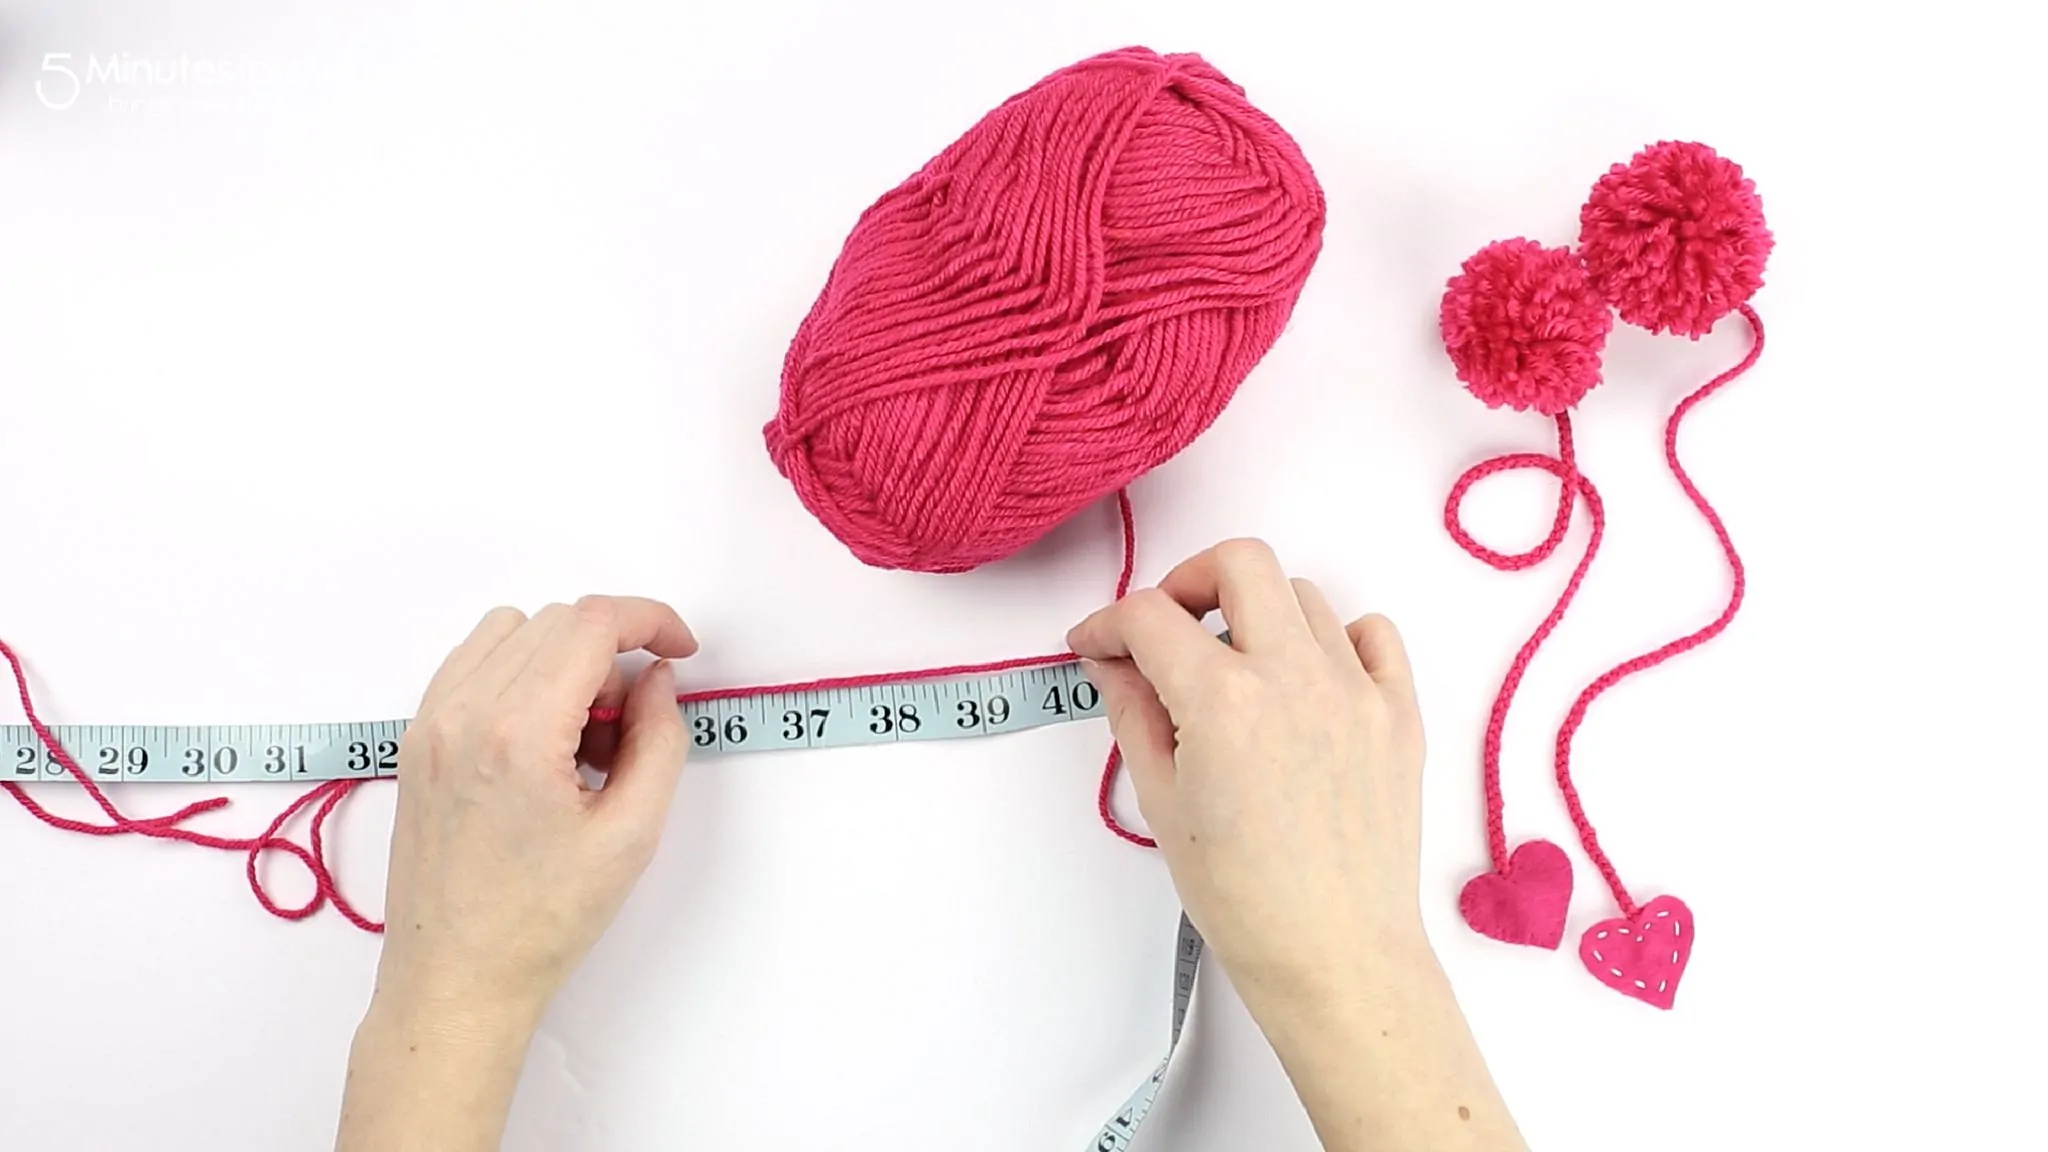
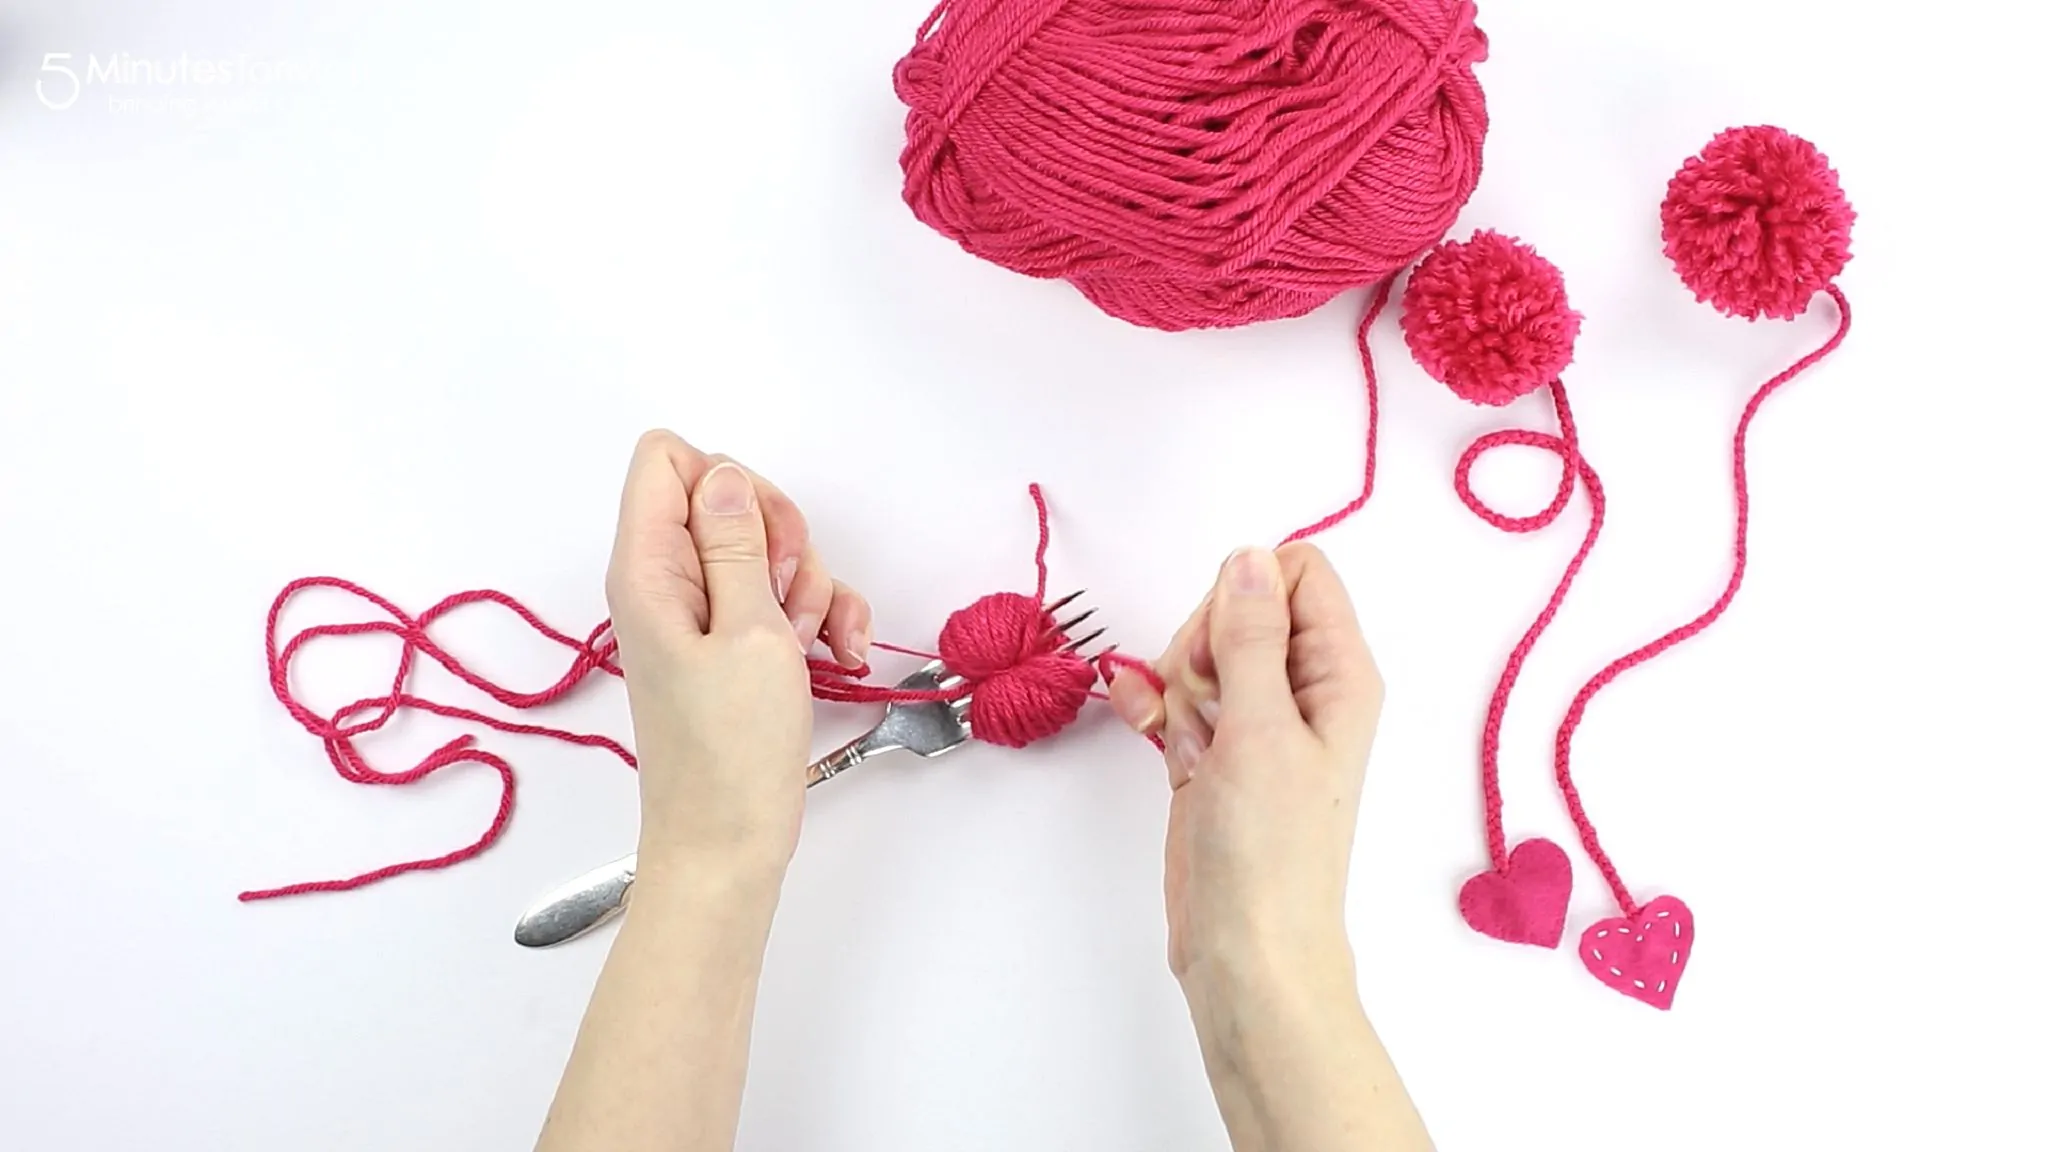
Step 2. Place the two 40″ strings in the middle of the fork and hold out of the way.
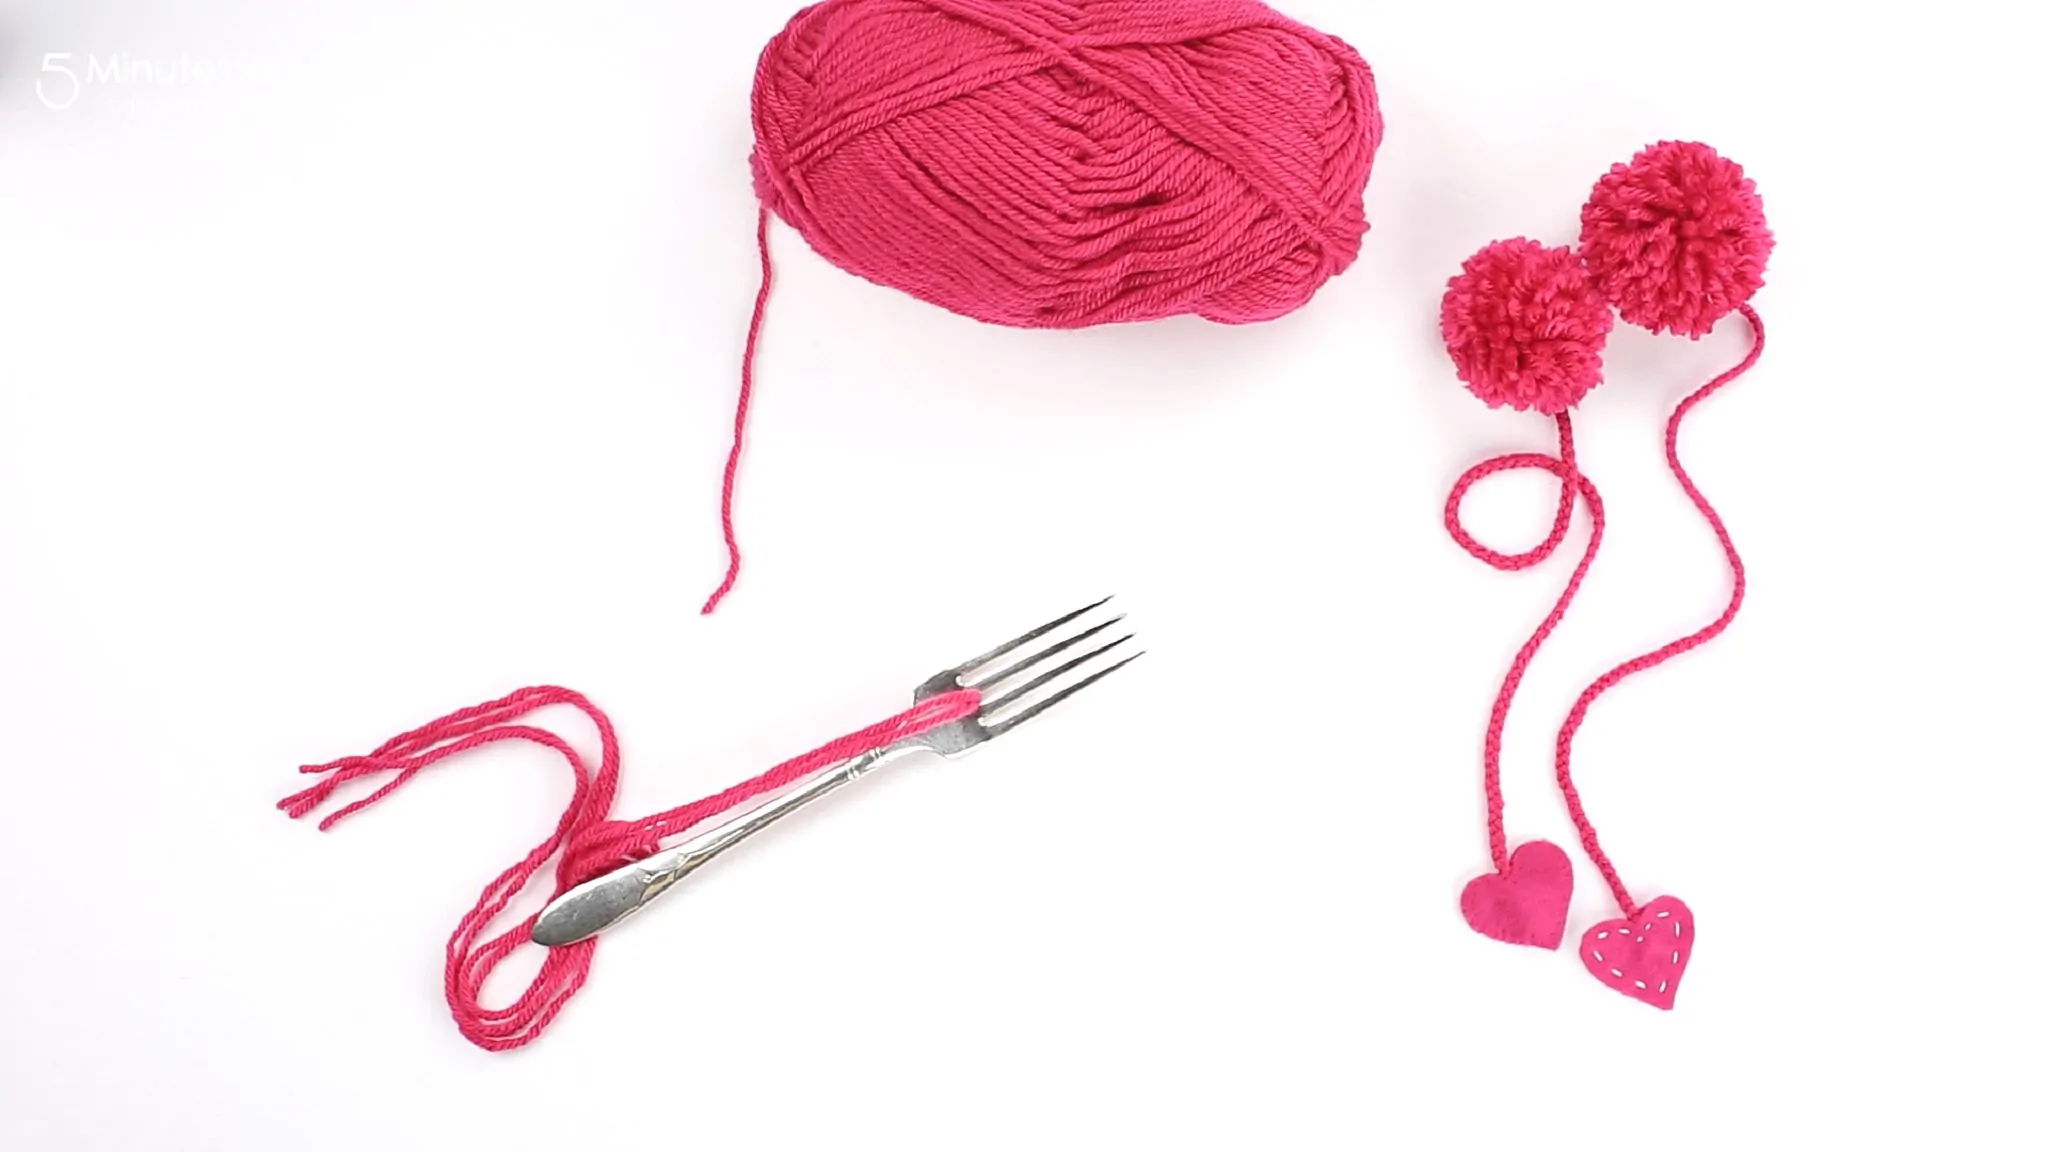
Step 3. Begin to wrap yarn from your ball/skein of yarn around the fork or tool you are using.
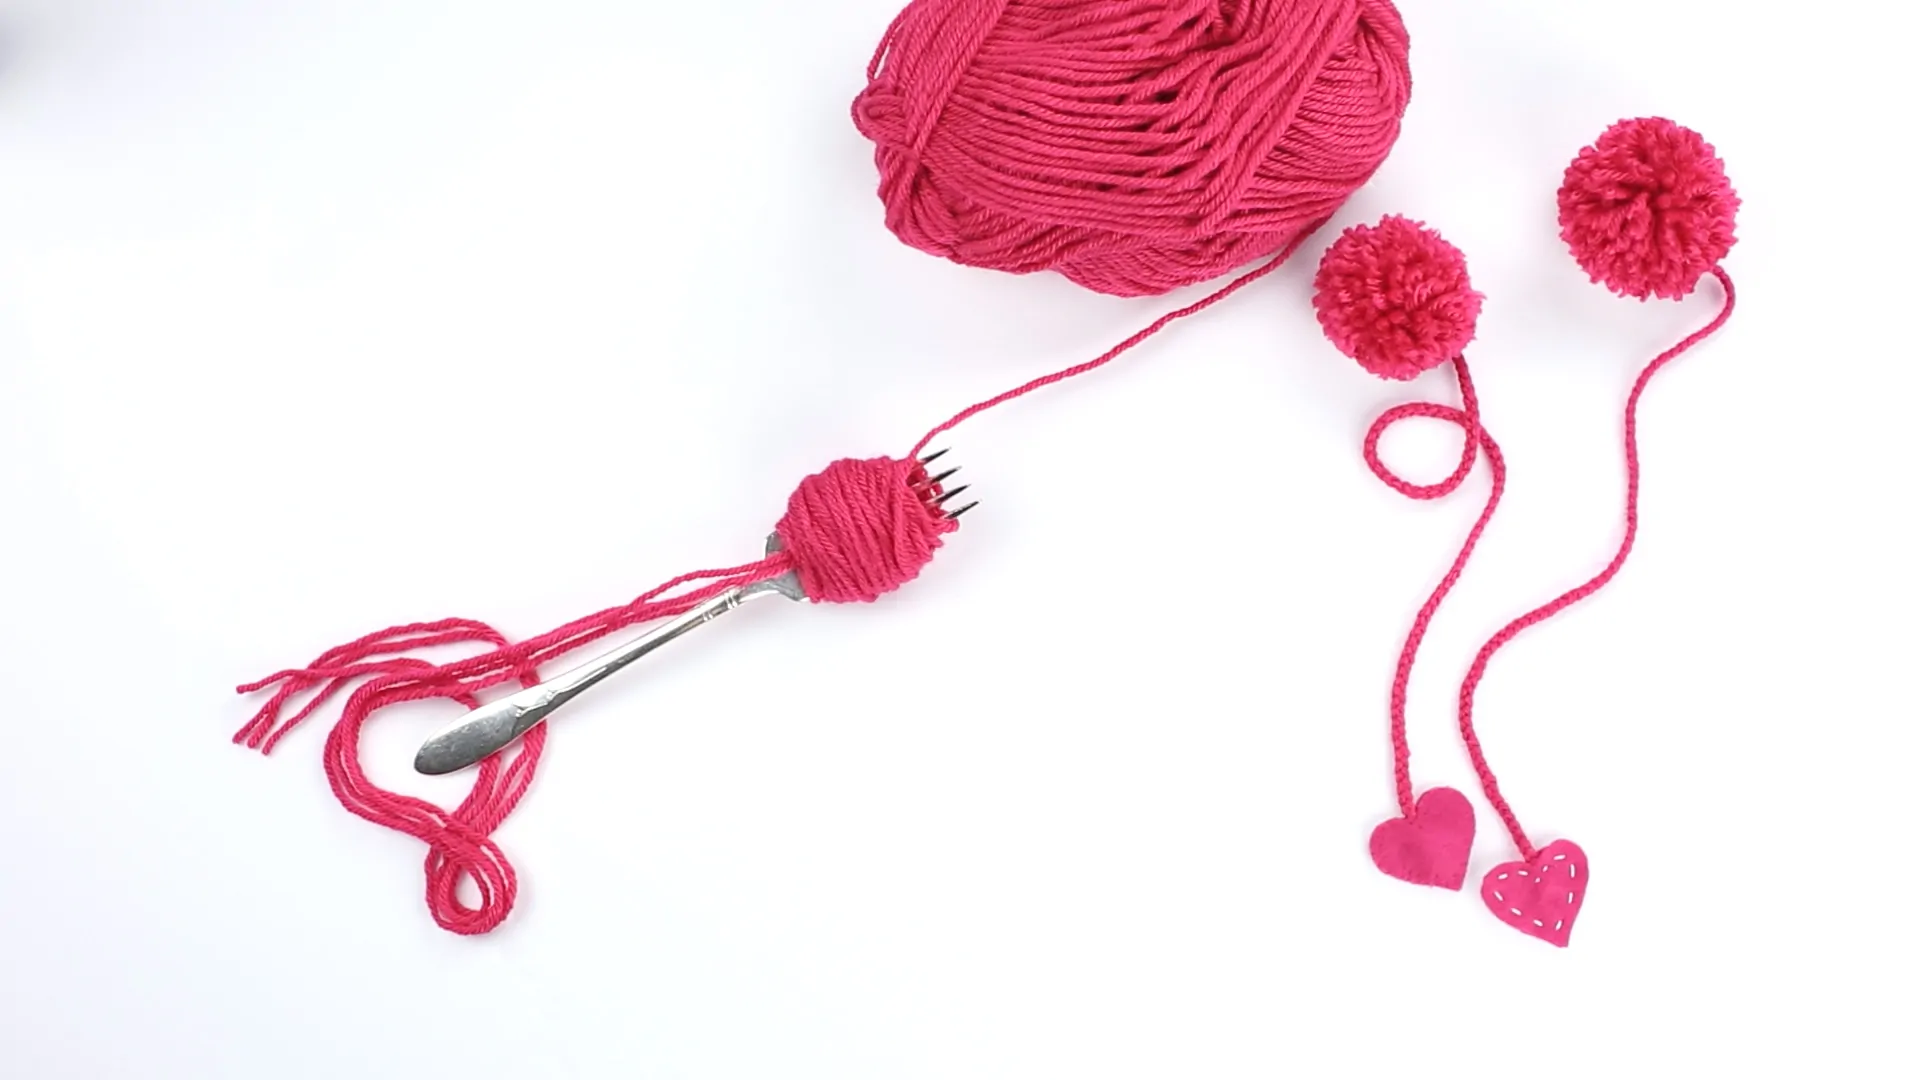
You can use your fingers to make a larger pom pom than the fork will make.
Step 4. Keep wrapping until you have a nice sized ball. Cut the yarn.
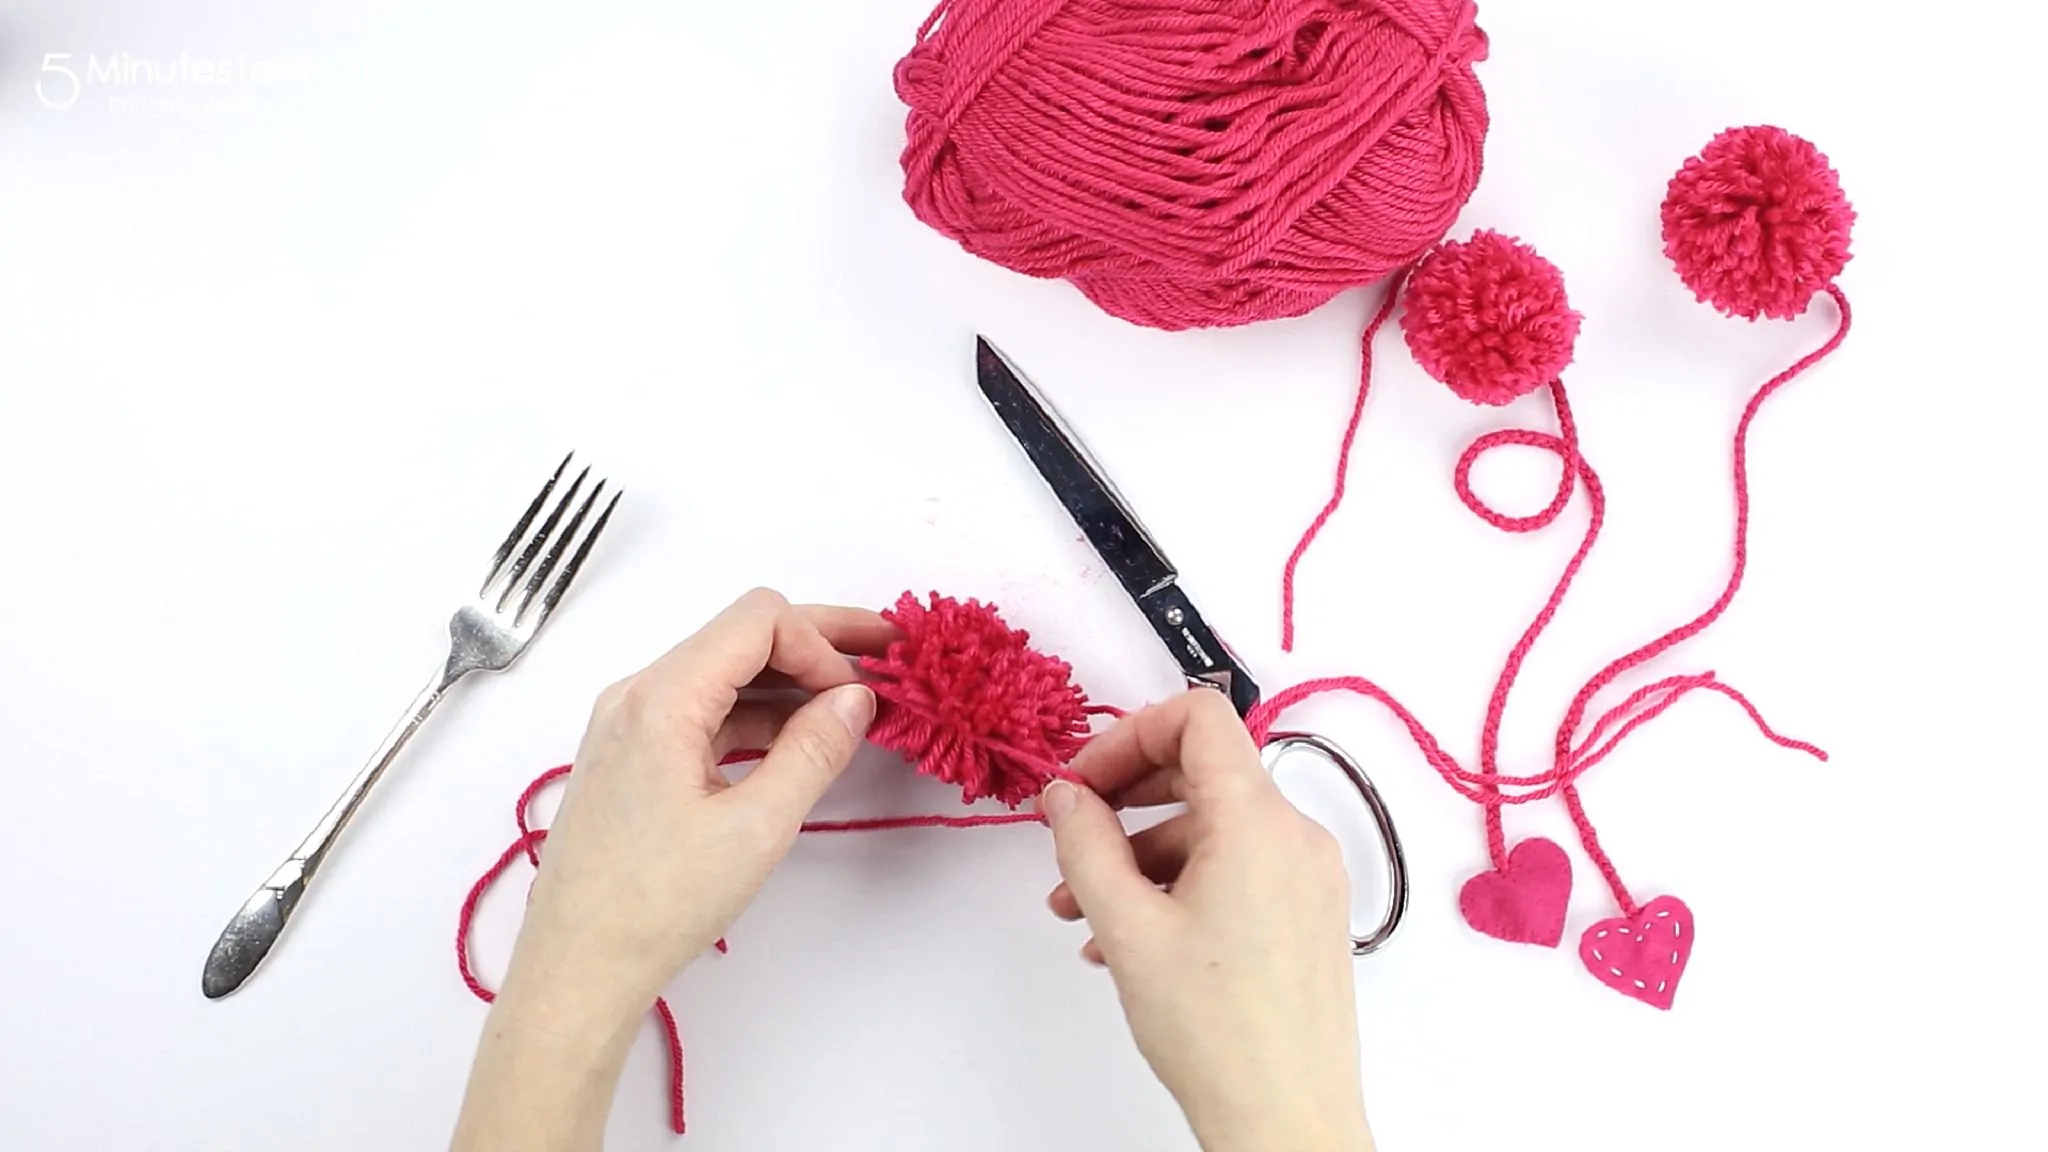
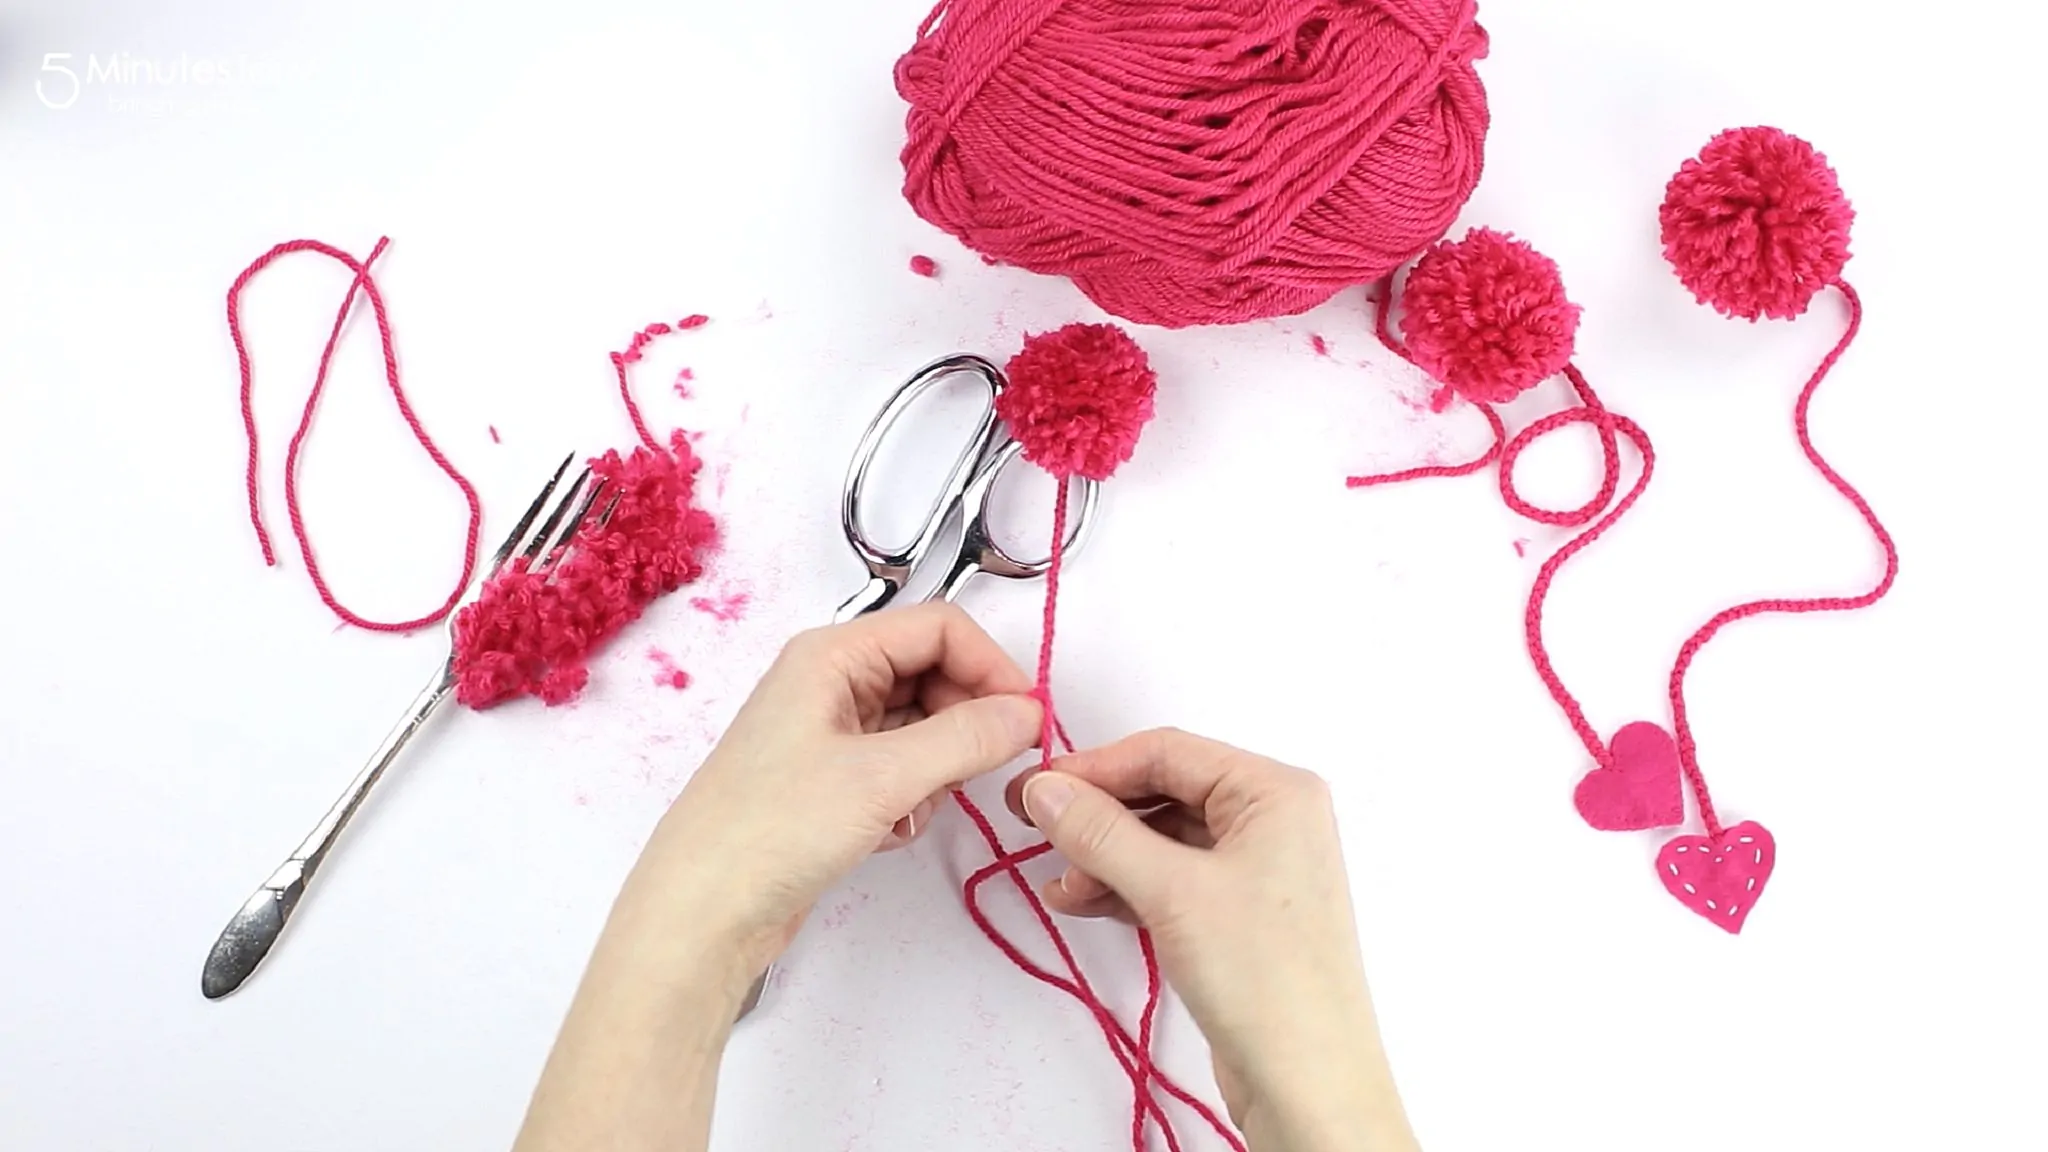
Step 5. Take one of the 40″ pieces of yarn and tie a knot tightly.
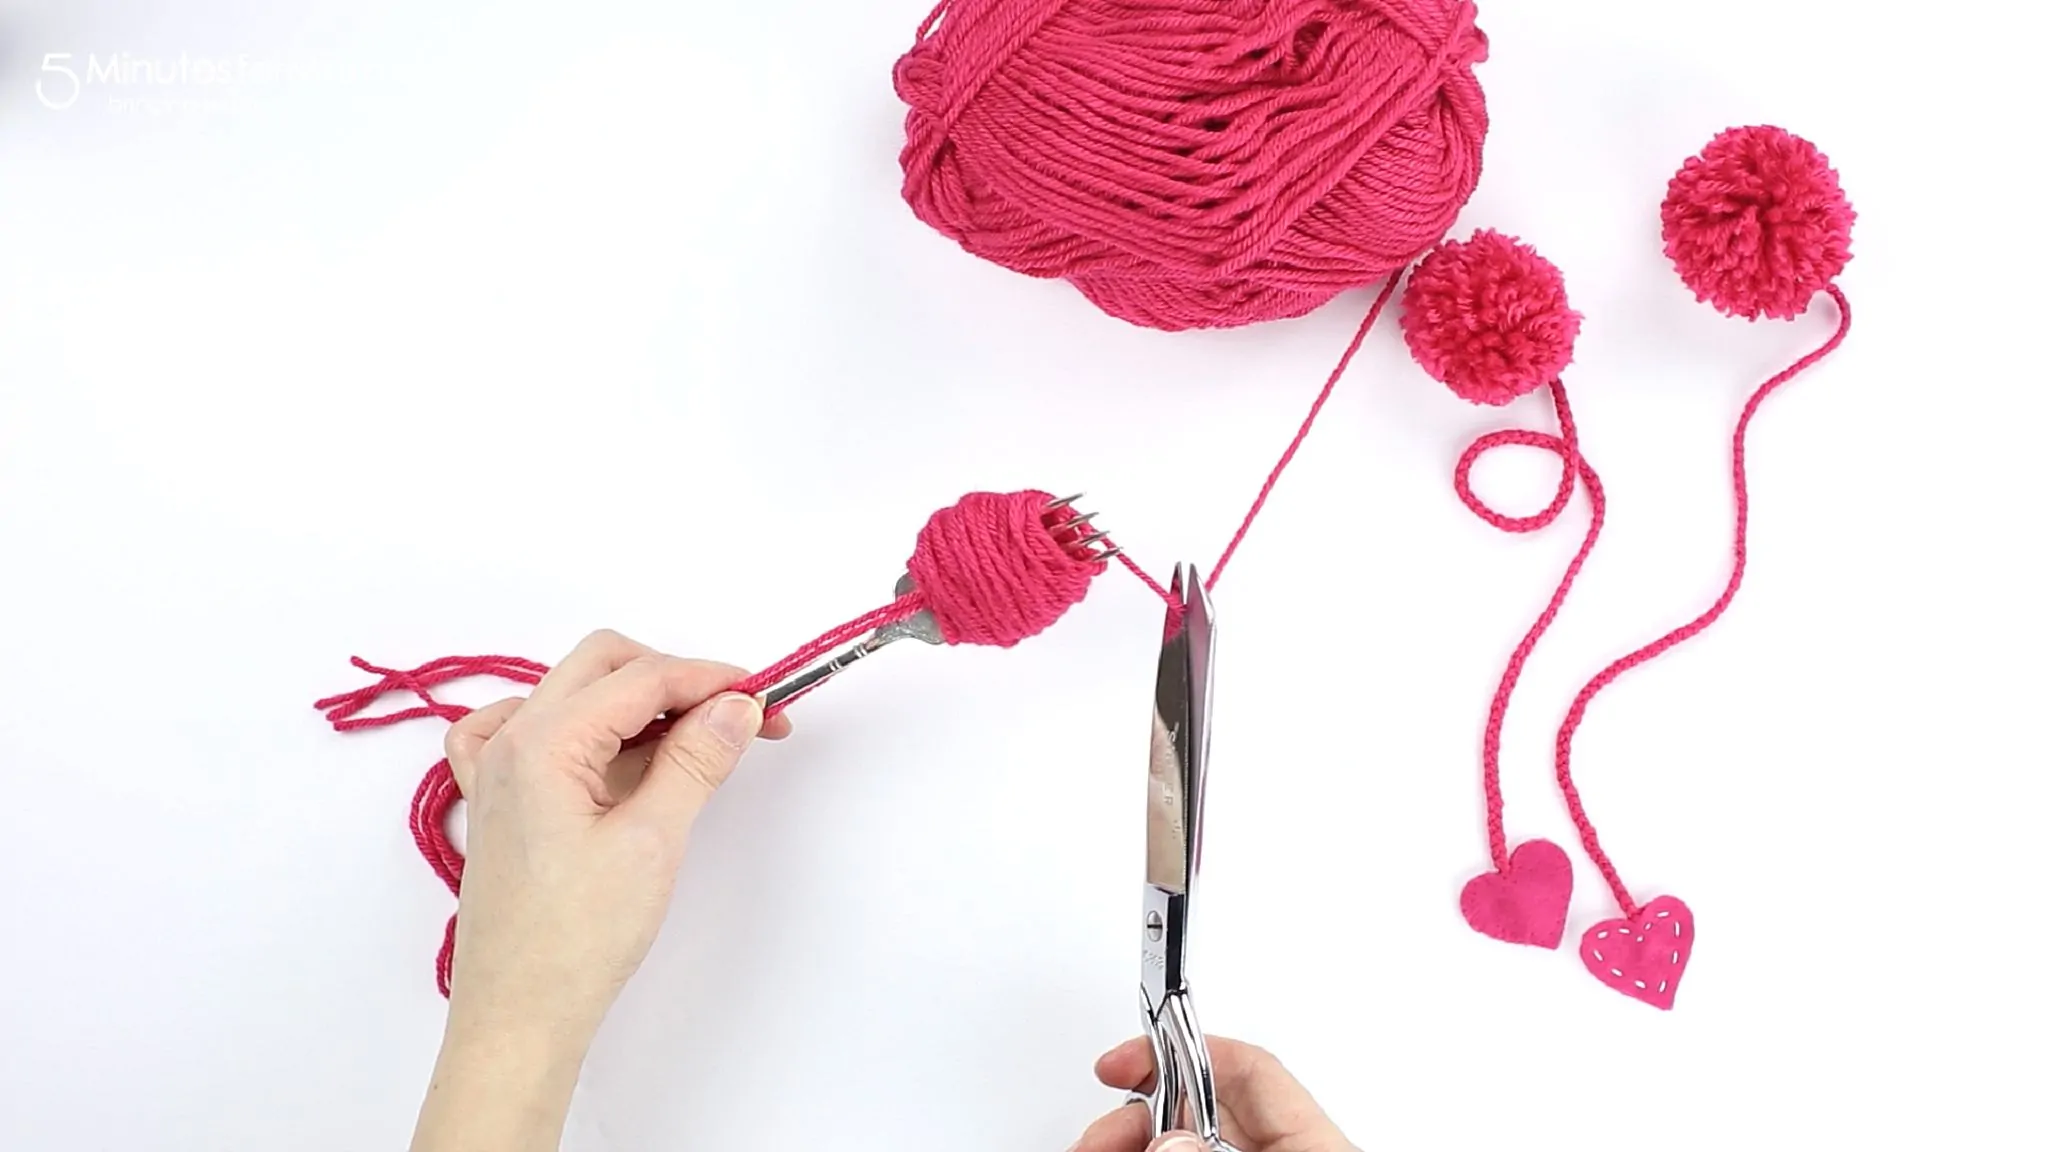
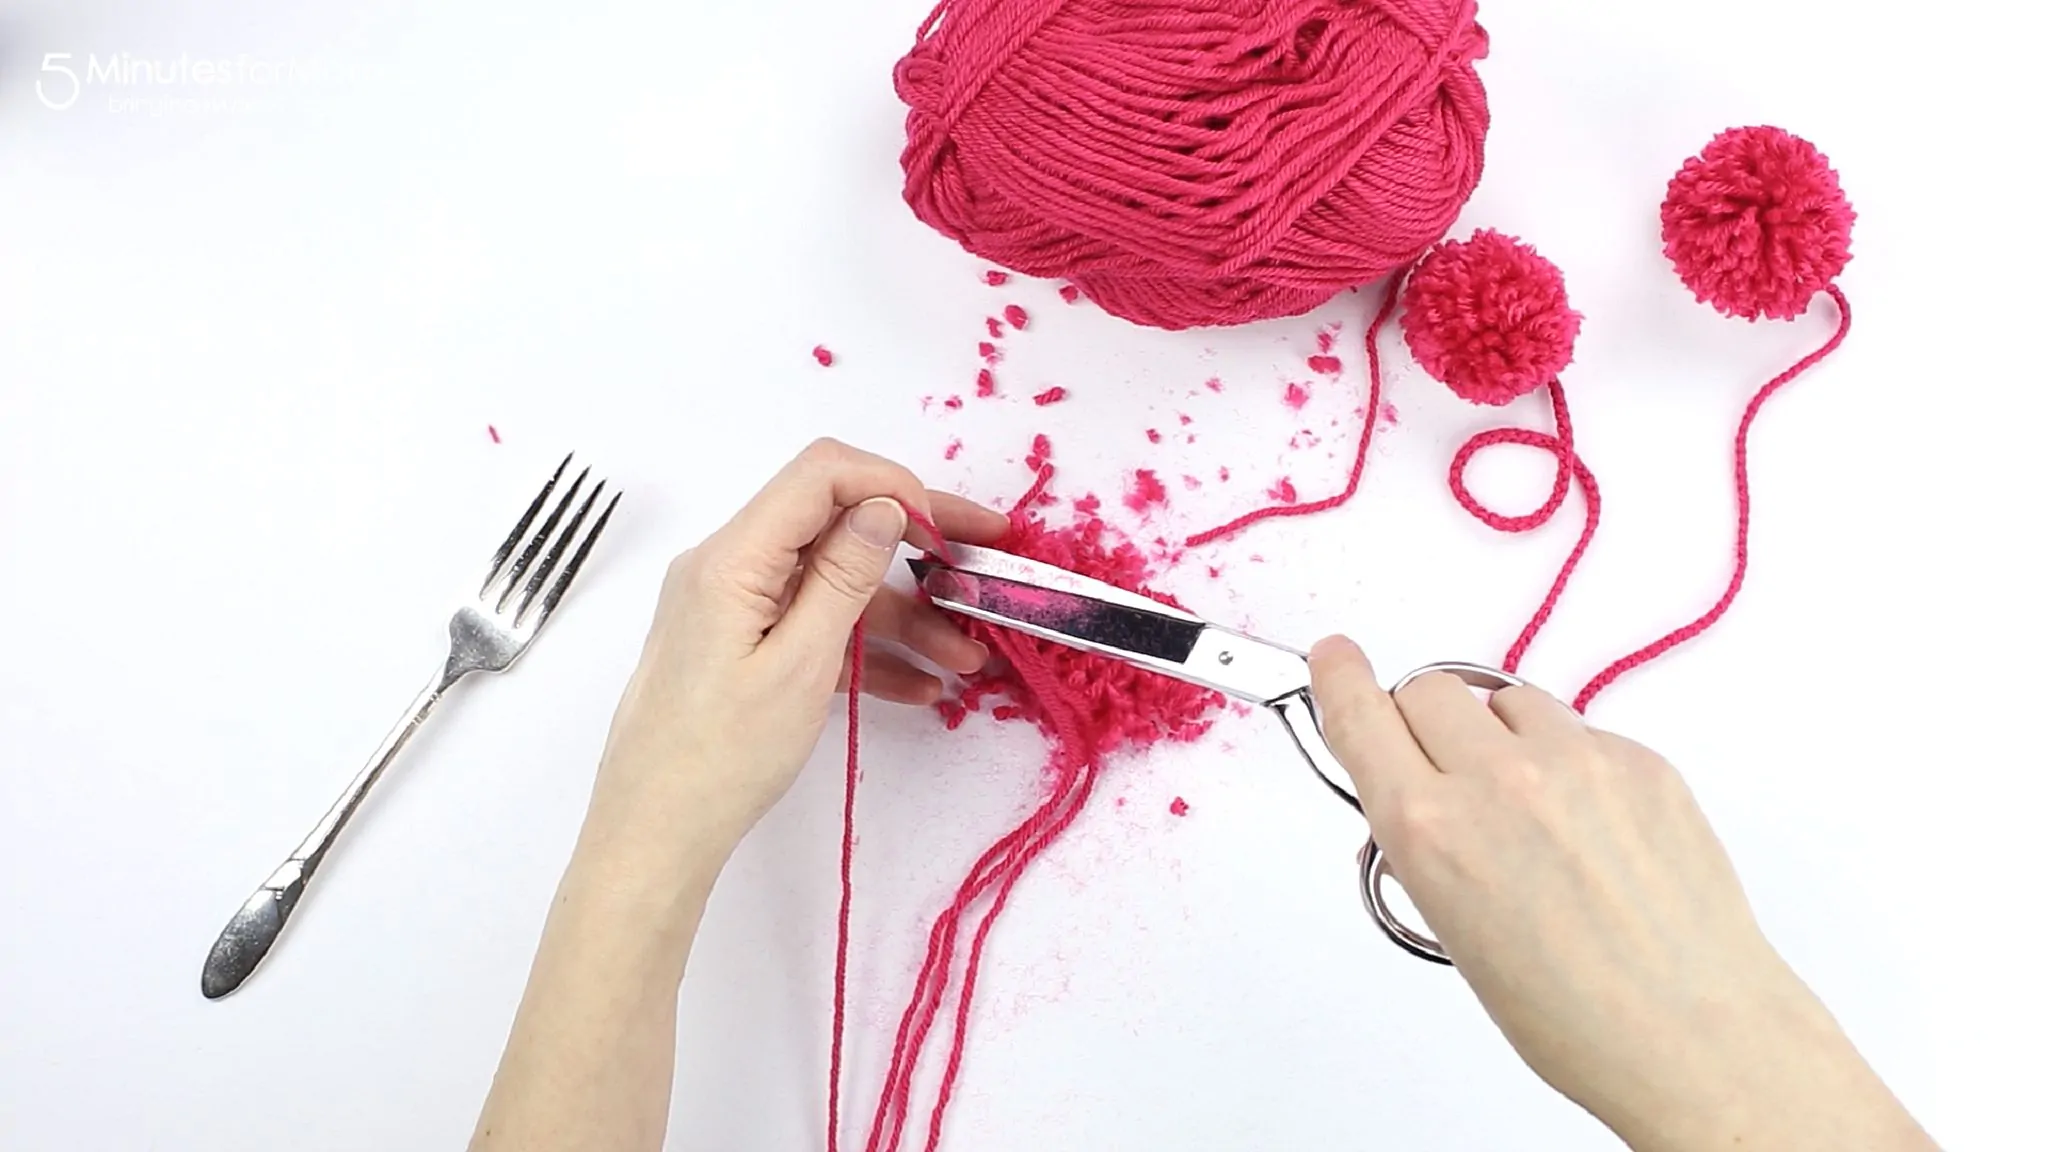
Step 6. With sharp scissors, cut along each side being careful to NOT cut the 40″ long threads.
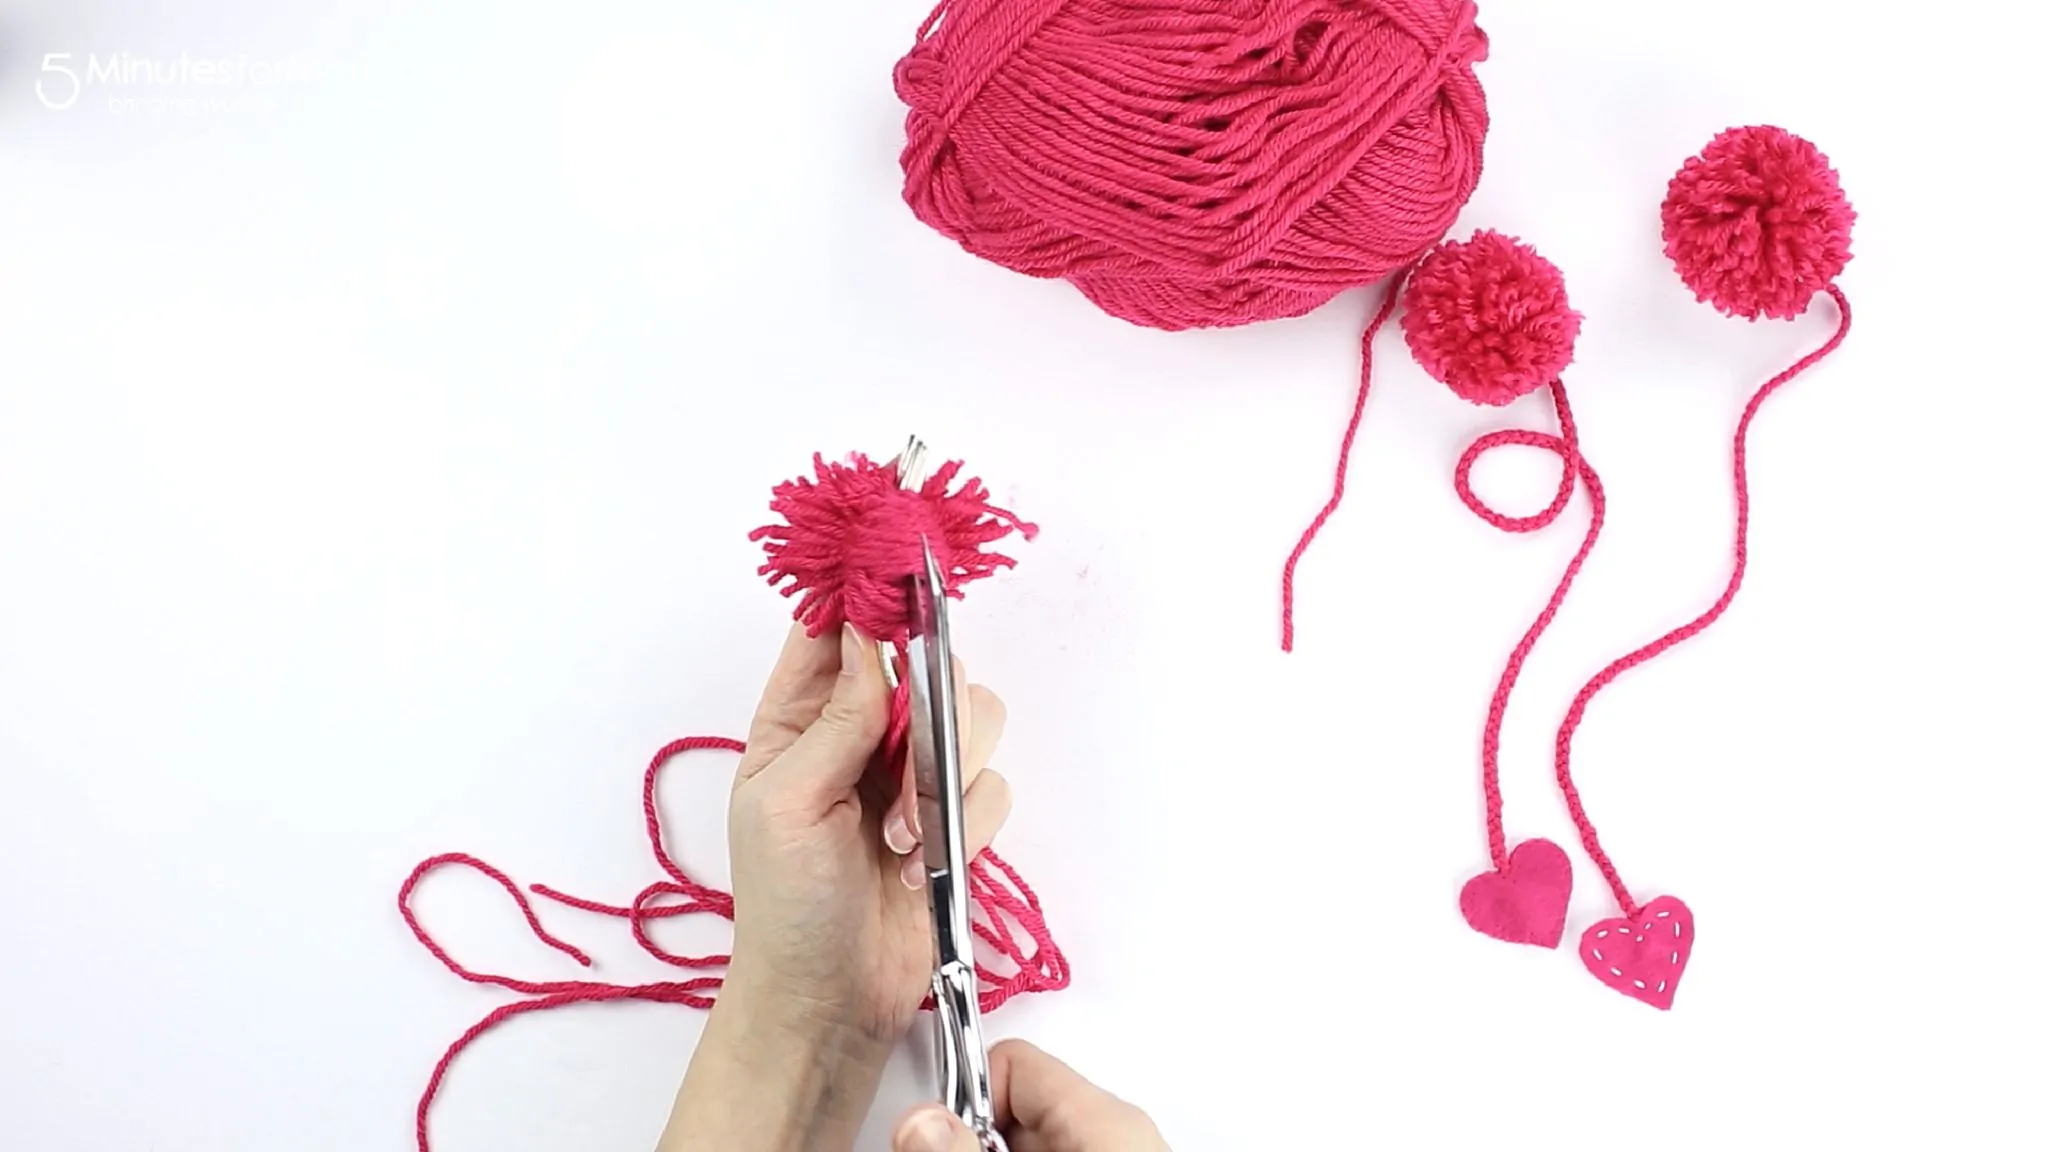
Step 7. Gently remove from fork and tie another knot with the second 40″ long string. It is critical to have tight knots or your pom pom will fall apart.
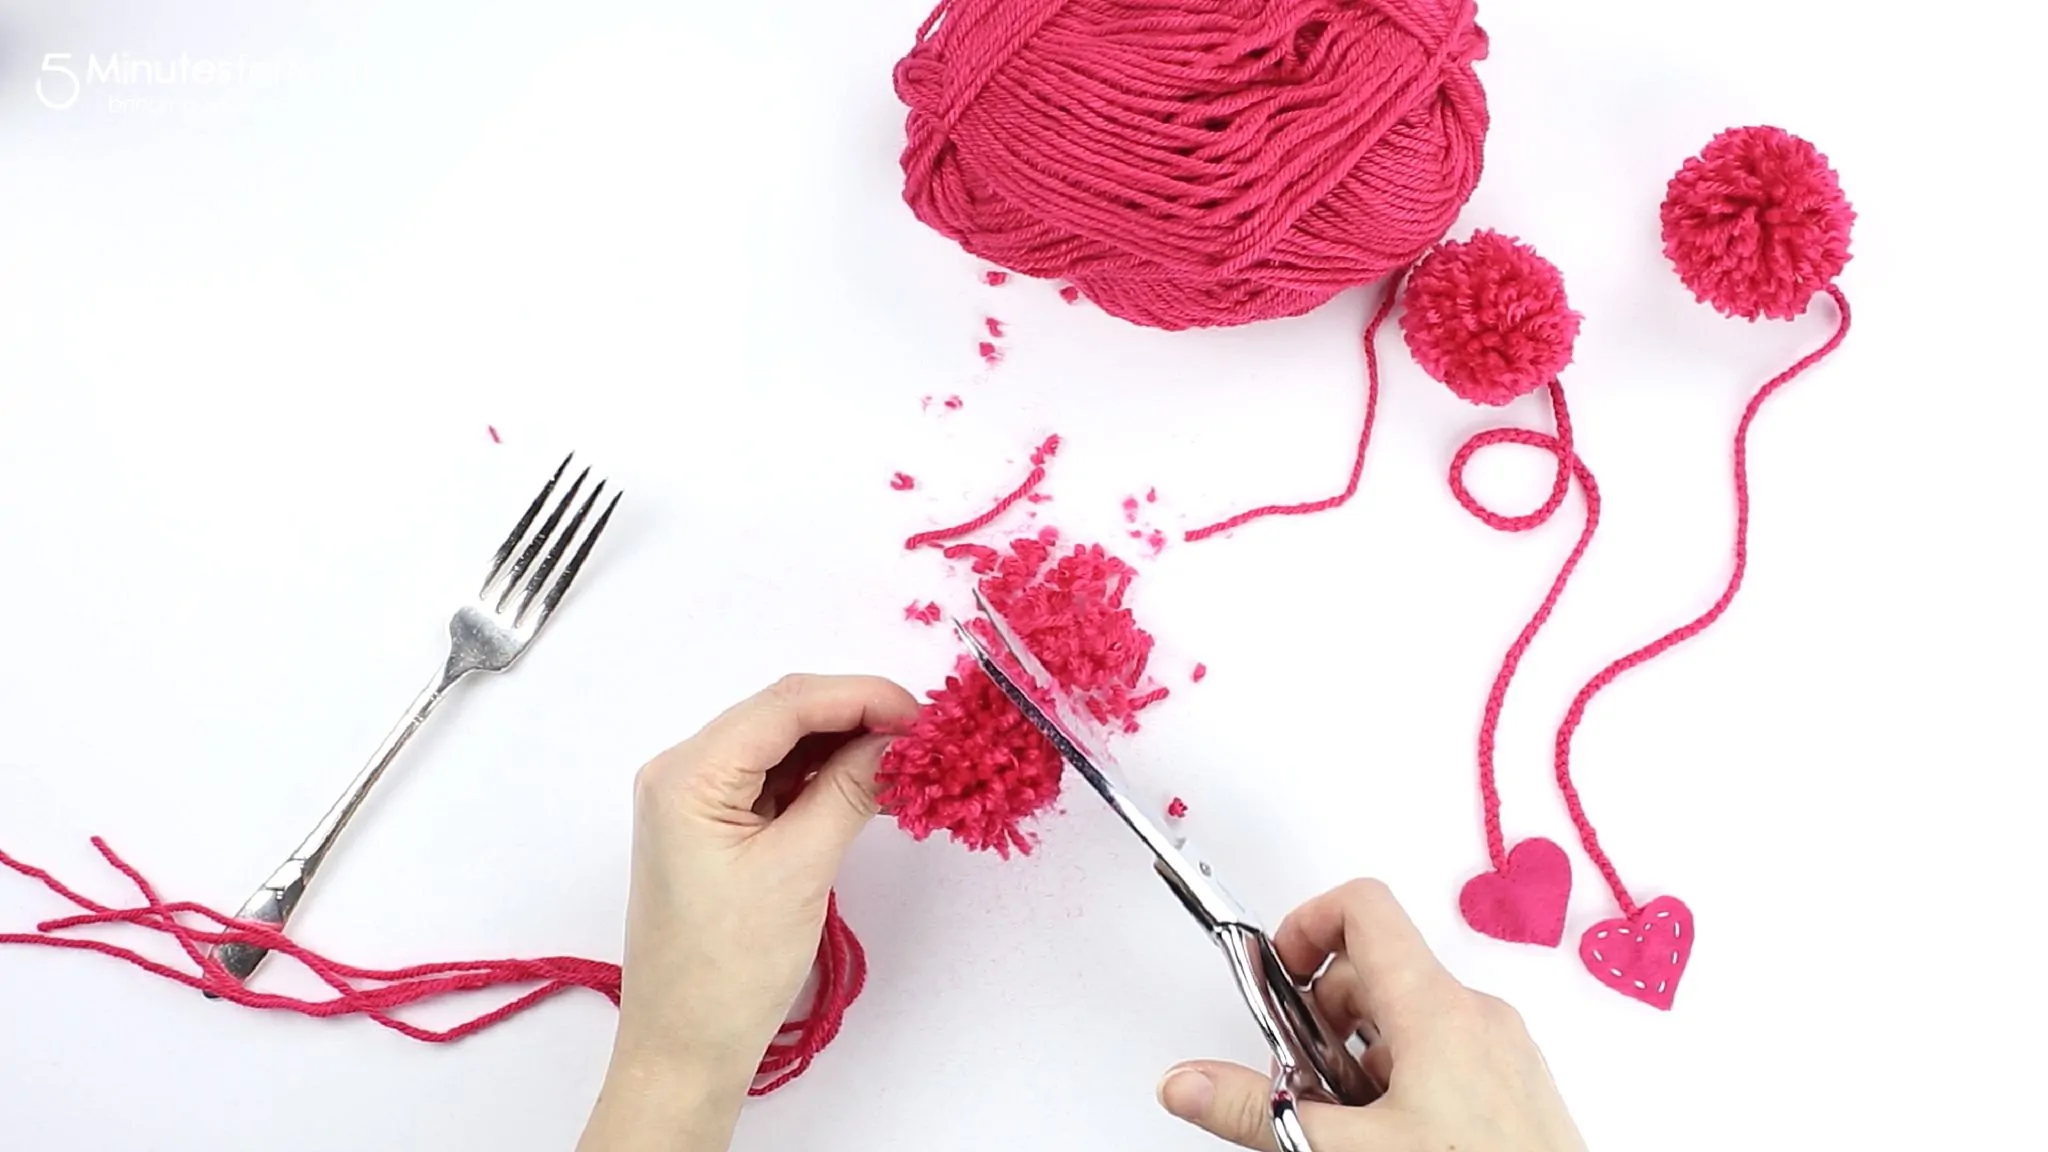
Step 8. Fluff and straighten out your pom pom. Trim ends to even out your pom pom, taking care to not cut the 40″ long strings.
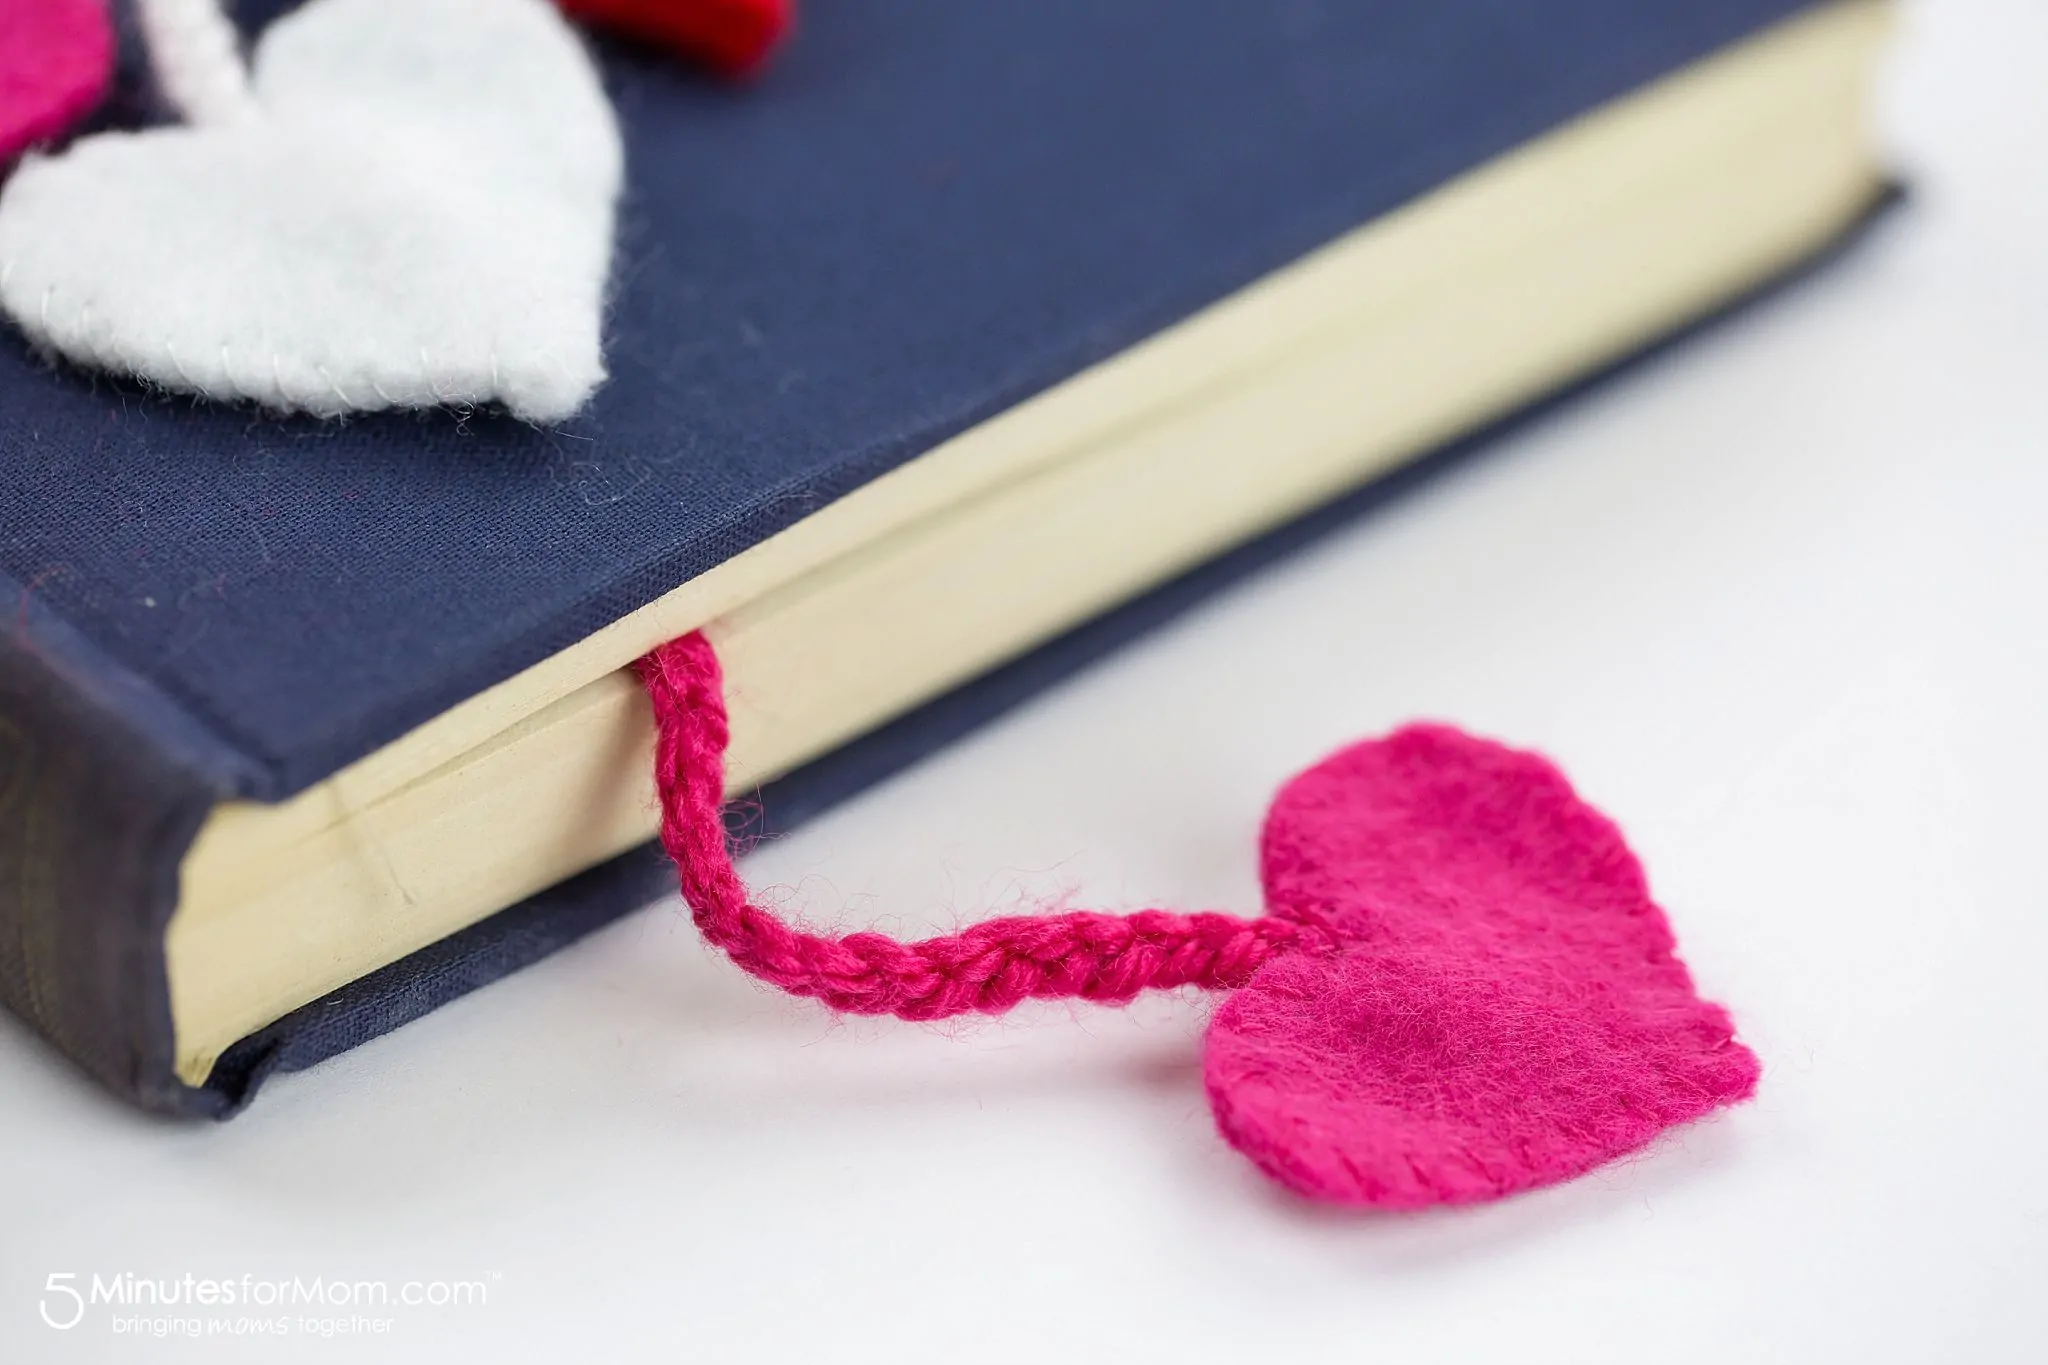
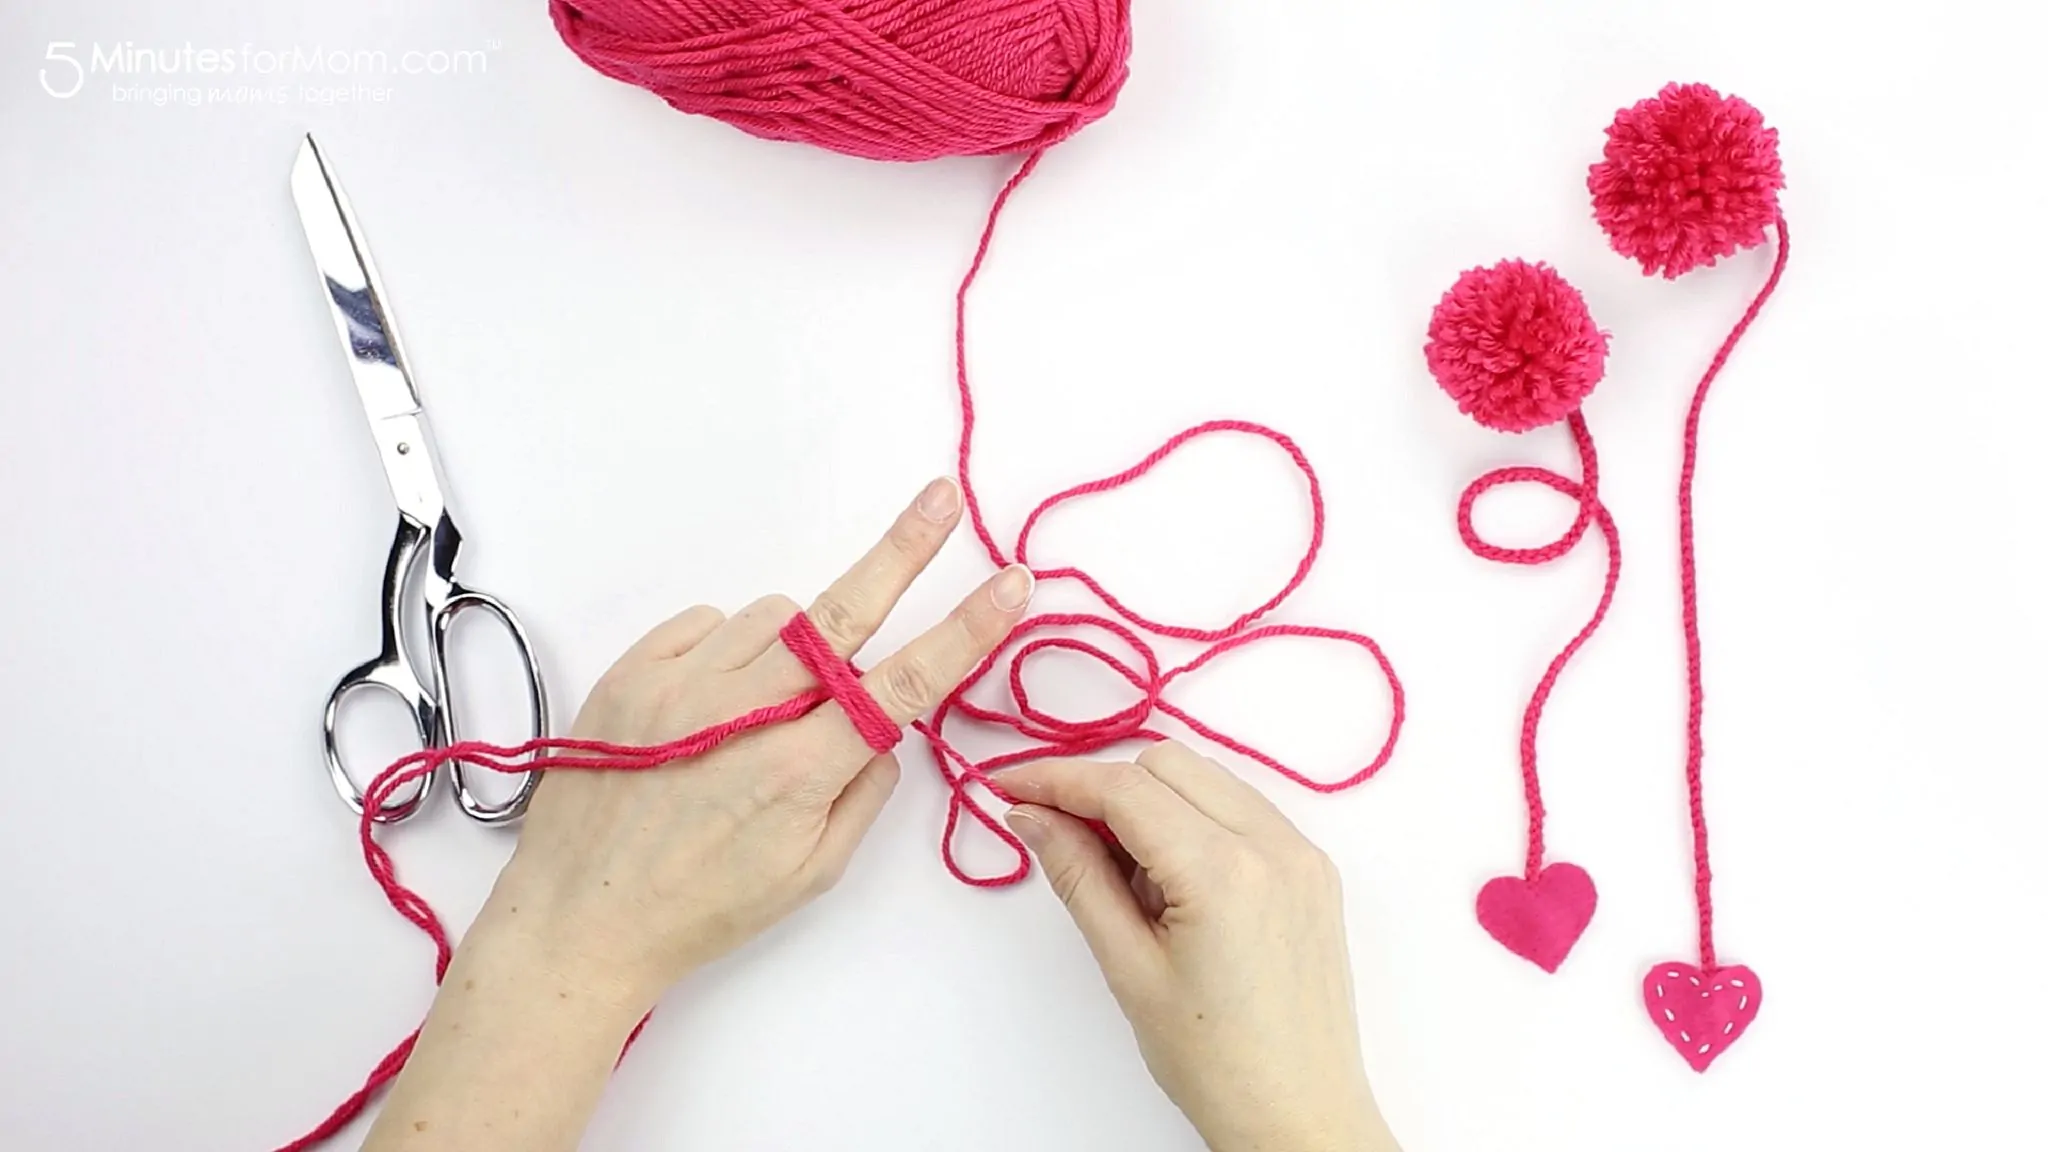
Step 9. Once you have a nice shape, you can cut off the fourth piece of long yarn and braid the remaining three long pieces. You may wish to stabilize your pom pom with something or pin it to a cushion so that it stays still while you braid.
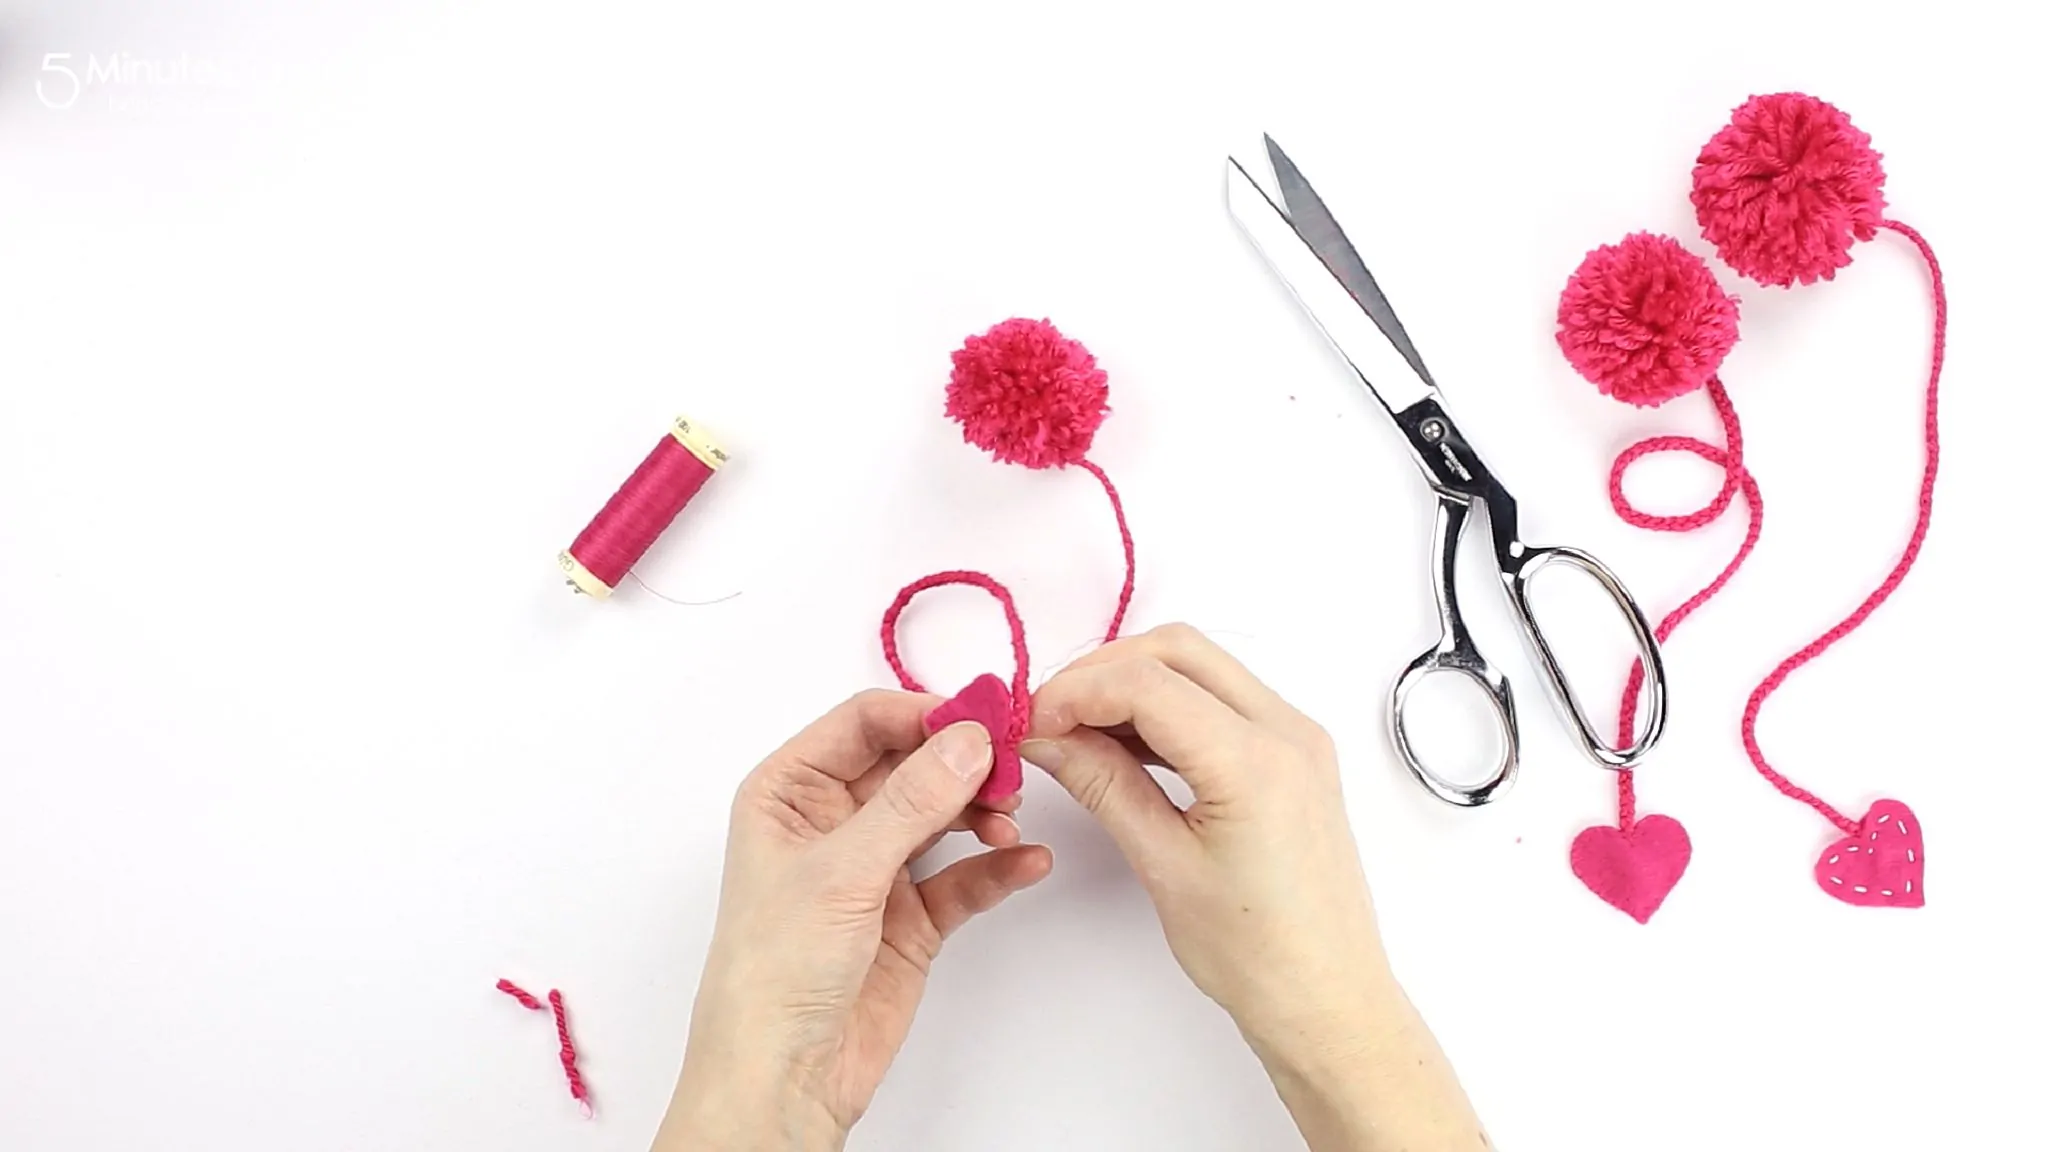
Step 10. Tie a knot at the end of the braid. Now you can leave it with just the knot or add a felt heart or other decoration. To make a felt heart, cut two small hearts out of matching felt.
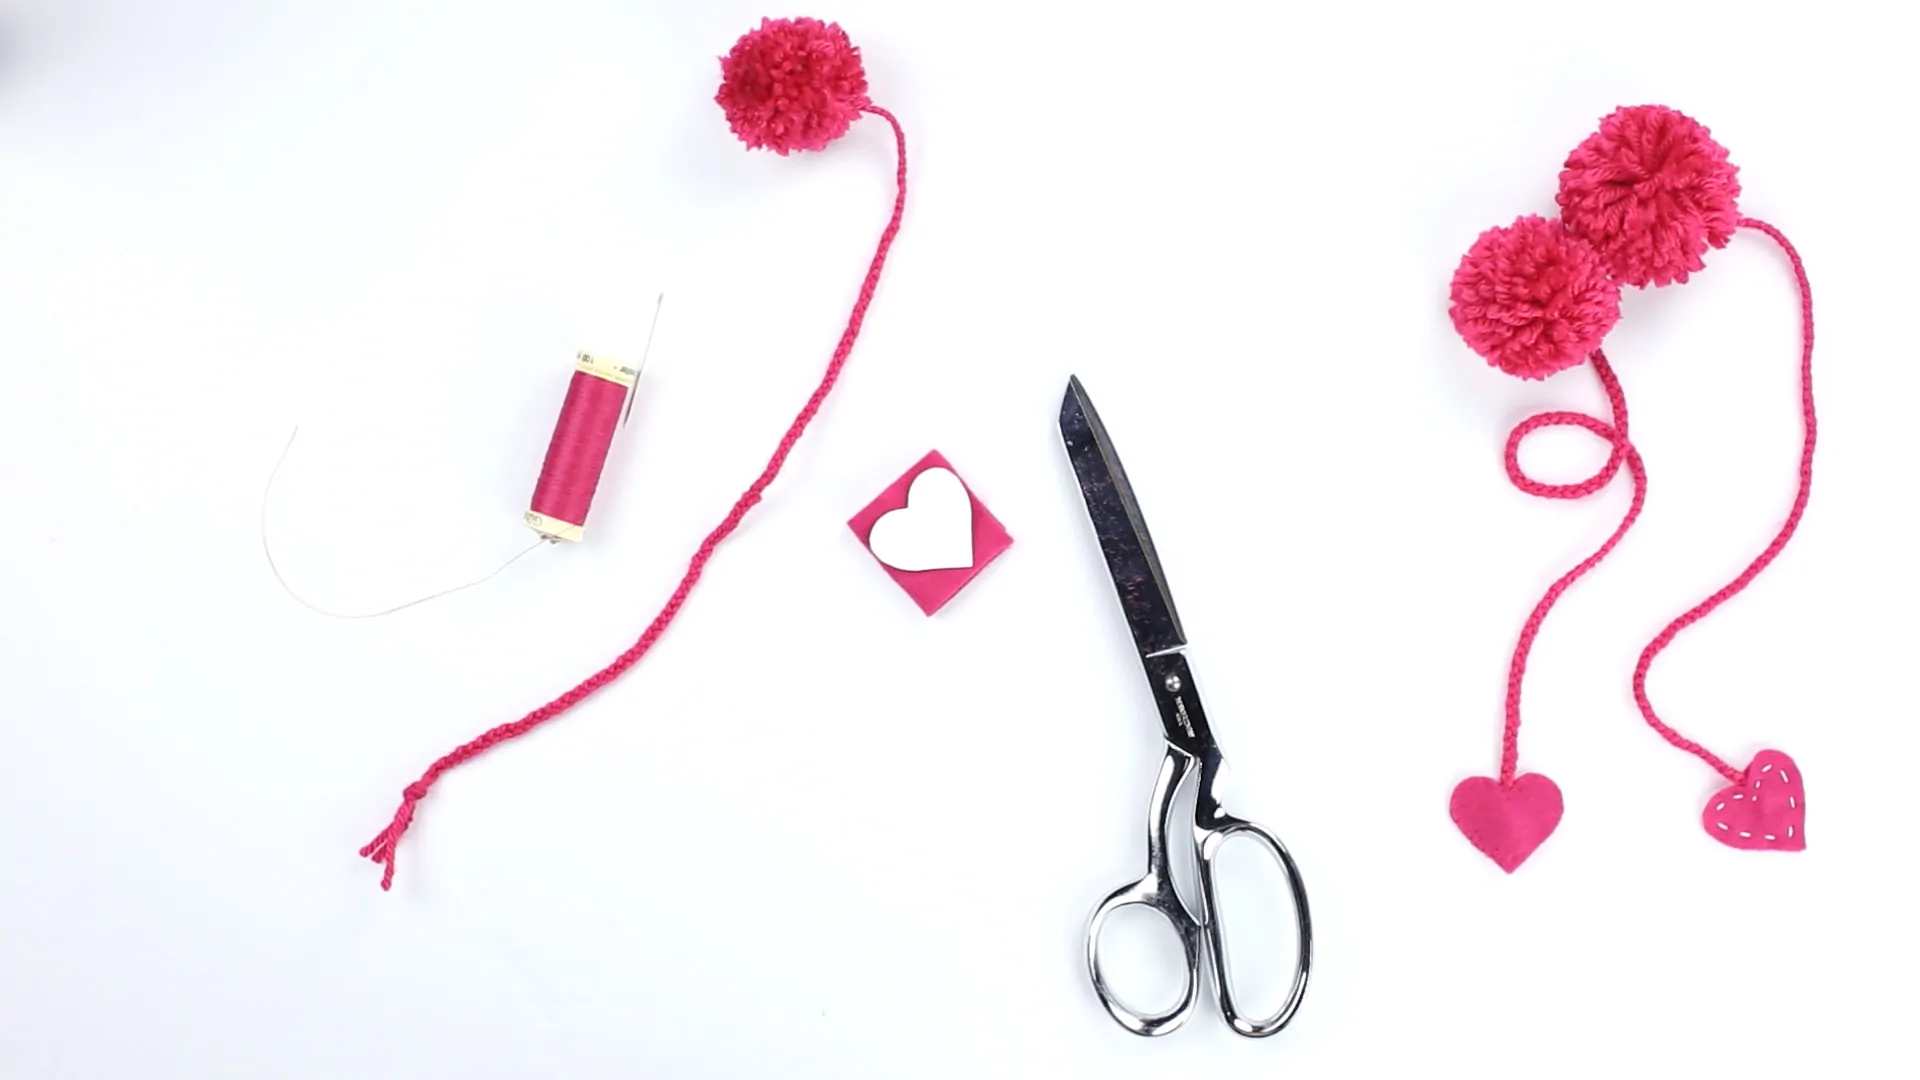
Step 11. Position felt hearts with the knot of the braid sandwiched in between the two hearts. For a no-sew option, you can secure together with fabric glue or hot glue.
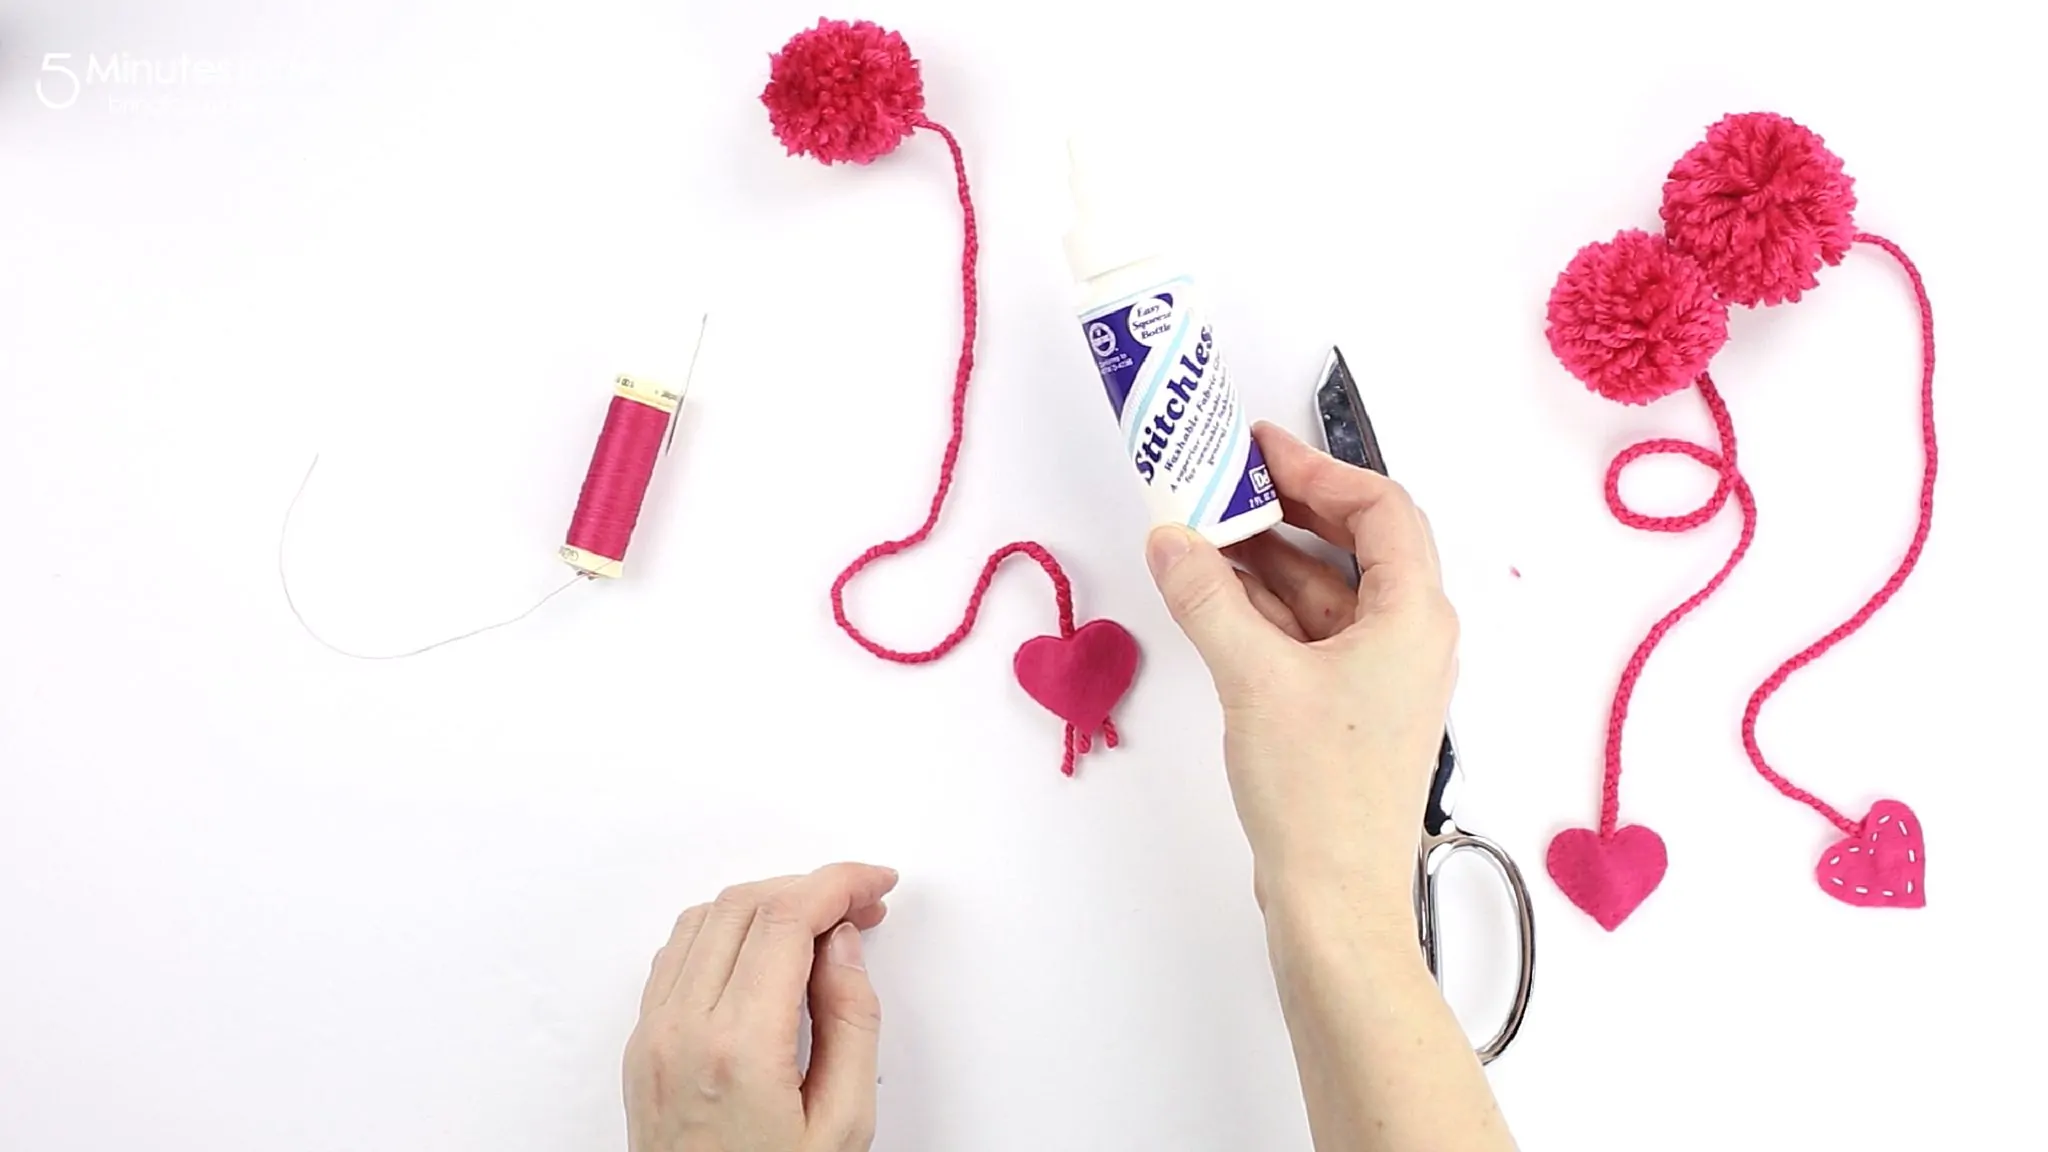
Step 12. For best results, sew together with your preferred stitch. I sewed some of my bookmarks with matching thread and an overcast stitch and some with white embroidery thread and a running stitch. Secure the braid inside the felt with extra stitches.
All Done! Enjoy your new bookmark.
Pin This Pom Pom Bookmark For Later
Written by Janice Croze, co-founder of 5 Minutes for Mom
We publish the original version of this post on February 10, 2016.
Talk with me: @5minutesformom and Facebook.com/5minutesformom
Pin with me at pinterest.com/5minutesformom
Don’t Miss These Craft Ideas
And check out these ideas for fabulous Valentines gifts for kids, Valentines gifts for moms and for dads.