This post may contain affiliate links. Read my disclosure policy here.
Are your favorite photographs trapped in hard drives? Most of mine are. And it drives me crazy!
Lately, I am on a mission to get my images out of computer and onto my walls where my family and I can enjoy them every day.
Along the way, through some mistakes and some successes, I have learned a few tricks to make framing and displaying your favorite photos easier and more successful.
1. Make a Plan
I used to have a habit of buying frames I liked or that were on sale and then never using them. They sat in a to do pile for a few months until I stacked them in the storage room or the back of the closet and completely forgot about them. The problem was that I didn’t have places or photos planned for them.
Walk around your house and look where you want to display photos and what kinds of photos would work best in those spaces. Decide what colors, sizes, and frame styles would suit the walls. You may want to try new print styles like metal prints which are photographs printed on a sheet of aluminum. They look really fantastic!
Make notes or draw sketches so you don’t forget your ideas.
If you have a huge space to fill, you might feel overwhelmed. Check out our tips for how to decorate a large wall.
2. Print 4×6 Samples
Once you know what photos you want to print, printing 4×6 samples can be a great way to get everything “right” before you splurge on the larger sizes.
When you print a sample you can check your image and use it as you make your plans. And printing extra 4x6s is never a waste — you can give your samples to family or friends who would love some extra photos of your kids.
3. Be Aware of the Color of Your Walls
A couple months ago, I printed some gorgeous cream-tone images for my twin sister’s birthday. I framed them and brought them over to hang in her house.
But when I went to hang them over her couch, where I had initially thought I would put them, I realized the cream-tone blended into her walls and made for a flat, boring experience.
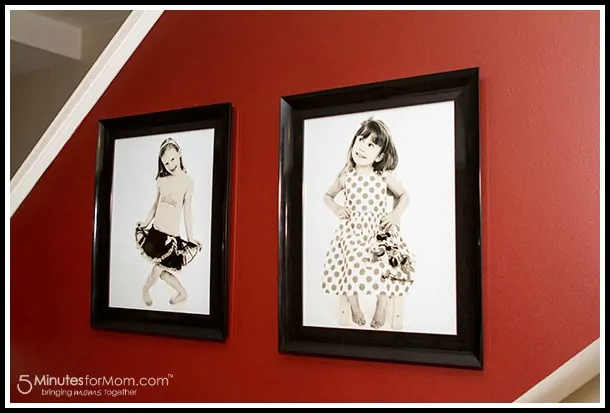
Fortunately, Susan has a rich, red-toned wall that made the pictures pop. So I changed my plans, and decided to hang the pictures there. I will print some color canvas images for over her couch.
Pay attention to the shades of your walls and what color photographs will work best — color, aged or de-saturated looks, black & white, etc.
Bring your 4×6 samples you printed and check them against the walls. Do they pop or get lost?
4. Consider Buying Your Frames Before Printing Your Photos
If you are not custom framing your photos, you may want to consider finding your frames before you print your photos.
While your top priority is your photo and your frame is definitely not the highlight, it can be incredibly frustrating to print your images and then not be able to find the exact dimensions in the frame you want. Then, procrastination might set in and those prints may never get framed!
Use your 4×6 samples to see if the photo works well with the frame AND determine if the image will still look good cropped in the frame’s dimensions. For example, an 8×10 crops your original image. To retain the same proportions as your 4×6, you need a 8×12, etc.
5. Canvas Prints are Worth Every Penny
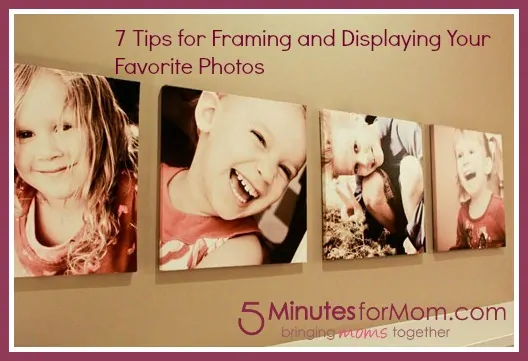
I am a huge fan of canvas prints. While they may seem expensive, when you factor in that you don’t need to frame your gallery wrapped canvas print, it is much more reasonable.
And now, with so many online options to purchase quality canvas prints, it really can be quite affordable.
Again, plan carefully what images you want to use, what dimensions and shapes would look best, and where in your house you want to display them.
6. Make Your Kids Larger Than Life
Huge prints can be so fun — and who loves fun more than kids?!?
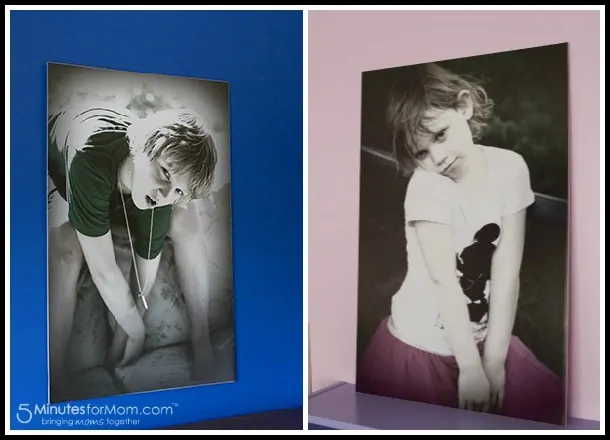
Consider blowing up your favorite image of your child for one of their bedroom walls. I made huge 24×36″ prints and had them mounted on foam core for each of my kids rooms.
I put the images through a few Picmonkey filters to make them even more dramatic. My kids love their funky, rock-star photos.
7. Hire a Photographer
Lastly, if you don’t have the images you want, hire a professional photographer. Having photos of you and your kids that capture who you all are at this moment in time is as priceless as it can get.
And when you sit down to order your images with your photographer, you will be prepared to know where you want your photos and you can make your buying and framing decisions right then! (Don’t do what I did five years ago and get family photos and never hang them. Those photos are still unframed and in a manila envelope somewhere in my house. sigh)
Have fun and get framing!
Written by Janice Croze, co-founder of 5 Minutes for Mom.
We want to get to know you better — Tweet with us: @5minutesformom, find us on Facebook: Facebook.com/5minutesformom, or join our newsletter list.
More Ideas for Displaying Your Favorite Photos
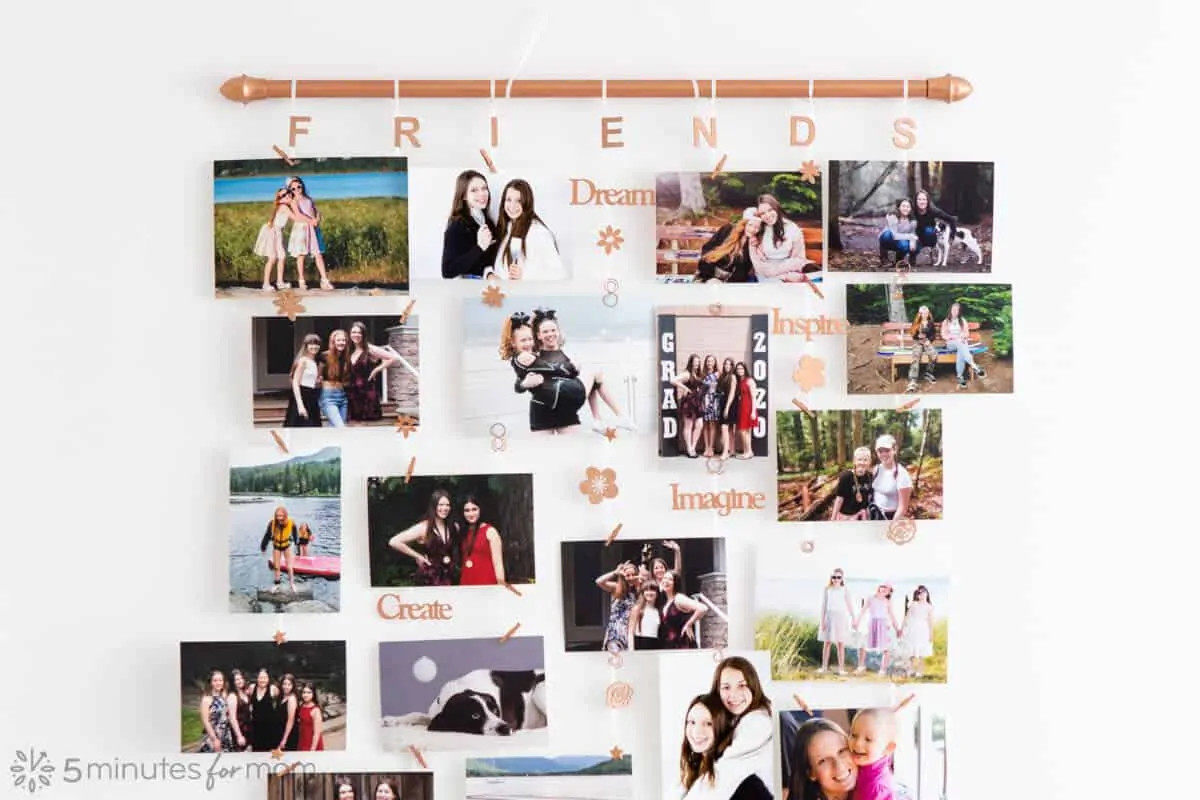
If you want to keep the mood of your room fun and casual, you could skip the frames and create Hanging Photo Display.



Byers Choice Collectables says
These are awesome and super cute framing tips you have posted. I like framing my pics…
African American Santa says
This makes me want to rethink my artwork wall composition. I think I will do something like this on my feature wall.
Ned says
I’m a huge fan of blown up photographs put on the wall. They are fun and add so much character to a a room!
Lauren says
I agree that it’s smart to think ahead when taking and framing photos. Sometimes the background in the photo doesn’t look against your hanging wall. And, if you frame the photos bit by bit without a plan, the frames might not look good together! I like the idea of canvas prints — they sound like they make things a lot easier!
Janice says
Yes Lauren – that is one reason I love Canvas Prints. I often obsess about frames! lol Thanks for sharing your feedback. 🙂
Tanya says
Ive been wanting to update my pictures on my walls for a while now. I love the black frames on that red wall by the way. It does just really pop. Thanks for the tips. I needed a kick of inspiration to get my creativity going.
Janice says
Fabulous Tanya! So glad the post was helpful. 🙂