This post may contain affiliate links. Read my disclosure policy here.
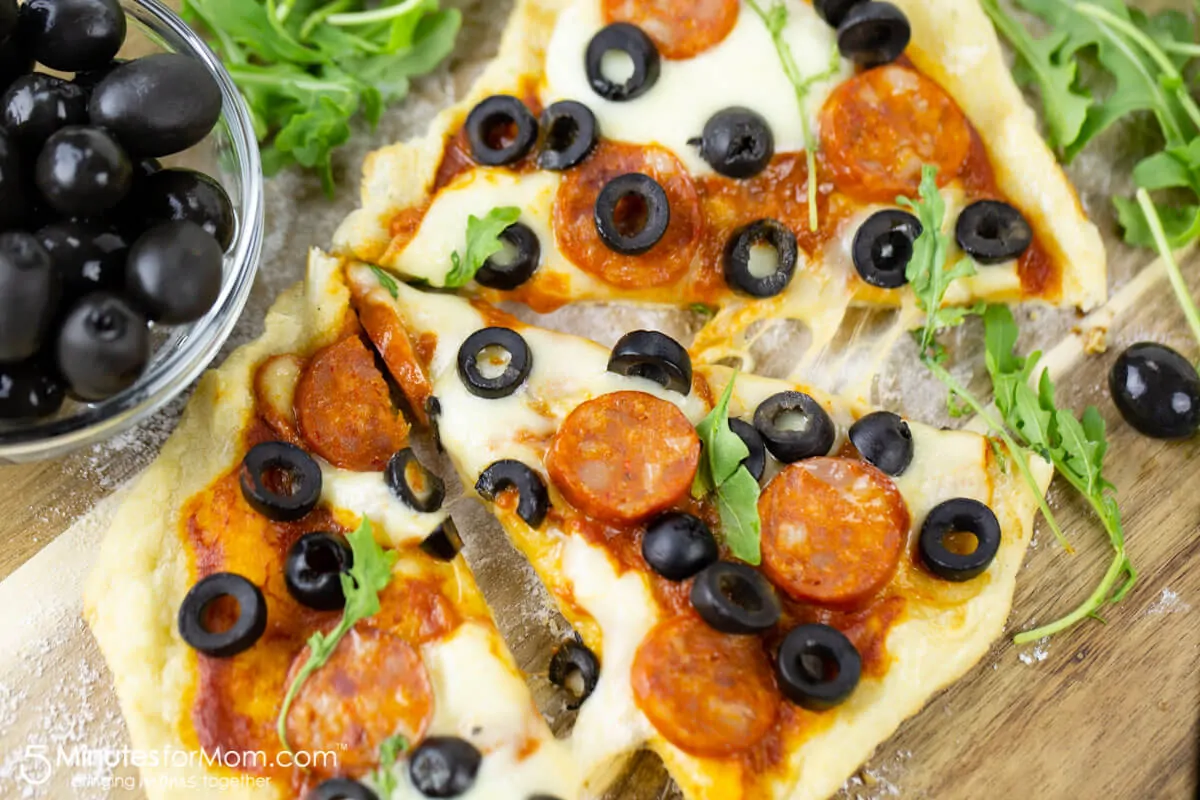
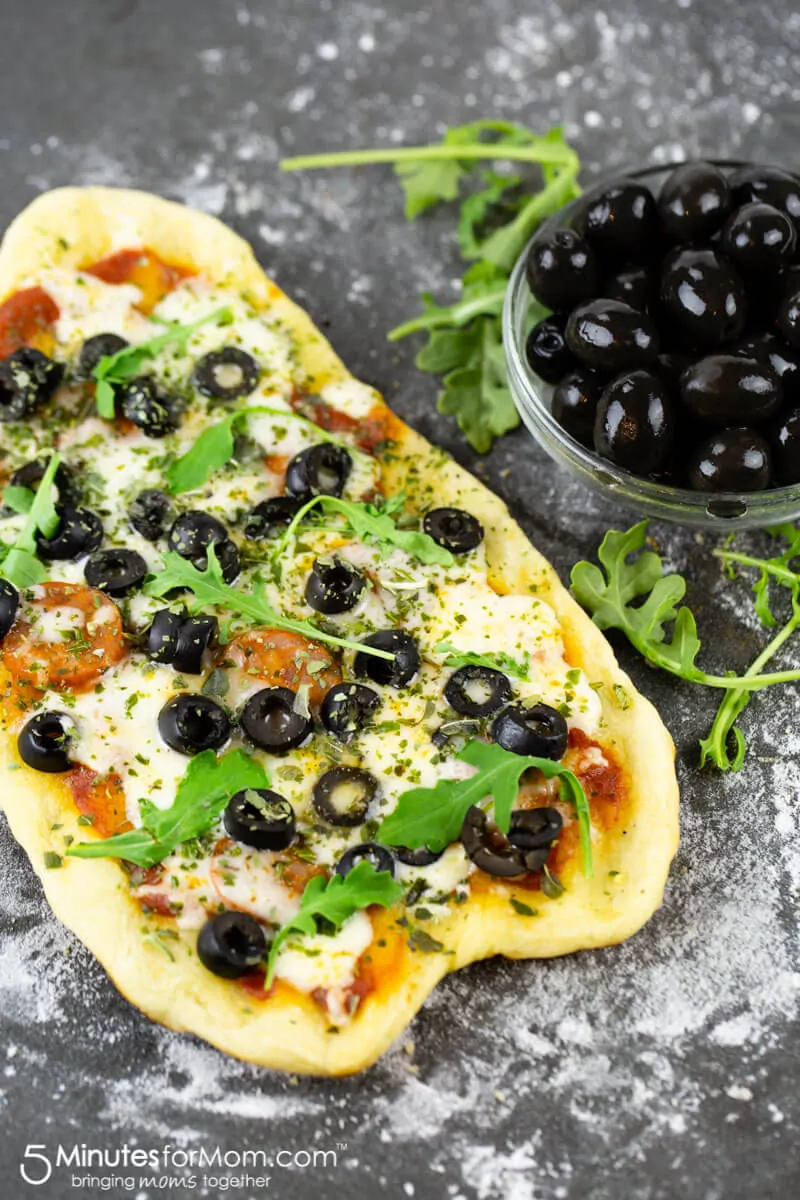
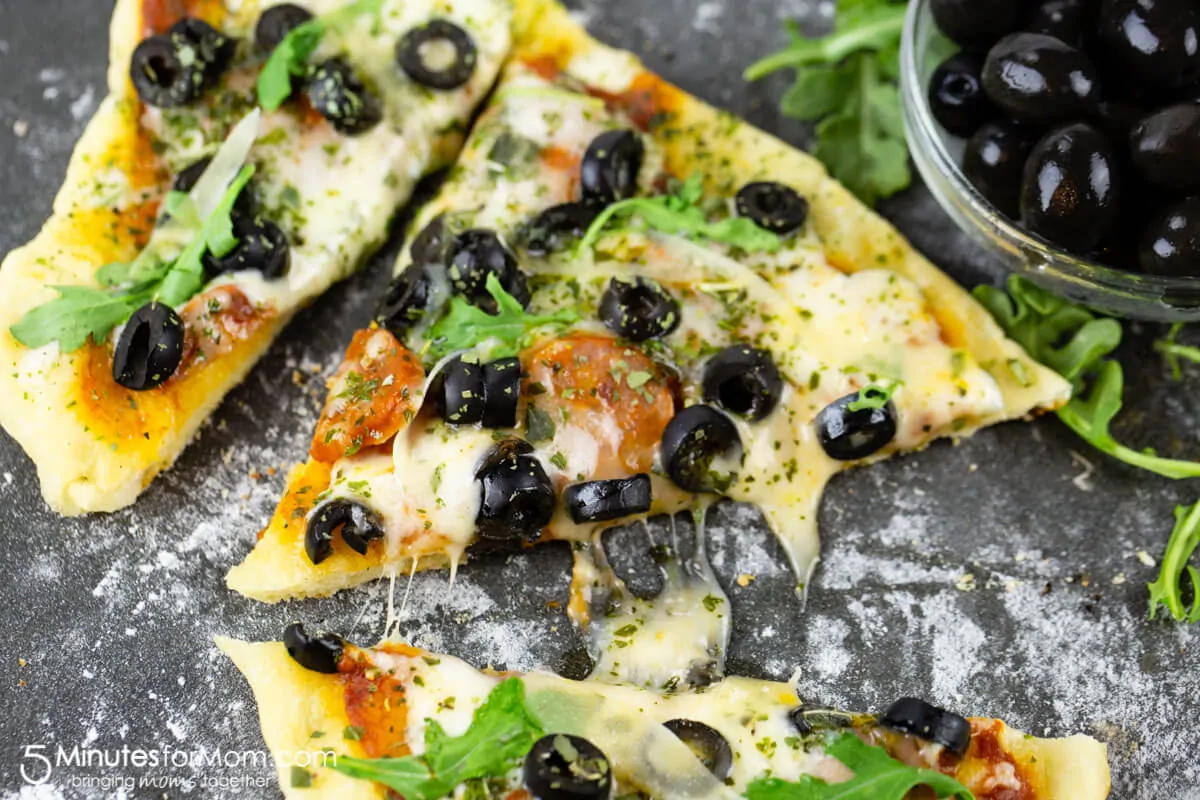
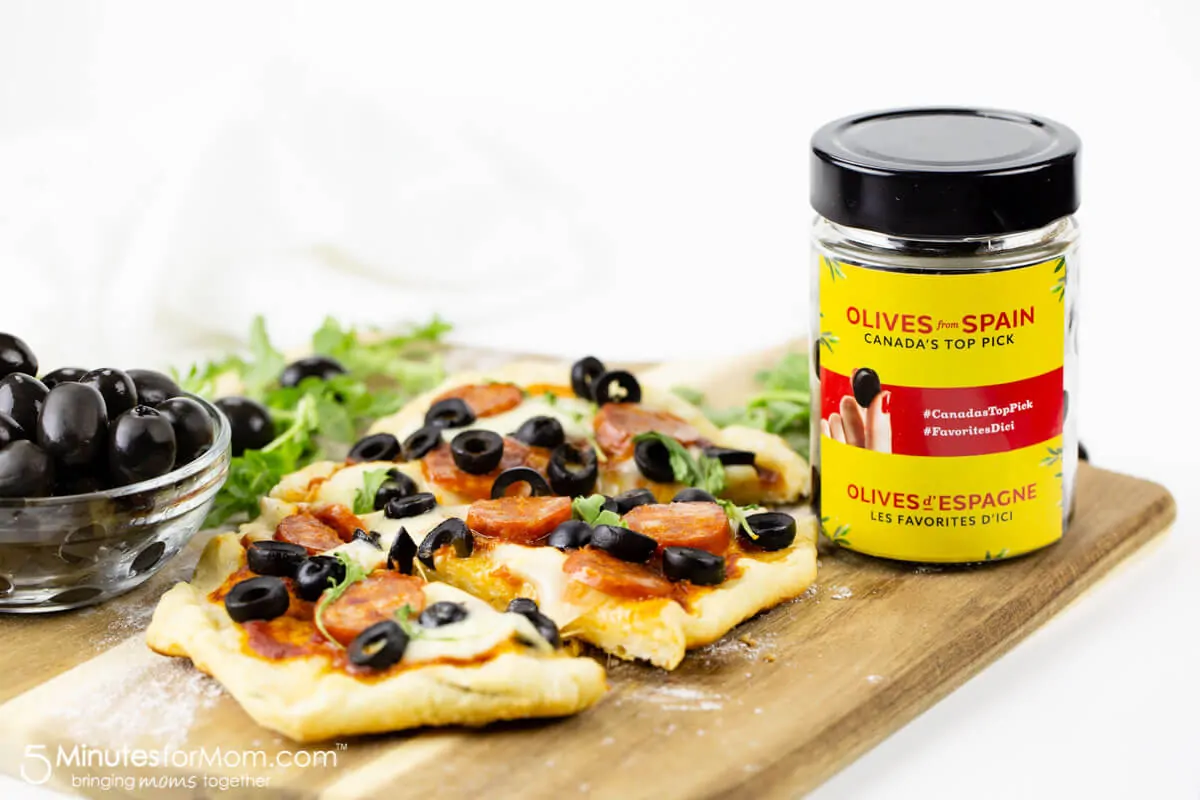
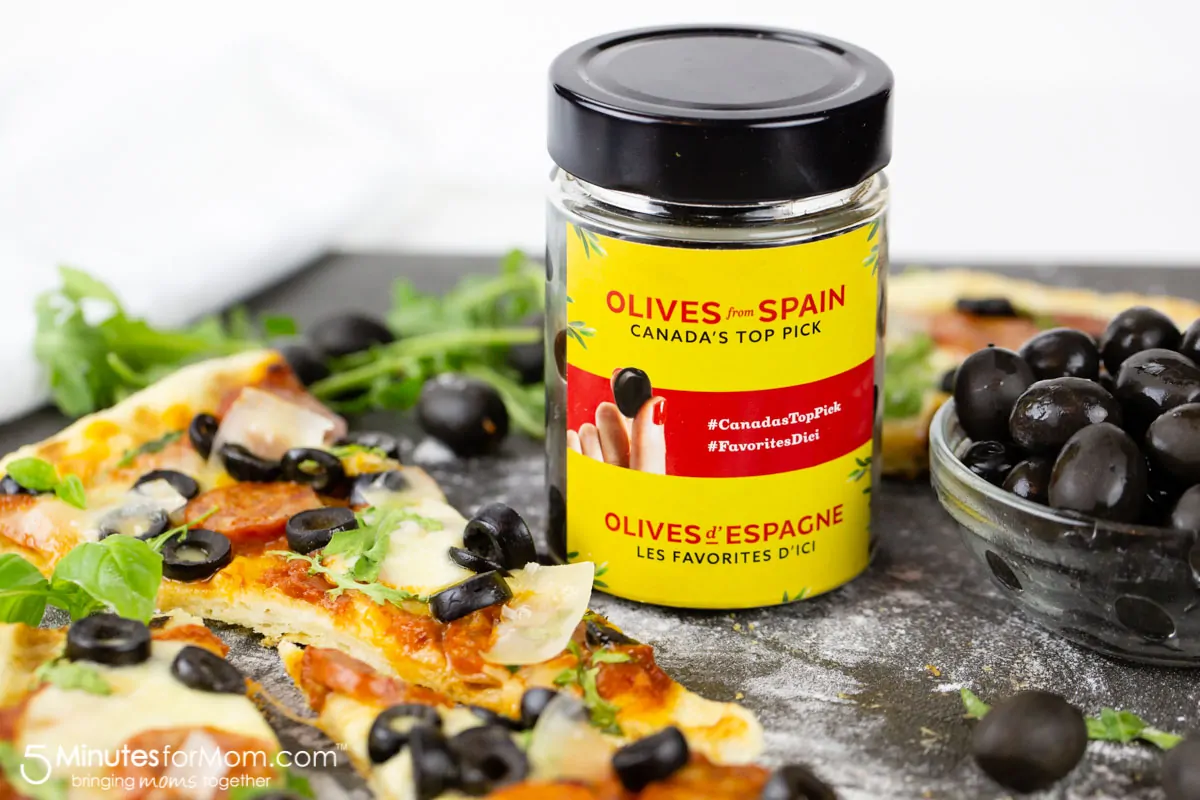
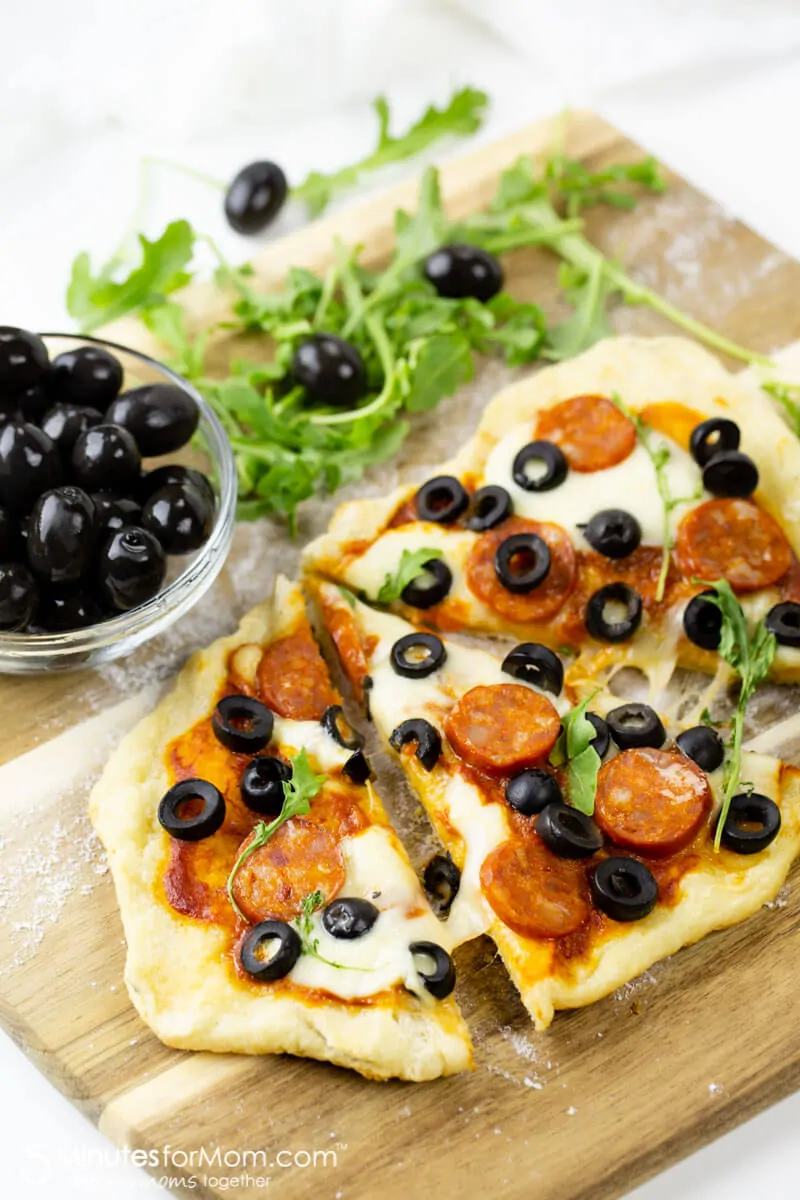
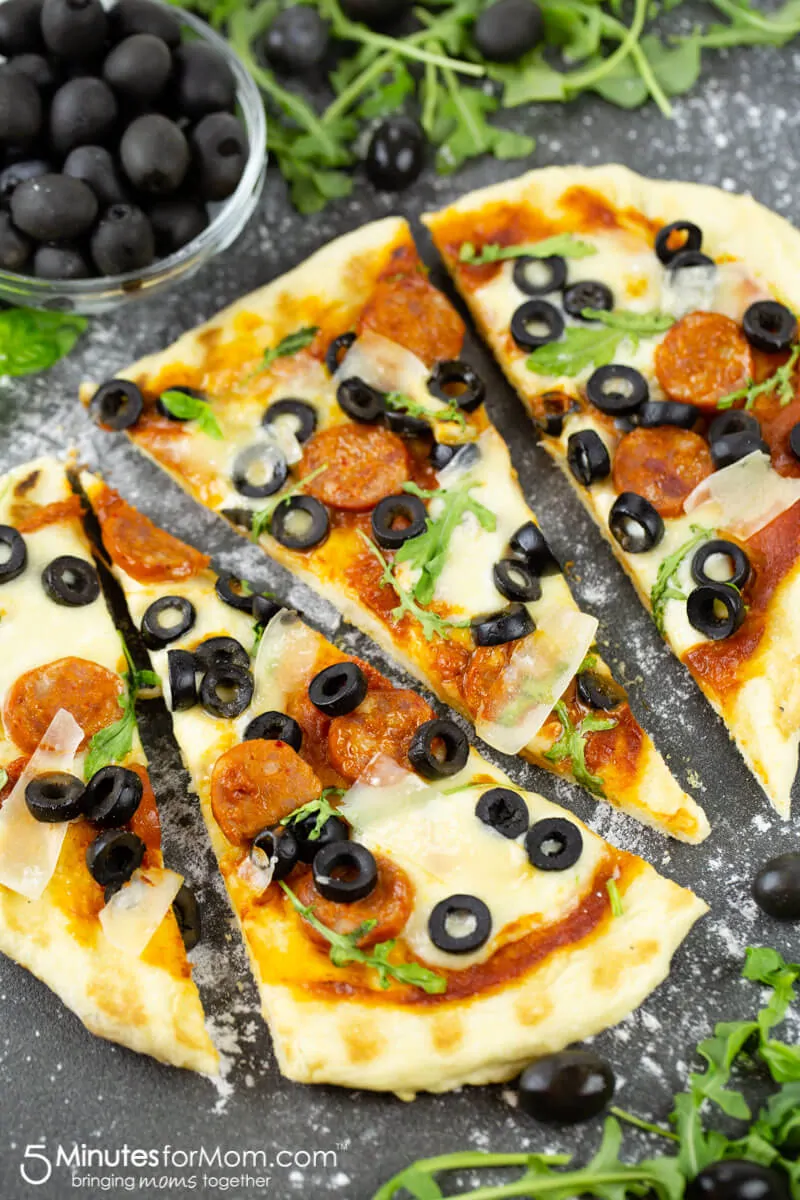
Get into a Mediterranean mood with this mouthwatering grilled pizza featuring delectable Hojiblanca Olives from Spain and sweet or spicy Spanish chorizo sausage. And, if you have never grilled homemade pizza dough, start getting excited — you are about to taste some of the best pizza of your life, right from your own backyard. This post is sponsored by Olives from Spain.
It may be the end of summer, but I am not giving up on my grill anytime soon. In fact, I barbeque all winter long — especially when I want to whip up the perfect homemade pizza.
When it comes to making the best pizza at home, nothing beats a barbeque! Unless you happen to have a stone pizza oven in your kitchen, your grill is the next best place to make a fire-hot oven for optimum pizza baking.
The Canadian fall may be here, and depending on your neck of the woods you may be already pulling out your winter sweaters. But with this Spanish themed Grilled Pizza with Hojiblanca Olives from Spain and Chorizo Sausage you can close your eyes and pretend you are sitting down for lunch in the Spanish countryside.
While you reach for another slice of your incredible pizza creation, slathered in Hojiblanca Olives from Spain, you can pat yourself on the back about all the extra nutrients you are getting.
Yes, Olives from Spain are not just delicious, they are healthy!
With an ideal mix of vitamins, minerals, amino acids, fiber, oleic acid and antioxidants, and only 100 calories in 100 grams, Olives from Spain are a simple and scrumptious way to incorporate a splash of the Mediterranean into our Canadian meals.
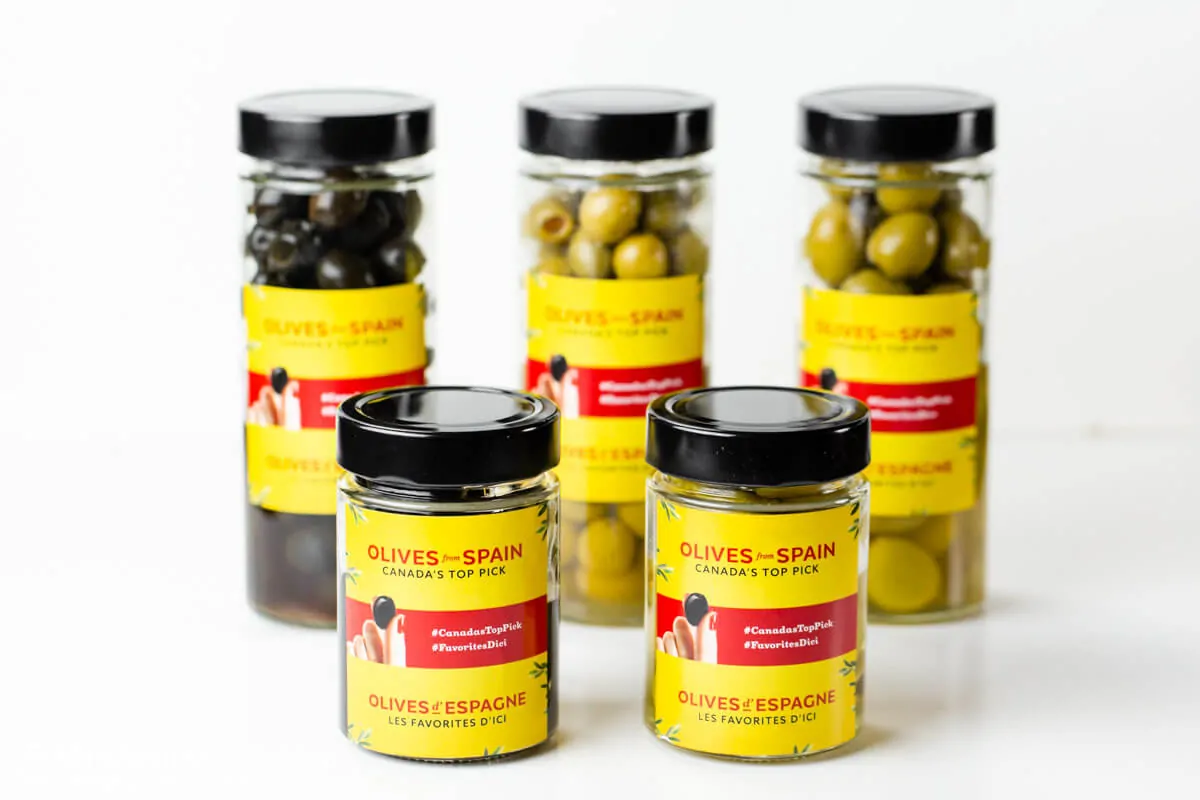
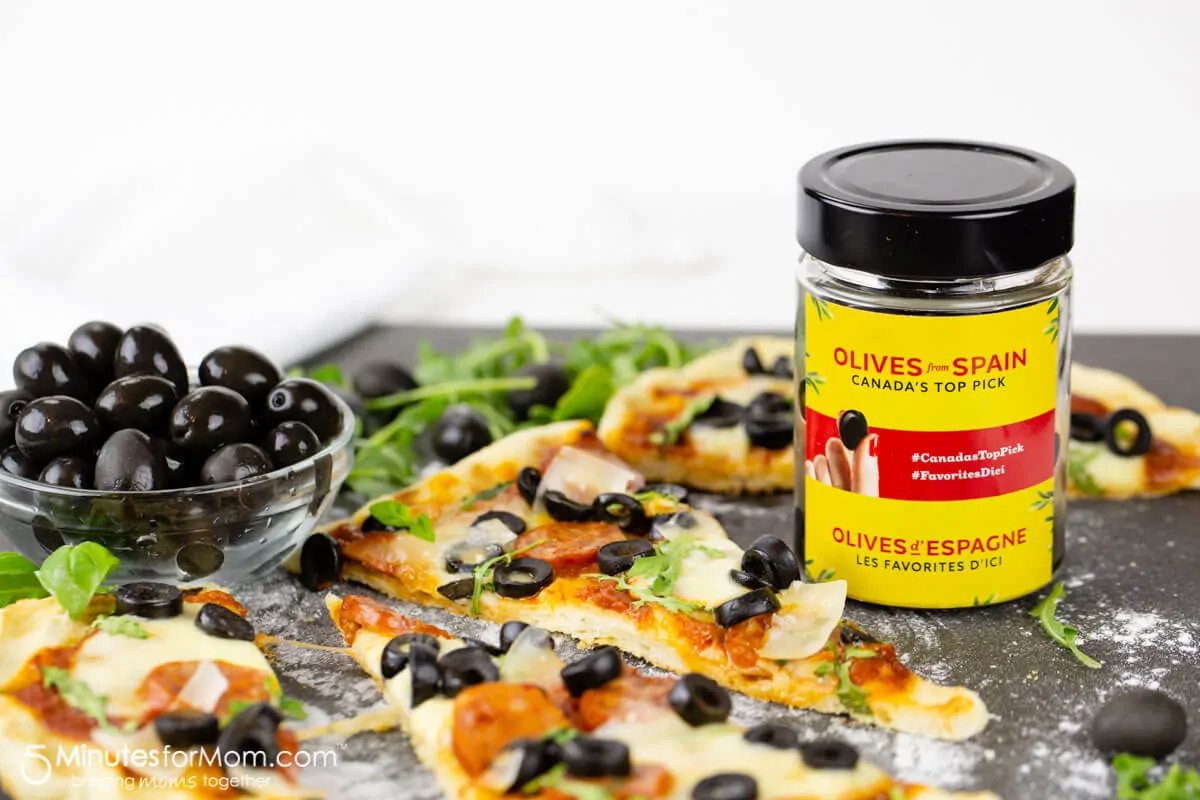
For this recipe, we are using flavorful Hojiblanca Olives from Spain which are known for their dark colour and thickness.
“The Hojiblanca variety leaves a pleasant almond-like aftertaste with a hint of bitterness, which makes it perfect for marinades, stews, or even desserts.”
Homemade Grilled Pizza with Hojiblanca Olives from Spain and Spanish Chorizo Sausage
You can use any pizza dough for this recipe, but we highly recommend either making your own fresh batch of pizza dough (it is actually REALLY simple) or buying a pound of fresh dough from your local bakery. Many bakeries sell balls of dough either fresh or frozen. If you have never noticed any dough for sale, call a local bakery and ask if you can buy some.
But, let me encourage you to try to make your own pizza dough!
If you are intimidated by making yeast dough, don’t worry. It is SIMPLE and easy and you can TOTALLY do it!
In fact, once you get the hang of making yeast dough, you will wonder why you don’t make all of your own bread. It is fun and requires very little hands-on preparation time — especially if you have a good mixer with a dough hook.
How to Make a Homemade Grilled Pizza
The key to a successful yeast dough is FRESH yeast and WARM water.
Yeast needs the right conditions to thrive. So if your yeast is old, it will not work.
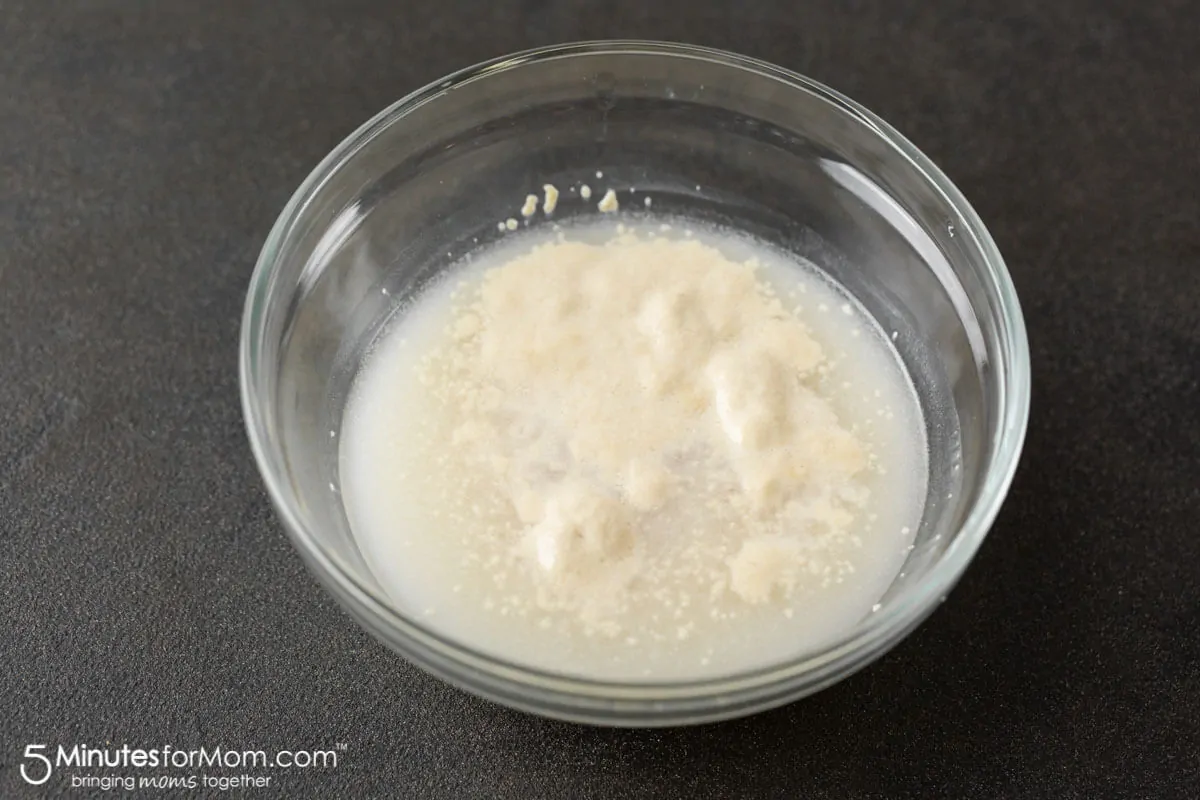
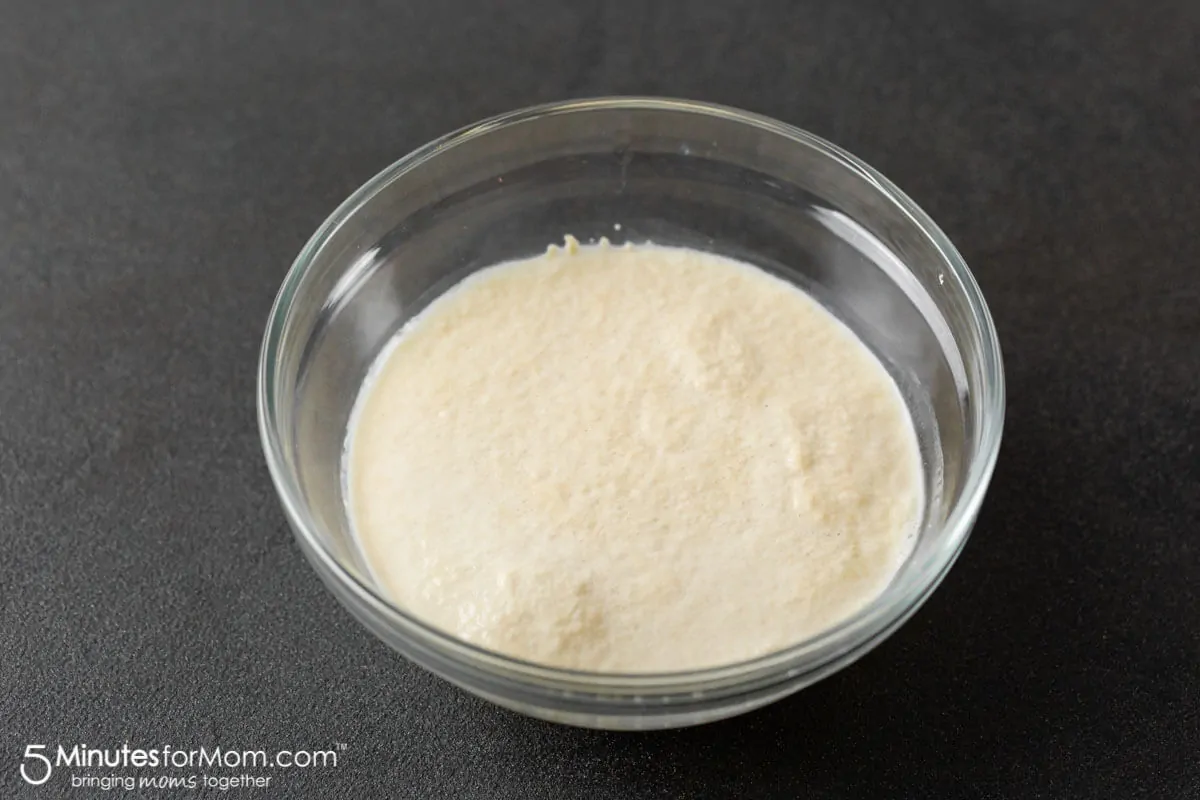
It is simple to tell if your yeast is still good. When you add it to your warm water, if it doesn’t start to bubble and froth within a couple of minutes, it is bad. Toss it out.
But, if your water is too cold your yeast will not be activated and if it is too hot the yeast will die.
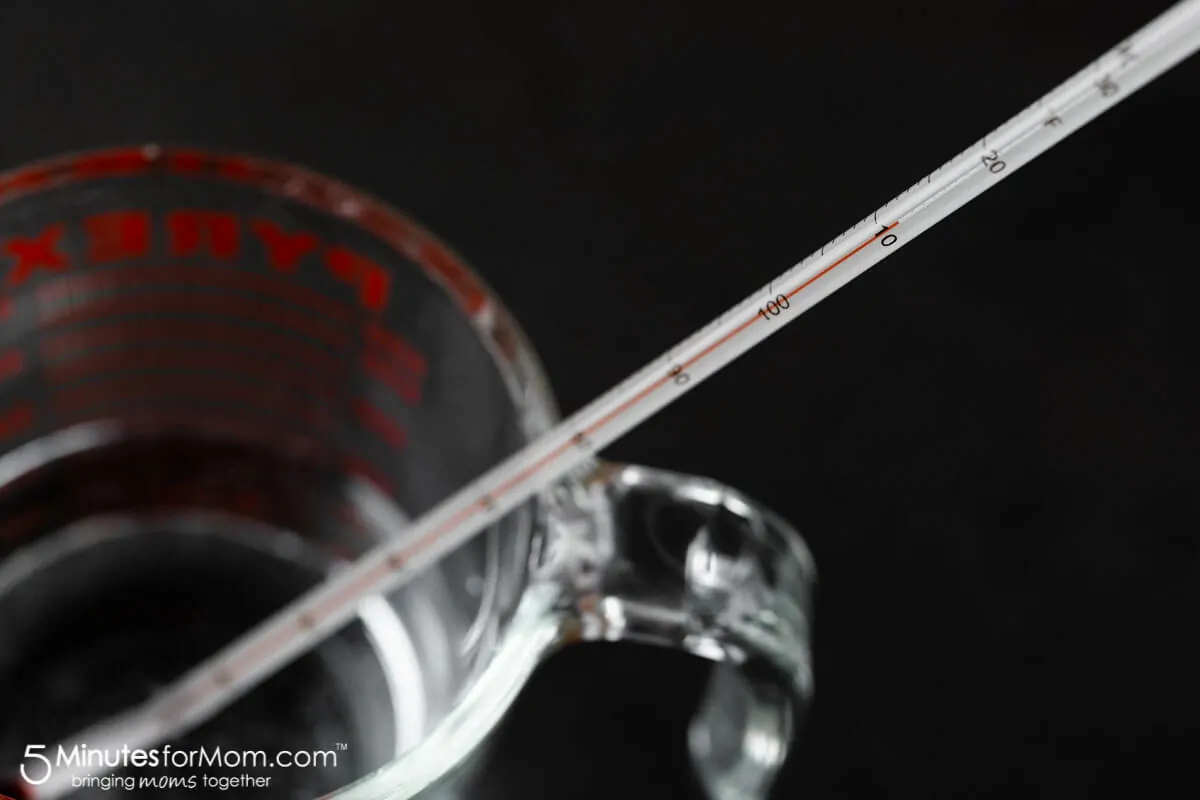
A thermometer that covers a wide range of temperatures, such as a candy thermometer, will take the guesswork out of your yeast dough making. The temperature of the water should be between 100-115*F. Any hotter and the heat will kill the yeast.
If you don’t have a thermometer, you can test with your hand. It should feel warm to the touch, but not hot.
If your yeast doesn’t get frothy after a few minutes, throw it out and start again.
Step 1
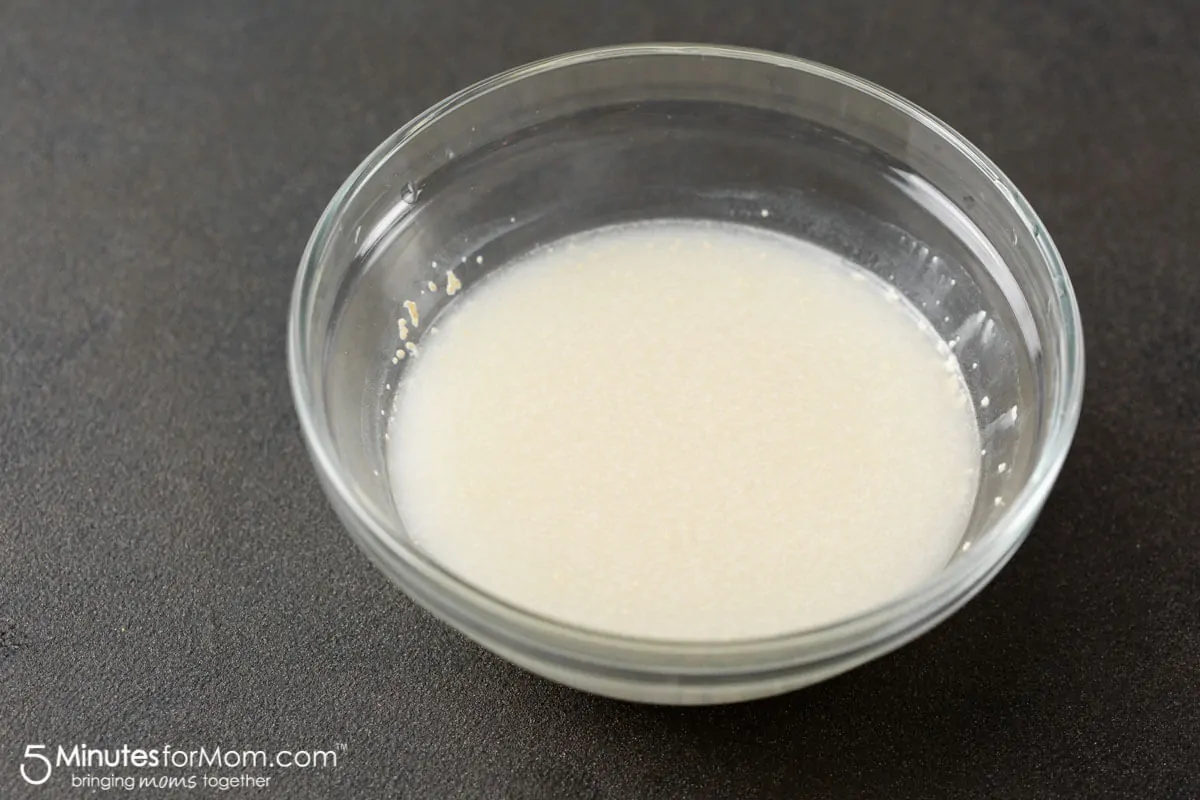
Add yeast and sugar to warm water and let stand for 5 minutes until mixture is bubbling and frothy.
In a medium bowl or the bowl of a stand mixer, pour in yeast/water/sugar mixture and add olive oil, salt, and flour.
Stir to form a shaggy dough and then knead dough for 5-8 minutes using the dough hook attachment on your mixer or kneading by hand.
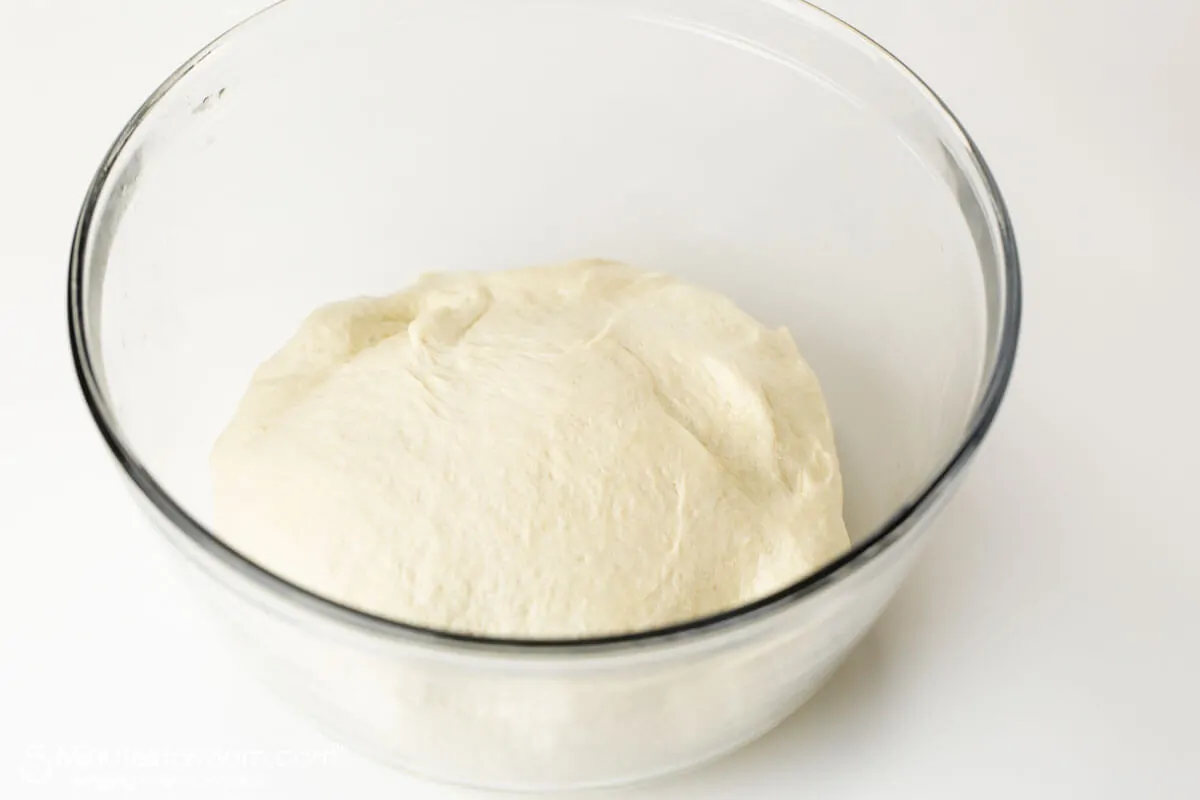
You want the dough to form a smooth ball that isn’t too sticky — especially when you will be grilling your dough.
If your dough feels or looks like bubblegum or melted marshmallows, sticking to your fingers or the sides of the bowl, then add more flour a tablespoon at a time until you have a smooth, workable dough that isn’t too wet or too dry.
Step 2
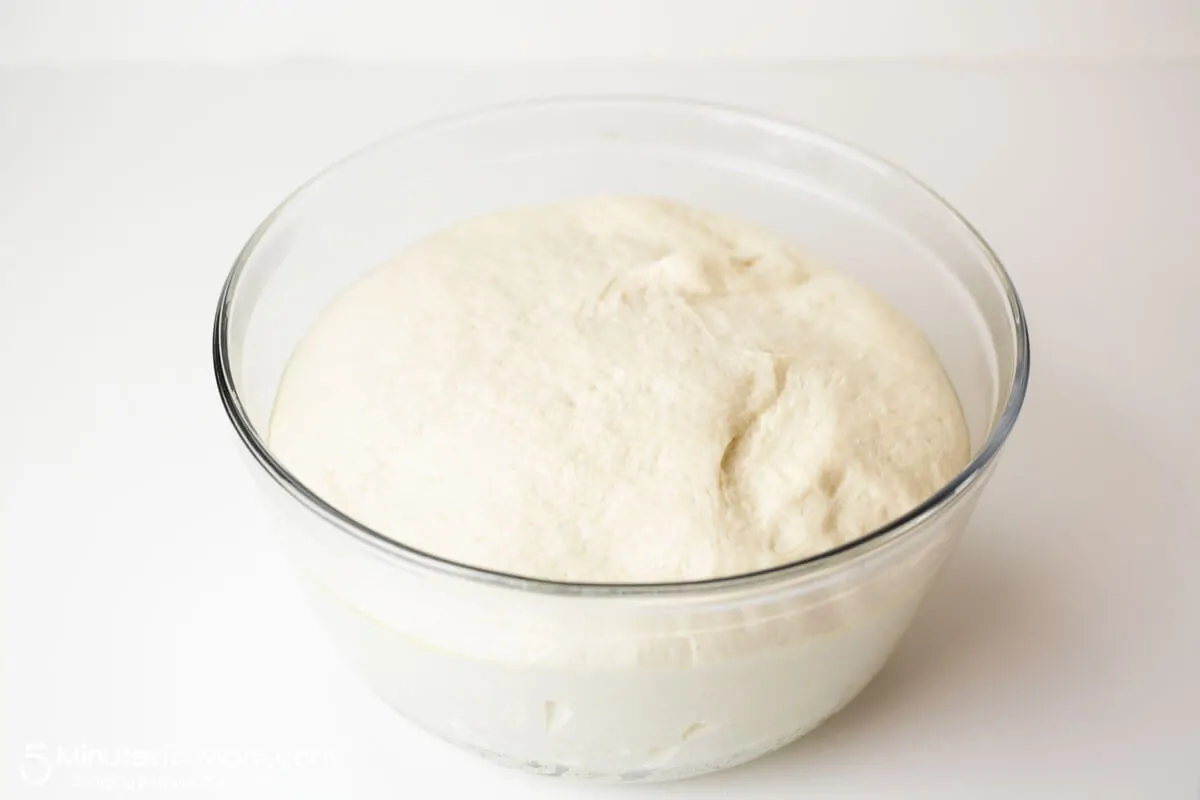
Now, it is time to let your dough rise.
Coat the mixing bowl or another medium-to-large sized bowl with olive oil and put in your ball of dough. Turn the dough to coat in oil and then cover with a damp kitchen towel or plastic wrap.
To get your dough to rise quickly, you will want to put it in a warm place.
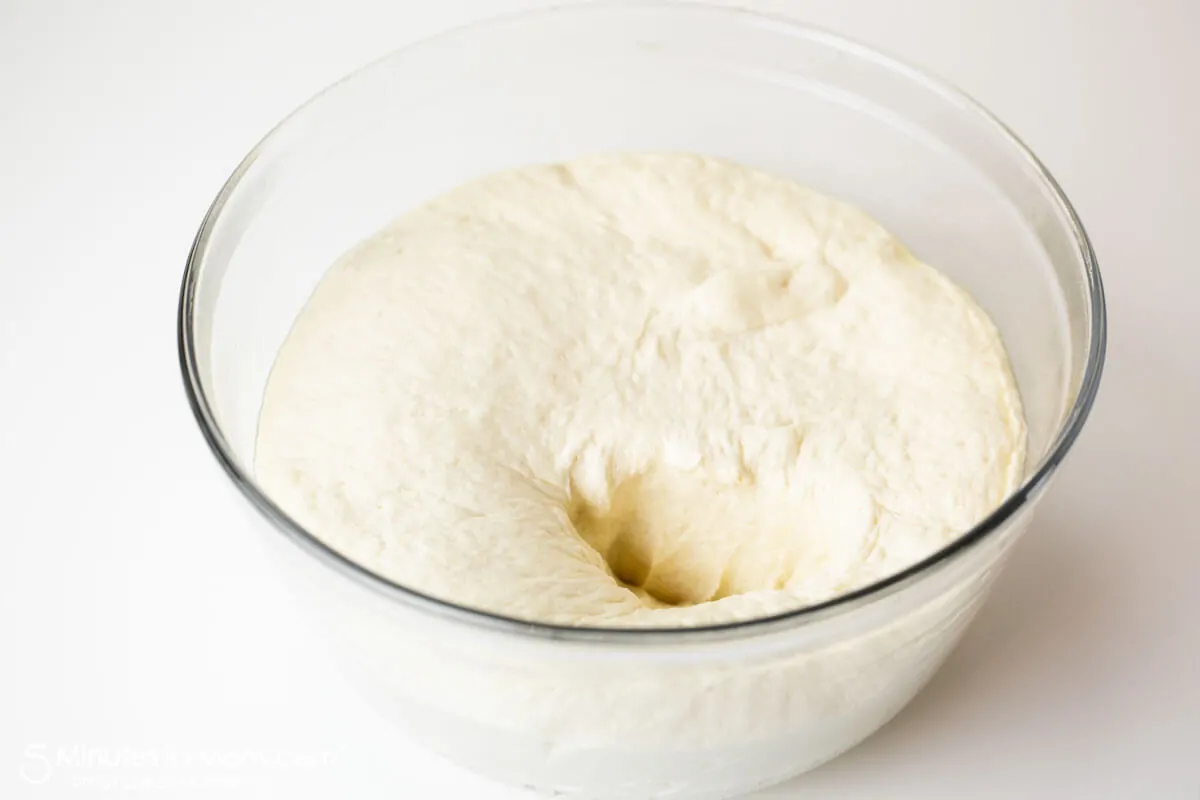
I usually put my oven on for a few minutes to warm it up and then turn it off. Then I place my bowl of dough, covered with a clean wet kitchen towel, in the warmed oven to rise for an hour or so.
After the dough has risen, punch it down and form into a large smooth ball. Divide the dough in two pieces if you want to make two large 10-12″ pizzas or into four pieces to make smaller, more manageable sized pizzas.
For grilling pizzas, we recommend making smaller pizzas. They are easier to work with and cook more evenly.
If I am not going to use my dough until later, I let it rise on the counter for up to 30 minutes, depending on how much time I have, and then I store it in the fridge or freezer.
You can keep the dough in the fridge for up to three days and the freezer for up to three weeks. Allow frozen dough to thaw in the fridge overnight and allow the chilled dough to sit on the counter for an hour or two to come to room temperature before using.
Step 3
Now you are ready to start forming your pizzas. (While you form your pizzas and prep your ingredients, fire up your grill. You want your grill as hot as it will go.)
Flour your hands and a clean working surface. Pick up one of the divided pieces of dough and begin to stretch and press out the dough to form a rough oval or circle. Work from the middle of the dough outwards, trying to not make any tears or holes in the dough.
Usually, the dough will spring back and not hold its shape.
If this happens, let the dough rest for five or so minutes and begin to form another piece of dough while you wait. Then finish stretching and pressing out your dough round until it is about 1/2″ thick.
When grilling pizzas, we find that a THICKER crust tastes BEST. It forms a crisp yet chewy-on-the-inside crust that is indescribably yummy.
If you want a thin crust, you can use a rolling pin to roll out the dough. But we much prefer the thicker, stretched and pressed pizza crust to the rolled out version.
And don’t worry about trying to make a perfect circle. Any shape will do.
Step 4
The KEY to a successfully grilled pizza is being prepared as the whole process goes very fast and you need to have everything ready to go.
While your grill finishes heating up, finish prepping your toppings and gather your ingredients and tools.
You will need a large metal spatula and/or tongs for flipping and removing pizzas. As well you will need olive oil, a brush or spoon for spreading, a bowl of about 1/2-3/4 cup of pizza sauce with a large spoon, and some coarse salt and/or herbs, pepper, etc.
If you are using whole Hojiblanca Olives from Spain, pit and slice. If your olives are already pitted and/or sliced, simply pour into a bowl and set aside.
Thinly slice chorizo sausage and slice or grate firm cheese(s) of your choice. Wash and dry any greens or herbs you plan to use and place all the items in bowls.
Next, arrange all the bowls of ingredients as well as the olive oil, tools, etc. near your grill.
Step 5
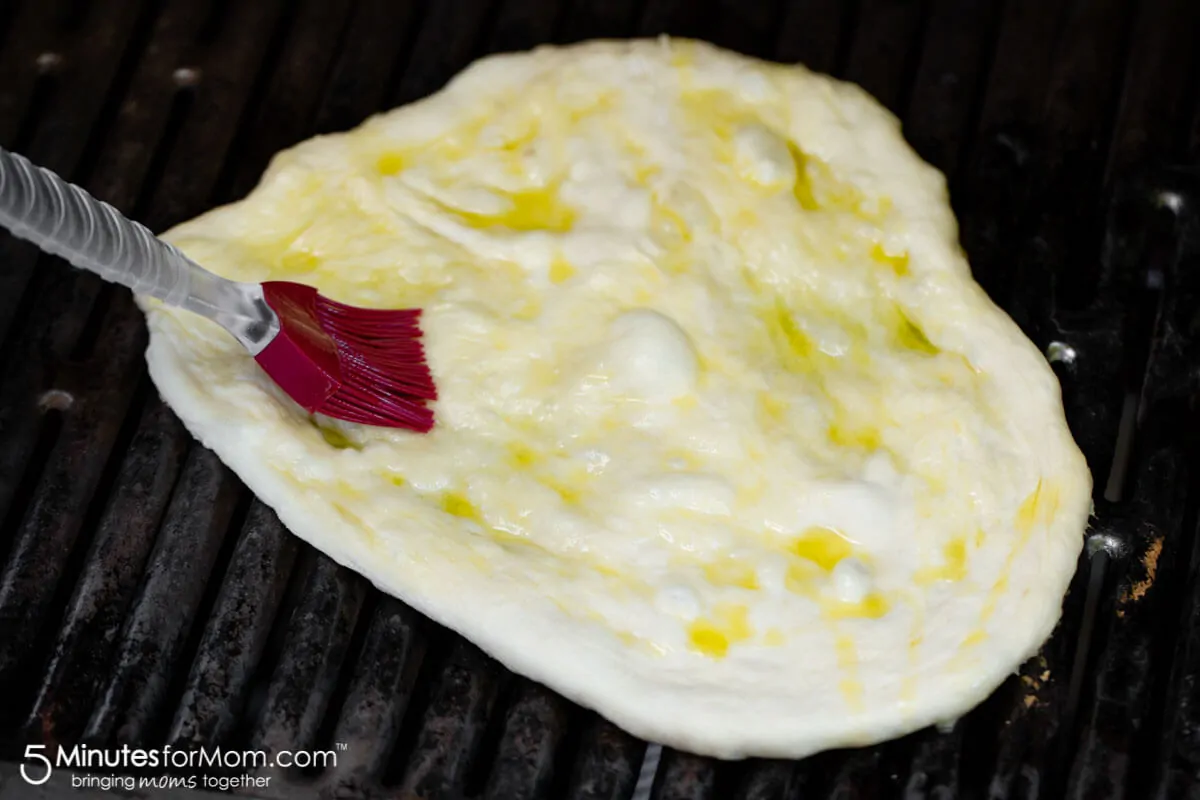
On a well-floured pizza peel or rimless cookie sheet, (a cookie sheet turned upside down works well too,) place your first round of pizza dough. Drizzle with olive oil and evenly brush to cover the entire top of the dough with oil.
I also sprinkle with coarse salt, but you can skip this step if you want less salt.
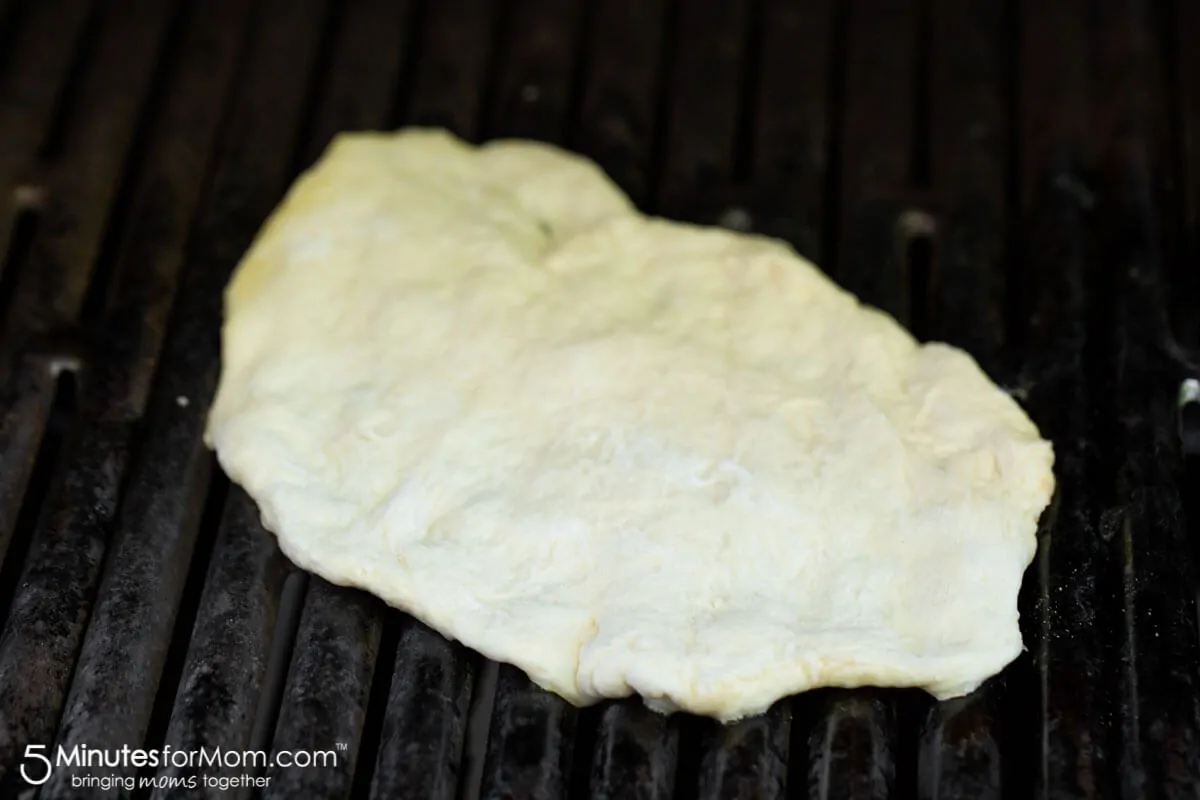
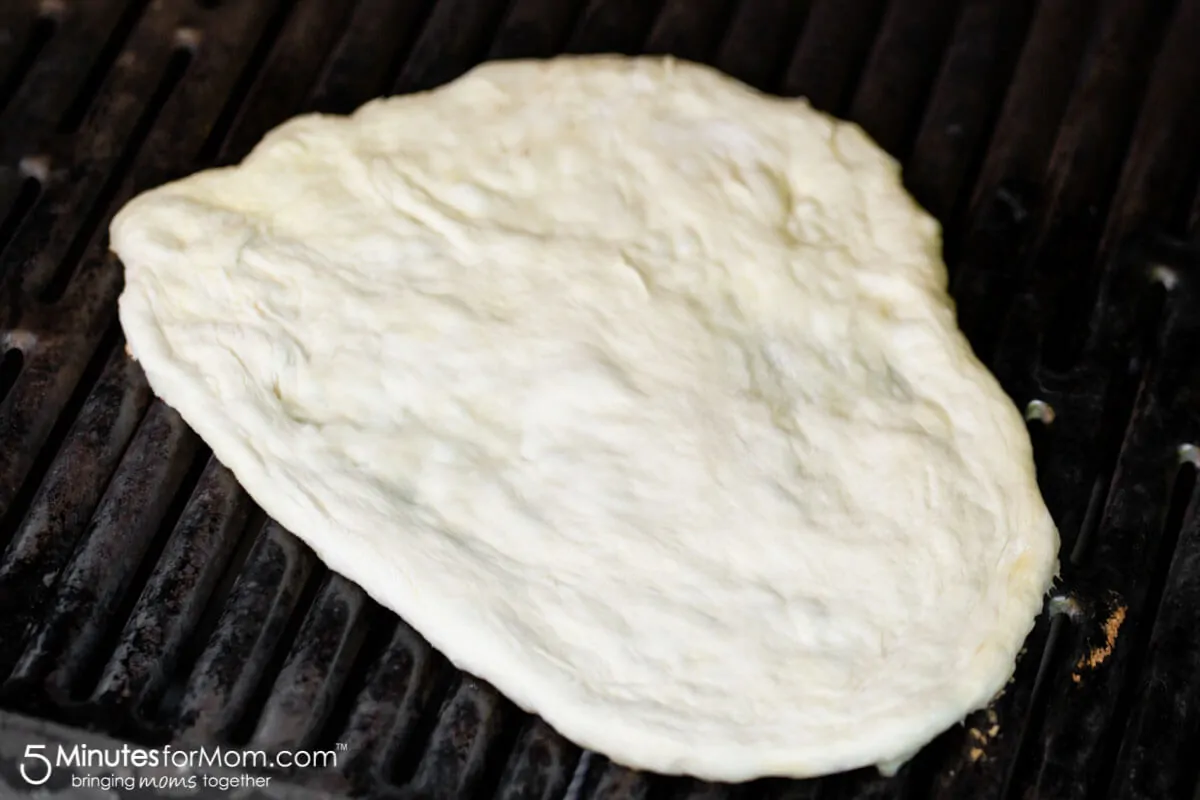
Open the grill and then transfer the pizza round onto the grill, oiled side down, over direct heat.
Getting the pizza dough onto the grill can be a bit tricky and results in some interesting pizza shapes. Don’t even try to get a perfect circle!
My method is to place the cookie sheet next to the grill and pick up the pizza round as carefully as possible and then quickly drop/place it OIL SIDE DOWN on the grill.
Then I drizzle the exposed side with oil and spread with the brush to completely cover what will become the bottom of the pizza when I flip it over.
Cook for about 1-3 minutes, depending on your grill. You can close the cover if you wish, but it might cook so quickly you don’t need to.
Every grill is different and every pizza will cook at different speeds depending on thickness, size, etc. So you want to keep a very close eye on your pizza.
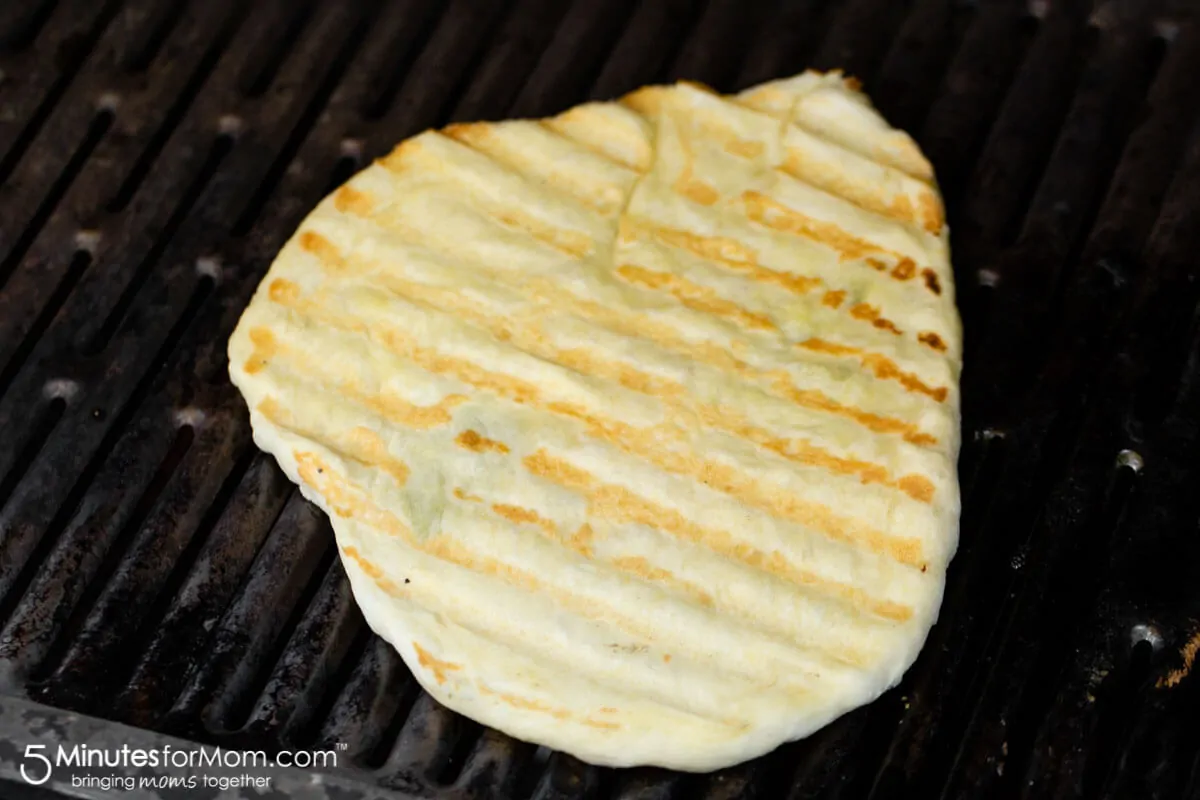
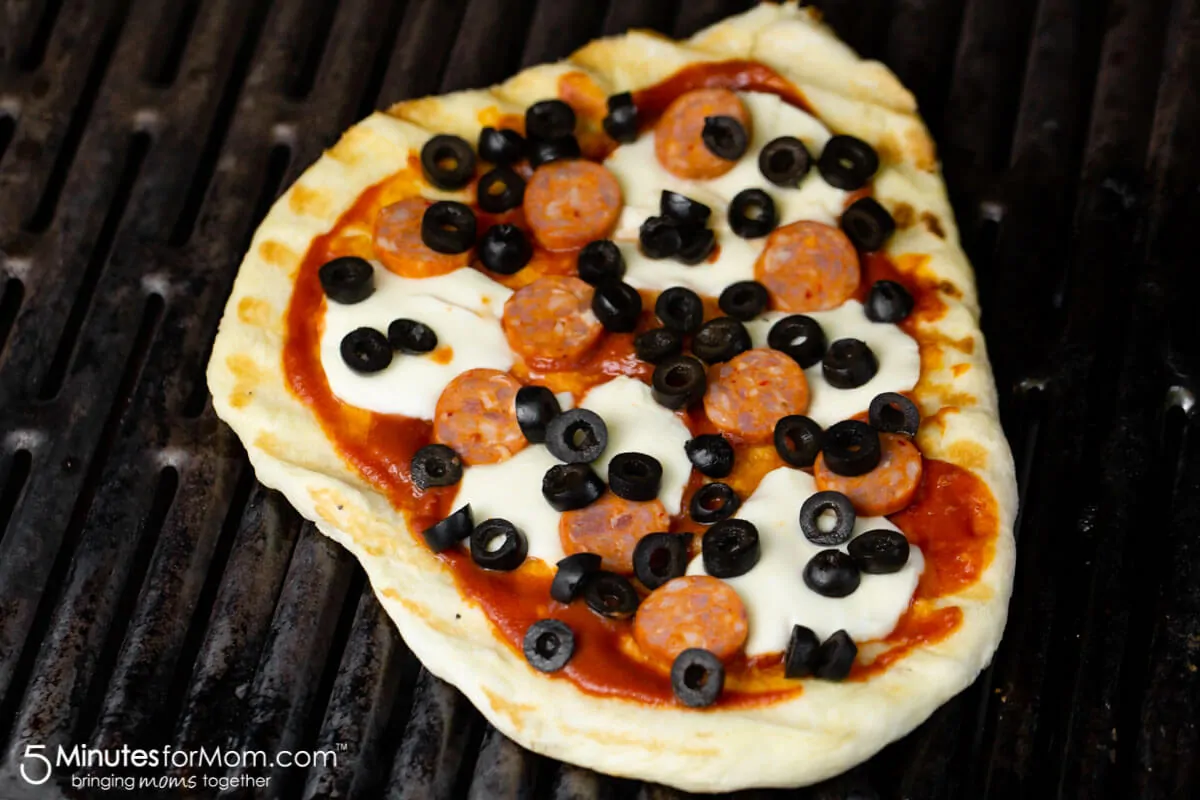
When the top of the pizza is bubbling and the spatula easily lifts the dough off the grill, leaving slight grill marks on the dough, it is time to flip your pizza.
Step 6
Now that your pizza is flipped it is time to work FAST!
(You can remove the pizza and add your toppings and then return to the grill, but I never do. I do it all on the grill, working as quickly as possible.)
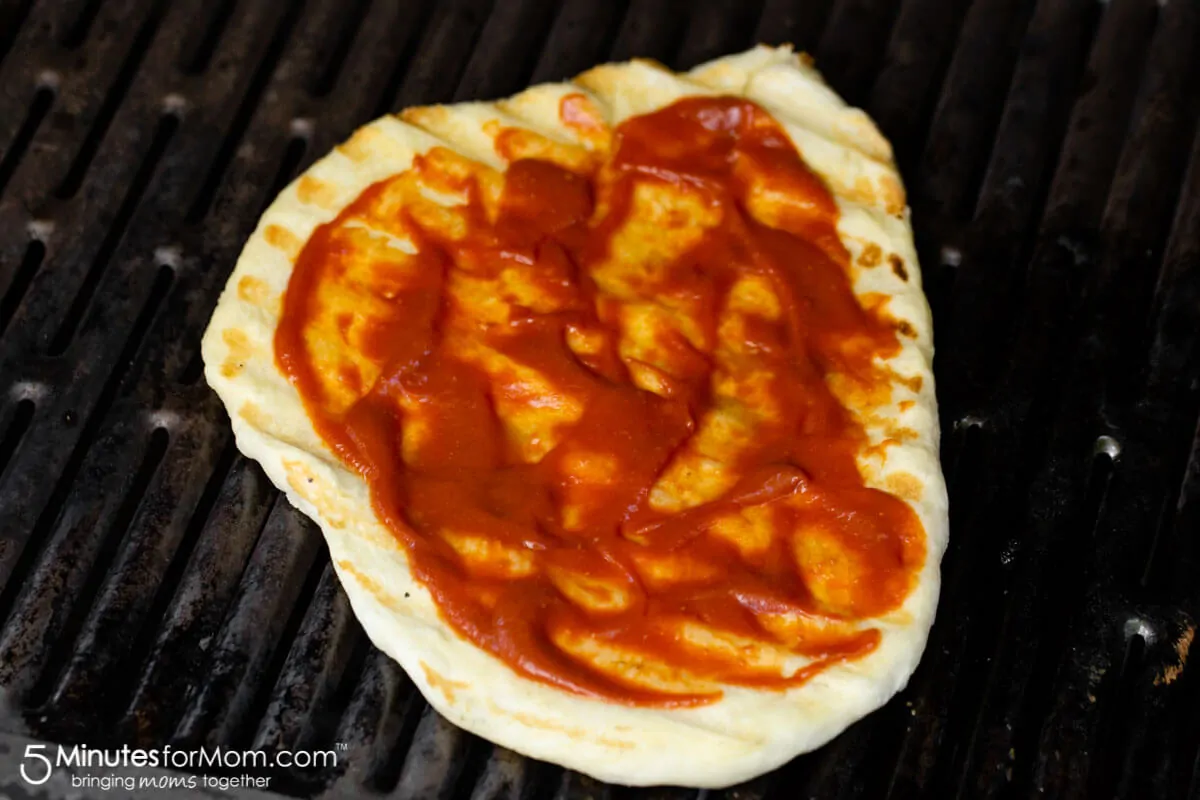
Spread a large spoonful of sauce on your pizza, taking care to not add too much. Extra sauce will keep your dough from cooking through and will create a soggy crust.
Next, add slices of chorizo sausage and sliced or grated cheese, again being careful to not add too much.
Then, sprinkle with sliced Hojiblanca Olives from Spain.
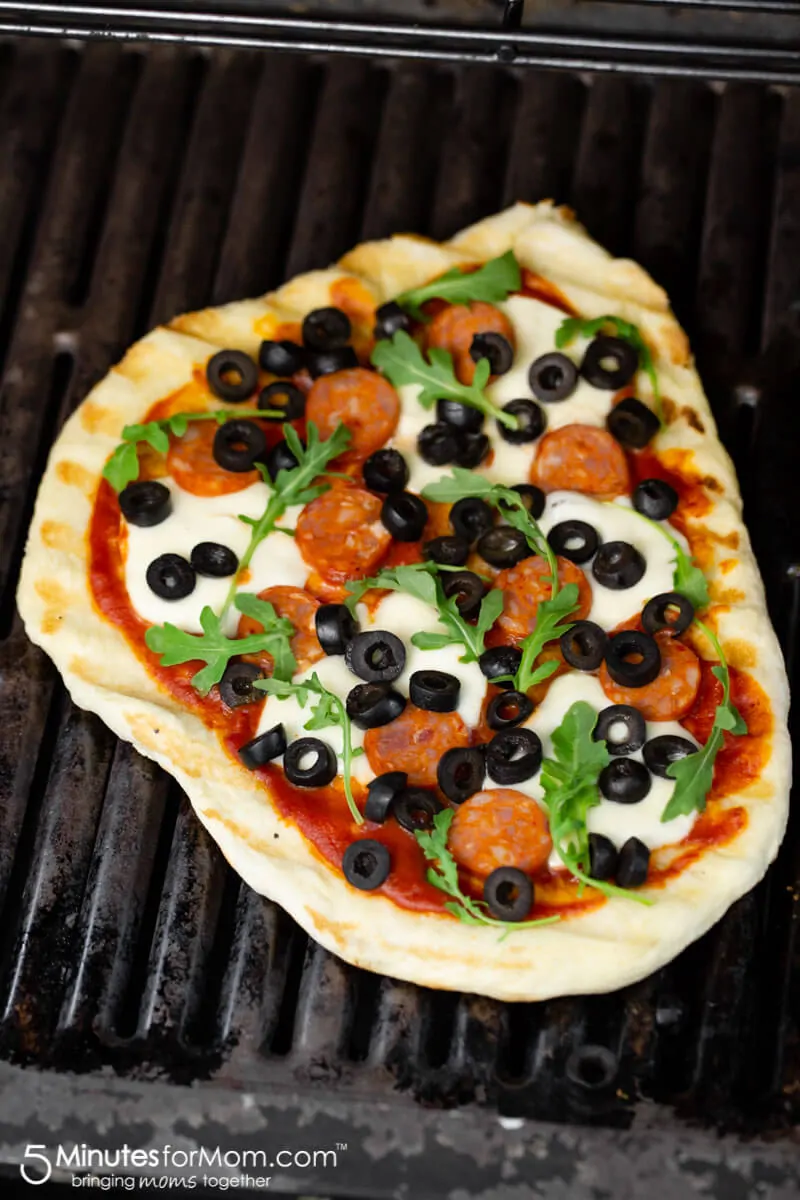
Close grill and allow to cook for 2-5 minutes, depending on your grill. Check often to make sure that the bottom of the pizza isn’t burning and cook until the cheese is melted and bubbling. It takes only minutes to cook and while small charred spots on the crust are delicious, you don’t want to burn your pizza crust.
During the last couple minutes of cooking, you can add fresh herbs or greens to garnish and add extra flavour and close the grill cover.
If the bottom of the pizza is cooking too quickly, turn off one of the sides of the barbeque and finish cooking on indirect heat on a cooler part of the grill.
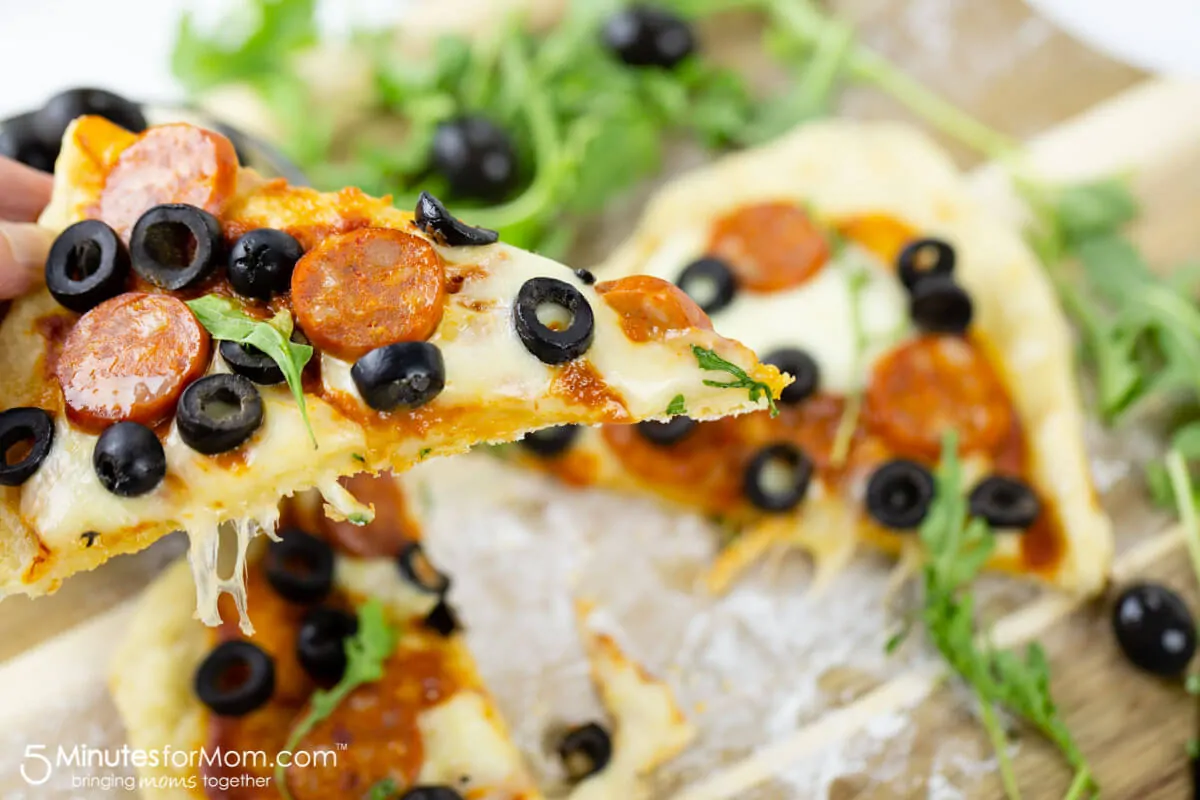
Once the cheese has melted and the crust is slightly browned and crispy, remove pizza from grill and place on cutting board.
If you think your pizza crust is well cooked and you still want your cheese to melt more or your toppings to brown a bit more, you can place it in your oven with the broiler on for a couple minutes. Most often though, broiling is not necessary.
Garnish with fresh sliced or grated firm cheese and fresh or dried herbs if desired.
Allow to cool for a couple of minutes before slicing and serving.
Grilled Pizza with Hojiblanca Olives from Spain and Spanish Chorizo Sausage
Homemade Grilled Pizza with Hojiblanca Olives from Spain and Spanish Chorizo Sausage
Ingredients
- 1/2 - 1 cup Hojiblanca Olives from Spain sliced
- 1-2 Spanish Chorizo Sausage
- 1-2 cups sliced or grated firm cheese s
- Olive oil
- Salt pepper, herbs of choice
- Greens of choice optional
- FOR DOUGH:
- 1 cup warm water 100-115*F
- 1 1/4 tsp active dry yeast
- 1 teaspoon sugar
- 1 teaspoon salt
- 2 tablespoons olive oil
- 2 1/2 cups up to 3 cups if necessary cups all-purpose flour or bread flour (plus more for dusting)
Instructions
- You can use any pizza dough for this recipe, but we highly recommend either making your own fresh batch of pizza dough or buying a pound of fresh dough from your local bakery.
- If making your dough from scratch:
- Add yeast and sugar to warm water and let stand for 5 minutes until mixture is bubbling and frothy. (If mixture does not get frothy, your yeast may be too old or your water too cold or too hot. Water temperature should be between 100-115F.
- In a medium bowl or the bowl of a stand mixer, pour in yeast/water/sugar mixture and add olive oil, salt, and flour.
- Stir to form a shaggy dough and then knead dough for 5-8 minutes using the dough hook attachment on your mixer or kneading by hand.
- You want the dough to form a smooth ball that isn't too sticky -- especially when you will be grilling your dough.
- If your dough feels or looks like bubblegum or melted marshmallows, sticking to your fingers or the sides of the bowl, then add more flour a tablespoon at a time until you have a smooth, workable dough that isn't too wet or too dry.
- Form a large ball with the dough and set aside. Coat the mixing bowl or another medium-to-large sized bowl with olive oil and put in the ball of dough. Turn the dough to coat in oil and then cover with a damp kitchen towel or plastic wrap.
- To get your dough to rise quickly, set in a warm place, such as an oven that is warmed but turned off, Cover the bowl with a clean wet kitchen towel, and leave to rise for an hour to two.
- After the dough has risen, punch it down and form again into a large smooth ball. Divide the dough in two pieces if you want to make two large 10-12" pizzas or into four pieces to make smaller, more manageable sized pizzas. For grilling pizzas, we recommend making smaller pizzas. They are easier to work with and cook more evenly.
- To use dough later, let rise on the counter for up to 30 minutes, then store in the fridge or freezer. You can keep the dough in the fridge for up to three days and the freezer for up to three weeks. Allow frozen dough to thaw in the fridge overnight and allow the chilled dough to sit on the counter for an hour or two to come to room temperature before using.
- To Make the Pizzas:
- While you form your pizza rounds and prep your ingredients, preheat grill. The grill should be as hot as possible.
- Flour your hands and a clean working surface. Pick up one of the divided pieces of dough and begin to stretch and press out the dough to form a rough oval or circle. Work from the middle of the dough outwards, trying to not make any tears or holes in the dough. If the dough springs back and does not hold its shape, let the dough rest for five or so minutes and begin to form another piece of dough while you wait. Then finish stretching and pressing out your dough round until it is about 1/2" thick. Don't worry about trying to make a perfect circle. Any shape will do.
- While your grill finishes heating up, finish prepping your toppings and gather your ingredients and tools.
- You will need a large metal spatula and/or tongs for flipping and removing pizzas. As well you will need olive oil, a brush or spoon for spreading, a bowl of about 1/2-3/4 cup of pizza sauce with a large spoon, and some coarse salt and/or herbs, pepper, etc.
- If you are using whole Hojiblanca Olives from Spain, pit and slice. If your olives are already pitted and/or sliced, simply pour into a bowl and set aside.
- Thinly slice chorizo sausage and slice or grate firm cheese(s) of your choice. Wash and dry any greens or herbs you plan to use and place all the items in bowls.
- Next, arrange all the bowls of ingredients as well as the olive oil, tools, etc. near your grill.
- On a well-floured pizza peel or rimless cookie sheet, (a cookie sheet turned upside down works well too,) place your first round of pizza dough.
- Drizzle with olive oil and evenly brush to cover the entire top of the dough with oil. Optional: sprinkle with coarse salt (you can skip this step if you want less salt)
- Open the grill and then transfer the pizza round onto the grill, oiled side down, over direct heat. Getting the pizza dough onto the grill can be a bit tricky and results in some interesting pizza shapes. My method is to place the cookie sheet next to the grill and pick up the pizza round as carefully as possible and then quickly drop/place it OIL SIDE DOWN on the grill.
- Then drizzle the exposed side with oil and spread with the brush to completely cover what will become the bottom of the pizza when flipped over.
- Cook for about 1-3 minutes, depending on your grill. You can close the cover if you wish, but it might cook so quickly you don't need to. Every grill is different and every pizza will cook at different speeds depending on thickness, size, etc. So you want to keep a very close eye on your pizza.
- When the top of the pizza is bubbling and the spatula easily lifts the dough off the grill, leaving slight grill marks on the dough, it is time to flip your pizza.
- Now that your pizza is flipped it is time to work FAST! (You can remove the pizza and add your toppings and then return to the grill, but I never do. I do it all on the grill, working as quickly as possible.)
- Spread a large spoonful of sauce on your pizza, taking care to not add too much. Extra sauce will keep your dough from cooking through and will create a soggy crust.
- Next, add slices of chorizo sausage and sliced or grated cheese, again being careful to not add too much.
- Then, sprinkle with sliced Hojiblanca Olives from Spain.
- Close grill and allow to cook for 2-5 minutes, depending on your grill. Check often to make sure that the bottom of the pizza isn't burning and cook until the cheese is melted and bubbling. It takes the pizza only minutes to cook and while small charred spots on the crust are delicious, you don't want to burn your pizza crust.
- During the last couple minutes of cooking, you can add fresh herbs or greens to garnish and add extra flavour.
- If the bottom of the pizza is cooking too quickly, turn off one of the sides of the barbeque and finish cooking on indirect heat on a cooler part of the grill.
- Once the cheese has melted and the crust is slightly browned and crispy, remove pizza from grill and place on cutting board.
- Allow to cool for a couple of minutes before slicing and serving.
Pin it for Later
Disclosure: This post is sponsored by Olives from Spain.
Written and photographed by Janice Croze, co-founder of 5 Minutes for Mom
Talk with me: @5minutesformom and Facebook.com/5minutesformom
Pin with me at pinterest.com/5minutesformom
Try These Tasty Recipes Too
Here are a few of our readers’ favorite recipes that you don’t want to miss…


rahsa says
Thank you
Can it be made with green olives?
thanks again
Susan says
Yes, green olives will be great too.
angie says
this is such a great recipe to have in my collection thanks for sharing. I love pizza the family does as well. I also love the fact that this recipe can be made without heating up the kitchen. Thanks so much for sharing
come see us at http://shopannies.blogspot.com