This post may contain affiliate links. Read my disclosure policy here.
Creating your own embellishments are a fun and unique way to use your supplies up. It’s one of my favorite things to do while watching TV. Today I will show you how easy it is to create them for your projects. You’ll be able to make them for any theme you might would need them.
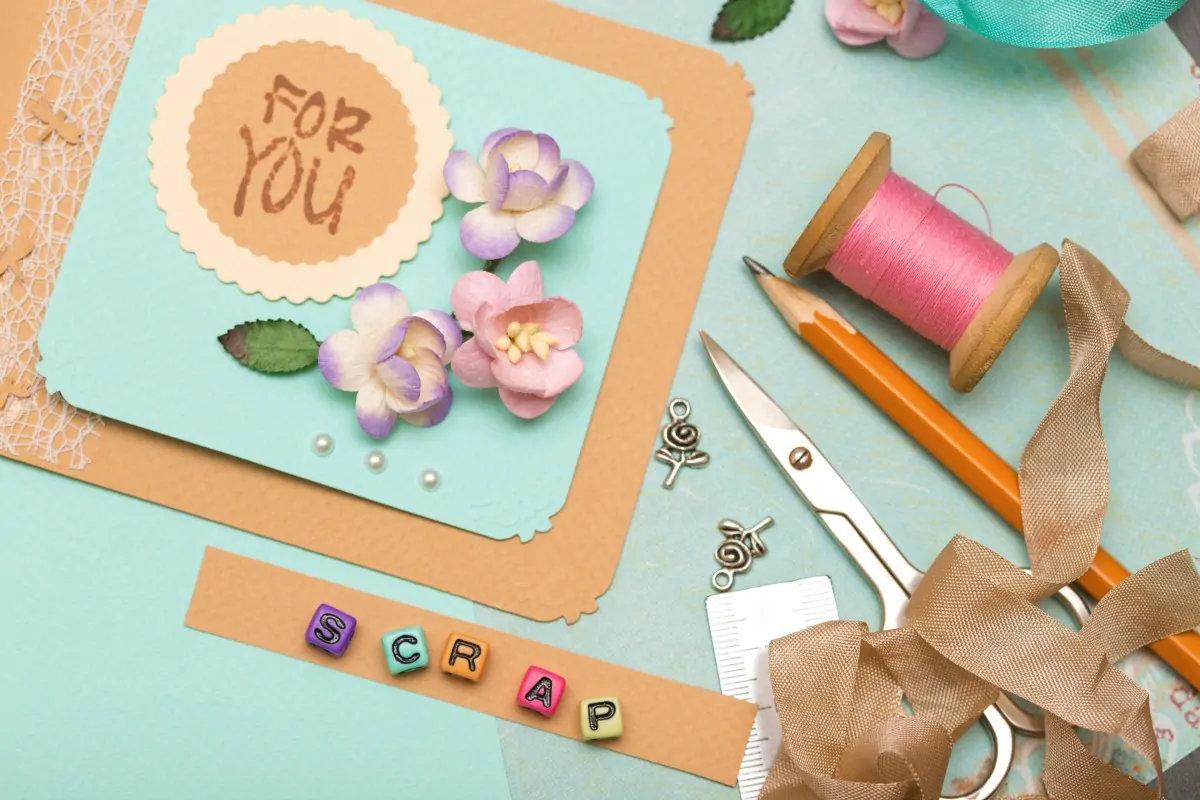
(Suggested) Materials
- Cardstock
- Patterned Paper
- Adhesive
- Twine
- Buttons
- Letter Stickers
I also used a few other items I thought would match the theme I was working with wood veneers and washi tape. You will also need your basic essentials that you use when creating- adhesive, paper cutter and tools.
I have found that creating circle embellishments is the quickest way to get started. These steps are pretty simple and once you have the basics down you can change up your tools and supplies to create different embellishments.
Here are the steps:
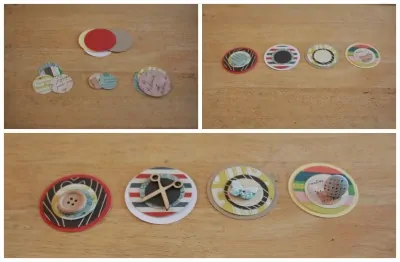
1. Punch out your circles and group them as you would like to arrange them before adhering the pieces.
2. Layer them as you like best. This is where I play around with the patterned paper to see which side looks best and decided what else I would like to add to each piece.
3. Other things you can do – add extra pieces; distress your circles before finishing up with ink. I like to crumble them up to give a flower effect.
Once you have an idea how you’d like each embellishment, adhere the pieces together. You could hand sew the pieces as I showed on of one (the one with the button I used twine). Using brads to hold it together or even staple the pieces together gives each piece a unique touch or just put t them together with adhesive.
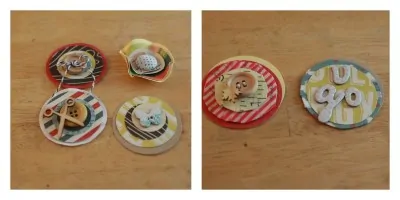
As you can see the possibilities are endless as to what you can make. I hope that you enjoyed this post and if you do give it a try I’d love if you leave me a link to show me what you’ve created!
Catch up on my recent posts:
Scrapbooking Made Simple: Techniques
Scrapbooking Made Simple: Easy Page Layouts
Scrapbooking Made Simple: Getting Started
Pin it for Later


Leave a Comment