This post may contain affiliate links. Read my disclosure policy here.
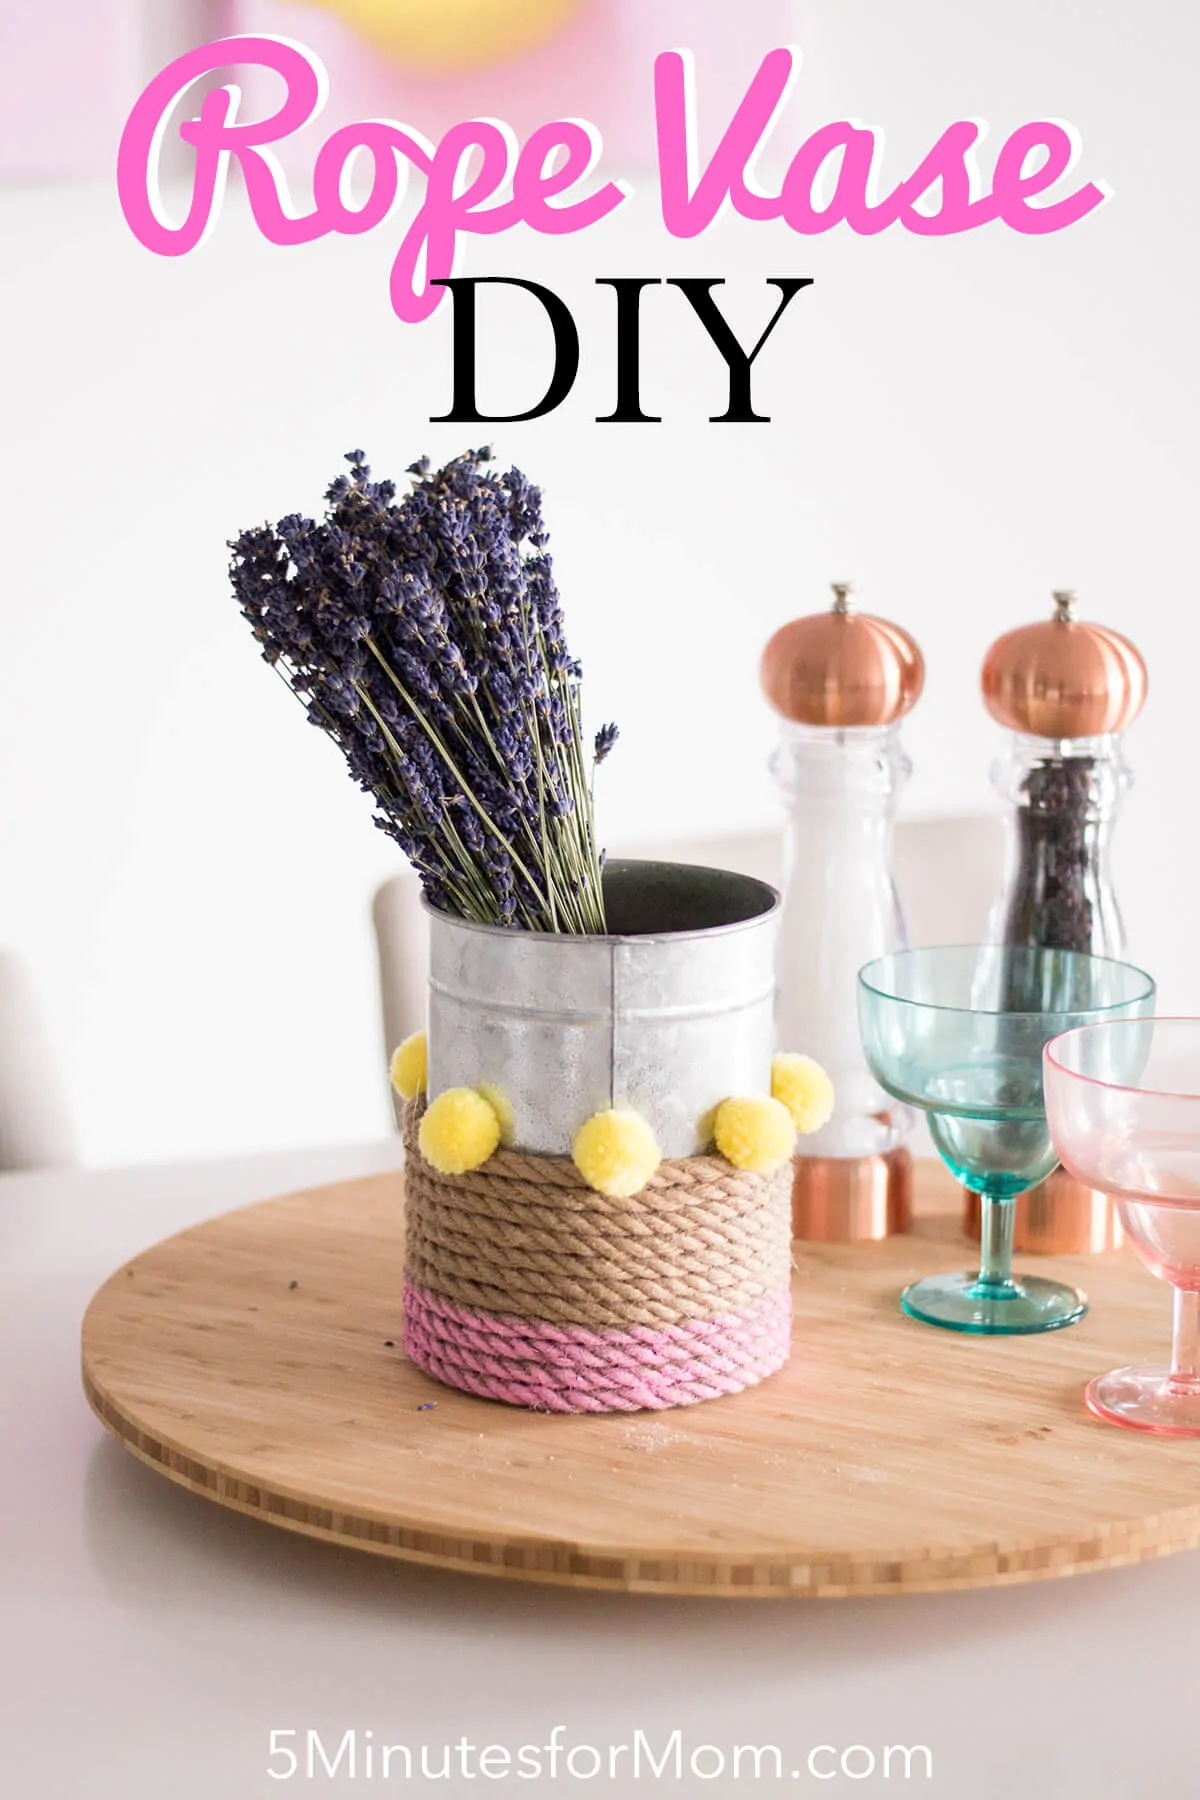
Are you looking for a simple and beautiful craft idea? You’ll love this Rope Vase DIY. Follow this step-by-step tutorial to make a lovely vase for your home or to give as a gift. Our DIY-loving contributor Lisa Favre is back to share her latest creation…
Pink and yellow are taking over my kitchen (thanks, hubby, for being so open to a bright color palette!) and I’ve added this Rope Vase DIY to emphasize it more.
I guess it’s safe to say that I have this thing with pink… and pompoms. Recently, we found some art work that we knew would be the perfect addition to our dining room. When we were condo-shopping, we fell in love with our current space because of its open concept, bright white walls, and the amount of light that came in.
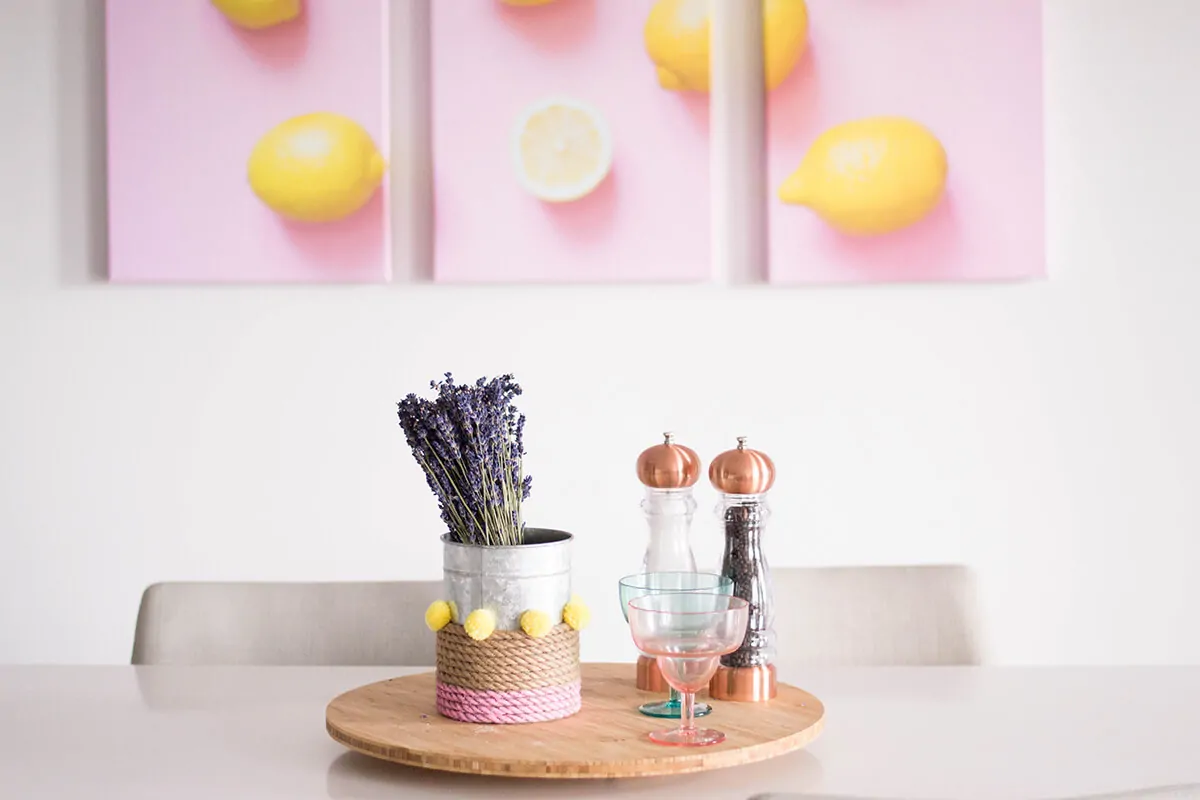
Our dining table faces one of the largest walls in our unit. It was nice to have such a clean-looking area, but the space really needed a little something to add that pizzazz/wow-factor. I added a three-panel canvas that features a beautiful photograph of lemons on a pink background.
From that point forward… I couldn’t stop.
Color, color, and more color! I started adding splashes of color everywhere. You know what? No regrets.
I longed for a centerpiece for our dining table. I came up with a Rope Vase DIY that boasted the same color scheme as our new artwork. It’s easy to make and won’t break the bank: yes!
Rope Vase DIY
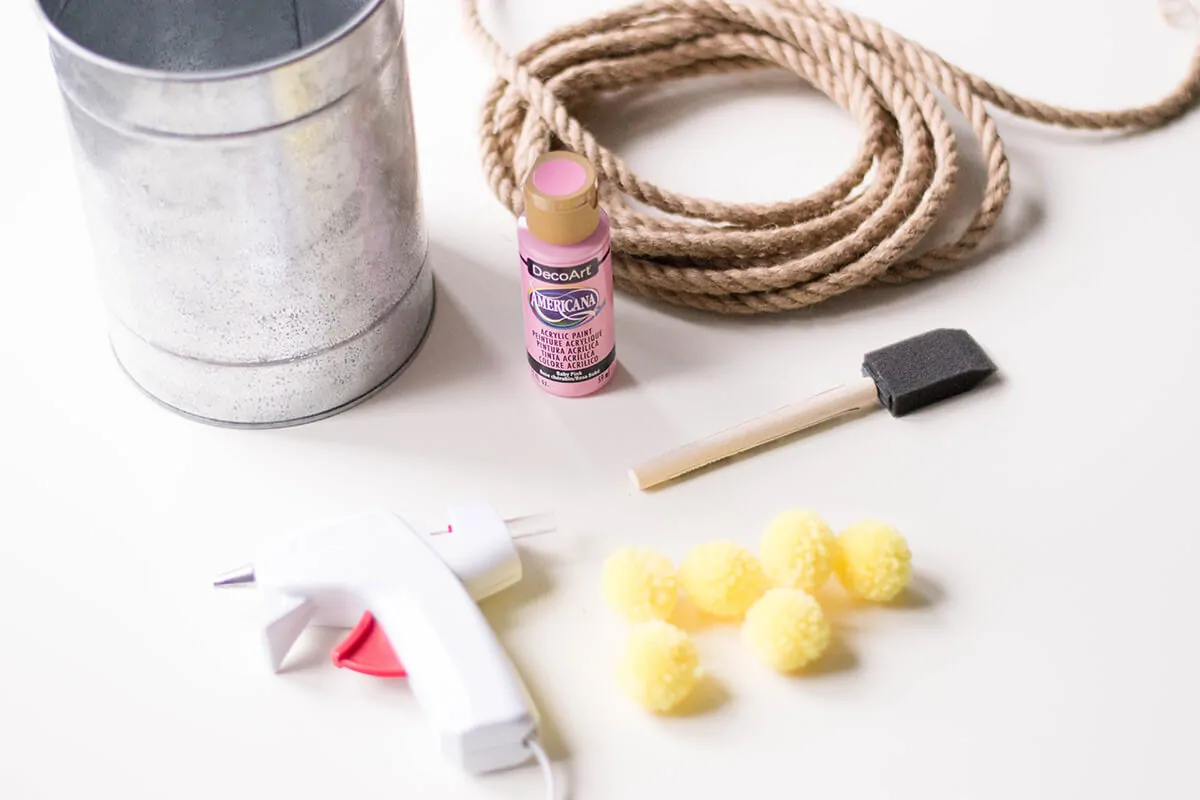
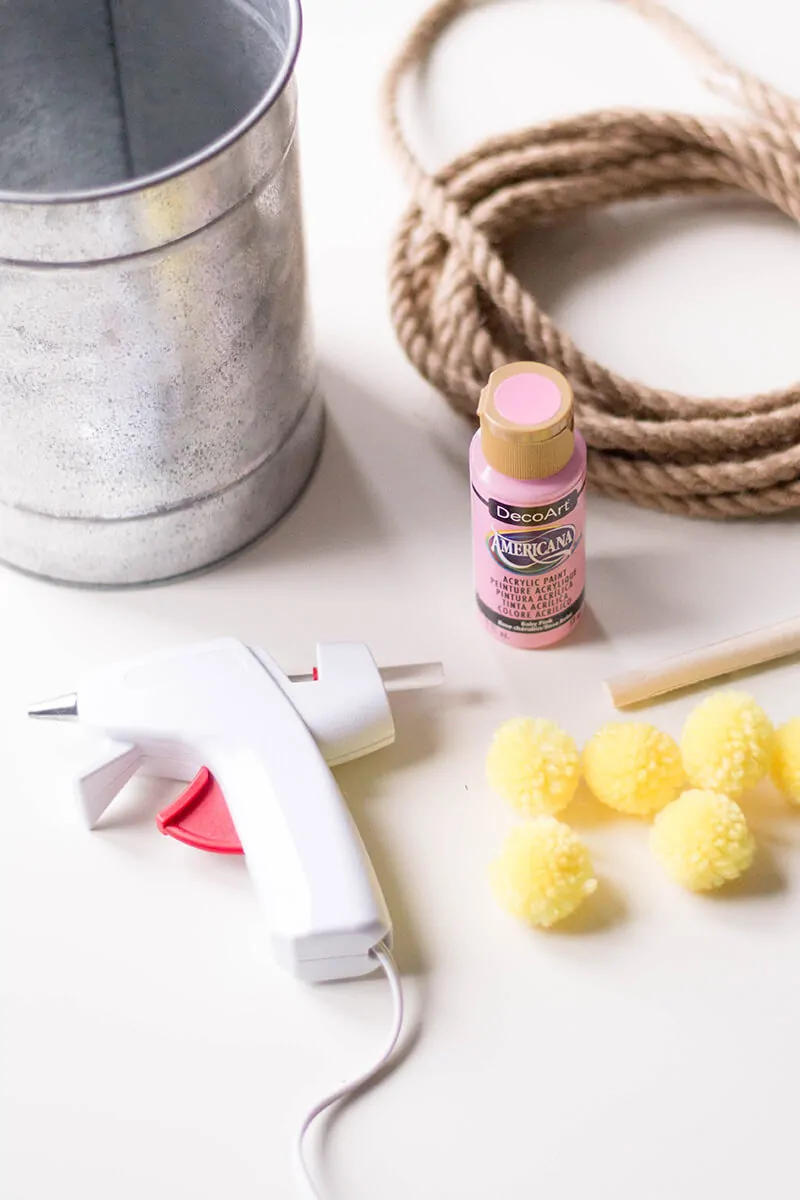
Supplies You’ll Need
- Aluminum vase/bucket (about 5 inches in diameter and 7-10 inches tall
- Approximately 15ft of rope
- Store-bought pompoms (I opted for yellow!)
- Hot glue gun
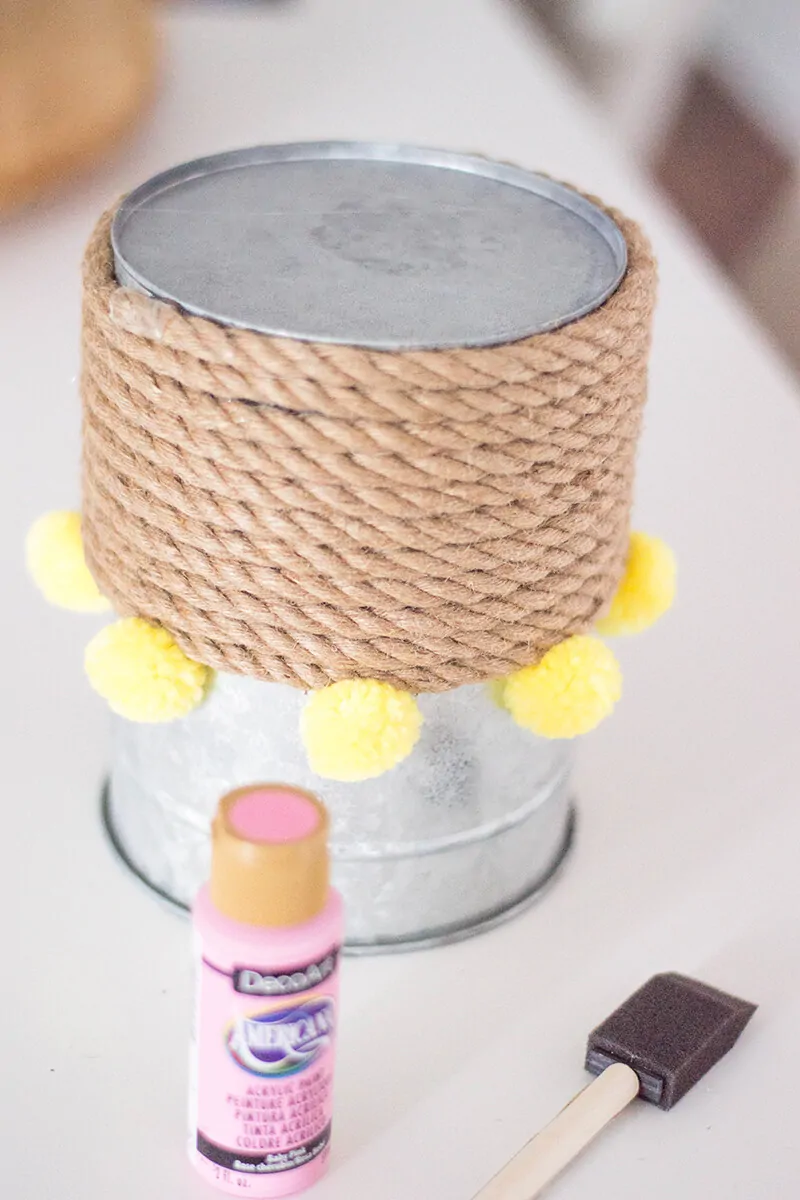
- Acrylic paint (I used pink, naturally)
- Foam paint brush
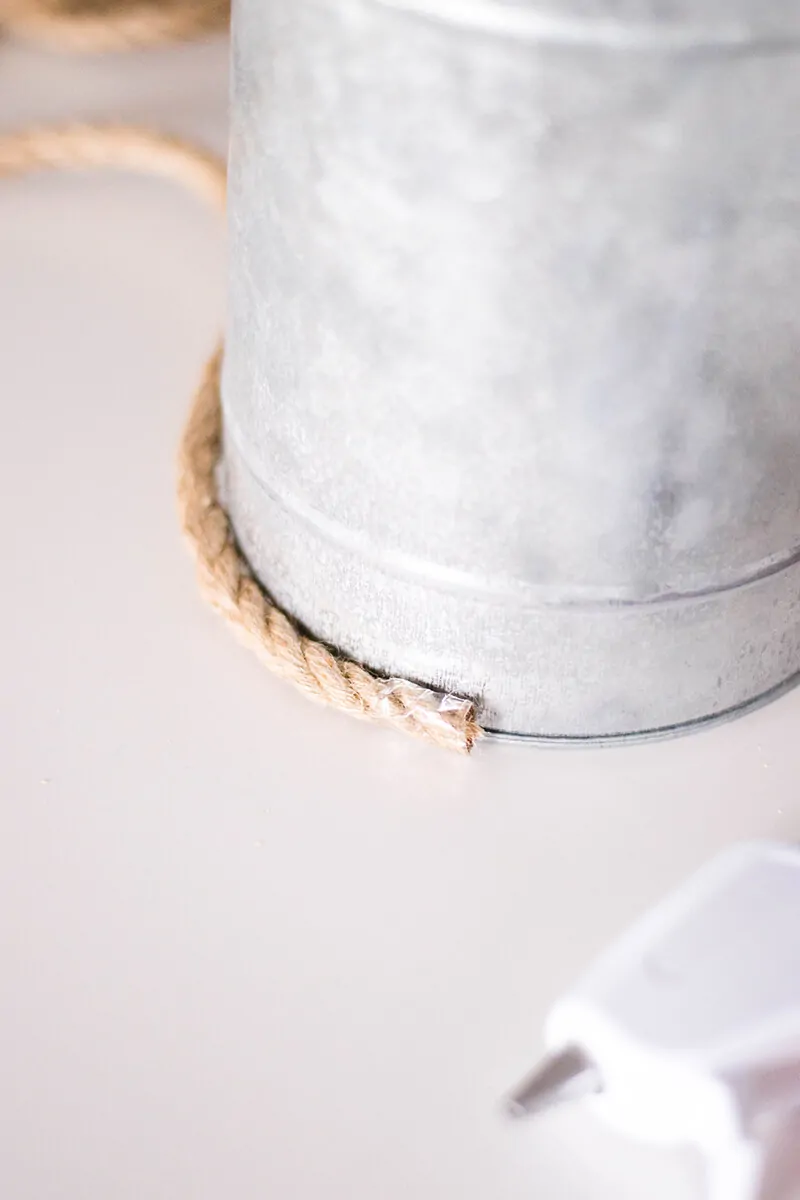
Secure the Rope
Start by gluing one end of the rope at the bottom of your vase. Wrap around once.
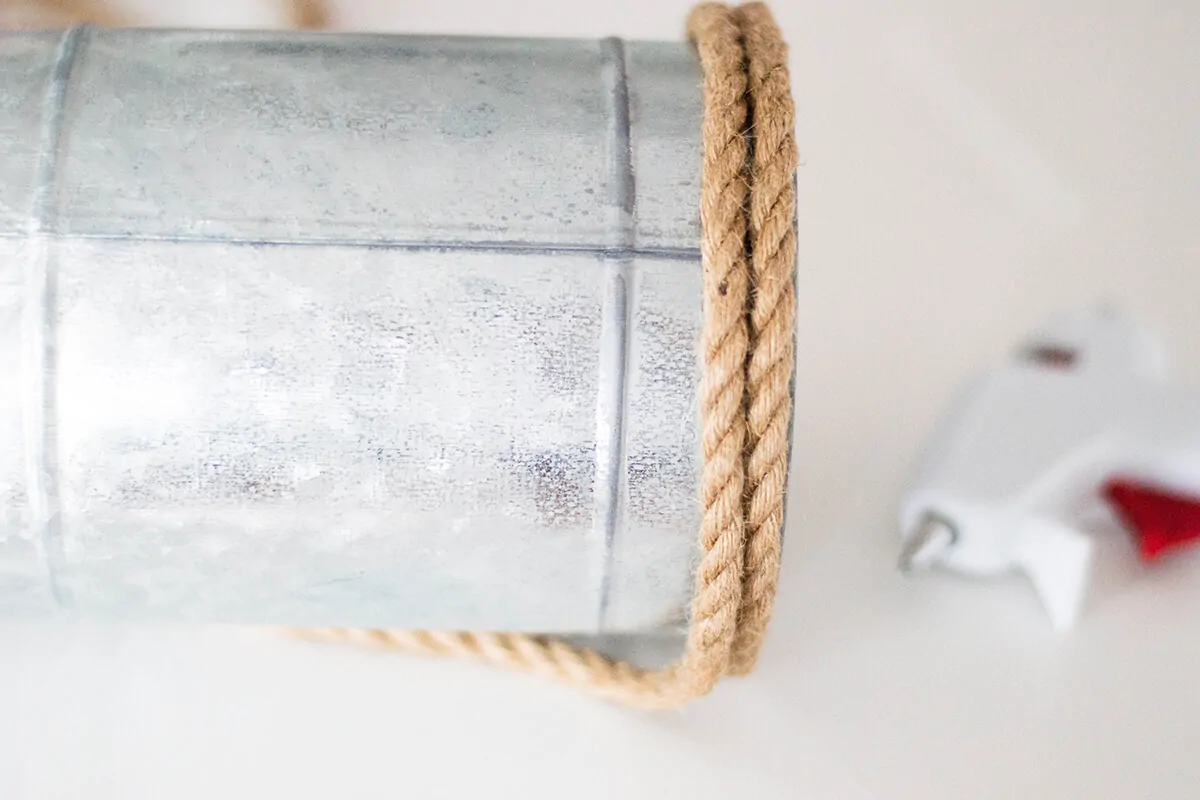
Wrap and Secure
Continue wrapping the rope around your vase/bucket. Wrap it tightly and add a little bit of glue for every time you add a wrap. I added about an inch of glue for each full-wrap I made, just to secure it.
Glue the End
Once you’ve reached the end of the rope, glue the end of the rope and secure it on your vase.
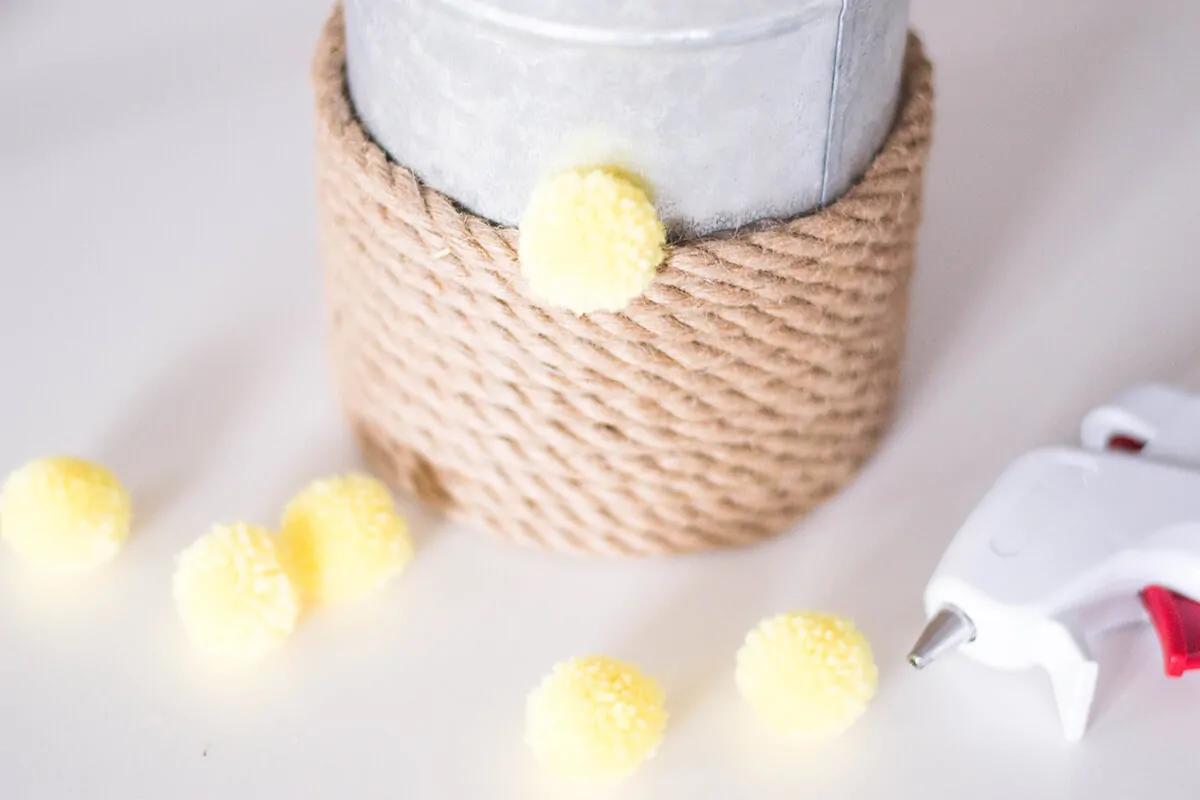
Add Those Pompoms!
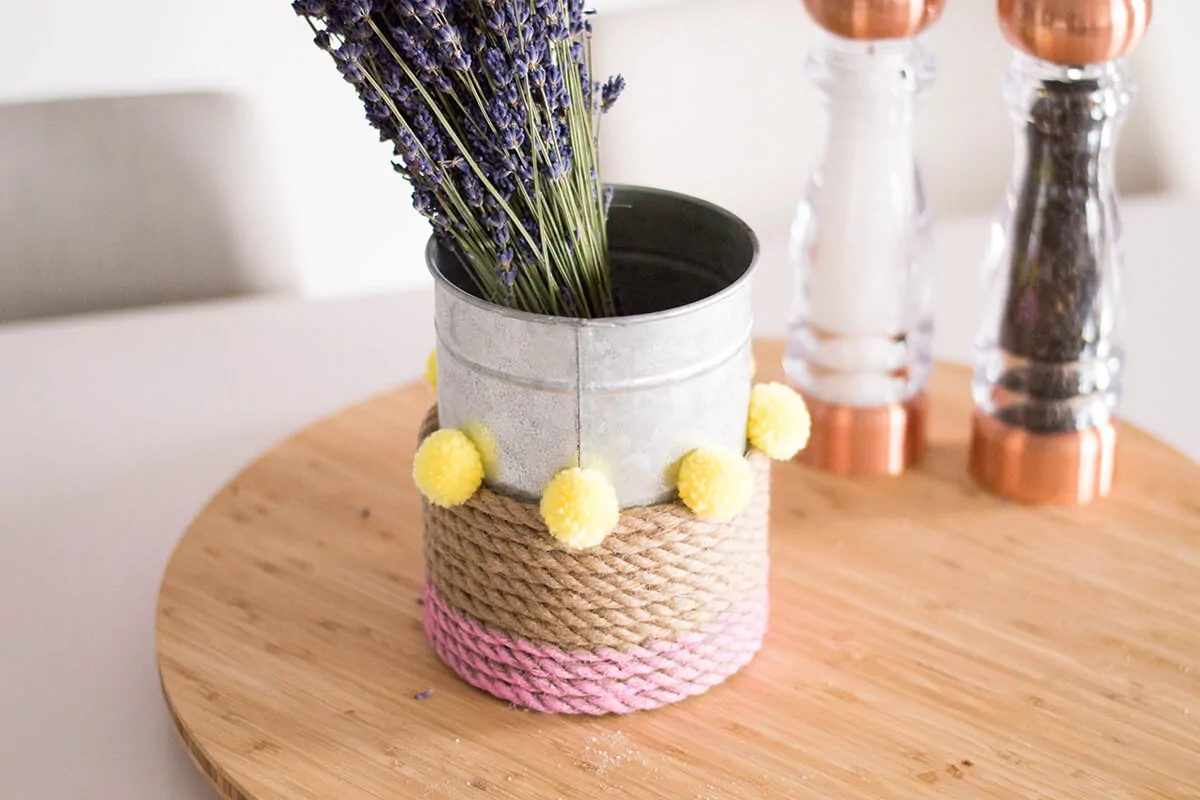
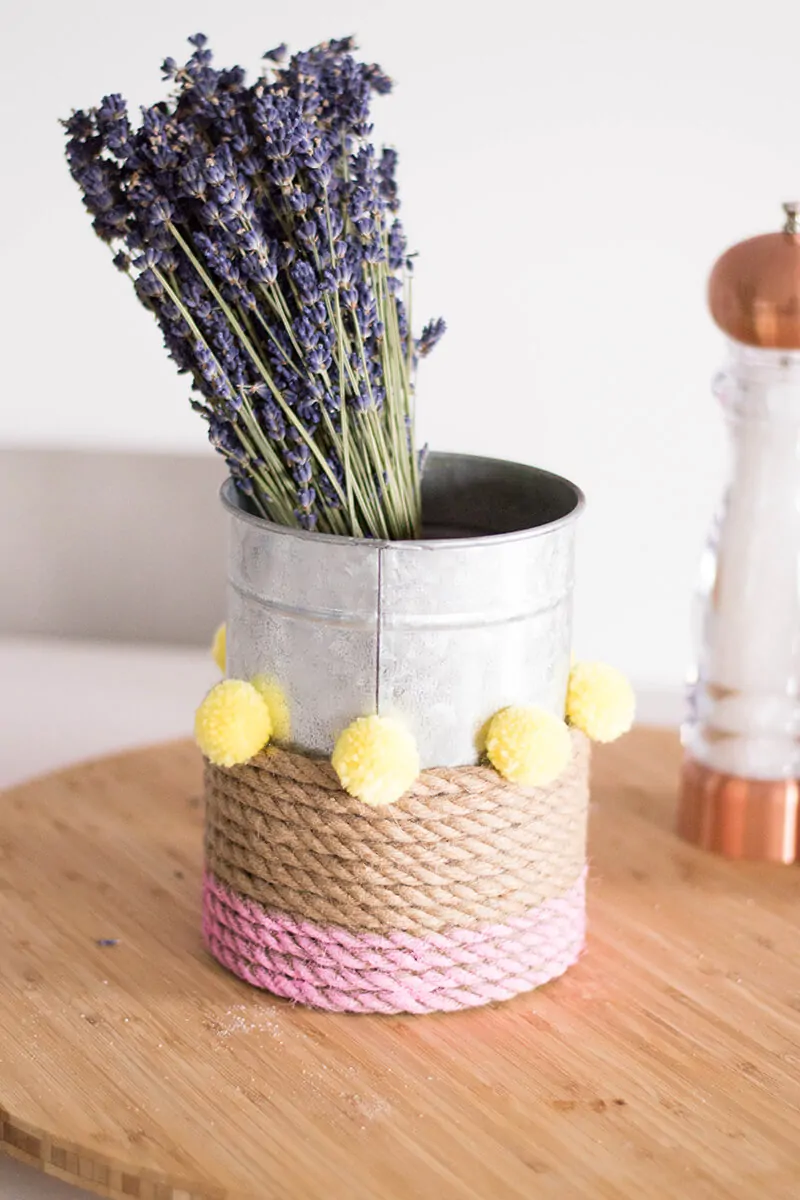
Glue pompoms on the top row of your rope. I spaced them 1 inch in between each other.
That Touch of Pink
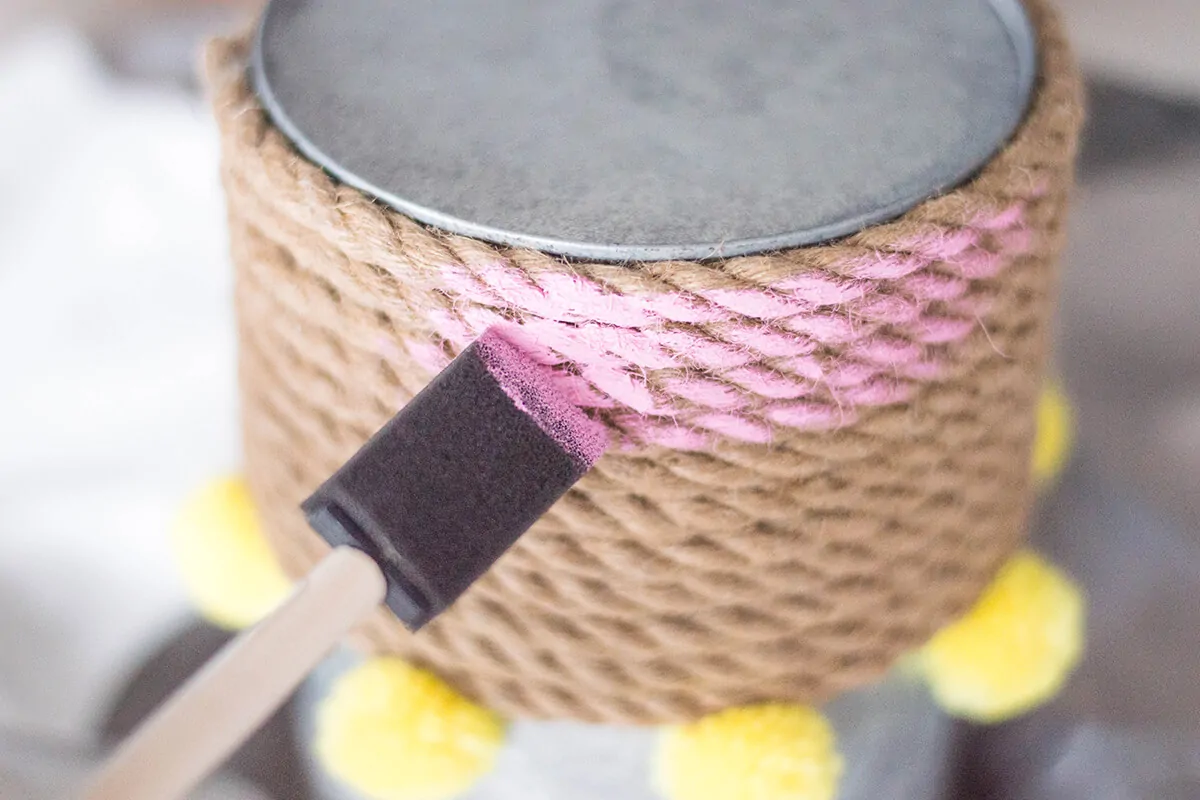
Turn your vase upside down and start painting the bottom portion of your rope. I painted about 4 rows of rope. The best part about this project is that the paint doesn’t have to be uniform nor does it have to completely cover the area. I just dabbed the acrylic paint for the color to come through – and it came out fantastic!
Air it Out and Display
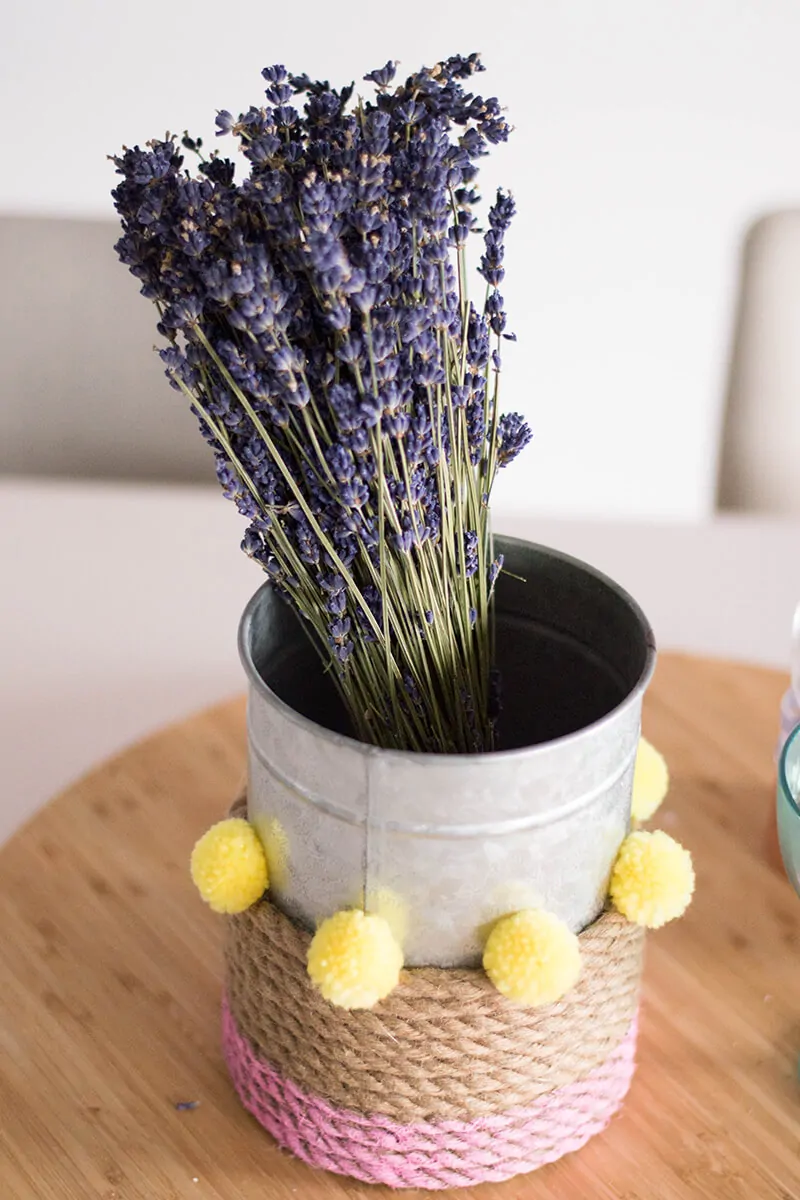
Once the glue and paint have completely dried, place some flowers and add it to your home décor. Enjoy!
What are your favorite colors? How do you add splashes of color to your home?
Written by 5 Minutes for Mom contributor Lisa Favre who blogs at Fabulous Habits where she highlights the best in food, fashion, beauty, and parenting.
Pin it for Later
See More Of Lisa’s DIY Projects…
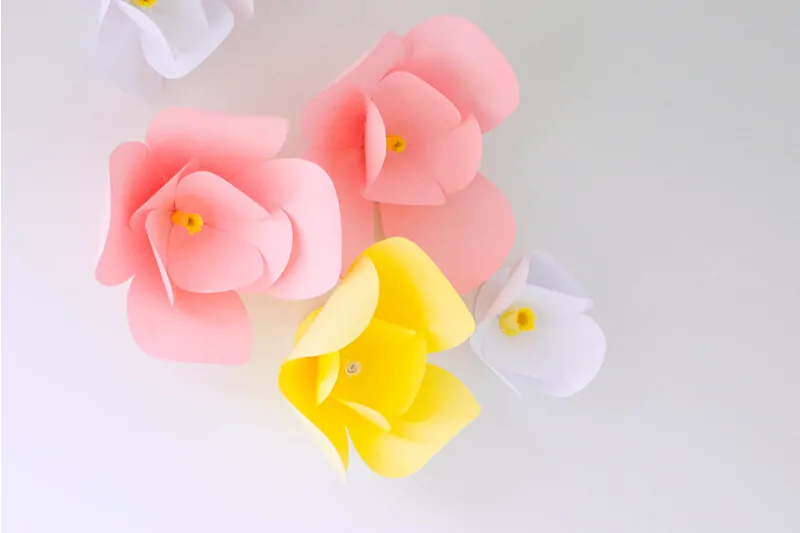
Easy DIY Paper Flowers
Lisa made these pretty DIY paper flowers to decorate the wall in her office…
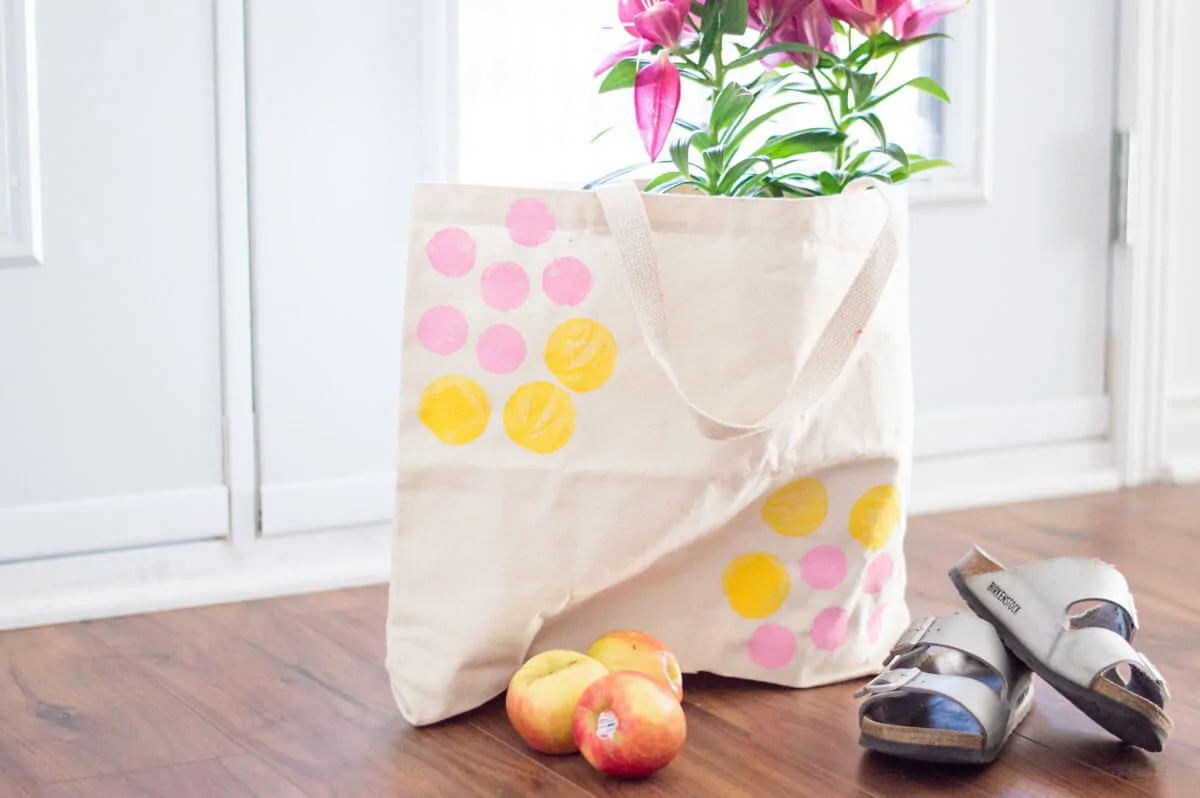
DIY Canvas Tote Bag
This potato stamp DIY canvas tote bag is perfect to take to the farmers’ market…


Diana Lopes says
Pops of color, yaaas please! I love these ideas, that baby yellow makes it so stylish!