This post may contain affiliate links. Read my disclosure policy here.
DIY wall decor is a wonderful way to add a personal touch to your home at an affordable price. Our new contributor, Lisa Favre, created these stunning DIY paper flowers to decorate her office in her new home. Lisa shows you step-by-step how to make paper flowers.
Adding a personalized touch to my home office with the easiest DIY paper flowers.
Our family recently moved to a new home and it has been the smoothest move… ever. We played it smart by planning things well in advance. Within a day or two, our entire place was set up with all of the essentials. Now, we’re living comfortably in our shiny new abode. Our toddler is going through some adjustments (he’s still getting used to his new environment), but he seems to be enjoying it, nonetheless.
But wait… there’s one thing.
Ah, yes: home decor. While I’m incredibly happy with the furniture we chose, there’s that specialized touch that’s lacking in each of our rooms. I guess we’ve been so busy trying to get all the basics done, I nearly forgot to add decorations.
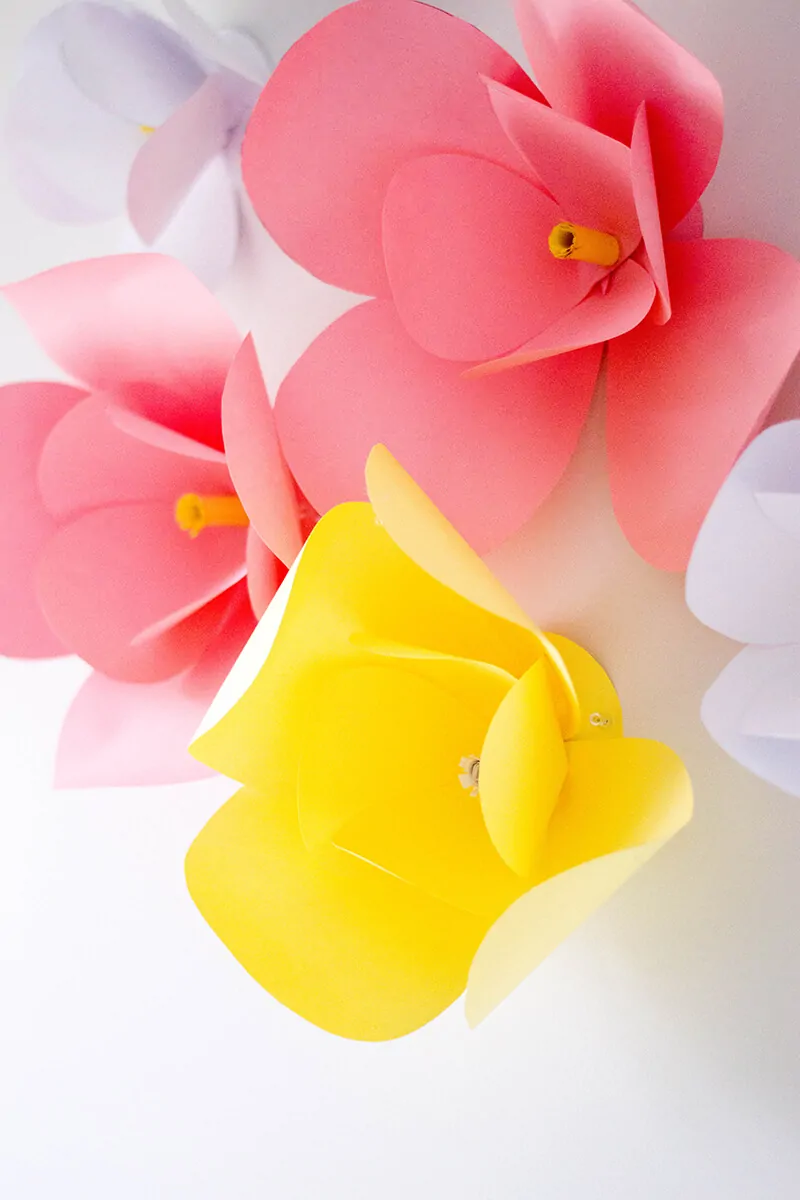
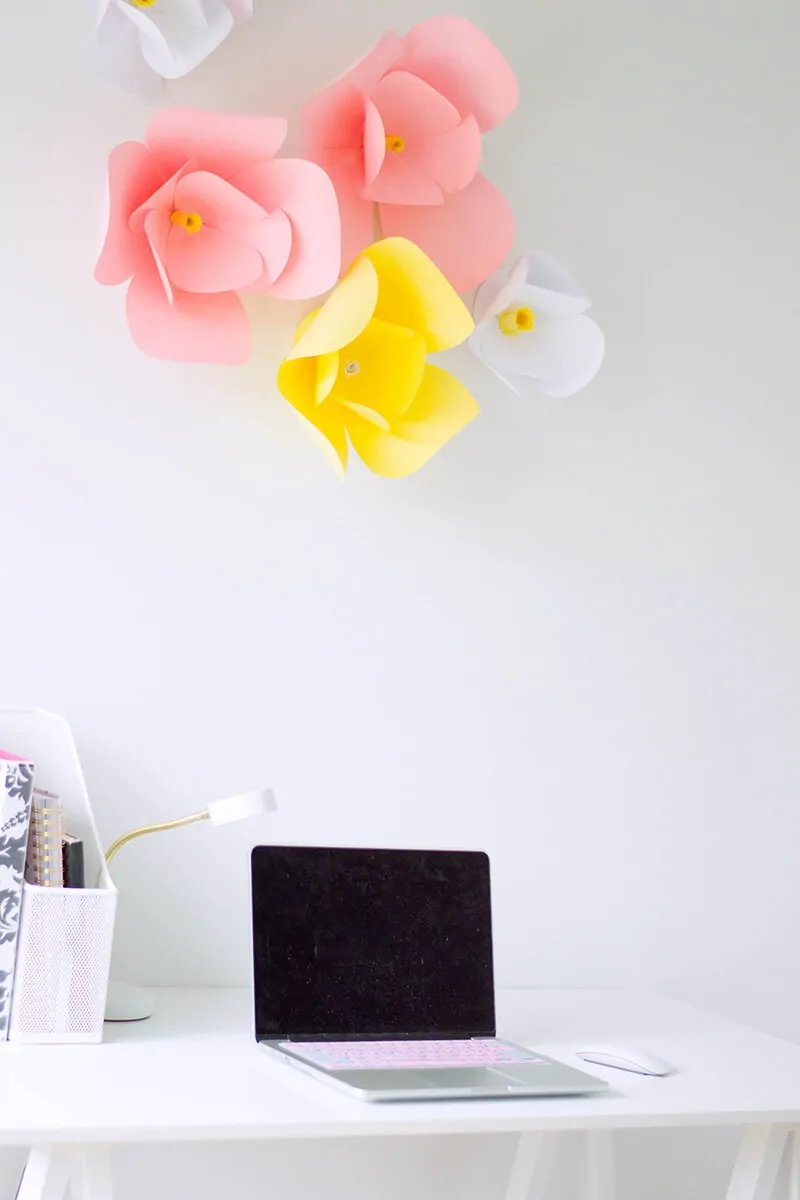
I realize this is something I could work on as time goes on, but I decided to start with a basic DIY. Our office was looking a little bland with its all-white walls and all-white furniture. It needed a pop of color and my DIY paper flowers did exactly the trick.
I approach many things with a minimalist mindset, so I never go overboard with decor. These paper flowers are beautiful because of their simplicity. They’re also a budget-friendly option to otherwise pricey wall decorations.
Here’s you can make your own…
How to Make Paper Flowers
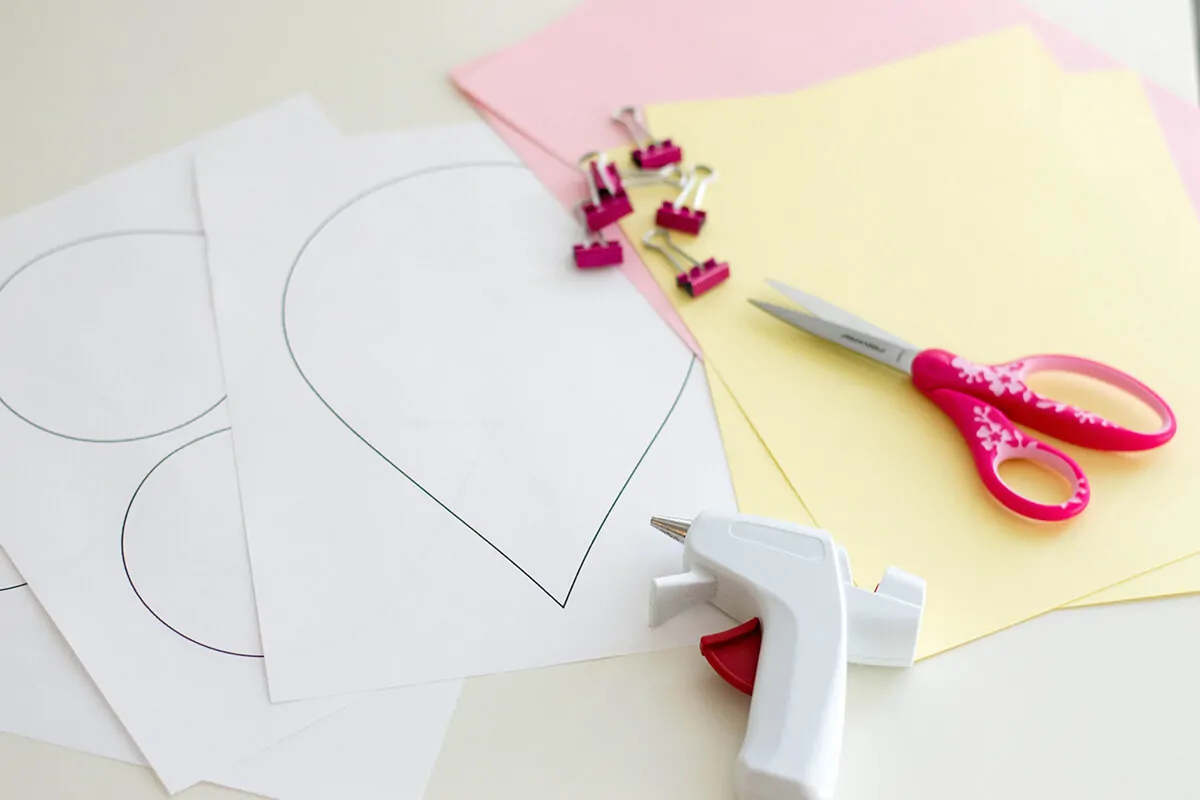
For One Paper Flower You’ll Need:
- 65 lb. cardstock – 8.5 x 11 in size (6 sheets of one color and 1 sheet of a different color)
- Scissors
- Glue gun
- Binder clips
- Push pins (to mount it on the wall)
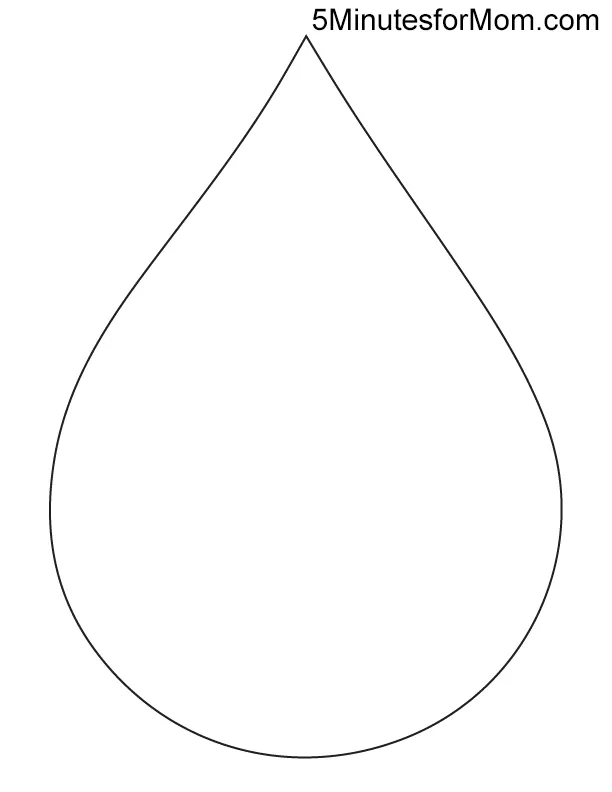
- Our paper flower printables (psst: I’ve included it in this blog post!)
Step One: Printing, Cutting, and Tracing!
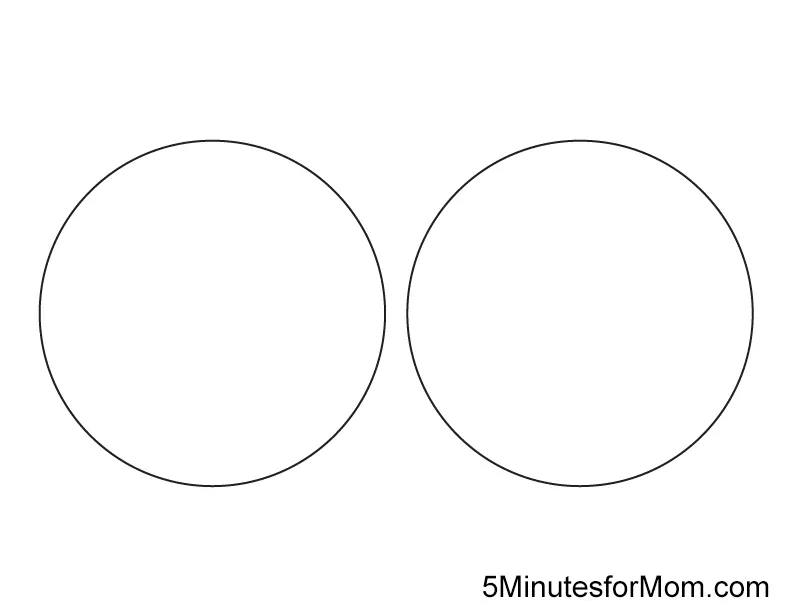
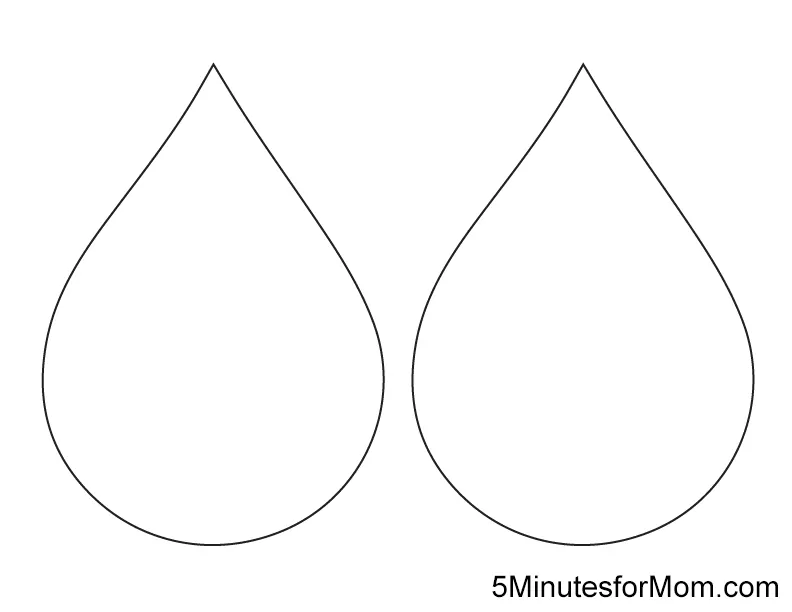
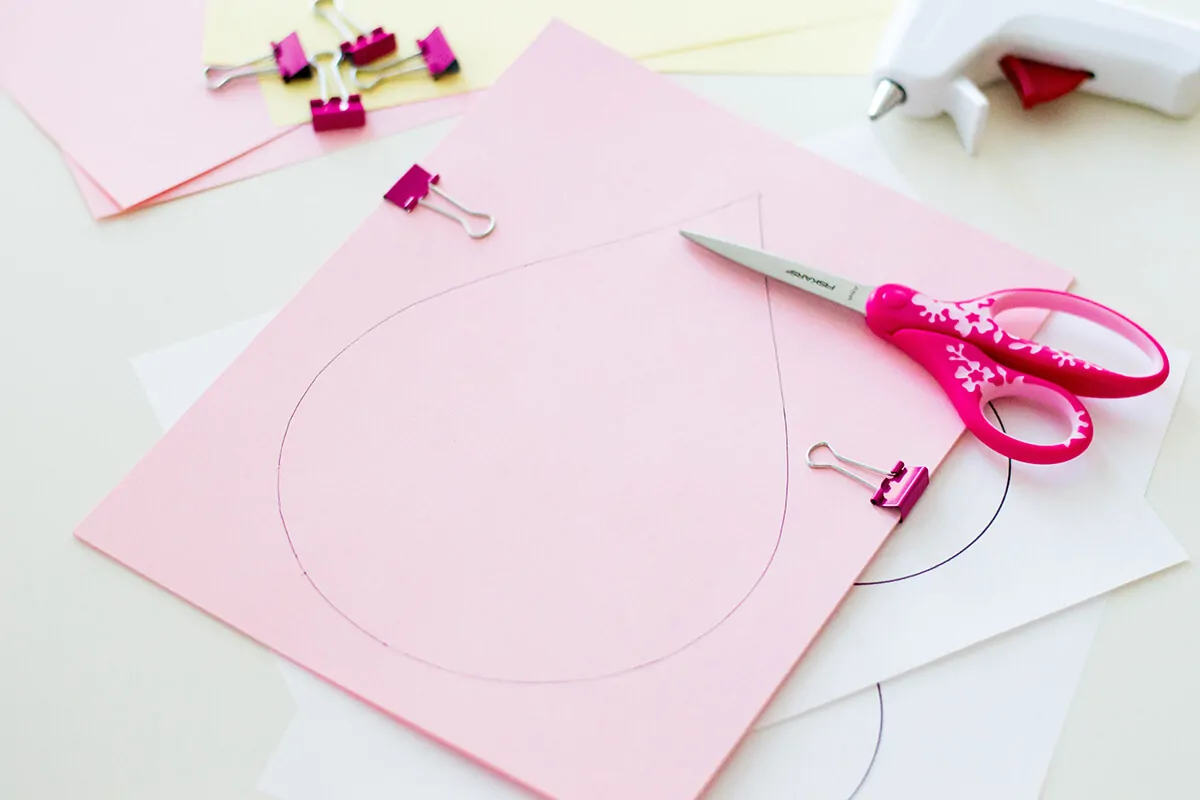
Print out the paper flower printables and cut each shape out. Trace each shape onto one piece of cardstock. Simply click on the images below and print the templates.
Step Two: More Cutting!
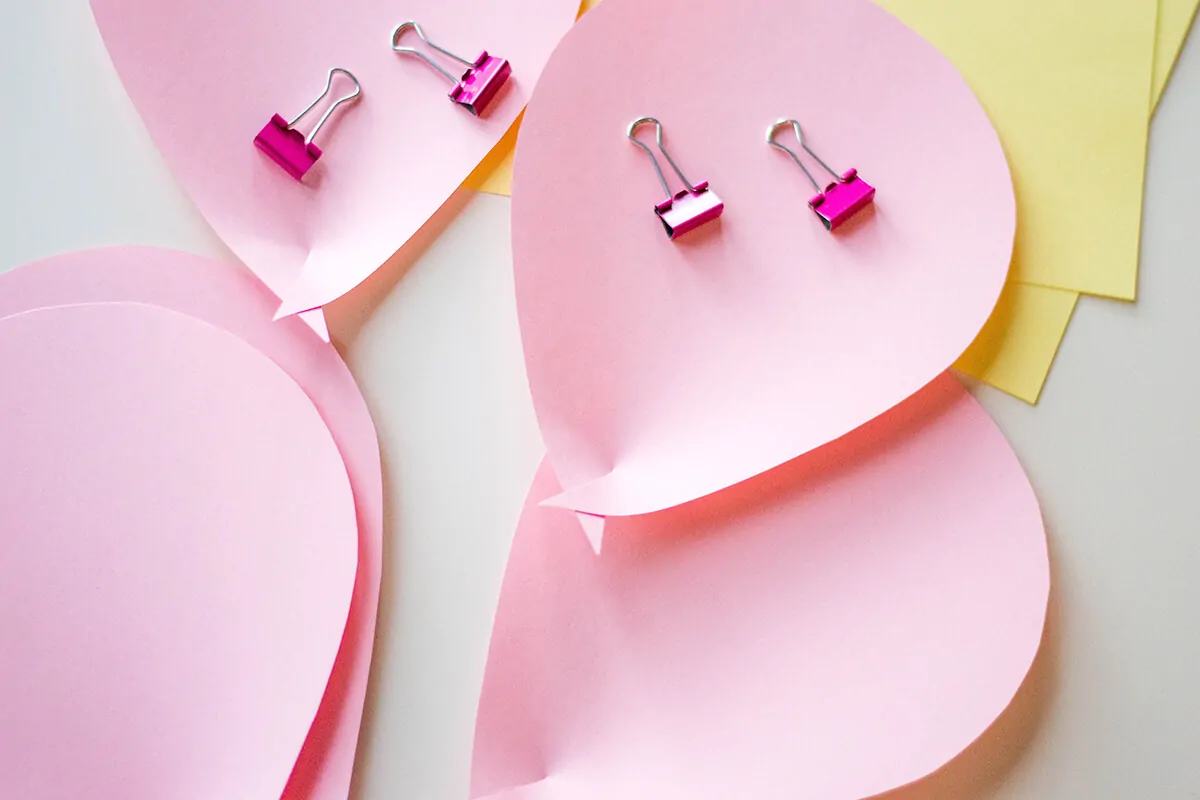
Once you’ve traced your shapes, you can pile your papers and secure them with binder clips. This way, the cutting process goes by faster. 3 pieces of cardstock are just the right amount to cut through: otherwise, it gets too difficult/stiff.
For one flower, you’ll need at least 4 of the large raindrop shapes and 4 of the smaller ones. I would say that 4 is the minimum. What’s great about this project is that you could do as many layers as you want depending on the look you’re trying to achieve. You’ll need one circle to act as the base.
Step Three: Slit and Glue
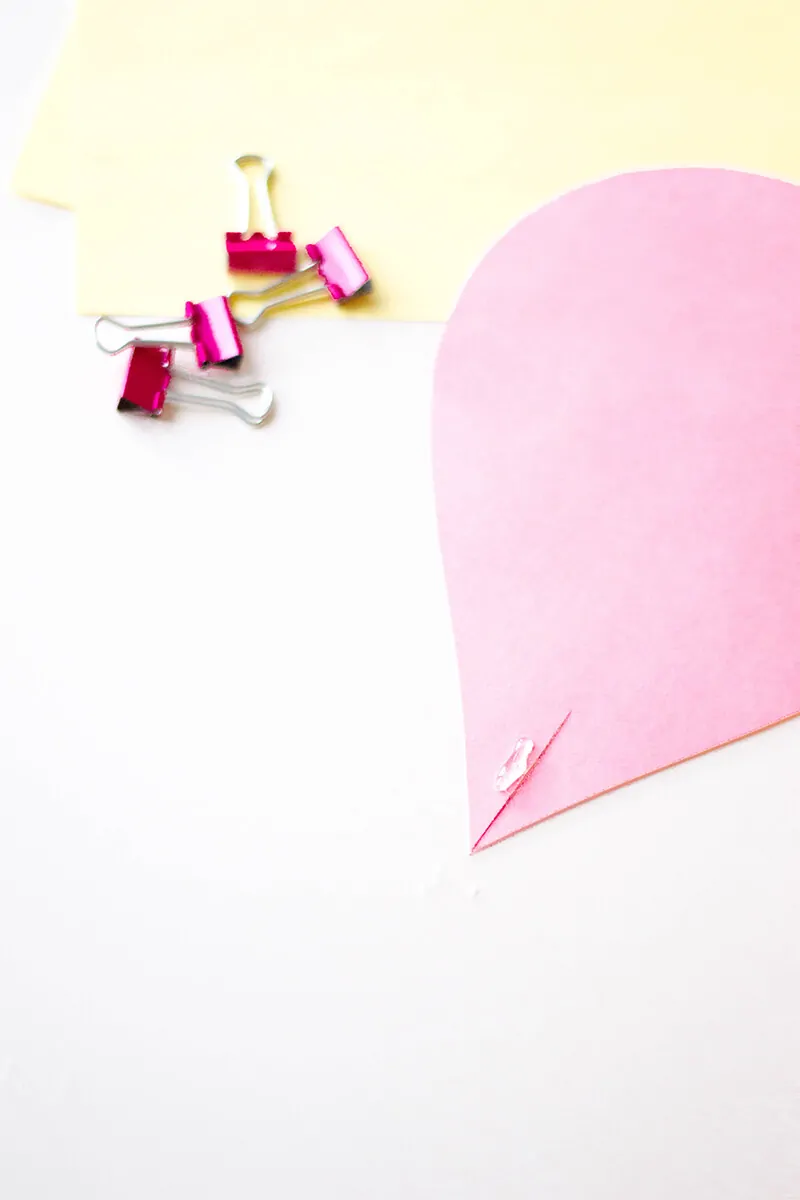
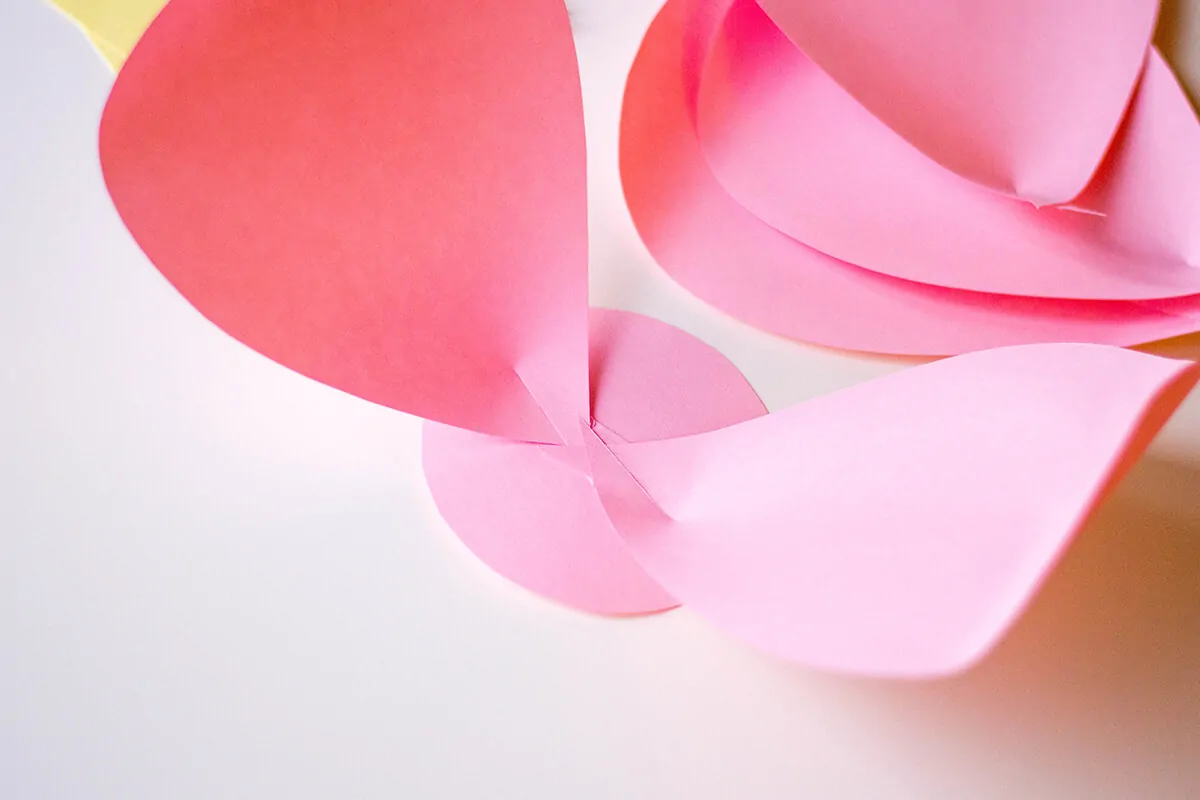
Cut a 2-inch slit at the pointed end of each petal and add glue to the left side. Overlap the right side on top of the left: this will allow your petal to be “cupped” (which will help secure it onto your circular base).
Step Four: Texture and Curls
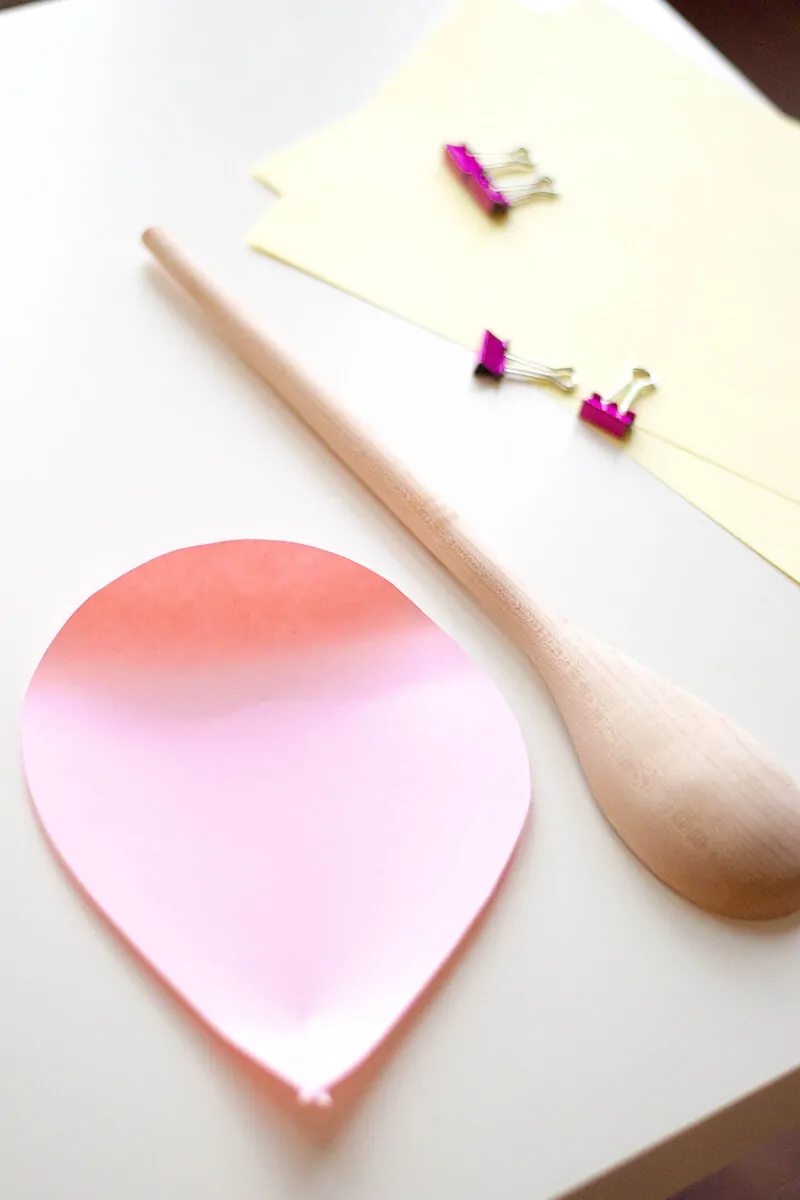
Curl each petal towards you – this will give them their shape. (Hint: I used a wooden spoon to achieve the look).
Step Five: Assemble The Paper Flowers
Starting with the large petals, glue each piece onto your circular base. It’s easiest to start with four and if you choose to add more, to layer from there. Then, do the same with your smaller petals.
Step Six: The Center
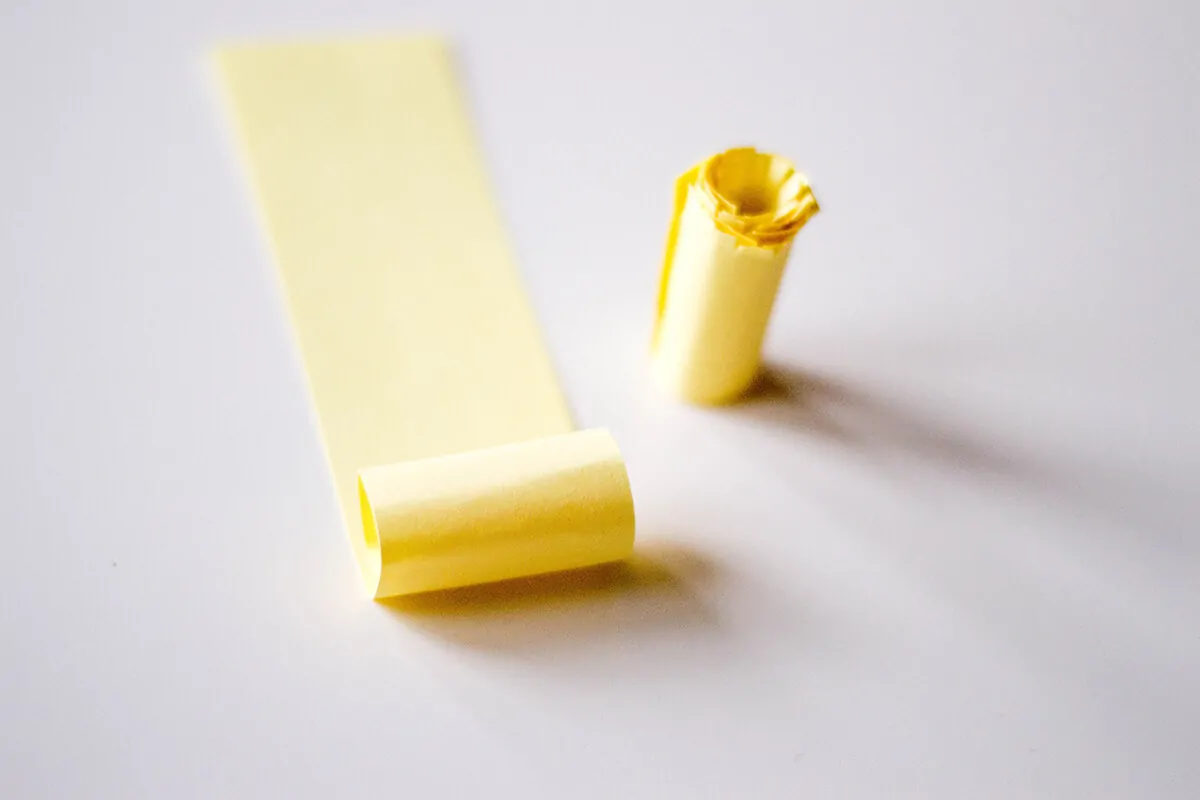
Cut a strip (approx. 8.5 x 2 inches) from your cardstock (it can be a different color). Roll it and cut little strips on the top (you’ll want to go around the circumference). Spread out the strips and secure the edge so that your roll doesn’t unravel. Glue the base into the center of your flower.
Step Seven: How to Mount DIY Paper Flowers on the Wall
I used thumbtacks to mount my flowers. I like this option because a) I don’t have to use a hammer, and b) It leaves less severe holes in the wall.
Following these same steps for how to make paper flowers, you can also make smaller versions. You would only need to use the smaller of the two petals!
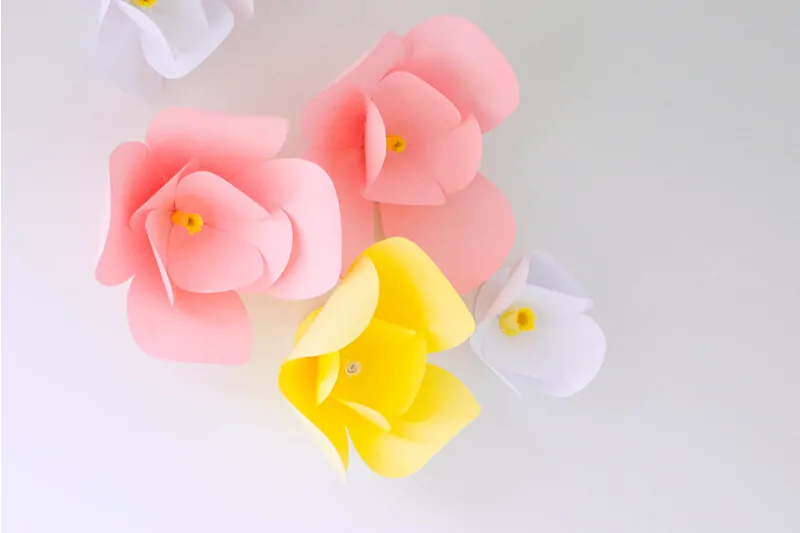
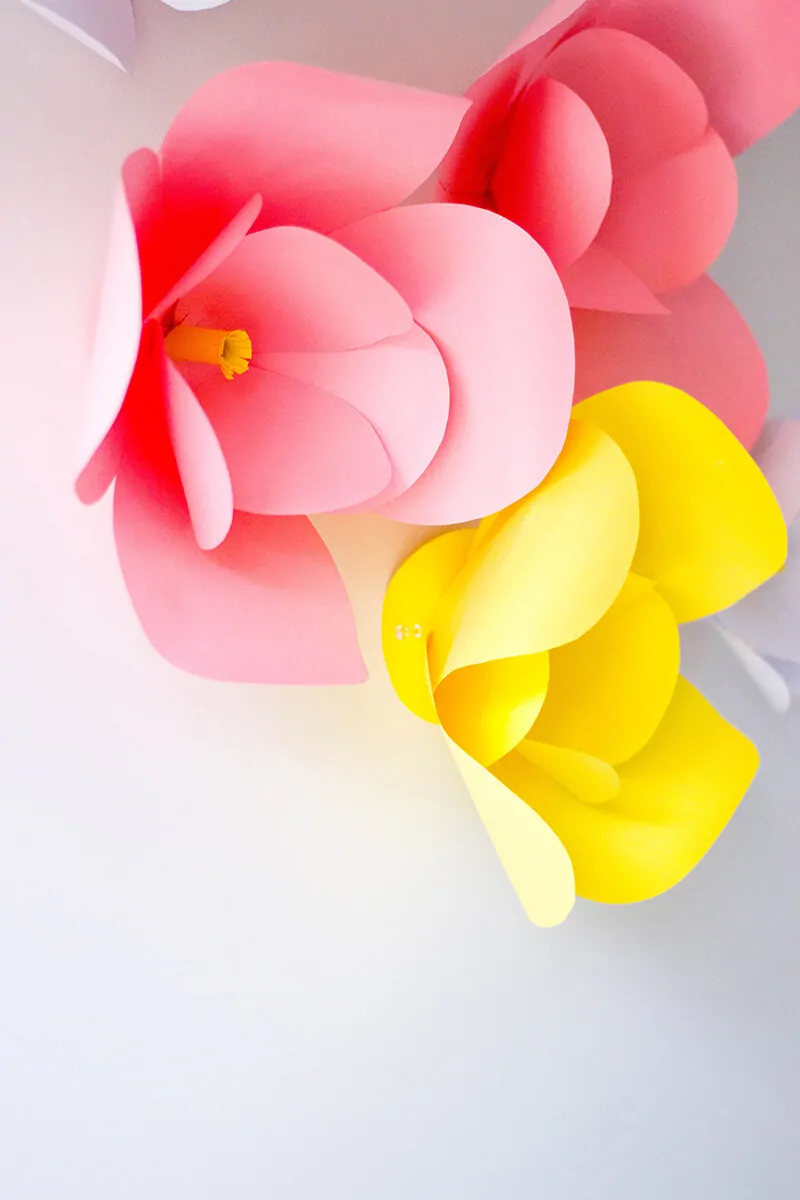
How cute are they?! I love how they add a bit softness to the room. I also imagine these DIY paper flowers acting as a backdrop for weddings and other parties.
How do you decorate your home? What’s your favorite kind of wall decor?
Pin it for Later
Written by 5 Minutes for Mom contributor Lisa Favre who blogs at Fabulous Habits where she highlights the best in food, fashion, beauty, and parenting.
Don’t Miss This
20 Vibrant Watercolor DIYs For Your Home


Katherine says
So….PRETTY! Thanks for sharing at Best of the Weekend!
Marie | DIY Adulation says
These are fun and colorful, everything I love in decor. I love how easy they are to personalize to my color-scheme too. Thanks for sharing your pattern and tutorial with us at Merry Monday this week!
Hannah Schlachter says
I’m definitely pinning this for letter. It looks way more complicated than it actually is. Great post!
angie says
what a fun idea, bring the flowers inside, this could be a great idea used year round thanks for sharing
come see us at http://shopannies.blogspot.com
Linda Kilsdonk says
These are so adorable and happy-looking! They look great on the wall above the computer! Smiles, Linda at Paper Seedlings
Julie says
These are so pretty, they look super easy to put together too. Pinning
Michelle Leslie says
That looks so cool on the wall. What a fun way to decorate an office, it would definitely make me smile while I work
Victoria @DazzleWhileFrazzled says
Cute! I’d love to do that one day on a wall – super fun! Visiting from Sundays at Home party.