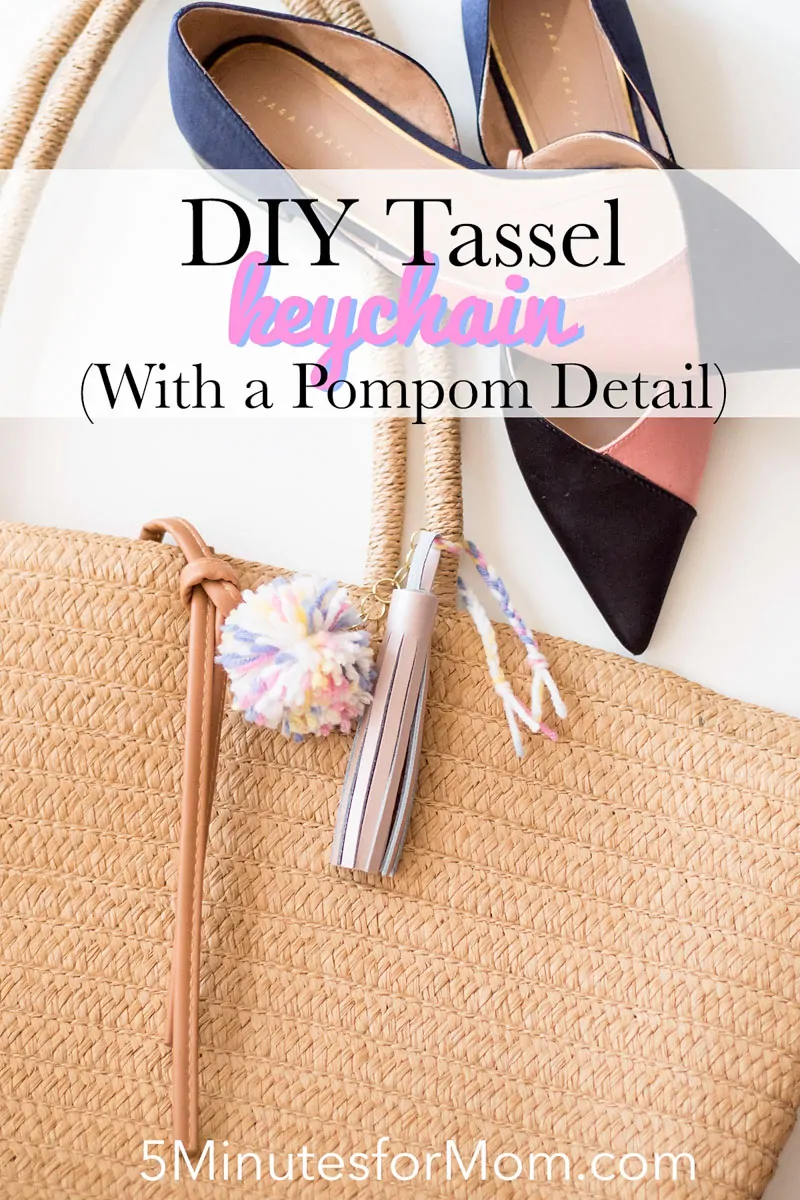
We’re thrilled to share another fabulous DIY from our contributor Lisa Favre. Follow this easy step-by-step tutorial to create your own DIY Tassel Keychain… because sometimes all it takes is a cute tassel, a fluffy pom pom, and bright colors to fashionably elevate a purse!
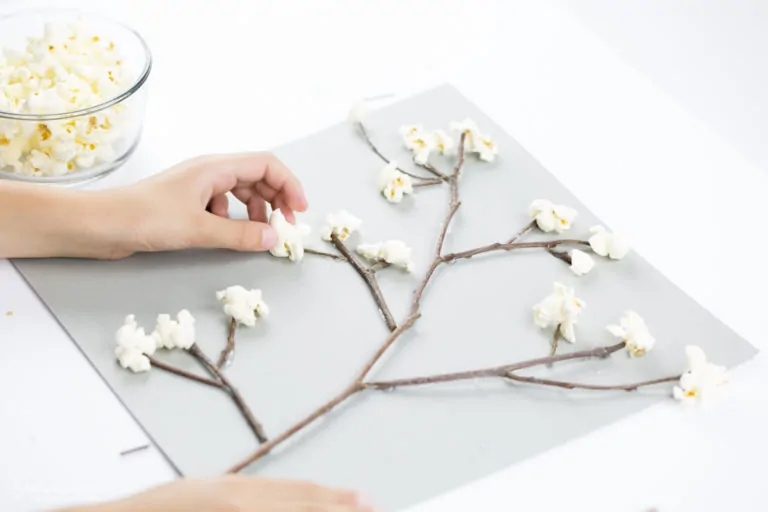
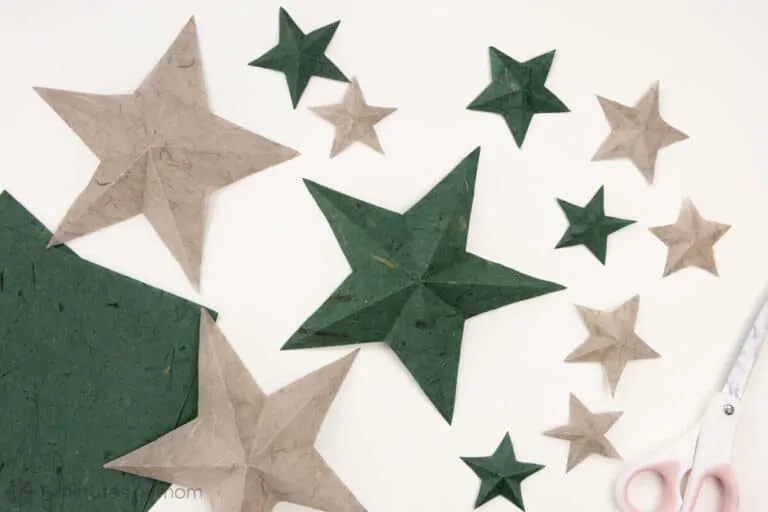
If you missed Lisa’s earlier posts, check out how she decorated her home office with easy DIY paper flowers and made this pretty DIY canvas tote bag.
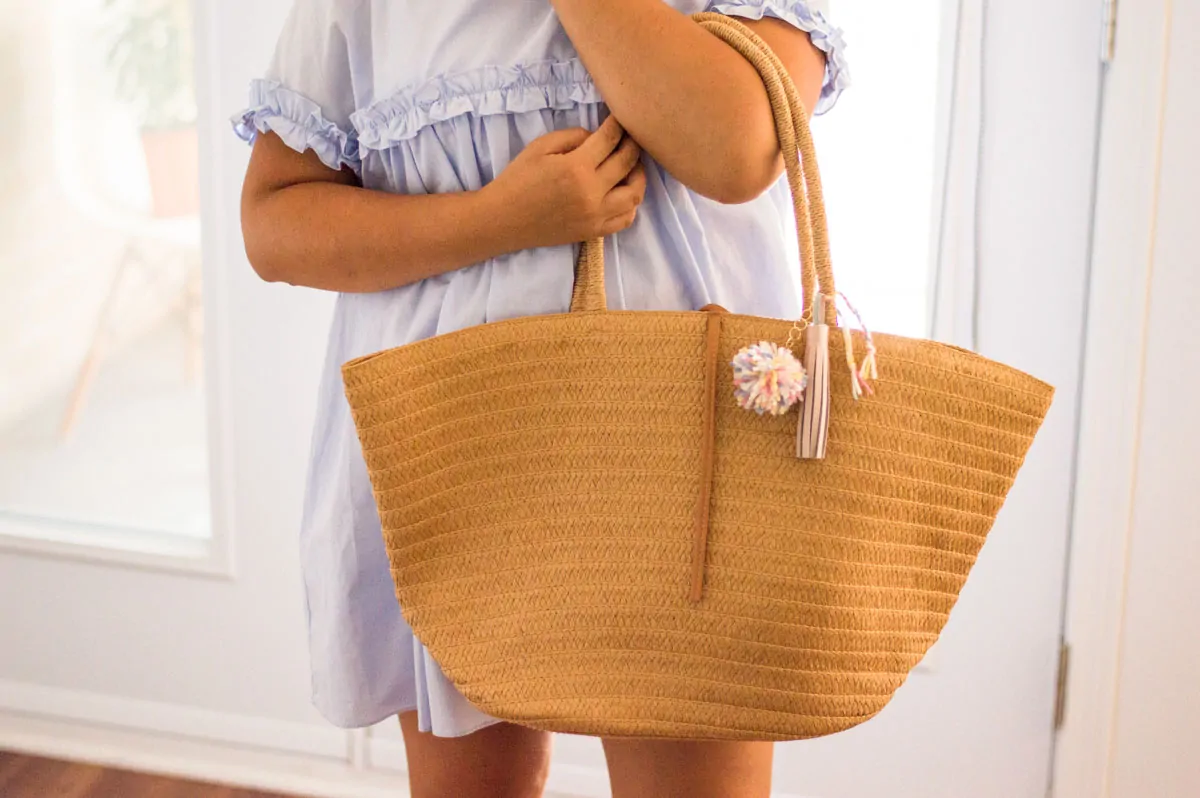
This season, straw purses have been popping up everywhere: fashion magazines, storefronts, and even my social feeds. The moment I saw the trend start up, I just knew that I had to hop on-board. There’s just something so charming about a lightweight, neutral-colored, straw purse. Whether it be a large, long-strapped tote or a charming mini-satchel, I wanted to have one for my collection!
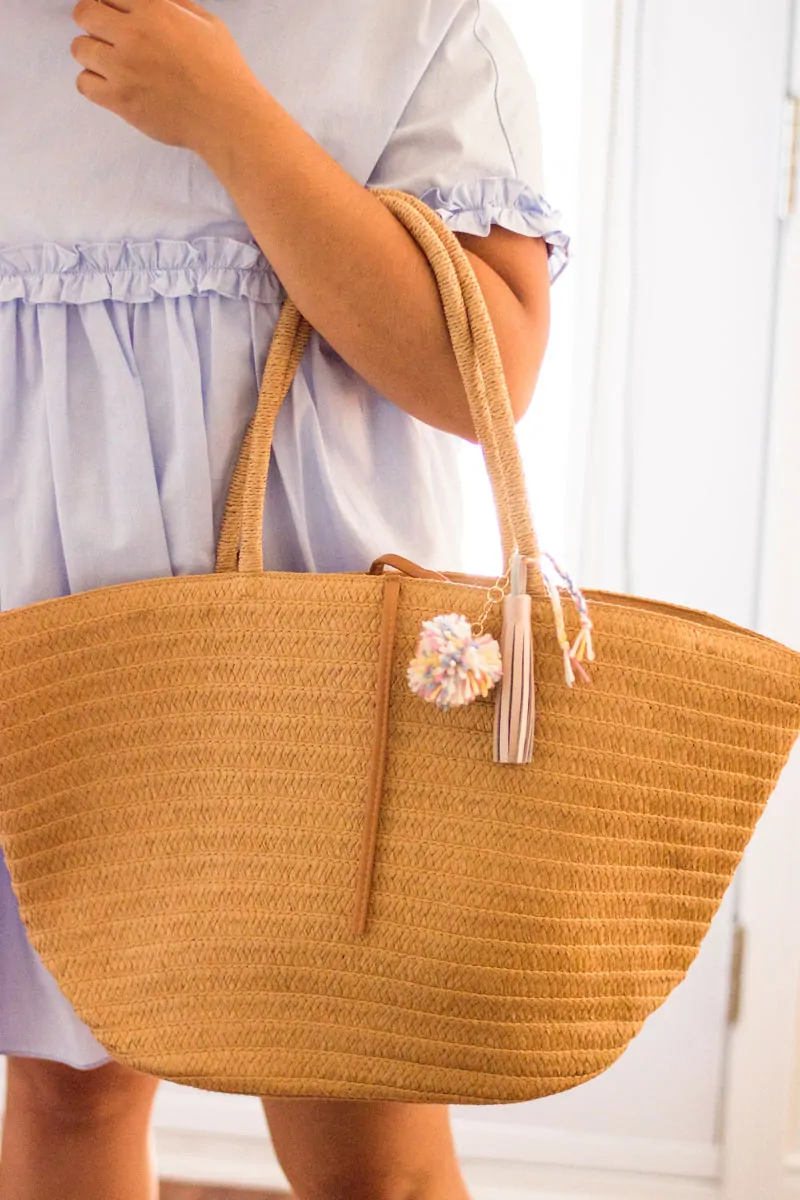
On one of my recent shopping ventures, I spotted the cutest straw tote bag – and at a fair price! The only thing missing was a pop of color, but I knew exactly what to do with that.
I love the idea of adding small details to a purse. I think the simple act of attaching a keychain to a handbag or tying a scarf to its handle really adds that extra pizzazz . My new straw bag needed some personalization so I went ahead and made my DIY Tassel Keychain to help elevate its look.
How to Make a DIY Tassel Keychain
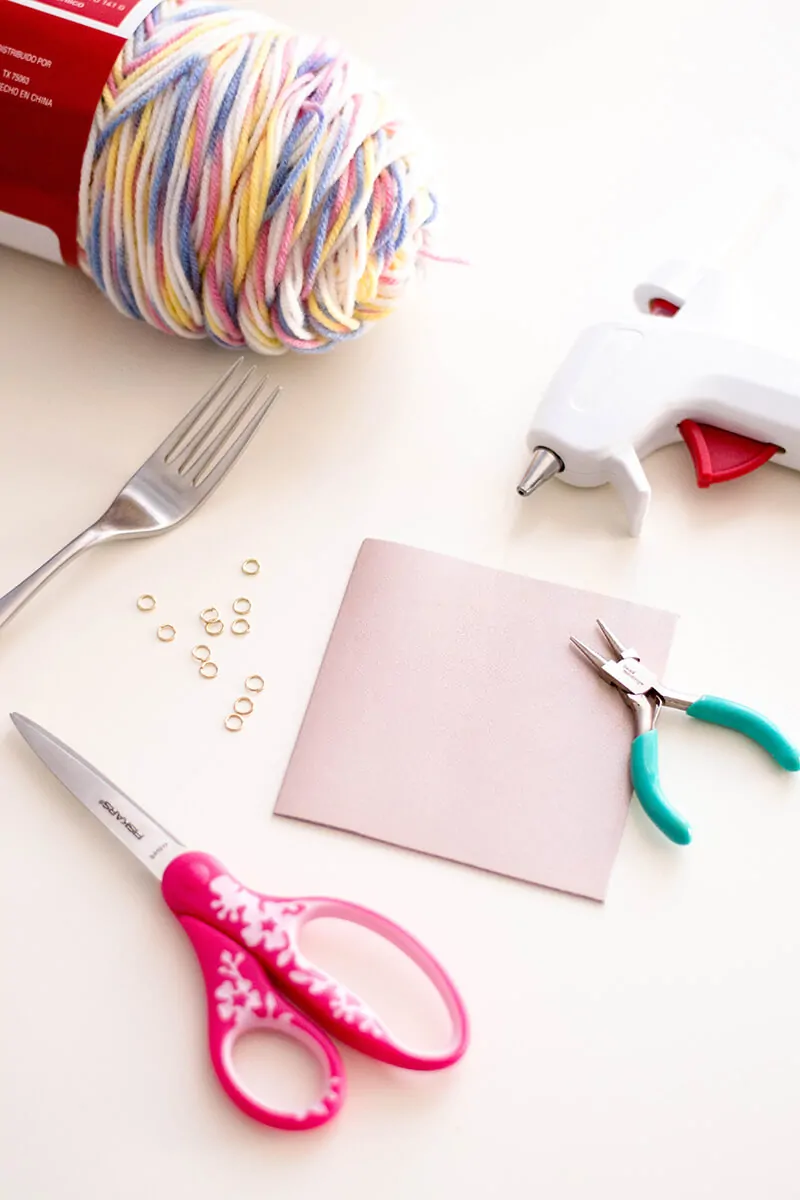
Supplies You’ll Need for One Tassel Keychain
- Piece of leather – 4 inches x 4 inches in size
- Scissors
- Glue gun
- Yarn (color of your choice – I chose a multi-colored one)
- 1 fork
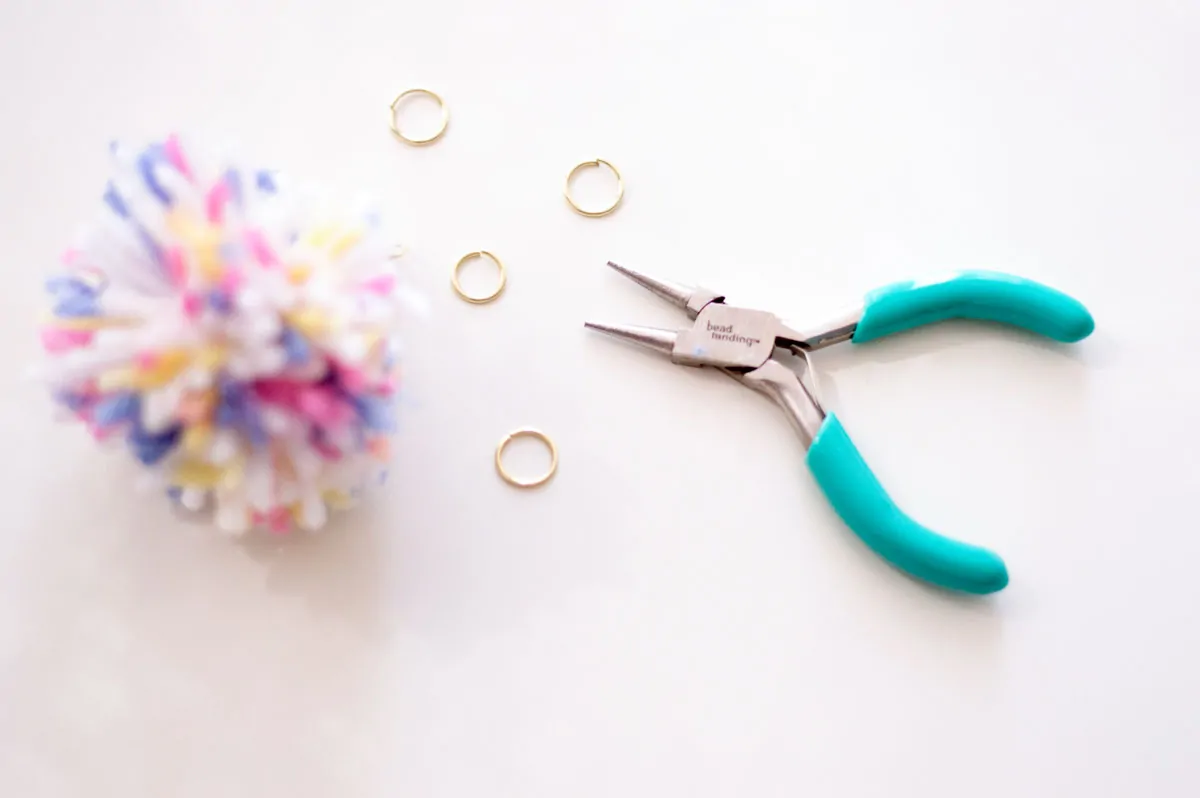
- Pliers
- 8-10 jump rings
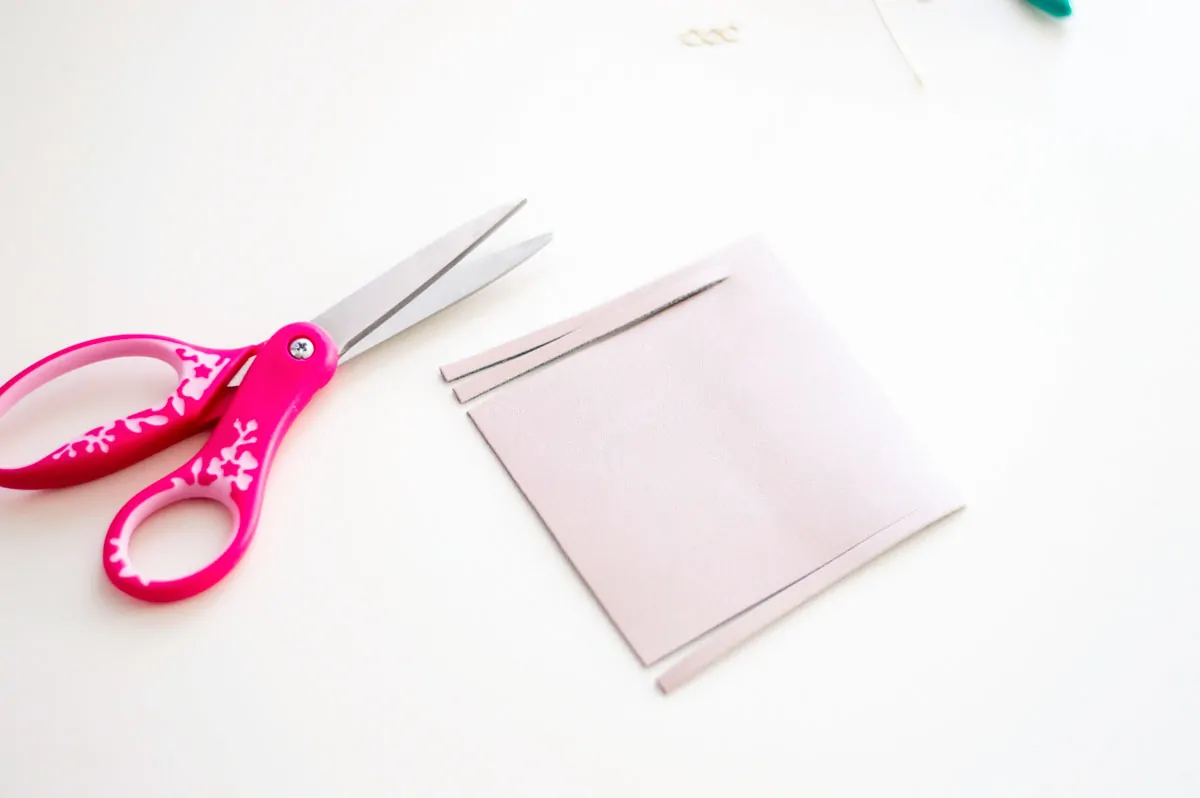
Cut The Tassels
The first step to make your DIY tassel keychain, lay down your leather piece so that the suede-side is facing up. Cut little strips, leaving about half an inch un-cut at the top.
Loop-de-loop
Still laying suede-side up, place some glue at the top right-hand corner. Loop over the corresponding tassel so that the bottom portion of it sticks to where you placed the glue.
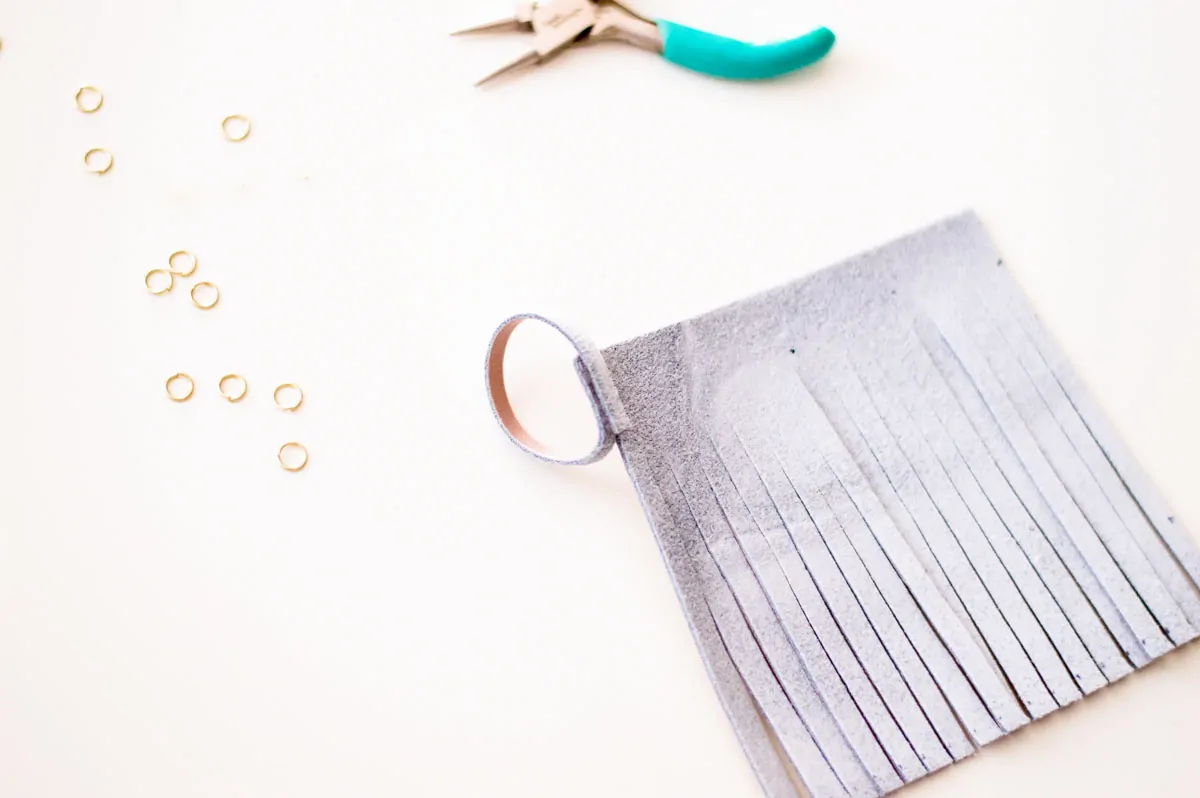

Glue and Roll
Add glue to the entire top portion of your leather piece and roll starting at the end where you formed your loop. Set aside and allow to set and dry.

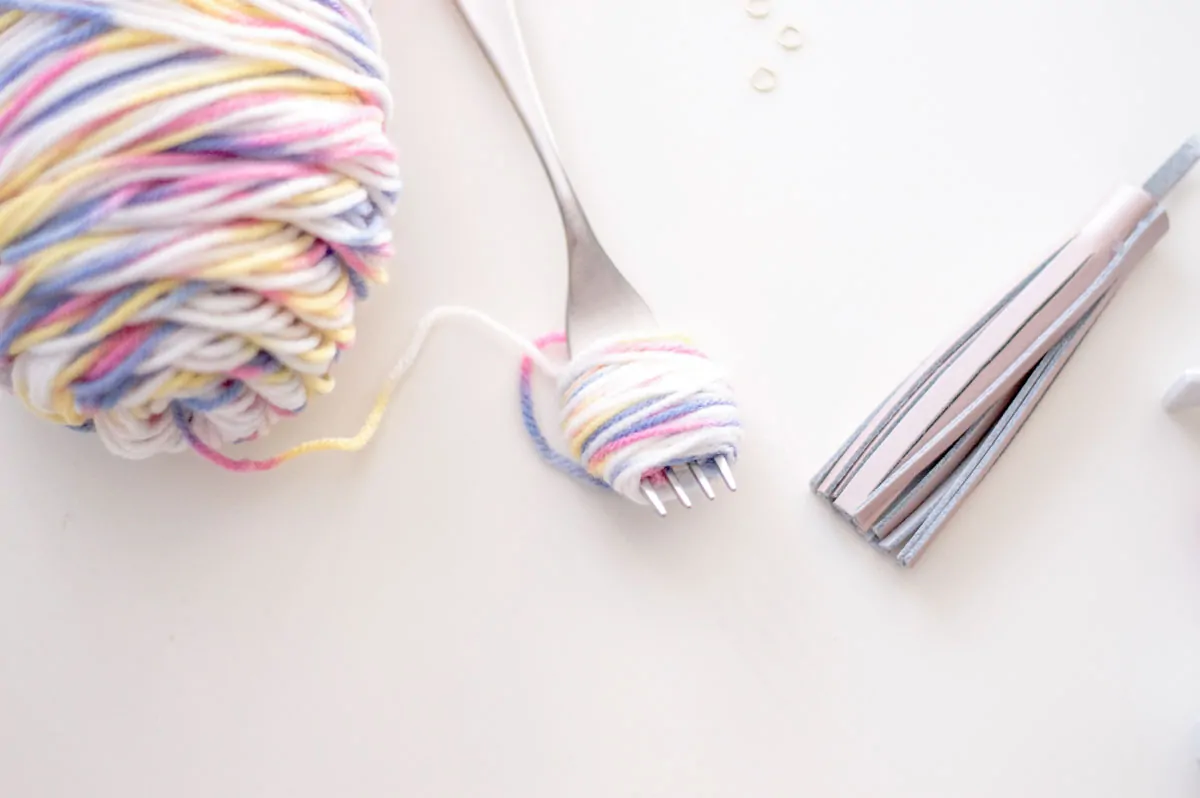
Pom Pom Making
Now, it’s time to make the pom pom portion of your keychain. Grab your fork and wrap your yarn tightly around it, about 50 times. In fact, you can wrap it as many times as you like… the more wraps, the fluffier your pom pom will be.
Tie and Trim
Once you’re done wrapping your yarn around the fork, cut a piece of yarn and tie it around the middle. You’ll want to tie it really tight in order to secure it. Then, start trimming out your pom pom. (Hint: Keep it on the fork – it’ll be easier.)
Chain by Chain
Use your pliers to attach your jump rings onto your pom pom. The first jump ring will loop through the string that tied up your pom pom. Then you’ll open and close the rest to create a chain.
Braided
With your yarn, create a braid about 8 inches in length. Tie a knot on both ends to secure it.
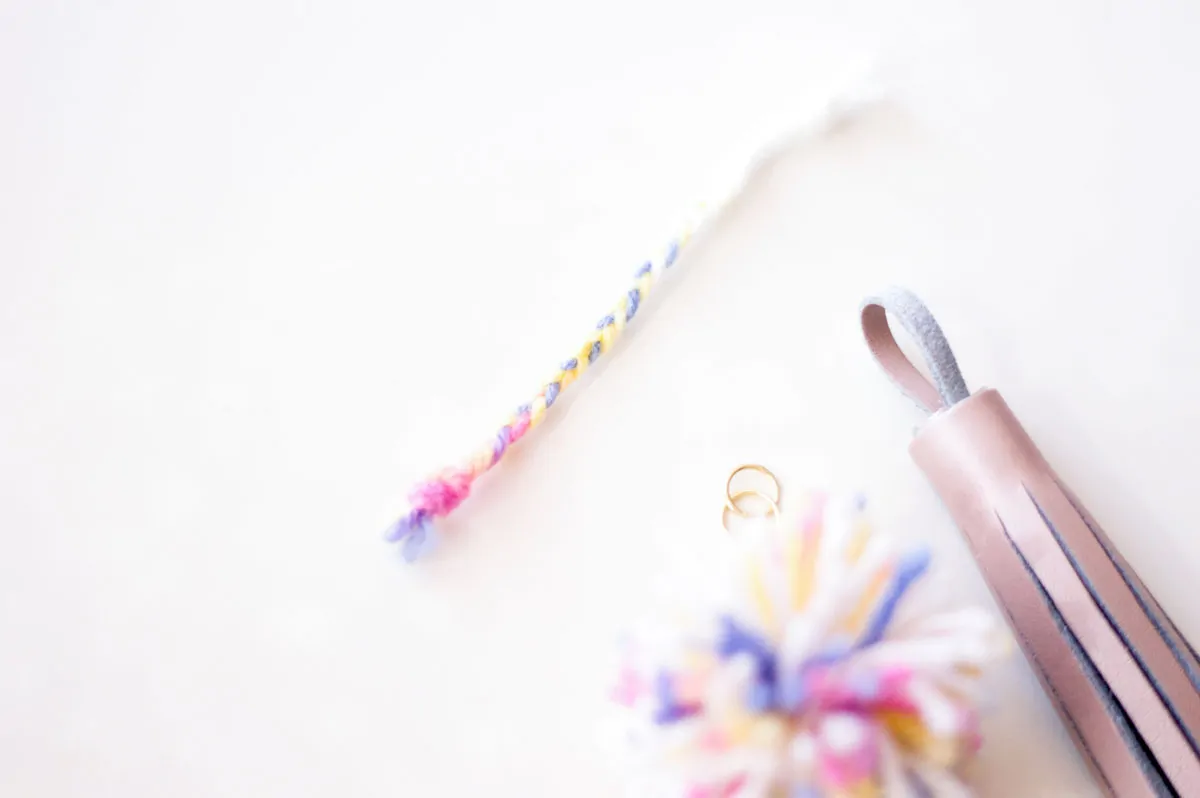
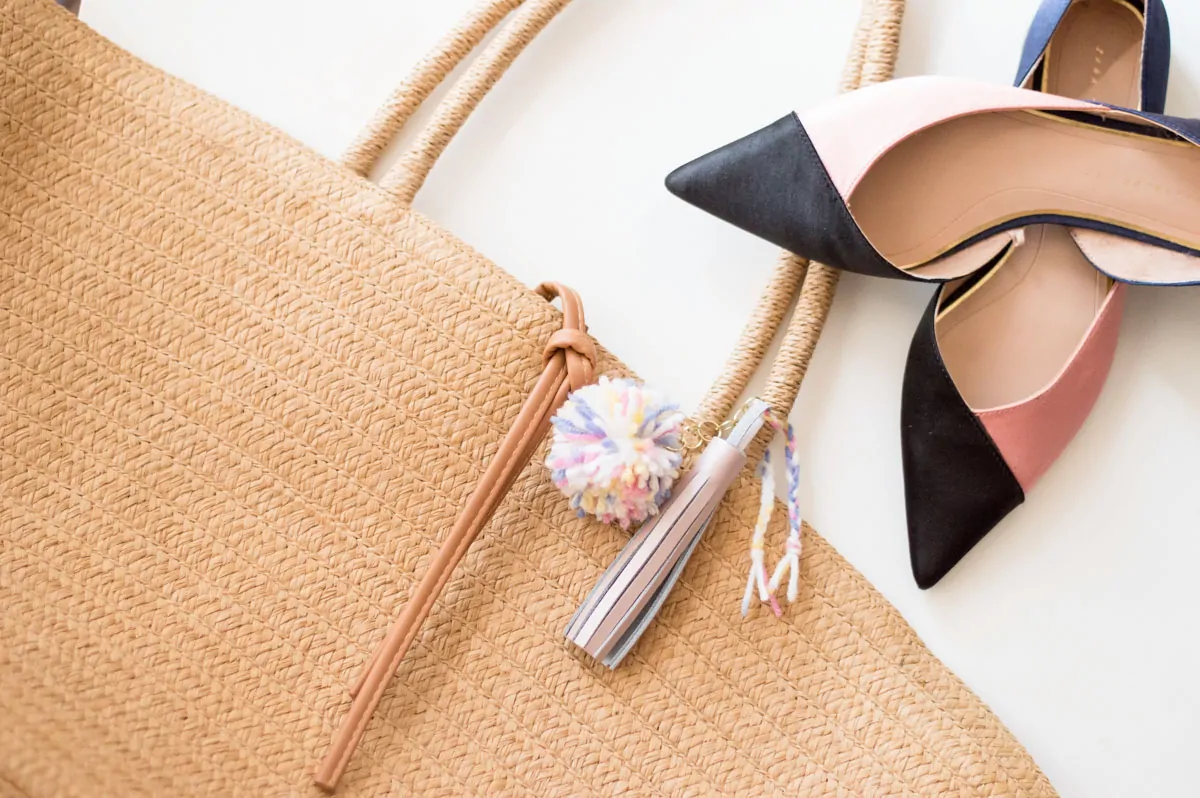
Assemble The Keychain
Pull the yarn-braid through your pom pom chain and leather tassel. Tie it around one of your purse’s handles and enjoy the pop of color with your completed DIY Tassel Keychain.
How do you spruce up your purses? I love doing this because it gives me a chance to change up the look of my handbags every season. Have you ever made homemade pom poms or tassels before?
Written by 5 Minutes for Mom contributor Lisa Favre who blogs at Fabulous Habits where she highlights the best in food, fashion, beauty, and parenting.
Pin it for Later
More DIY Projects You Will Love
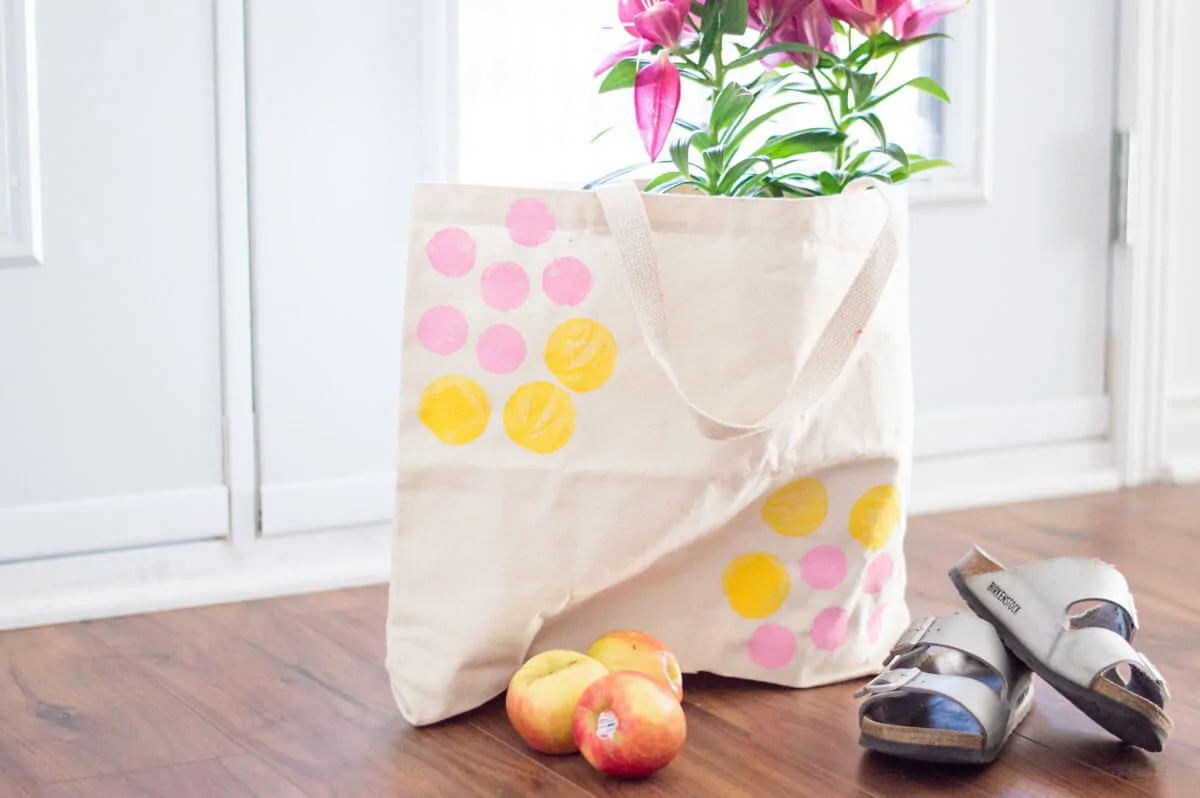
DIY Canvas Tote Bag
This potato stamp DIY canvas tote bag is perfect to take to the farmers’ market…
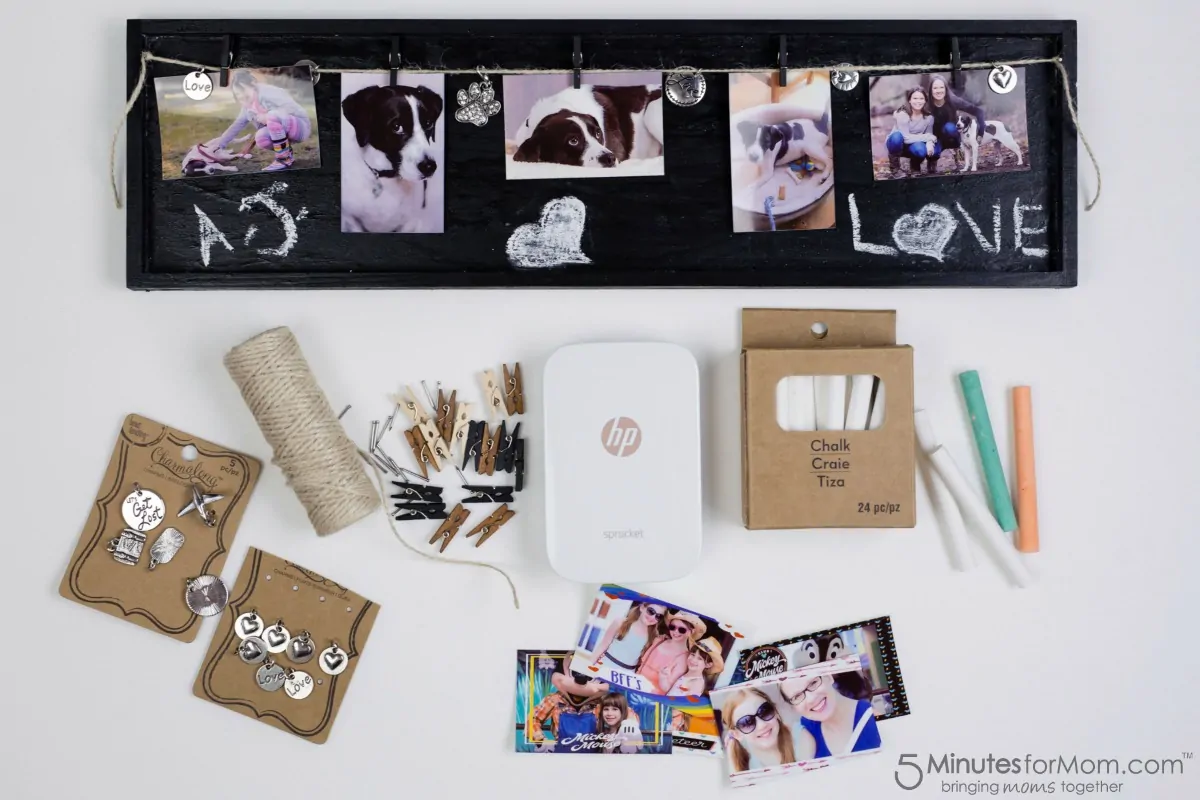
Special Family Day Craft – DIY Collage Photo Frame
If you have kids who love crafting, this beautiful DIY photo frame is the perfect family activity.