This post may contain affiliate links. Read my disclosure policy here.
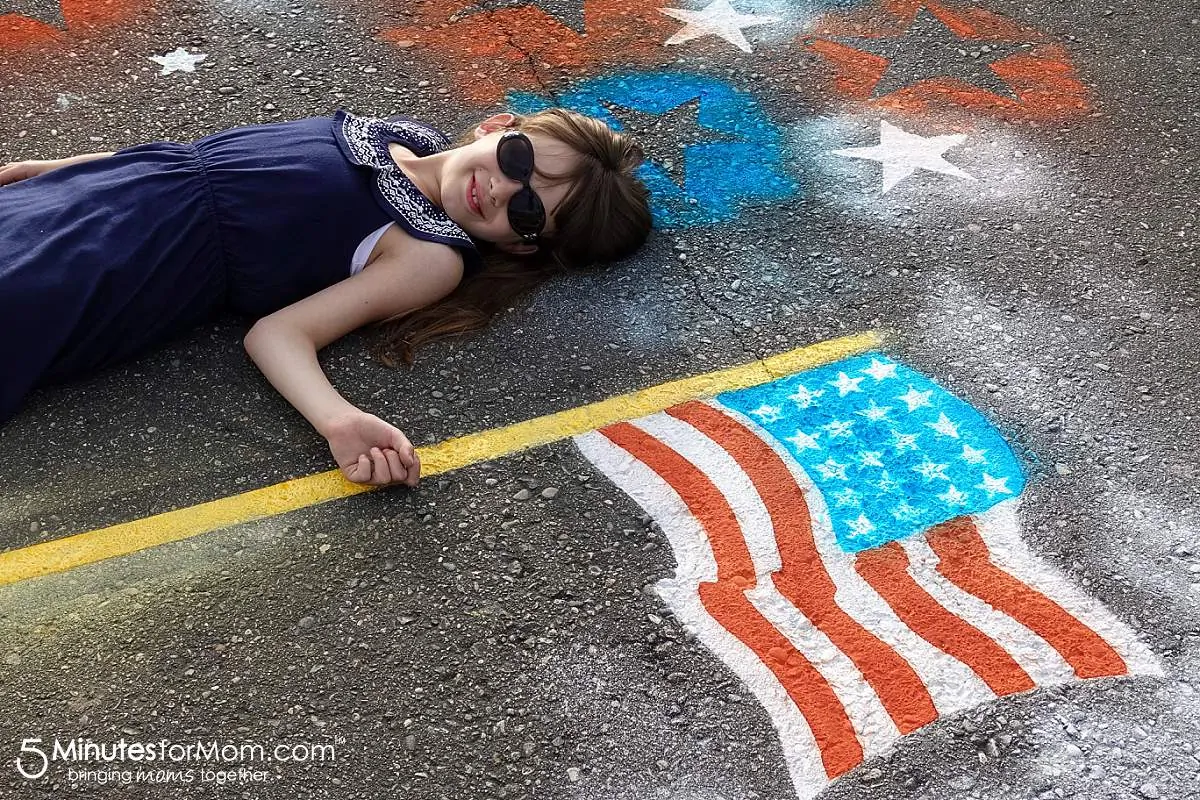
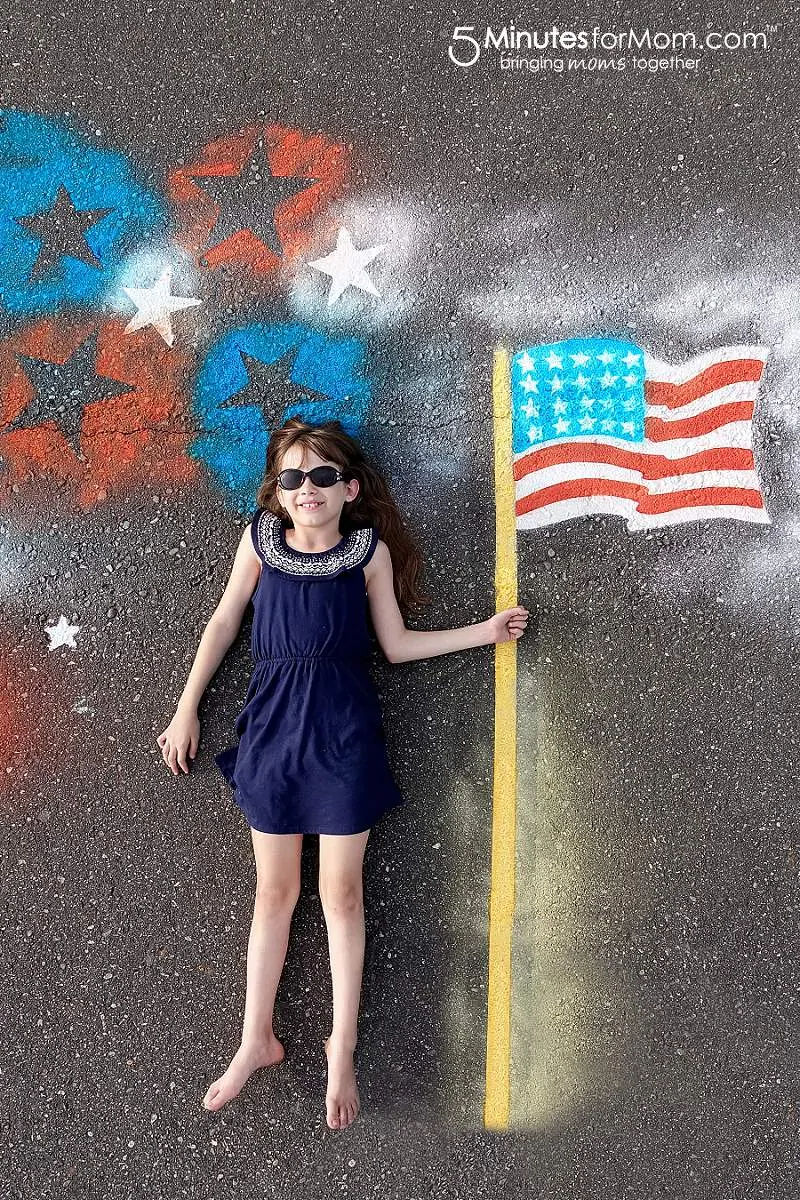
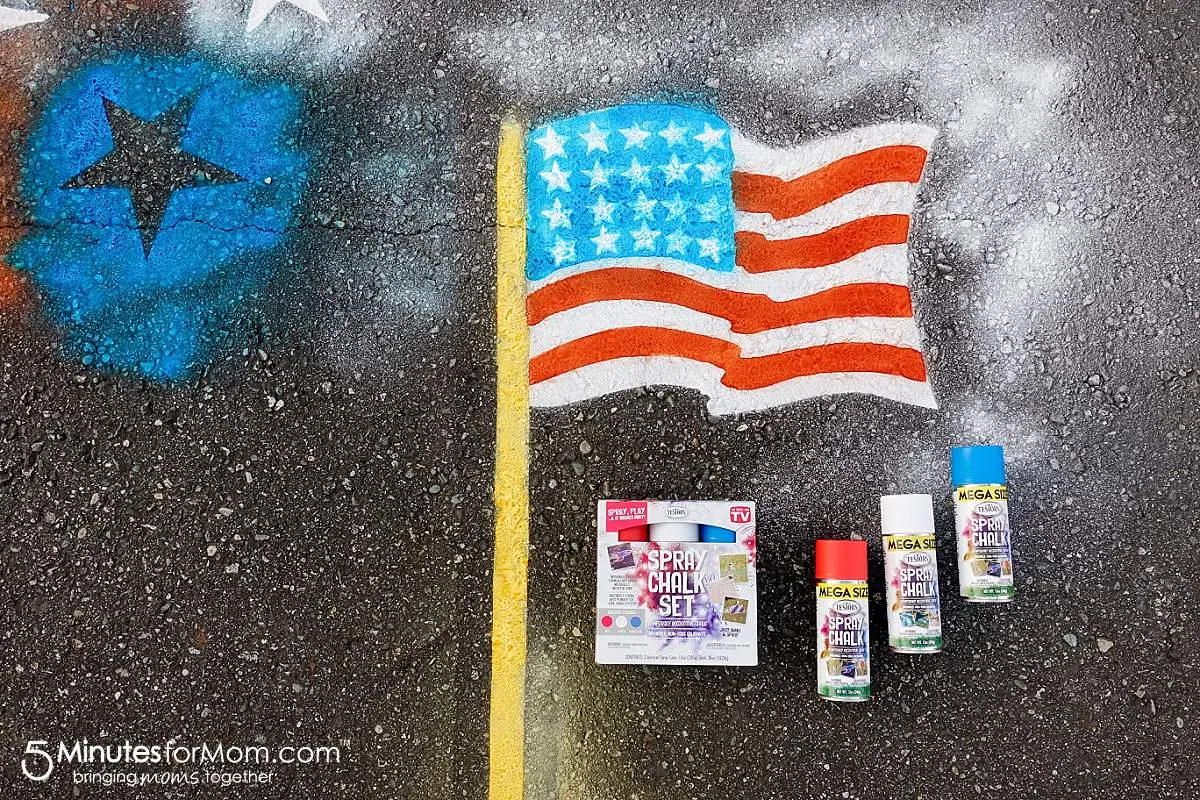
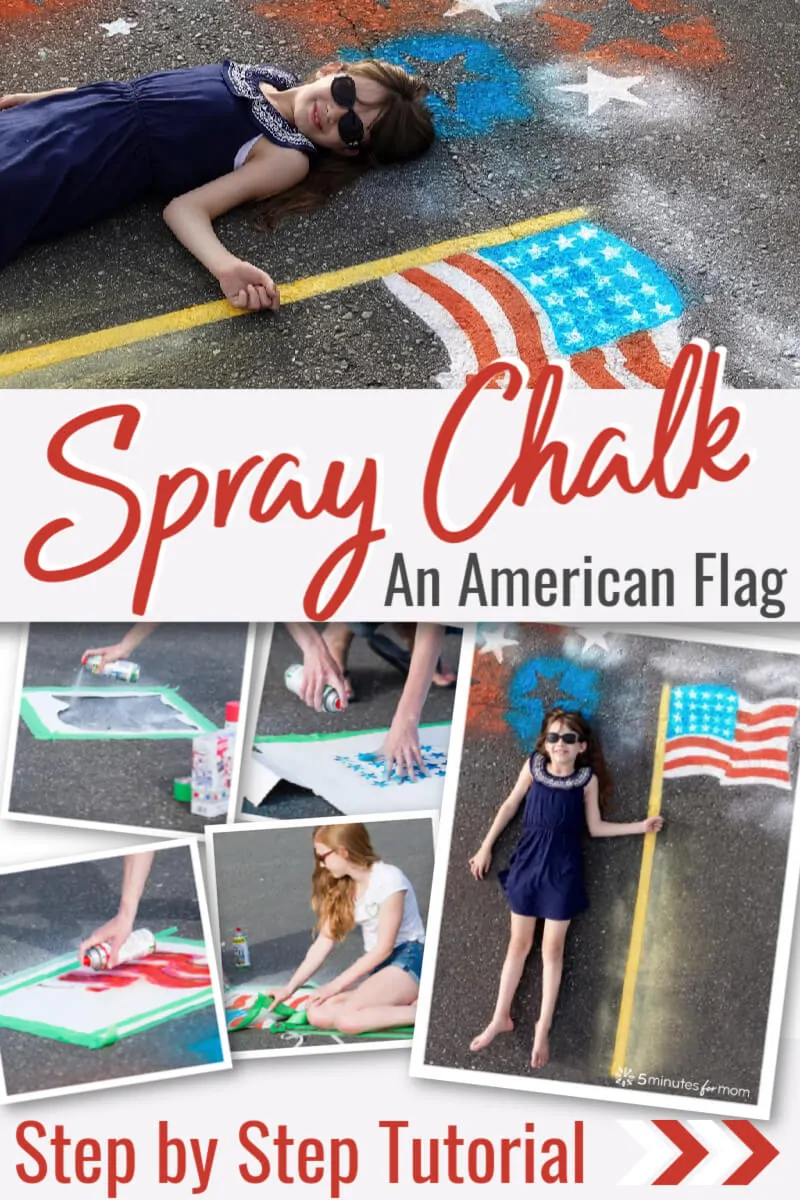
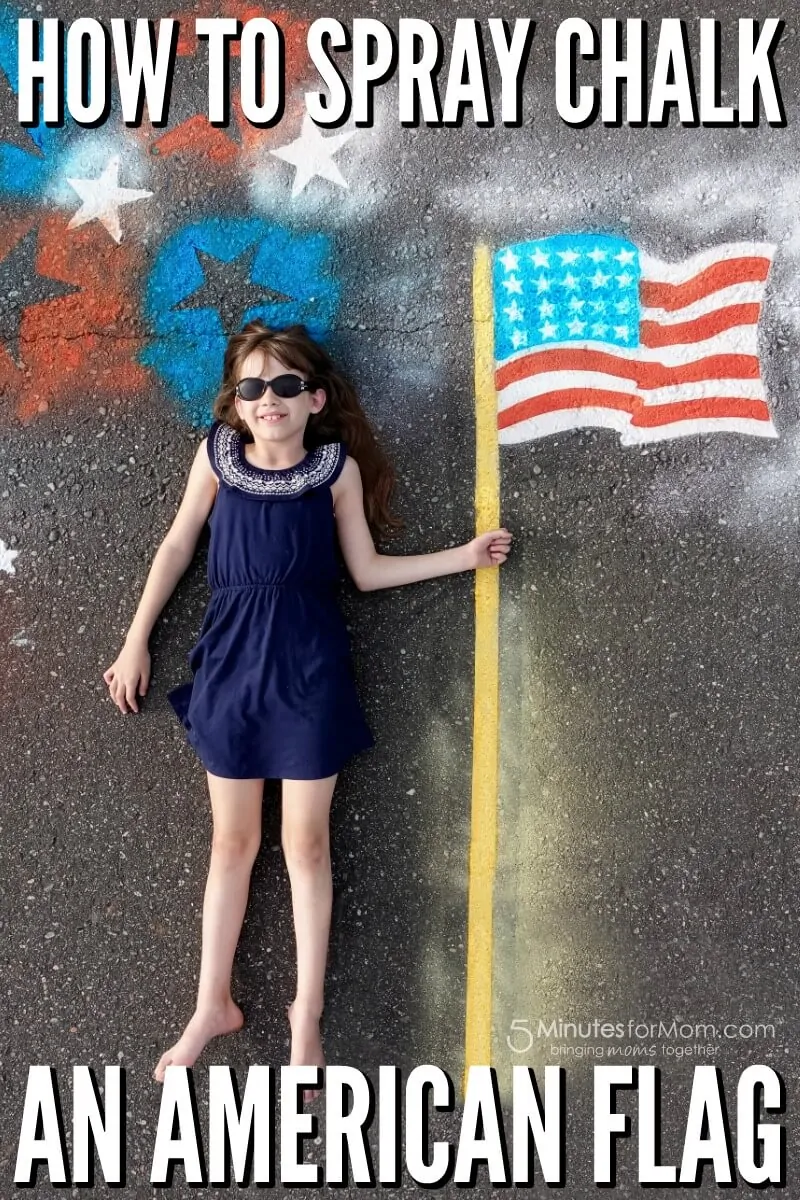
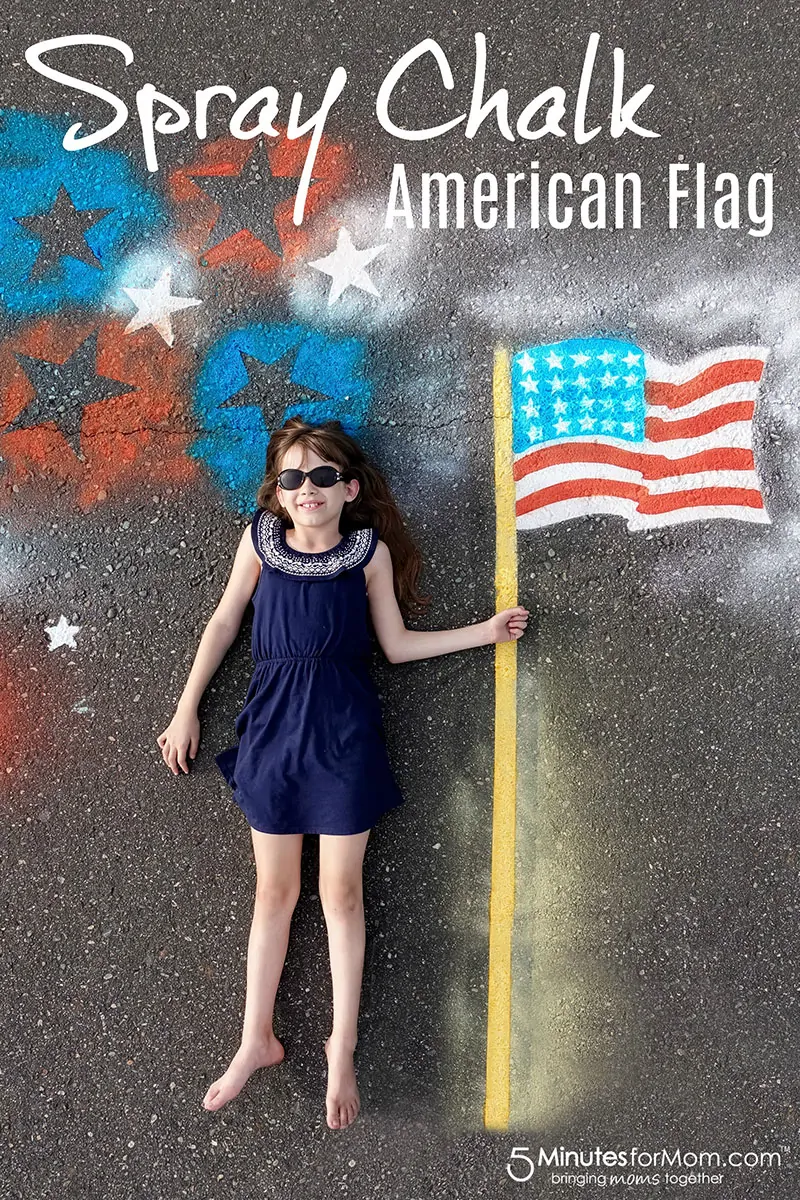
In case you missed it, we are having a blast creating chalk photography scenes with our kids using SPRAY chalk! We’re sharing ideas for easy chalk art that’s perfect for chalk photography. For our July 4th theme chalk art scenes, we created an American flag template and our sponsor Testors’ Patriotic Spray Chalk. We thought you might want to know how we made it — so here is how to spray chalk an American flag…
Did you know that you can SPRAY chalk?
You and your kids are no longer limited to regular sidewalk chalk.
Now, with Spray Chalk, you can quickly and easily create chalk paintings and chalk photography scenes on almost any outdoor surface — Testors’ Spray Chalk works on cement, asphalt, grass, sand, and even snow!
And before your creations wash away, you can grab your camera and make your own fabulous chalk art photographs.
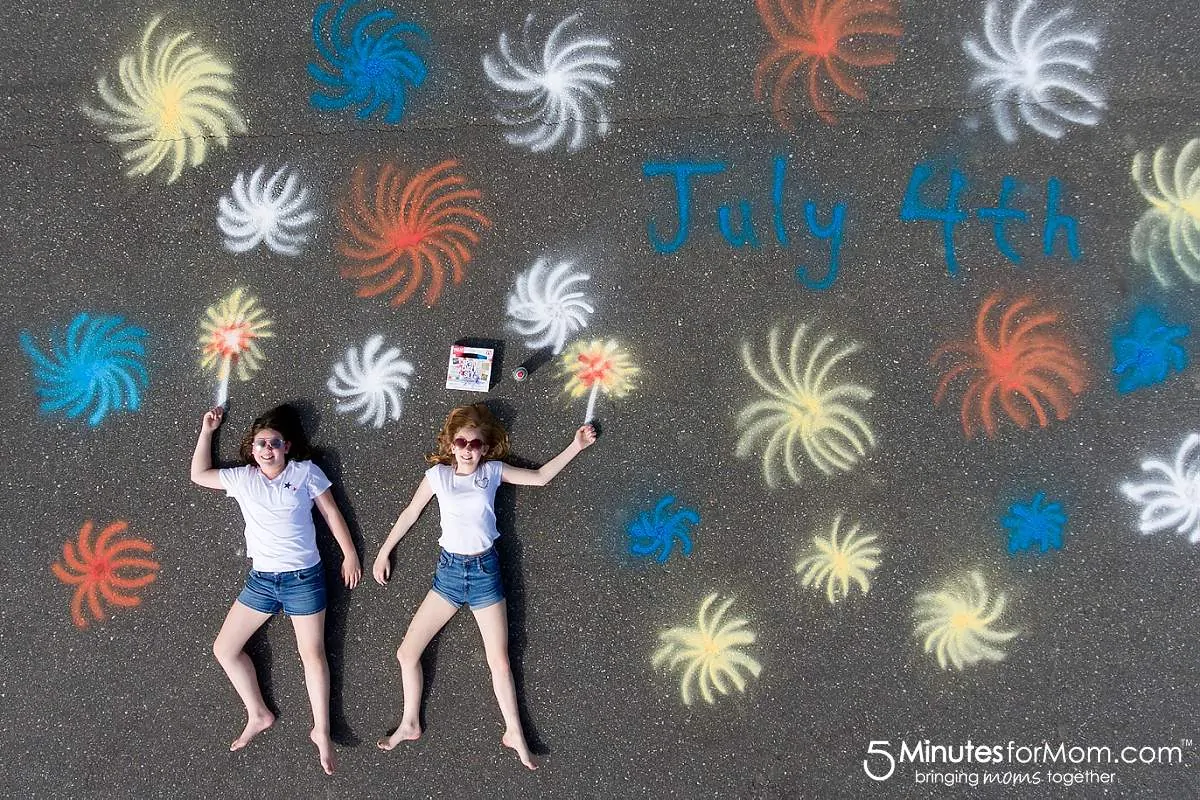
We have had so much fun with our girls creating three different chalk photography scenes with spray chalk. You can check out our last post and watch the video to find out how we made our July 4th Fireworks chalk photography scene.
Our girls are getting older, so we really love that spray chalk is great for tweens and teens who may think they have outgrown playing with sidewalk chalk. And since spray chalk goes on like spray paint and creates bright and bold colors it is perfect for creating background scenes to pose in to make “chalk photography.”
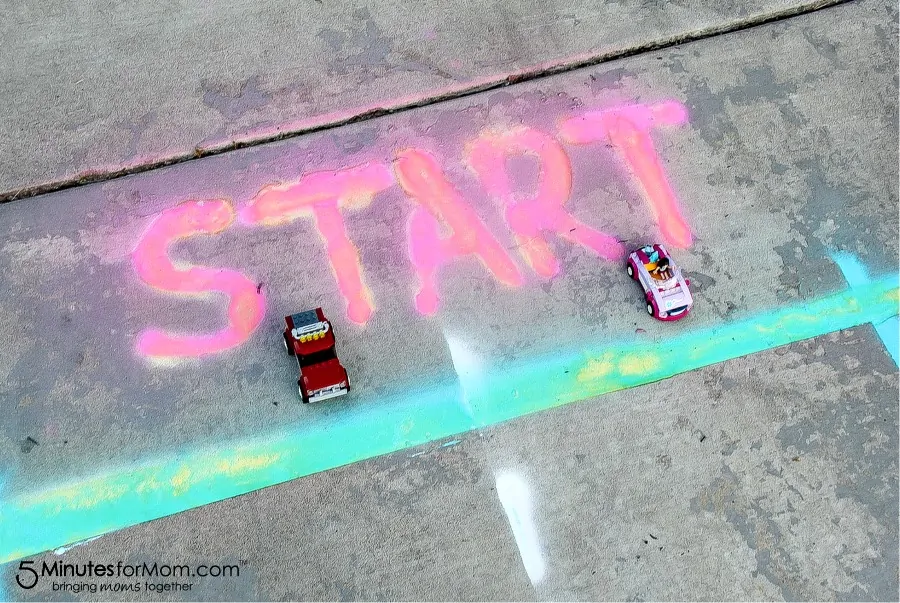
Also, since spray chalk goes on like spray paint, it is so fast to whip up games to play outside like 4 square, hopscotch, mazes, art contests, and more. If you missed it, we have an earlier post on how to make spray chalk racetracks which are a fabulous way to entertain smaller kids on long summer days.
Later, the spray chalk washes off in the rain or fades away in the summer sun.
How To Spray Chalk An American Flag
If you think drawing an American flag with spray chalk might be difficult — we have a hack for you!
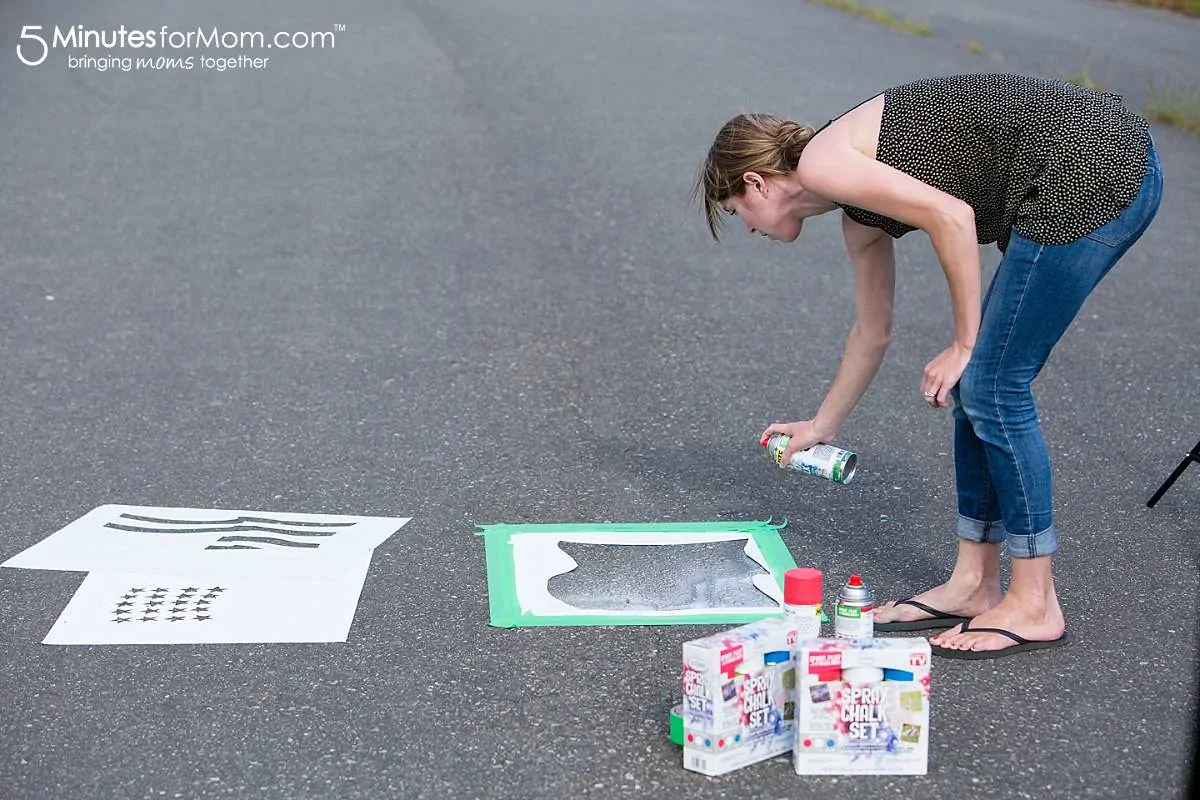
You can create a spray chalk American flag by making a series of templates. We used white poster board from the dollar store to cut out our American flag template series. To simplify the design we cut fewer stars and stripes than the real American flag should have. If it’s important to you that you have 50 stars and 13 stripes, your stars will be smaller than ours and your stripes will be thinner.
If you want to have 50 stars in your flag, you can download this free American Flag Stars Template. Then use the template and an exacto knife to cut the stars out.
The key to making the flag look more realistic is to create a sort of wave in the stripes and a bend in the alignment of the stars so that it looks like the flag is moving in the wind.
Step 1 — Cut American Flag Template from Poster Board
Make templates from poster board (or heavy poster paper) to create your stars and stripes scene.
For the American flag, make a series of templates to layer the colors for the stars and stripes.
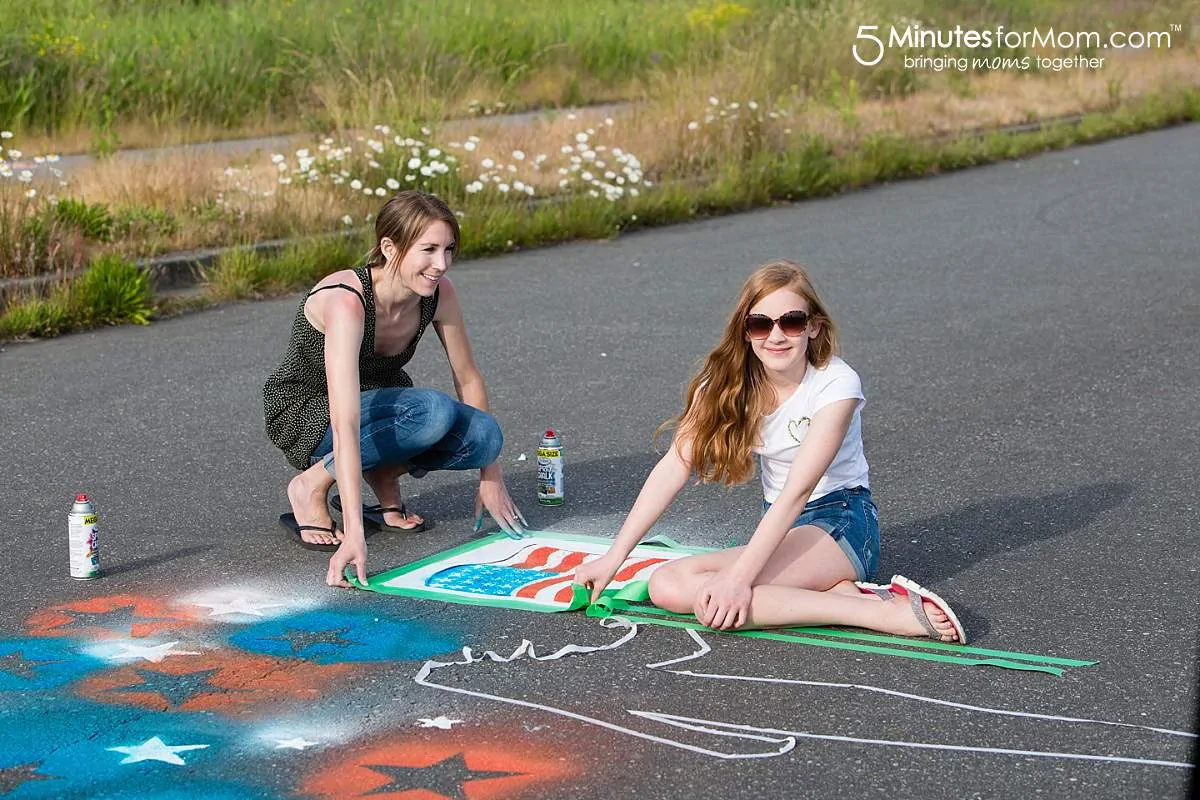
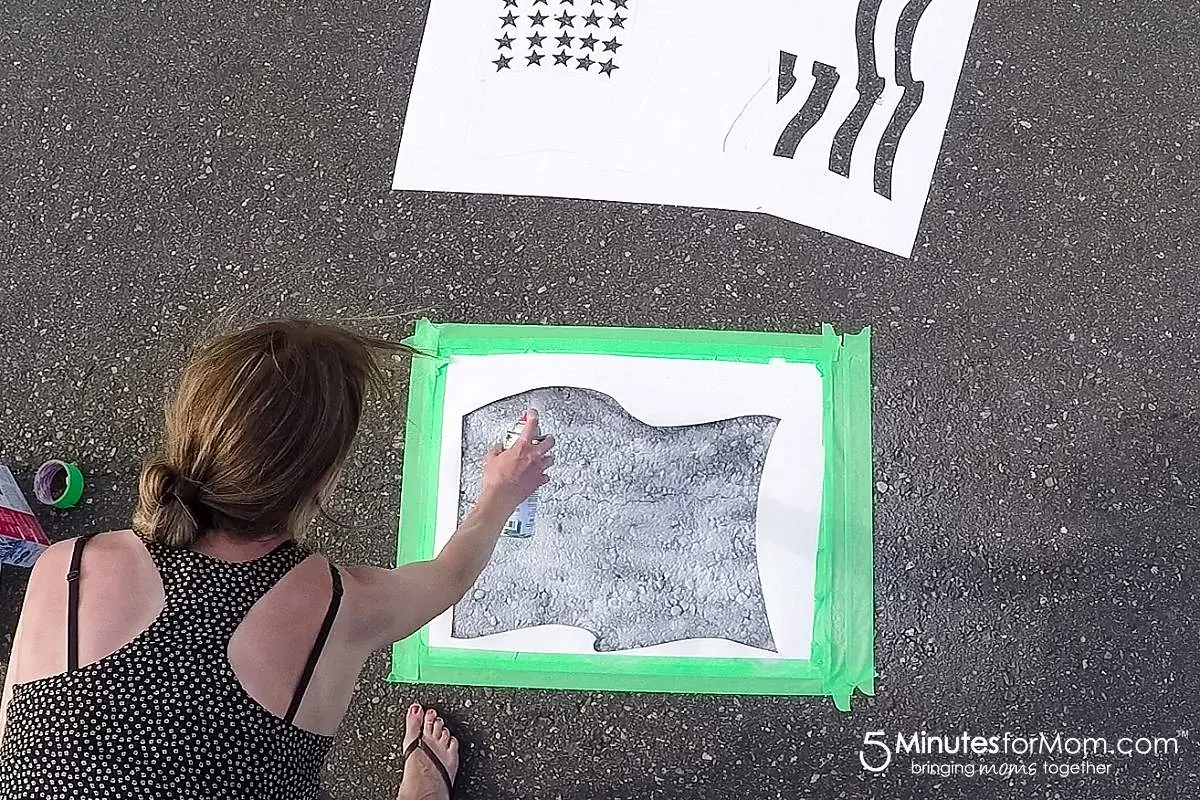
Your first template will need to be the border of the flag, where you paint your base layer of white chalk.
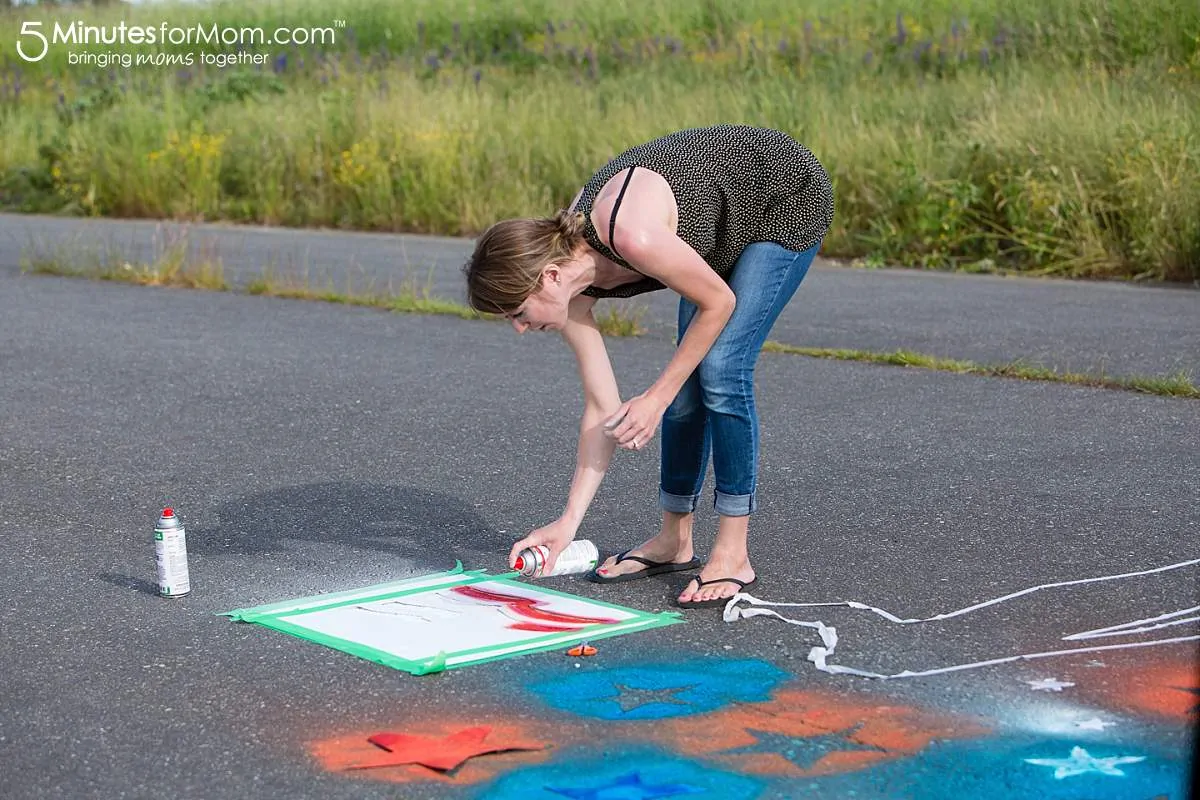
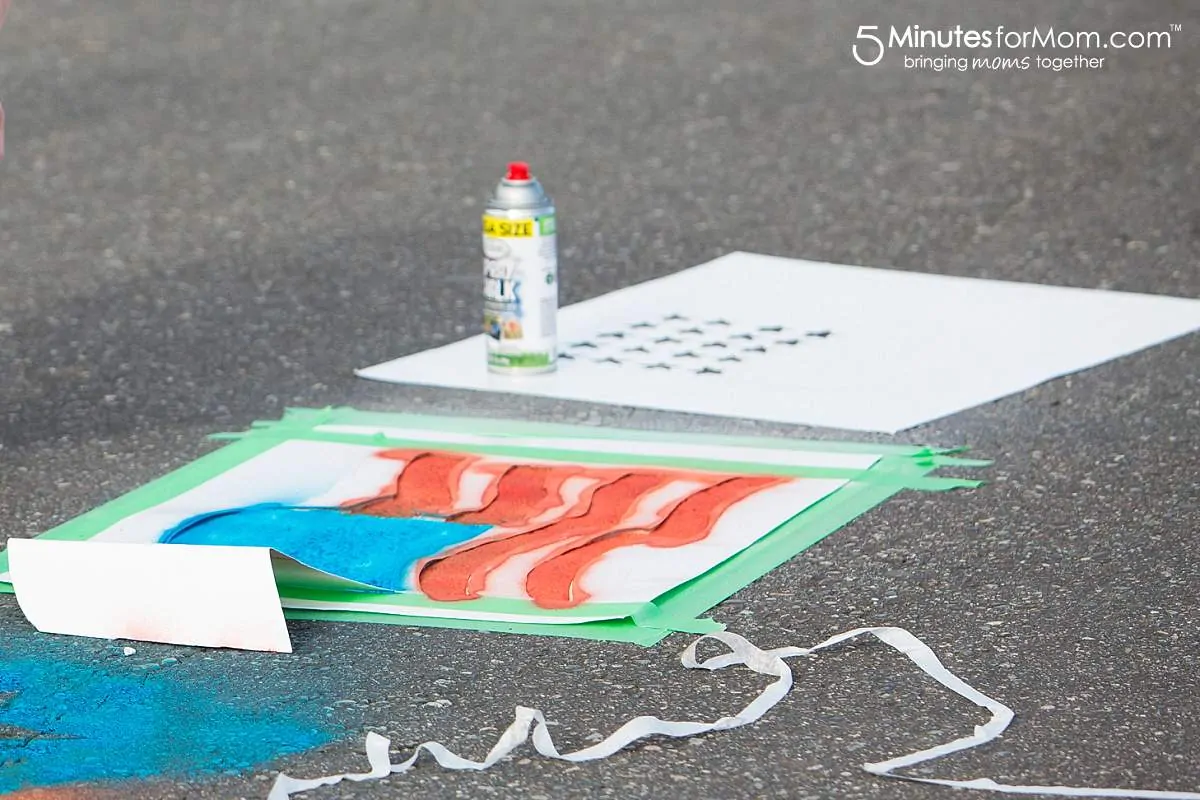
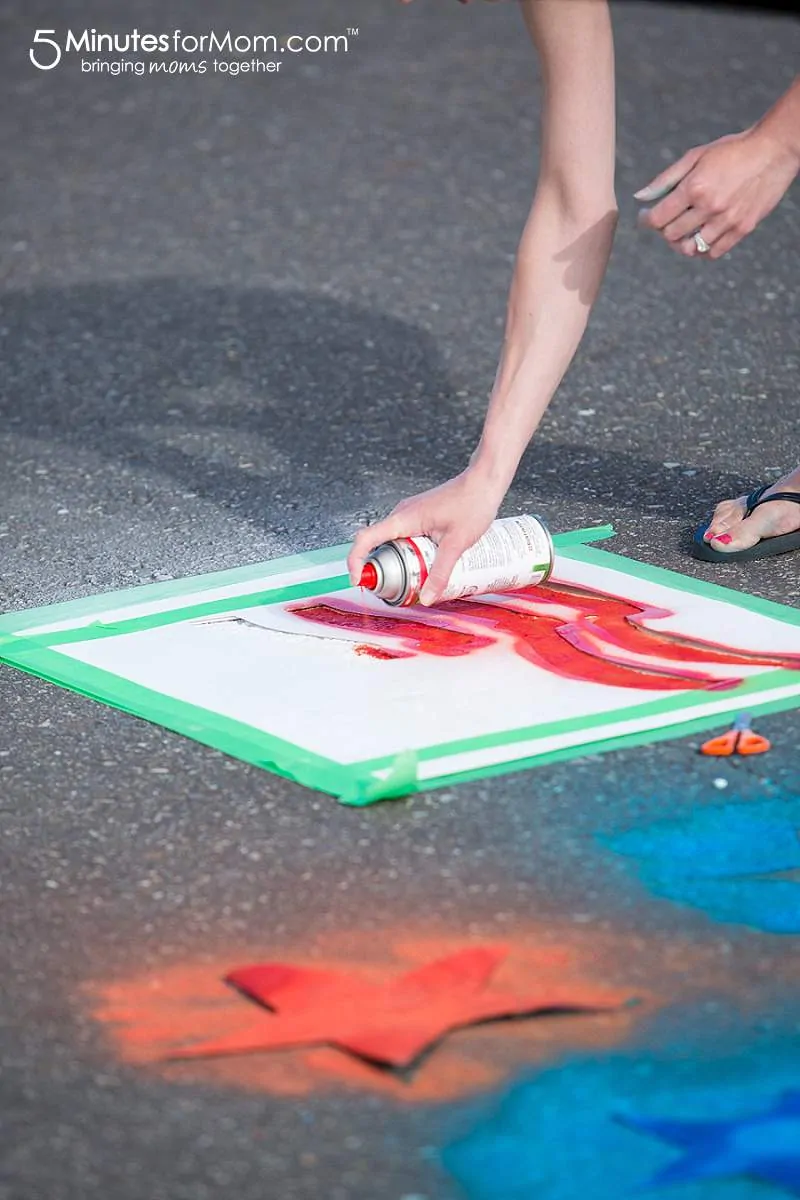
Your second template will be the stripes. For this template, the entire flag must be covered EXCEPT the area for the red stripes.
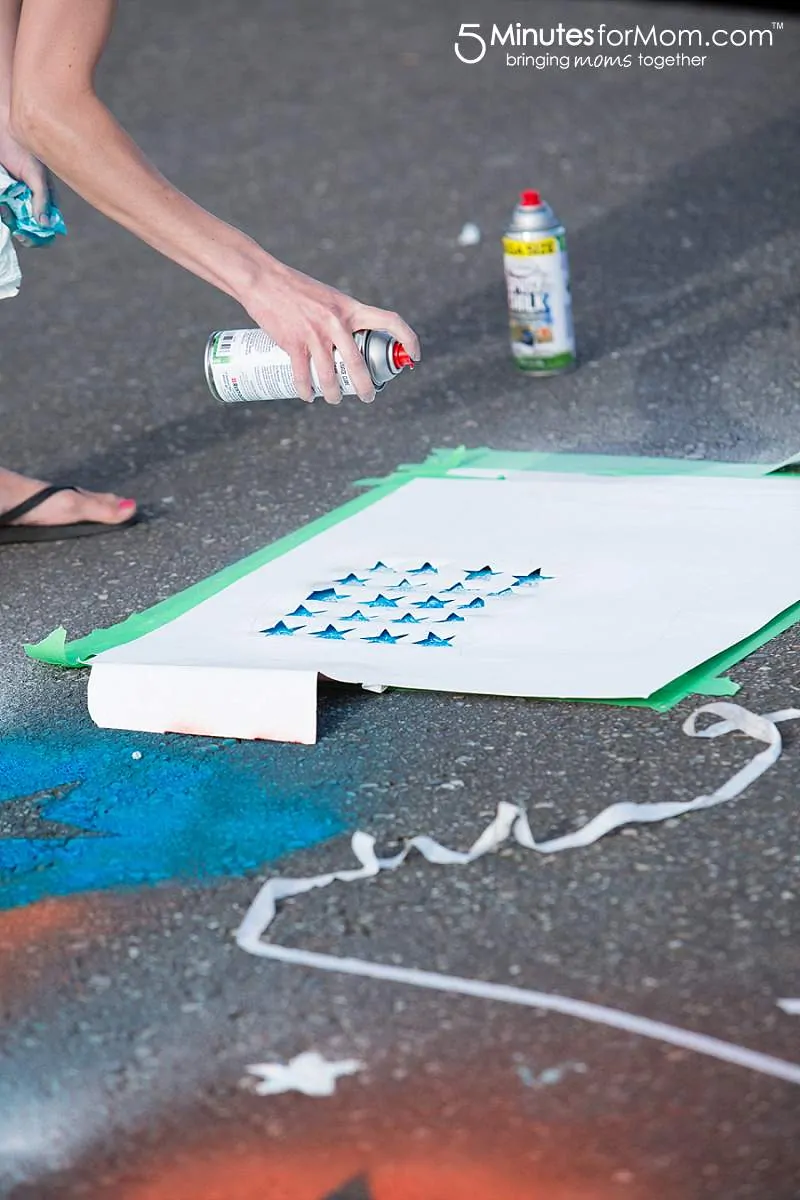
Your third template will be for the blue background behind the stars. This template piece will cover the entire area EXCEPT for the area that must be blue.
So, you will only cut out the top left square where you will spray the blue chalk. (We forgot to cut that template layer ahead of time, so we just cut the area out of the stripes template.)
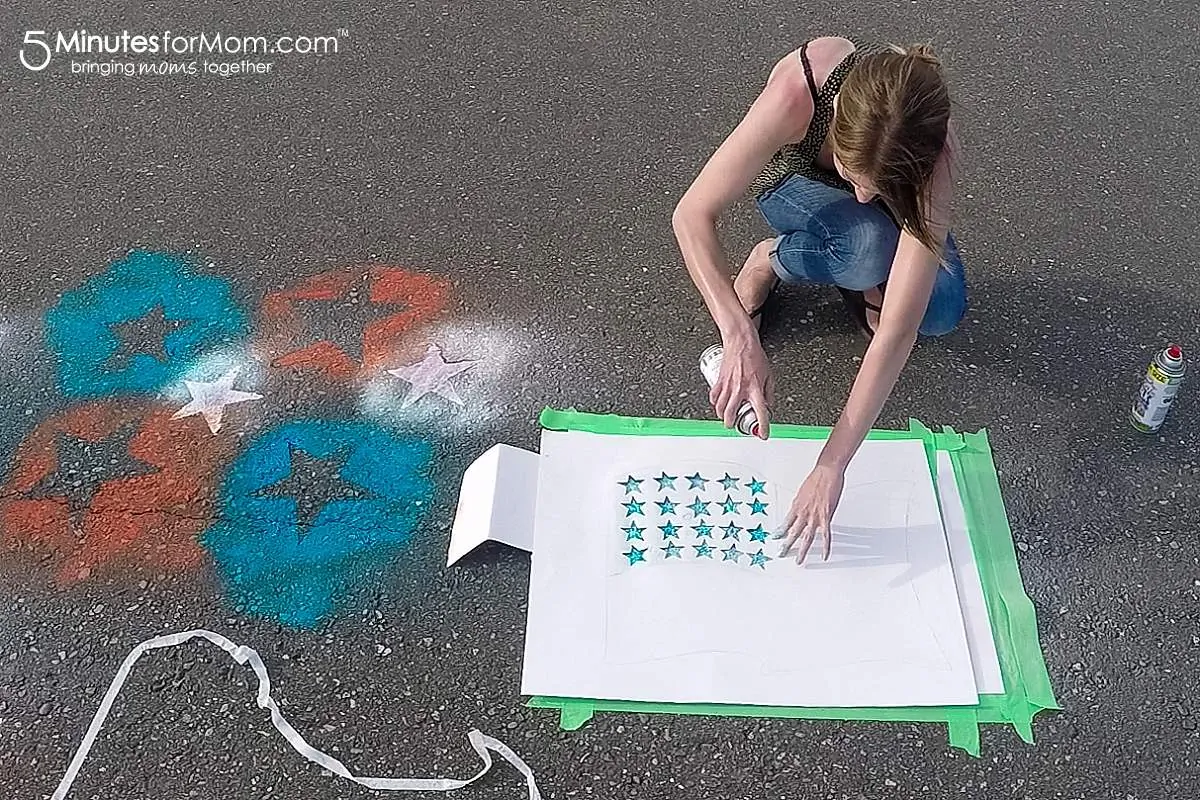
Finally, your last template will be the American flag stars template which you will spray white on top of the blue chalk.
Another option: Instead of the blue square template step, you could make a template piece that has REVERSE flag stars so you can skip the blue template stage. Then you just have to spray the reverse blue to reveal white stars in the same way that you spray red stripes on the white base to reveal white stripes.
Step 2 — Start Spraying
Find a safe, traffic-free area.
Using the first layer of the flag template, spray chalk white. You may need to make a couple of coats to get a nice, solid white.
Step 3 — While White Chalk Dries, Mark Subject’s Position
It is critical to let the spray chalk DRY between colors.
Spraying chalk colors on top of one another while they are wet is how you can blend and make other colors, such as pink, green, orange, etc.
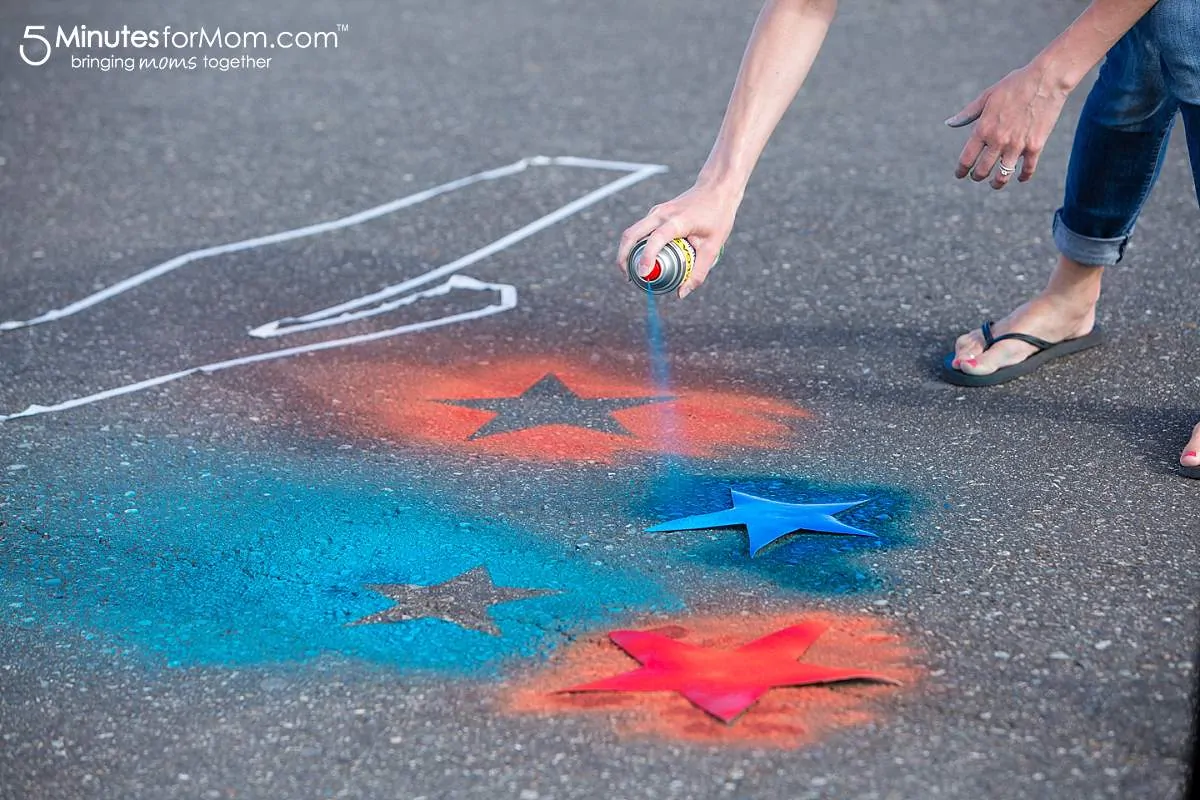
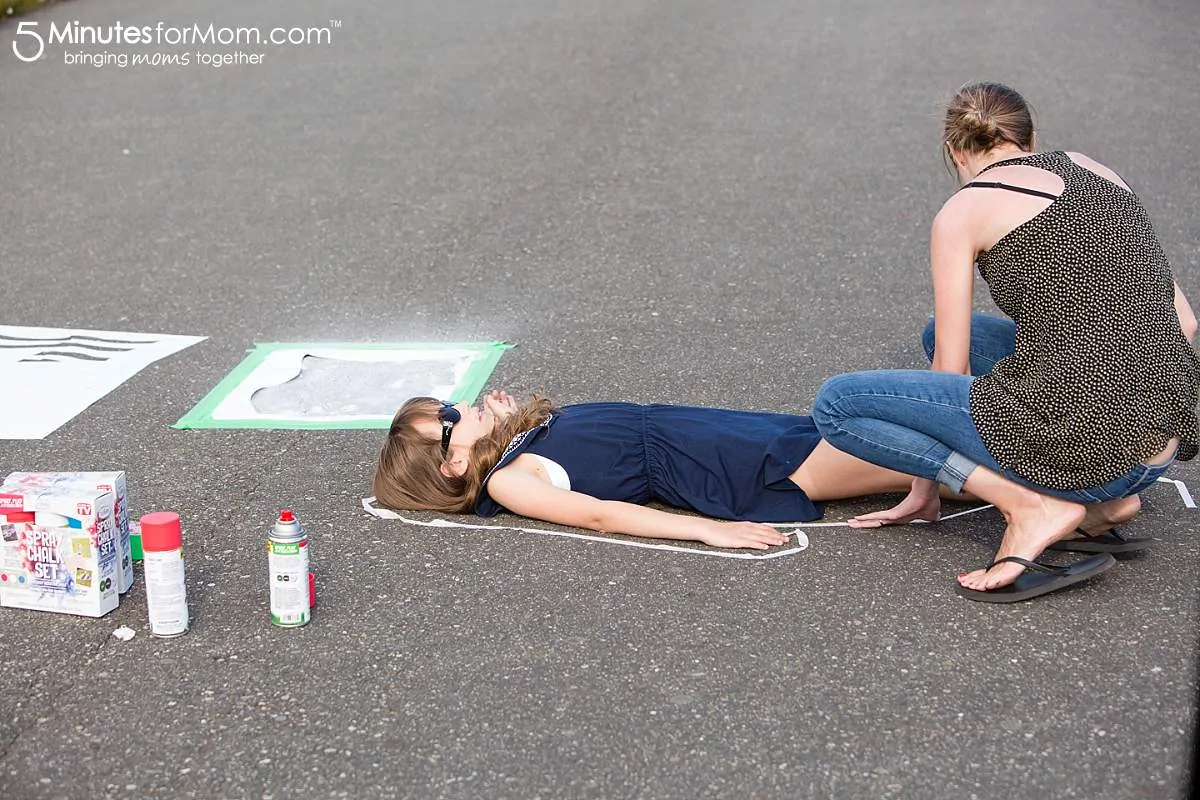
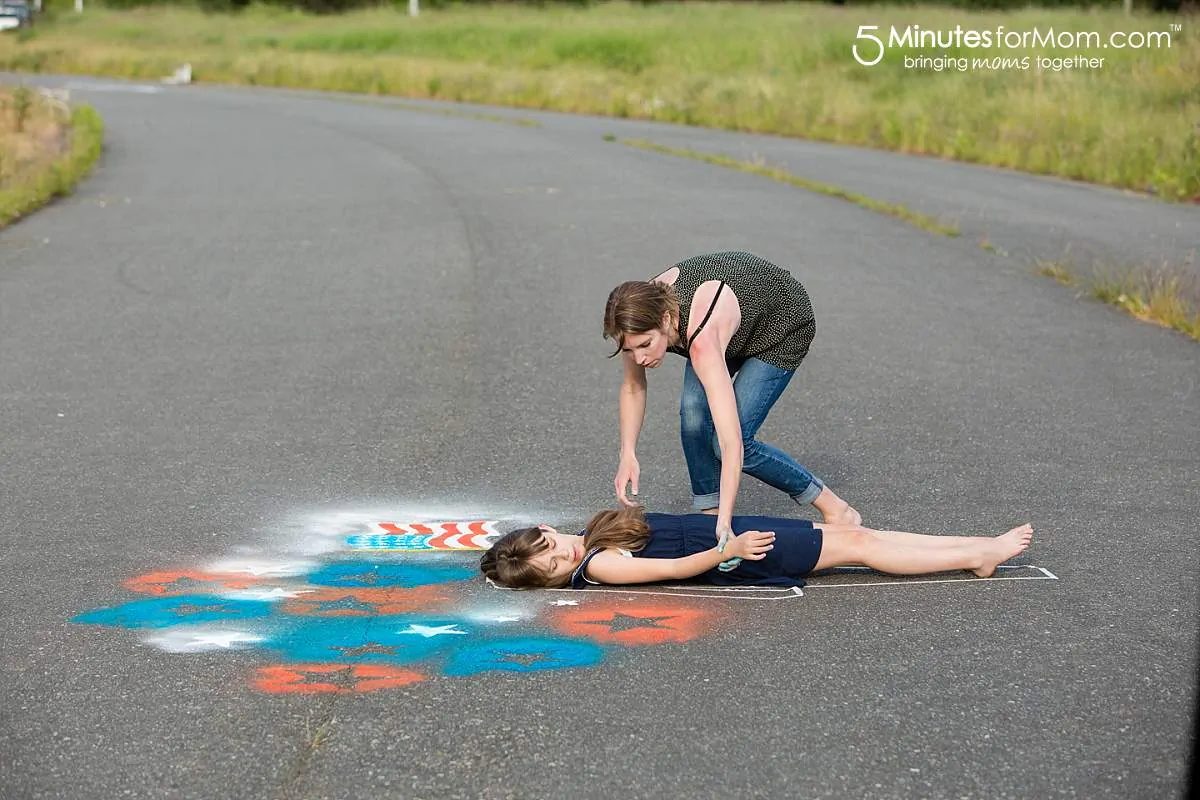
So while the white chalk layer dries, mark your subject’s position with masking tape.
Step 4 — Spray Surrounding Stars
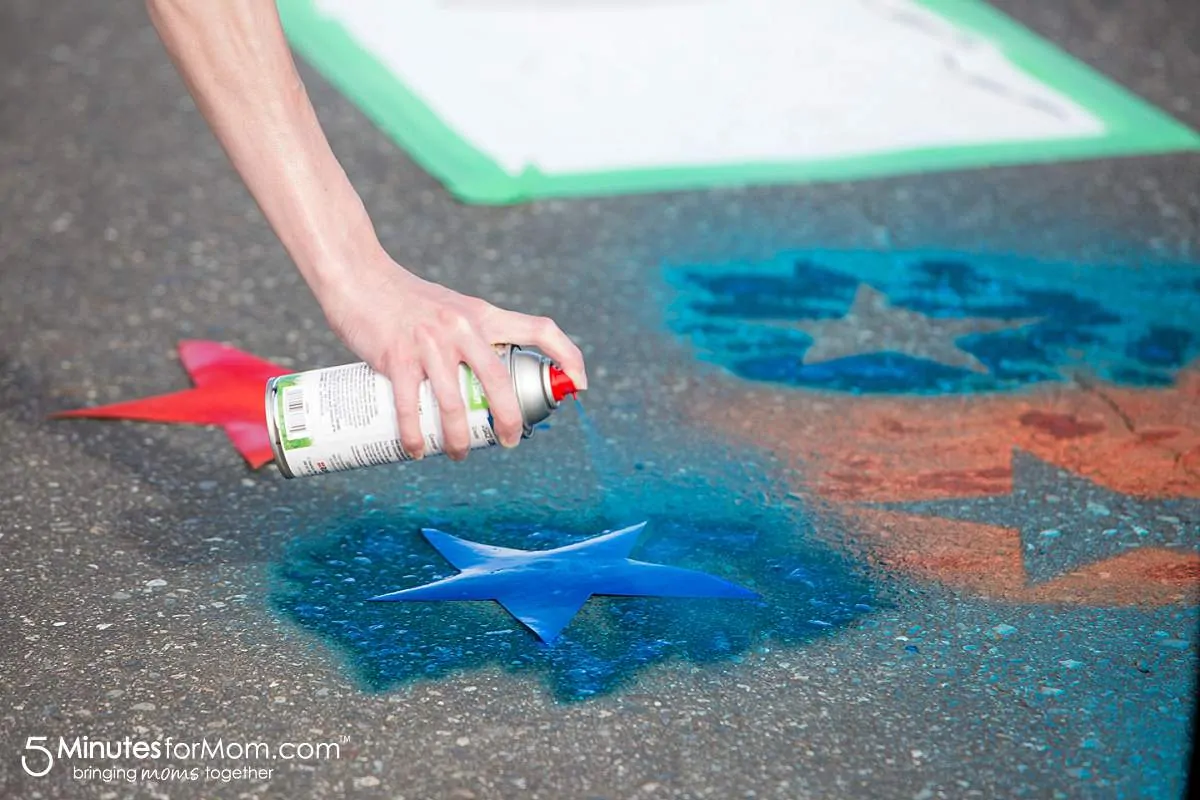
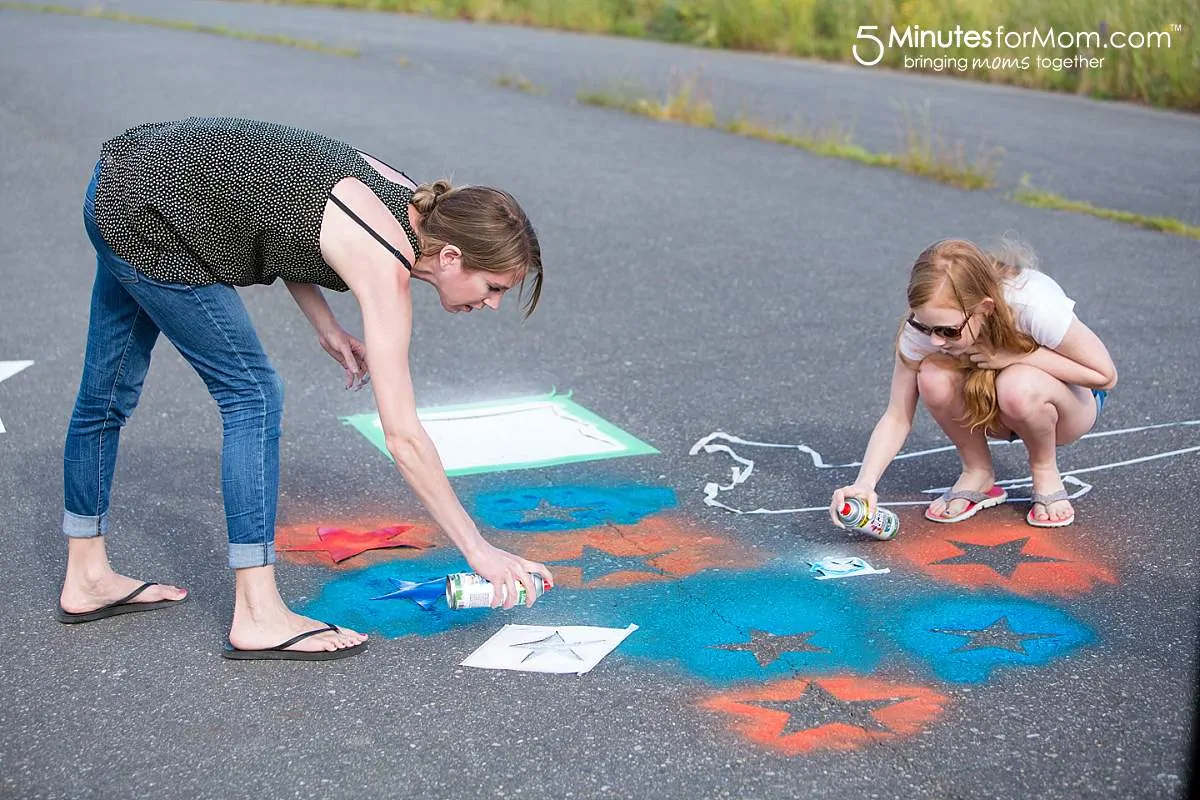
While the white chalk finishes drying, you can use your star templates to create the stars that will surround your subject.
We made both reverse stars and regular stars of various sizes using our template cut outs.
You can continue working on spraying chalking the star designs while the different chalk layers of the flag dry.
Step 5 — Continue with Flag Templates
Once the white chalk layer is dry, use the second flag template layer to spray the red stripes.
Next, use the third template to spray the blue rectangle in the top left and then, after the blue chalk is thoroughly dry, use the last American flag stars template to spray the white stars.
Please make sure your blue chalk is COMPLETELY dry before spraying your white on top. It will take two to three coats to get the white to show up clearly on the blue.
(As I noted above, if you make a REVERSE star template, you can skip the blue chalk square step and just use the reverse star template to spray on blue to reveal white stars.)
Step 6 — Create the Flagpole
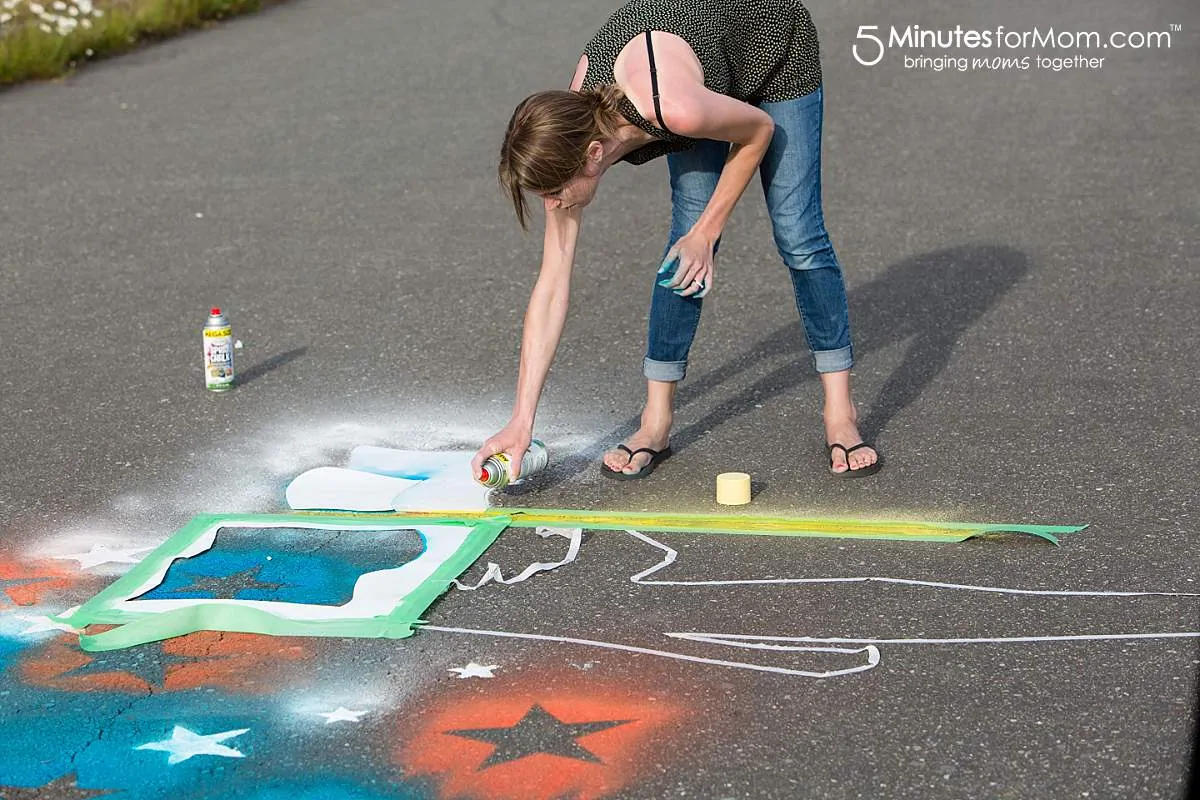
Once your flag is complete, cover completely and mask off the flagpole.
We used the yellow spray chalk from Testors Pastel Set. But if you don’t have yellow spray chalk, you can spray make your pole white or mix the white and red spray chalk to make orange. You mix colors by spraying the second color on top of the first while it is still wet. Test this method to see if you like the results. Otherwise, your flagpole can be white. No worries there!
Alternatively, you could use a real pole or long stick and your subject hold it for a “mixed media” art scene.
Step 7. Get Subjects in Position and Start Photographing
Once your chalk art is finished and dry, have your subject get back in position, remove the masking tape and start photographing.
You can shoot chalk photography with any camera with a wide-angle lens, your mobile phone, a Go Pro, or a drone if you have access to one.
To photograph your chalk art scene, you usually want to get an overhead shot.
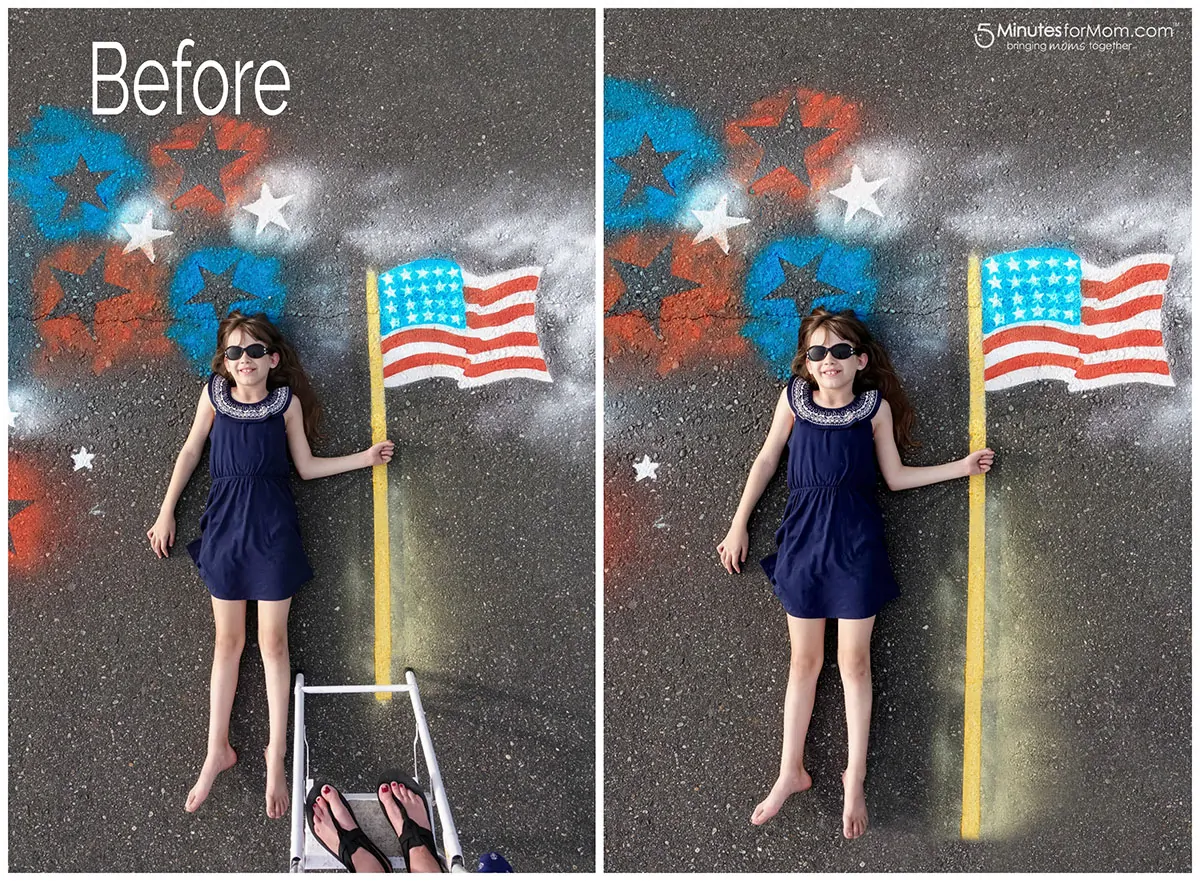
To get above your subject/scene, use a ladder and/or use a boom or selfie stick for extra reach.
After, you can remove the ladder or your feet from your image with editing software such as Photoshop. If you don’t have Photoshop, you can use free photo editing software such as PicMonkey to remove unwanted objects.
If your image is warped slightly because you are shooting with a wide angle lens and/or you are shooting at an angle, you can use transform and liquify tools in your editing software to get things back in shape.
Have you ever used spray chalk or made a chalk photography scene? We would love to hear what you have been creating or what you think you might try to make!
Don’t Miss This…
If you want to see more fun ideas and tips for how to spray chalk, be sure to check out our previous spray chalk video and designs:
Fireworks and Sparklers July 4th Chalk Photography Scene
Spray Chalk Race Track
Disclosure: This post is sponsored by Testors. Thanks for reading and sharing. We published the first version of this post on June 28, 2018. We’ve updated it to share with you again.
Written by Janice Croze, co-founder of 5 Minutes for Mom
Talk with me: @5minutesformom and Facebook.com/5minutesformom
Pin with me at pinterest.com/5minutesformom


Floranet says
Wow!! What a piece of Art. Great!!
Scarlet says
Wow. That is so cool! I had never heard of spray chalk but I am going to have to get some now!