This post may contain affiliate links. Read my disclosure policy here.
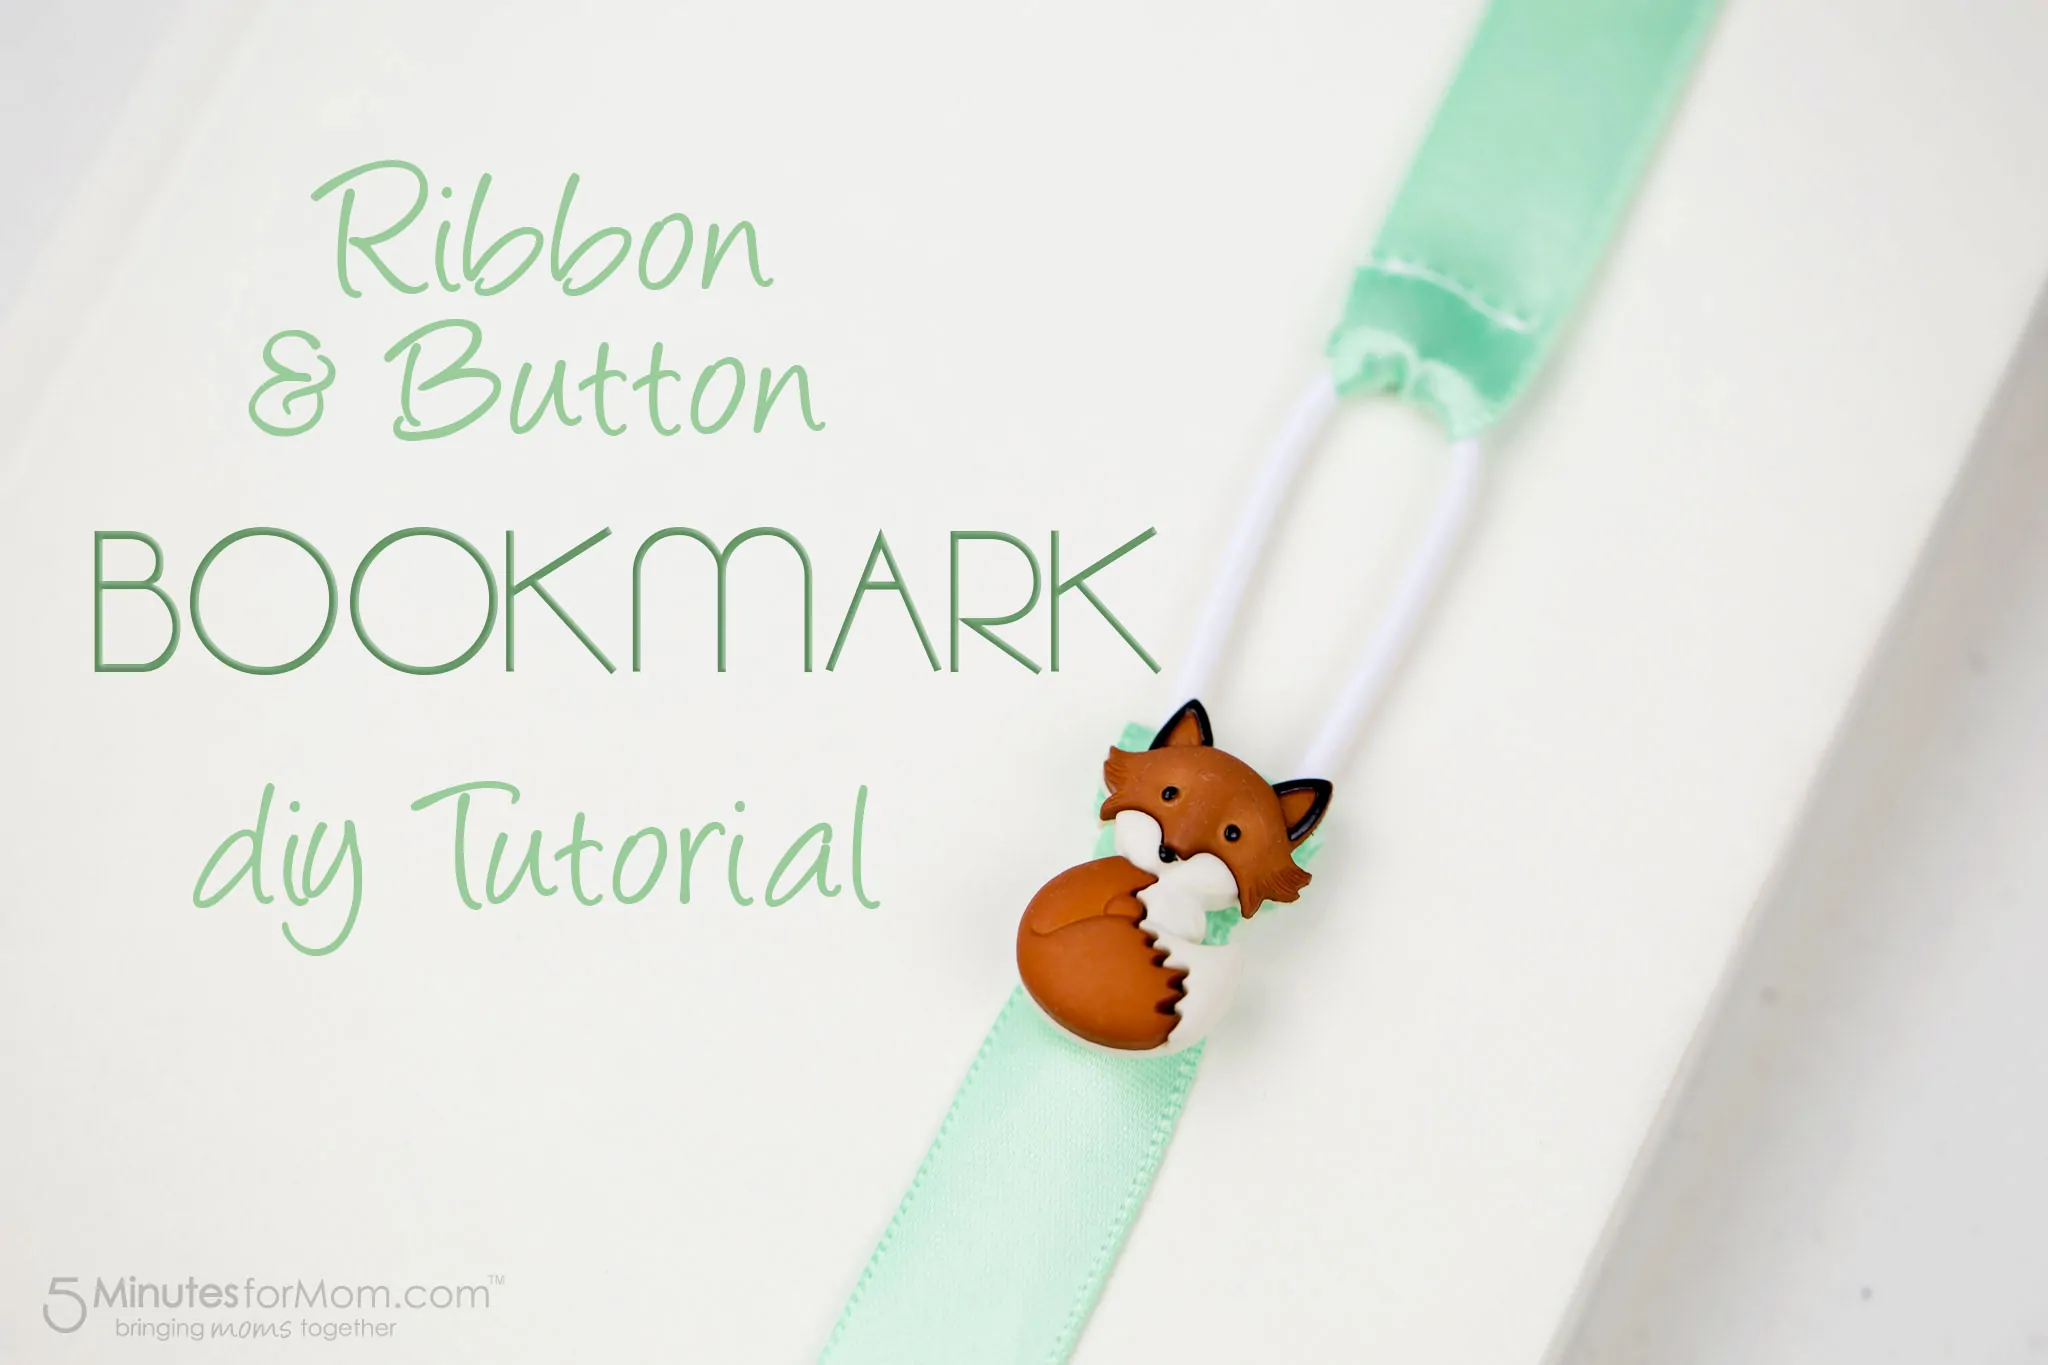
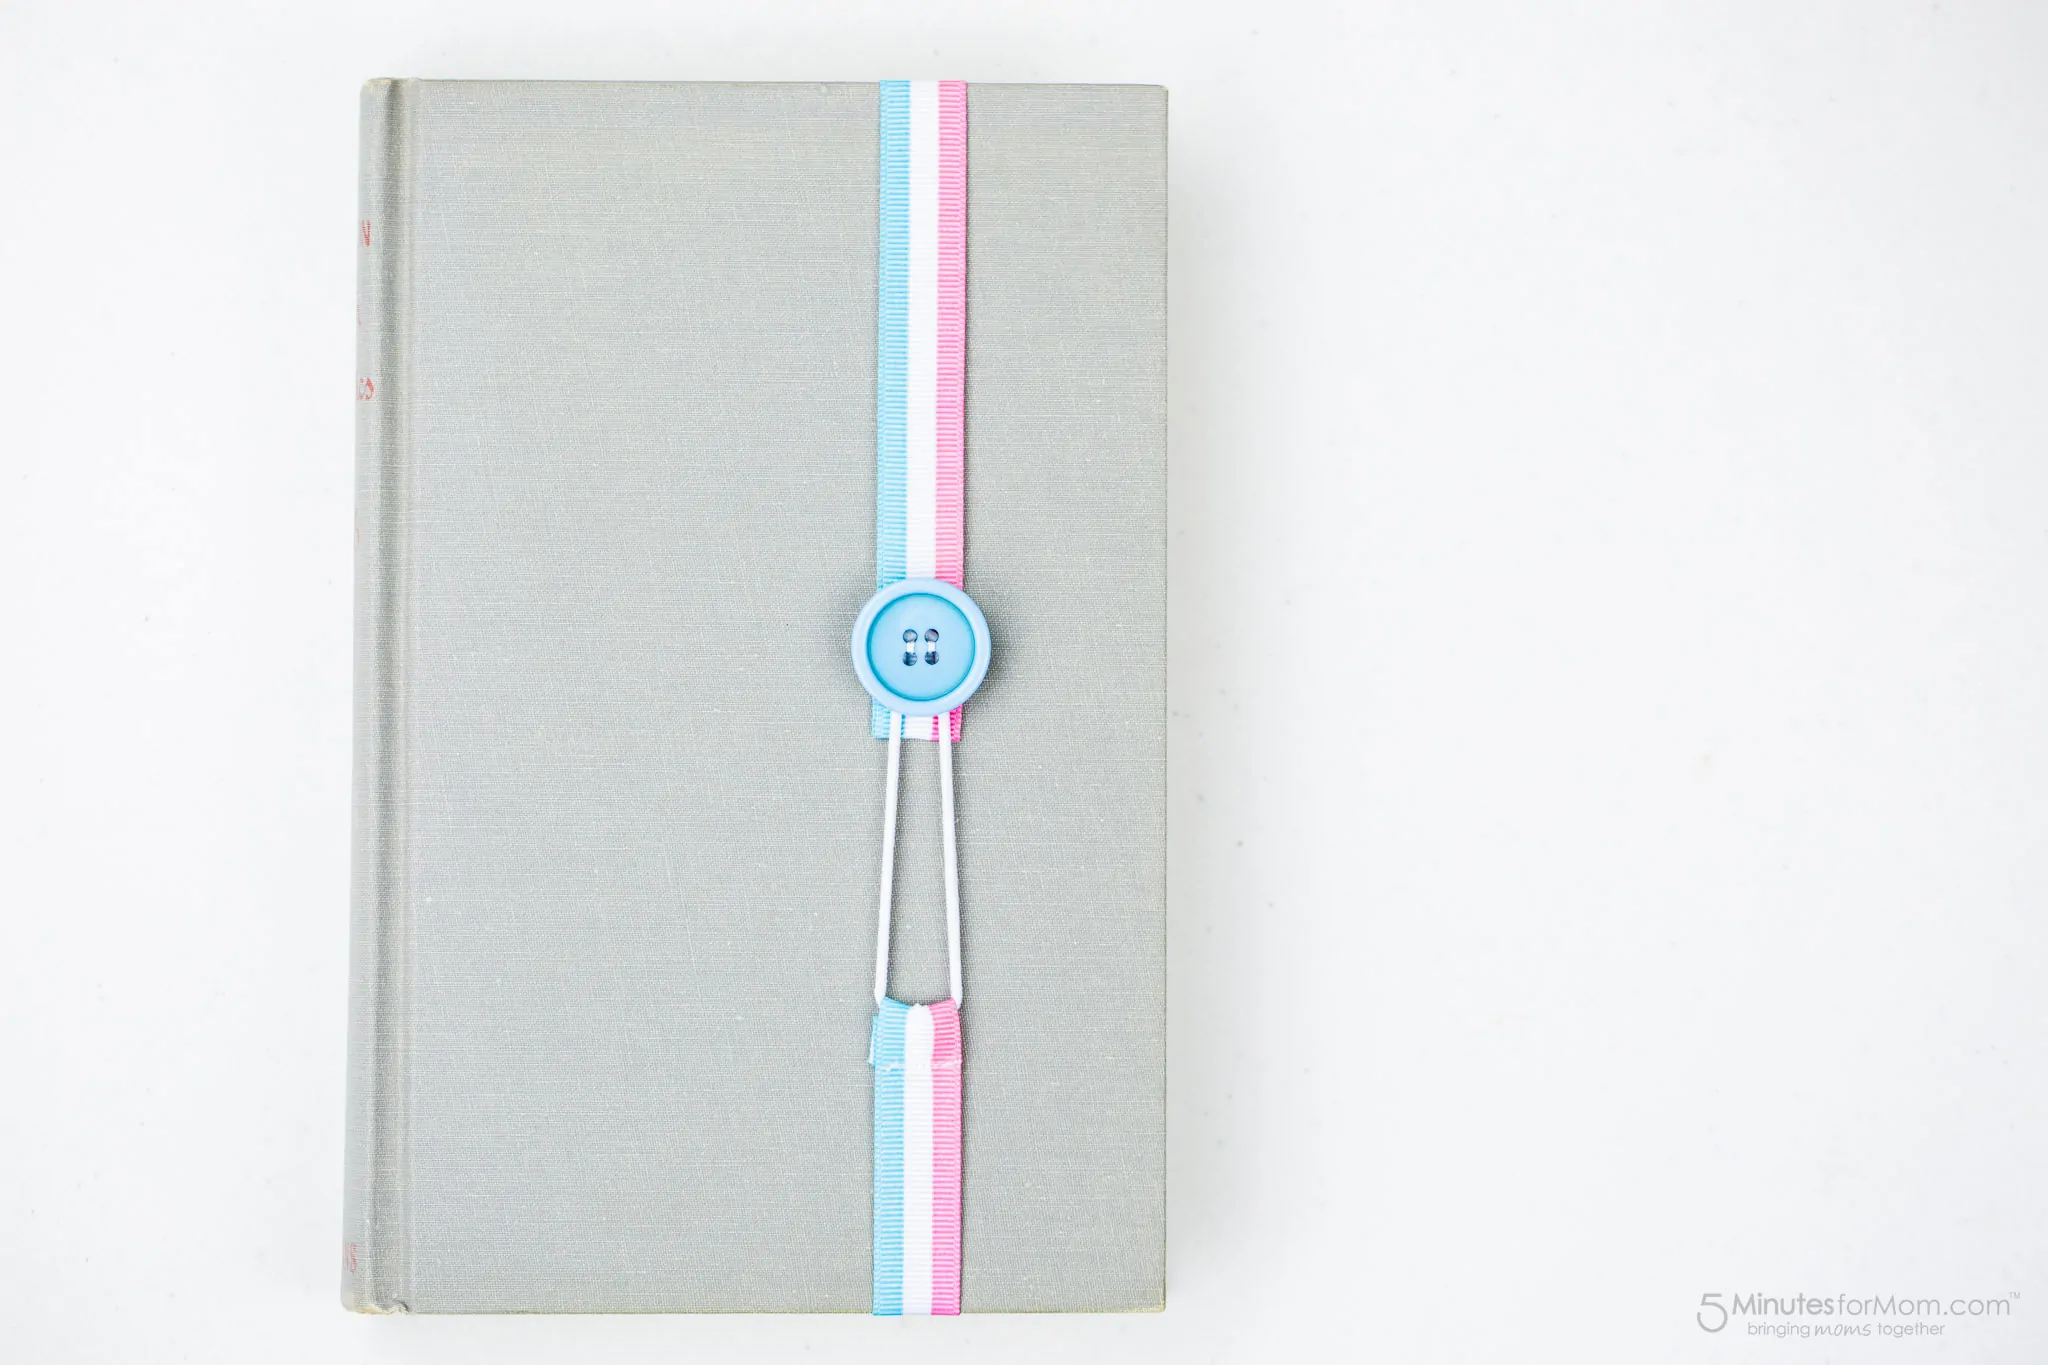
You and your kids can whip together this simple but super cute ribbon bookmark craft in minutes. It makes a wonderful gift for all kinds of special occasions, from party loot bags to end of year teacher gifts.
I love a simple craft that comes together quickly and easily.
I saw this ribbon bookmark craft by Sparkles of Sunshine on Pinterest and knew it was the perfect craft to do with our girls. It allows them to practice simple sewing skills while producing a craft they can be proud of.
We all loved it so much, we decided to use it for a craft activity during Julia’s 11th birthday party this spring.
Her friends who had never sewed before were shocked and excited when I told them they were going to get to sew on my machine. Even though there is very little sewing required, it was fun to walk them through the steps and help them stitch their ribbons and sew on their buttons.
I worked with two girls at a time as one of the “stations” during Julia’s spa party. It worked smoothly — but I did have to make sure they came to my station before they went to the nail polish station!
This week, Olivia, Sophia and Julia are also making and giving these bookmarks to their teachers for end of year teacher gifts.
If you are looking for great crafts to do with tweens, add this ribbon bookmark to your list.
What You Need
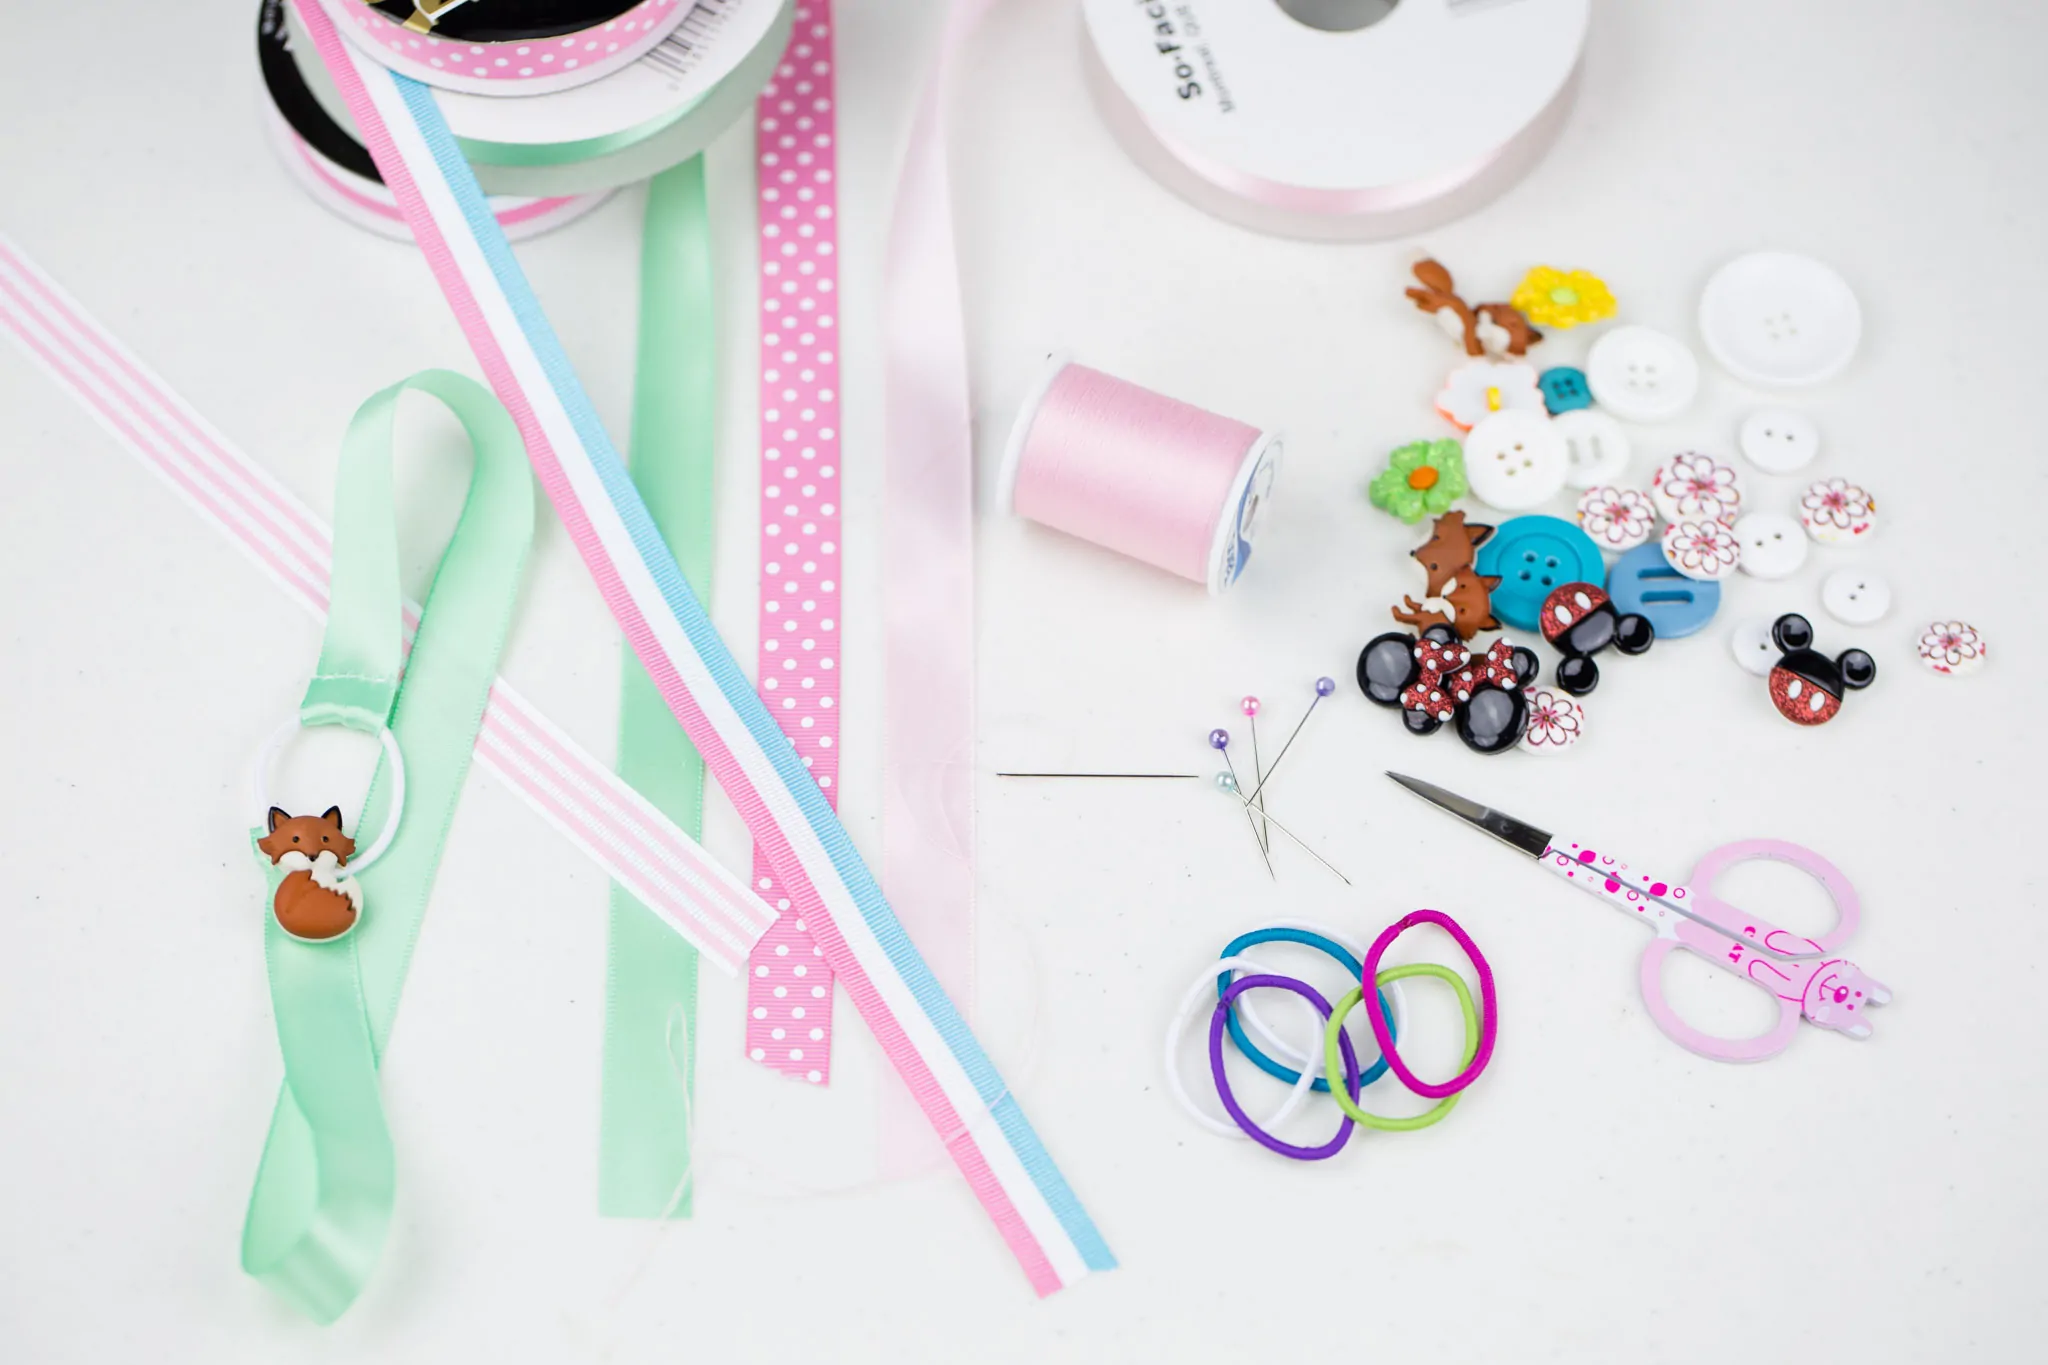
One stop at a dollar store and you will be all set to go with these inexpensive and basic supplies…
- Ribbons
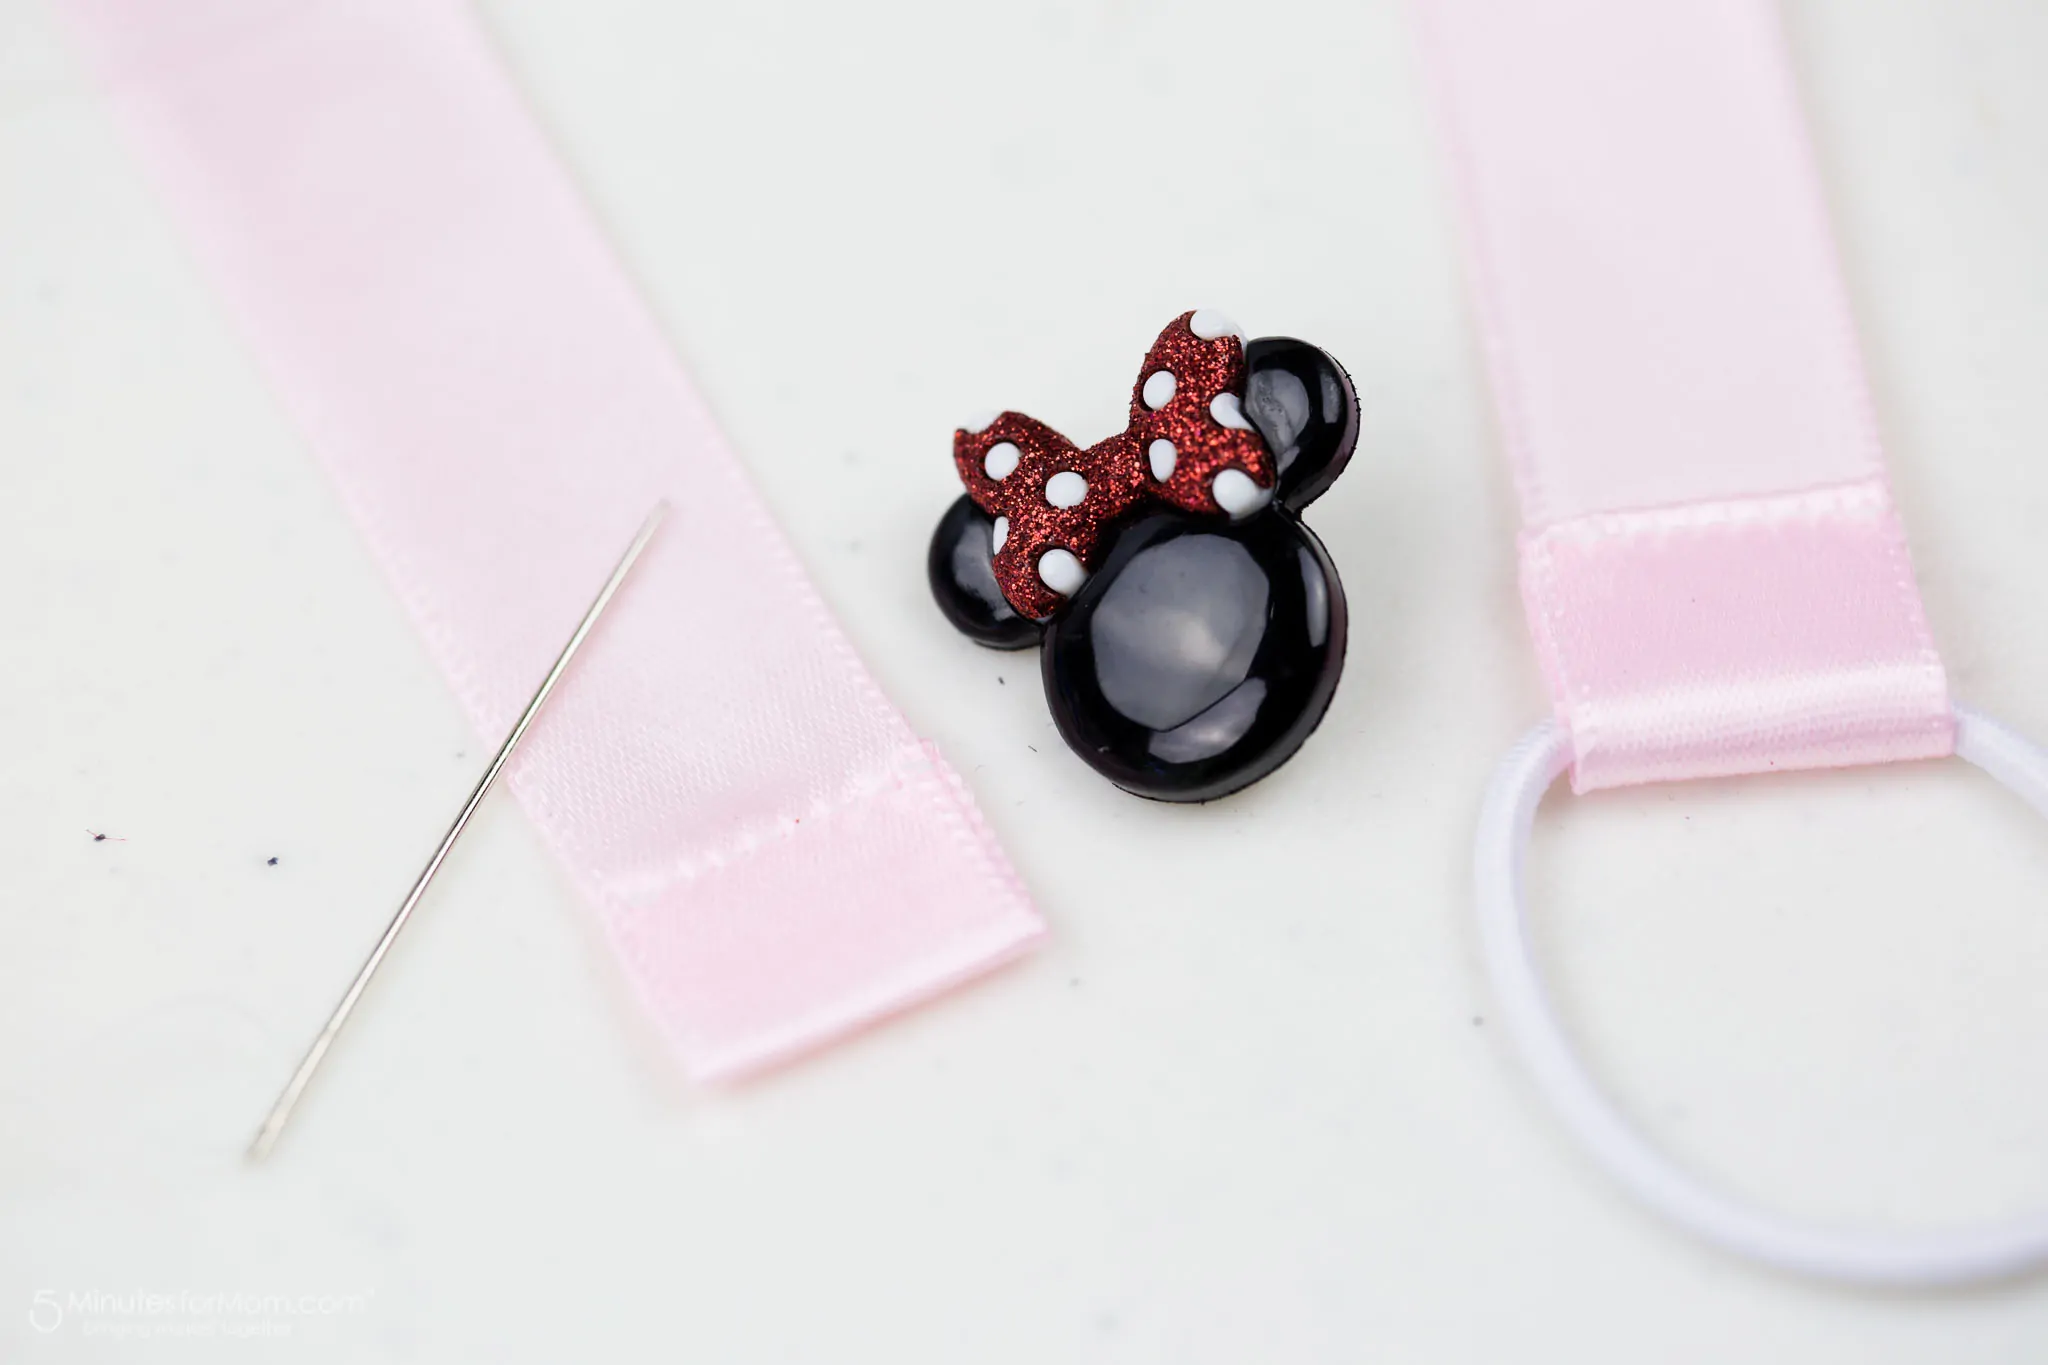
- Buttons
- Hair Elastics
- Needle and Thread
- Scissors
Ribbon Bookmark Video Tutorial
I made a video tutorial that outlines the steps to make these fun ribbon bookmarks…
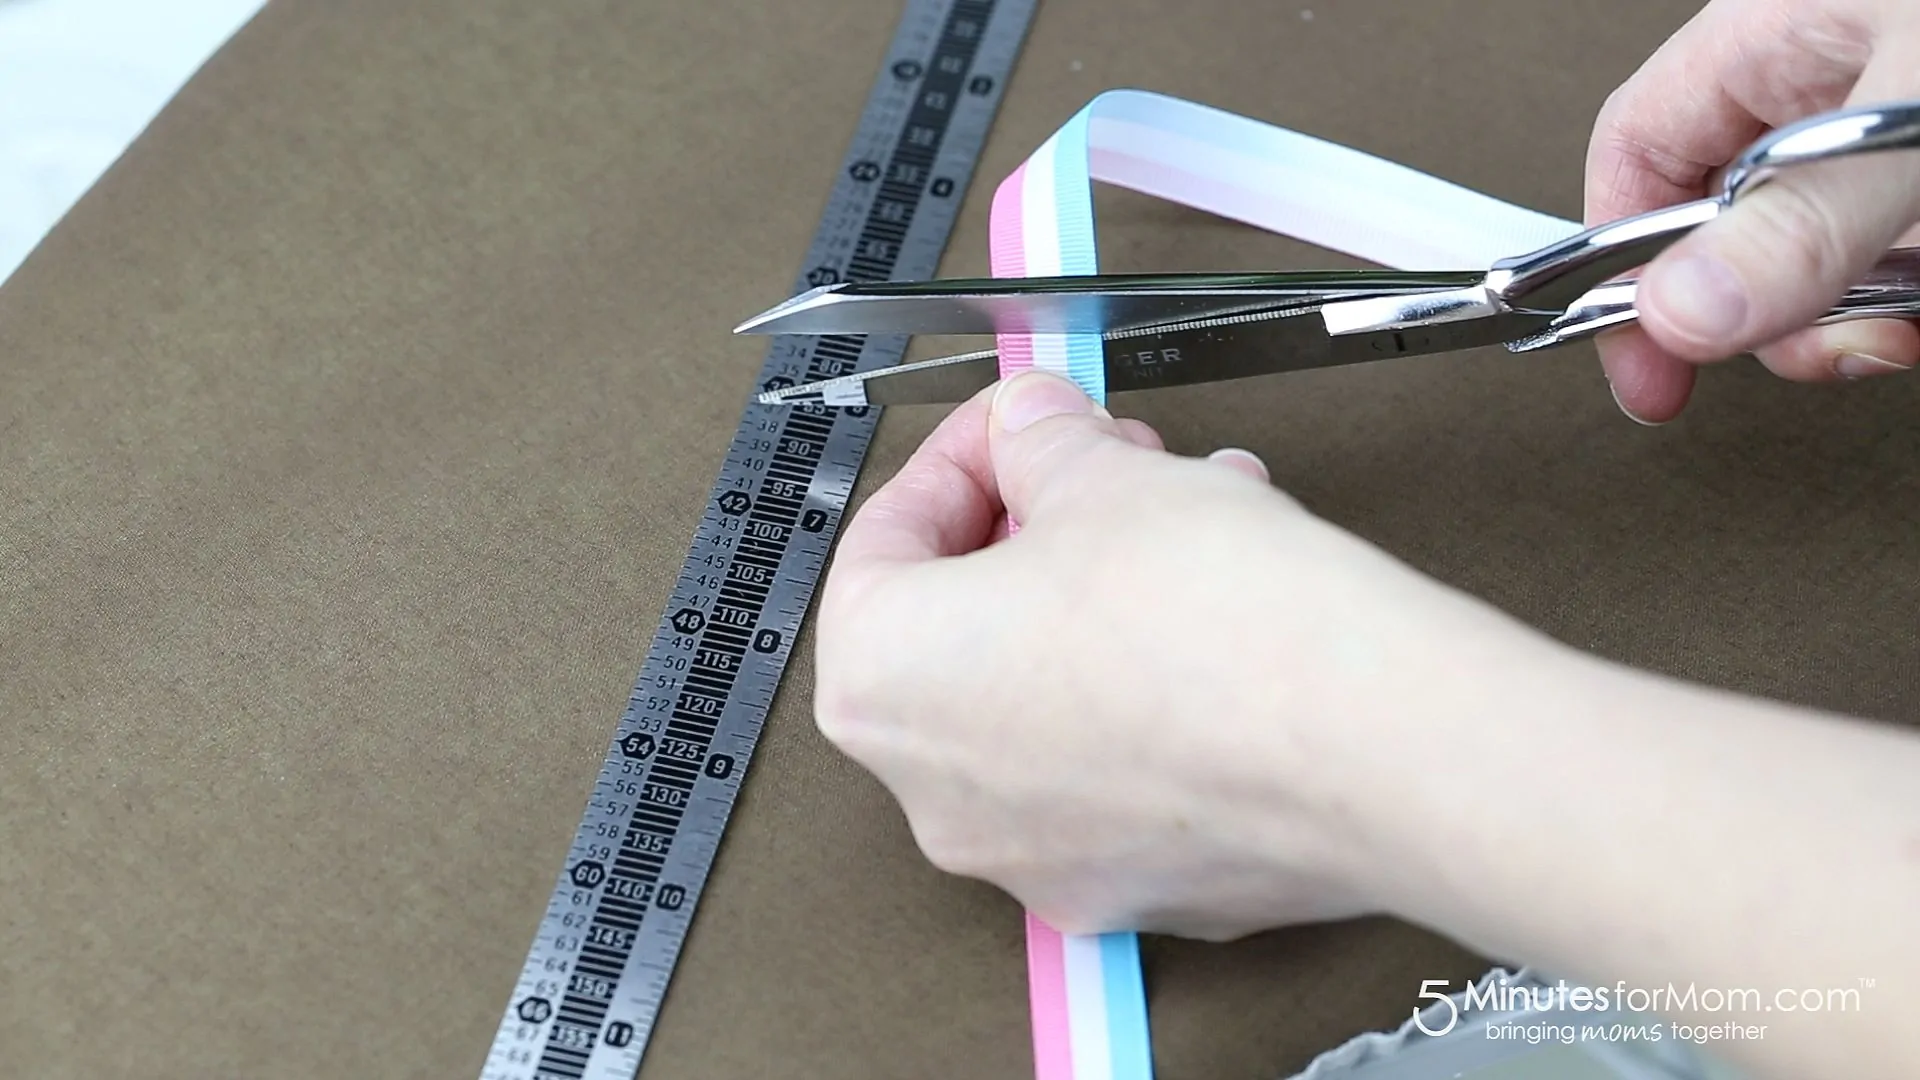
Step 1 — Cut Strips of Ribbon
Cut strips of ribbon between 18″ and 22″ long. The length of your ribbons is determined by the size of book you want to use with your bookmark.
For the ribbon bookmarks I made here, I used 18″ strips of ribbon and they fit a small sized book. For larger books, use longer strips of ribbon. If you have a specific book in mind, measure your ribbon around your book to make sure that it will fit.
An 18″ ribbon strip will make a finished bookmark that is 16″ long and stretches to about 18″.
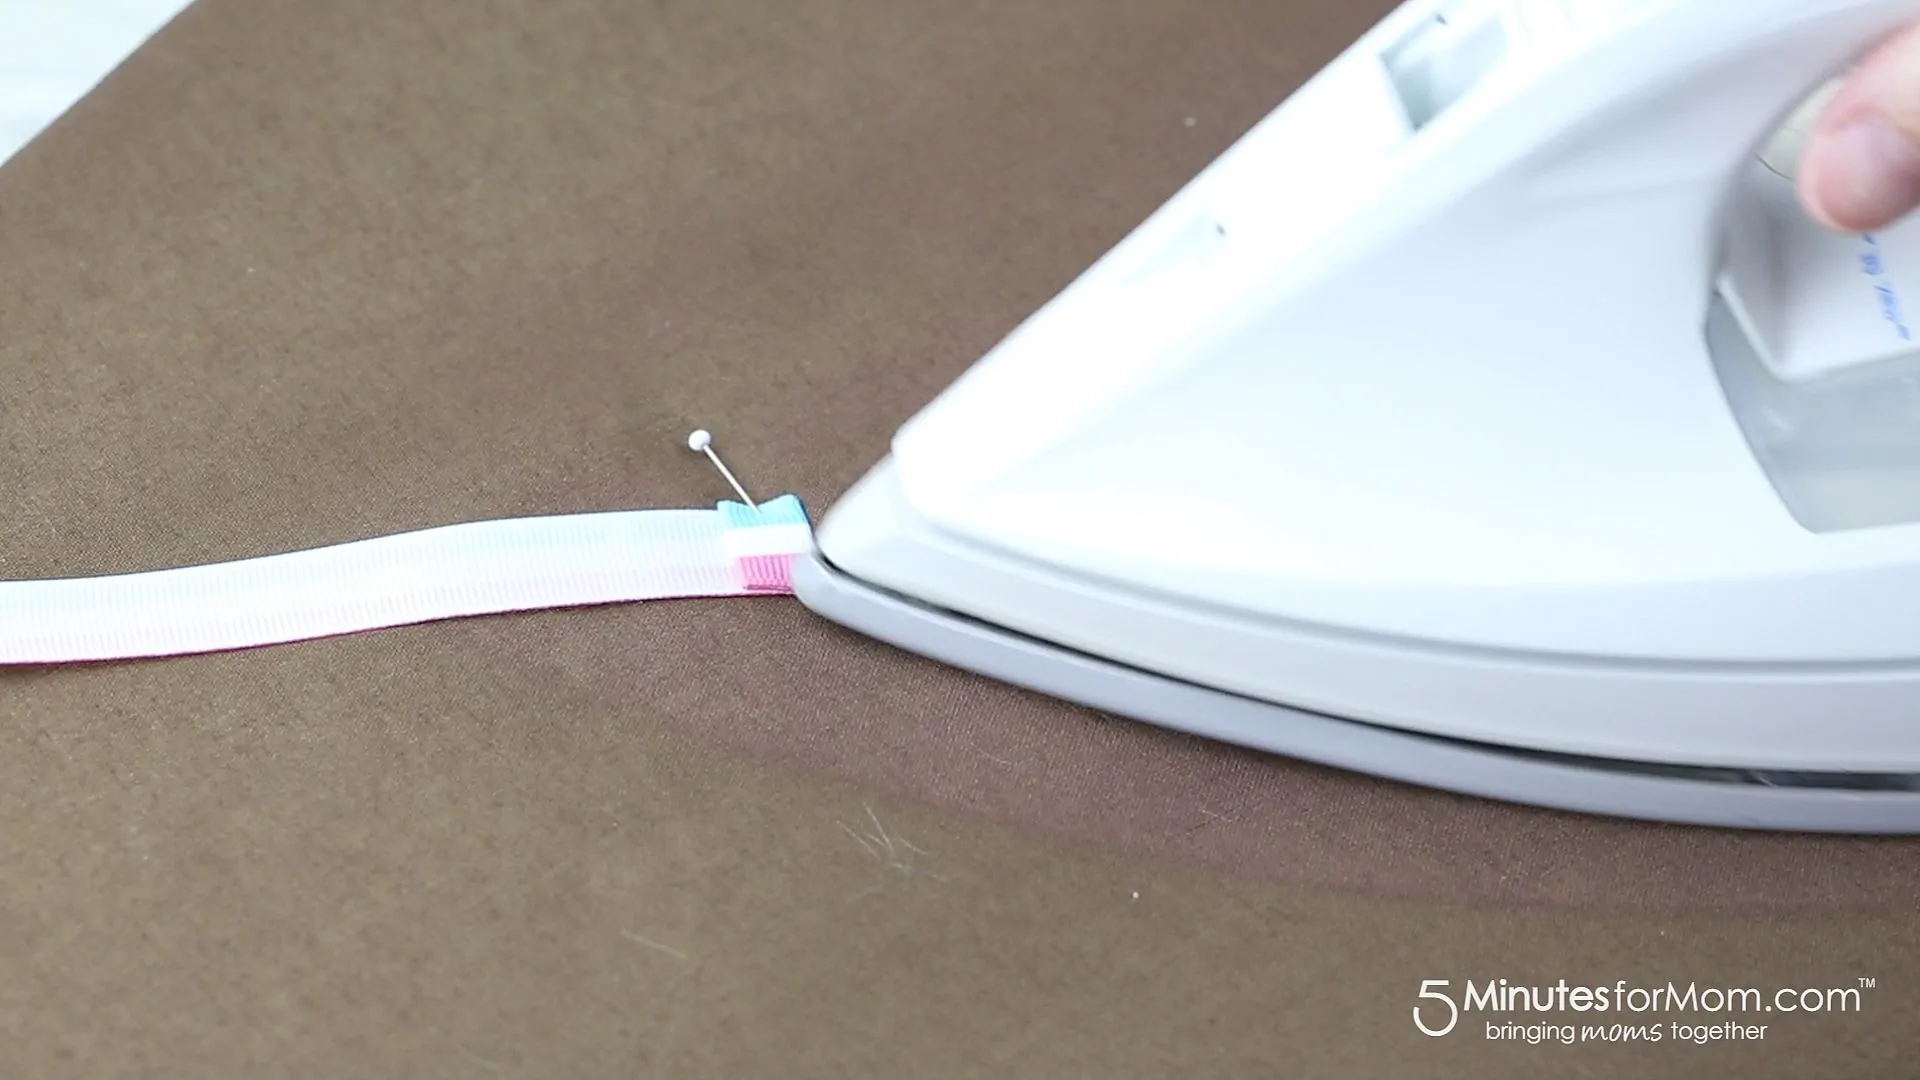
Step 2 — Fold Ends, Pin and Press
On each end of your ribbon, fold over 1/2″ and then fold over 1/2″ again, creating a nice finished edge.
To make pressing easier, you can pin in place. Press with a hot iron, or finger press if you aren’t in the mood to iron.
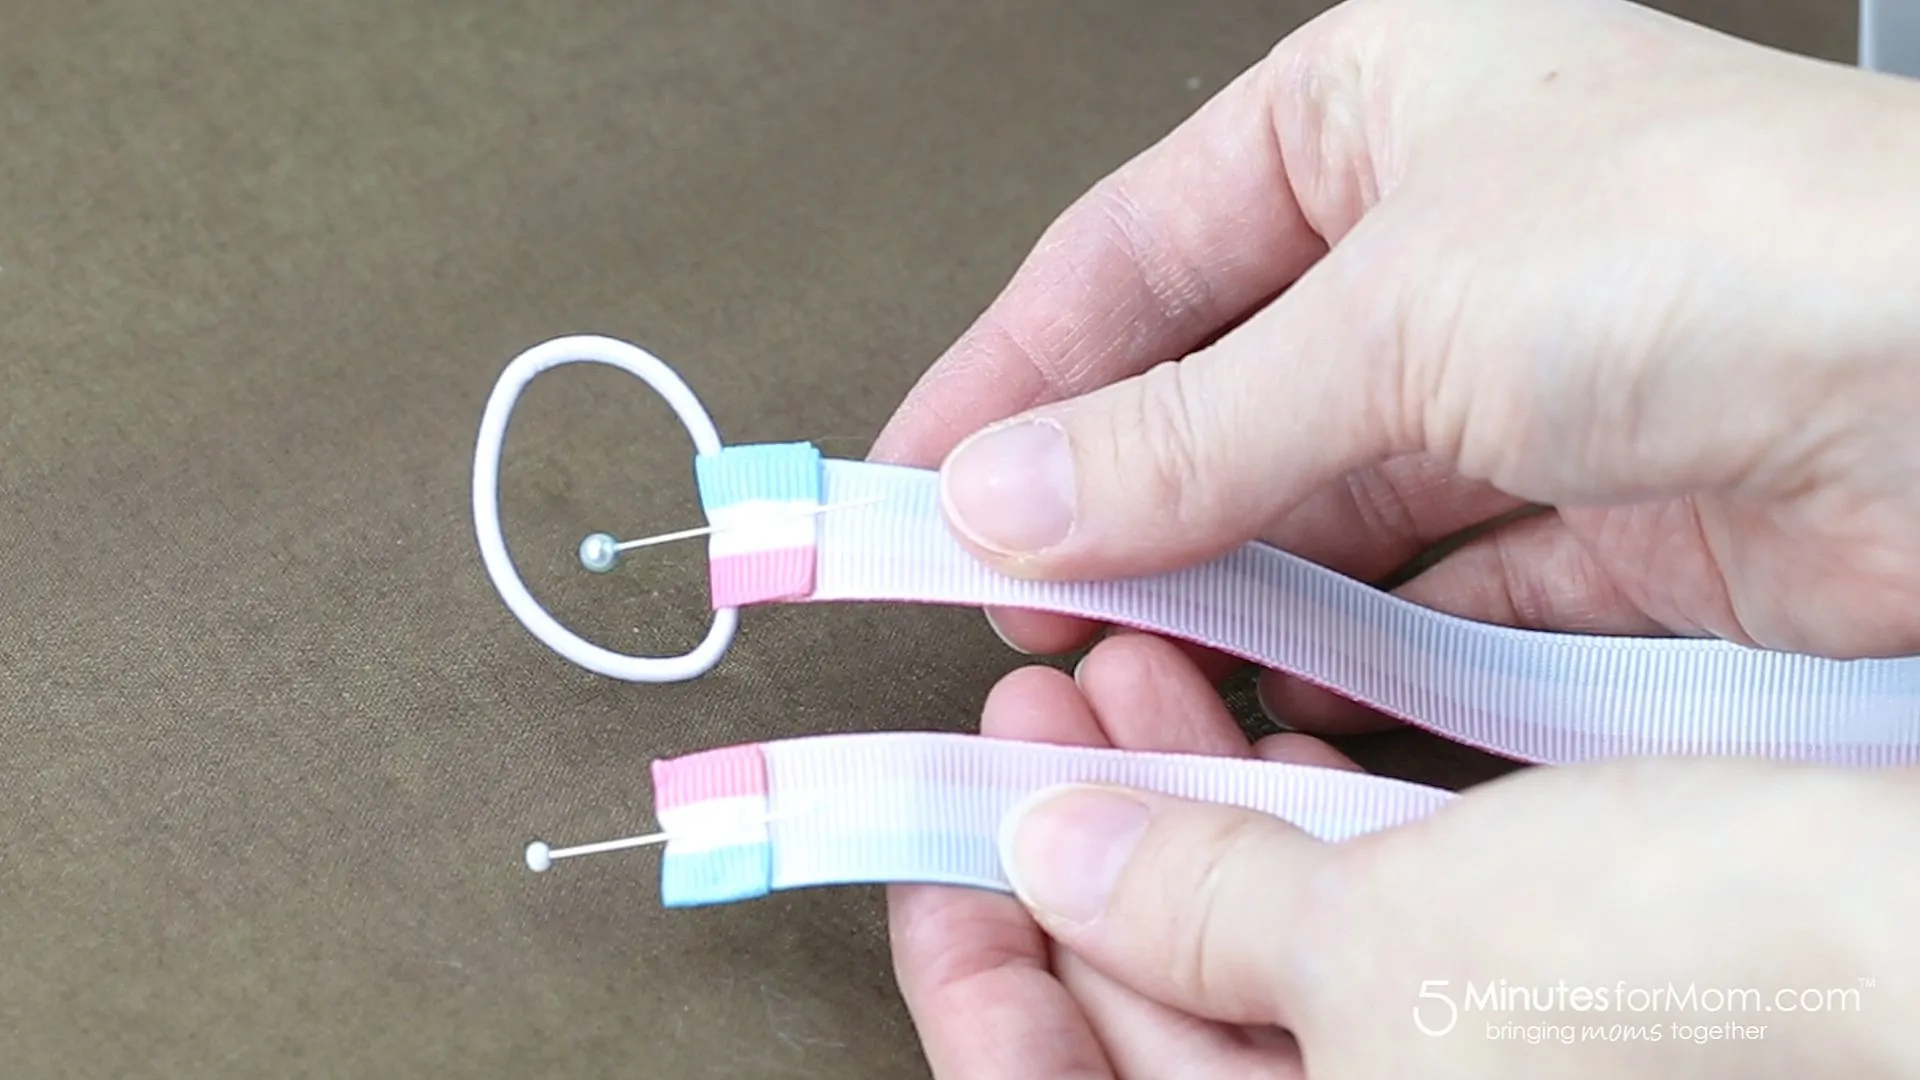
Step 3 — Fold Ribbon Over Elastic and Pin
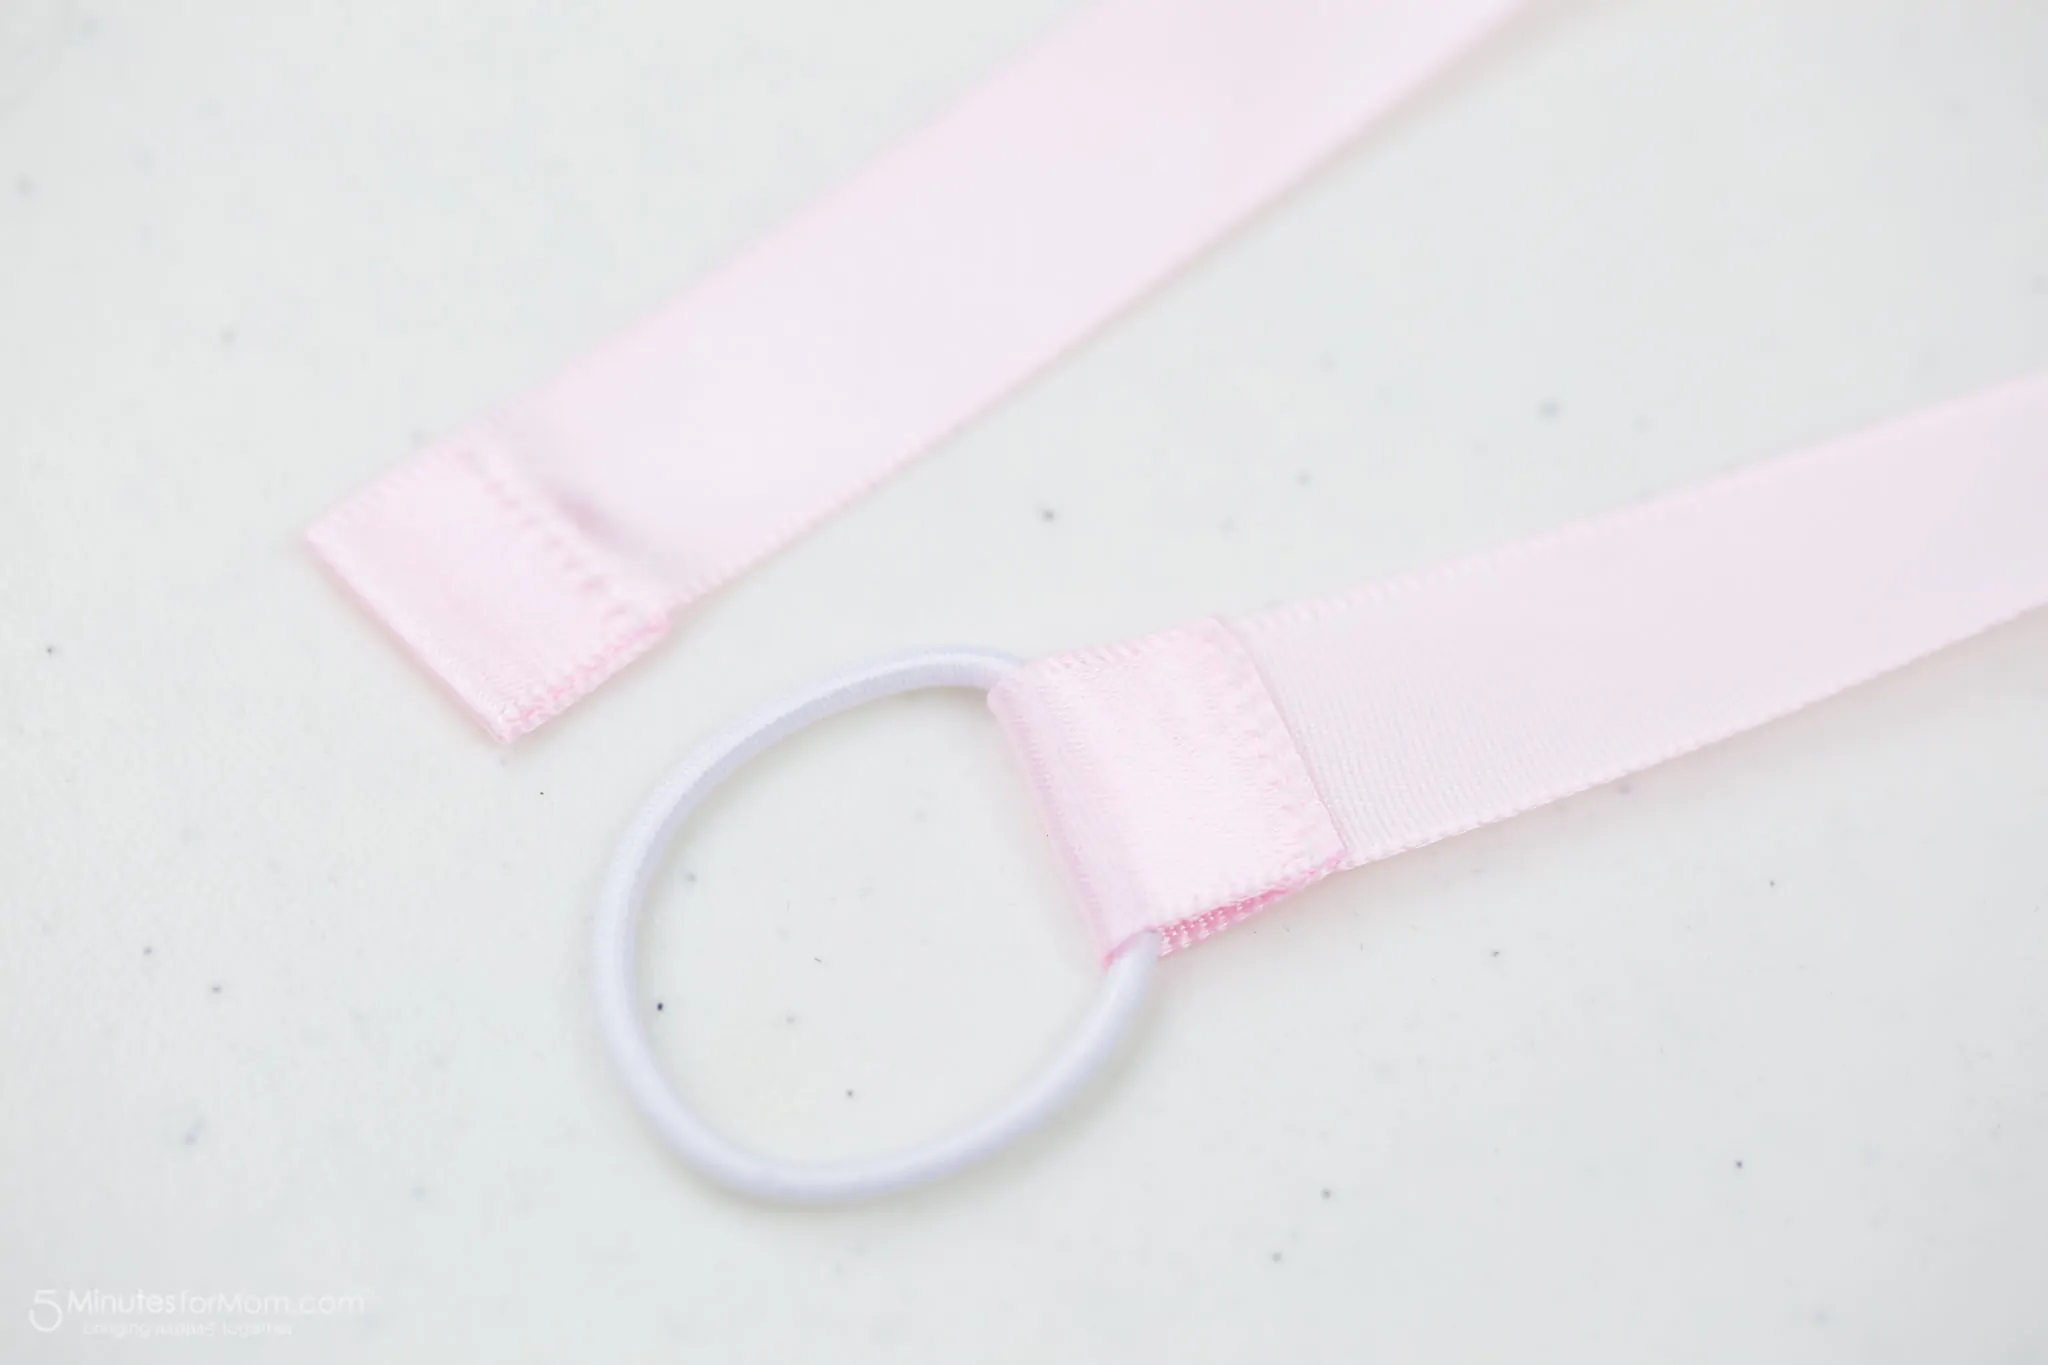
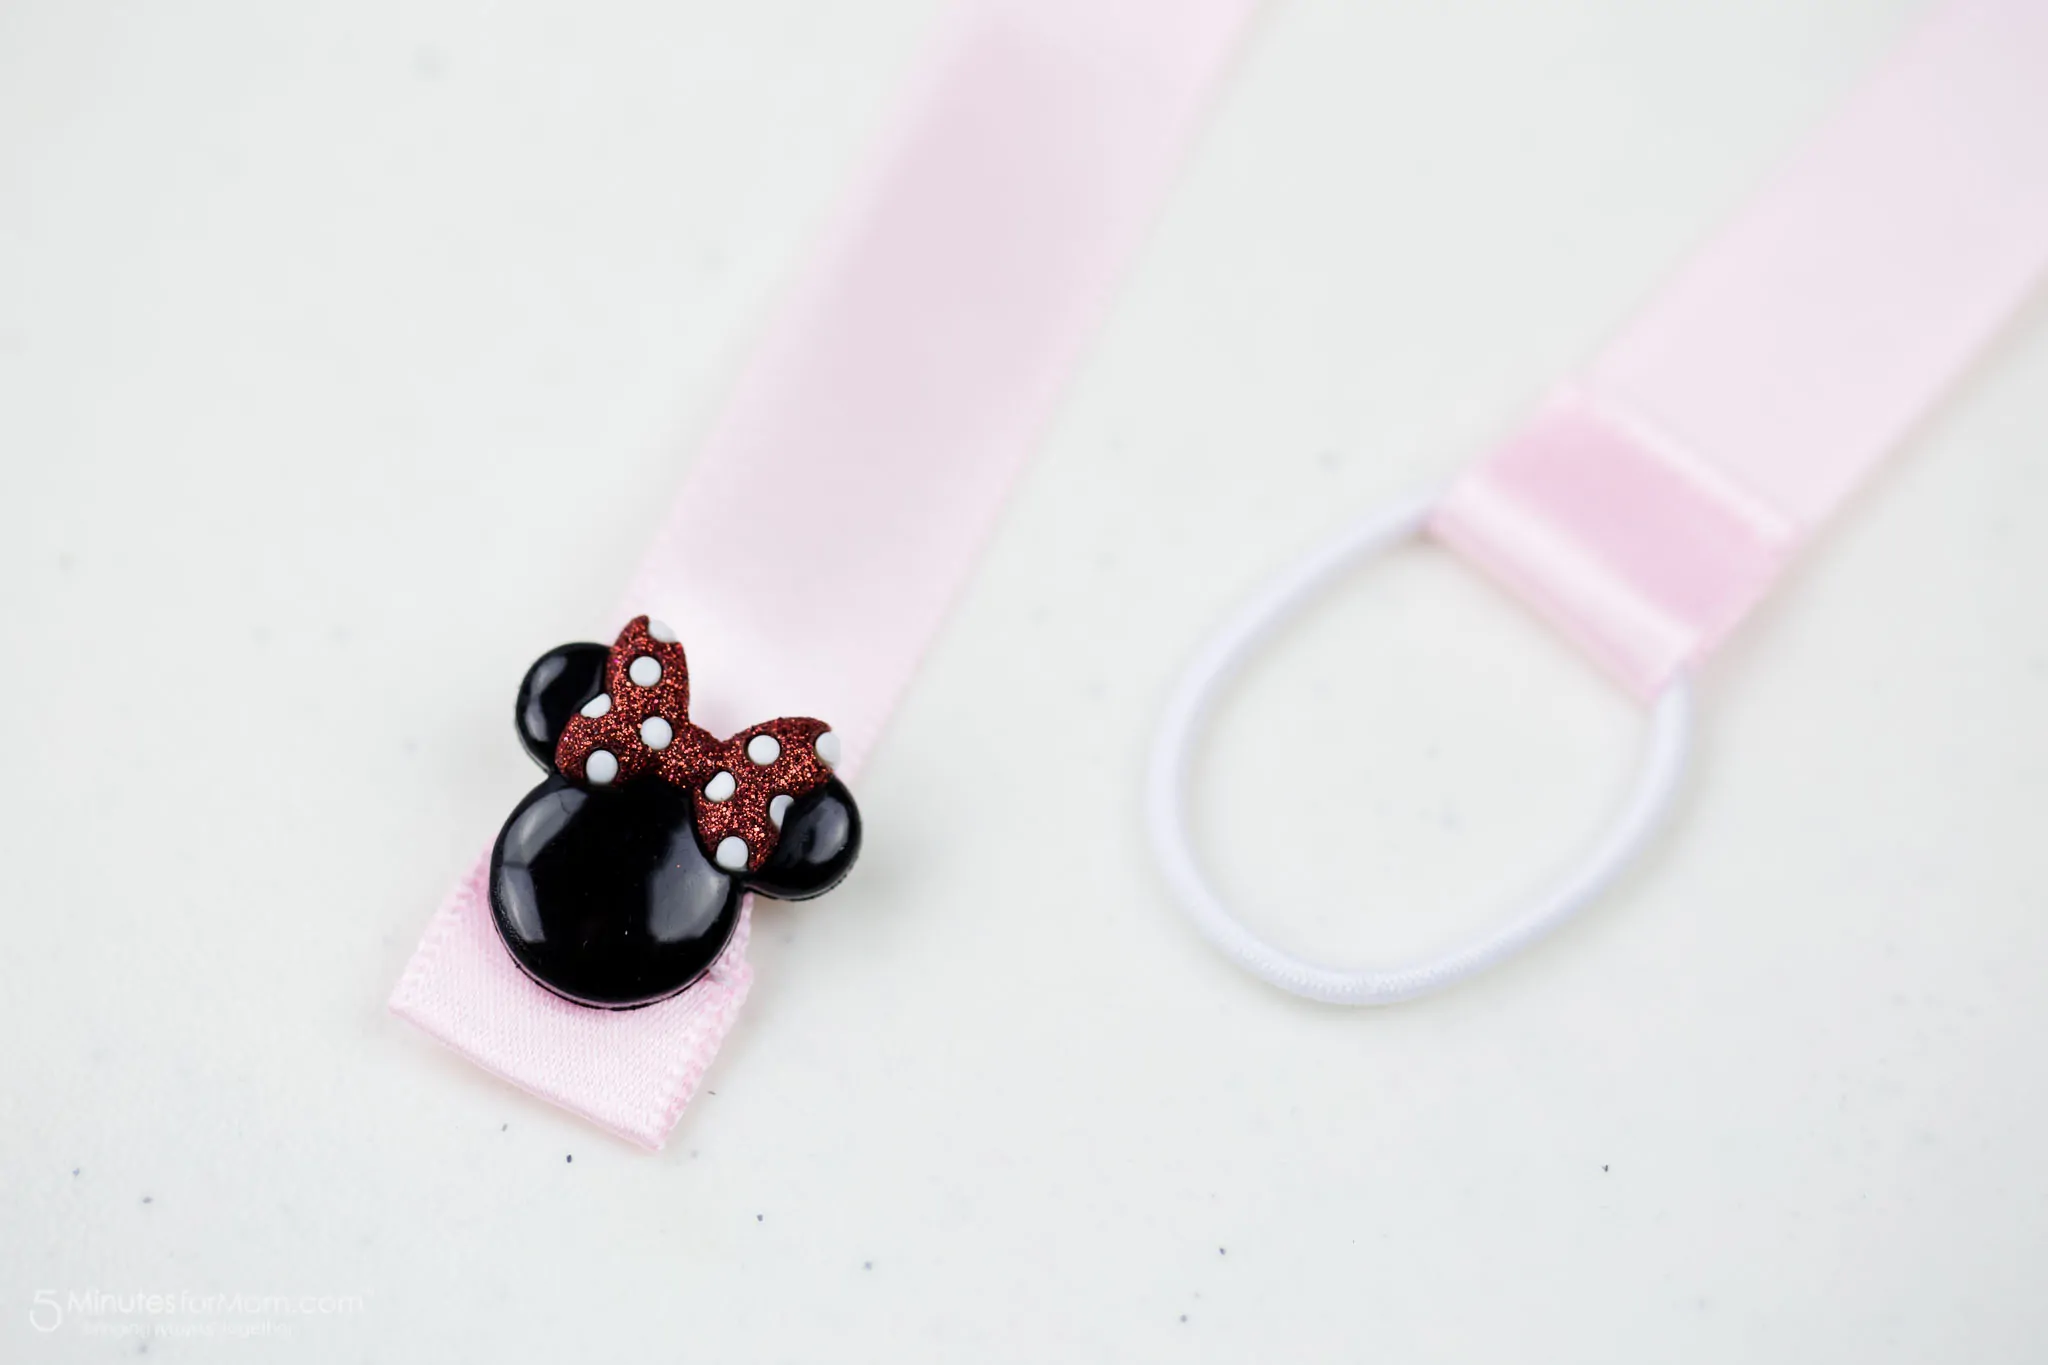
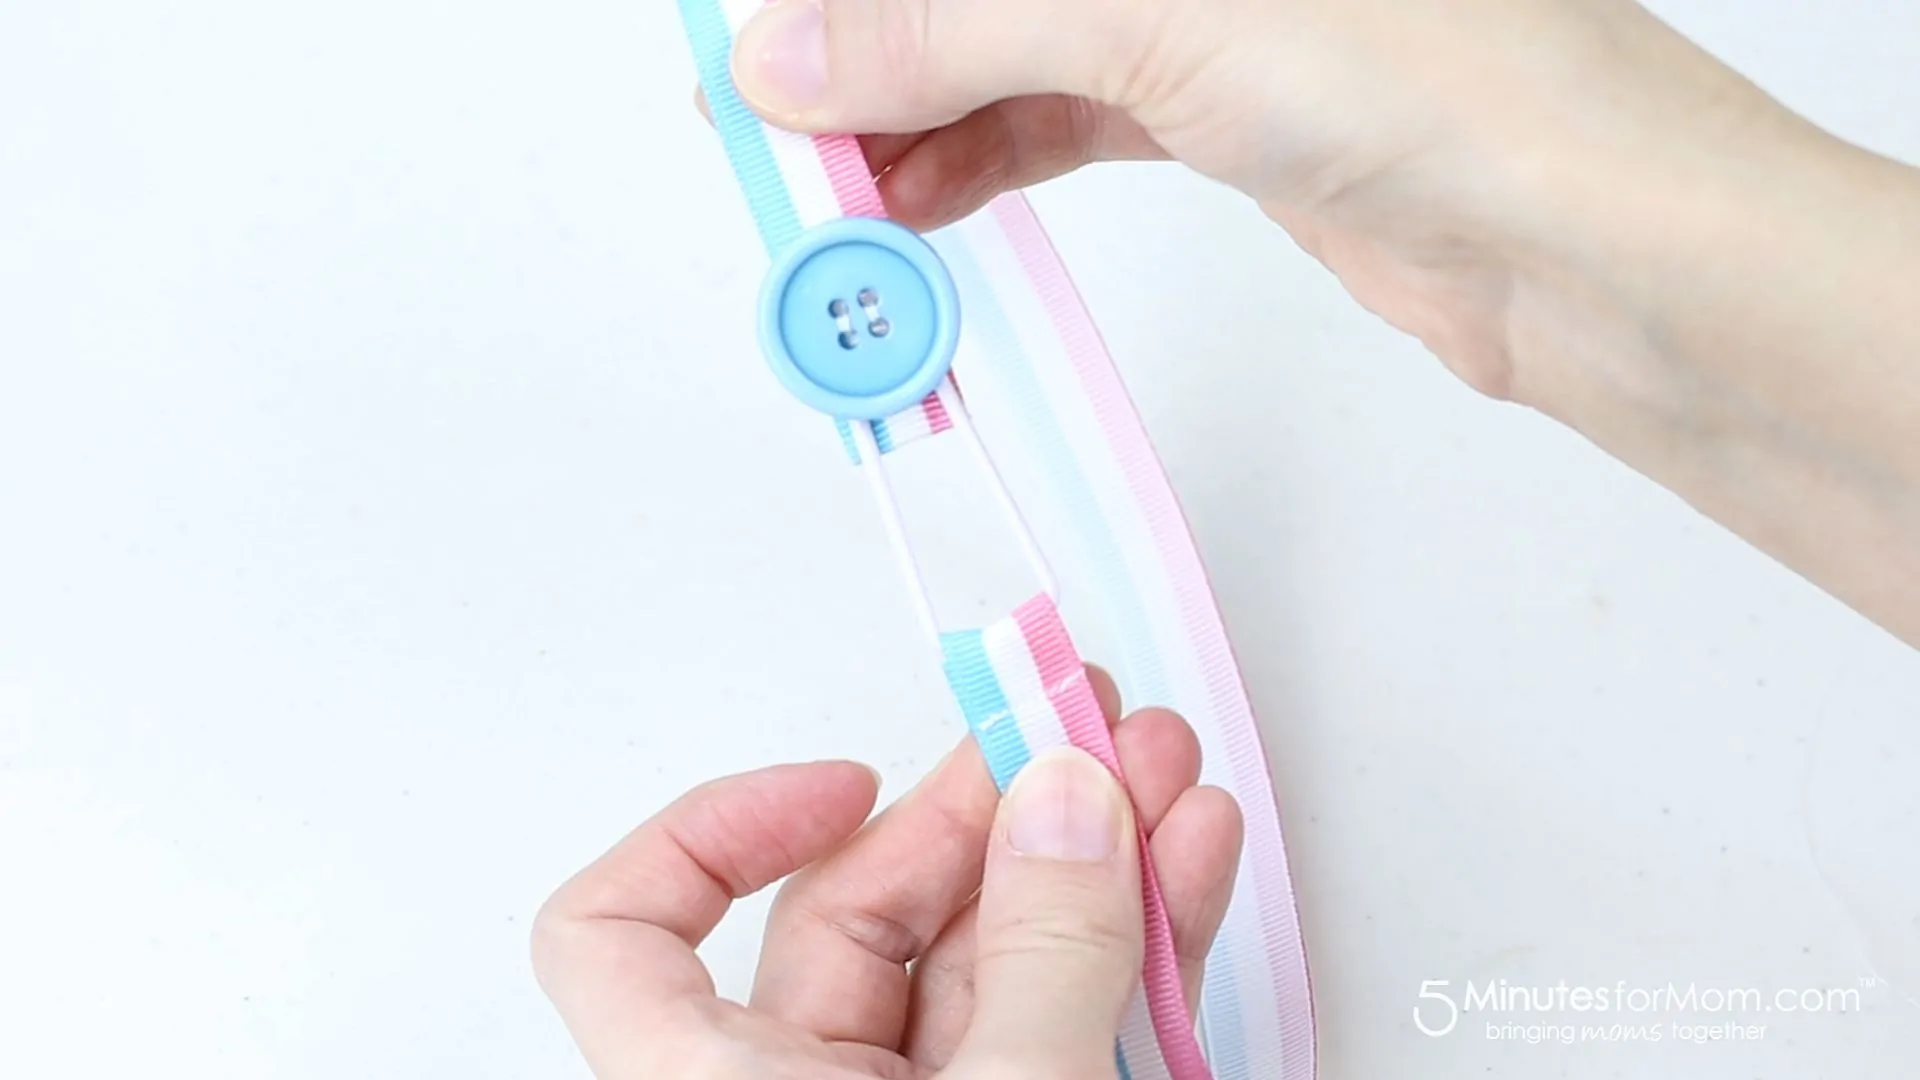
On one end of the ribbon, fold over a hair elastic and pin in place.
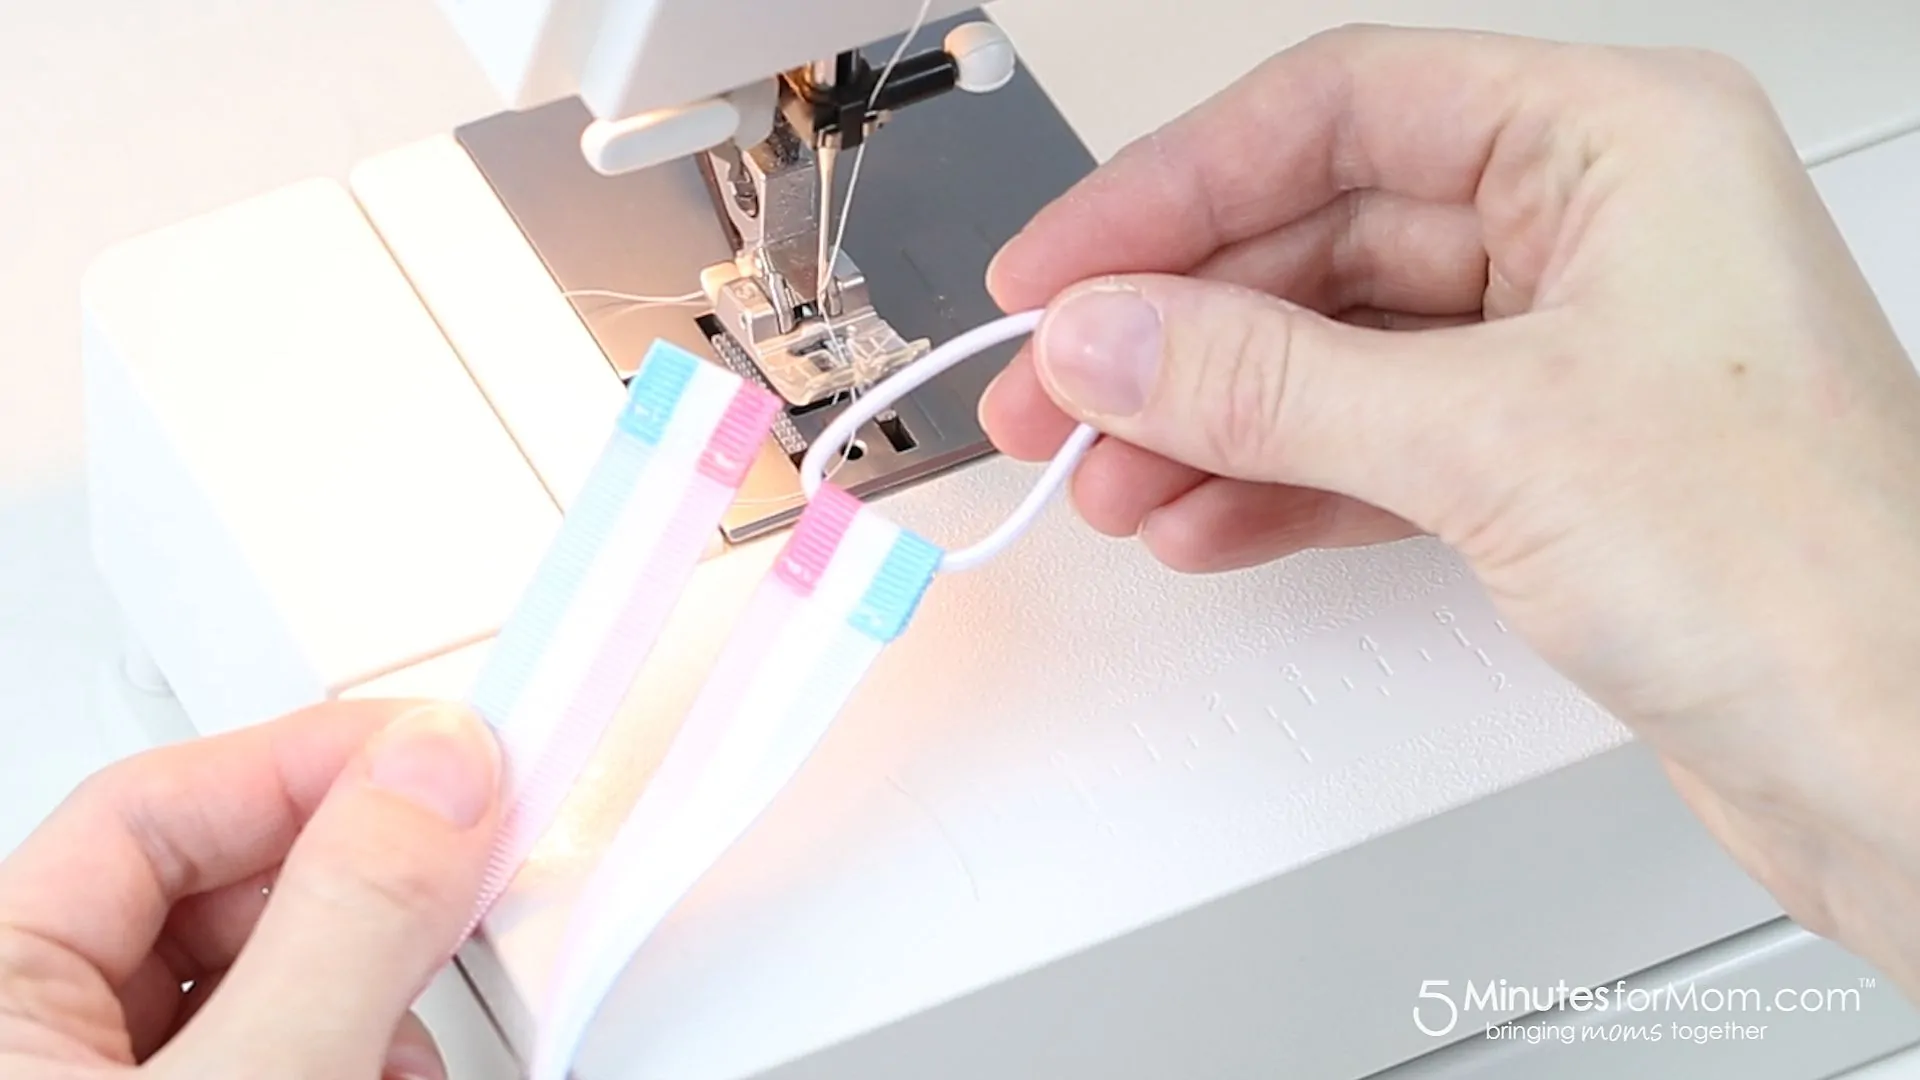
Step 4 — Stitch Along Edges
Stitch along the edges of the folded ends of the ribbon with a sewing machine or by hand.
Make sure to re-enforce your stitches by back-stitching at the start and end as there will be quite a bit of pressure on your stitches.
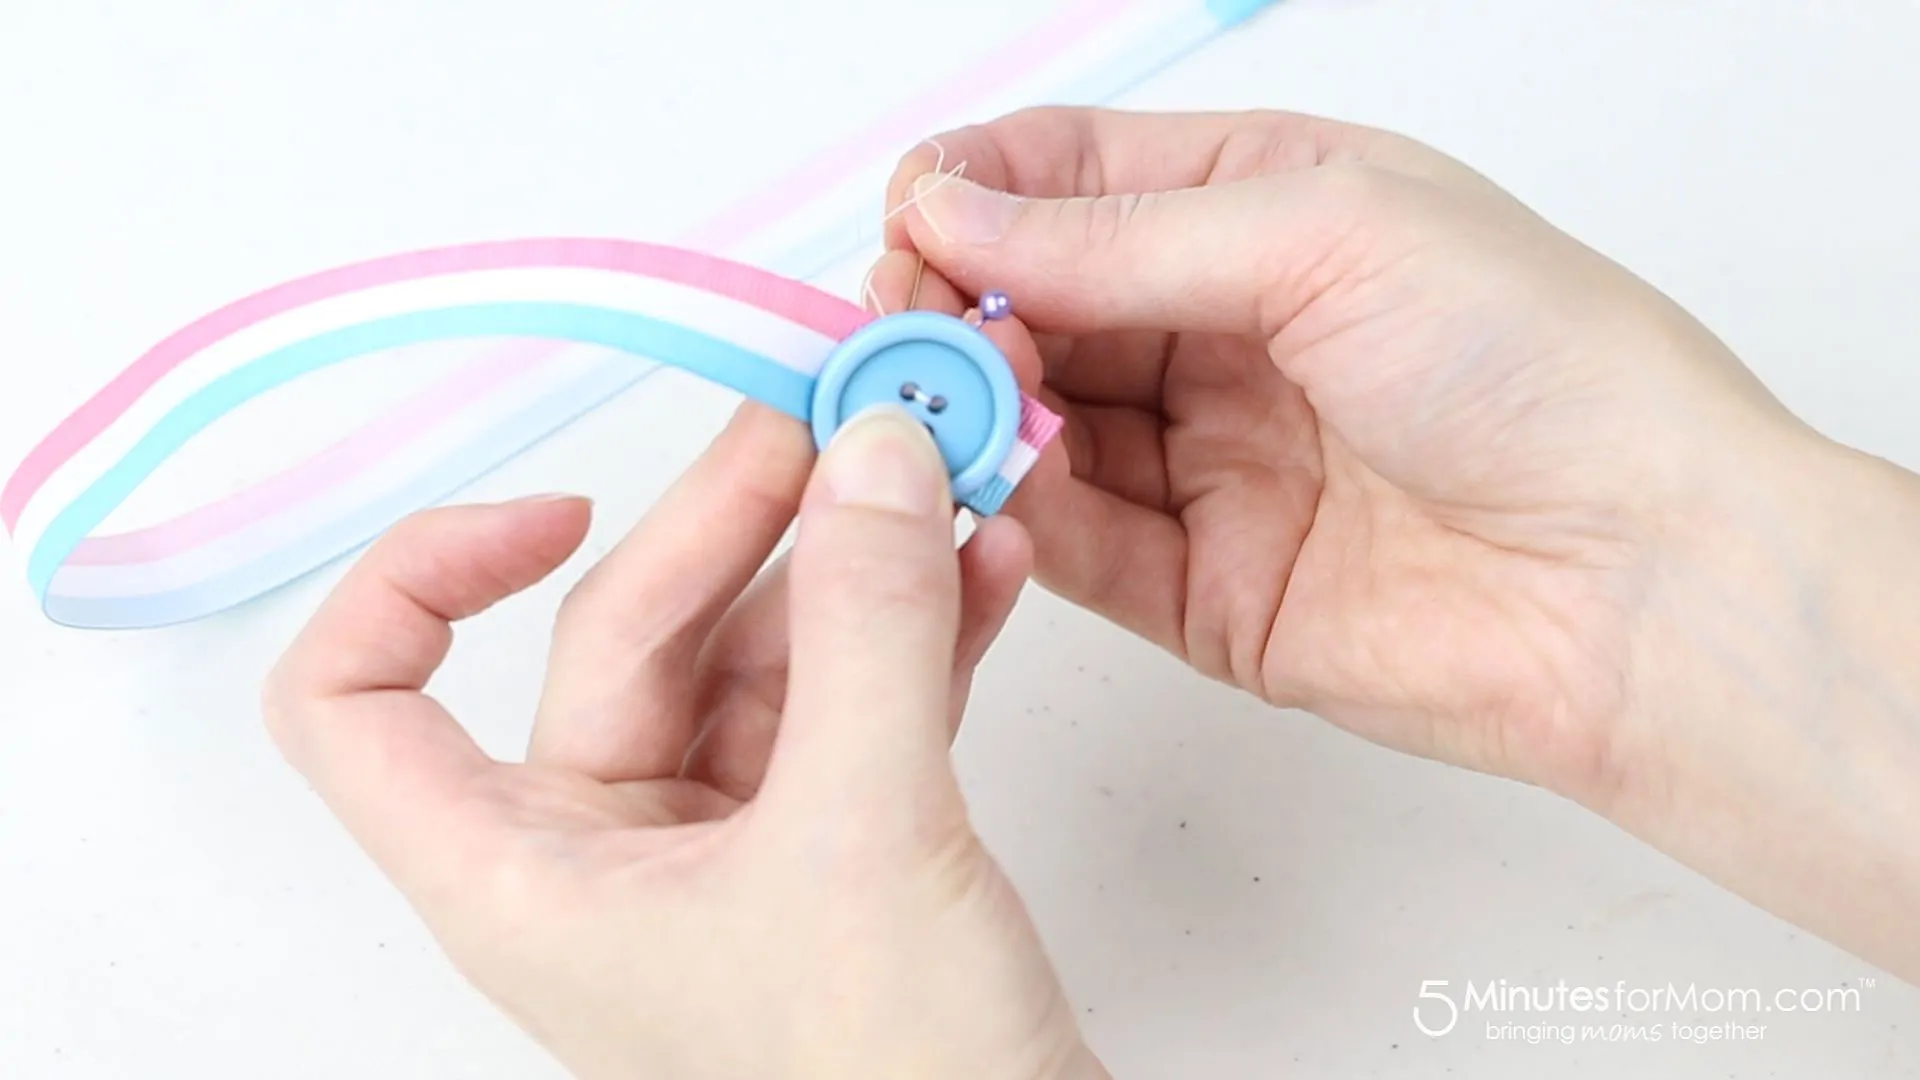
Step 5 — Sew Button on Ribbon
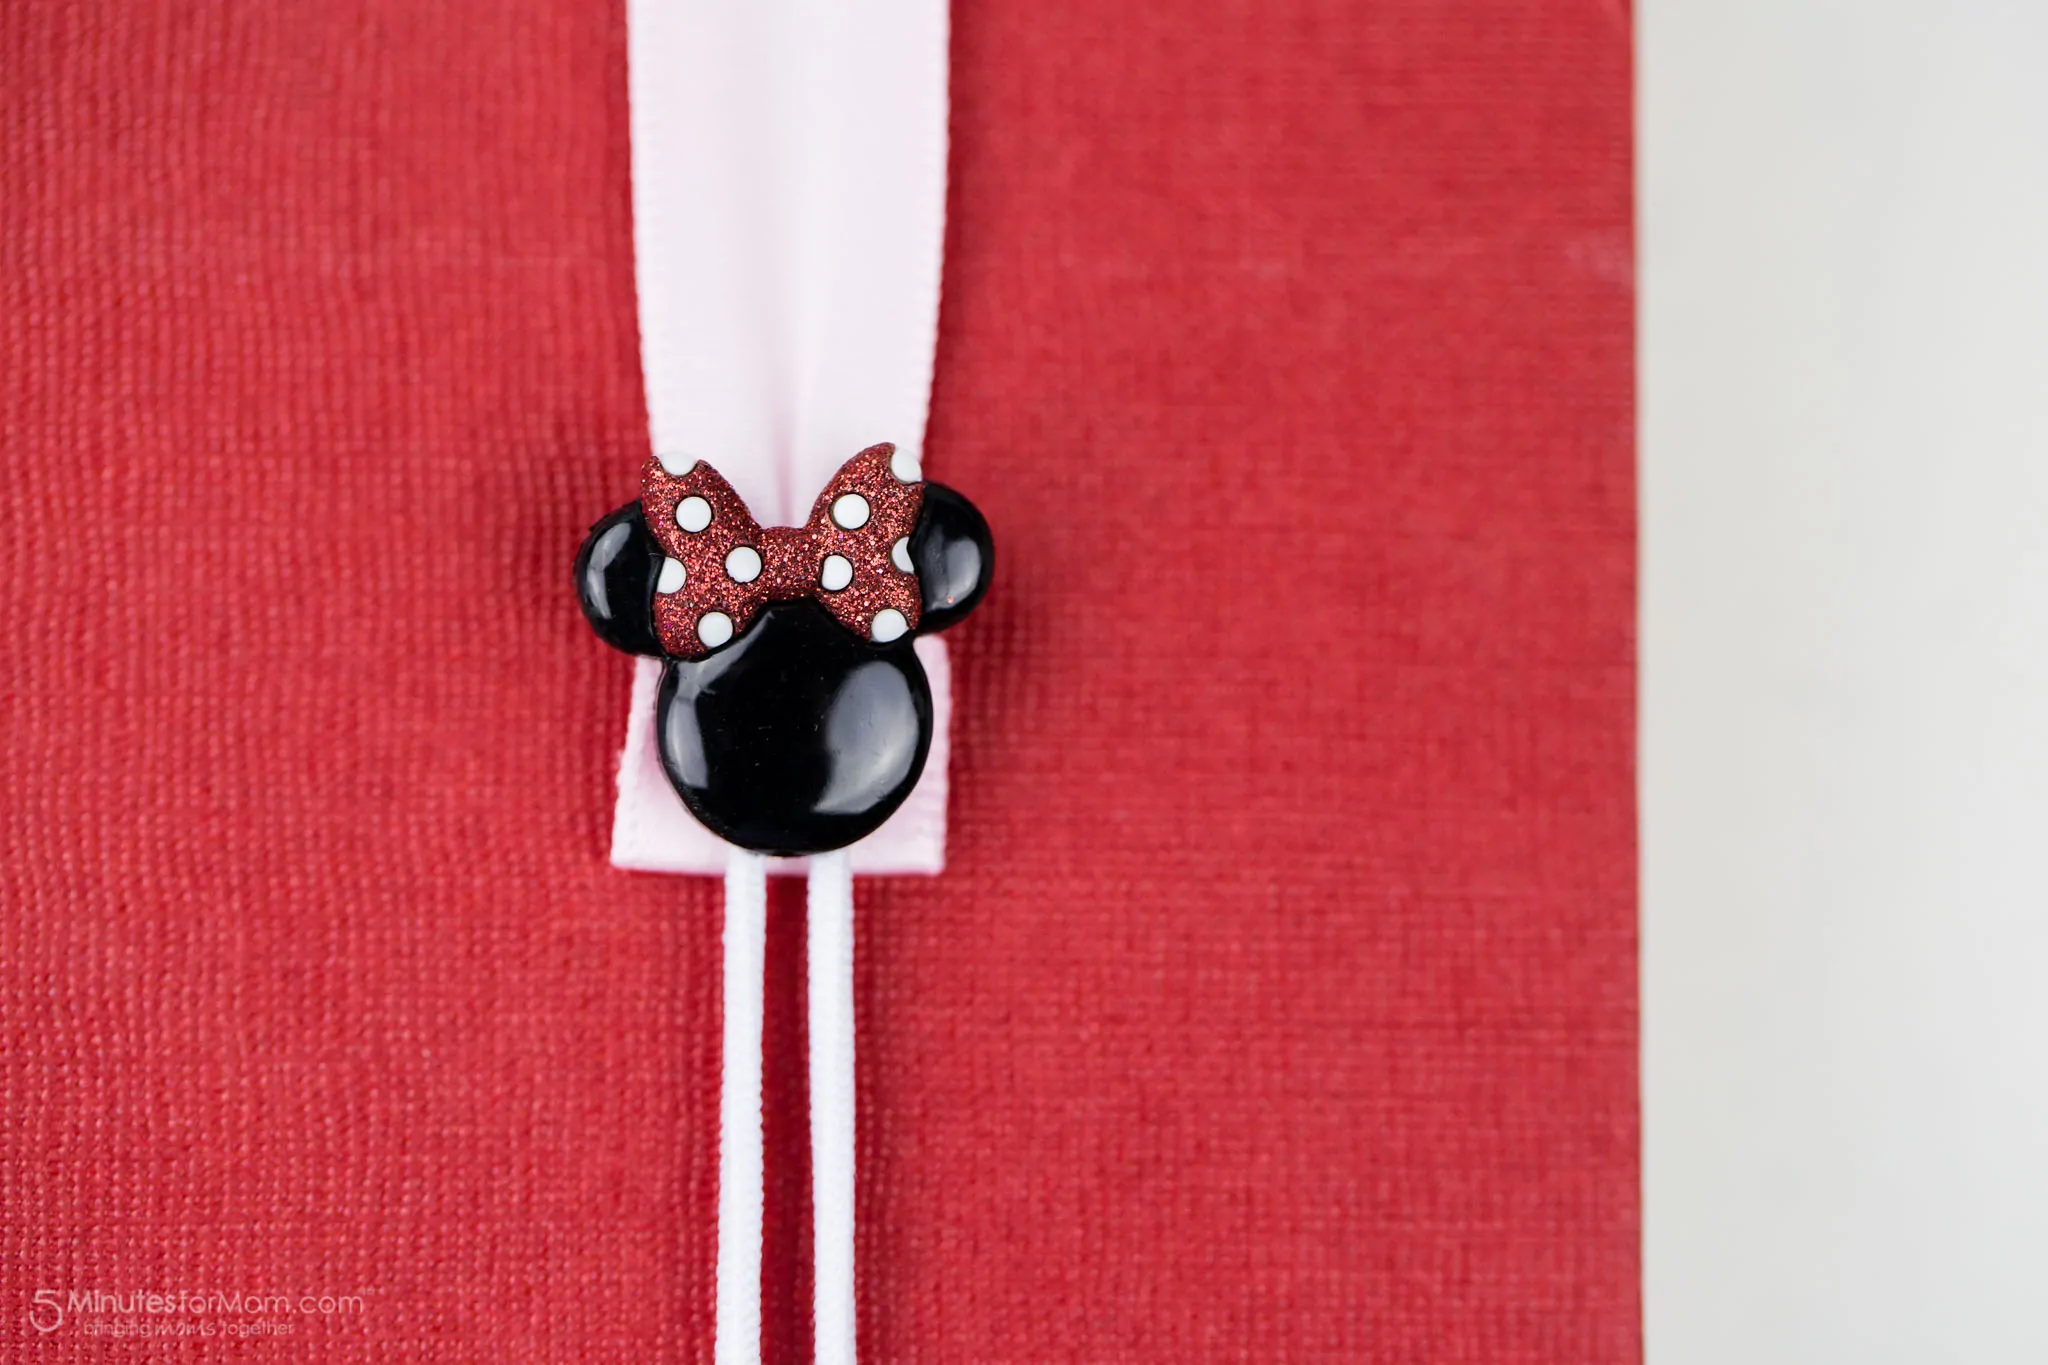
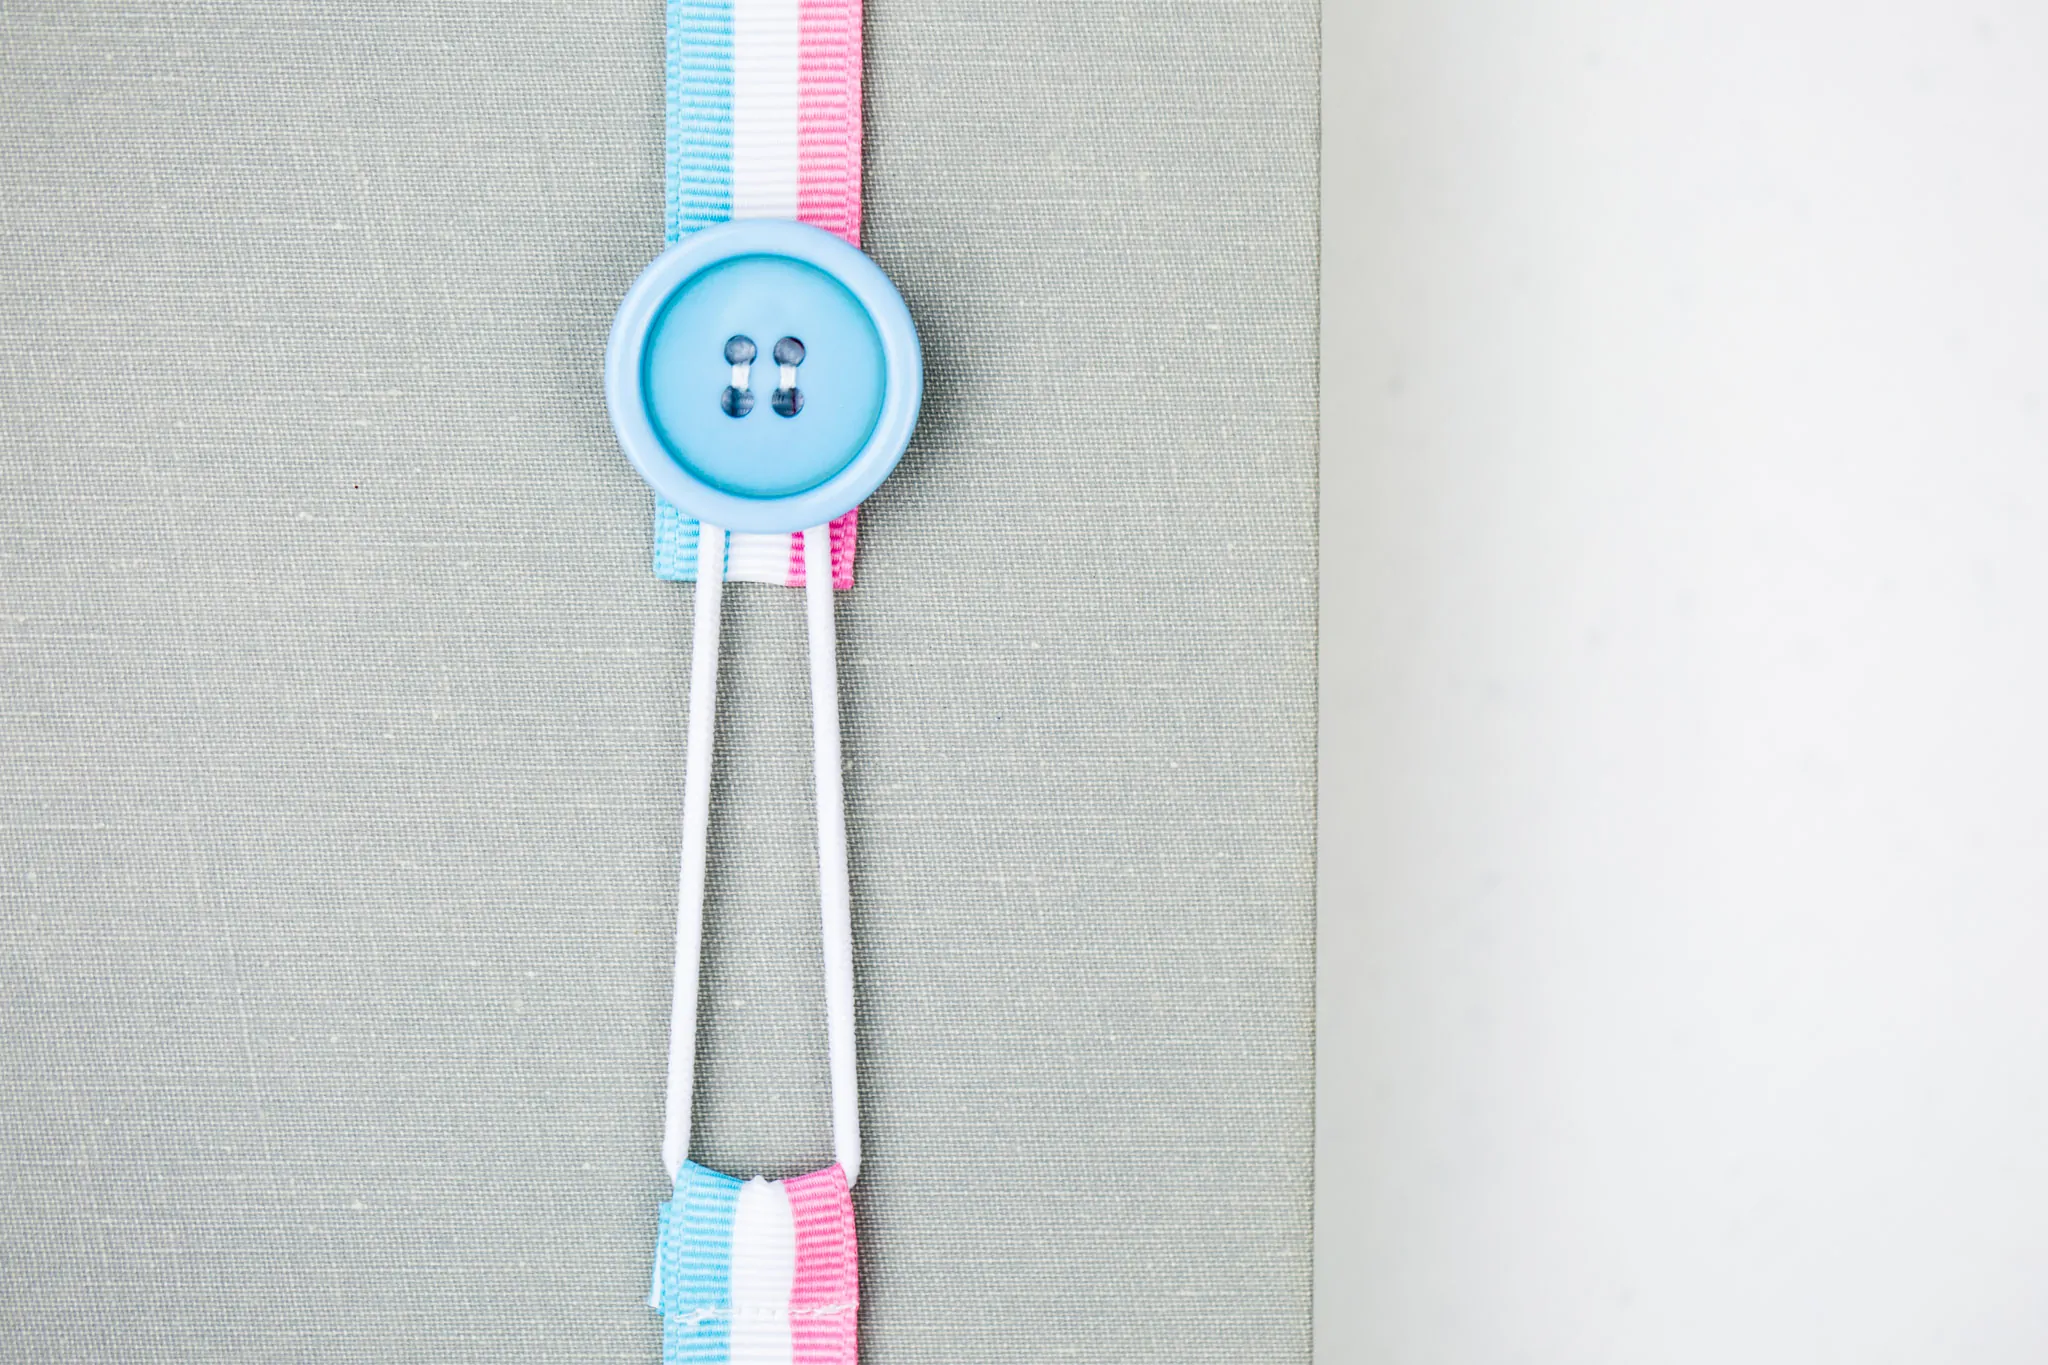
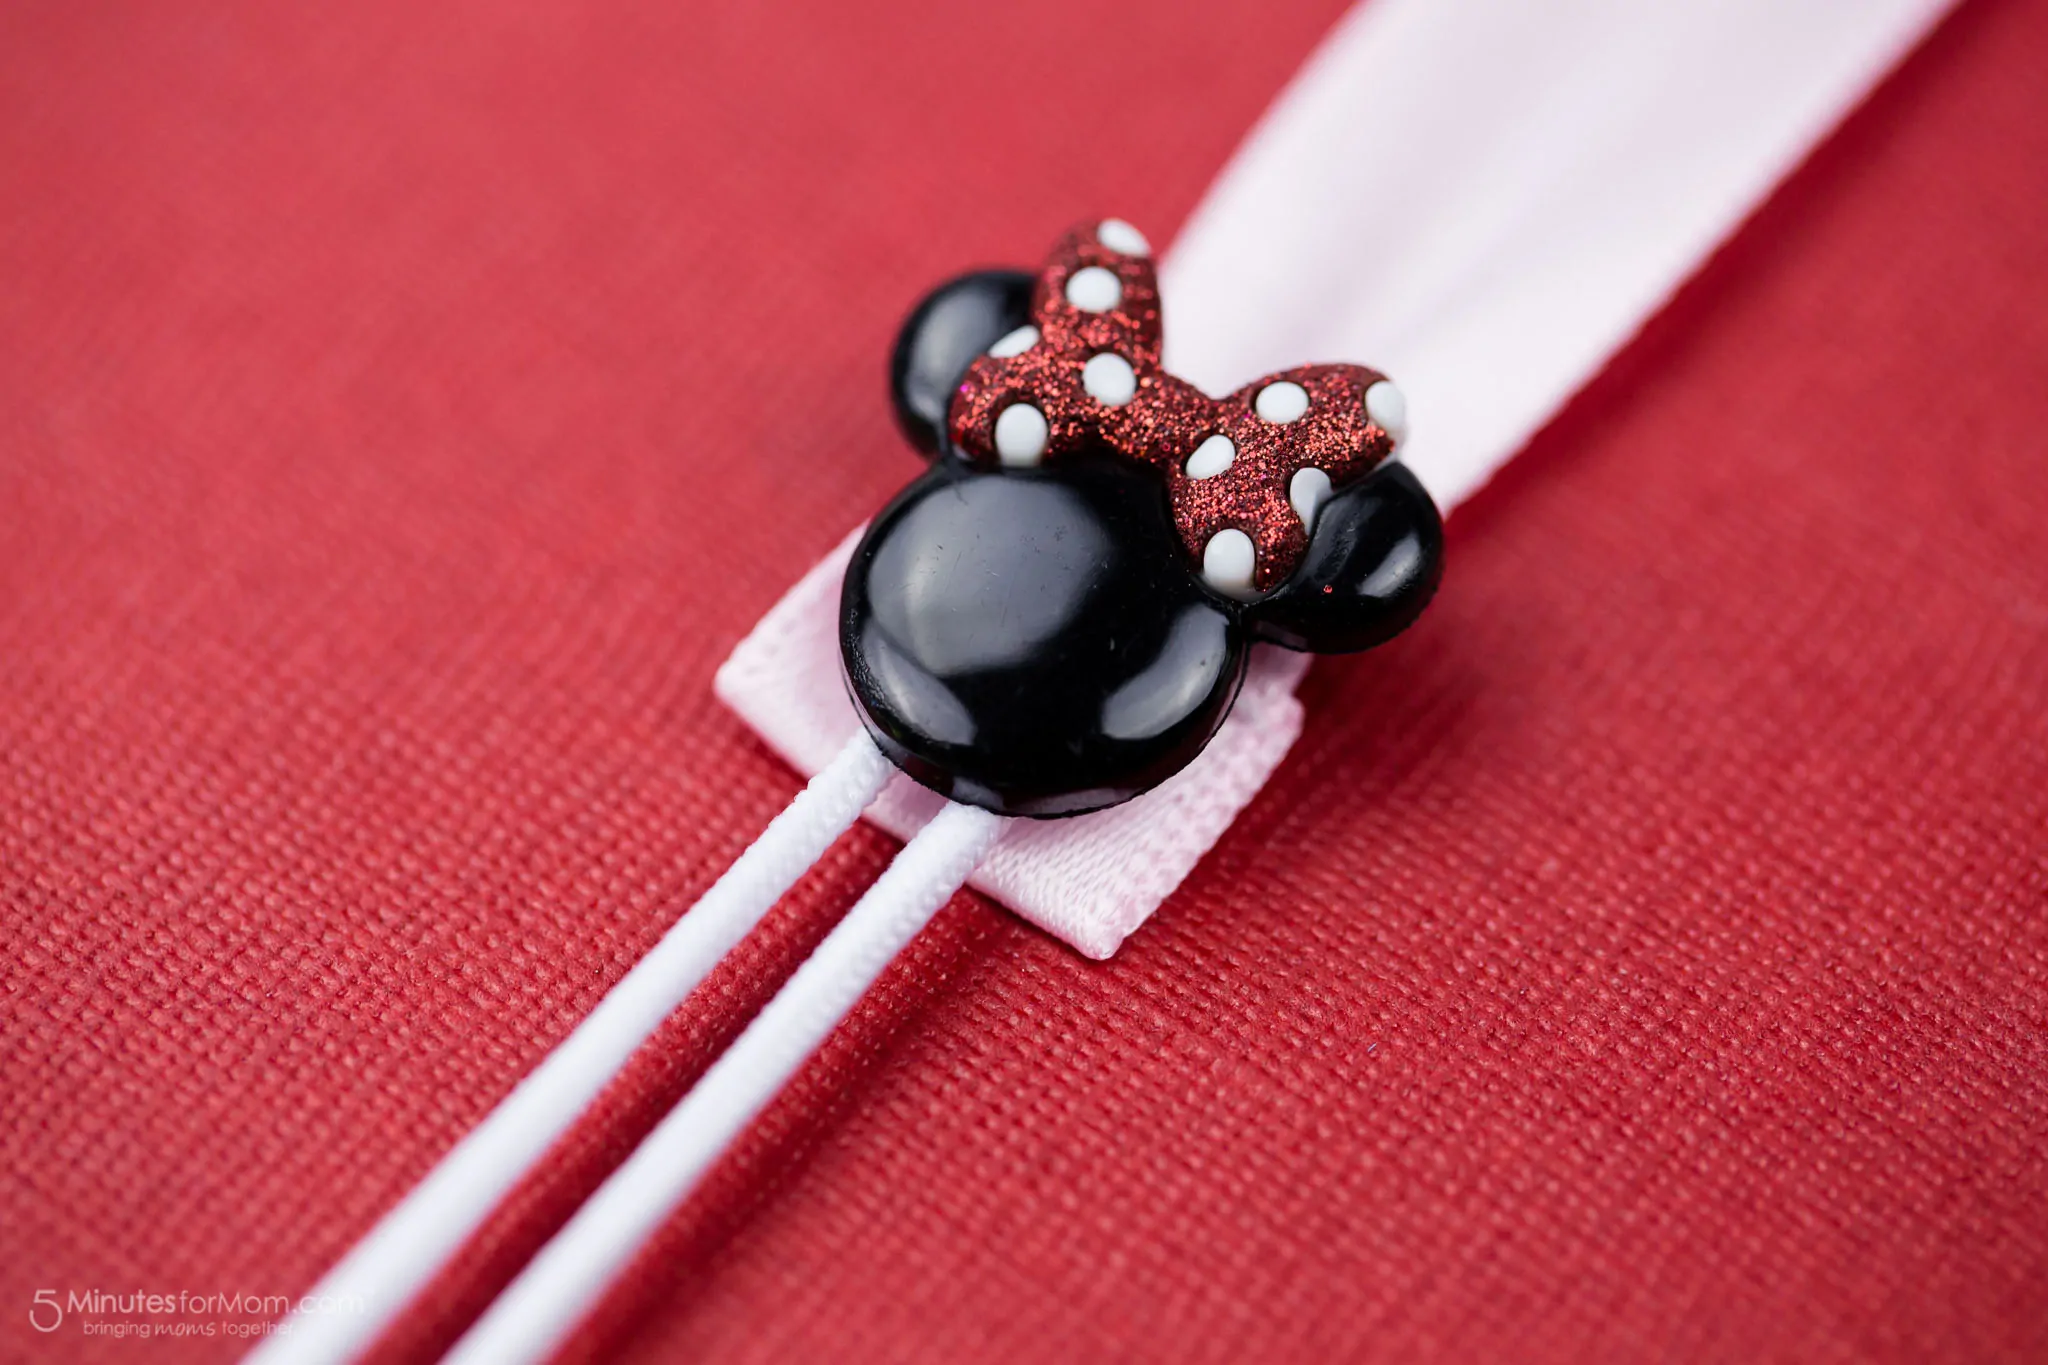
Now, all you need to do is sew the button on the ribbon.
If you are sewing on a flat button, you can put a pin under it to ensure there is a bit of room between the button and the ribbon for the elastic to fit around it.
And you are DONE…
These buttons make great little gifts and are perfect for birthday party crafts or loot bags, end of year teacher gifts, Valentine gifts, or any time you want something small and special to gift.
I hope you have a ton of fun making these bookmarks. I would love to hear how yours turn out.
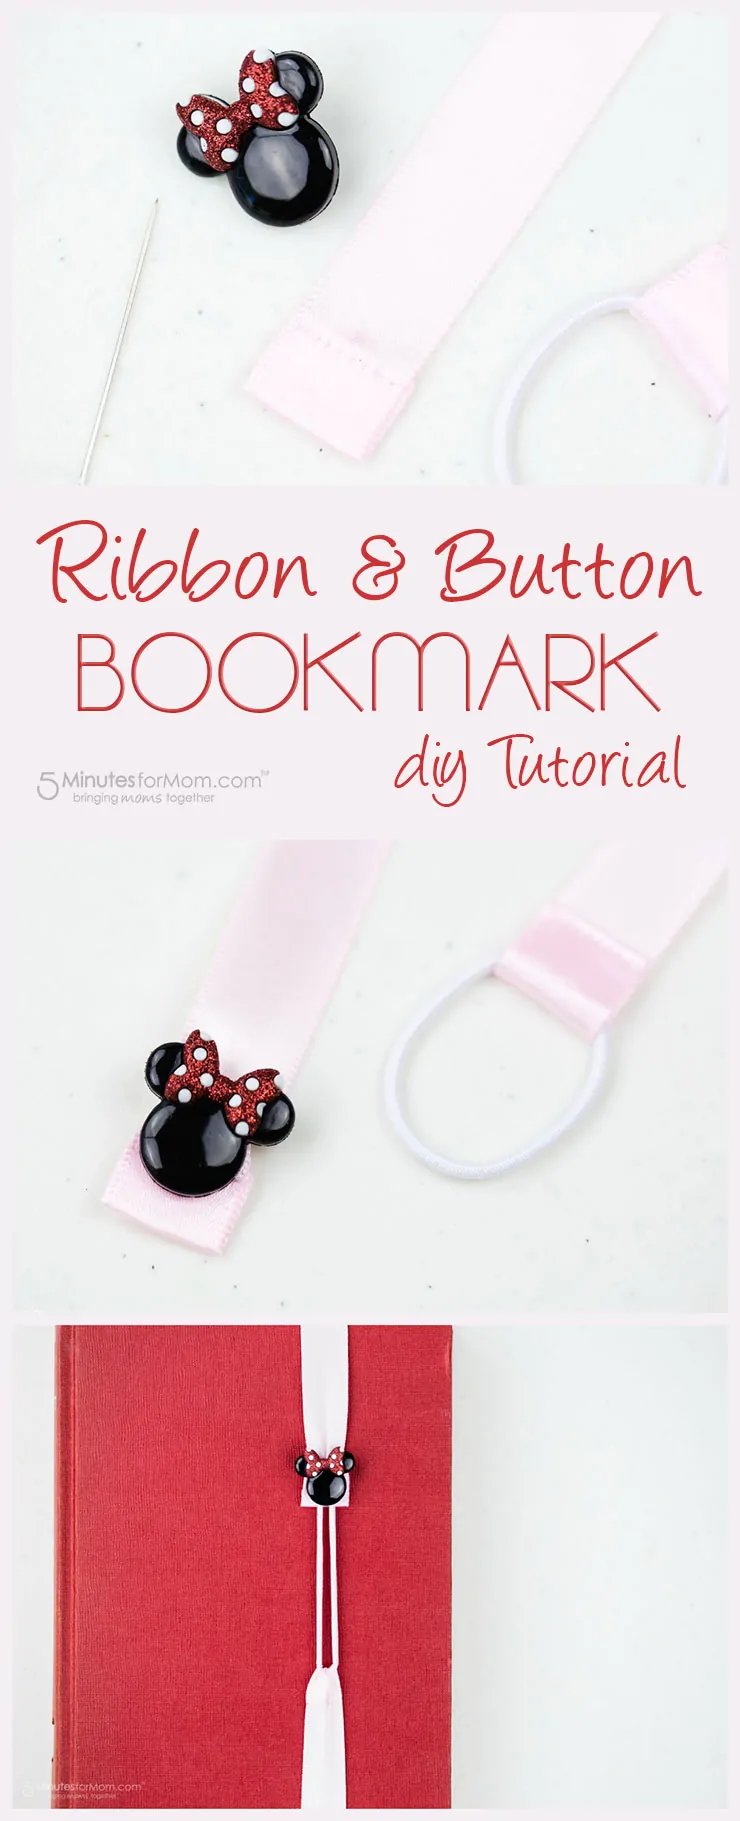
PIN FOR LATER
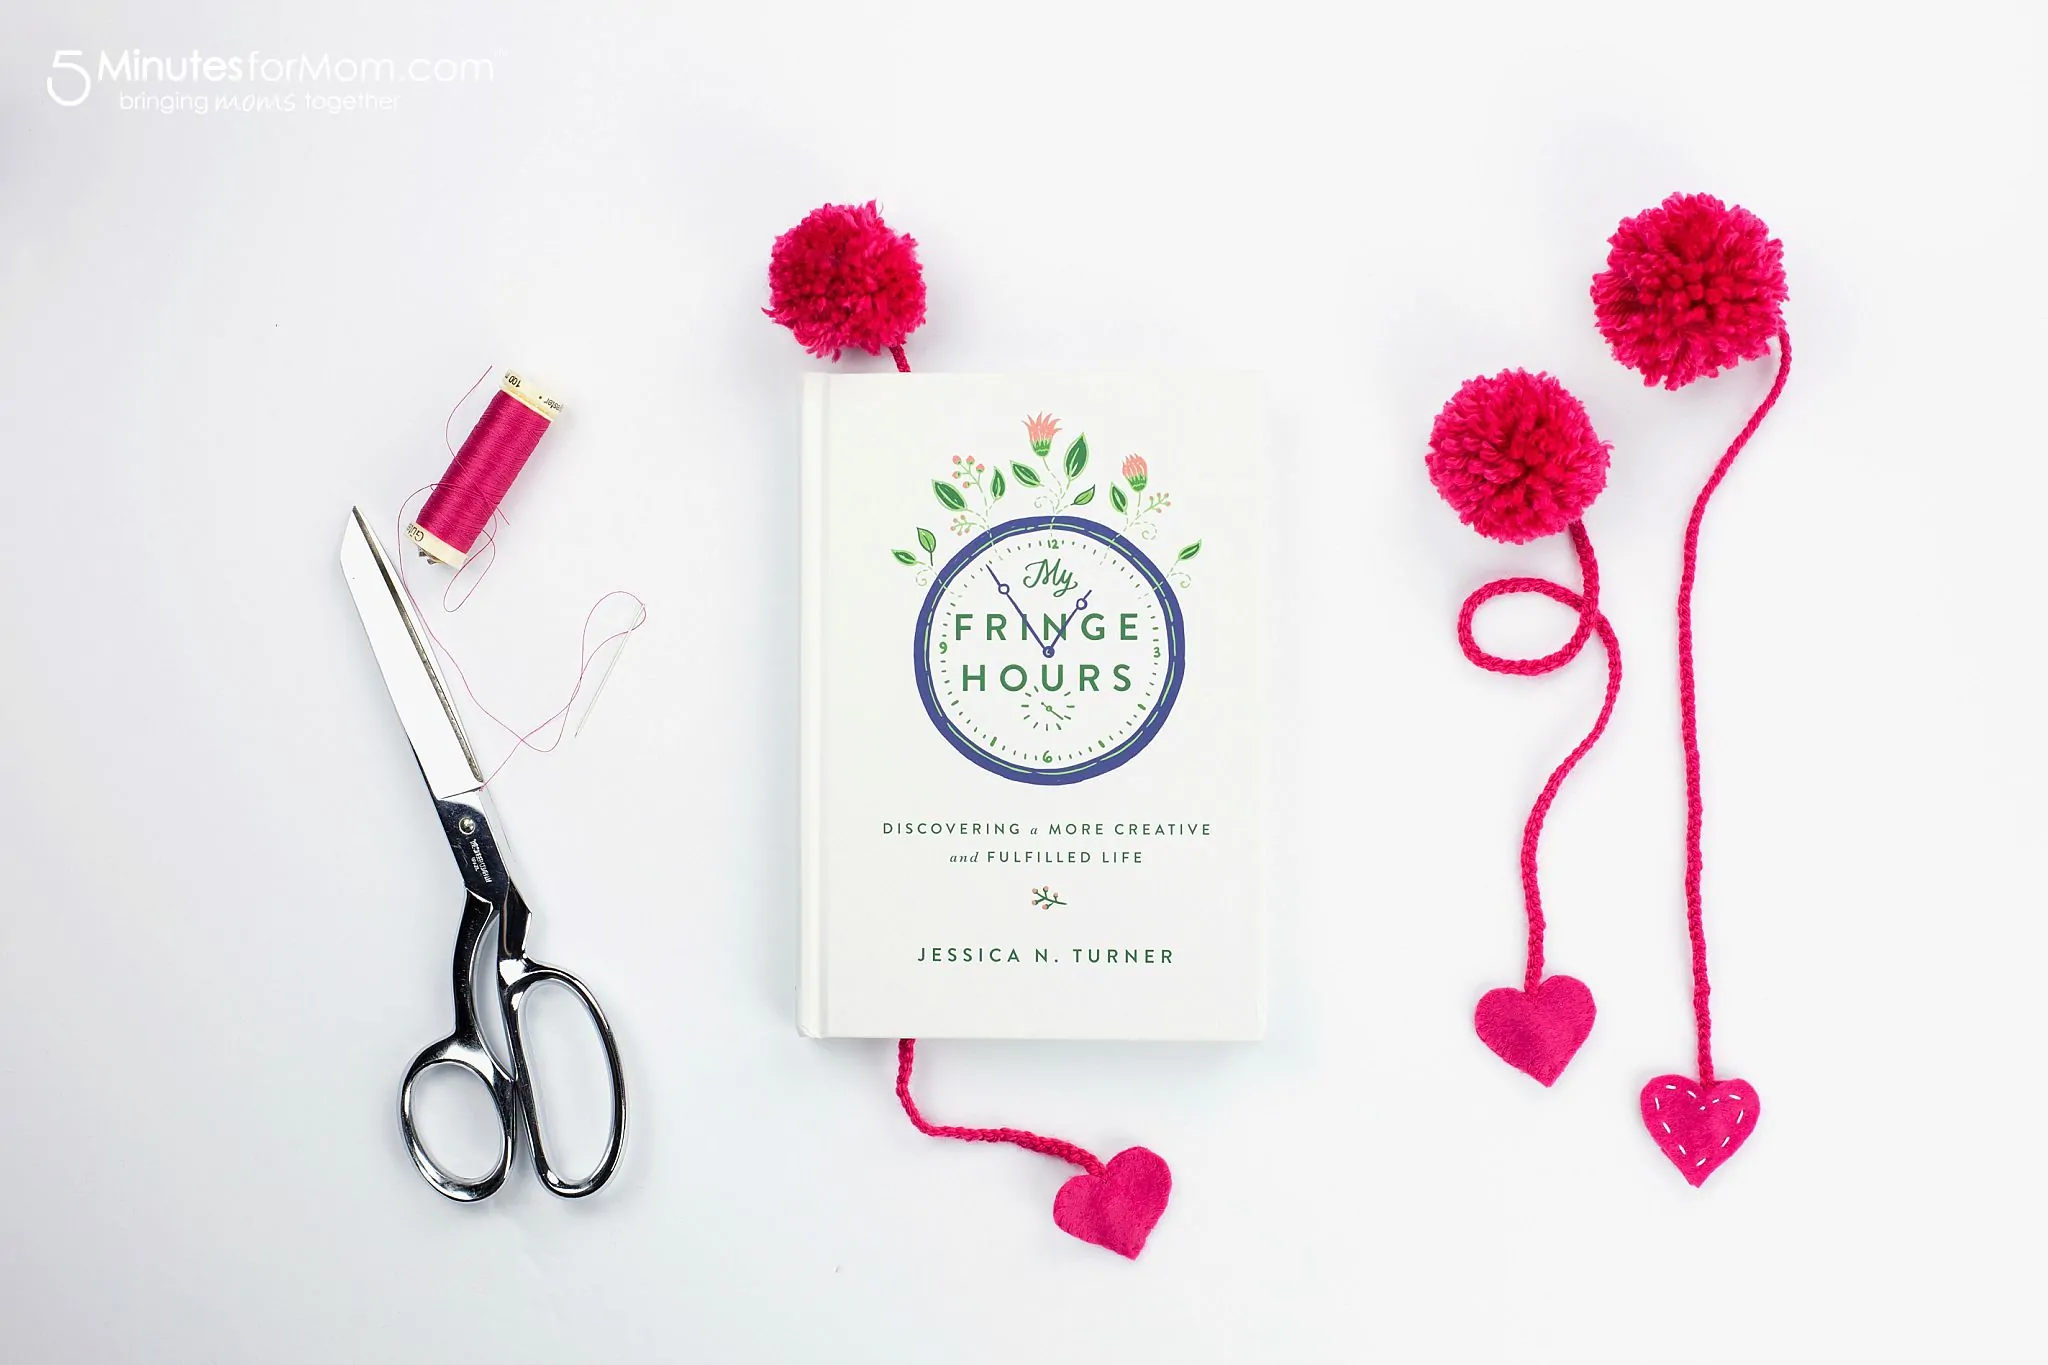
Check Out this Yarn Pom Pom Bookmark Tutorial Too
If you enjoyed this Ribbon Bookmark tutorial, don’t miss our Yarn Pom Pom Bookmark Tutorial…
Written by Janice Croze, co-founder of 5 Minutes for Mom
Talk with me: @5minutesformom and Facebook.com/5minutesformom
Pin with me at pinterest.com/5minutesformom


Ashley ~ 3 Little Greenwoods says
Super cute craft and awesome for gift giving! Love the video!
Shalu says
Hello Janice, really a beautiful DIY craft. Will definitely try it out. I’m a regular follower of your blogs and love going through such beautiful tips.