If you want your photos to look their best, then you need Adobe Photoshop and Lightroom. In this series, “Photoshop Diaries,” Janice Croze, co-founder of 5 Minutes for Mom and owner of Janice Croze Photography, is showing you how to transform your photos and your workflow with Photoshop and Lightroom. Adobe has compensated us for our time to write this post, but our love, enthusiasm, and total dependence on Adobe is 100% our own.
Click Here For Tutorial #1 – Getting Started with Photoshop
When it comes to editing and retouching images, the amount of time I spend on each image varies greatly.
For some photos, I spend less than a couple minutes editing and, for others, I can spend hours retouching and polishing.
In this tutorial, I will walk you through my basic photo edit “checklist” I use when preparing an image for print or for web use.
Obviously some images require much more retouching, especially if they are close up portraits or headshots that reveal blemishes. I will show you in an upcoming tutorial how I work on a more detailed retouch.
But, as I said, for this tutorial, I want to show you a quick edit that touches on the main steps and tools I use as I prepare an image for use.

It is also important to note that I usually do some initial editing in Lightroom, before I even open Photoshop.
I shoot my images as RAW files and so I sort and do initial batch edits in Lightroom before I export my files as JPEGS. Then, I open my selected images in Photoshop, (I only process the best shots from a shoot,) and do any necessary additional edits.
However, for this tutorial, I am using a JPEG shot, straight out of camera, to demonstrate a complete photo edit using only Photoshop.
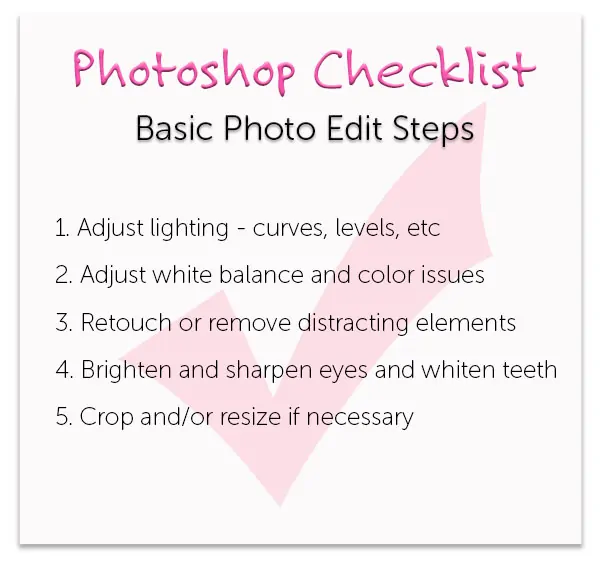

The main steps I cover in a basic photo edit are:
- Adjust lighting – curves, levels, exposure, etc.
- Adjust white balance and color issues
- Retouch or remove distracting elements from the image
- Brighten and sharpen eyes and whiten teeth if necessary
- Crop and/or resize if necessary
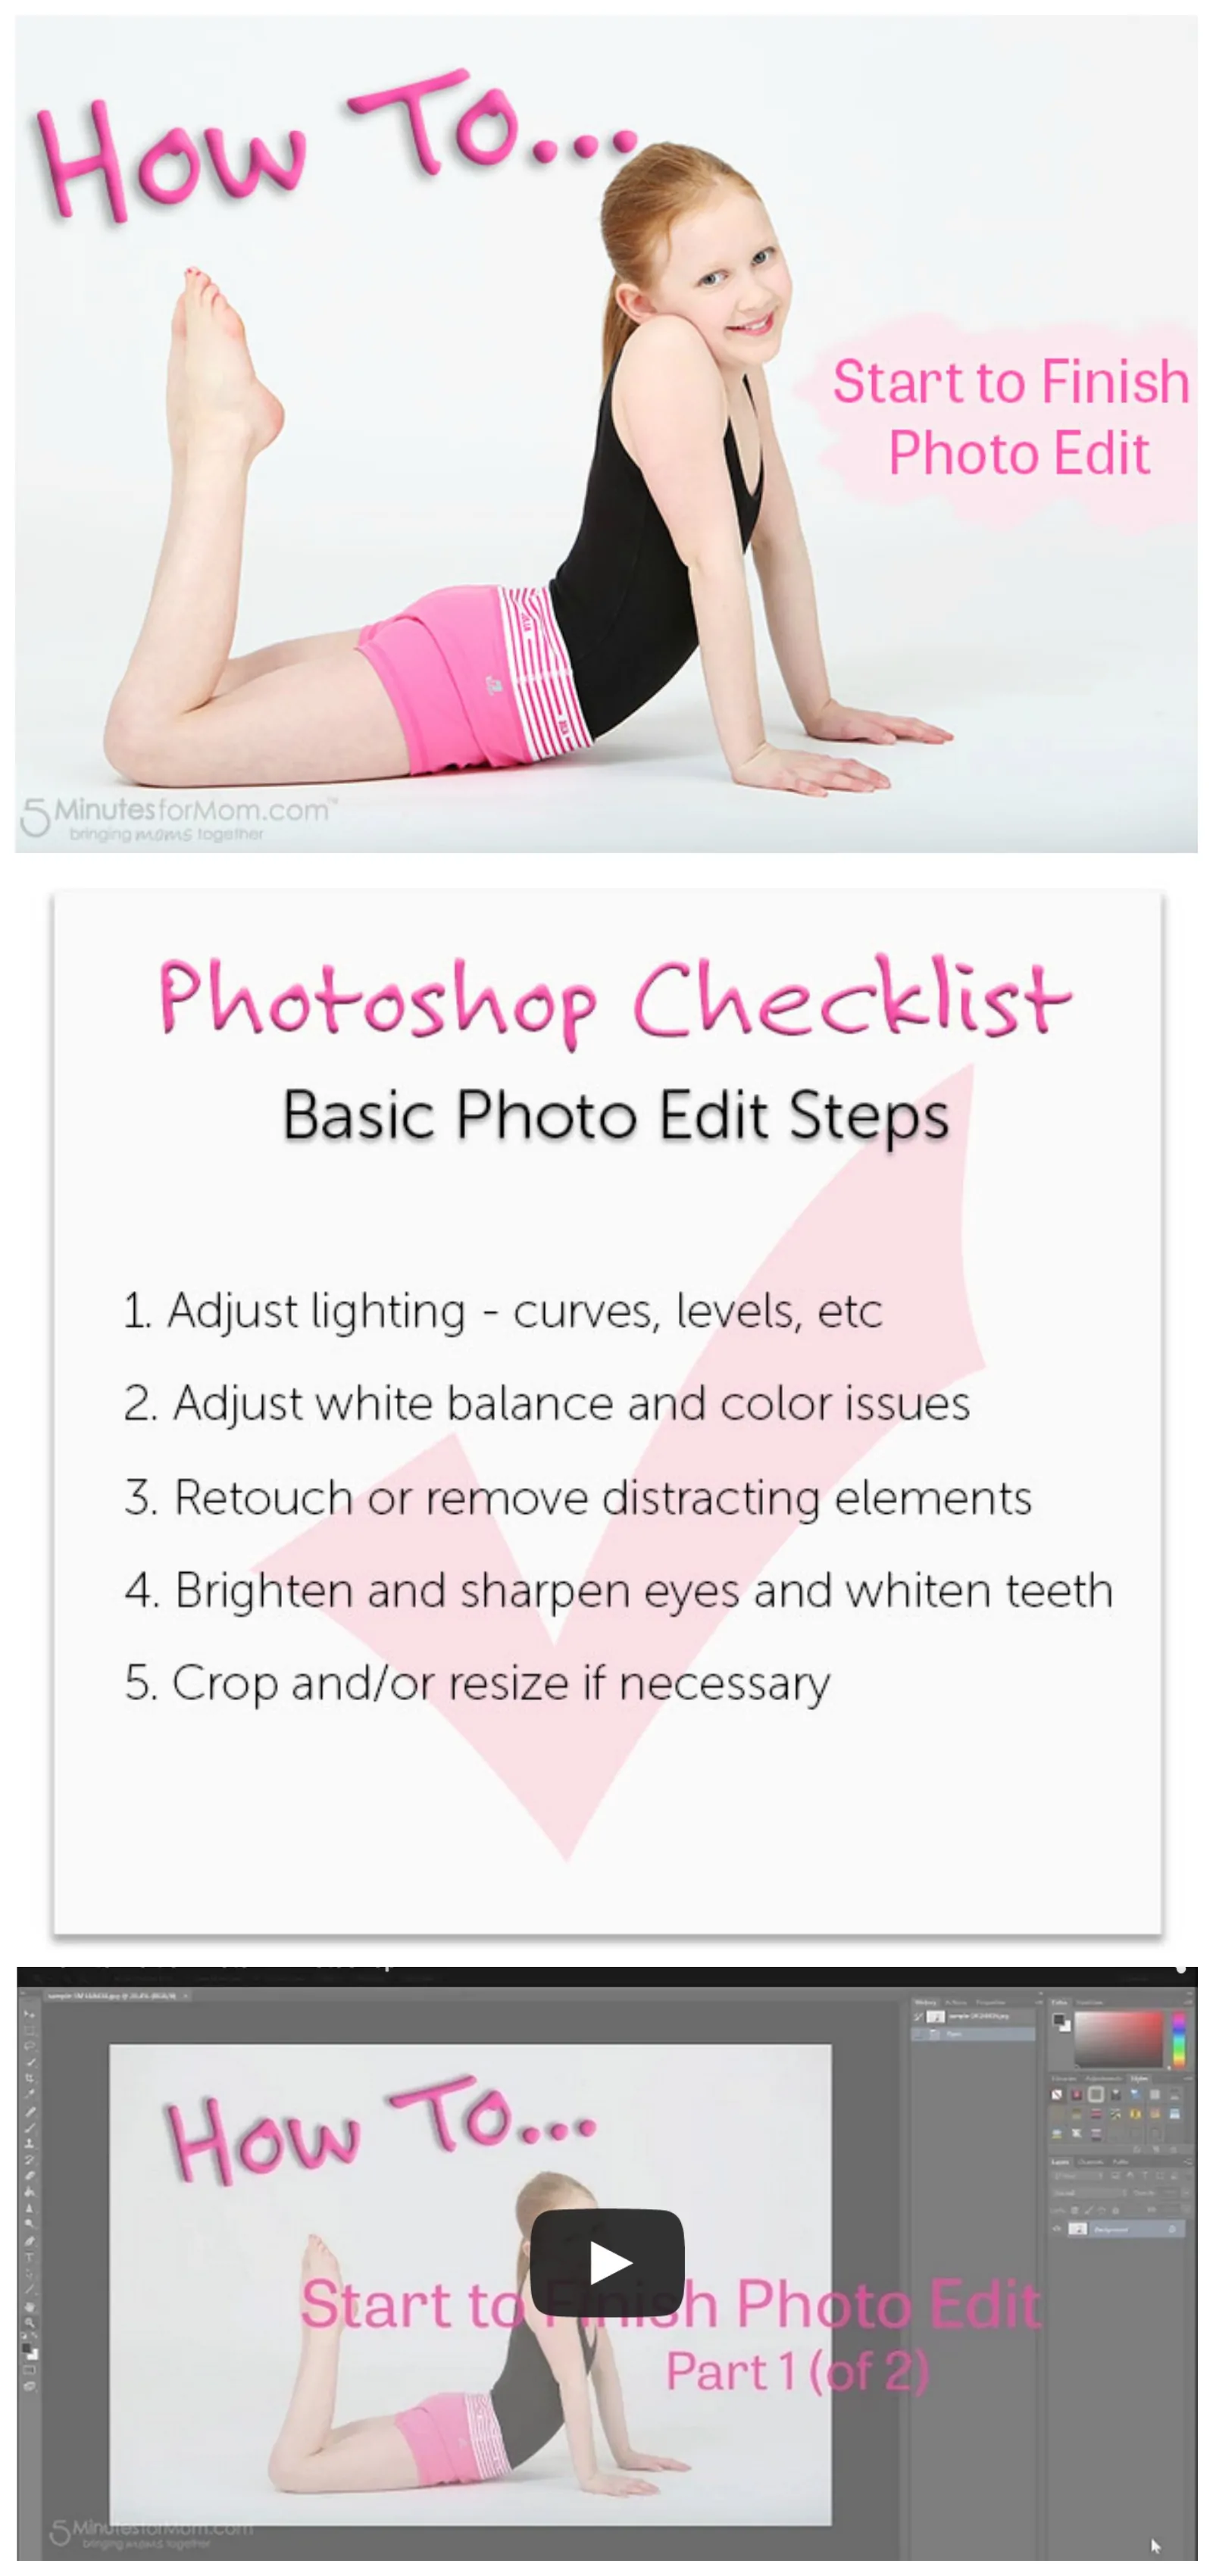
How to Edit a Photo in Photoshop Video Tutorial
Time to pull up your laptop and let’s get working…
Basic Photo Edit Tutorial Part 1
Basic Photo Edit Tutorial Part 2
So how did that go? Are you feeling more comfortable in Photoshop? Please let me know if you have any questions in the comments and I would love to see how your photo editing is going.
If you missed our last tutorial, Introduction to the Photoshop Workspace, you can check it out here: Getting Started with Photoshop
And stay tuned for our next Photoshop Diaries tutorial. To make sure you don’t miss any video tutorials, subscribe to our YouTube channel.
More Tips
Click Here For Tutorial #1 – Getting Started with Photoshop
Do you want more helpful tips and tutorials direct to you email?
Subscribe to our “Become a Better Blogger” email series
Click here to get on the list!
Tweet It and Pin for Later
If you found this tutorial helpful, please share it with your friends on Twitter and Pinterest.
[Tweet “Janice shows you in this video tutorial how to edit a photo in Photoshop just like a pro.”]
Written by Janice Croze, co-founder of 5 Minutes for Mom
Adobe sponsored this post, but our love, enthusiasm, and total dependence on Adobe is all ours.
Talk with me: @5minutesformom and Facebook.com/5minutesformom
Pin with me at pinterest.com/5minutesformom


I think this might be the first time I’ve heard your voice. Funny how it doesn’t match up to the voice I have in my head after reading you for 8 years! 😉 Did you speed up your video afterwards at all or were you talking fast to get it all in? Or do you normally talk that fast?
Oh that is so funny Krista! No I talk even FASTER usually. That is me talking slowly. LOL