This post may contain affiliate links. Read my disclosure policy here.
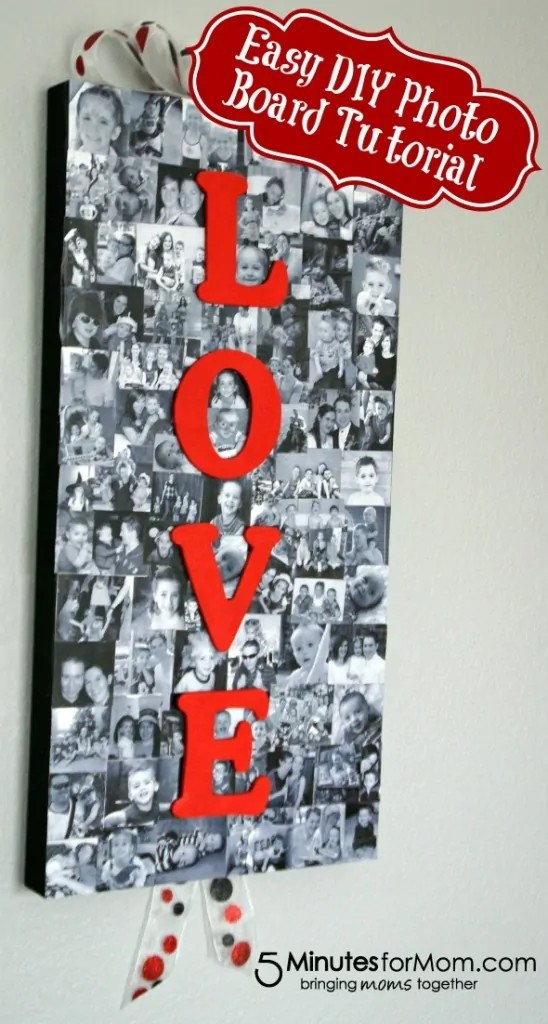
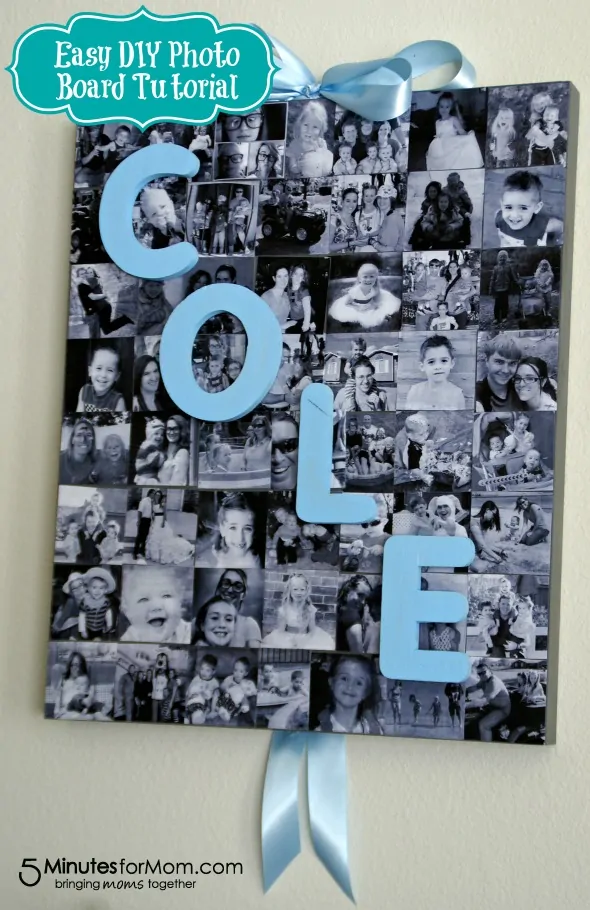
Create a fabulous photo board to decorate your home with this easy to follow tutorial! So simple to put together, and absolutely adorable. Use for your own home or give as a special gift!

Supplies Needed
- Board size of choice (the tall ‘LOVE’ one here is 12″ x 24″, the ‘COLE’ one is 28″ x 24″)
- Paint for edges, along with paint brush
- Photos (mine are mostly 2″ x 2″, with some 2″ x 2.5″, and some tiny to fill in spots. I prefer black/white) – either on cardstock or photo paper
- Mod Podge, along with brush
- Wooden letters to spell your word/name
- Paint for letters, along with paint brush
- Pen/pencil for tracing letters
- Scissors (in case you need to trim the photos)
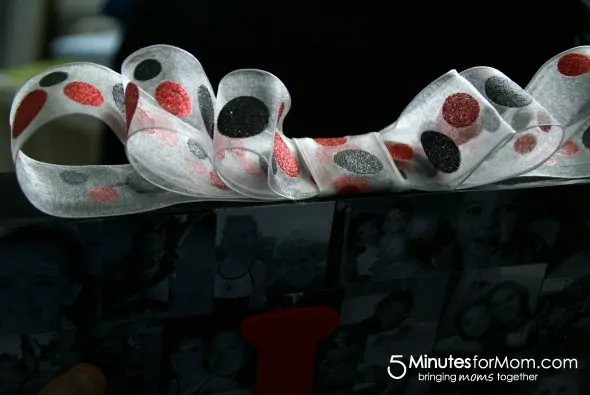
- Ribbon for bow
- Hot glue (for attaching ribbon)
Directions
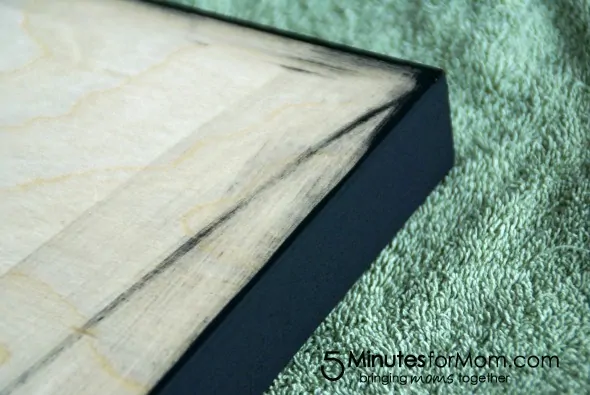
- Paint the edges of your board, making sure to overlap the edge at least a bit (in case a picture is just shy of the edge). If you want to paint the whole board, in case of gaps, feel free!
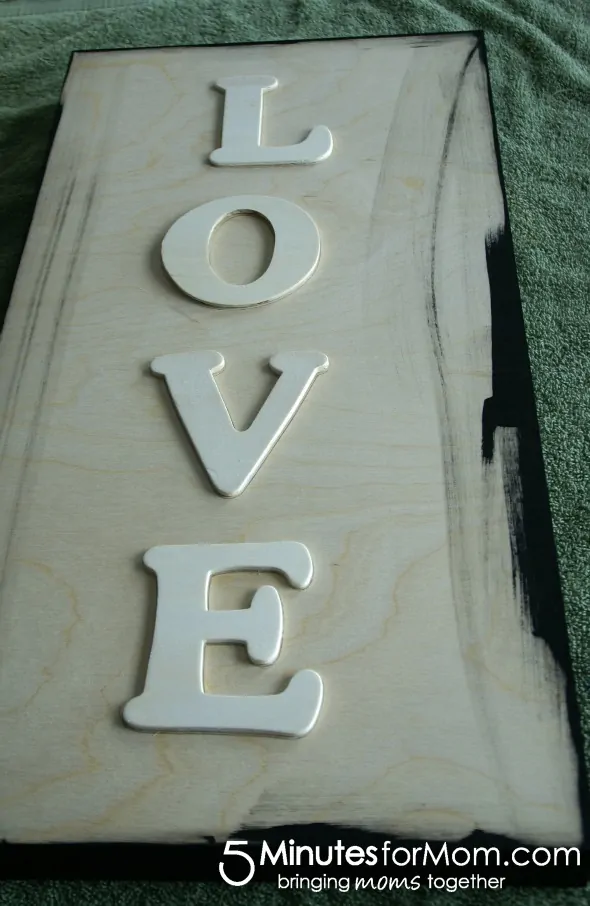
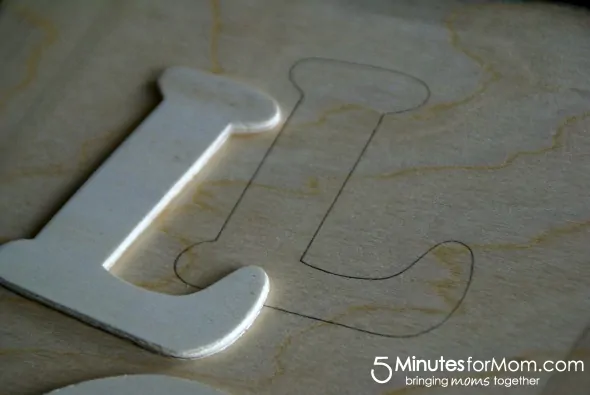
- Lay out your letters exactly how you want them in your final product. I do this before painting them, in case you get pencil marks on them.
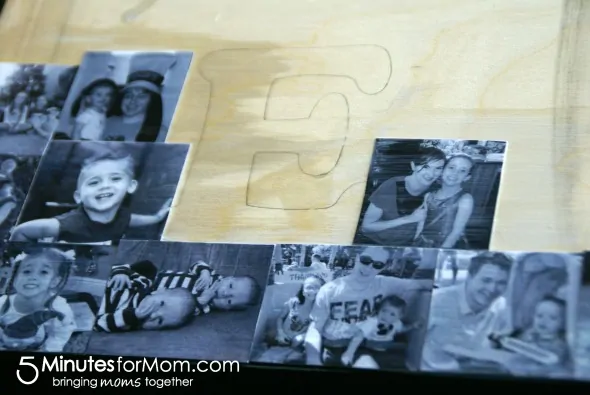
- Trace the letters close to the edges, so you know where NOT to put important parts of photos. Then you can paint the letters and set them aside to dry, while you work on the photos.
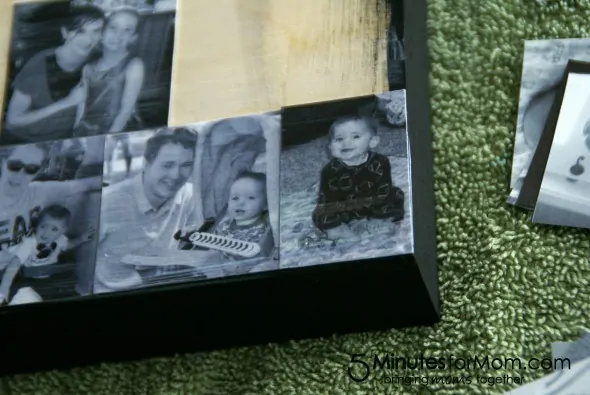
- Using the Mod Podge and a brush, do one photo at a time (to avoid bending/crinkling edges). Brush some Mod Podge the wood where the photo will go, CAREFULLY place it on (it’s very difficult to move once placed), then brush Mod Podge over the entire photo and over the edges. Do the same to the next photo, spreading the Mod Podge over the edges of the photos.
- Start around the letter spots, making sure to overlap the edges of the letters slightly to avoid gaps. Just be sure no important parts of the photo (a face, for example) will be covered up!
- Continue adding photos, careful to make them nice along the edges. If you see slight white streaks from the Mod Podge, don’t stress. As long as it’s not very thick, it dried clear!
- Once the photos are all placed and the Mod Podge is completely dry, carefully hot glue the wood letters in their spots.
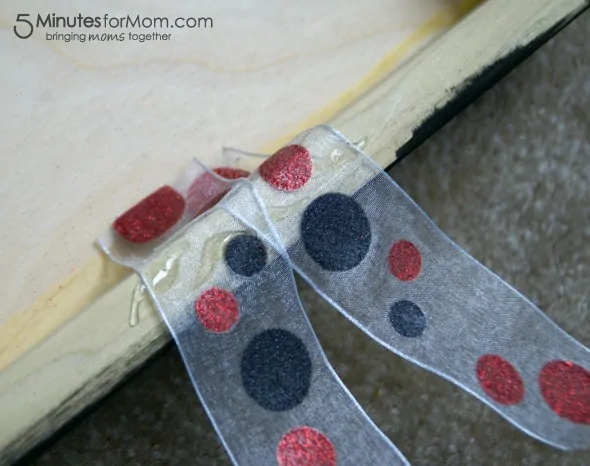
- Using the hot glue, take two strips of ribbon and glue them to the back/bottom of the board, so they hang down nicely. Make sure the pretty part of the ribbon is facing the front of the board (I totally goofed on that the first time around…oops!).
- Make a cute bow with the rest of the ribbon and hot glue it on the top of the board.
There you have it…an adorable home decor/gift idea that is PERFECT for Mother’s Day coming up! And if you’re like me, you’ll get all ‘reminisce-y’ looking through all the photos!


Tiffany says
Have a question do you leave the letters on there or do you trace them and then take them off
Susan says
You can trace the letters so that you can see where to place the photos and then put the letters back on for the final result.
Kristie says
I want to make a couple of he’s for christmas gifts where do I get the boards and can I use just regular pictures or photo paper that I get copies from any photo store
home page says
Many thanks, this site is very helpful
Esmeralda says
How did you you get your pictures so small?
kimberly says
Im about to do this project for my mom for mothers day i have a board like yours and mod podge but printed black and white picutres on regular paper, will that still be okay?
Penny Lucas says
Where did you find the boards at? Did you have to make them? If so where did you get the supplies to do so?
Taylor says
What type of boards were these?
Vickie Couturier says
I would love to make one for my grandchildren
anne says
Very creative and perfect decor idea.
Hilary Chandler says
This is SUCH a darling idea!