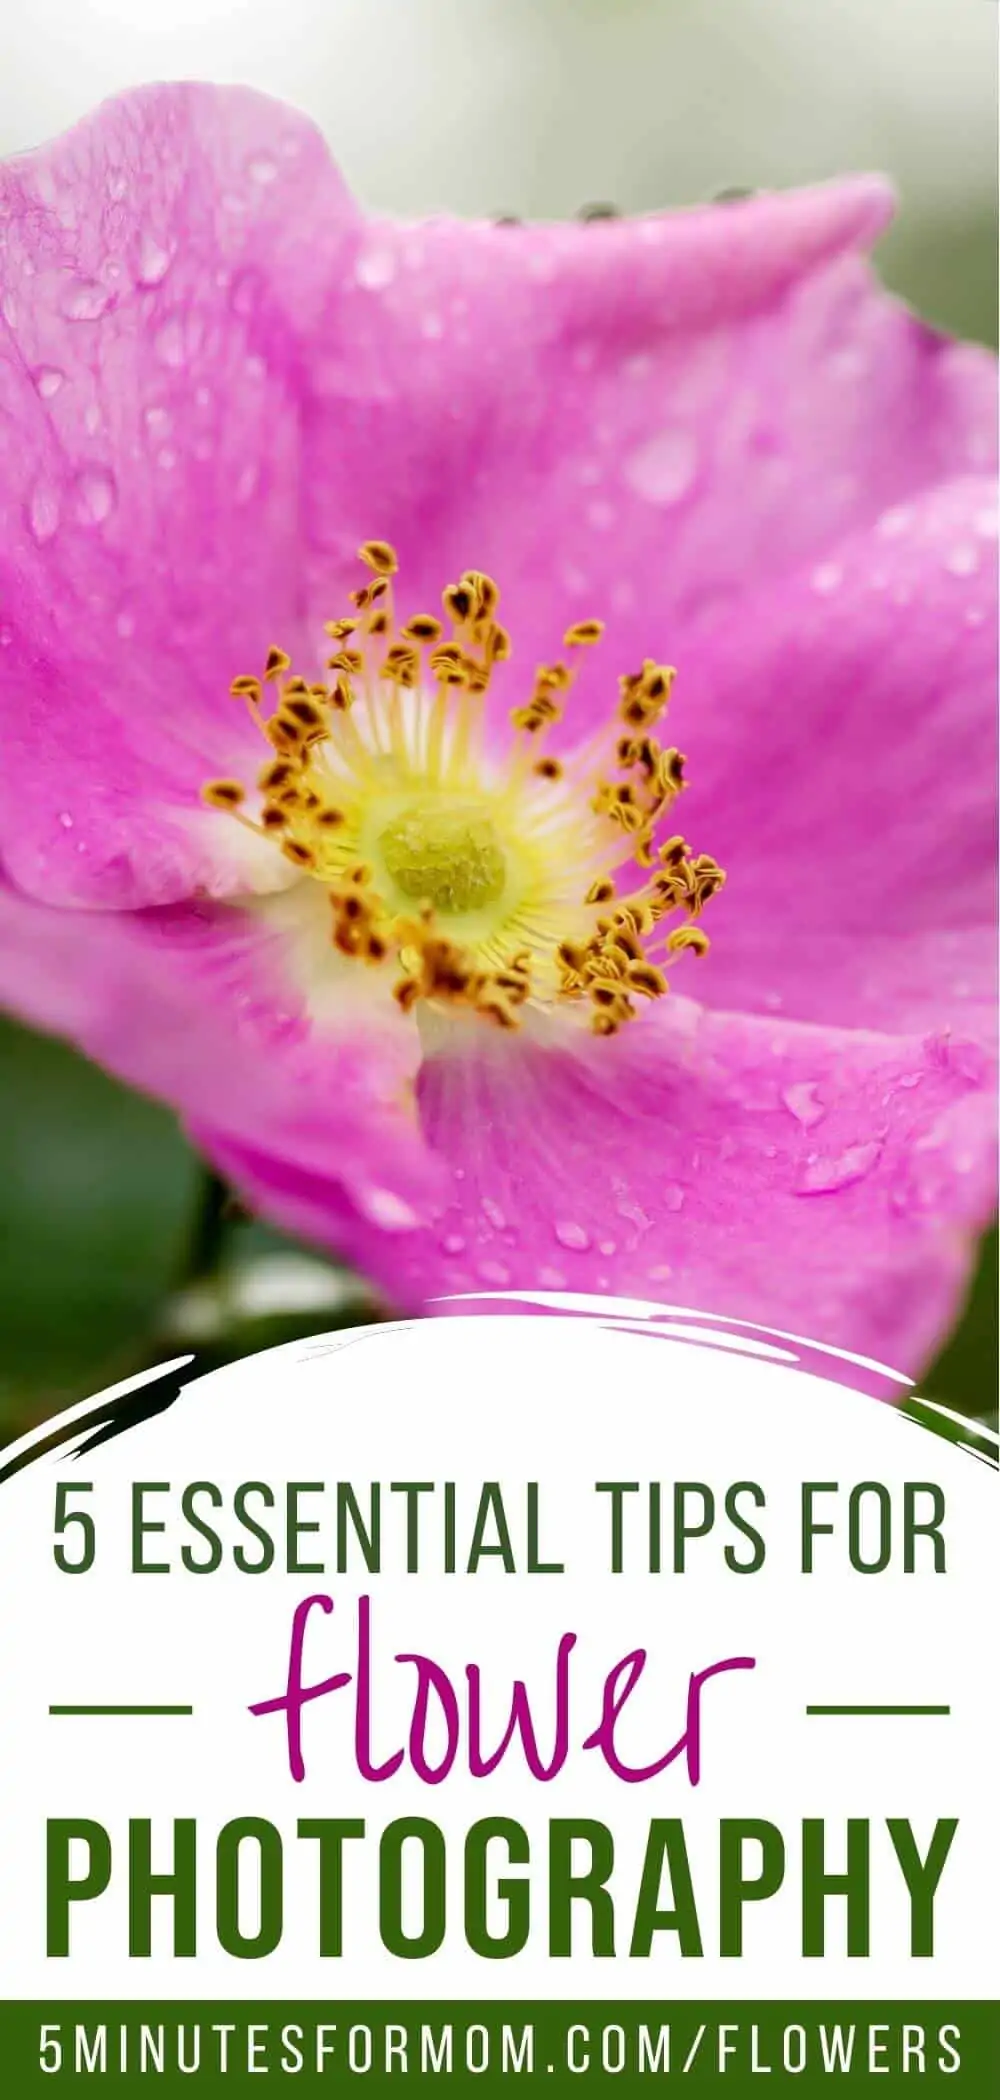
Follow these five key flower photography techniques to create stunning floral photographs whether you are using your mobile phone, a point-and-shoot camera, a mirrorless camera, or a DSLR.
Flowers may wilt and blossoms may fall, but when you capture a photograph of a flower, it lasts forever.
If you want to hold on to the sunny seasons and create beautiful images of your favorite flowers, here are some key photography techniques to remember.
Of course, you should never feel confined by photography or design “rules.” While it is important to understand basic photography techniques and design principles, you also should feel free to break the rules when you want.
There is a beautiful balance in knowing when to zig and when to zag. So, keep in mind that not all of these flower photography tips will apply to all situations.
Tip 1 – Avoid direct or harsh sunlight
There are some occasions when you may want to shoot in direct sunlight, with sharp shadows and deep contrasting light. For some subjects and photographs, the effect of harsh light may be exactly what you are looking for to convey emotion, drama, etc.
But usually, when you are photographing subjects, whether you are shooting people or flowers, you want to avoid harsh, direct sunlight. There is a reason most photographers prefer not to have photoshoots in the middle of a cloudless day when the sun is overhead, shining directly down on the subject.
When you see a soft, well-lit photograph of a model on the beach with a blue ocean behind her, what you don’t see is a giant photo scrim above her head diffusing the sunlight. The scrim softens the light so the photographer can manage the light and the model is evenly lit without harsh shadows.
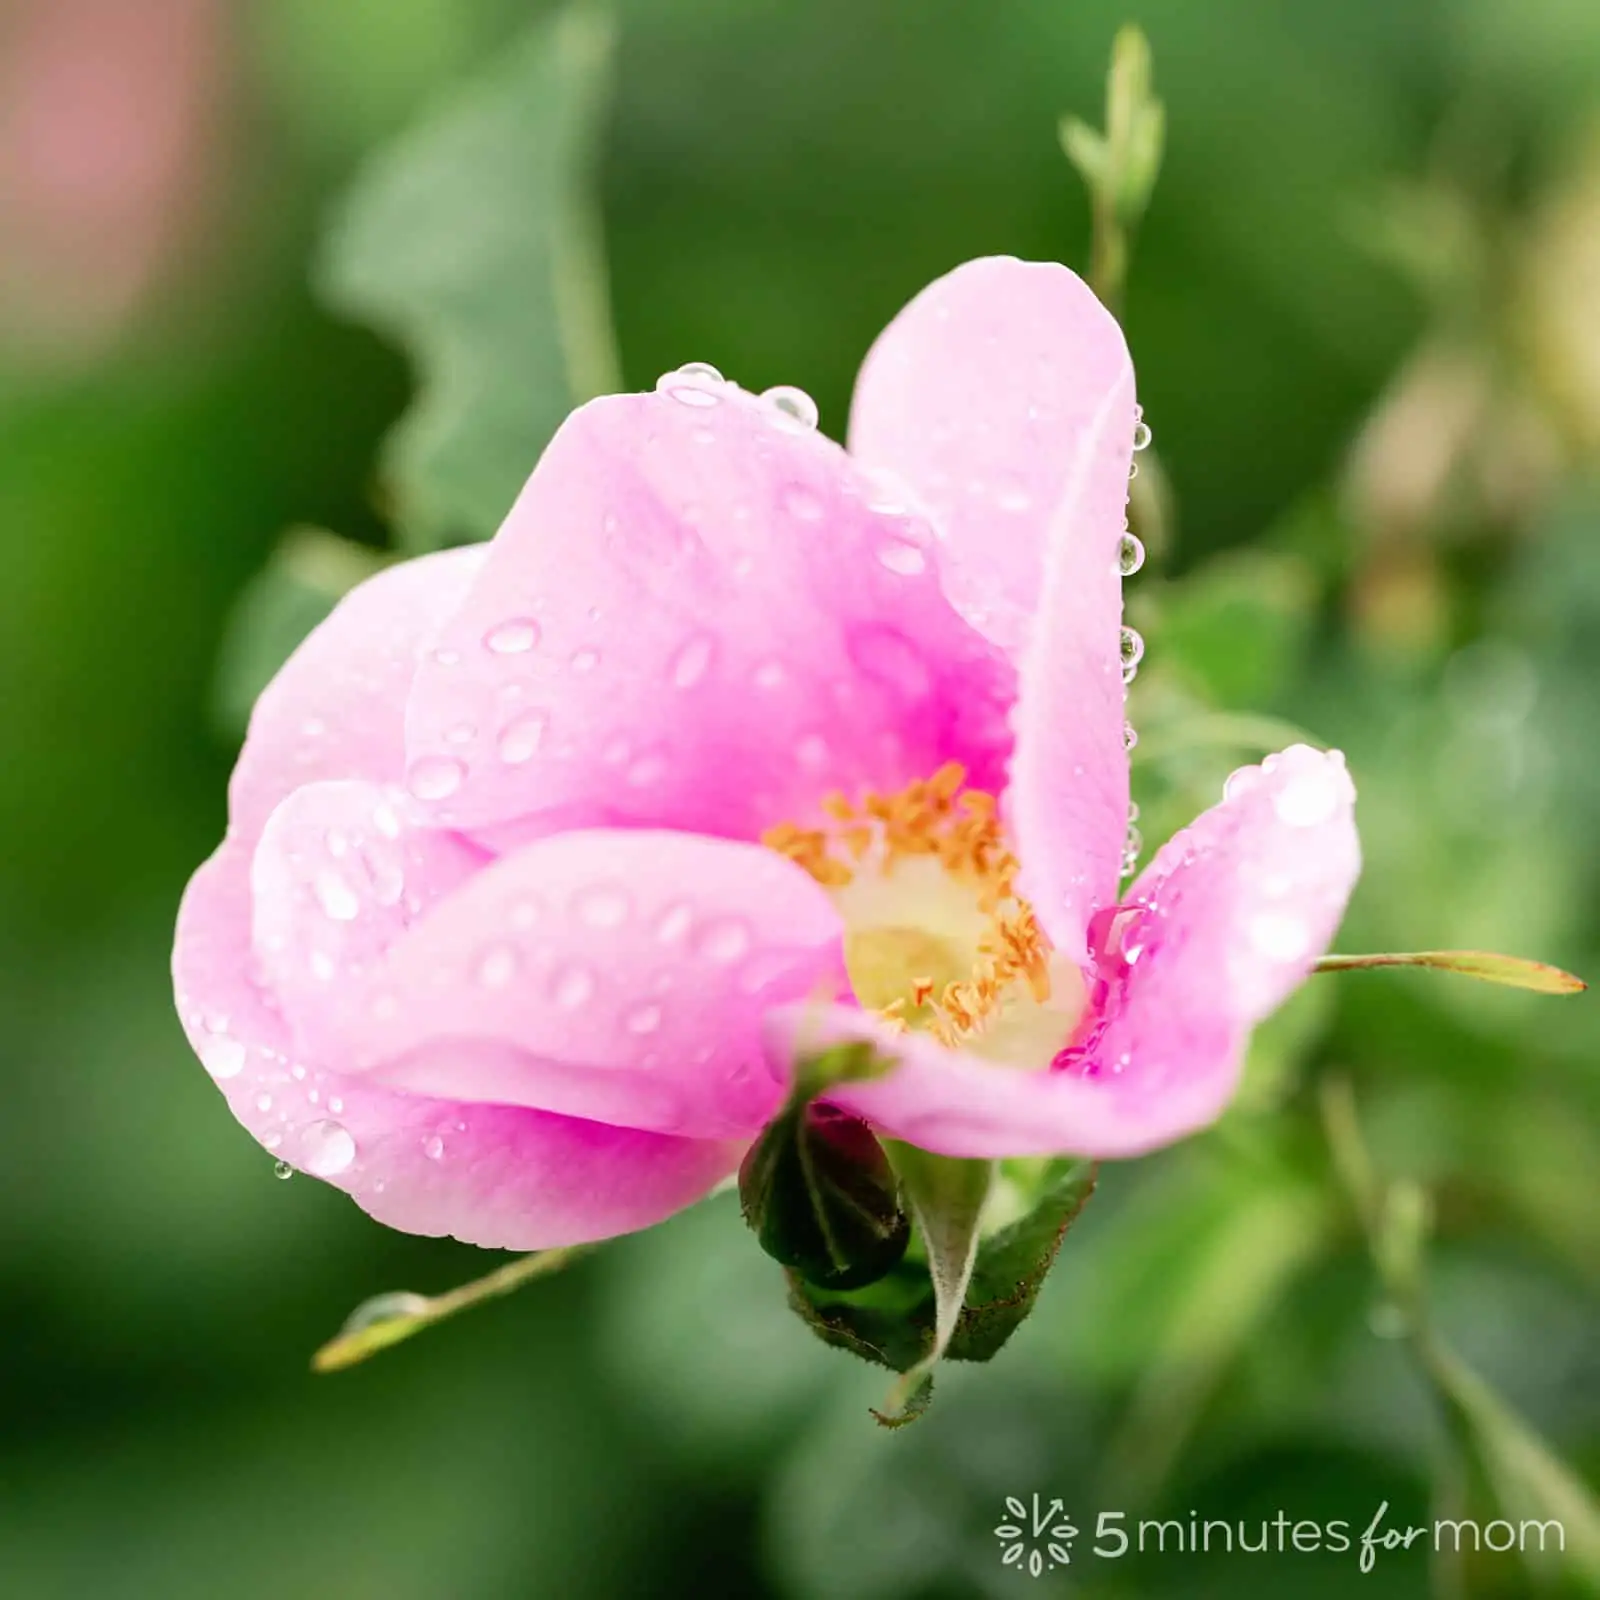
When you are photographing flowers, harsh light can blow out some parts of the flower while other areas are lost in shadows.
So how do you avoid direct sunlight when you are photographing?
Shoot on a Cloudy Day or at Golden Hour
If you are able to plan when you are photographing flowers, try to shoot on a cloudy day or during “golden hour” just before or after sunset.
Clouds diffuse the sunlight, scattering the rays and softening the shadows and highlights on your subject.
When you shoot at “golden hour” just after the sunrises or before the sunsets, the light is warmer and softer and the sun is low in the sky.
Shoot in Open Shade
Most often, we can’t choose the ideal conditions in which to shoot, so we have to find lighting solutions.
One of the best ways to get beautiful lit photographs is to shoot in OPEN SHADE.

You can find open shade in an area where the direct sunlight is blocked but you have indirect light coming in from one or more sides.
A great example of open shade is a garage with the door open. When you photograph the subject placed near the edge of the open garage, still shaded from the sun but facing out into the light, you are shooting in “open shade.”
It is important to note that when you are shooting in open shade, your subject is lit with the “open” area of light. So face your subject towards the open bright area or have the light streaming in on the side of your subject.
The further away your subject is from the border between the direct sun and the shaded open area, the darker the light will be on your subject.
Furthermore, if you face your subject away from the open area with their back to the open garage door, facing the inside of the garage, that is considered “closed shade.”
When it comes to flower photography, it can be quite common to find flowers that are growing in open shade, shaded by fences, trees, or buildings as the sun moves through the sky.
Position yourself so that the flower is lit with indirect light, moving yourself to find flattering angles of light coming from the open areas. Play around with the light coming from the side, from the front, etc.
Diffuse the light
If you don’t have any open shade and the sun is beating straight down on your subject, you can soften the light with a DIFFUSER.
You can purchase photography diffusers, but you can also use a translucent object or sheer fabric such as a white umbrella, white nylon fabric, or sheer curtains.
(I have this 42″ Photoflex LiteDisc Translucent Collapsible Circular Diffuser and this Photoflex MultiDisc 5-in-1 Reflector. But for these tulip photos, I used a regular white rain umbrella.)
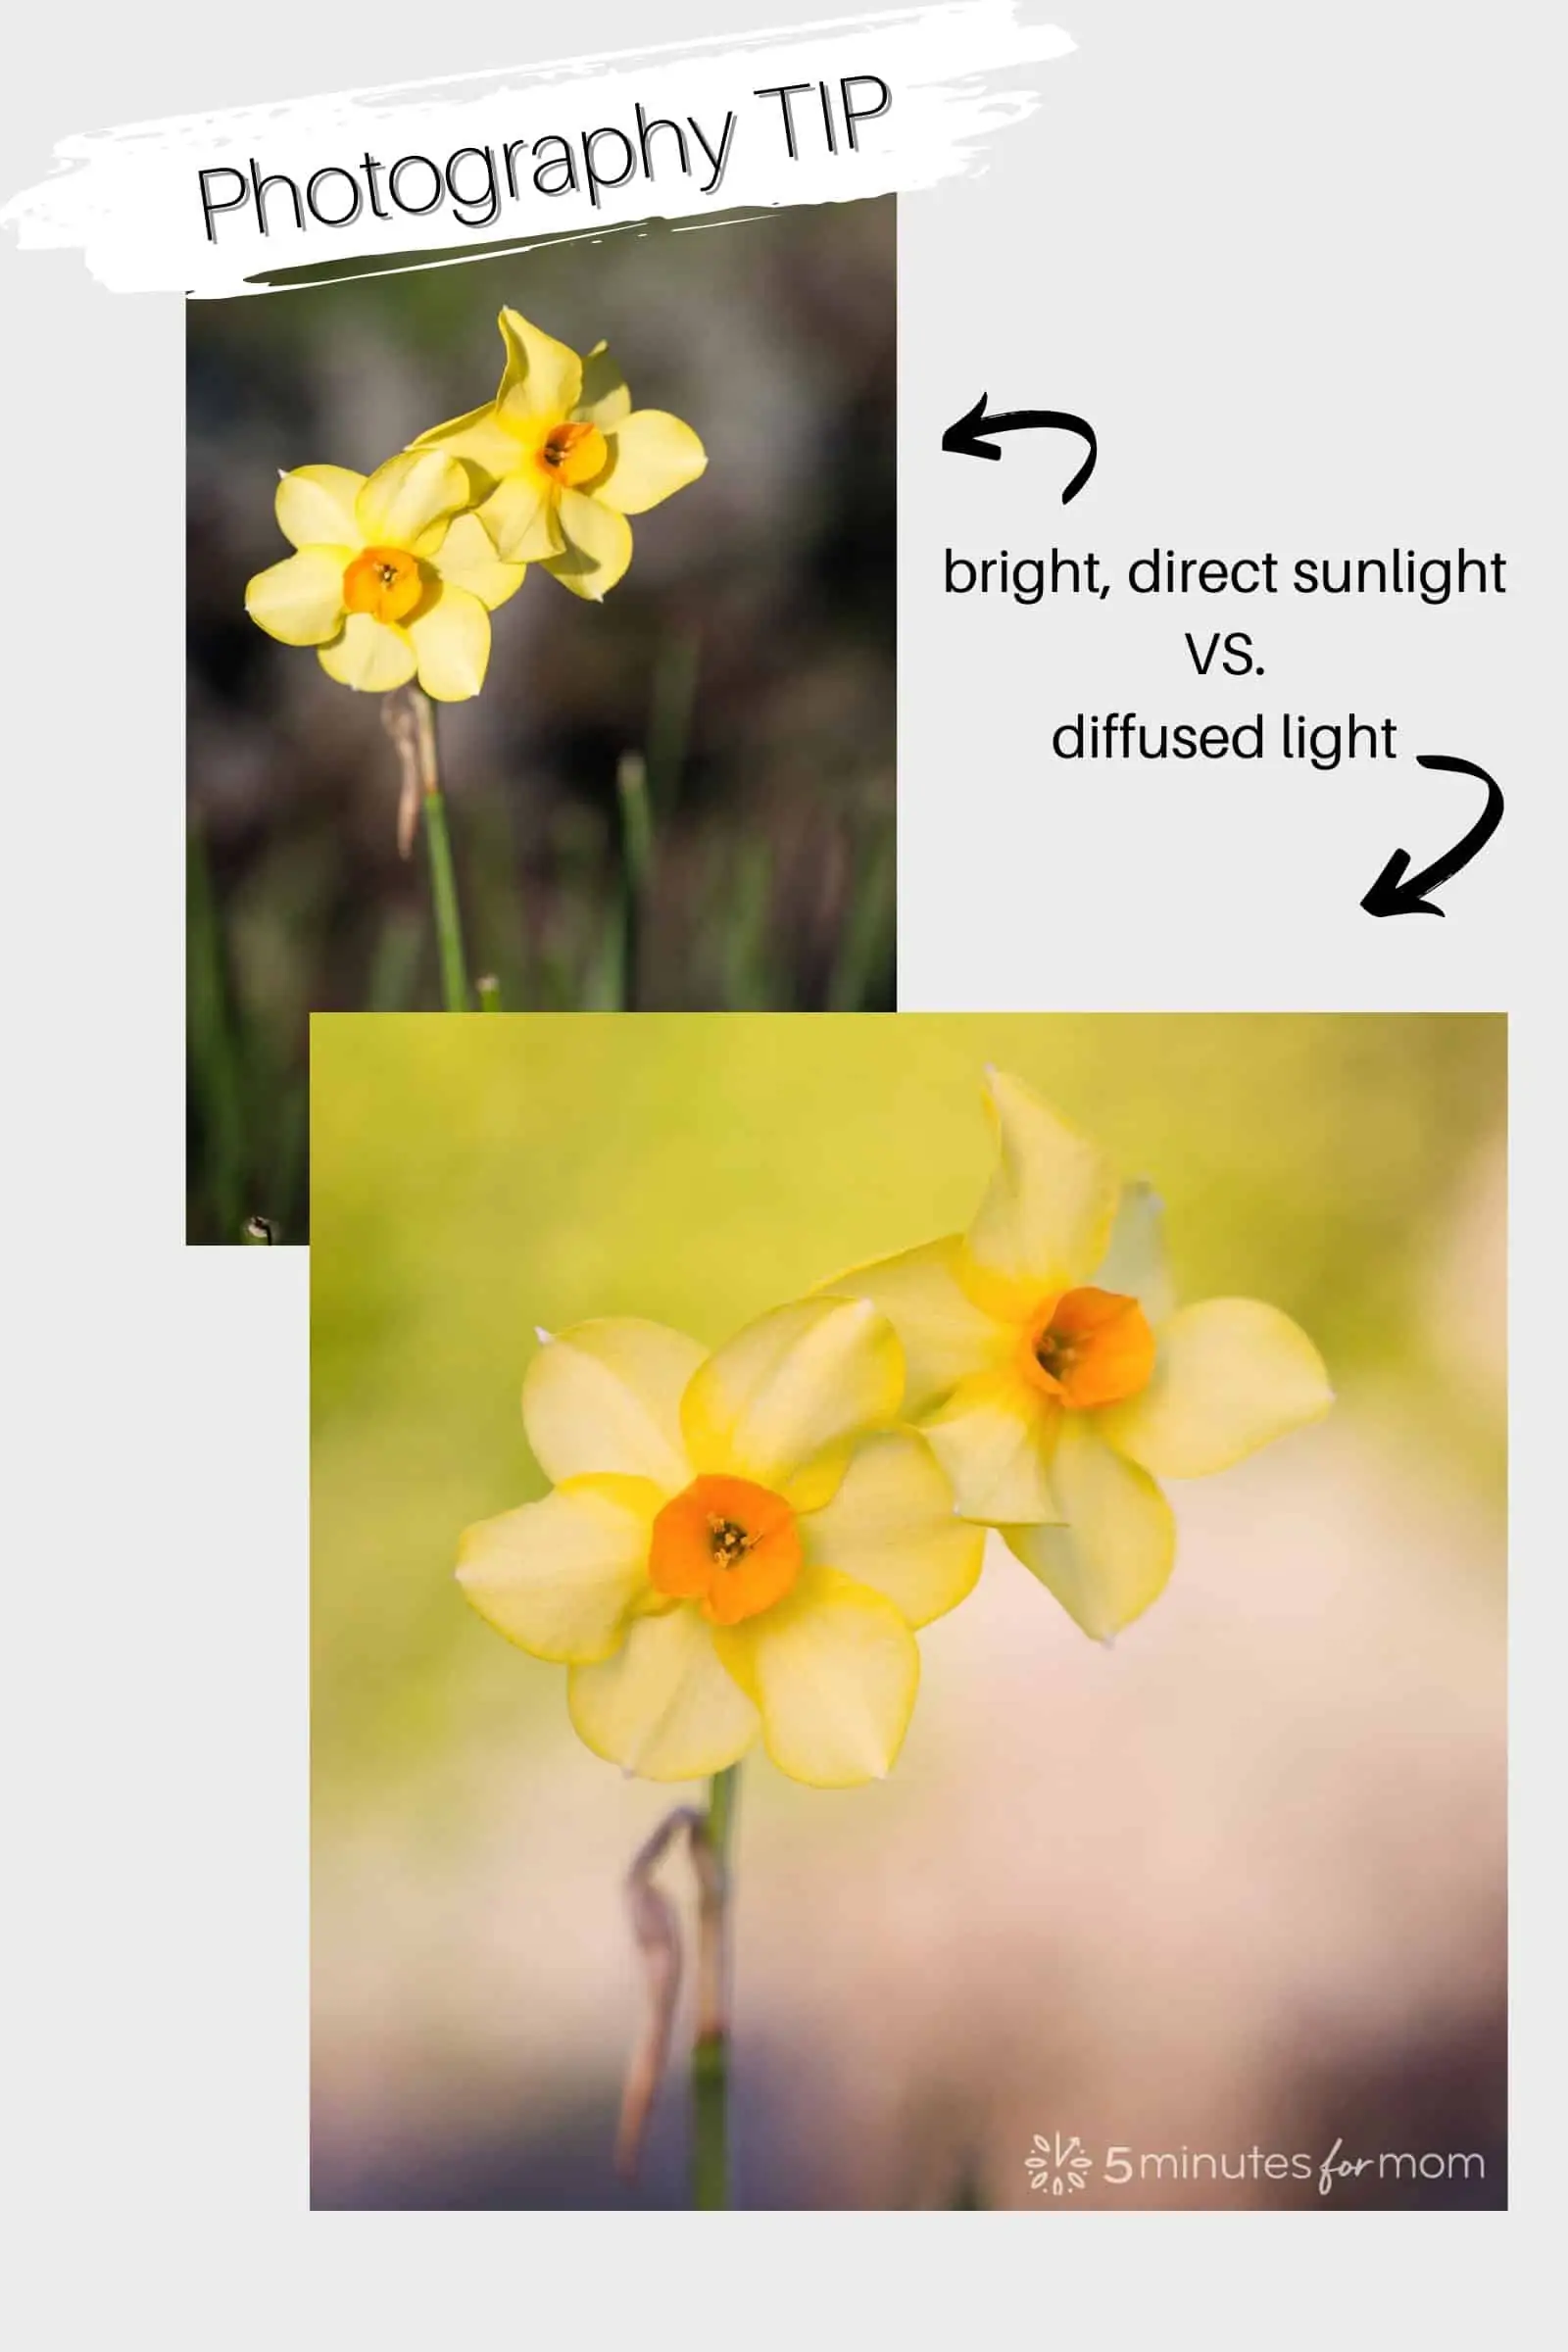
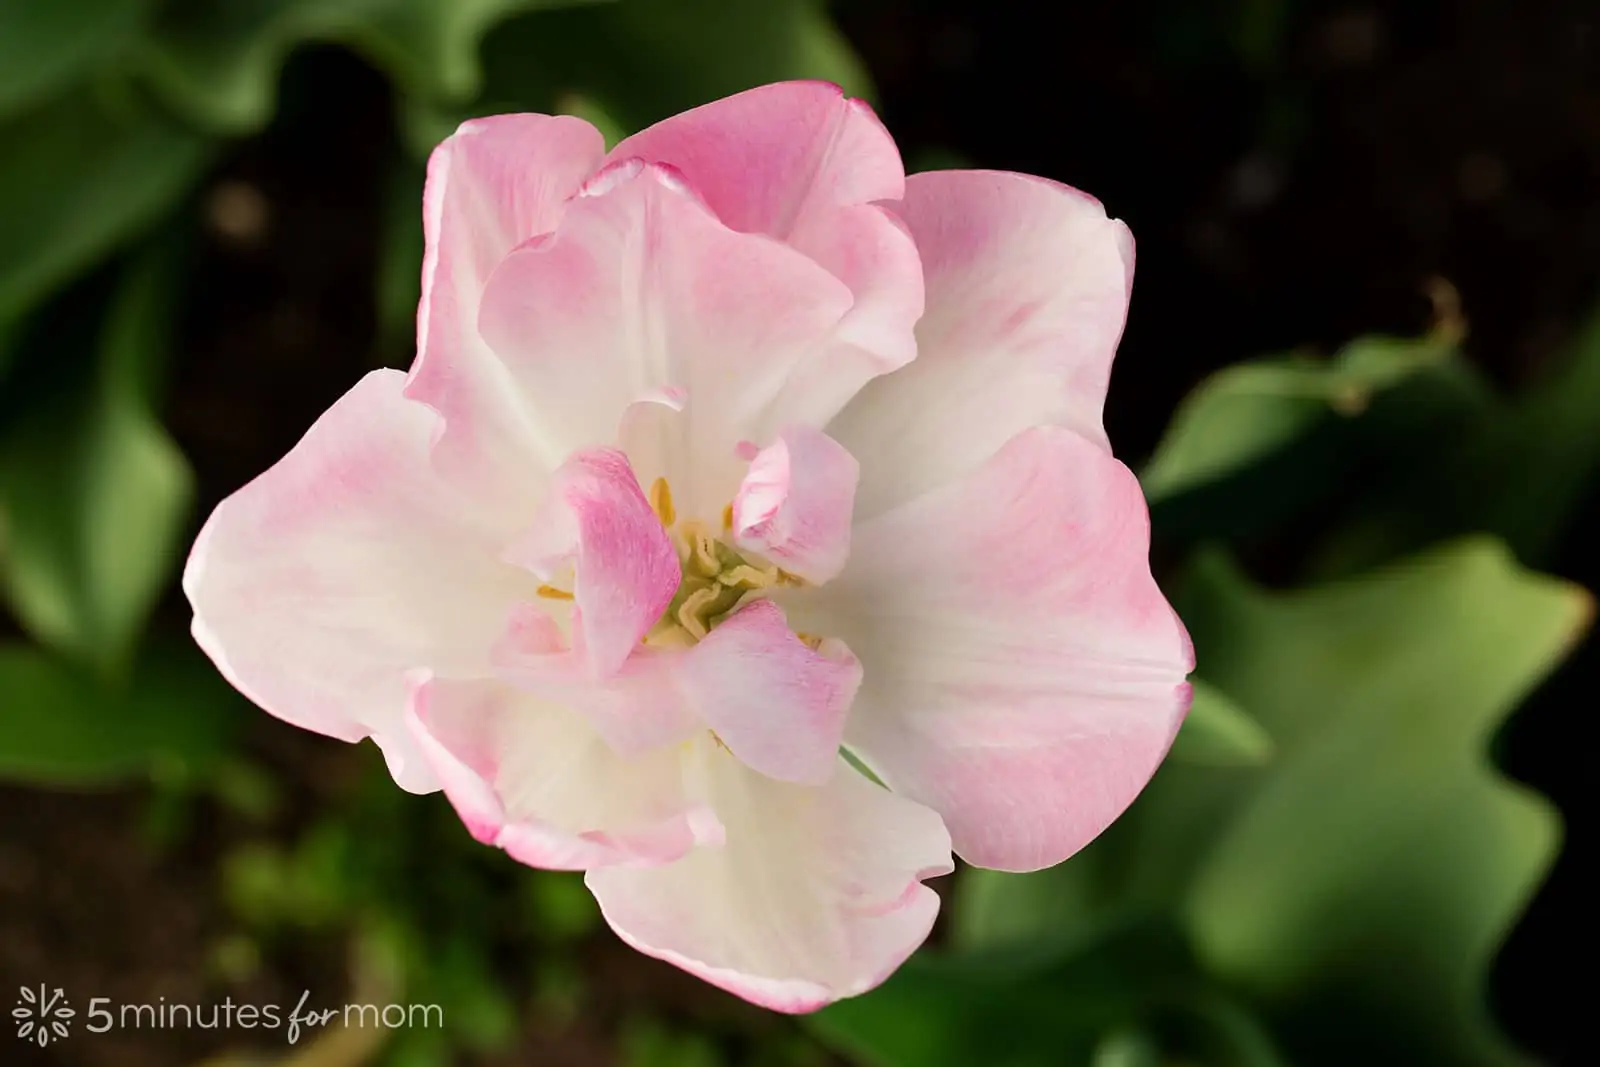
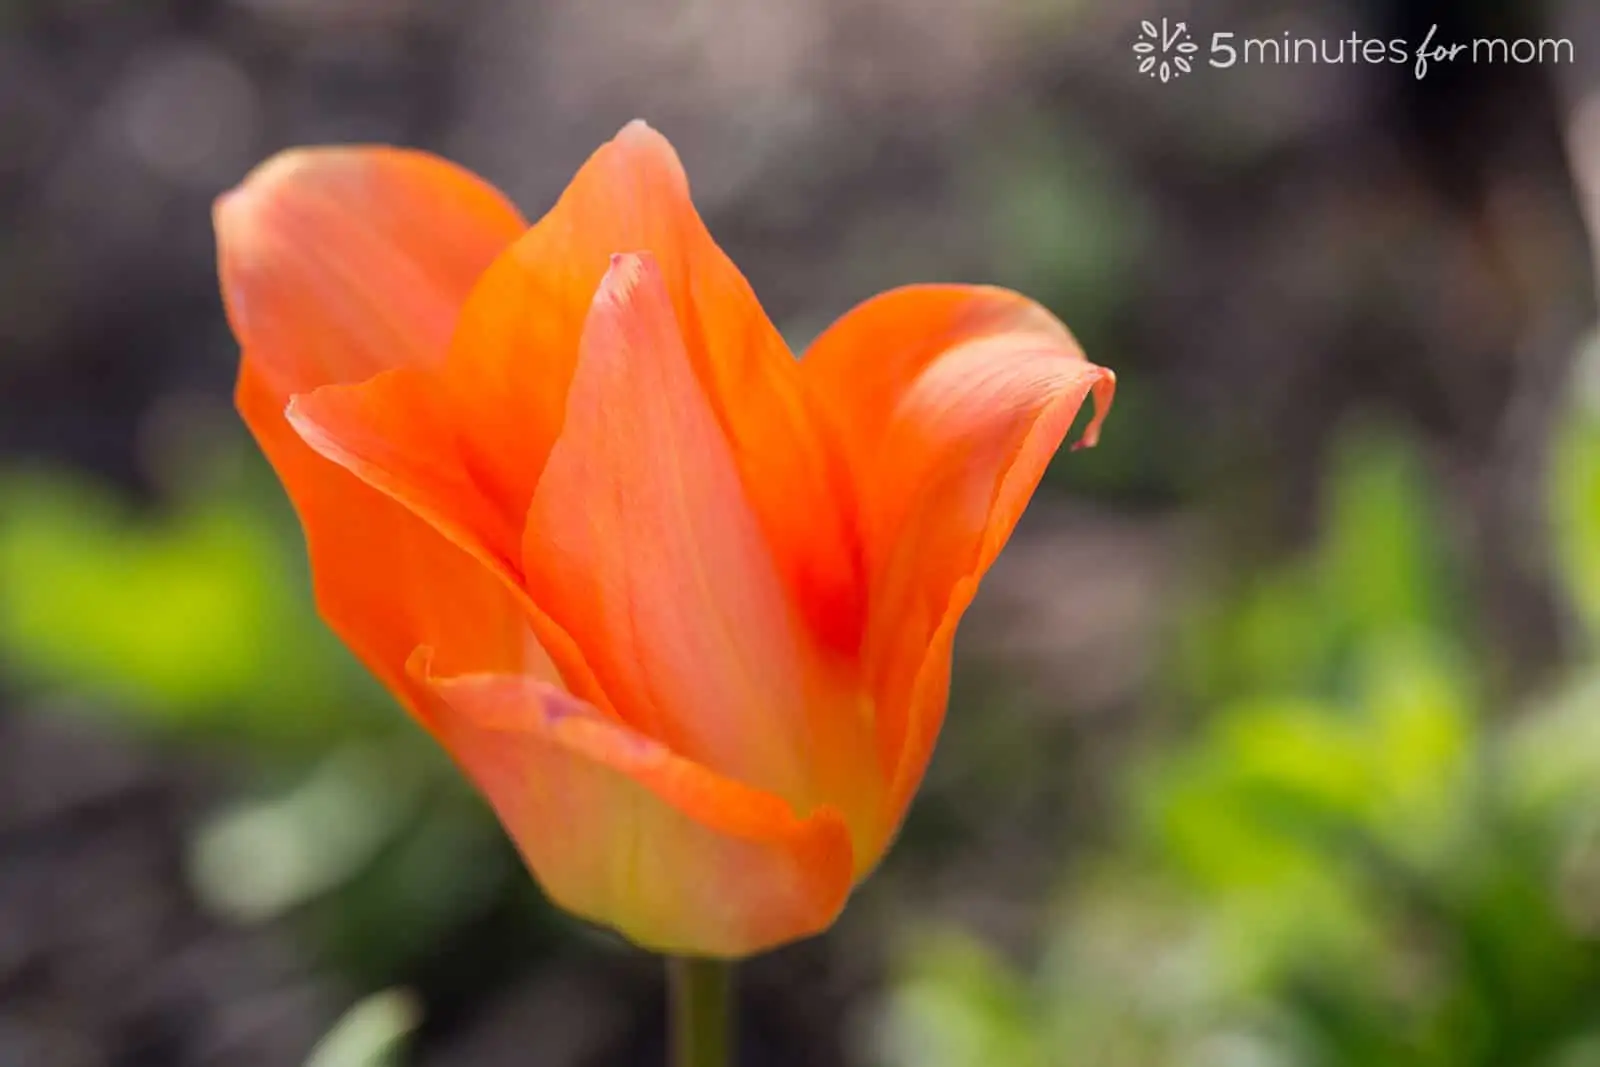
Below is a before and after example of photographing tulips in direct sunlight versus shooting using a white umbrella to diffuse the light.
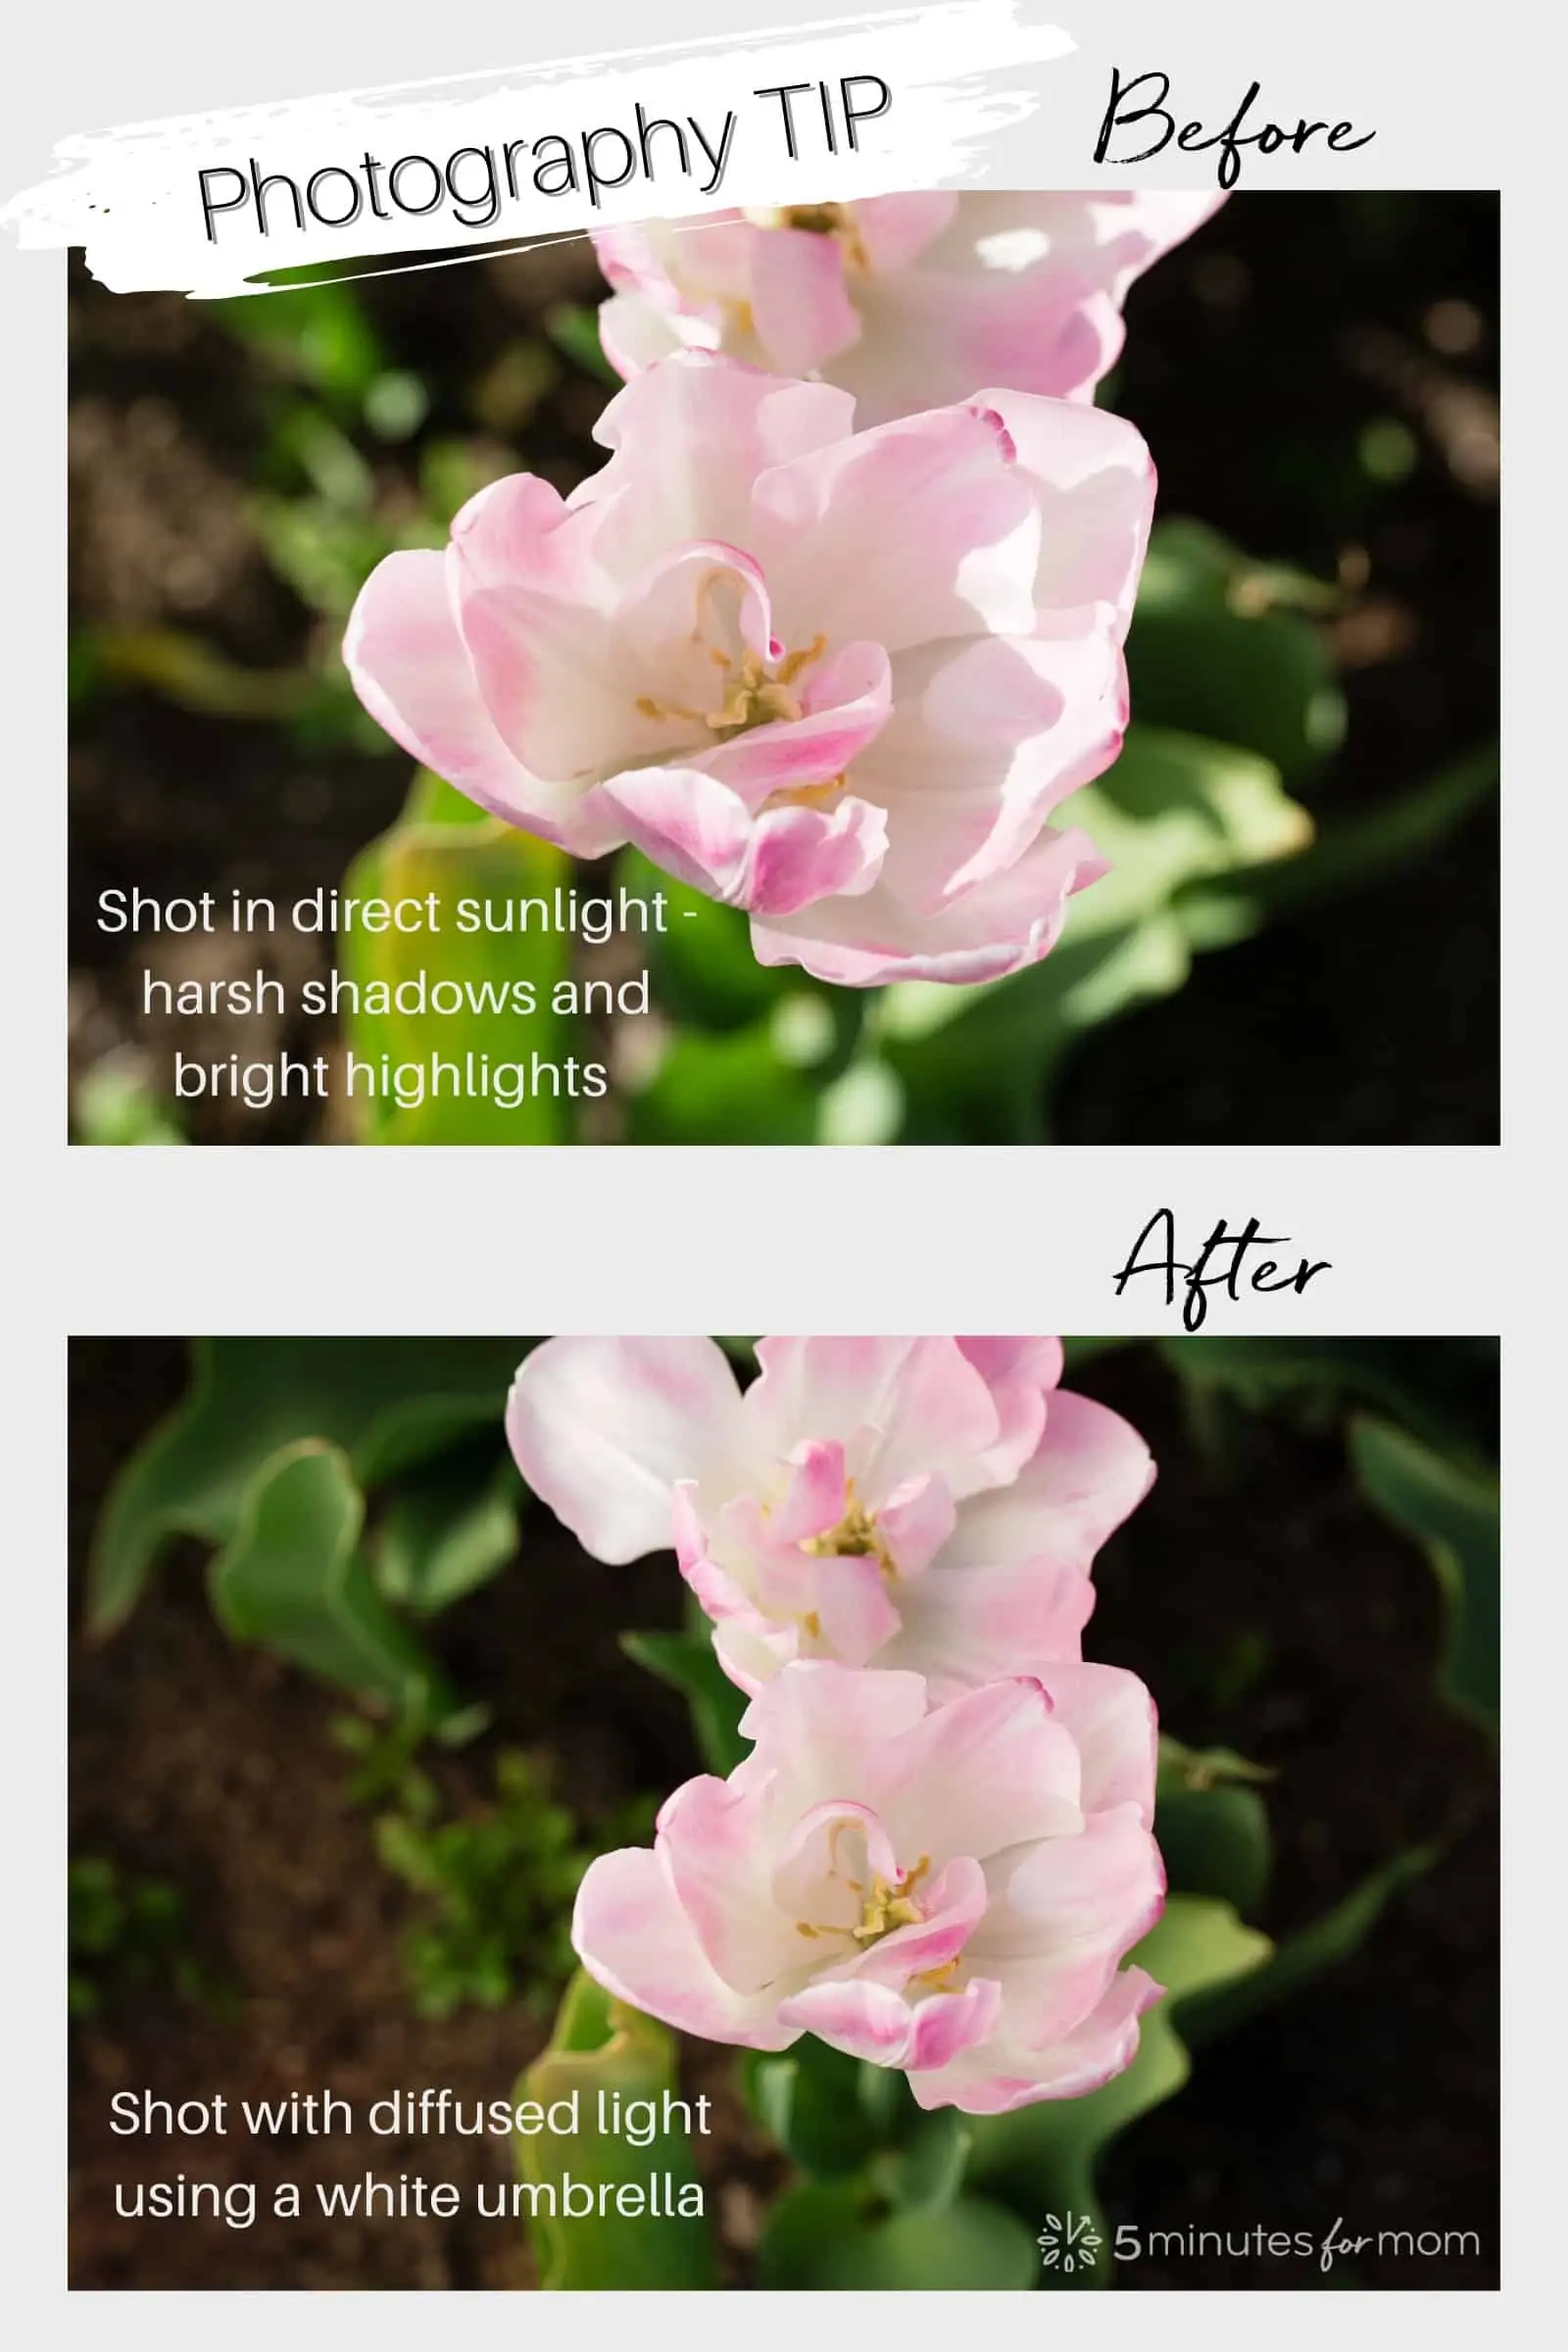
For this example, as I said, I used a regular white rain umbrella, not a professional photography umbrella.
So if you don’t own a professional diffuser or umbrella, use whatever you have. And if you don’t own any white rain umbrellas, pick some up.
WHITE umbrellas are brilliant to have on hand at photoshoots because they don’t reflect color! So, whether you are protecting yourself and your camera from rain while you are shooting, keeping rain off your subject, OR using it to diffuse sunlight, you definitely want to have a white umbrella handy. (When I am photographing a wedding, I bring along a collection of white and clear umbrellas. From rain to sun to diffusing, you just never know when you might need an extra white umbrella.)
Backlight
Another option to avoid direct sunlight shining on your flower is to position the flower with the sun behind it. When your subject is backlit, you are shooting towards the sun.
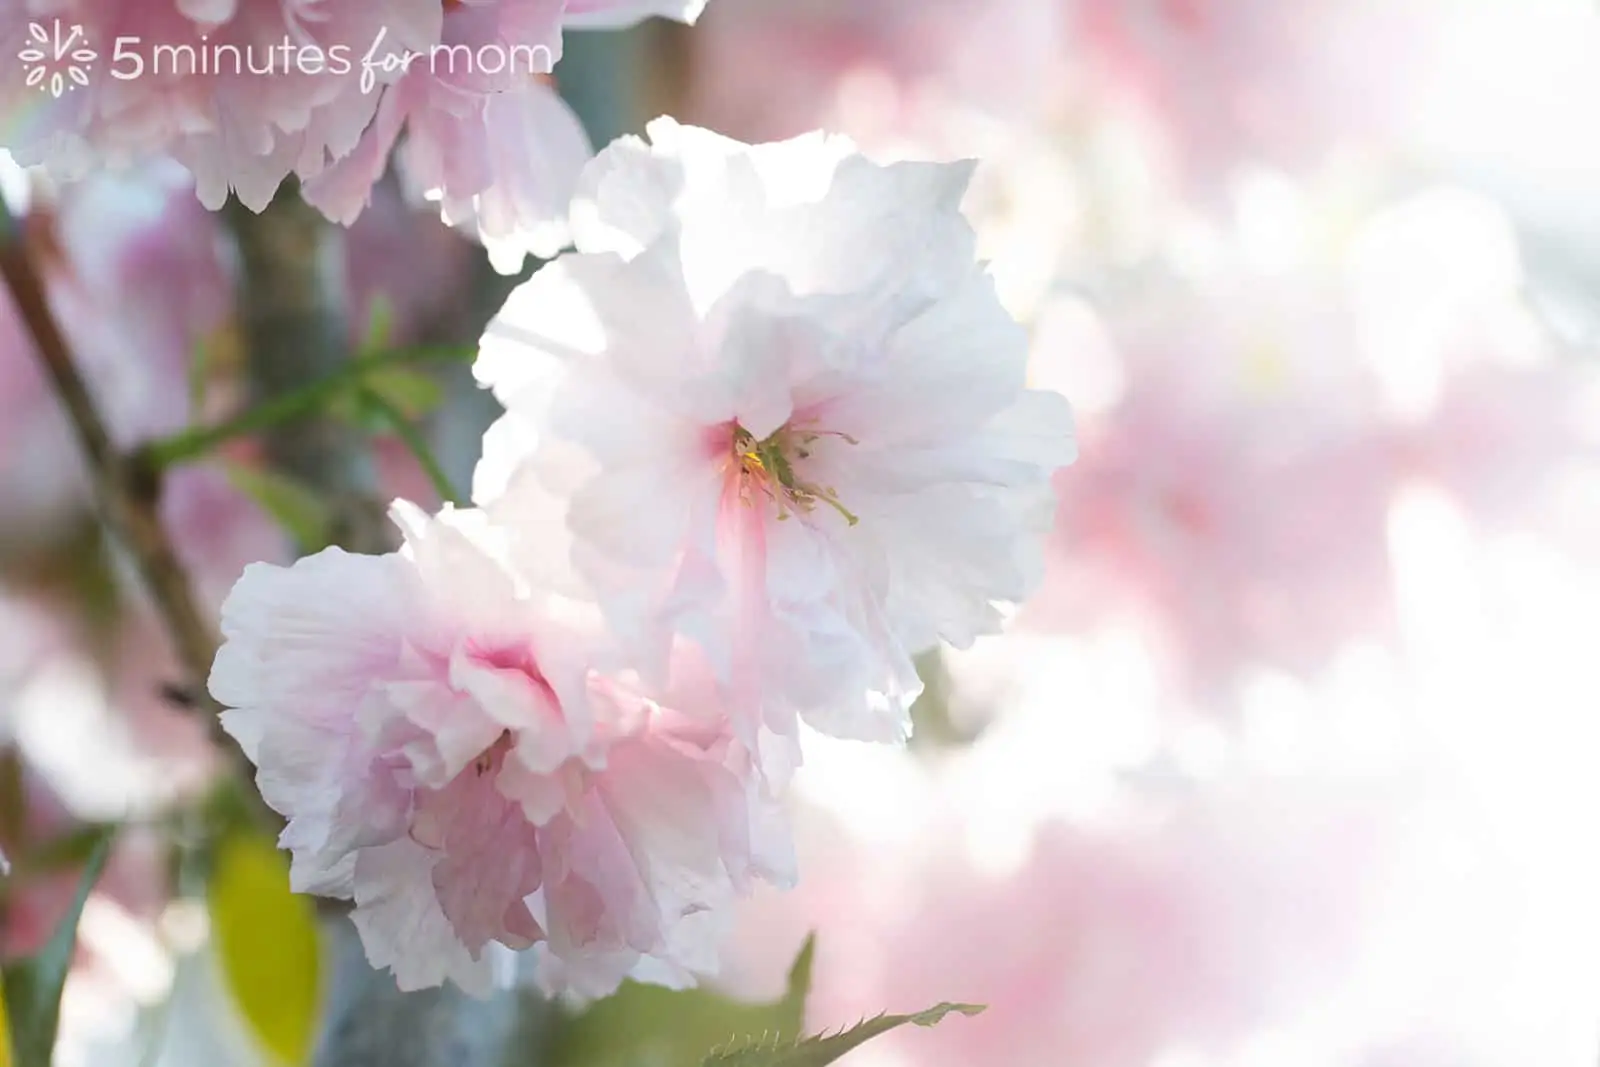
Backlighting allows you to avoid blown-out highlights on the front of your subject, but it can be tricky to ensure that your camera meters correctly and your subject is well lit. Ensure that you are metering for your subject, not the entire scene. (For more on metering and camera settings, see Tip 4 below.)
Also, when backlighting you will usually blow out the background of the scene unless you are using some sort of fill light to balance out the exposure. Of course, blowing out the background can be a nice effect and can be one of the reasons someone chooses to backlight an image.
One problem with backlighting delicate flowers in harsh sunlight can be the sun shining through the thin petals of the flower. So, if you’re trying to improve your flower photography, make sure that the flowers you are photographing can handle the challenges of backlighting or that other flowers or leaves are helping block out some of the incoming light.
Shoot with light coming from the side
Shooting your subject with light coming in from the side produces flattering light in many situations, whether you are shooting in open shade, with diffused light, on a cloudy day, or with the sun low in the sky.
If the sun is high in the sky and is harsh and bright, shooting with the light coming in from the side may not be possible and will probably still create blown-out highlights and dark shadows.
But you may be able to choose flowers or blossoms that are blocked out by other flowers or foliage. Since you only need a small subject correctly lit when photographing flowers, you can often position yourself to find an angle that will block enough light and create a balanced, well-lit image.
Tip 2 – Try multiple angles and take extra shots
Perhaps the greatest advantage of digital vs film photography is the ability to take hundreds of photos without worrying about wasting money on film and development. In my film days, not only would I spend thousands each year developing throw-away images, but I shot way less because I didn’t want to waste film.
So if you want great images, shoot tons of photos!
Experiment with multiple angles and always take extra shots of each setup/scene.
Lie down on the ground, stand on tables, do whatever you need to do (please stay safe of course!) to get a new perspective on a scene.

If you are shooting on a mobile phone, you can even turn the camera upside down…
- To create exciting angles
- To change up the background – ie make the sky the background
- To get closer to the blossoms
- To get stems/branches etc in the shot
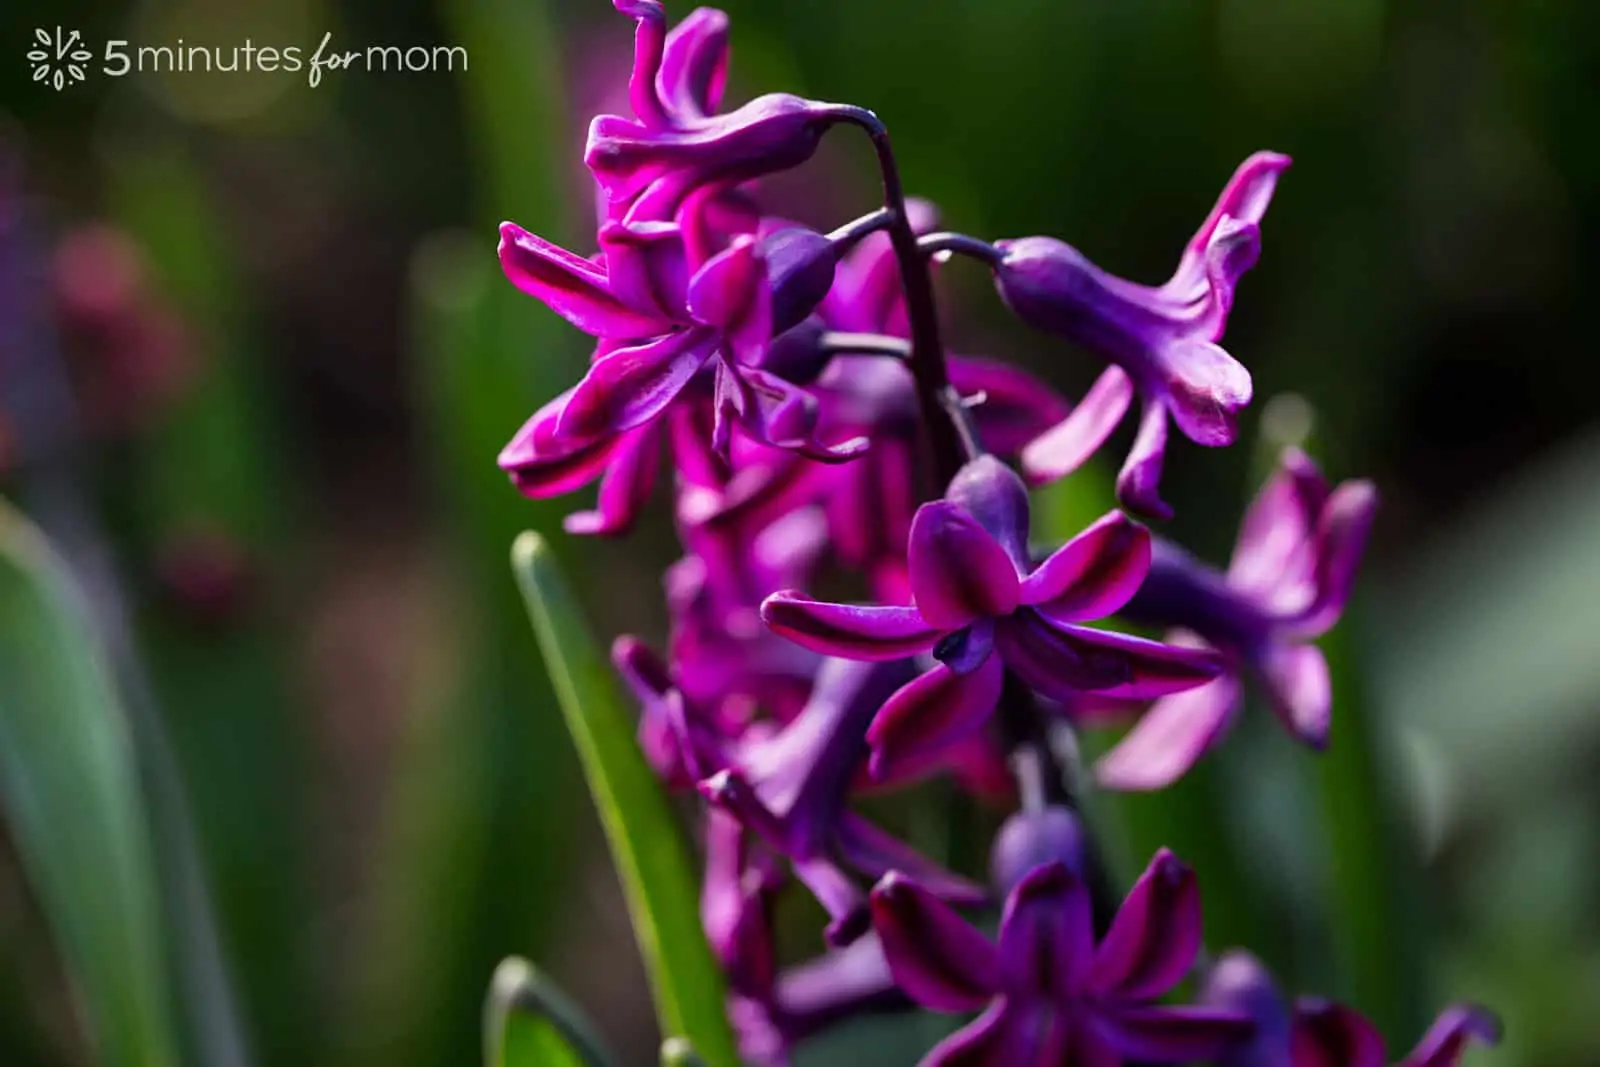
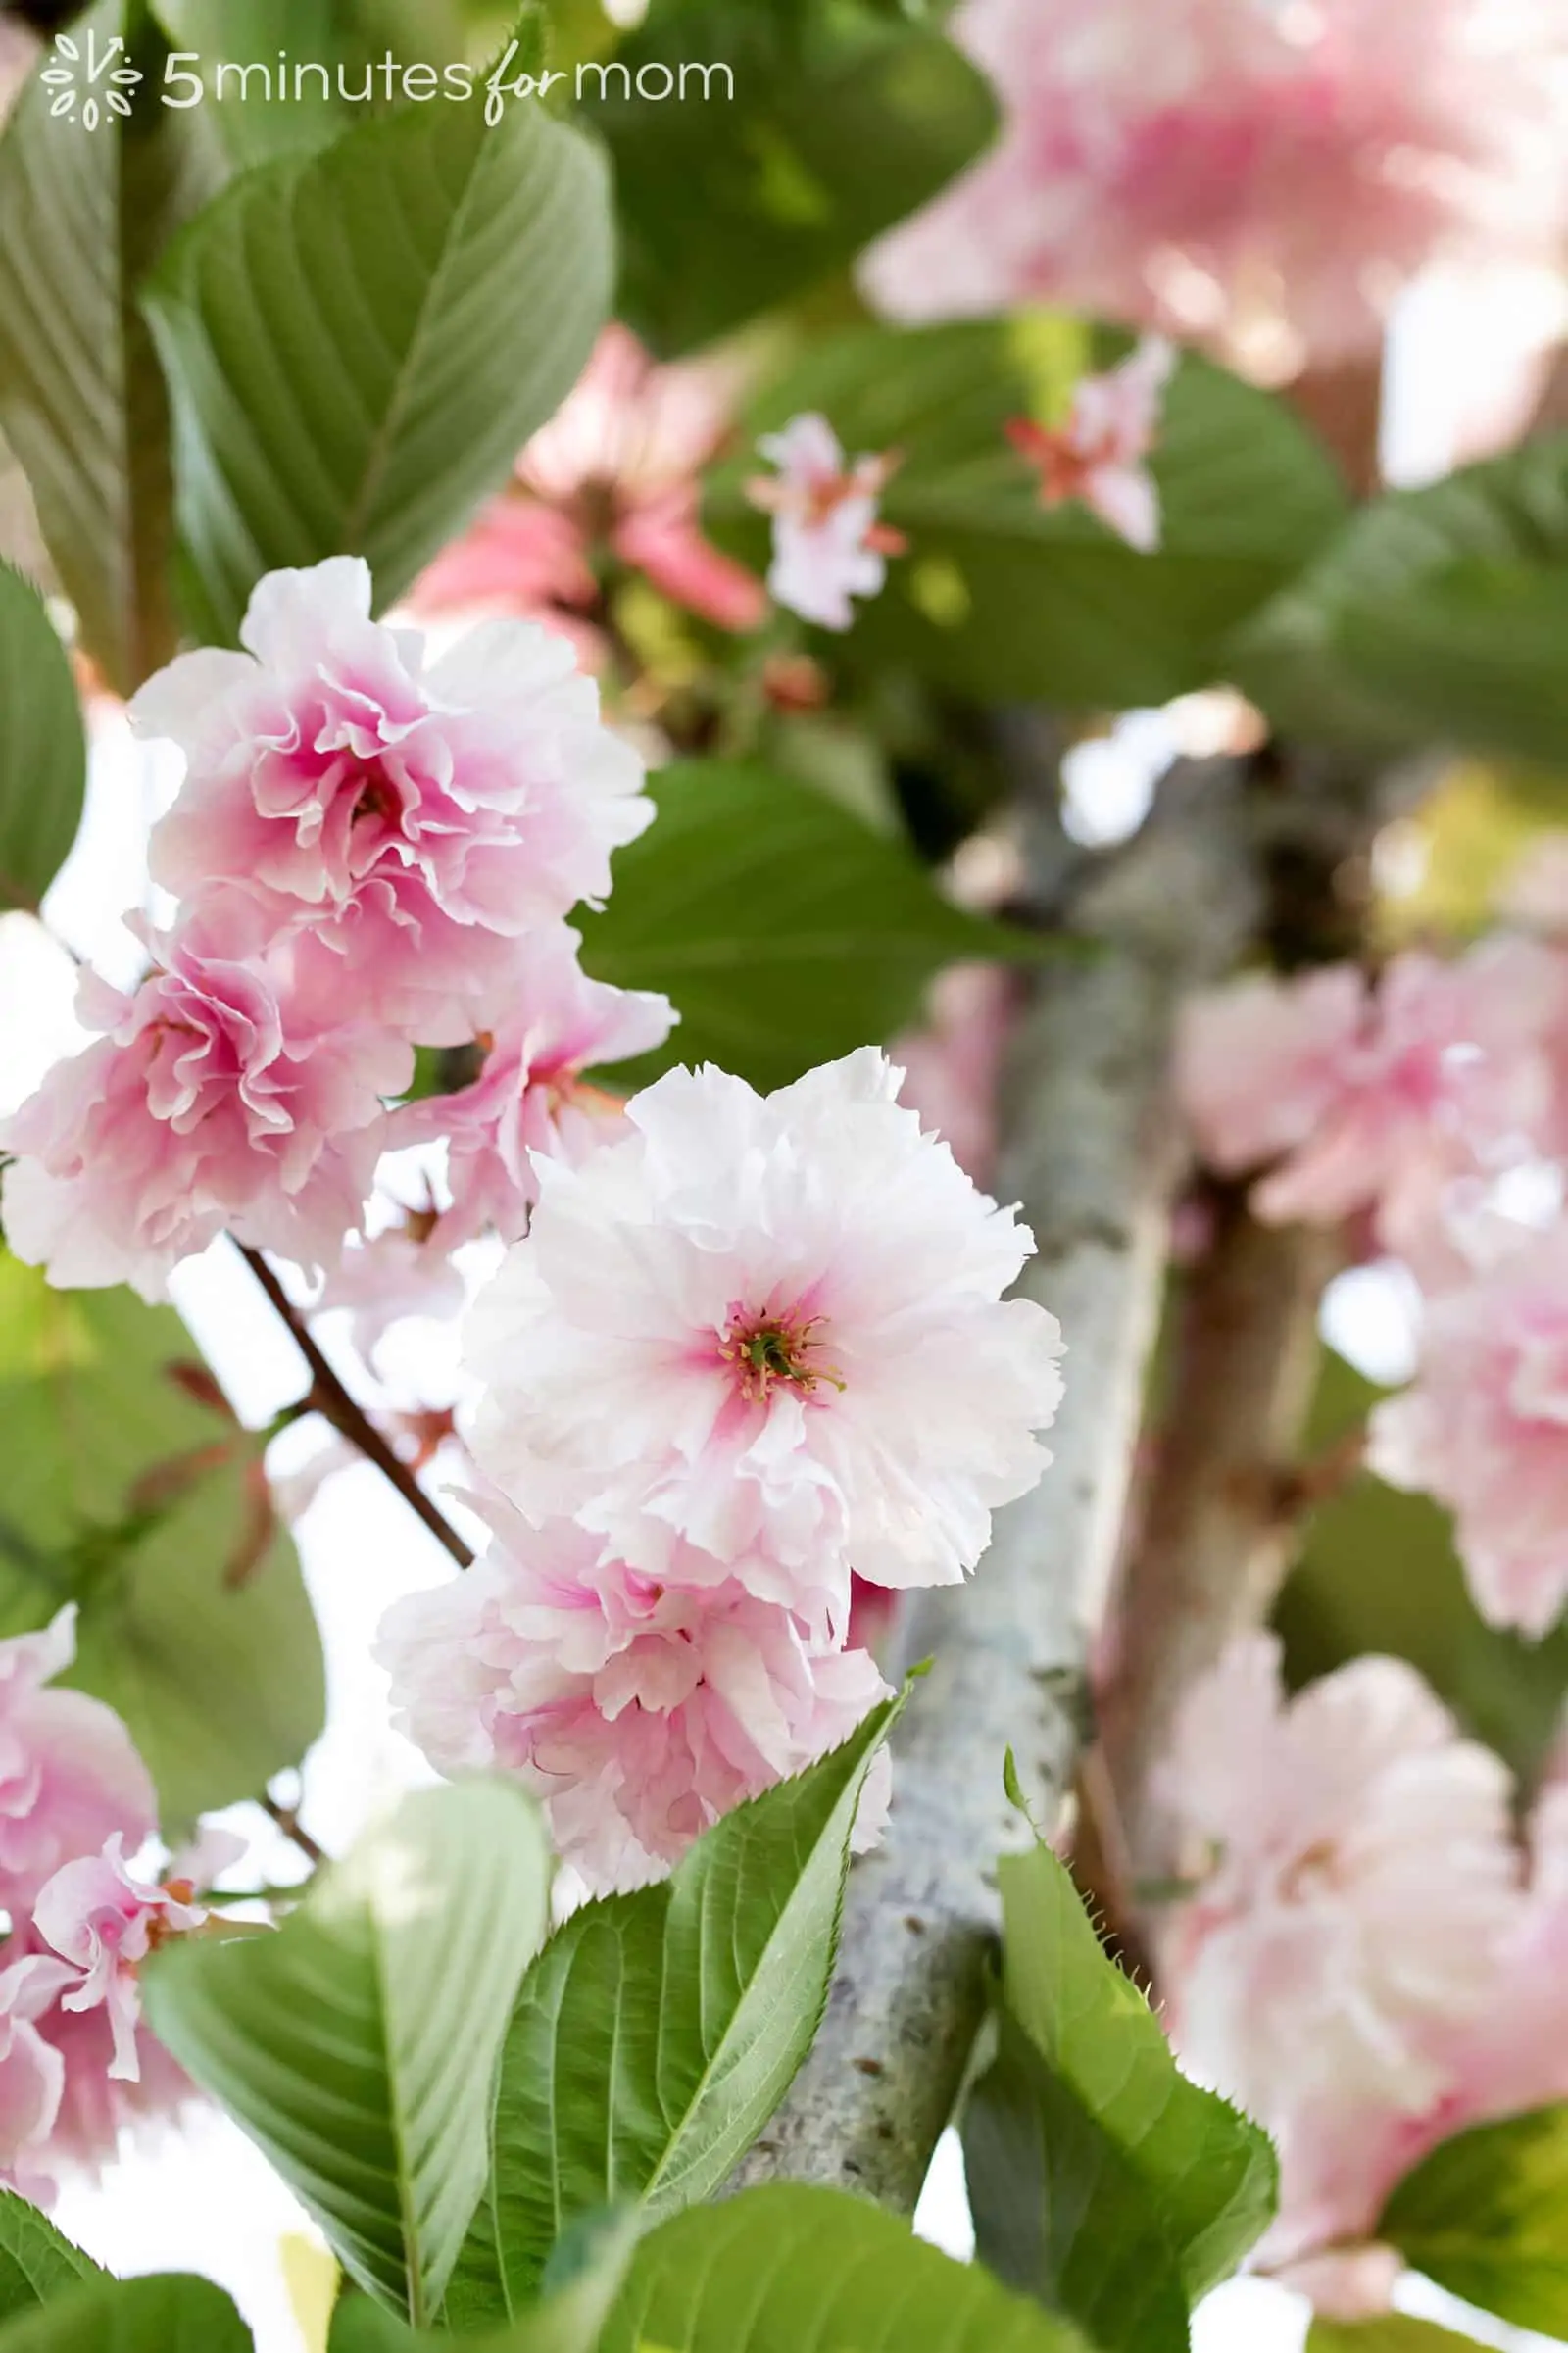
Tip 3 – Get close and remove distractions
In most forms of photography, it is best practice to avoid distractions or clutter in the scene that take away from the key story of the image.
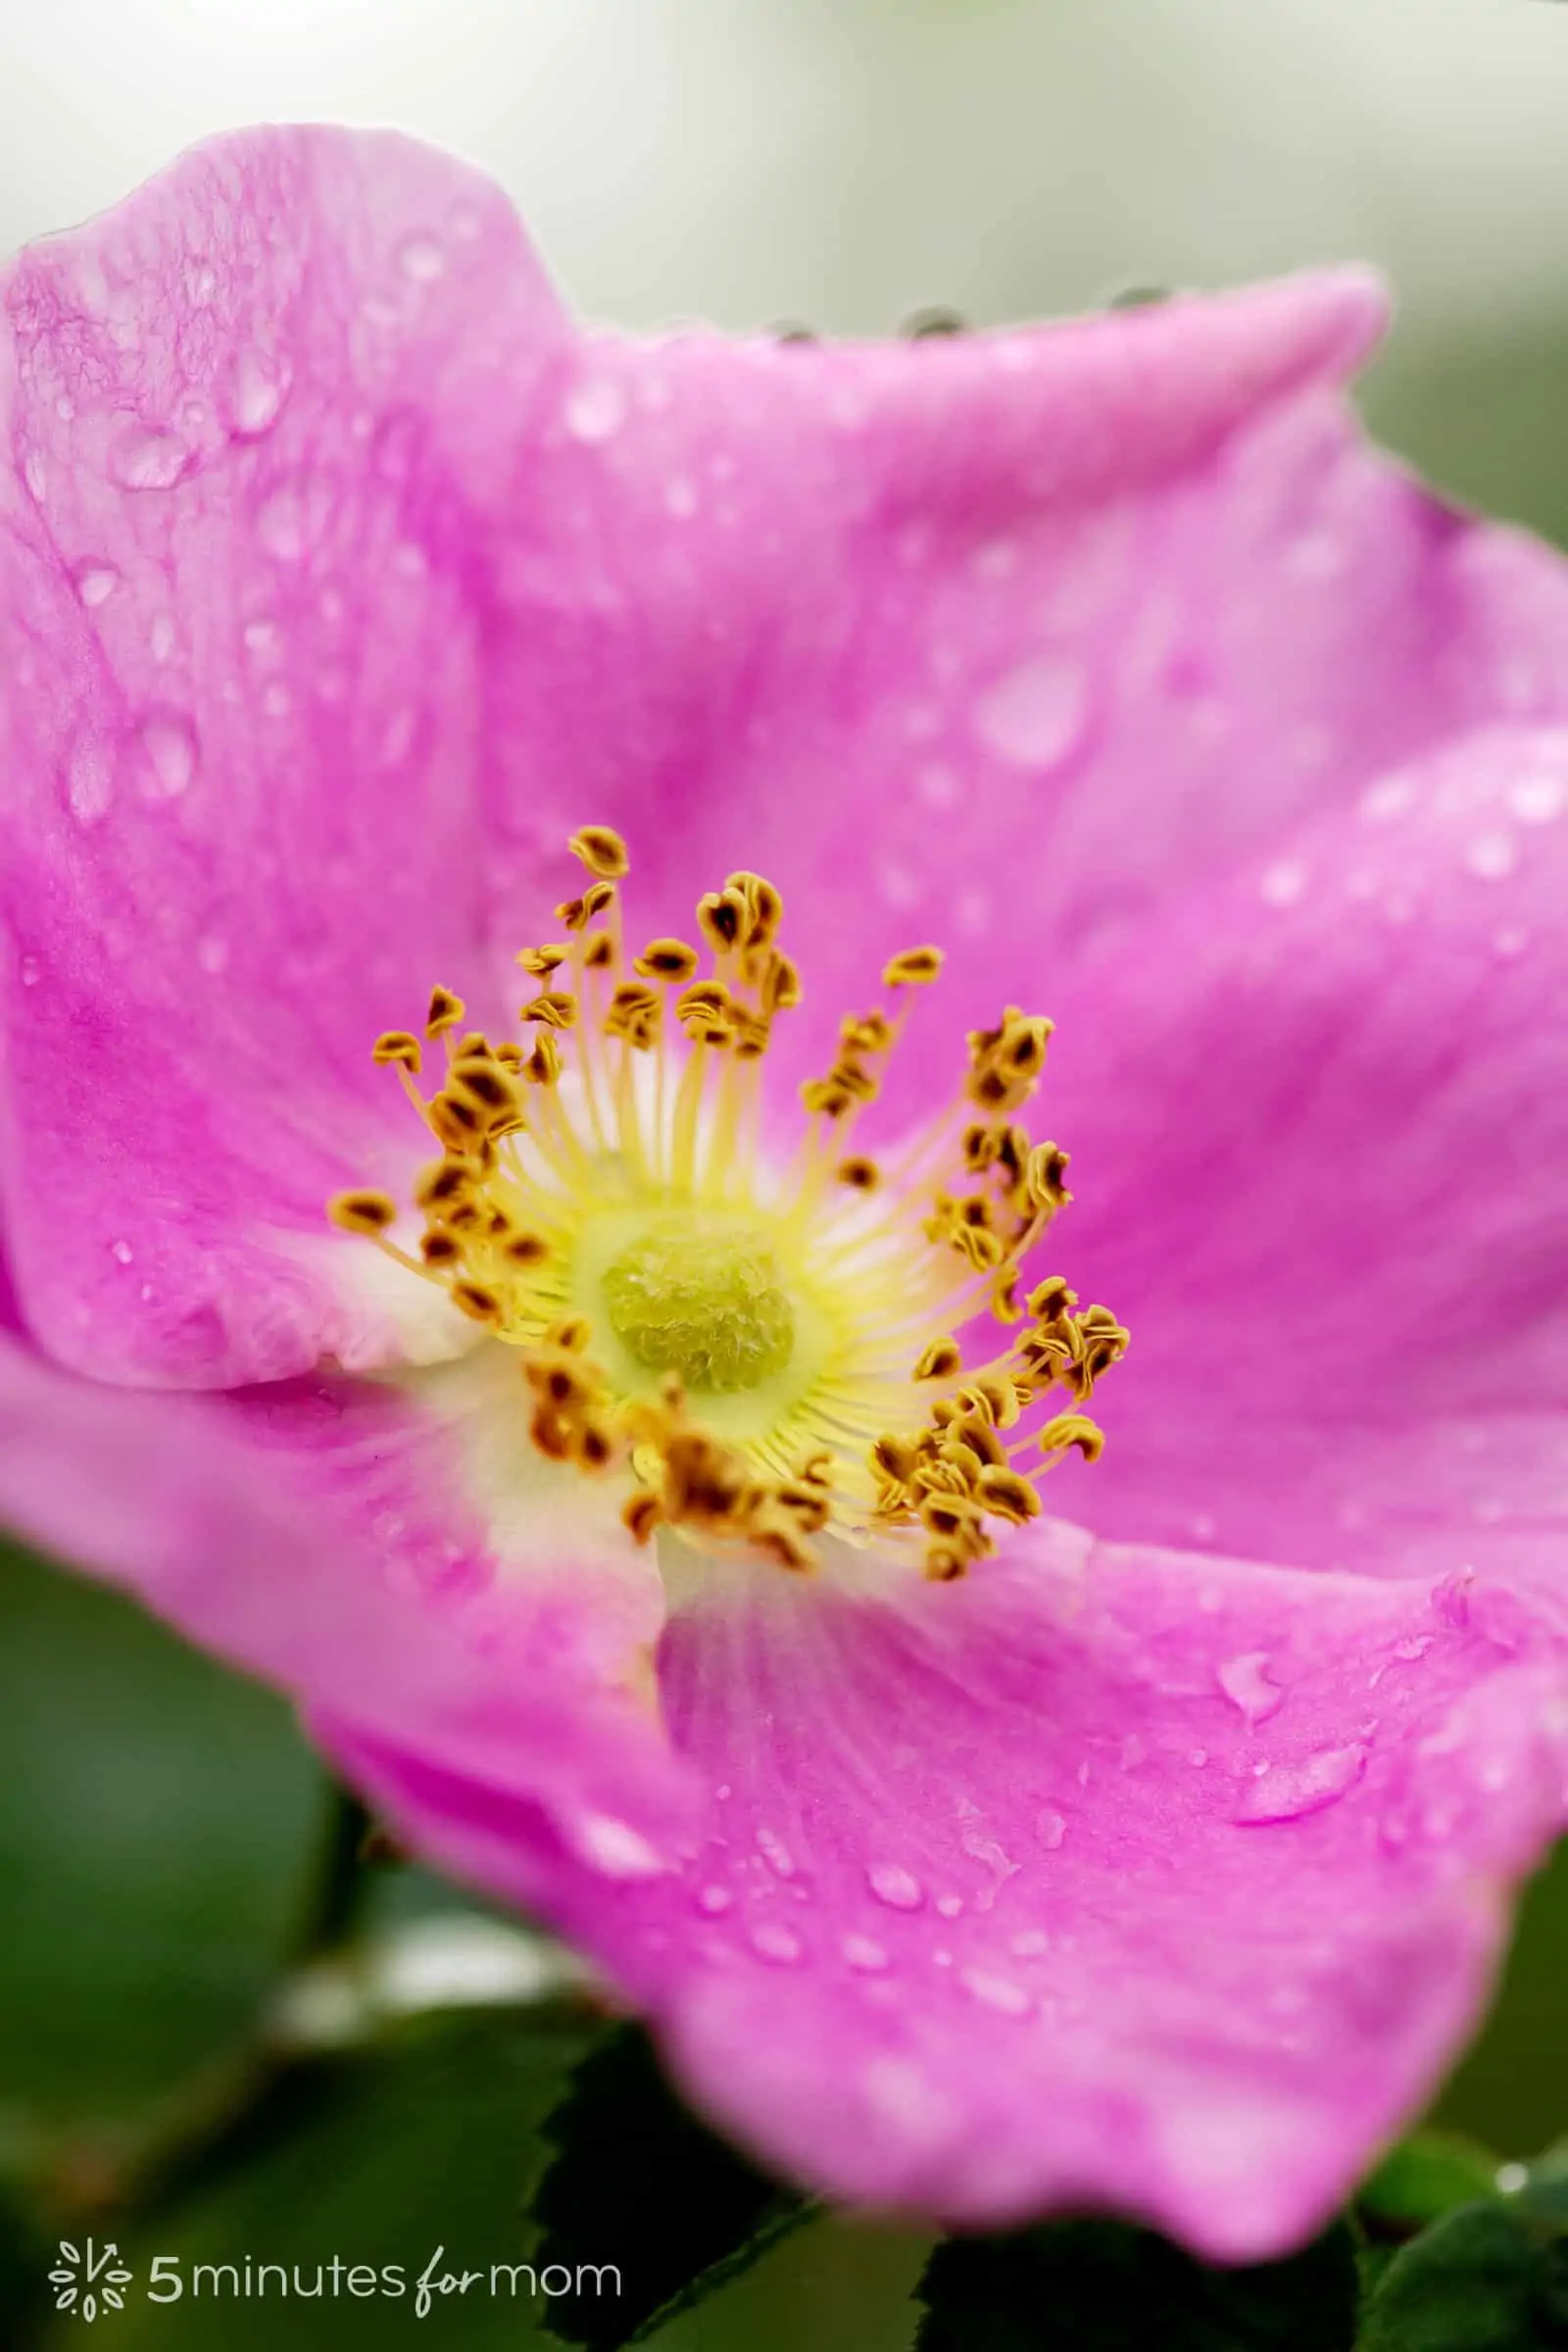
With macro photography and flower photography, getting close to the subject and removing distractions is critical. Narrowing in on one flower or even just one part of a flower can make the image more powerful.

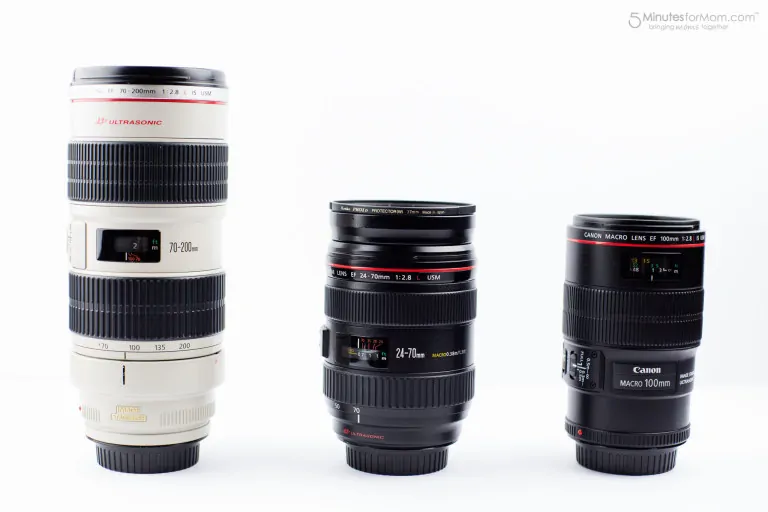
Try a telephoto lens or zoom lens and get as close to the flower as the lens allows. Remember you can also zoom in and crop the image later when you are editing.
If you are shooting with a wide aperture, that will also blur out the background and keep the attention on the subject.
Tip 4 – Adjust your settings
Shooting in auto mode will not always give you the effect you want or need for your images. So, taking control and telling your camera what to do is often necessary.
One of the most problematic times to use auto settings is when you are shooting in backlit conditions, as mentioned earlier.
The camera’s meter will see all the light coming at it and it will meter for that light, leaving your subject dark and underexposed.
In such cases, you will need to adjust your settings so that the subject is lit correctly and not the background.
If you are photographing on a mobile phone, you can adjust the focus and metering points and change the exposure by touching the screen where you want the camera to focus and meter the light.
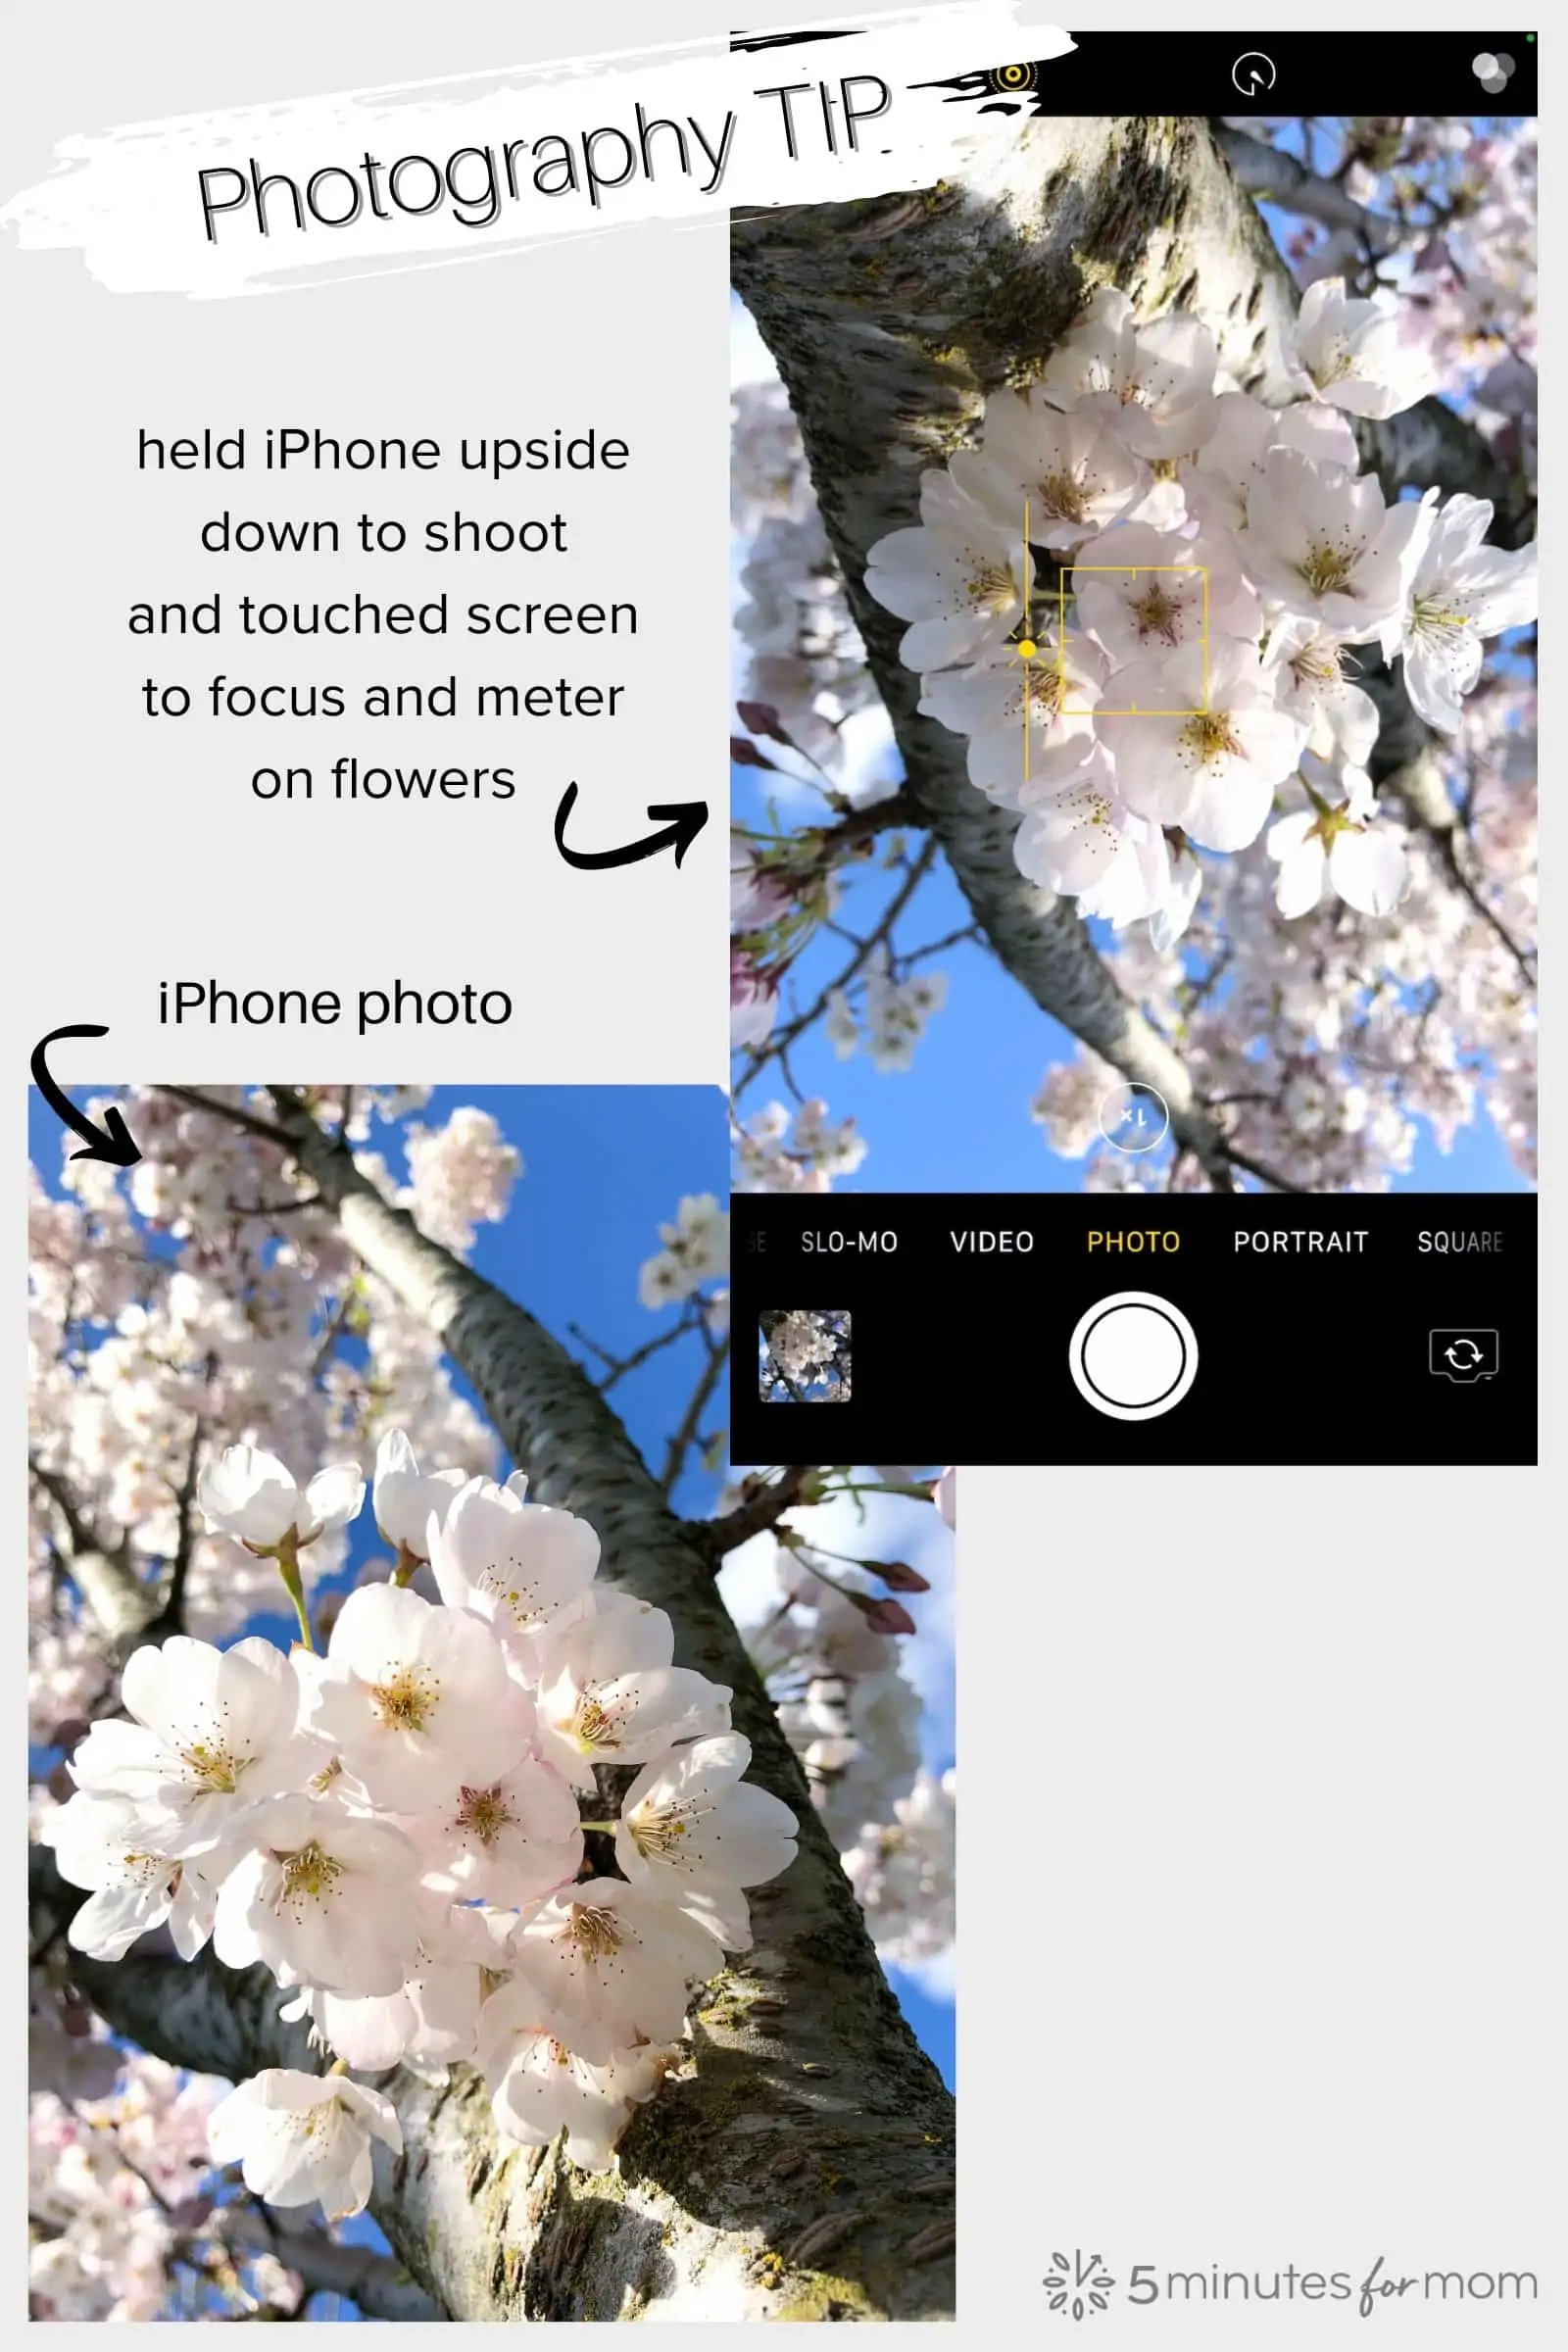
Depending on what type of mobile phone or camera app you are using, there are even more advanced changes you can make, such as changing the aperture. So take time to play around with your phone and test out different apps, such as Adobe Lightroom for Mobile.
One important note about settings on mobile phones – if you have your phone set to shoot in HDR mode, make sure that you also set it to keep the original photo as well.
While HDR may work and create some dynamic, colorful images, when photographing flowers, it is not always the ideal setting. So check your phone and if you have HDR selected, make sure your phone is also preserving the original.
If you are shooting on a DSLR or mirrorless camera, you will want to ensure that your metering mode is set to spot metering so that you can meter on the subject. Also, you may want to break out of auto and switch to manual mode so you choose the best settings for your situation.
For example, shooting with a wide aperture will give you a shallow depth of field and will allow you to blur out your background.

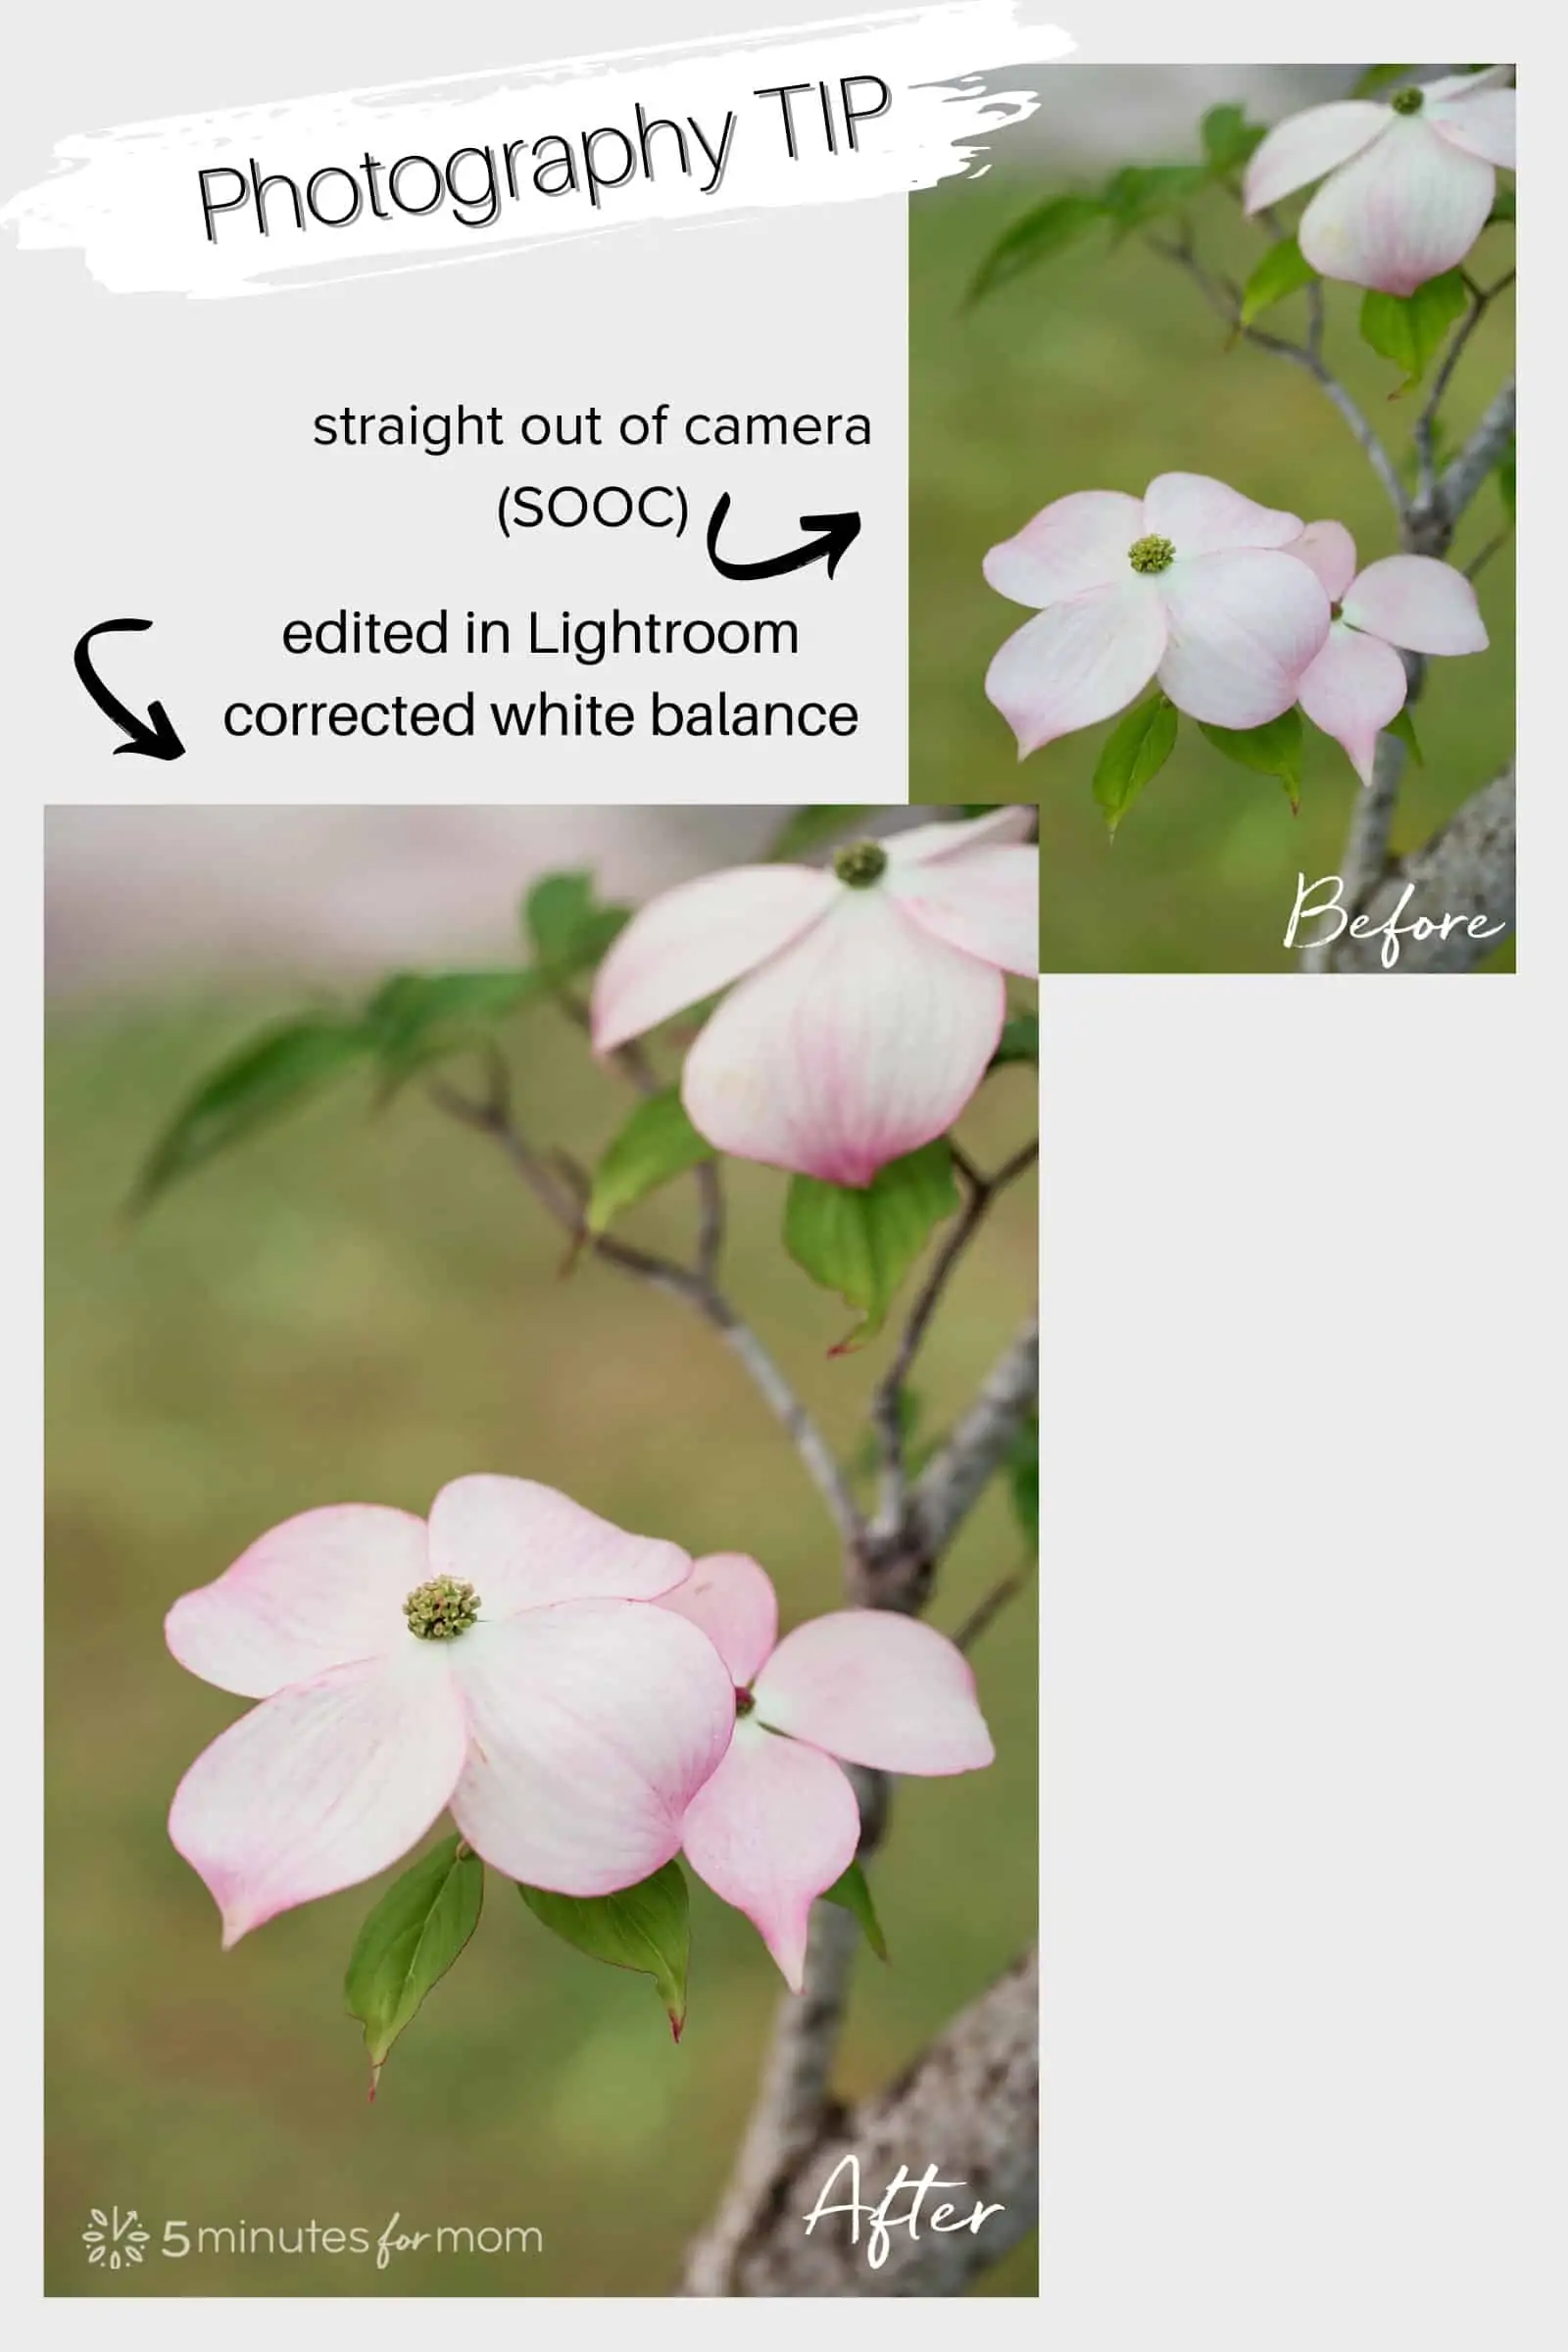
Tip 5 – Edit your photos
If you are comparing your unedited photos with professional images you see online, you will be disappointed.
The truth is that every professional photographer has a post-production process for their digital photographs. Rarely, if ever, would a professional photographer publish or sell an image that is straight-out-of-camera (SOOC.) We always make at least some adjustments as we process our images from RAW files into JPEGS and sometimes those adjustments radically alter the image.
So, whether you’re focusing on flower photography or any other type of photography, if you want your image to be the most striking version of itself, don’t skip the critical editing step.
Fortunately, there are many inexpensive and even free photo editing options that you can use, for both desktops and mobile phones.
On your mobile phone, there are scores of photo editing apps and many of them are free. My top three favorite FREE photo editing apps for iPhone, iPad, or Android devices are:
- Adobe Lightroom for Mobile Lightroom for mobile and tablets is an incredibly useful, top quality app that allows you to capture, edit, and share your photos for free. I am an Adobe Creative Cloud subscriber and I use Lightroom on my desktop as well as on my phone. It is so fantastic that Adobe offers Lightroom for Mobile free for all mobile users.
- Adobe Photoshop Express – Adobe also offers this powerful all-in-one mobile photo editing app for free! You can quickly and easily edit and crop your images, create collages, and more. If you haven’t downloaded Photoshop Express yet, grab your phone and get started.
- Snapseed is a fabulous, easy-to-use, freeware photo-editor application. Snapseed is owned by Google and you can get download it free from Google Play or the App Store. I love Snapseed and use it regularly. Check out this blog post and video tutorial about editing a photo in Snapseed. I guarantee you will have fun creating art with your photos on Snapseed.
If you edit photos on your desktop and you don’t have an Adobe Creative Cloud subscription with Lightroom and Photoshop, you can actually use the free Adobe Photoshop Express on a PC as well. It is available in the Microsoft store. However, the desktop version is not available for Mac.
Another great desktop photo editing option for both PCs and Macs is PicMonkey. PicMonkey is a robust photo editor that offers both free and subscriber options.
Here at 5 Minutes for Mom, we are huge fans of PicMonkey and have used PicMonkey since it launched in 2012. You can check out our PicMonkey photo editing tutorials as well as other bloggers’ tutorials on our PicMonkey Resources page.
I hope these flower photography tips help you to continue capturing your world in photos!
Please comment below and let us know if you enjoy flower photography and what other photography areas you would like to learn more about. If you are a photographer or blogger, feel free to leave links to your website. We would love to see your work.
Talk with me: @5minutesformom and Facebook.com/5minutesformom
Pin with me at http://pinterest.com/5minutesformom/
Pin it for Later