This post may contain affiliate links. Read my disclosure policy here.
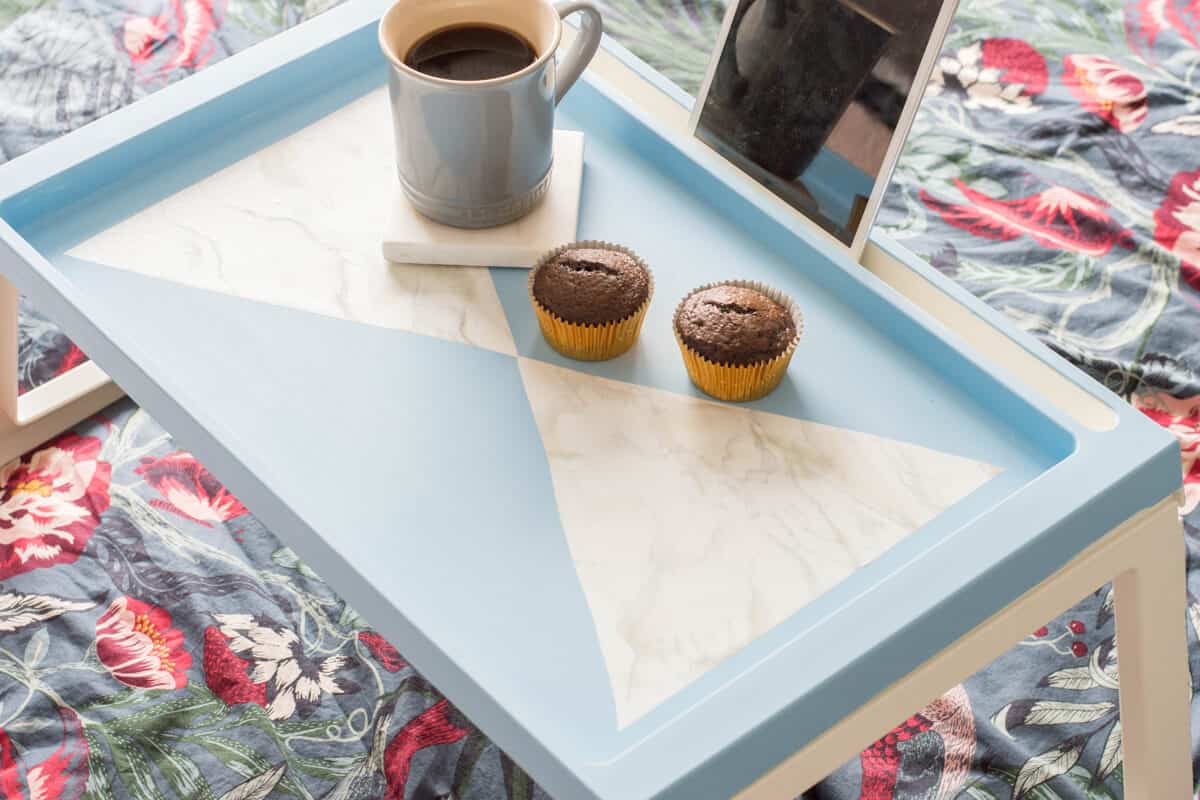
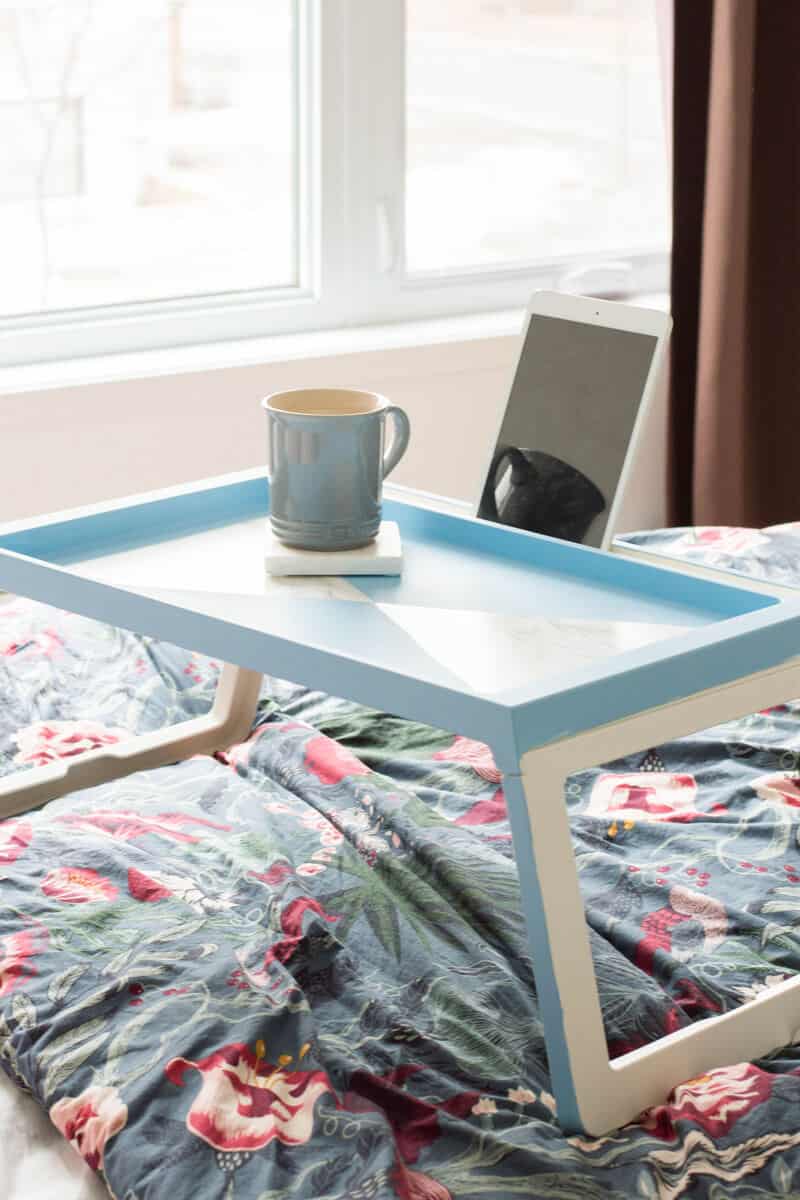
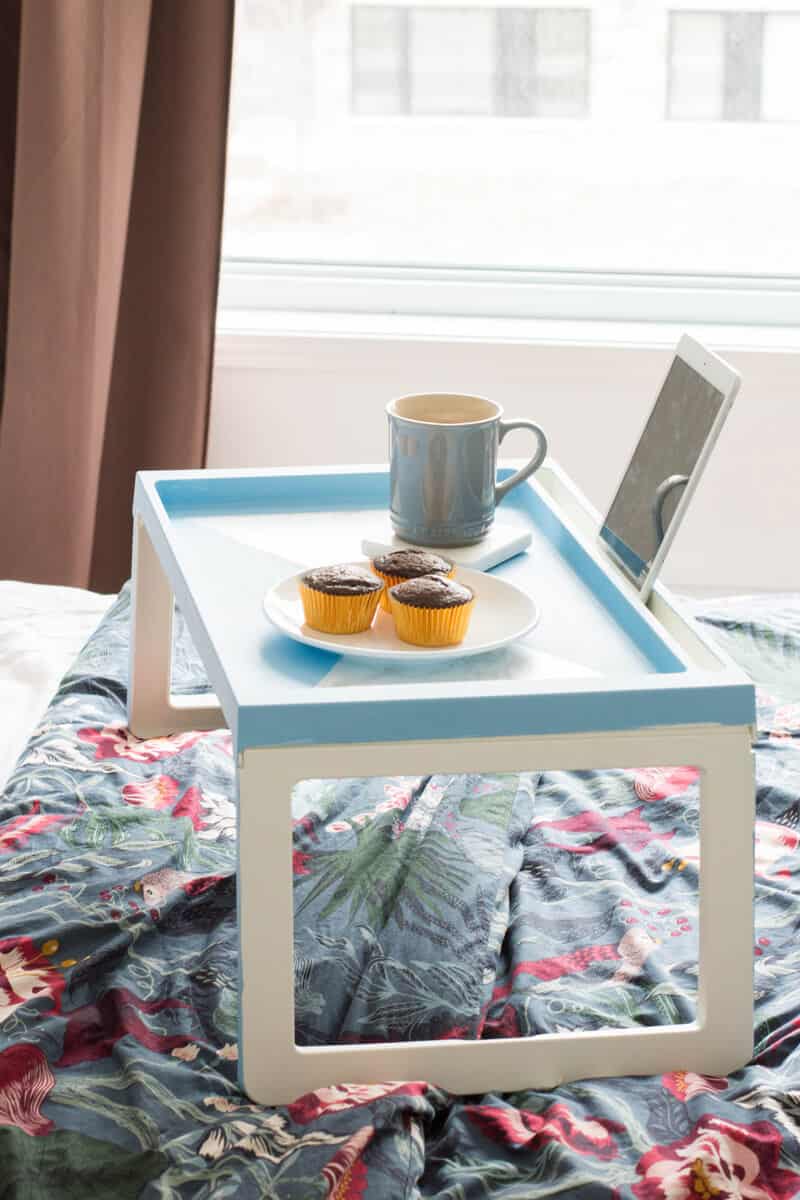
This IKEA Hack Breakfast Tray will always give me a good excuse to eat pancakes in bed. If you’re looking for a lovely Mother’s Day gift idea, make this pretty breakfast tray DIY and serve her a tasty breakfast in bed along with it.
Ok, now this is one DIY project I was so eager to share with of all you.
Hi, everyone! It’s Lisa from Fabulous Habits. With Mother’s Day coming up (this will be my third celebration – yay!), I thought long and hard of a DIY that would be: pretty, practical, and easy to complete.
We all know that breakfast (ie.: ALL the pancakes) in-bed is an essential part to any Mother’s Day celebration. So, I came up with my own “IKEA hack” and gave my KLIPSK Bed Tray a little makeover.
My IKEA Hack Breakfast Tray DIY is so easy to make because we’re starting with a pre-made tray and then decorating it. If you’d like to see how to actually make a breakfast tray from scratch, check out this Handmade Breakfast Tray tutorial.
With a few simple steps, you can create this breakfast tray DIY. (P.S. I’m a millennial, so naturally, I’m gravitated to all-things-pastel and marble-patterned. Jokes aside, you can get super creative with this DIY with your own colors and prints.)
IKEA Hack: The Cutest (and Simplest) Breakfast Tray DIY
Supplies Needed:
- IKEA’s KLIPSK Bed Tray (or any white breakfast tray – but this one is super simple to work with!)
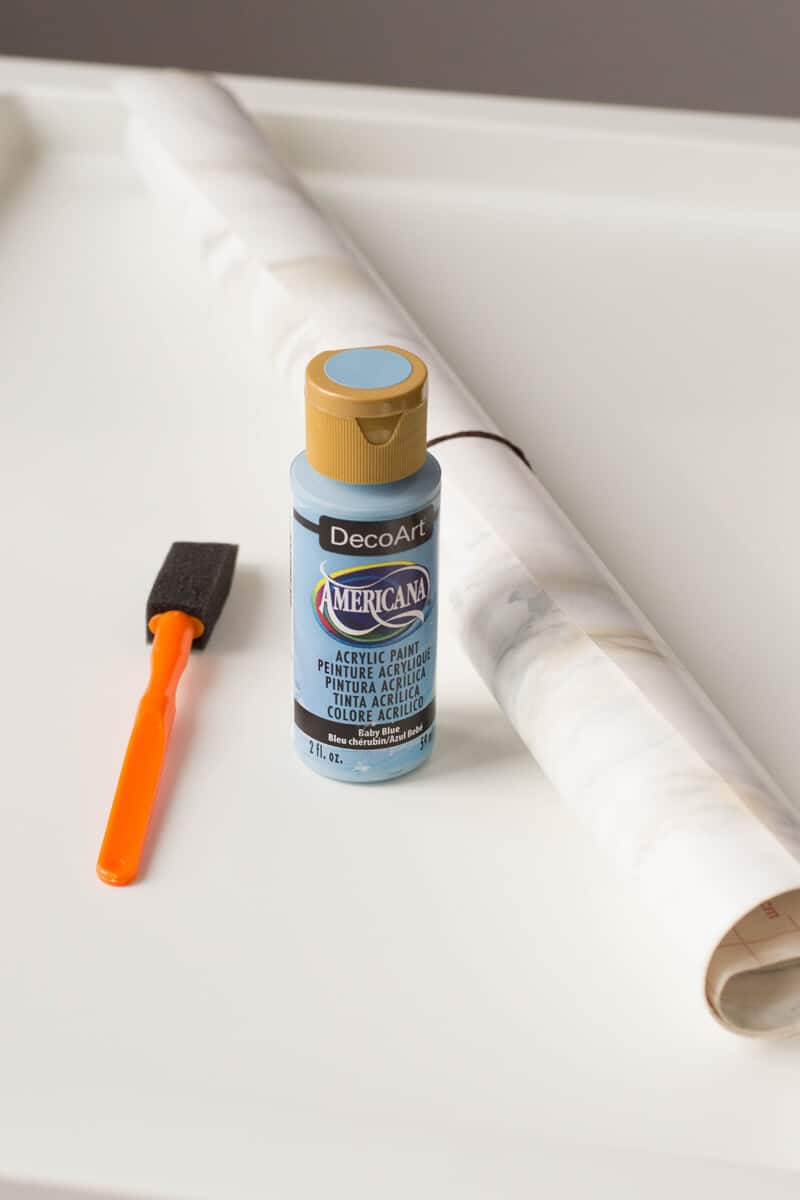
- A bottle of acrylic paint (we went for sky blue)
- Foam paint brush
- Marble contact paper
- Pencil
- Ruler
- Scissors
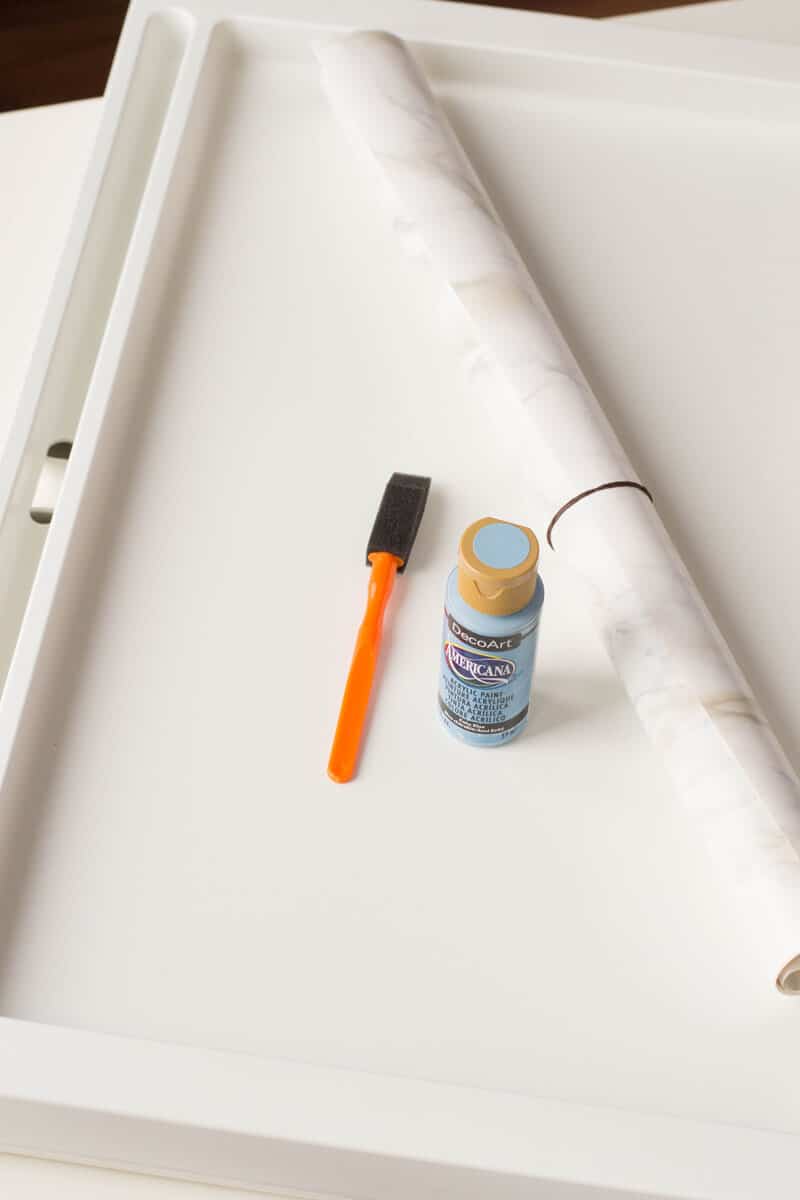
A Fresh Coat
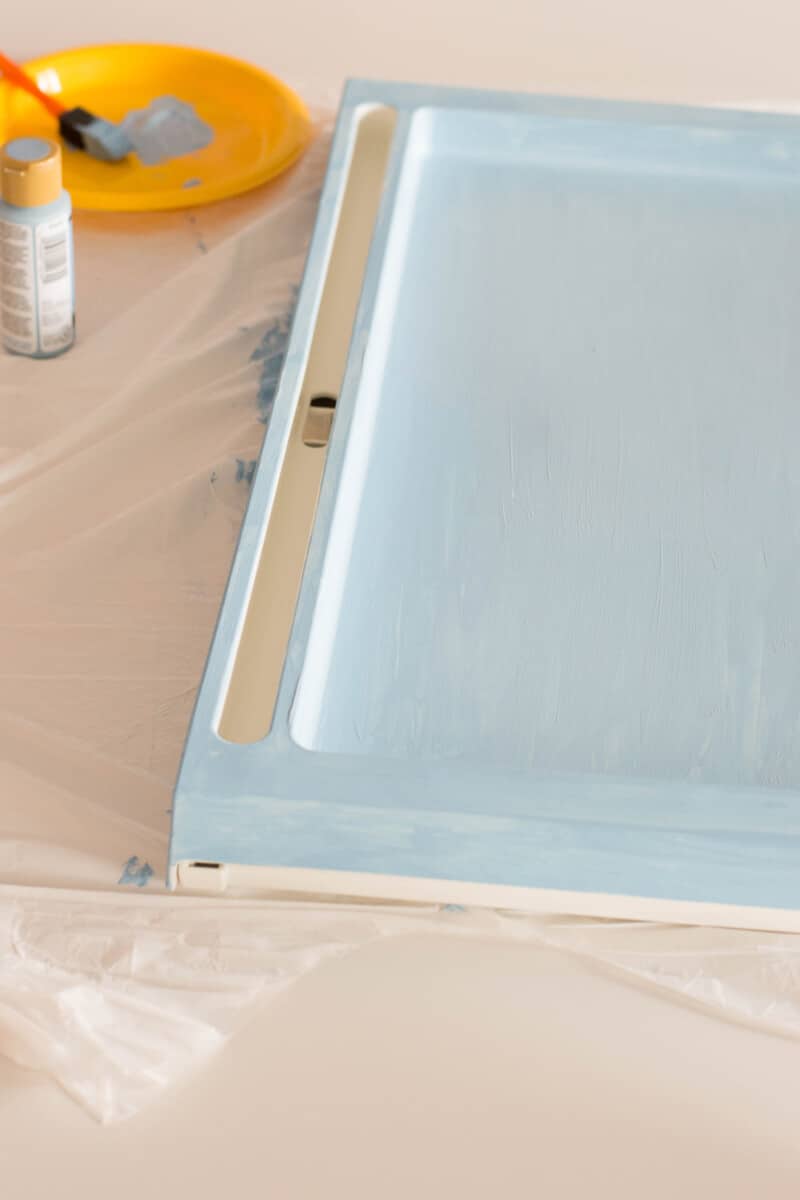
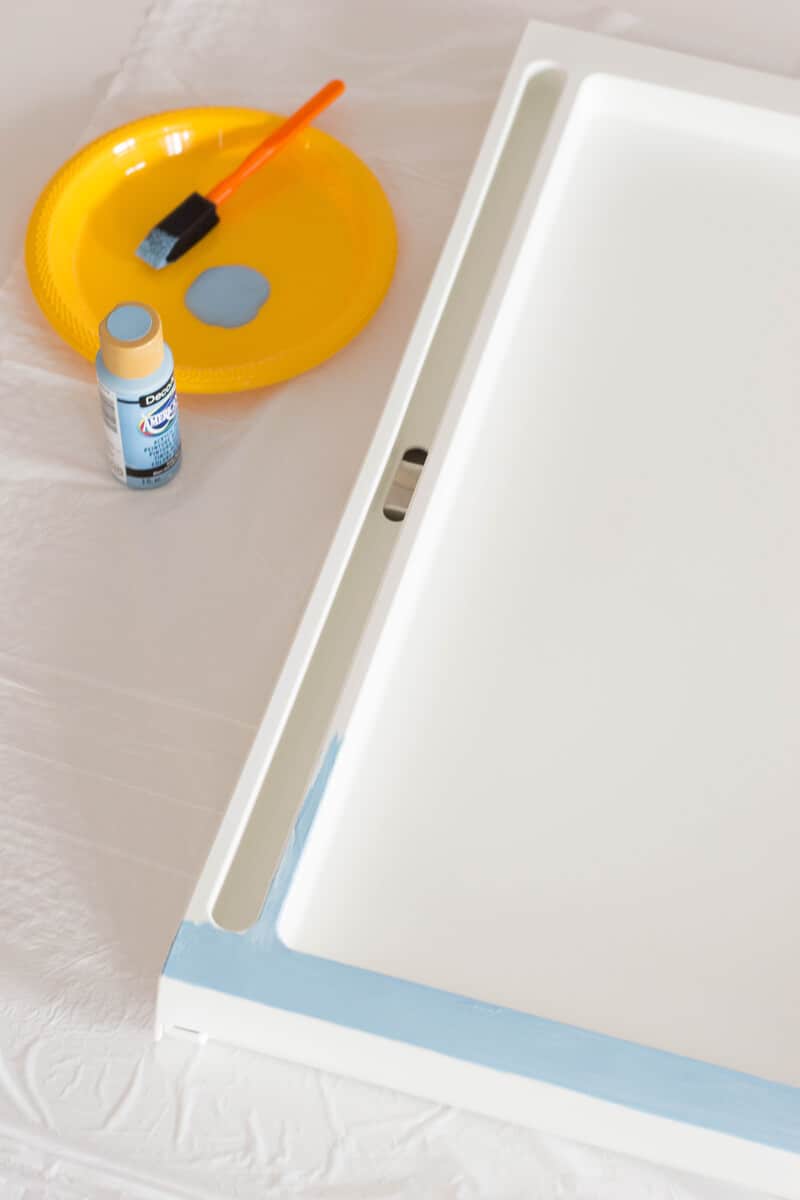
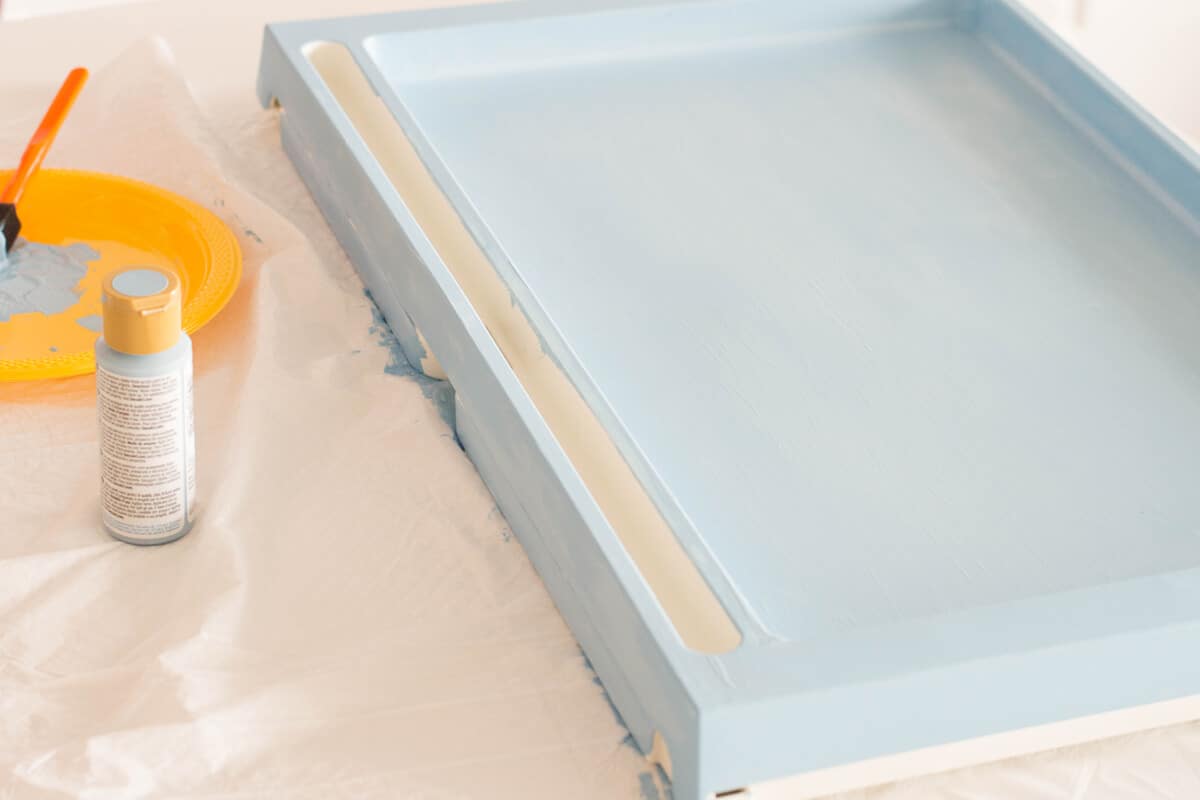
Start by lining your working surface with garbage bags or old newspapers. You don’t want to create a big mess during this fun DIY!
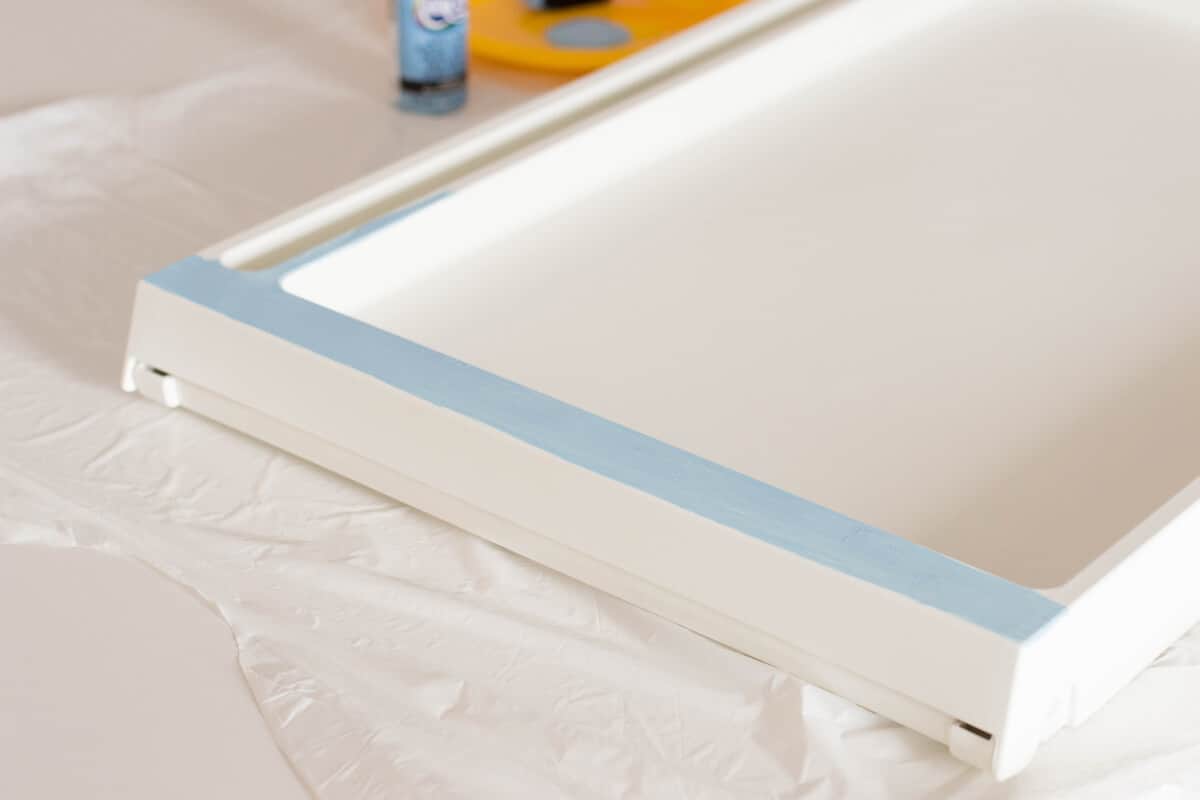
Using your foam paint brush, paint the surface and all edges of your breakfast tray. We kept the breakfast tray folded and only painted what was exposed.
Let it set for about 30 minutes.
Shape the Marble
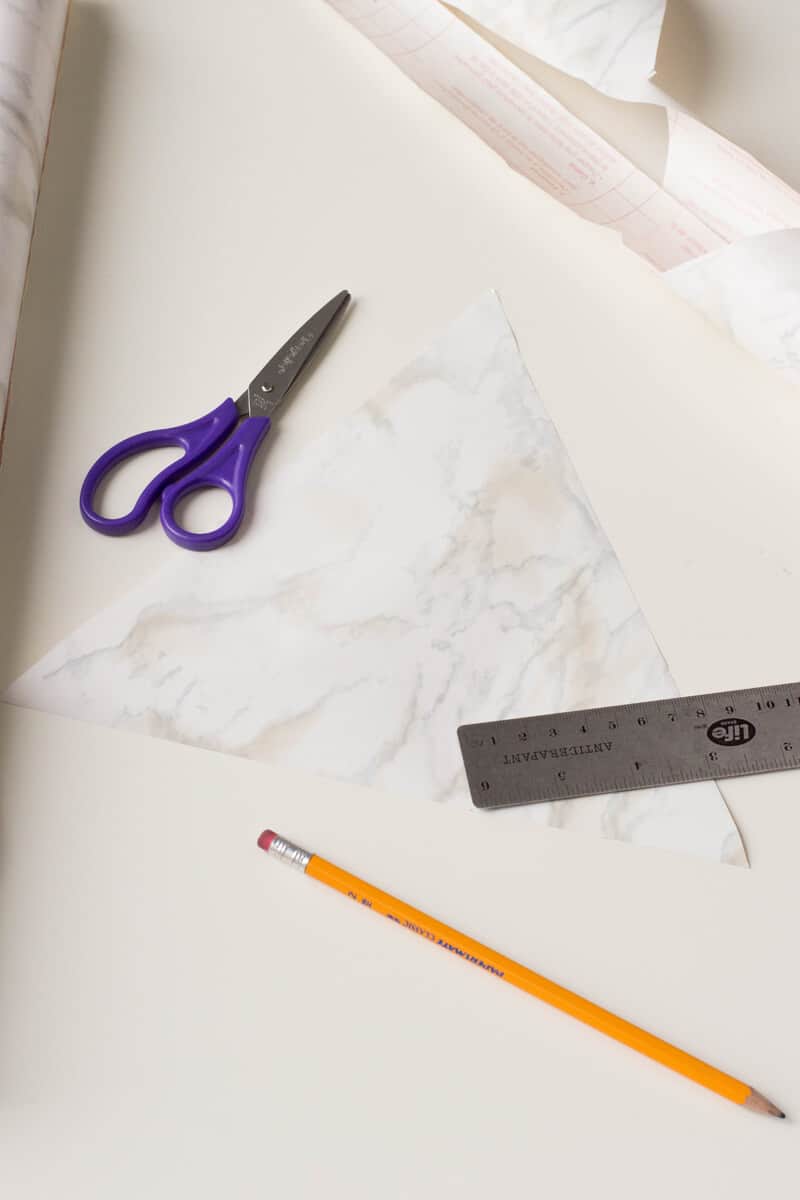
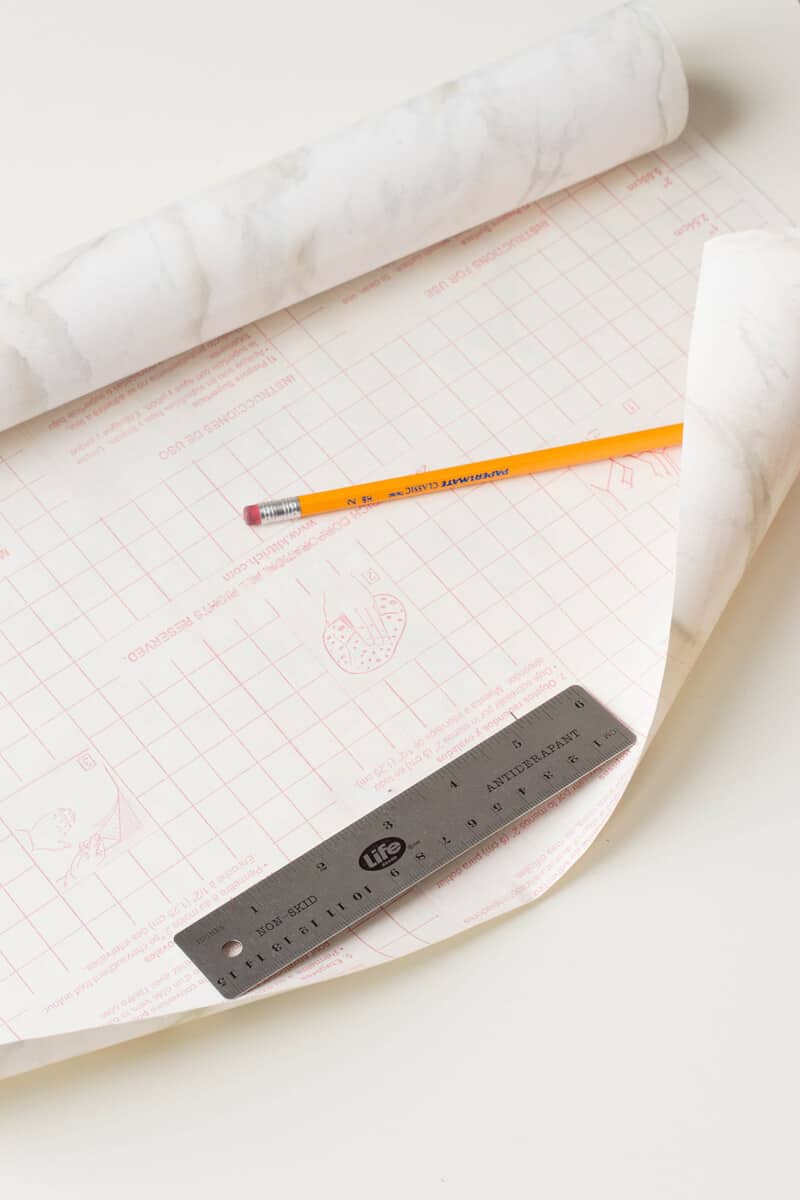
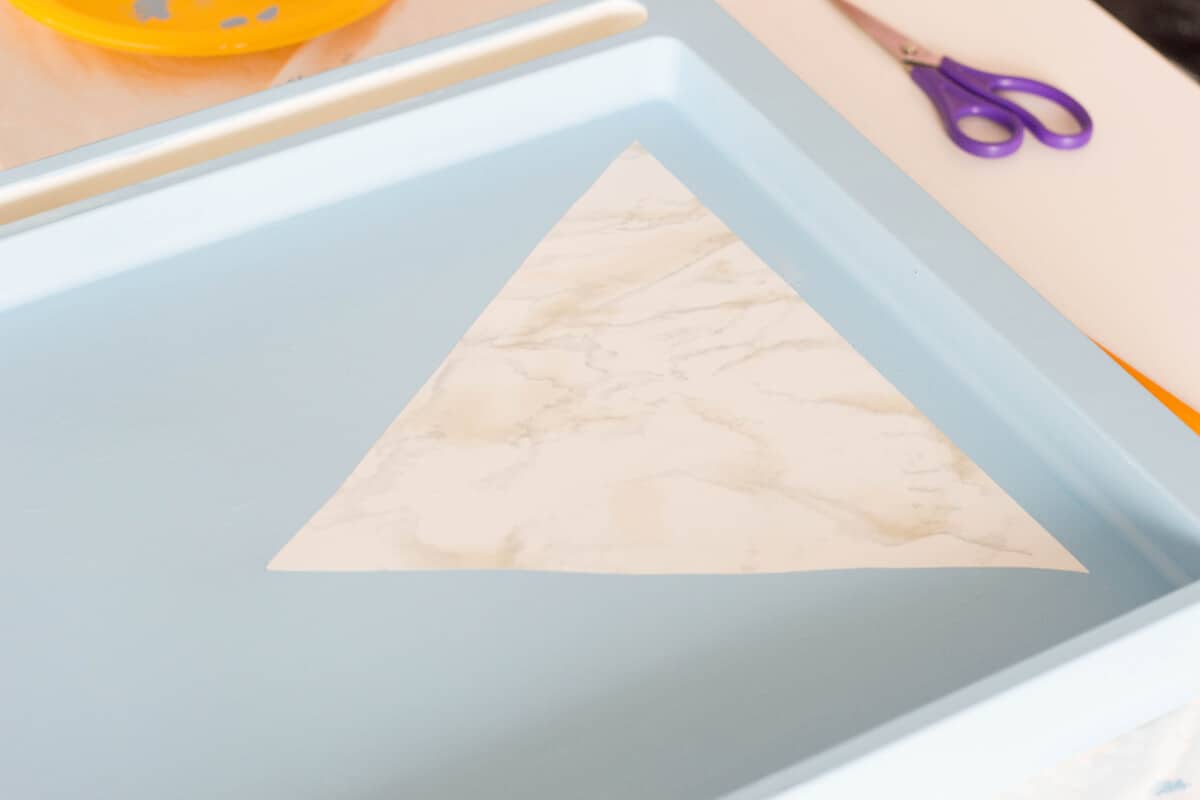
I’m all about multi-tasking, so as your first coat of paint dries, cut out two triangles from your contact paper.
The base of your triangle should measure to be about 10 inches. The highest point of your triangle should be about 9 inches.
Most contact paper rolls have lines and squares on the back, making it easy for measuring.
A Second Coat
Time for the second coat – remember to paint in the same direction and keep the layer thin.
Give it a minimum of one hour to dry.
Contact Paper Application
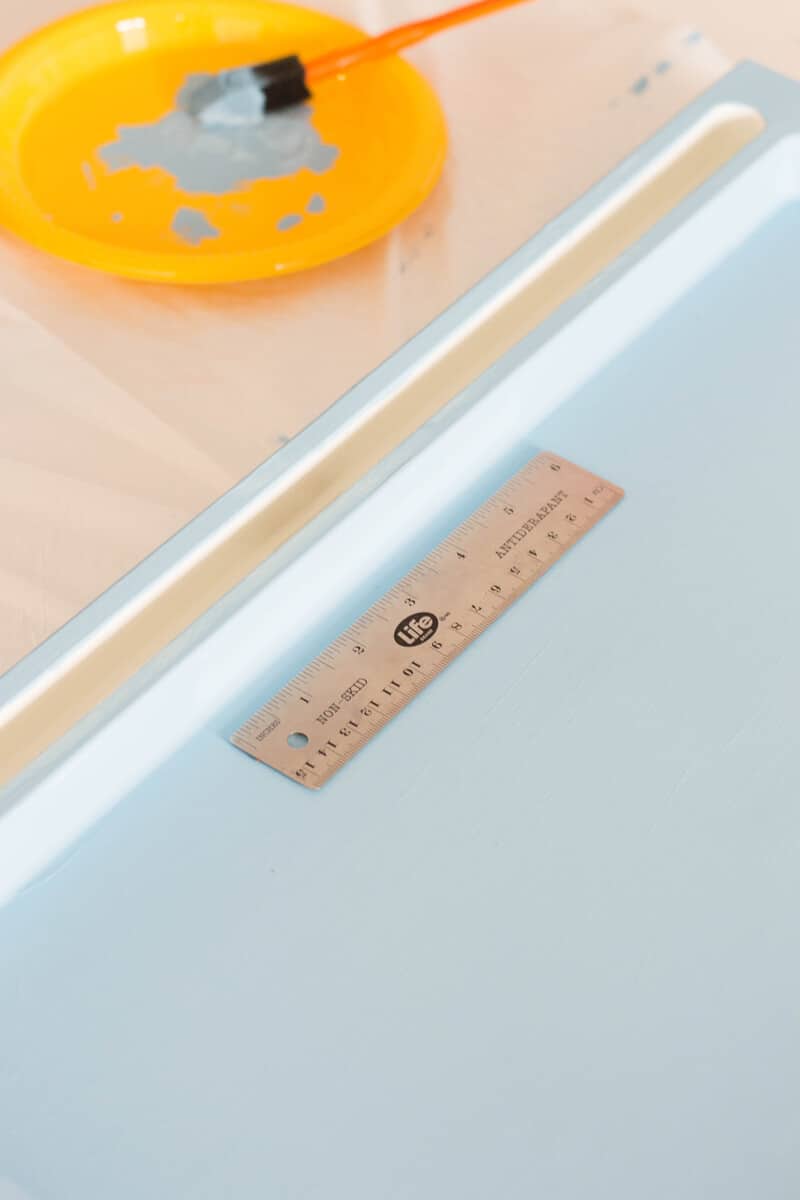
Measure out the center of your breakfast tray.
Center your marble triangles (the two points should be facing each other) on your breakfast tray.
Carefully remove the contact paper backing and stick onto the surface of your breakfast tray. You’ll have to smooth it out and remove any air bubbles (a credit card can help with this).
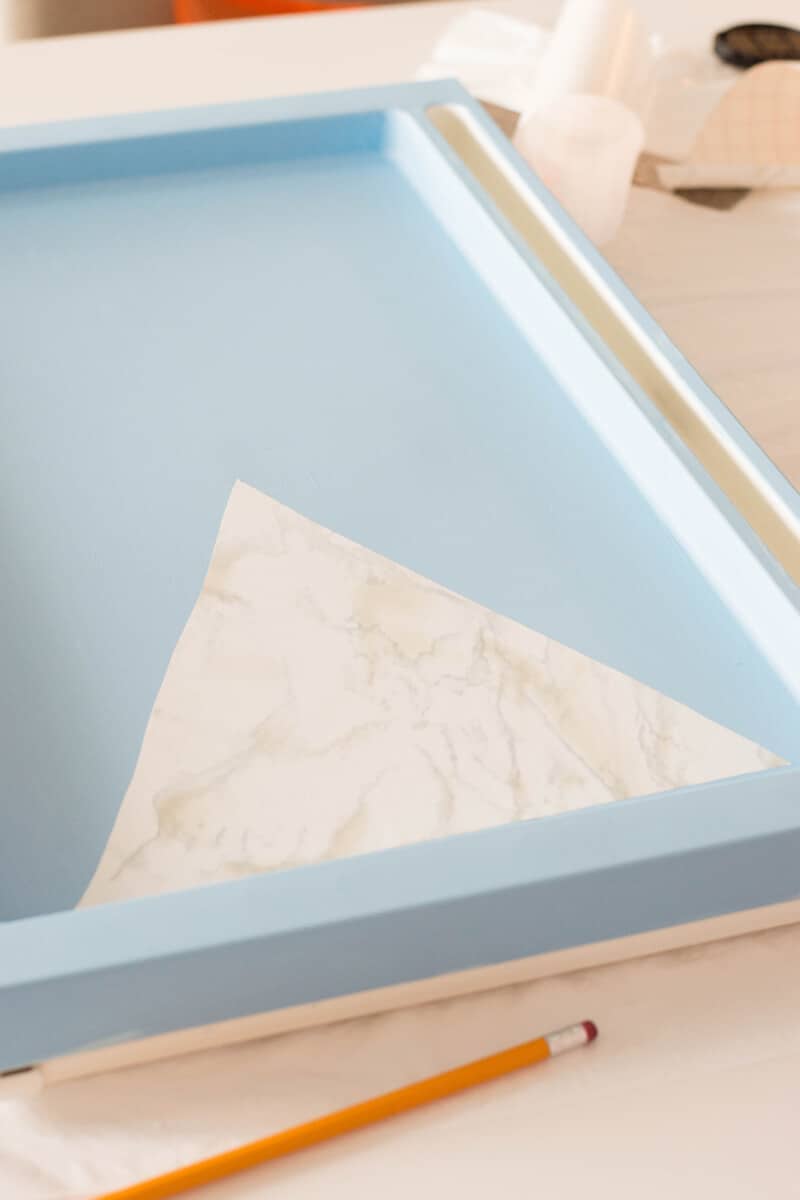
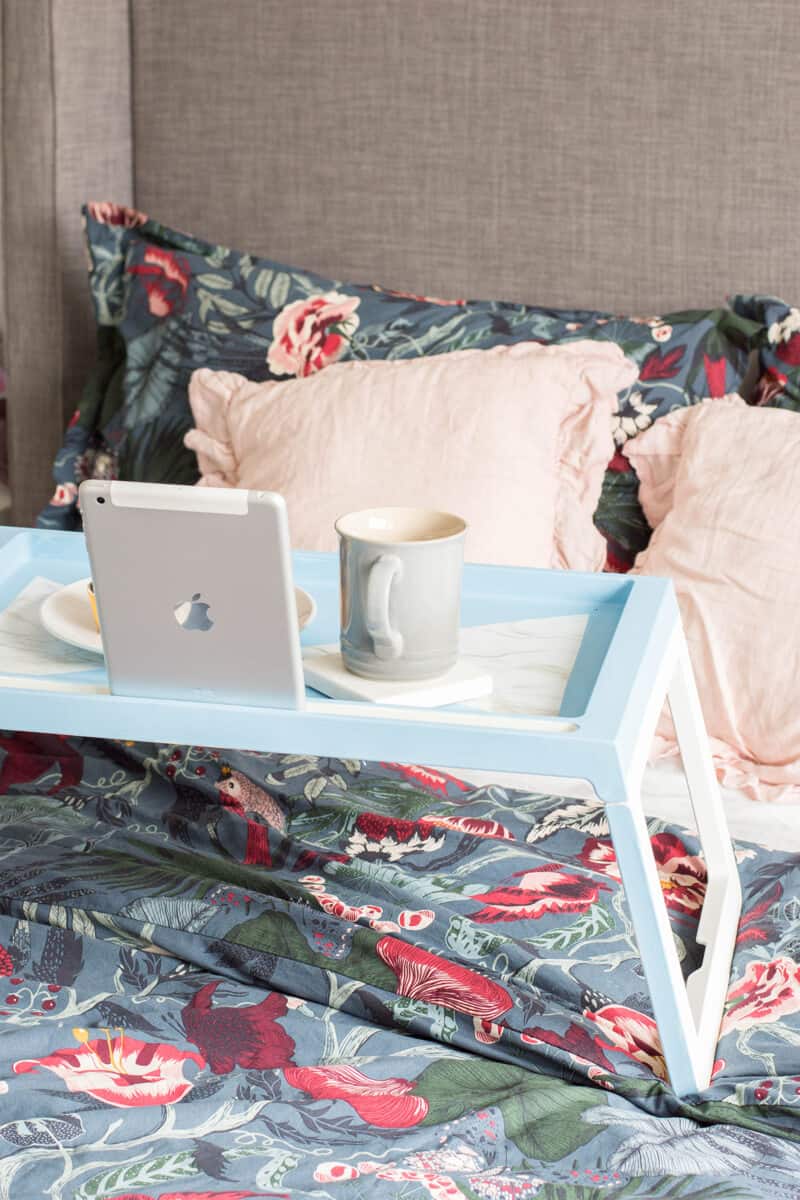
…and now it’s time to have breakfast in bed!
Yes, I mean it: it’s really that simple. If you an inkling that you’ll be using this breakfast tray a lot, I suggest adding a coat of Mod Podge Hard Coat. It’s totally optional but can help if you’ll be a heavy user!
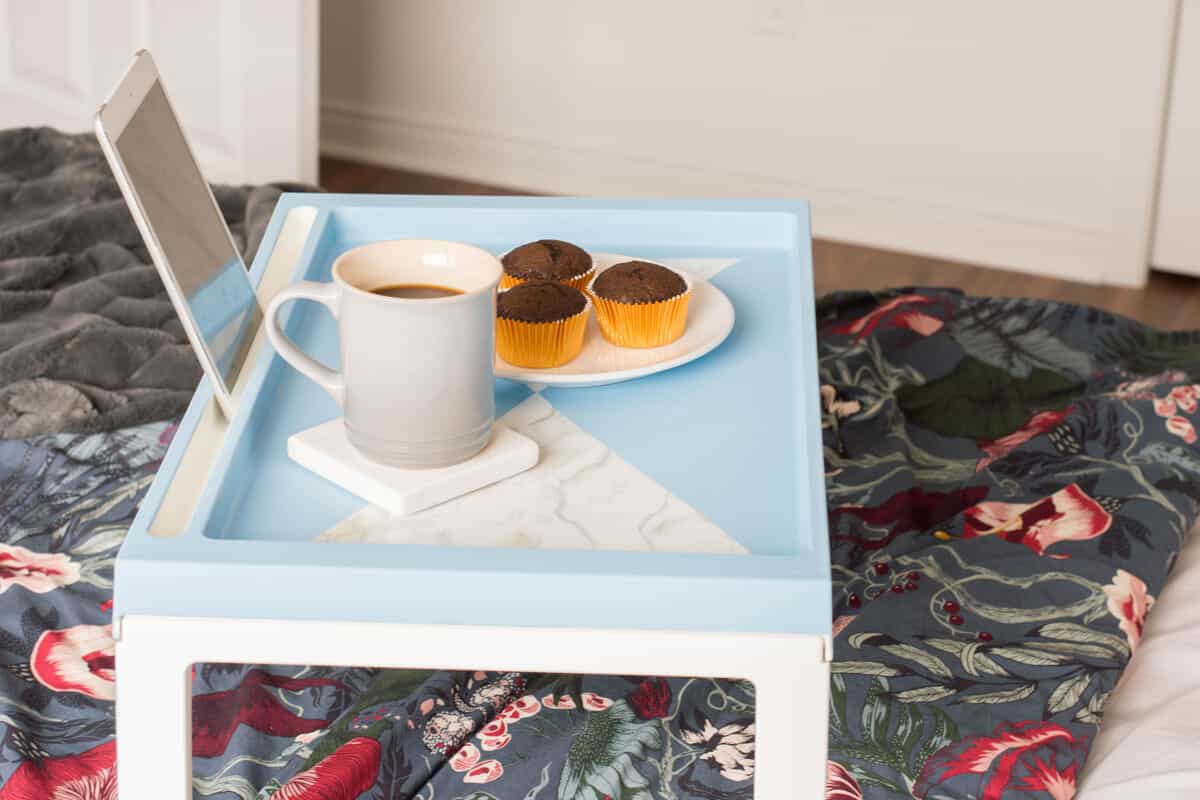
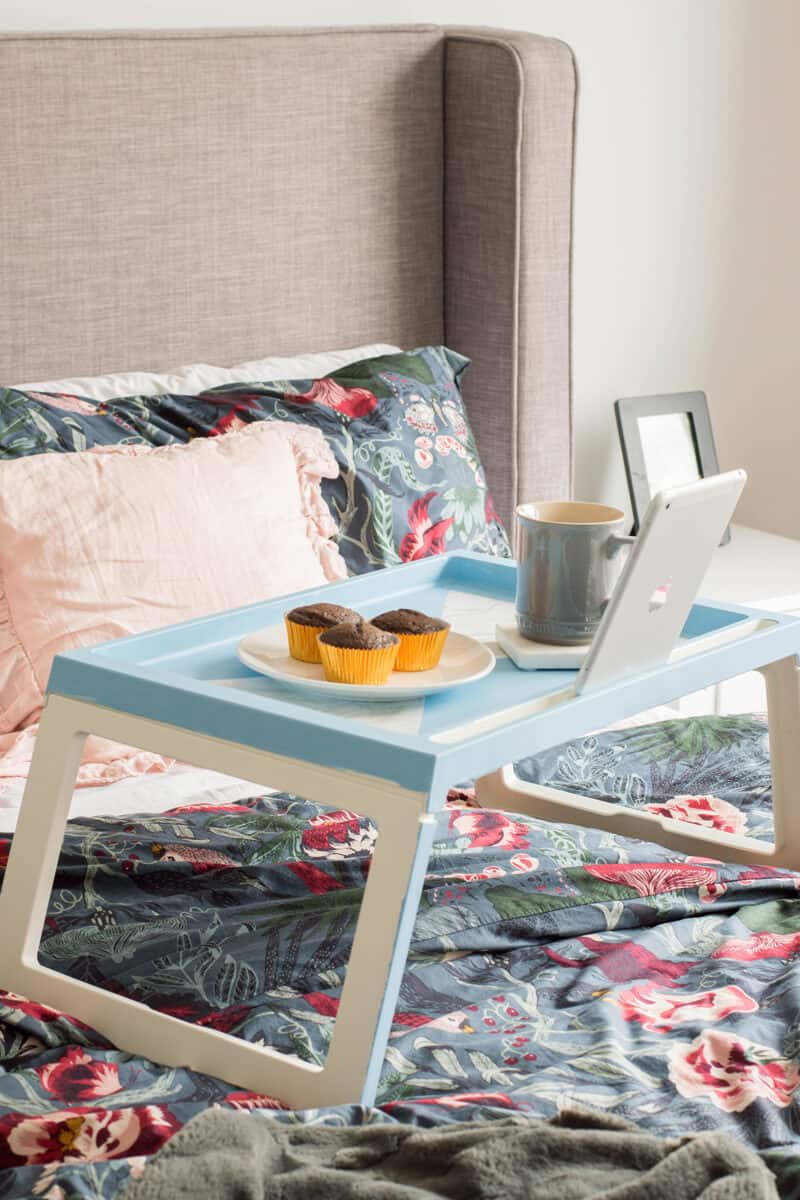
I mean, come on: doesn’t this make you crave all the Mother’s Day pancakes out there?
I can’t wait for my Mother’s Day celebration. Do you own a breakfast tray? Would you want to give yours a makeover?
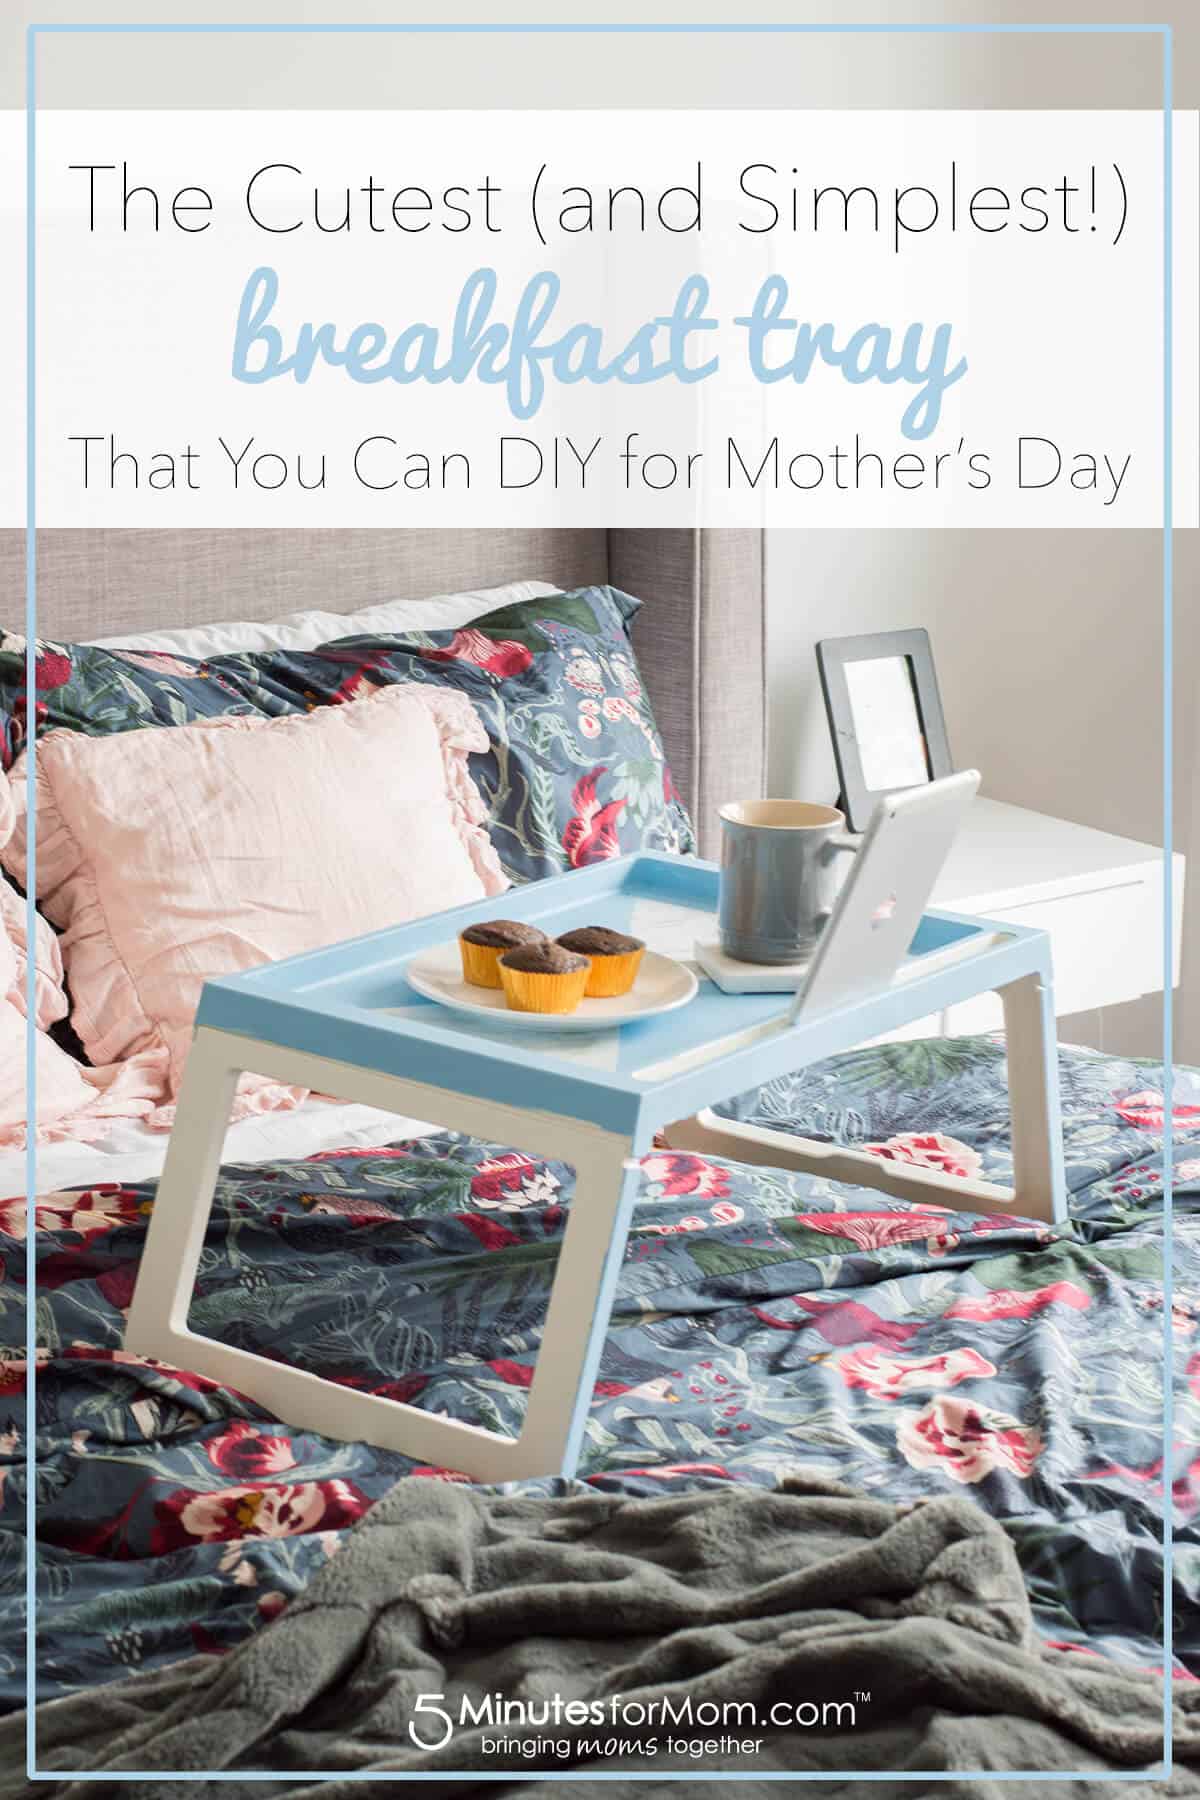
Pin this IKEA Hack Breakfast Tray DIY for later
Be sure to save this pin so you can make this DIY gift for Mother’s Day or another celebration to treat your loved one to breakfast in bed.
More Mother’s Day DIY Gifts
We love handmade gift ideas… especially Mother’s Day gifts kids can make.
If you’re looking for gifts that grown-ups and kids can make together, here are a couple more fantastic ideas…
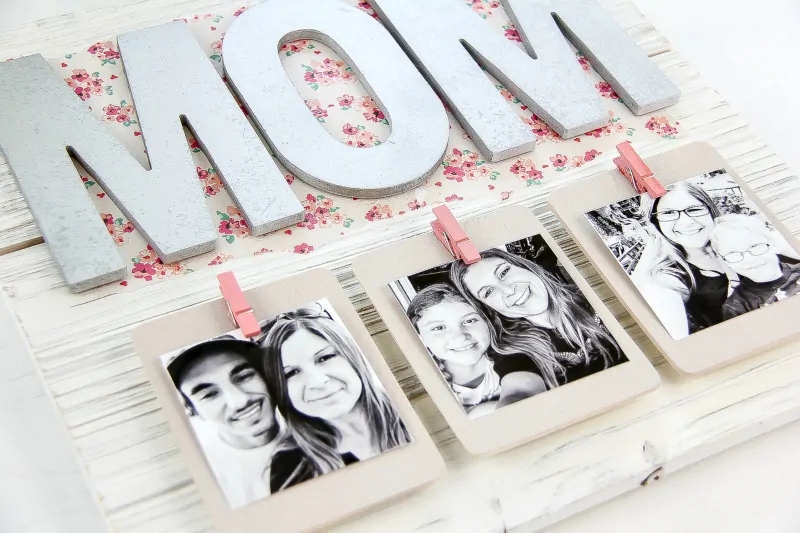
Make a DIY pallet picture frame for Mother’s Day. You can adapt for aunts and grandmothers.
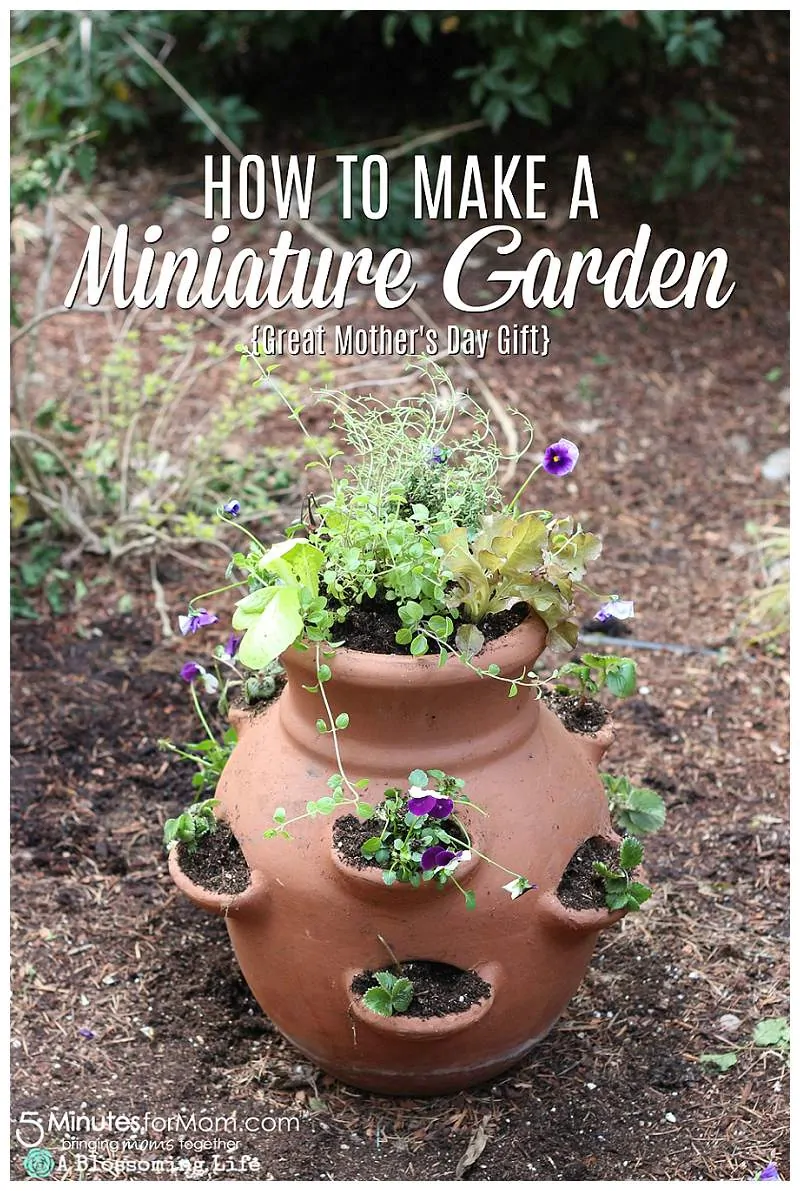
Make this fun and practical gift idea for mom… an Edible Miniature Garden.


Rita @Harbour Breeze Home says
What a great idea for a gift!! I love your combination of paint and the marble contact paper!
Kim-madeinaday says
Very nice hack! I love the triangles! Pinned! Thank you for sharing on Merry Monday! We hope you will join us again next week!
Kim
Kristi Dominguez says
This tray is beautiful! What a great DIY idea! Thanks for linking up and sharing with us this week!