This post may contain affiliate links. Read my disclosure policy here.
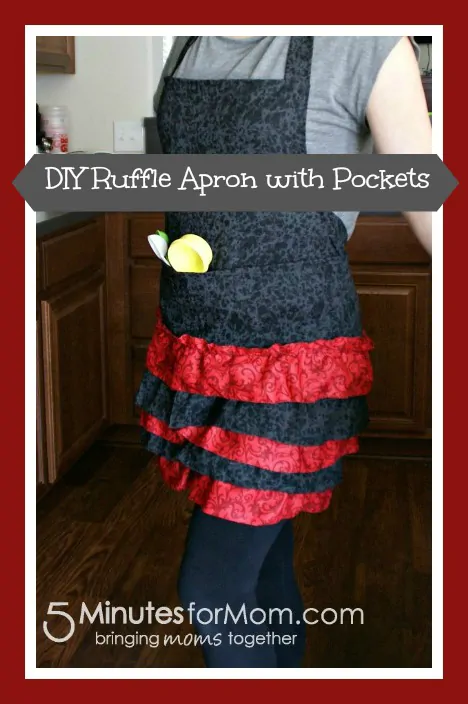
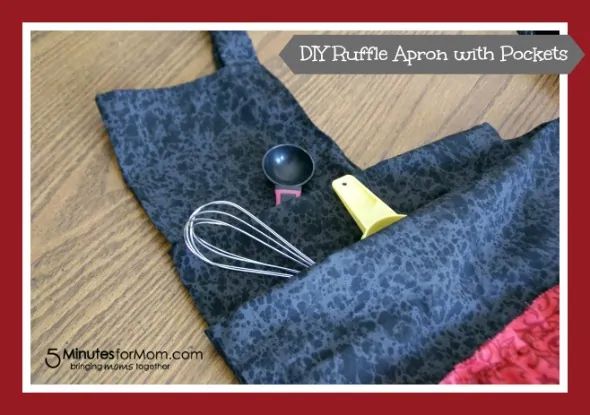
Especially fun for all you cooks out there, now you can show your own style with this simple DIY Ruffle Apron tutorial by our new contributor Danielle Reeves.

Among these wonderful kitchen accessories are, of course, aprons! What a fun way to let your personality show while whipping up something tasty (and, if you’re like me, often chocolaty)! This tutorial breaks it down into simple steps, making it easy for newbie sewers (such as myself).
Supplies Needed
- 1 1/2 yard Fabric – for the main color (in my case, the black speckled)
- 1/2*** yard Fabric – for the ruffles (in my case, the red swirly)
- Sewing machine
- Gathering Foot for sewing machine OR Hot glue
- Thread
- Scissors (fabric)
- Something to measure (cutting mat, measuring tape, etc.)
- Pins
Directions
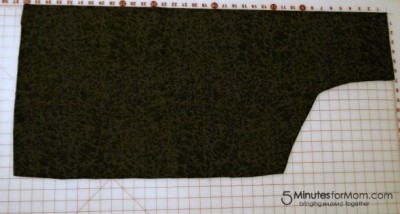
- Cut out your apron shape. Remember that you want it LONG so you can make the pockets, and allow room for hemming. I cut out my dimensions (after folding in half, with the fold inside) at 36″ long, the top 7″ wide, then about 7″ down it curves out until 16″ wide.
- Cut 1 strip for the neck: 34″ x 2″ total, not folded over
- Cut 2 strips for the waist ties: 24″ x 2″ total, not folded over
- Cut your strips for the ruffles: 40″ x 4″ total, not folded over (I did 5 total: 3 accent and 2 main color)
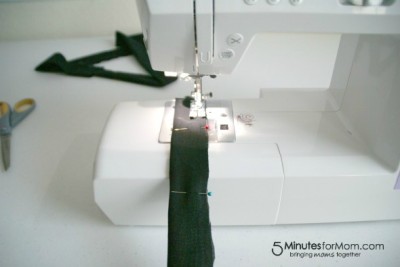
- Sew the edges of your neck strap and waist straps together, inside out: then pull them right-side out. If you don’t want to deal with pulling such thin strips back right-side-out, then just sew them normal. Doing it the inside-out way does help them look more nicely sewn, though.
- Hem the sides of the apron EXCEPT for the curved area.
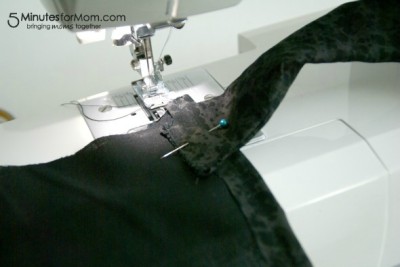
- Add the two waist straps on the inside of the apron, JUST below the bottom of the curve.
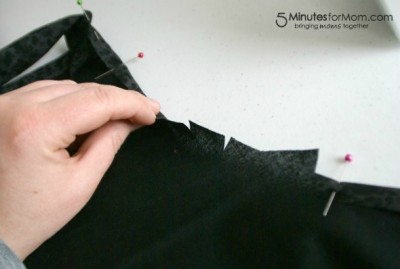
- Now Hem the curve, folding it down over the waist straps a tiny bit. This just adds a little bit more ‘security’ for those straps to hold…and it sure looks nice! One trick for working with the curve, cut tiny slits along it. It pins much more smoothly, and makes sewing the curve a cinch!
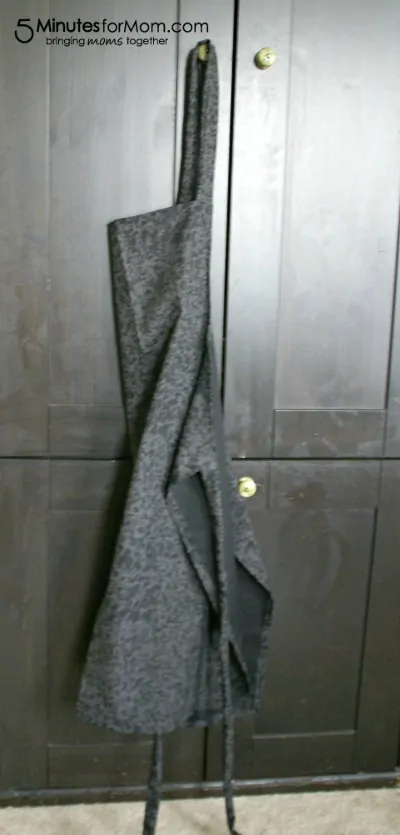
- Now look at this wonderful apron you’ve just created! It’s just a little plain….so let’s get to those ruffles, shall we?
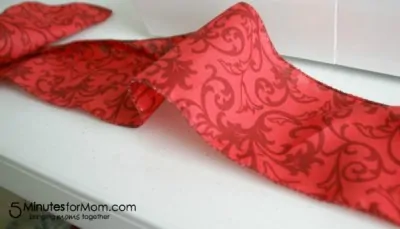
- Cross stitch all the way around your strips for the ruffles. This helps prevent fraying!
- I used a gathering foot for my ruffles, and just sewed them across, letting it do all the gathering work for me. If you don’t have (or don’t want to use) a gathering foot, you can just bunch bits of the fabric near the top (about 1/2-1 inch down) and hot glue them (on the backside of the fabric) so the gathers stay.
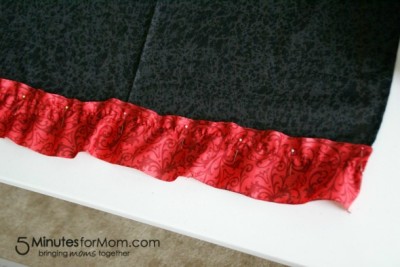
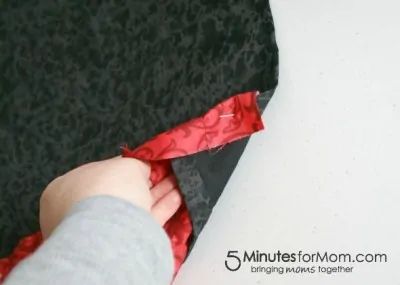
- Starting with the bottom row on your apron, follow your gathered line and sew it across. Leave room to fold a bit of the strip over the edges to the back of the apron, making your sides much smoother and nice looking.
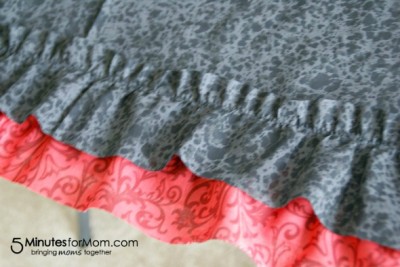
- Move on to the second row, placing it so the bottom just overlaps the sewn part of the bottom strip, as such:
- Continue this way for the remaining ruffles.
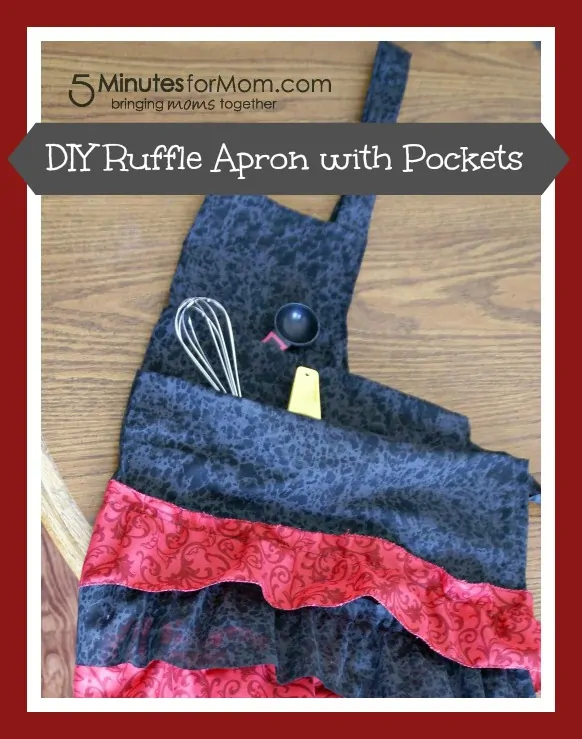
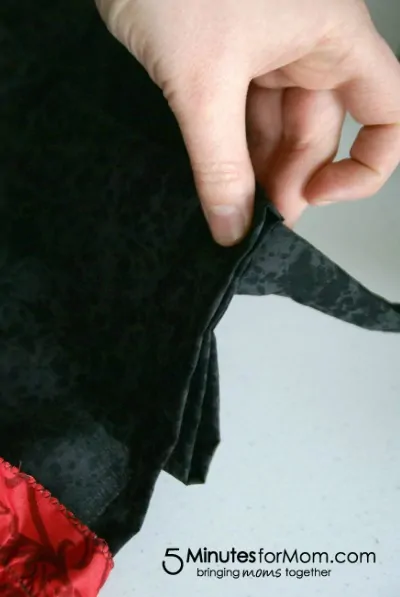
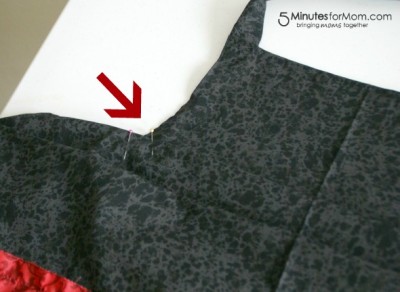
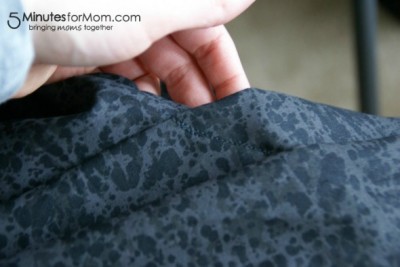
- If you don’t want the pockets on the front, YOU’RE DONE!!! If you want some fun and cute pockets to help hold your fun kitchen gizmos, then read on: While your apron is laying flat, grab about mid-waist, and fold it up towards the waist ties. Pin where it meets the ties/side of apron, then sew along this area to secure. This way, nothing can slip out the sides of your pocket!
- You can do this for a smaller, second pocket above it, like on the one I did, or just leave the big one.
Now enjoy your cute, fun and totally YOU apron! Now let’s get our bake on, shall we? If you’re planning something with chocolate, count me in!
***Make sure your fabric is at least 40″ wide, or you will need more fabric. You will also want to be careful with which fabric you select for the ruffles, since some bunch LOTS more than others, in which case you would also need more fabric.
Written by Danielle Reeves, a new contributor here at 5 Minutes for Mom. Danielle is the crazy momma of 4 behind Busy Mom’s Helper.


Leave a Comment