This post may contain affiliate links. Read my disclosure policy here.
Tonya here, and today I’m going to show you how to make easy photo gift cards for any occasion. Thank you to BeFunky for sponsoring this post.

In 2012 another writer at 5 Minutes For Mom, Lesley, posted some easy photo editing tips using BeFunky, a fantastic photo editing tool. But, things have changed sine then, and there are new features and tools available, so I want to share an update to that post.
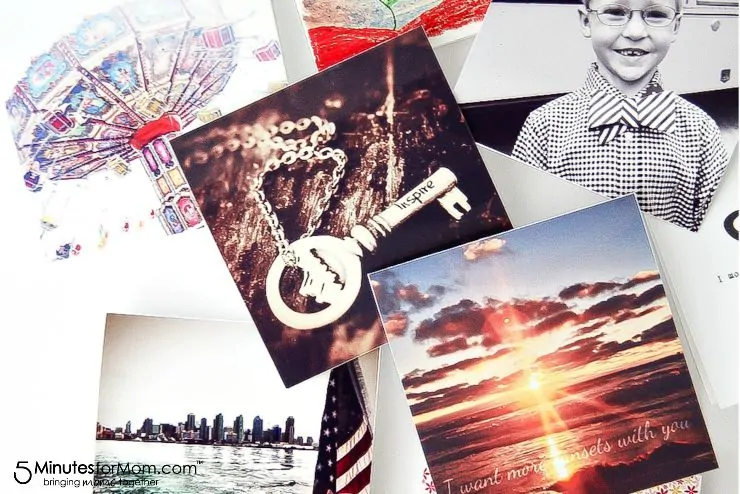
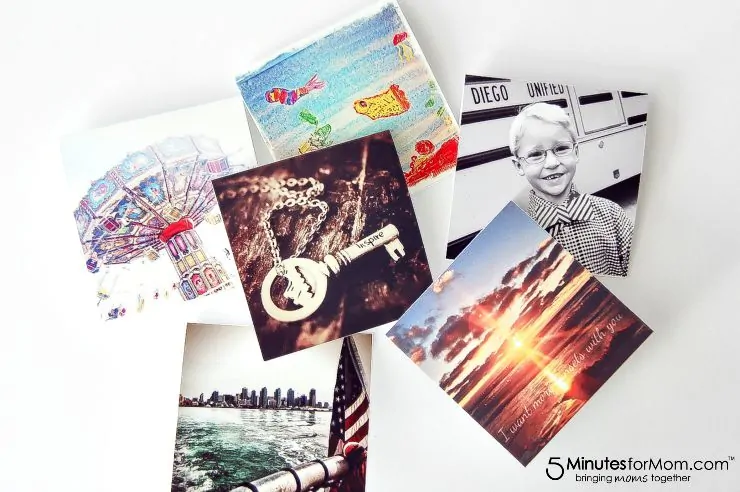
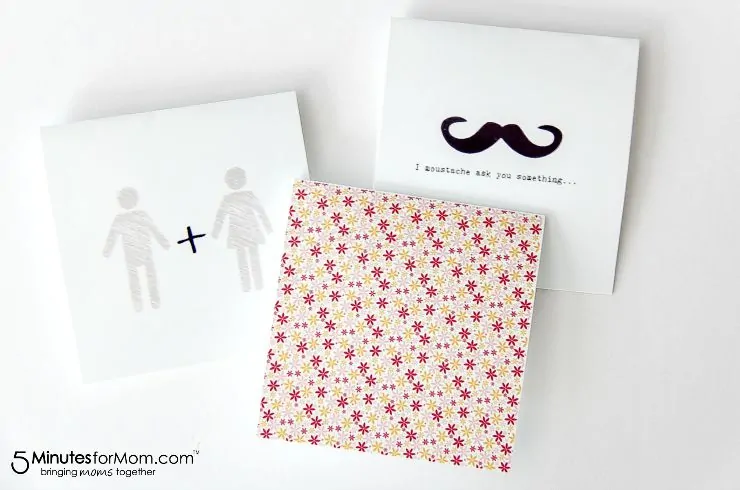
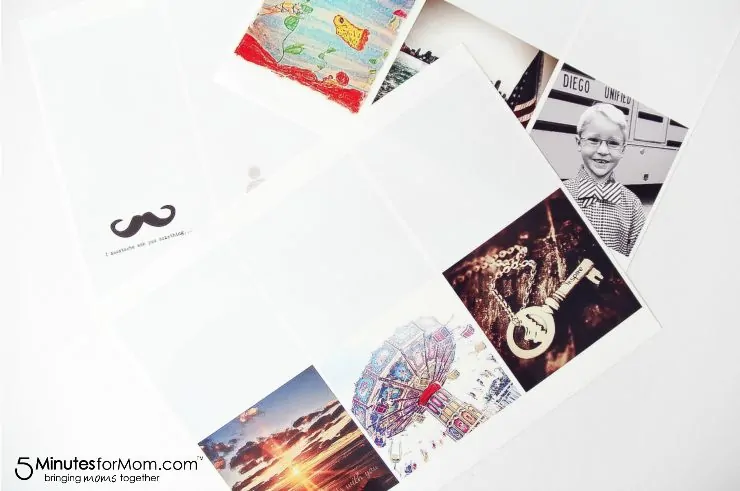
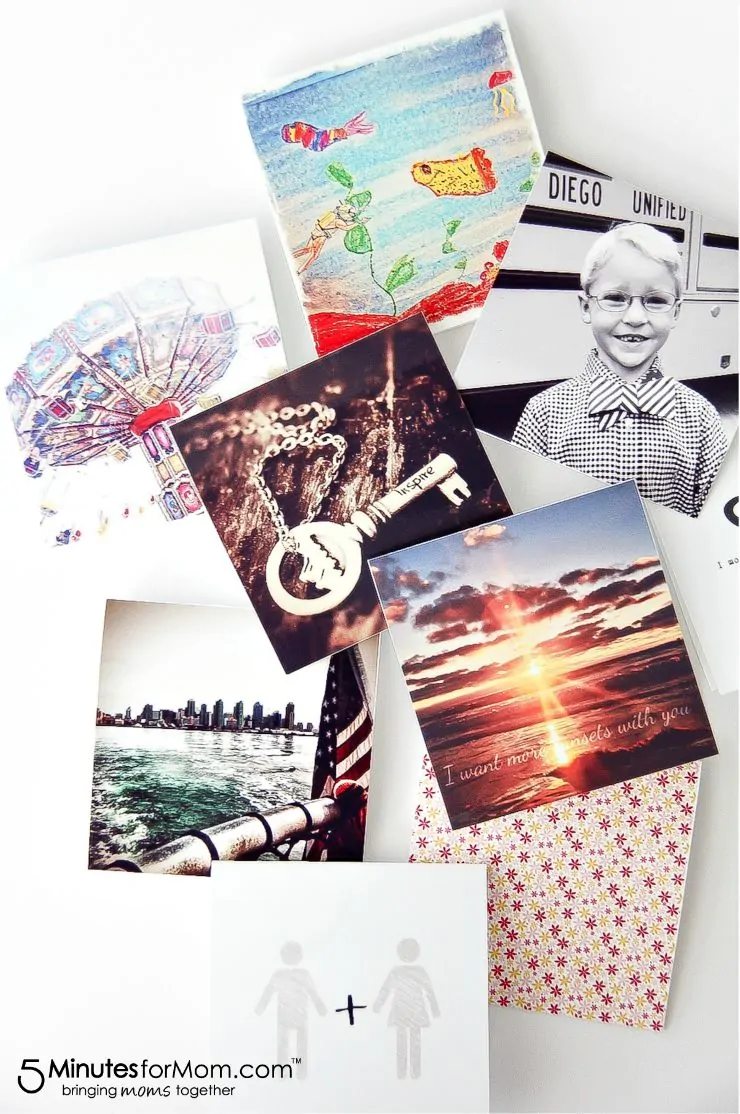
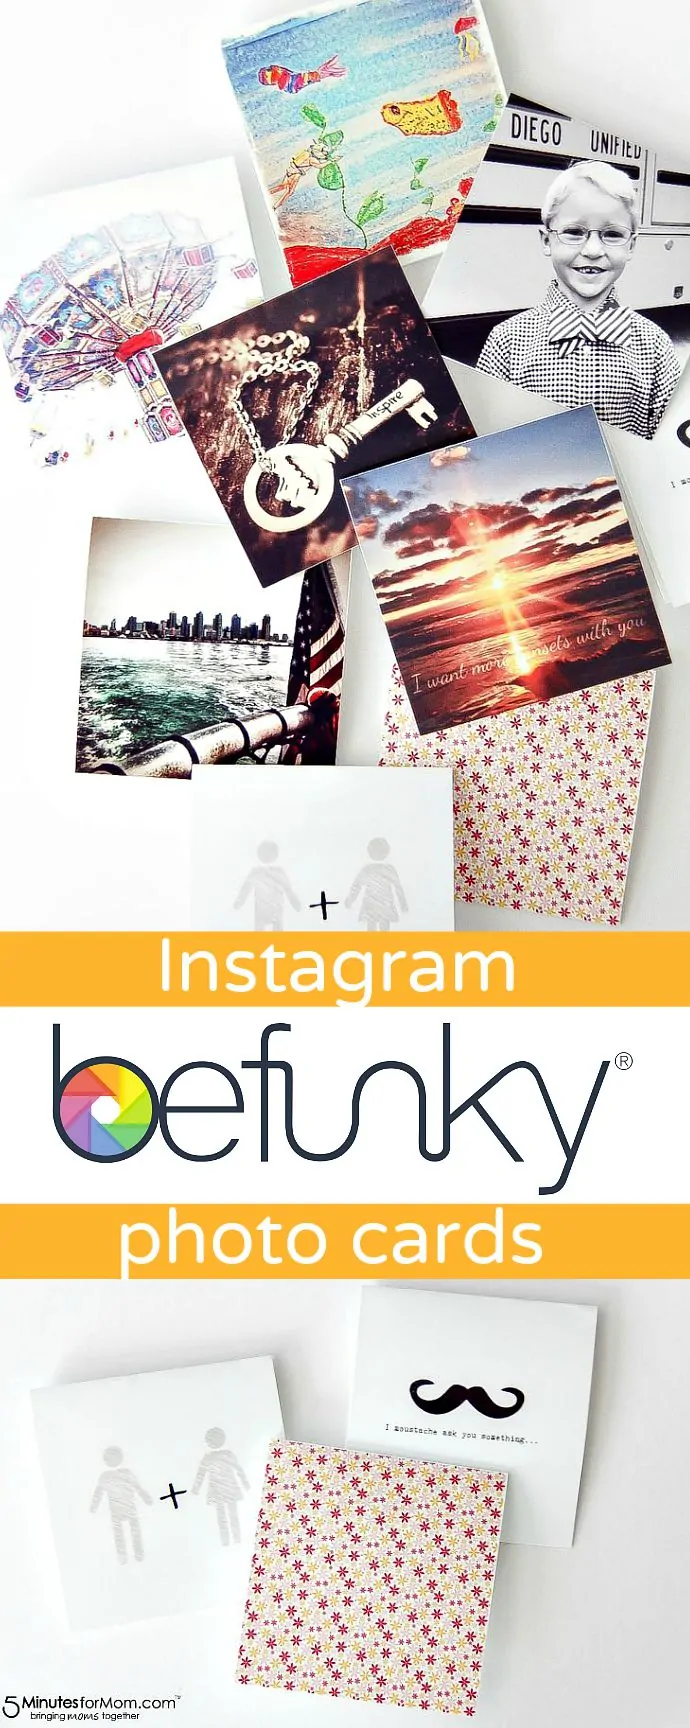
I made this collection of note cards using Instagram photos I have taken and the BeFunky editing and collage tools so I could not only show you what is available available, but also show you just how easy it is to make custom cards for any occasion.
After you have chosen a few photographs to turn into cards open up BeFunky.com.
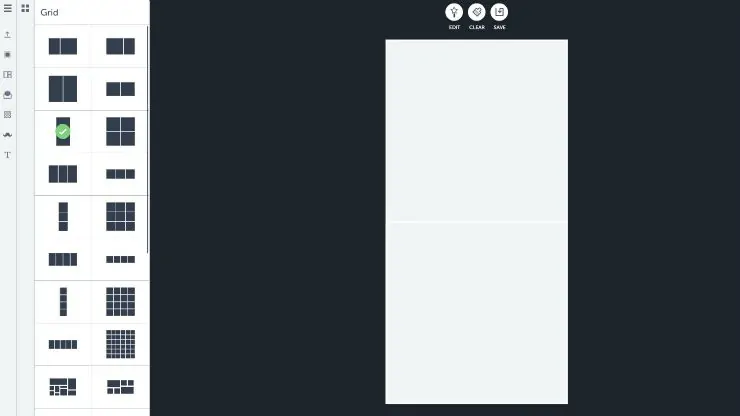
Click on ‘templates’, which is the button that looks like a photo collage on the left side. Select the collage that is one square on top of the other.
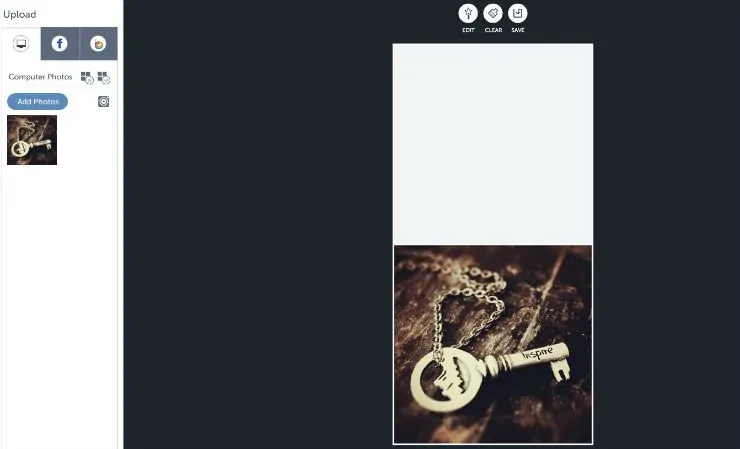
Click on the bottom square and a small ‘+’ sign will appear next to a trash can. Click on it and upload a photograph from your computer. This is how you will create a basic photo card. Save it to your computer and you will be able to print out three to a page.
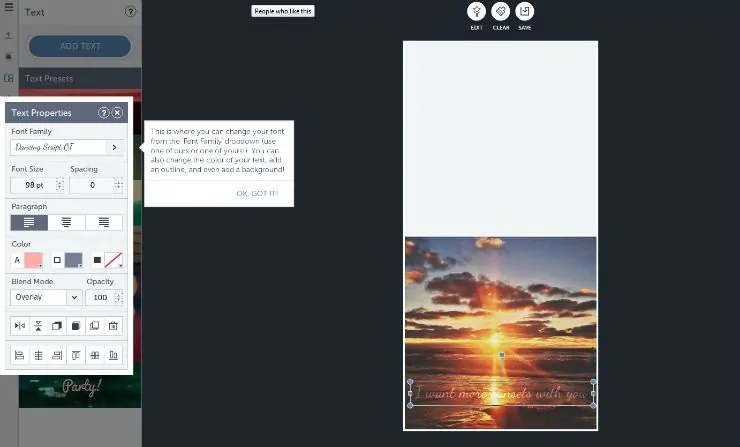
If you want to add text to your photographs, that’s easy too. Using BeFunky you can add text, change the color and font, and even add a banner behind it if you like.
Click on the ‘text’ button on the left side. You can choose from the preset text designs or choose your own font. I didn’t want this text to stand out completely, but instead want it to blend into the photograph so as you can see in the menu on the left side of the photograph below under ‘blend mode’ I made it an overlay. This means that the image is showing through the text slightly.
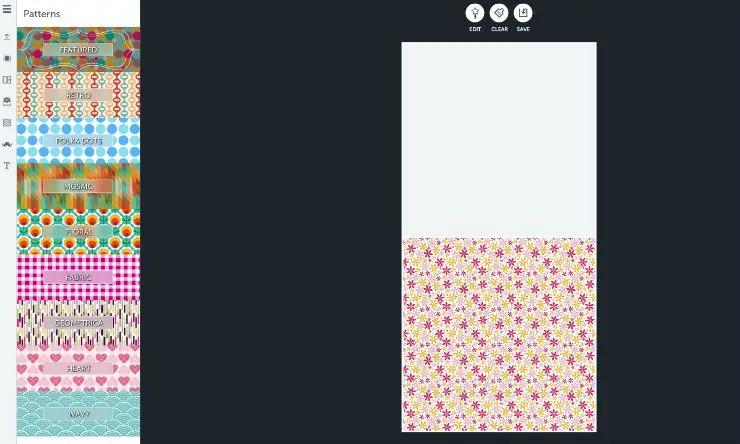
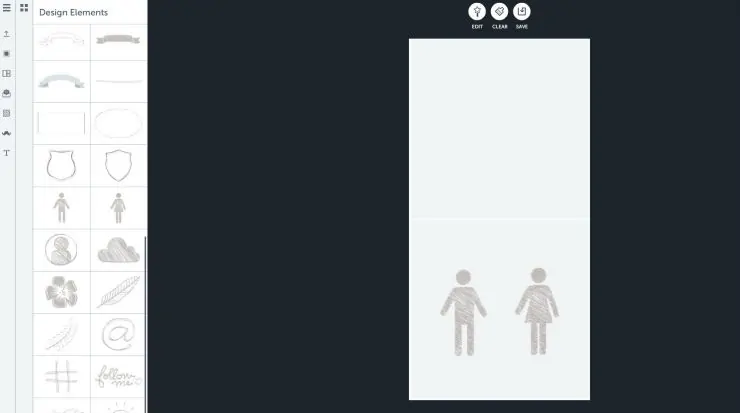
You will see below I also made a few note cards using the patterns and graphics available on BeFunky. The possibilities are endless.
As you can see they have a great selection of patterns and graphic elements available. Just drag and drop and you are ready to go.
I added three cards per page to a Word document to print them.
Tip: print on heavy card stock or photo paper – just as long as the photo paper doesn’t have a brand logo on the back because you want to be able to write your message on a clean slate.
Trim your cards, fold them in half and you are ready to write a thoughtful message inside.
Here are a few note card ideas to get you started:
- Party thank you
- Birth announcement
- Get well soon
- Congratulations
- Just thinking of you
- Arrange a date
- Holiday cards
- Romantic gestures
- Gift tags
Learn more about BeFunky and connect with them here:
Facebook | Twitter | Instagram | Pinterest
Also, if you are a blogger, or have social media accounts you will absolutely love their simple tools to create headers and graphics for your Facebook, YouTube, Twitter, Pinterest, and Google+ pages, as well as templates for creating infographics, step-by-step directions with images, and so much more.
Help Your Friends BeFunky
Tweet or pin this post and share the fun(ky).
[Tweet “DIY Instagram Note Cards and Photo Editing Tips Using @BeFunky”]

Written by Tonya Staab, lifestyle blogger at Create-Celebrate-Explore.
I received compensation from BeFunky along with a full membership to their web app in order to create this blog post. Although this is a sponsored post, all opinions are my own.


Jo-Lynne Shane says
That is SO cool! I love it.