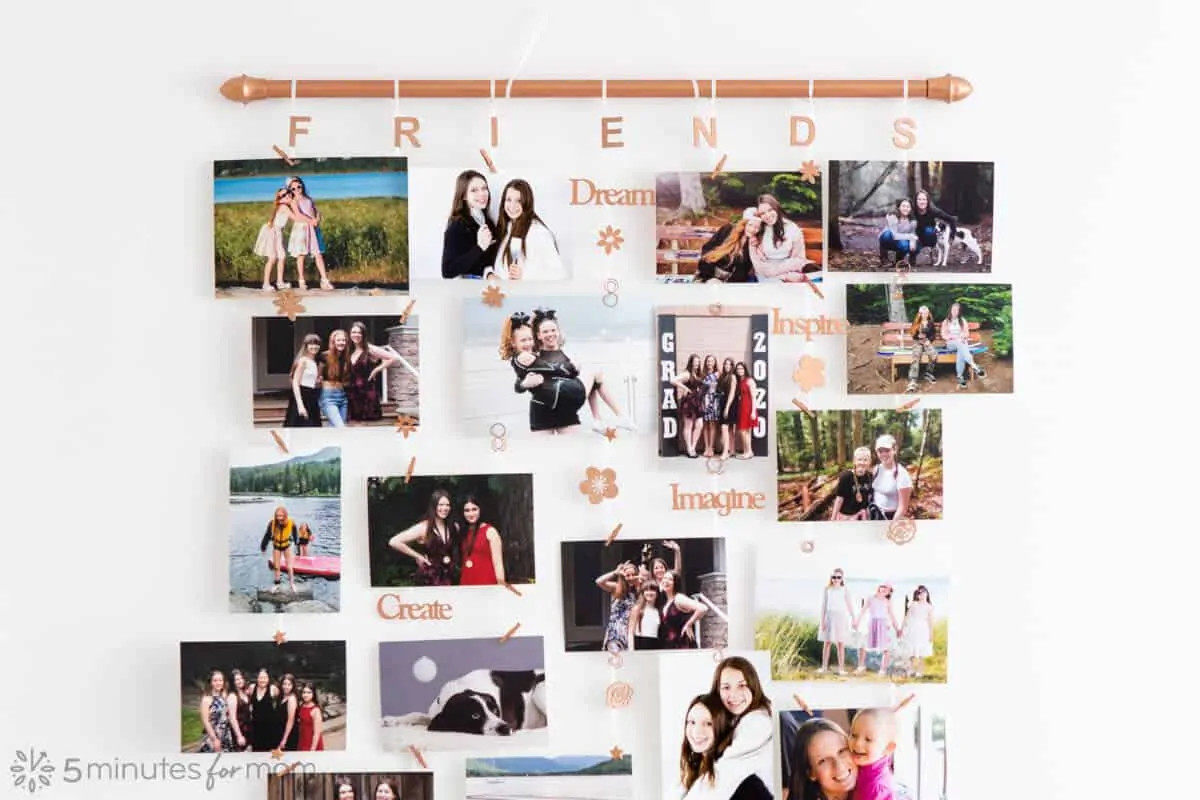
Making a DIY photo display is a fabulous way to add personality and style to any room in your home. When my daughter and I were thinking of picture wall ideas for her bedroom, we decided to make a hanging photo display. With a $3 curtain rod from the dollar store and Rust-Oleum Imagine Metallic Spray Paint, we created this fabulous DIY photo display.
 We are excited to share another Testors Crafternoon project idea that’s fun for the whole family.
I’ve been spending a lot of my social distancing time in my craft room and loving it!
Last month, I showed you how to make Coffee Filter Flowers and how to make DIY flower pots to fill with either those paper flowers or other plants and flowers.
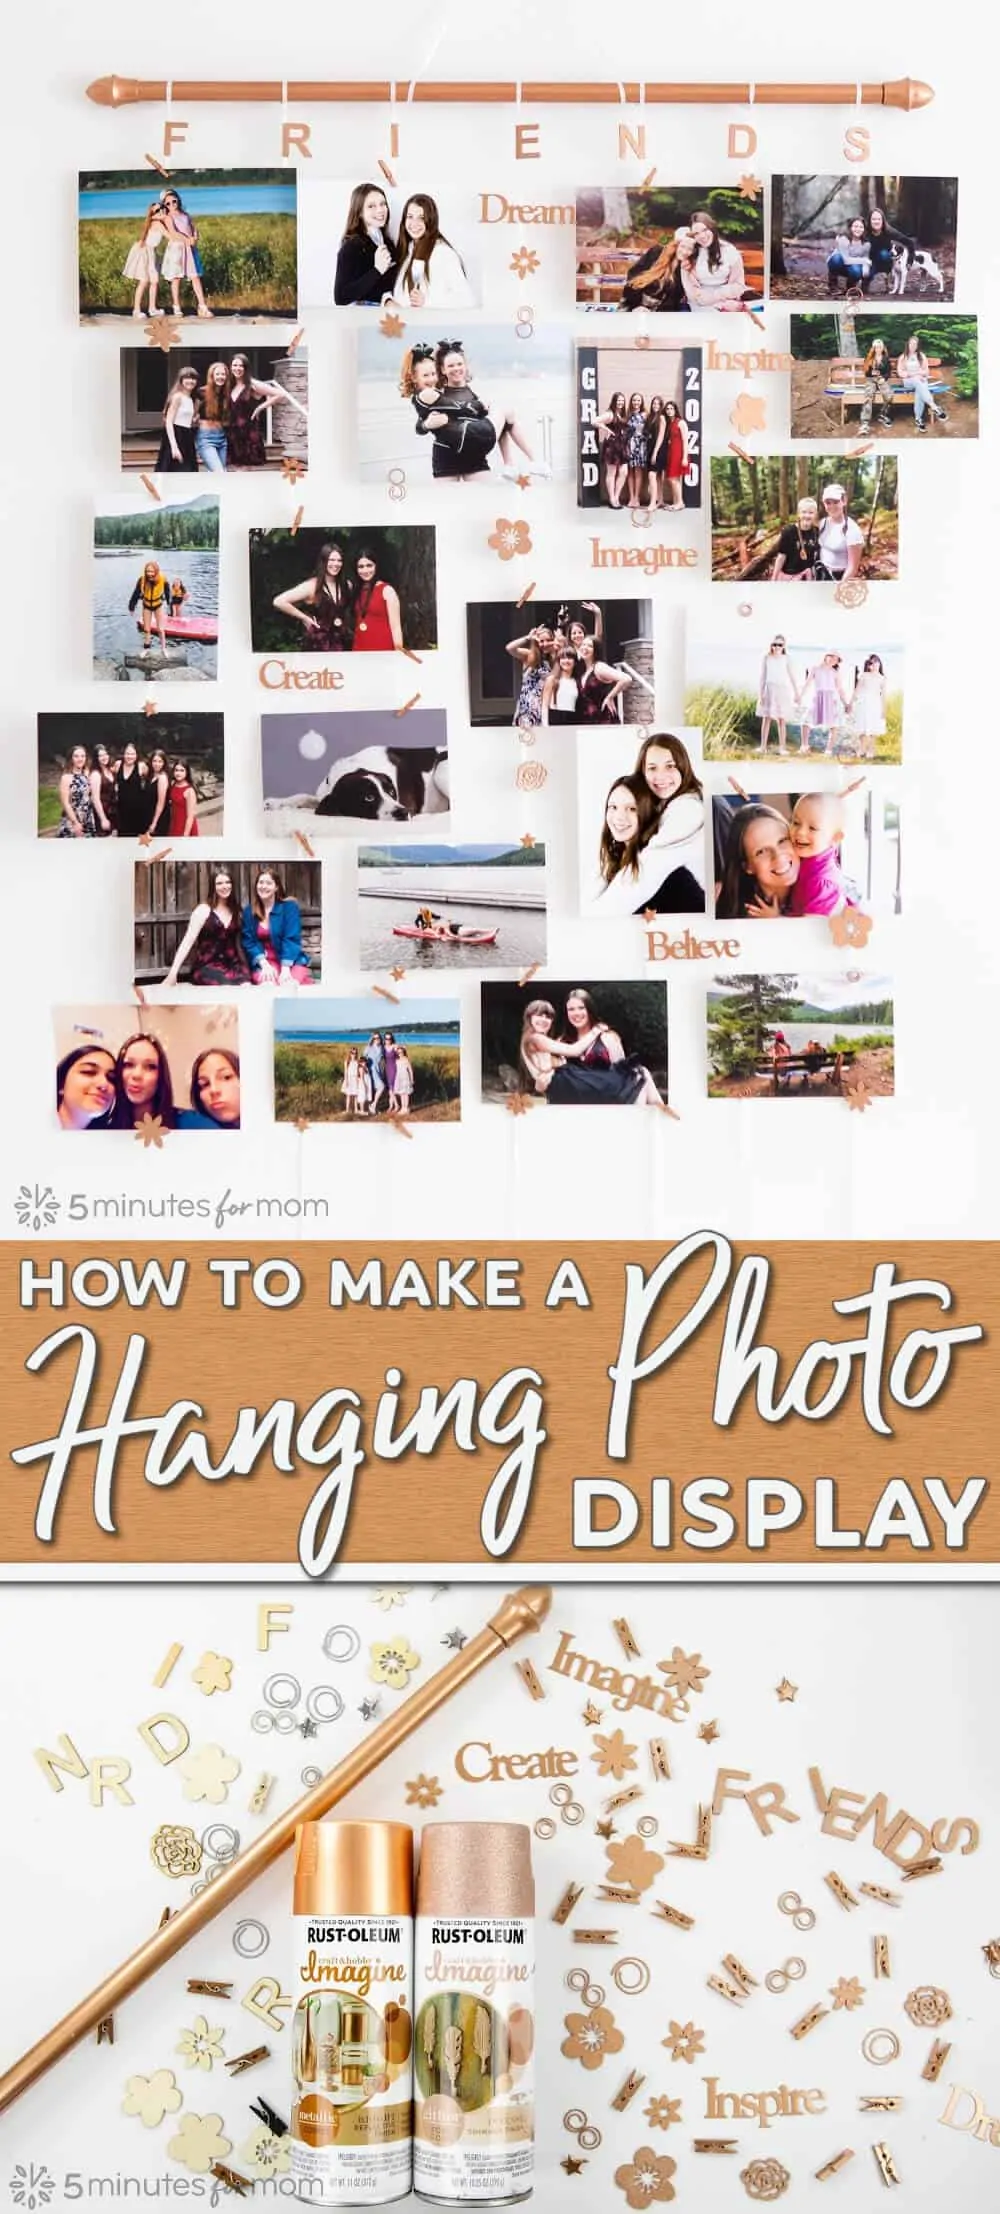
And today I’m thrilled to show you how to make a Hanging Photo Display.
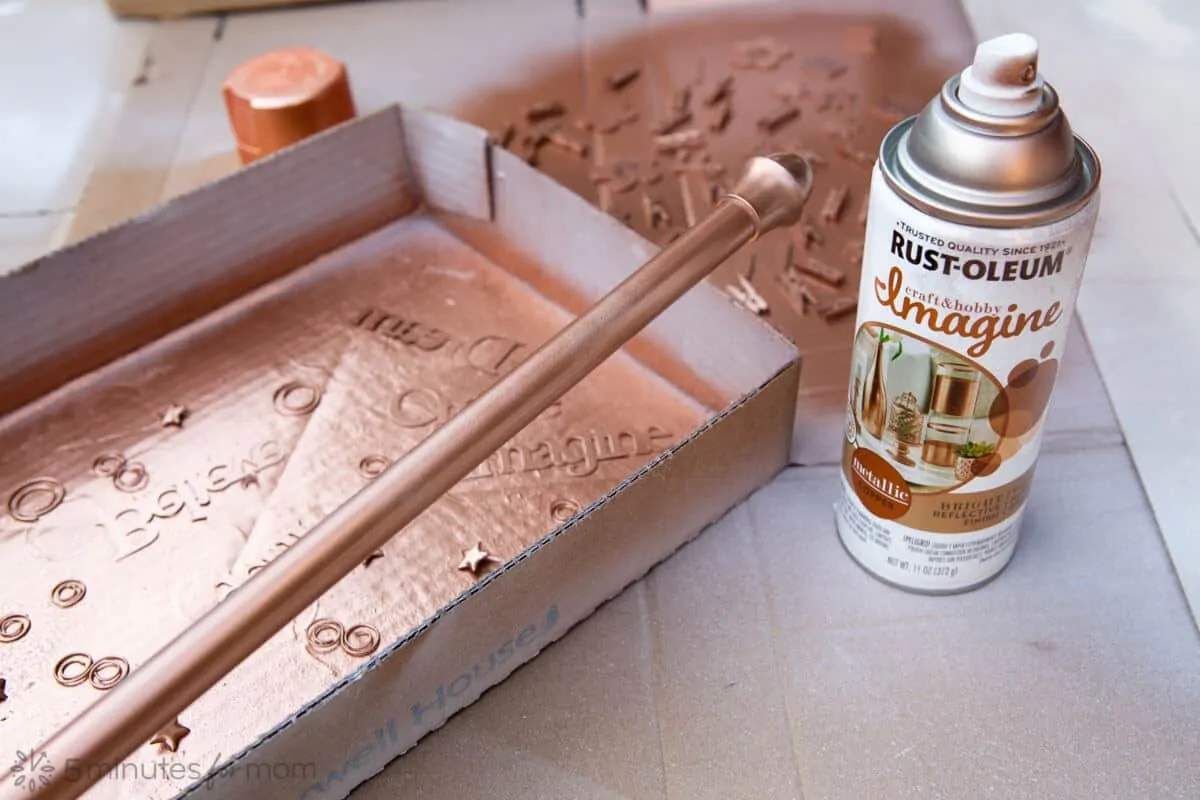
We made our DIY photo display with a $3 curtain rod from the dollar store and Rust-Oleum Imagine Metallic Spray Paint…
Also be sure to enter to win a $50 craft paints prize pack at the bottom of this post!
And you can enter to win a Testors Amazing Air Airbrush Kit in our second Crafternoon activity, Flower Pot Painting Ideas.
Creative Way to Display Photos Without Frames
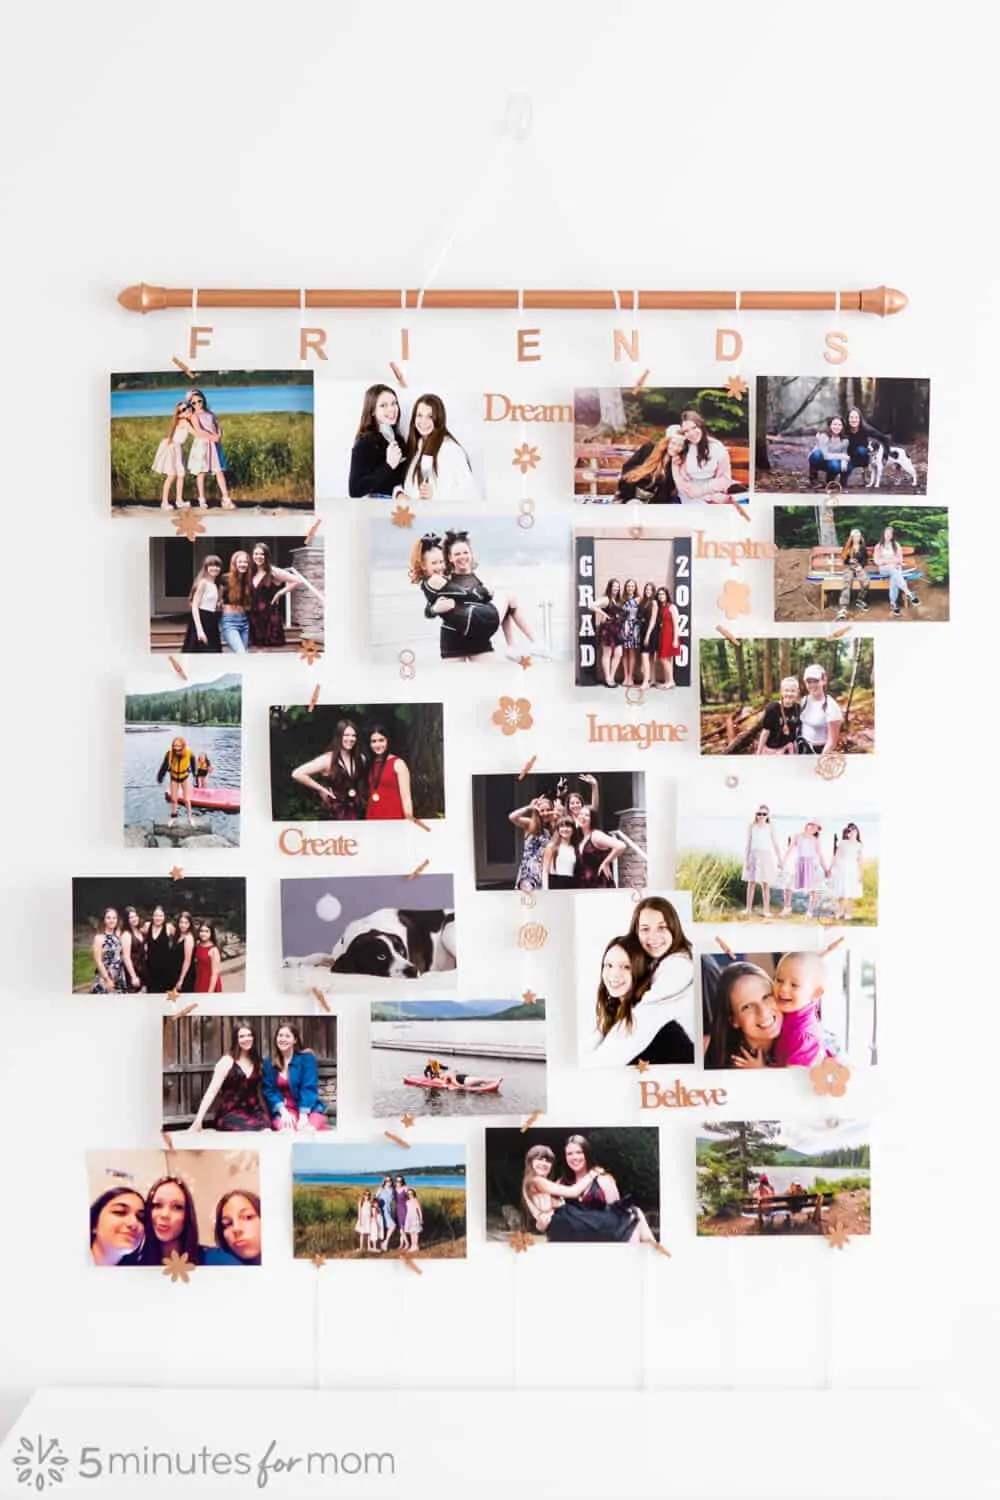
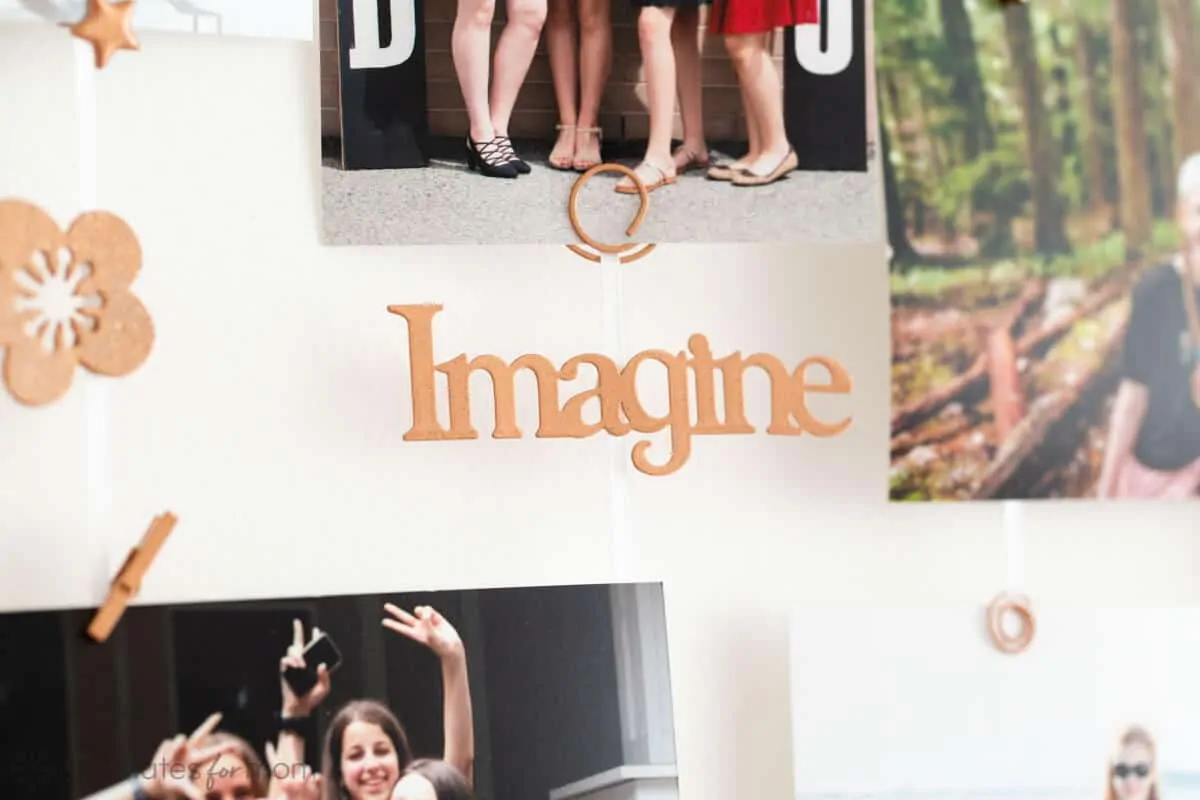
My daughter wanted to create a photo collage effect on her bedroom wall and to hang photos without frames. Instead of just taping/mounting the photos directly on the wall, we used a curtain rod and thin white ribbon so we could hang the photos similar to a mobile.
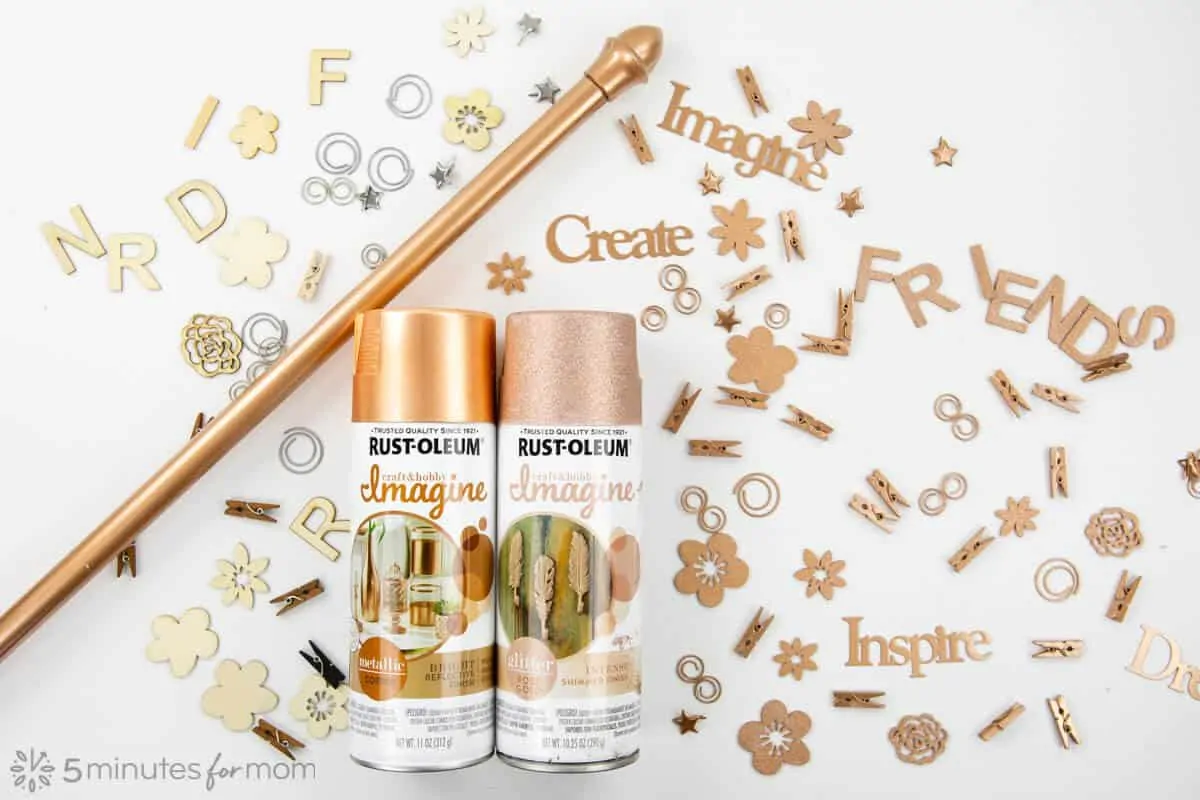
We used Rust-Oleum Imagine Metallic Spray Paint in Copper to paint a $3 extendable curtain rod, as well as various scrapbooking supplies, such as mini-clothespins, wooden letters, and laser-cut shapes and words.
To hang the photos, we used thin white ribbon, reusable, adhesive tac, and mini-clothespins.
DIY Hanging Photo Display Supplies:
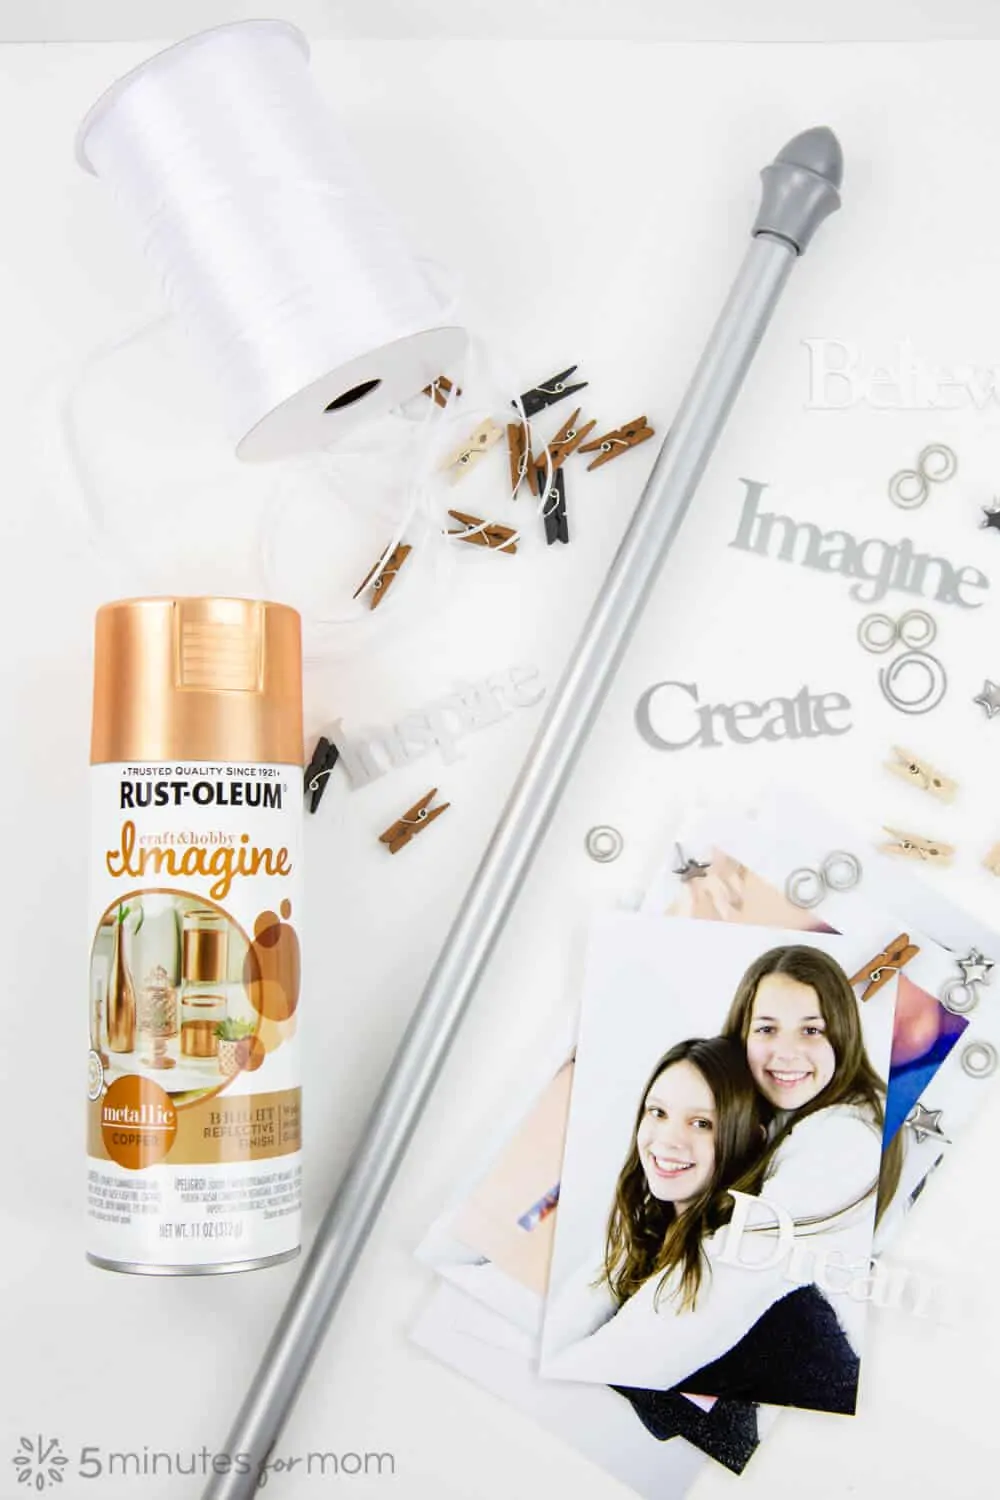
- Rust-Oleum Imagine Metallic Spray Paint in Copper
- Rust-Oleum 2X Ultra Cover White Primer
- Curtain Rod (we used a $3 extendable curtain rod from the dollar store)
- Mini-clothespins (we bought ours from the dollar store)
- Wooden or metal shapes, letters, or words of your choice
- Ribbon (or twine, string, etc.)
- Reusable Adhesive Tac
- Command Hook (or a small nail and hammer to hang display)
- Optional – Rust-Oleum Imagine Glitter Spray Paint in Rose Gold (We added a layer of Rose Gold Glitter Spray Paint on top of the Metallic Copper to our wooden letters and shapes to add some rose gold glitter, but this is an optional step.)
Rust-Oleum Imagine Spray paints and primers are available online and in JOANN stores.
Step 1 – Apply Primer
To help your paint adhere strongly and smoothly, you may want to apply primer before spray painting with your metallic paint.
If you are painting any items that are plastic, then you definitely should use a primer before painting.
Spray curtain rod, mini-clothespins, letters, shapes, etc. with Rust-Oleum 2X Ultra Cover White Primer.
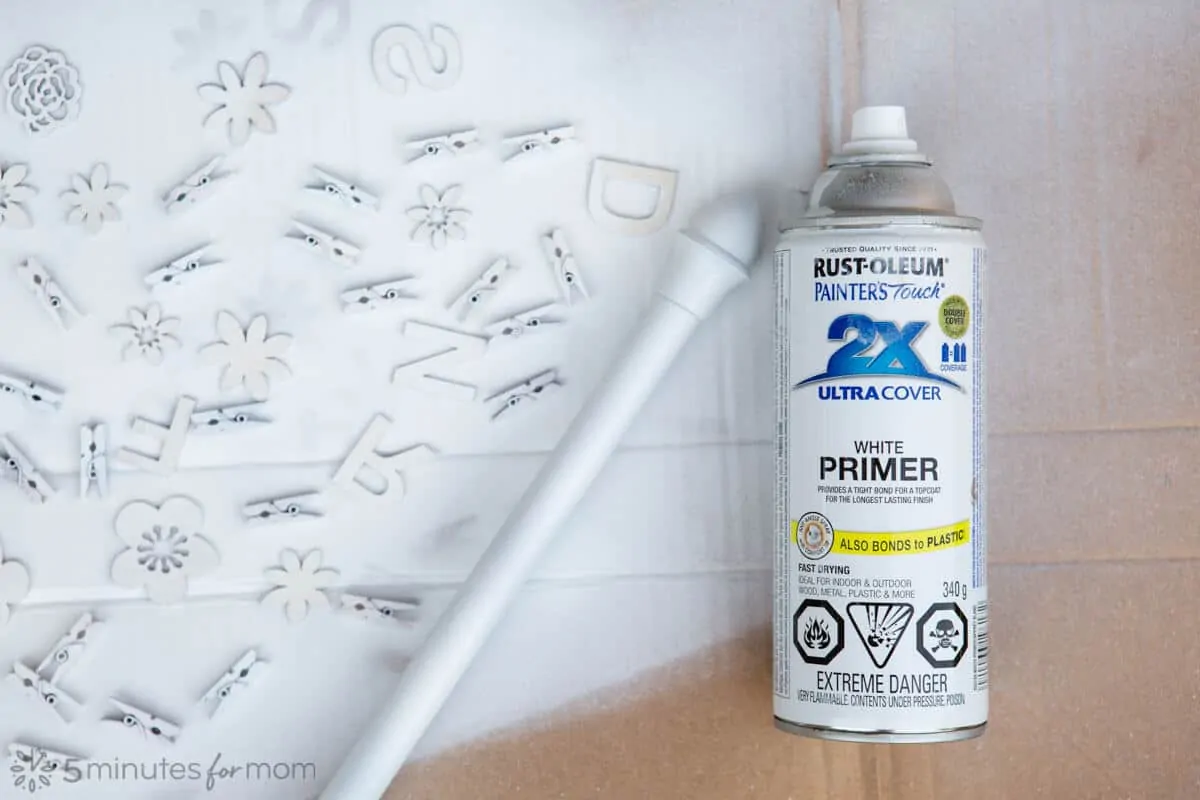
Apply a light coat and then wait a few minutes and add a second light coat. For letters, shapes, etc. you will need to paint one side at a time, waiting until the paint is dry before flipping over and painting the other side.
When spraying, use a steady, back-and-forth motion and do not hold the can too close to your project. Allow to dry for a couple of hours before applying the metallic spray paint.
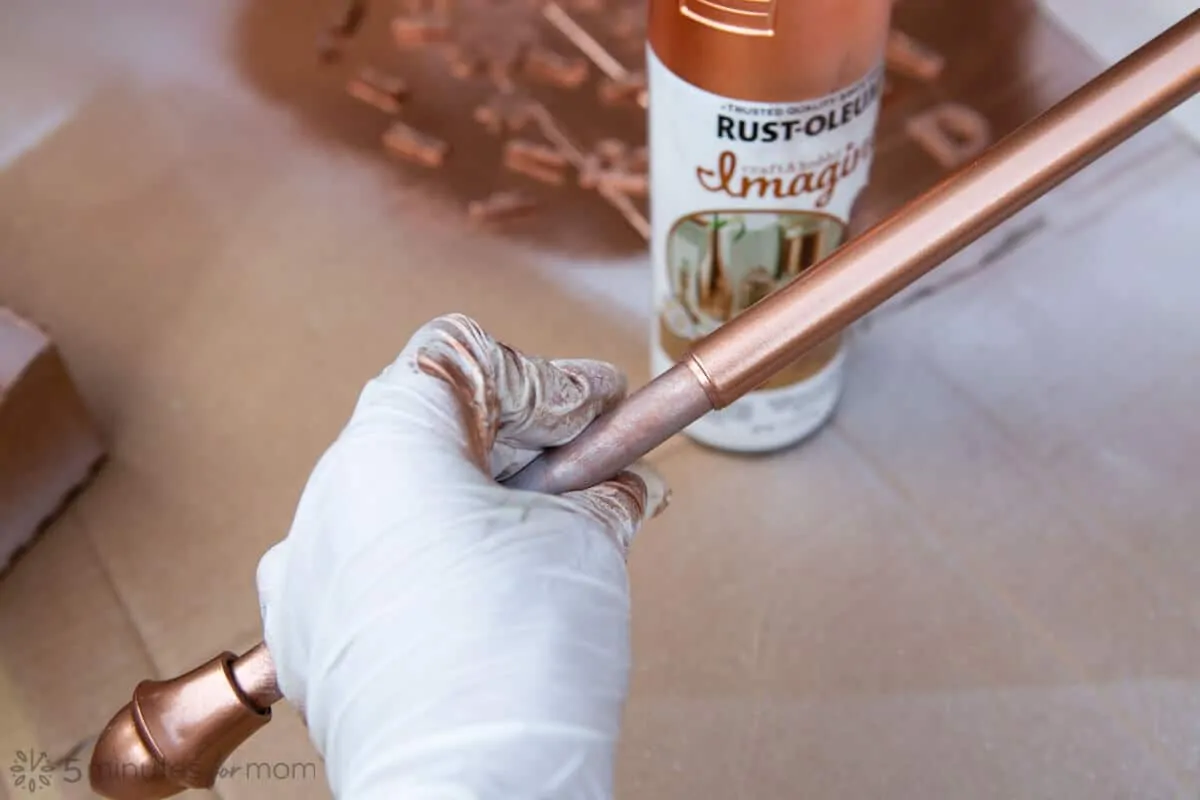
Step 2 – Spray Paint
After primer is dry, spray your curtain rod and items with metallic paint.
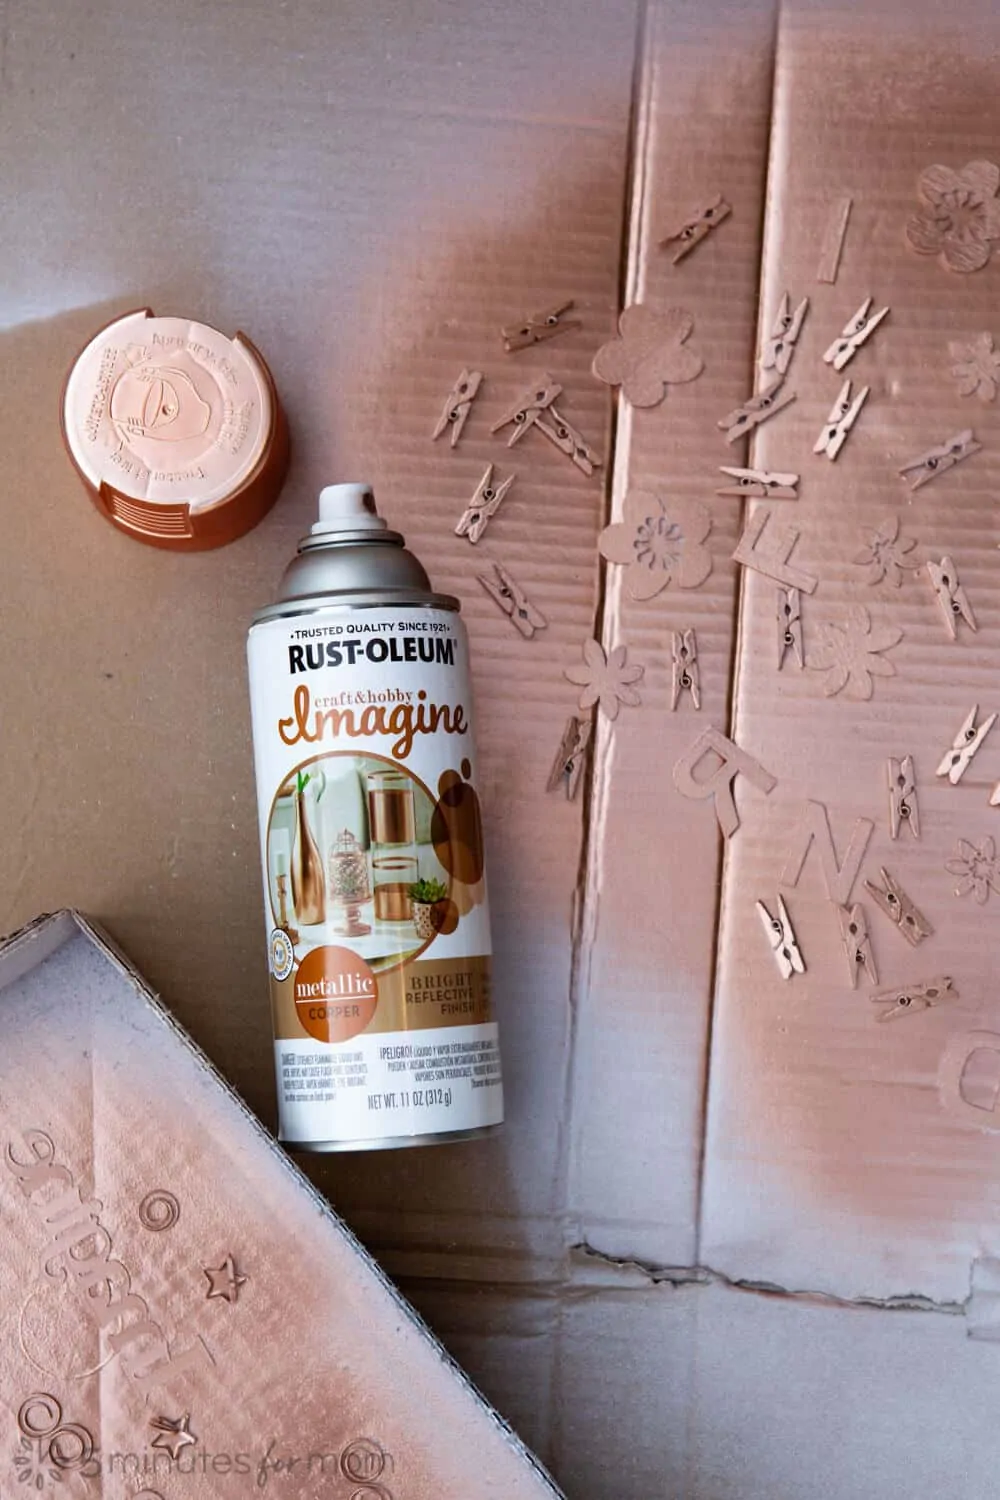
The key to spray painting is to spray very LIGHT coats, waiting for a few minutes until it is dry and then adding another very light coat.
After your first coats are thoroughly dry, you may want to repeat, to achieve the level of coverage and color you want.
The best part of painting the extendable curtain rod is that I was able to hold the curtain rod on the extension part while I painted, since I was not going to have it extended in the final project.
For best results, allow the paint to dry for 24 hours.
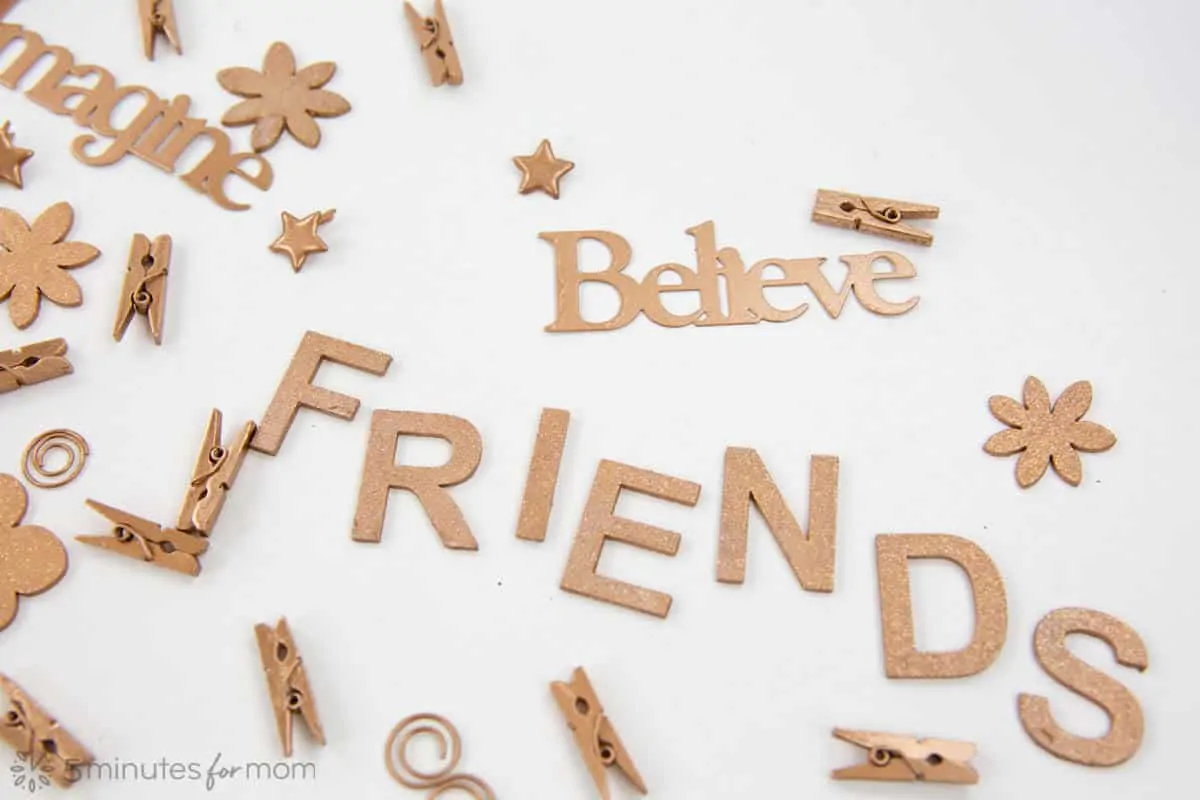
We also sprayed a top coat of Rust-Oleum Imagine Glitter Spray Paint in Rose Gold on our letters and flower shapes for some extra fun shimmer.
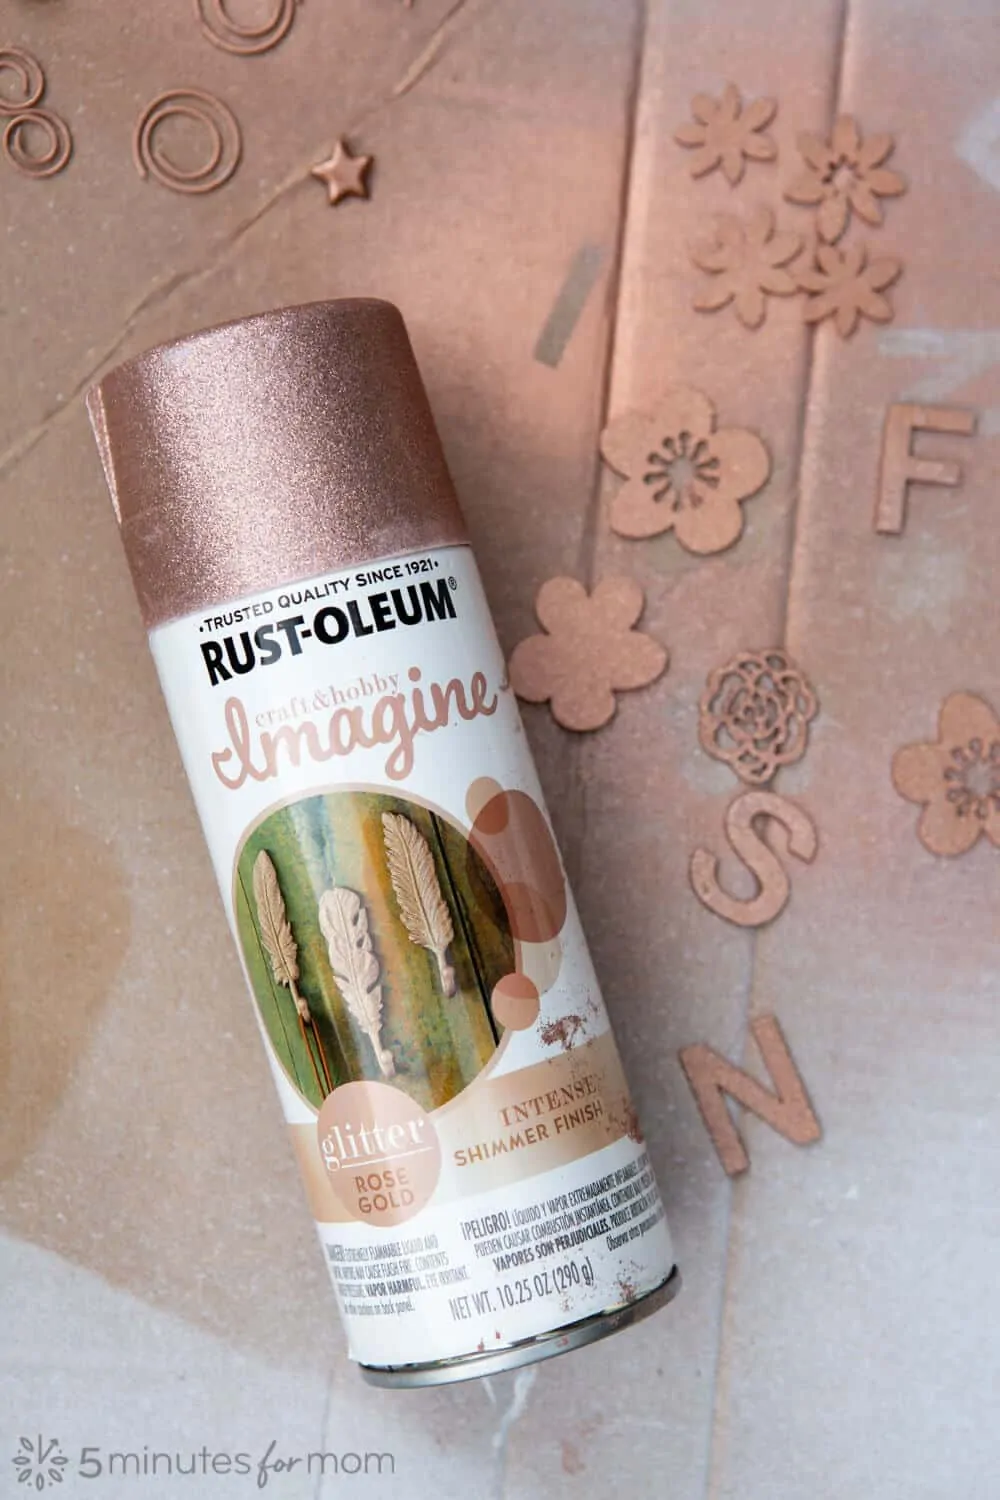
We liked the effect of having some of our embellishments metallic copper and then top coating some of them, like the flowers and the FRIENDS letters, with the rose gold glitter spray paint.
Step 3 – Design Your Photo Display Layout
Once all your paint is dry, you can begin to put your project together.
You may want to lay out your photo display on a large piece of foam core to plan out where you want to place your photos and embellishments.
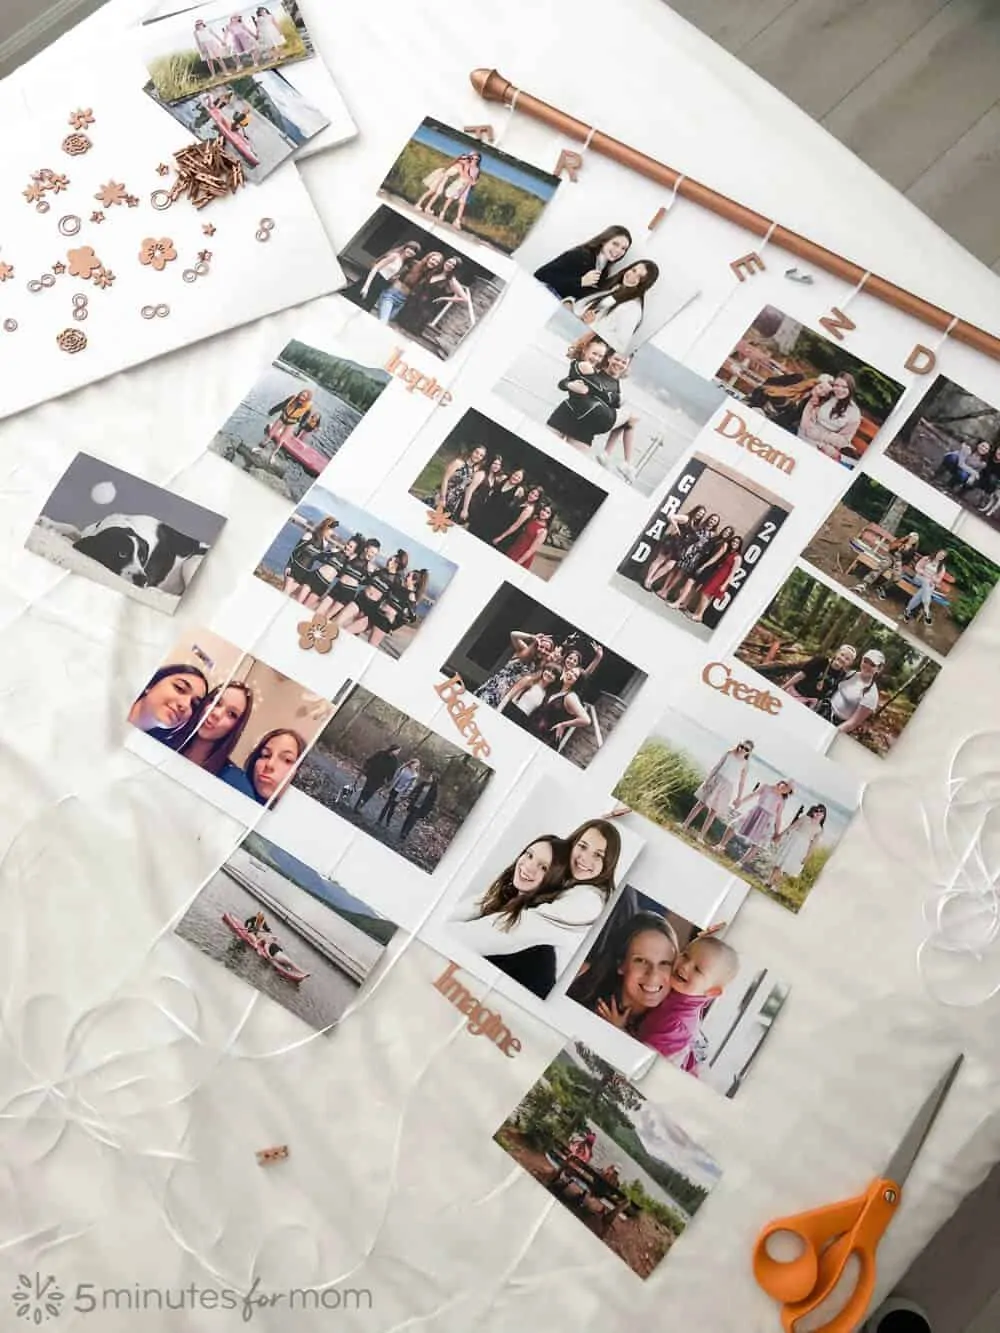
We laid ours out on a piece of foam core on Olivia’s bed to plot our design. We used the clothespins and tac to attach the photos for our rough design.
Decide where your photo display will hang and decide how long you want your ribbons.
We kept our ribbons longer and let them hang down the back of Olivia’s dresser in case we move it to another spot later and we want to add more photos.
Cut your ribbons and tie them on to the curtain rods. We used seven ribbons, which happened to work perfectly to hold our FRIENDS letters.
Step 4 – Hang Your Photo Display
Attach a removable Command hook or hammer a nail in the wall about six inches from where your curtain rod will hang.
Tie a piece of ribbon onto the curtain rod to hang the display.
Place reusable adhesive tac on the edges of the curtain rod to keep the rod from scratching the wall and to keep it in place.
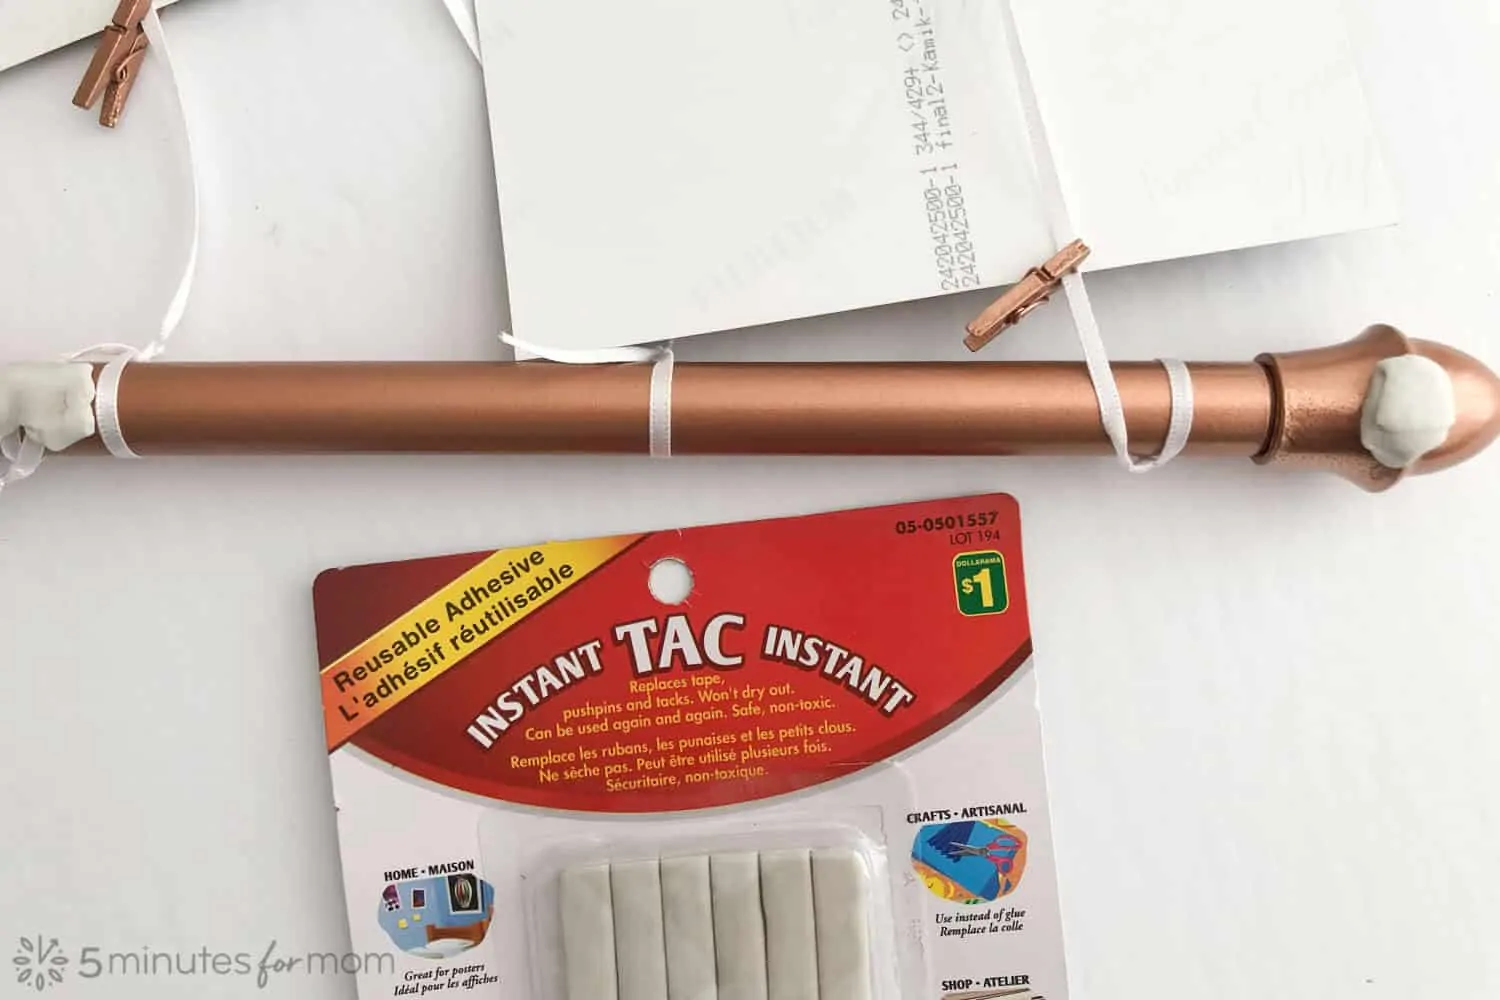
You may also want to use some tac to keep the ribbon that is hanging the display from sliding on the curtain rod.
Step 5 – Add Embellishments to Your Photo Display
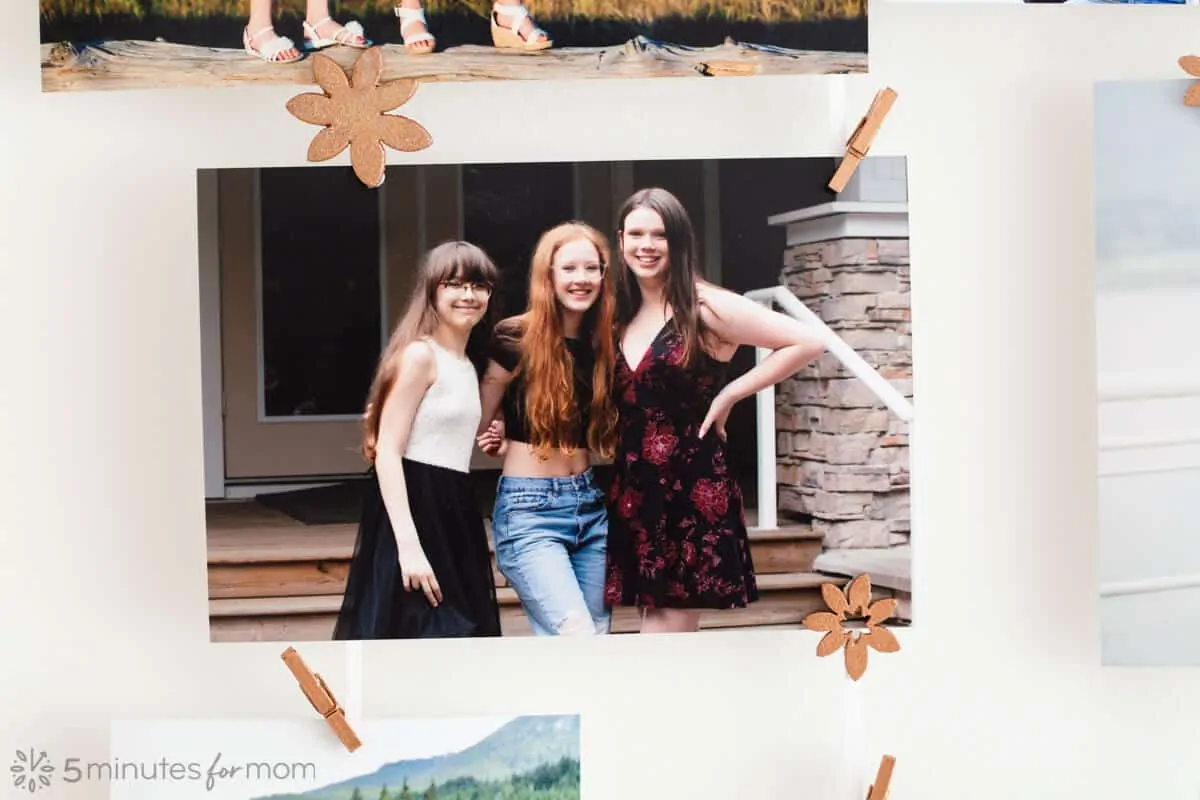
Once your photo display is hanging on the wall, you can finalize where you want your photos and make any necessary adjustments.
When you have your photos where you want them, you can secure them with additional tac.
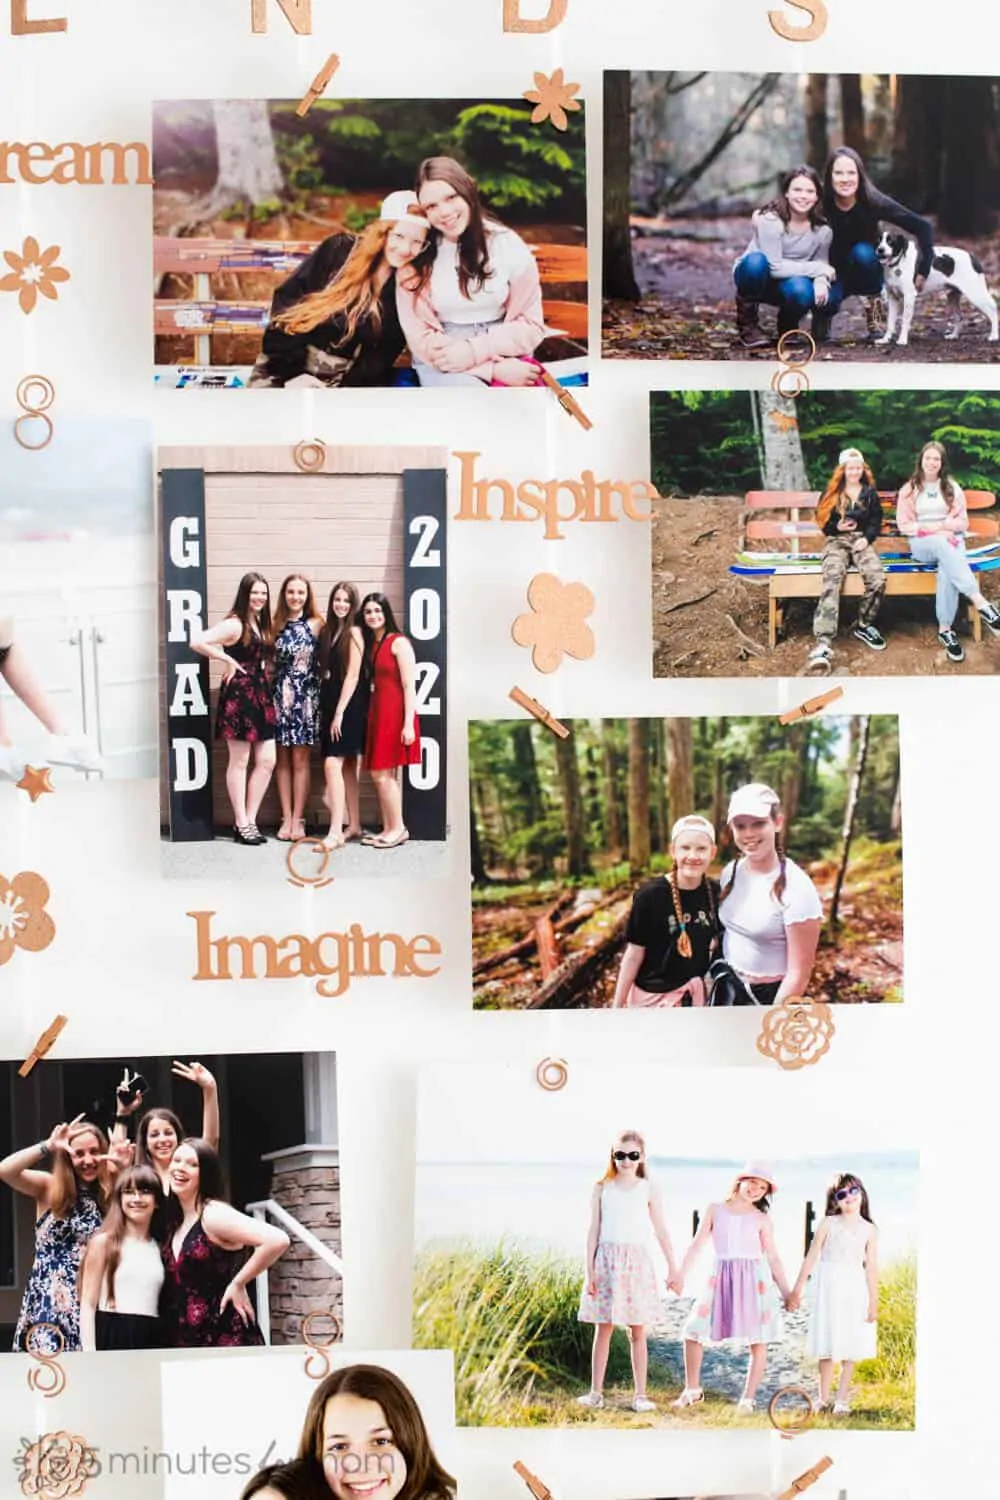
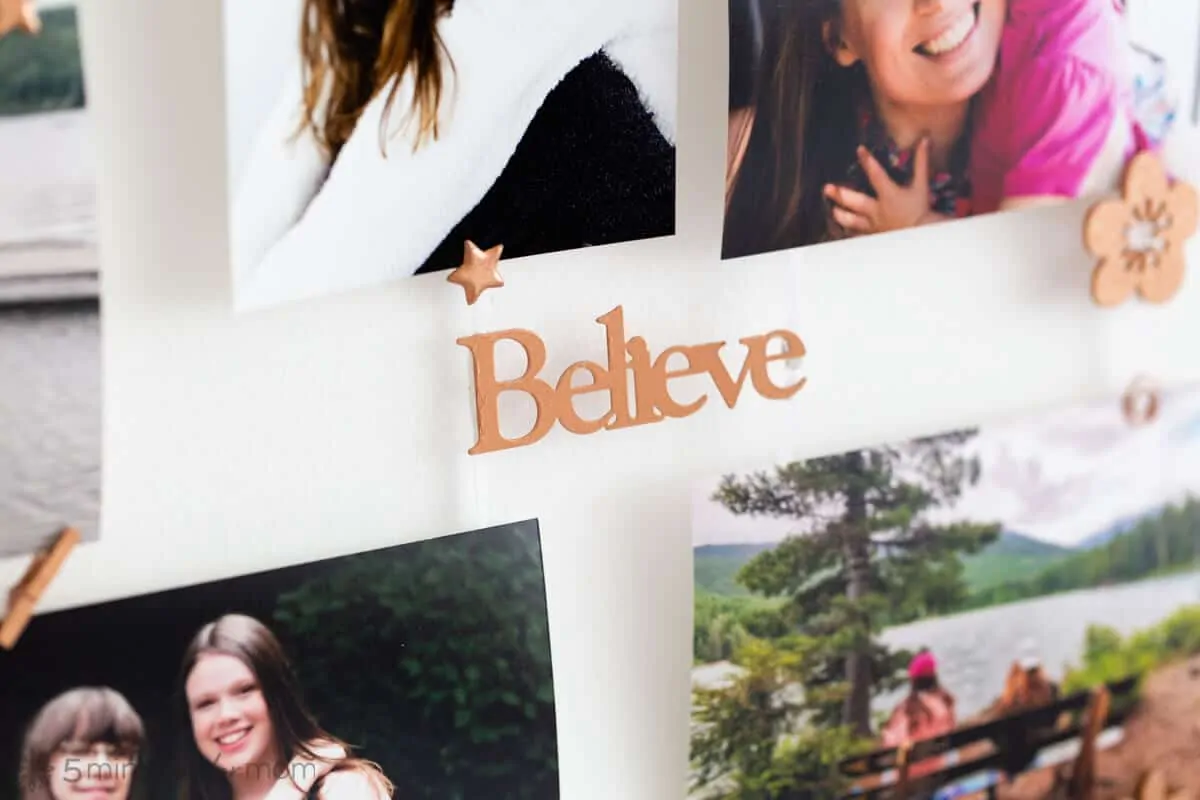
After your photos are in place, you can add your painted shapes, words, letters, etc. using the removable adhesive tac.
Perhaps the best part of this photo hanging idea is that you can easily move and swap the photos, changing your design whenever you wish.
We love this DIY photo display and we are thrilled that it cost so little to make!
Let us know if you make your own creative photo displays and how they turn out. We would love to hear from you!
Giveaway
Would you like to win a Testors Craft Paint Prize Pack worth $50?
Follow us on Instagram @5minutesformom and then complete your entry using the form below.
Please note that by entering this giveaway you are allowing Testors to receive your email address to possibly follow up with product information.
Sorry to our Canadian friends, this giveaway is open to the US only.
Plus, you can enter to win a Testors Amazing Air Airbrush Kit in our other Crafternoon activity, Painted Flower Pots.
Find More DIY and Crafternoon Ideas…
Spend some more timing crafting with these other fun projects:
- Painted Coffee Filter Flowers
- Flower Pot Painting Ideas
- Painting Birdhouses
- DIY Flower Press
- Painting Rocks
- DIY Bowling Set
- How to Make a Pallet Picture Frame
Pin it for Later
Disclosure: This post is sponsored, so extra thanks for reading and sharing.
Written by Janice Croze, co-founder of 5 Minutes for Mom
Talk with me: @5minutesformom and Facebook.com/5minutesformom
Pin with me at pinterest.com/5minutesformom

I would love to make a photo display.
My walls are covered in photos but I always want to add more
Would love to do one of these to go in my guest room.
i COULD USE THOSE PAINTS, MAKE ME A WINNER!!
We had to have lead paint removal done in my apartment a few years ago which entailed tearing down walls and building new ones. Unfortunately I just have never got any of my pictures back up on the wall. I have tons to get back up there.
I have an old window which I have a goal of to put photos behind. I have yet to do it.
Yes I do mostly of my departed parents and siblings that have past would like to find a way to display them nicely without it seeming morbid .
I have lots of photos that I would love to hang and this looks so cool.
I would love to make a photo display.
yes, I have lots of photos!
I do have lots of photos and pictures to hang. Rather than a photo display, though, I’m considering framing and hanging a old postcard display. Something a little different.
I’d love to make a photo display!
Good idea since I don’t have a lot of wall space.
I have tons of photos that I need to display, this is cute.
I am going to be printing out some photos of my grandbabies and need something to put them on so I can hang them on the wall.
I have a few unique photo displays I am making. This would be a great addition to my projects! Soooo many photos..!
I have so many photos to work with. I’ve been wanting to make photo collages for my family, and my furbabies.
I totally have to print some pictures out first! I like the hanging pictures
I don’t have many pictures, but I’d love to print a bunch out & do this!
I have tons of pictures of the girls that I want to have of them.
I have so many photos i’d like to hang and display. We just need to move first!
Any entries for those that don’t have social media?
I’m so sorry, I will go an add an entry option for leaving a comment.