If you’re looking for a simple craft for all ages, you’ll love our flower pot painting ideas. You’ll see how to paint and distress terra cotta pots, plastic flower pots, or even metal pots and containers, to create beautiful, chic DIY flower pots for indoor or outdoor use.
Enjoy this latest craft in our ongoing sponsored partnership with Testors.com.
 We are excited to share another Testors Crafternoon project idea that’s fun for the whole family.
Last week we showed you how to make Coffee Filter Flowers and now you can make DIY flower pots to fill with either those paper flowers or other plants and flowers. Also don’t miss our other recent Crafternoons activity DIY Photo Display.
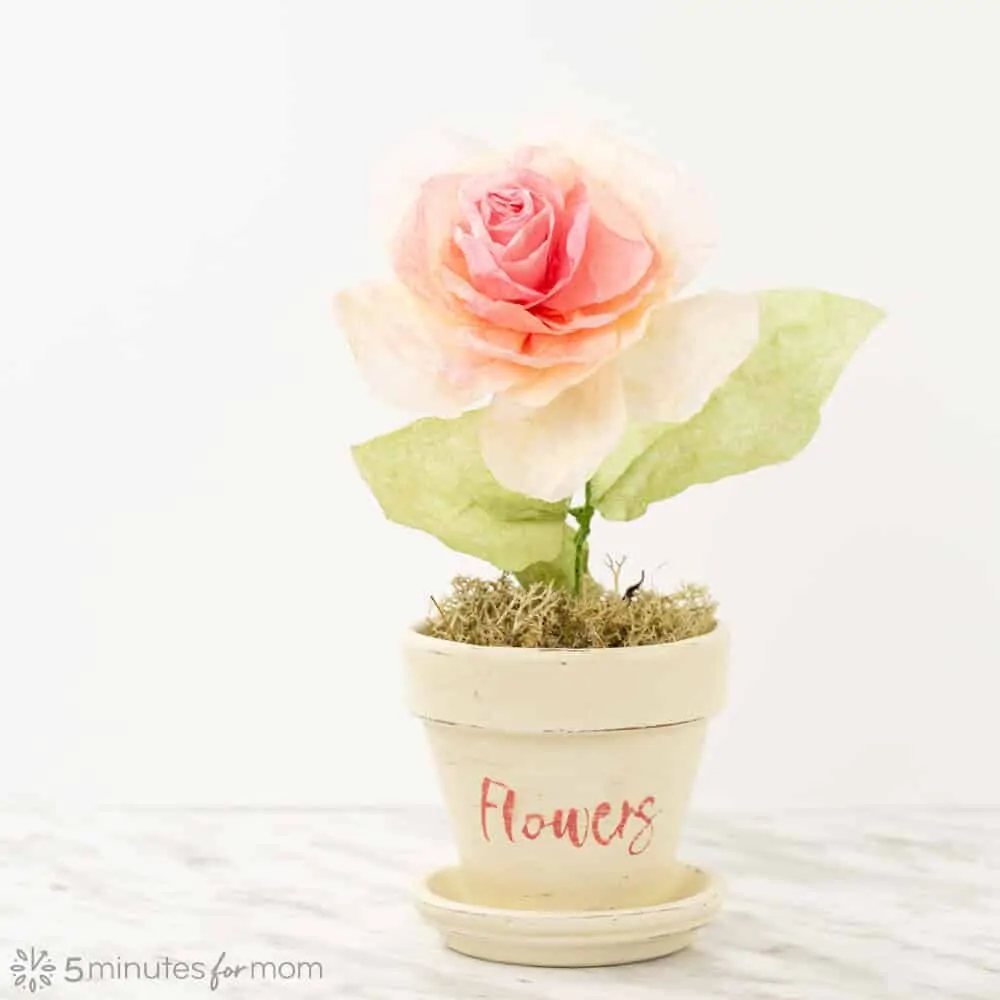
DIY Flower Pots
I love painting DIY flower pots, especially terra cotta pots. It is an easy DIY/craft project that can meet all levels of creativity and experience.
There are endless flower pot painting ideas for what you and your family can create.
You can use paintbrushes, stencils, airbrushes, photo transfers, decoupage, vinyl cutouts, spray paint, and more. You and your kids can let your imaginations take over.
Even young kids can decorate and paint terra cotta pots with acrylic paint and adults can spray with a clear topcoat to preserve their artwork.
One of my favorite ways to make DIY flower pots is to paint and distress terra cotta pots.
Whatever your design, there are some basic steps to incorporate into your creative process to ensure you have gorgeous, painted pots that last for years.
Flower Pot Painting and Distressing Supplies:
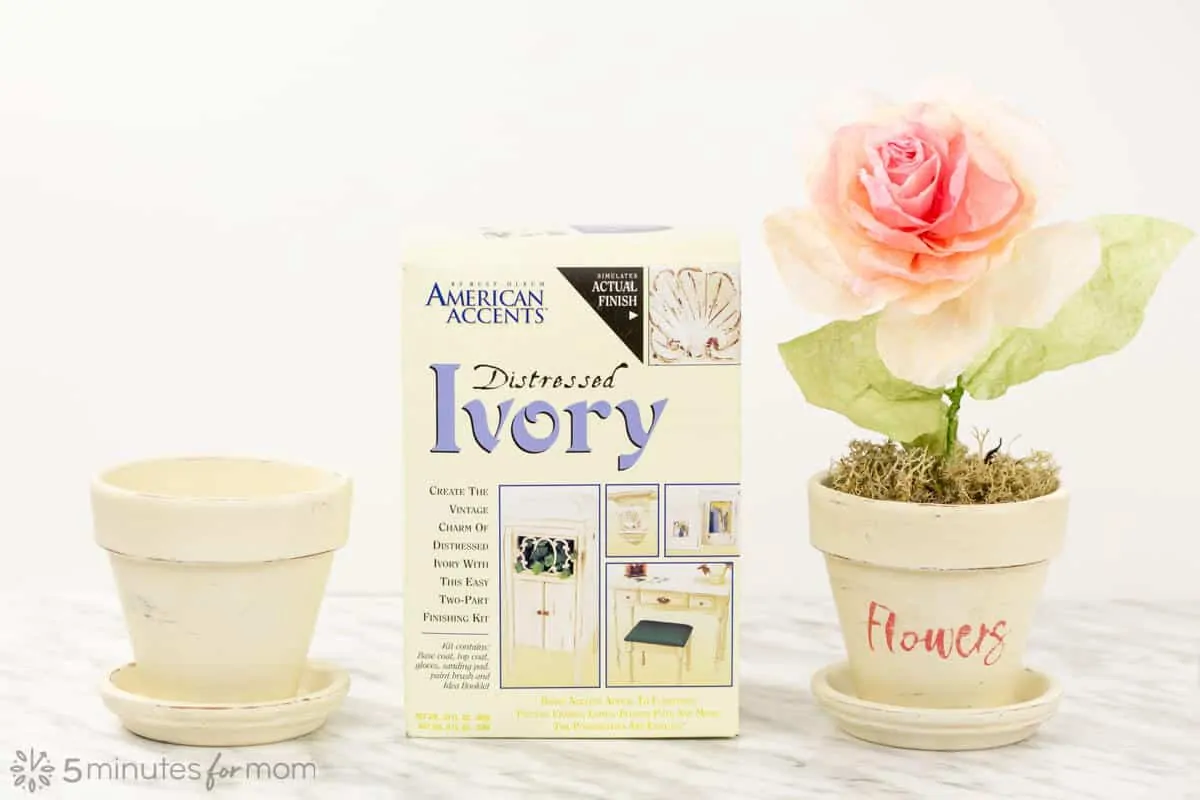
We used a Testors Craft Distressing Kit which includes an ivory base coat, an antiquing top coat, along with a brush, sanding pad, and gloves.
- Pots or containers – terra cotta, metal, plastic, unglazed ceramic, or wood
- Rust-Oleum 2X Ultra Cover White Primer
- Paint of your choice – acrylic craft paint, spray paint, latex paint, chalk paint, etc.
- Antique Top Coat – the Testors Craft Distressing Kit includes an antique top coat
- Sandpaper or sanding pad
- Gloves
- Rag or soft cloth
- Stencils – click here to download our Free Rose Stencil PDF and our Free Flowers Text PDF. If you have a cutting machine, click here to download our Free Rose Stencil SVG cut file and our Free Flowers Text SVG cut file.
- Testors Craft Clear Spray Adhesive – to make removable, adhesive stencils
- Airbrush – we used Testors Amazing Air Airbrush Kit
(This kit can be purchased online at Joann, Hobby Lobby, Michael’s and Amazon.) - Rust-Oleum Photo Transfer – click here to download our Free Rose Embellishment Graphic PDF.
OPTIONAL
Note: Testors Craft Distressing Kit and Rust-Oleum paint products can be purchased at Home Depot and Menards, in stores and online.
Step 1 – Wash Pots and Containers and Lightly Sand
Whether your pots are old and dirty or you have just bought them from the store, before painting any pots or containers you should thoroughly wash pots and allow to dry.
Terra cotta absorbs a lot of water, but if you place them in the sunshine they will dry quite quickly. Otherwise, just allow to dry overnight. You can use the drying time to sketch out your own flower pot painting ideas.
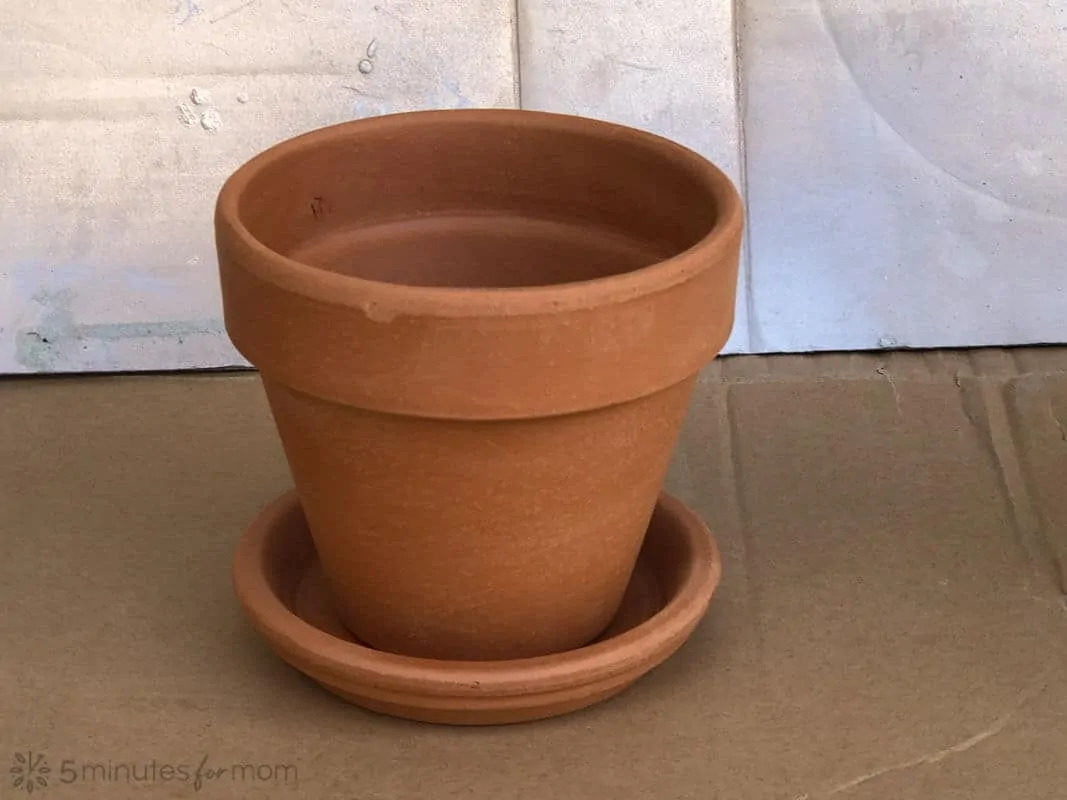
Terra cotta pots will usually be a bit bumpy and lightly sanding both old and new pots will create a smoother, even surface for painting.
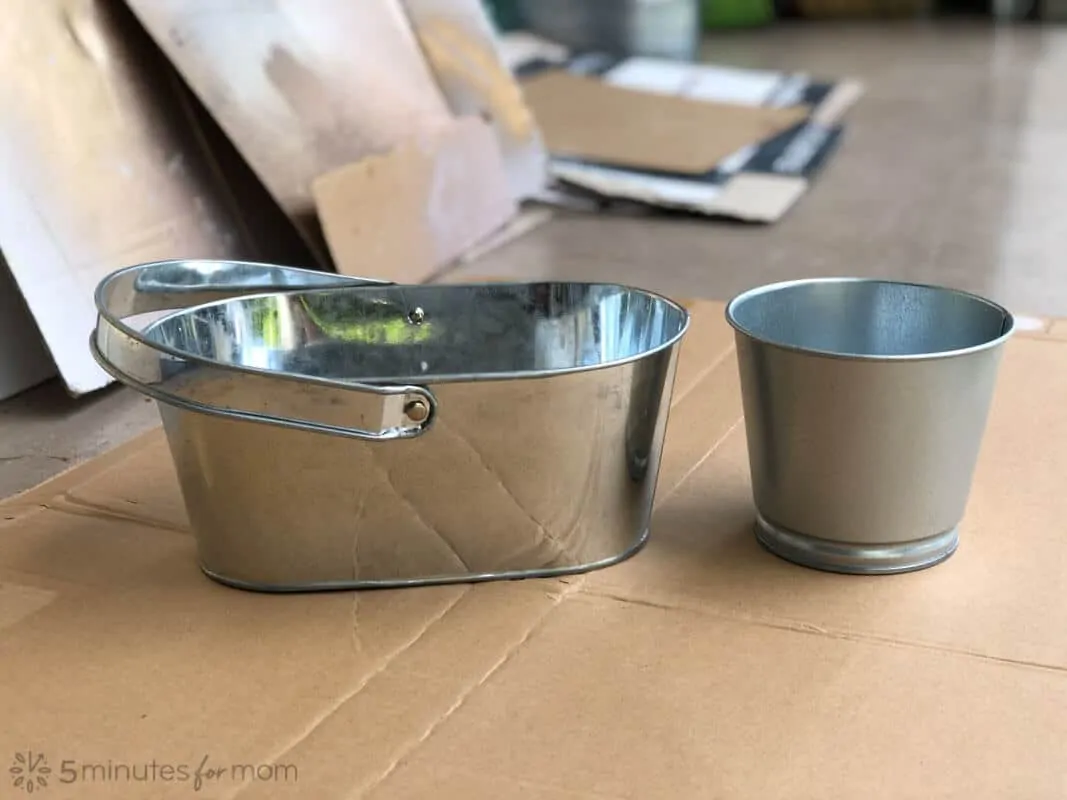
Step 2 – Apply Primer To Flower Pots
Before you start painting, you can apply a coat of primer, such as Rust-Oleum 2X Ultra Cover White Primer.
If you are painting plastic or metal pots, applying a primer is critical to allow paint to adhere to the surface.
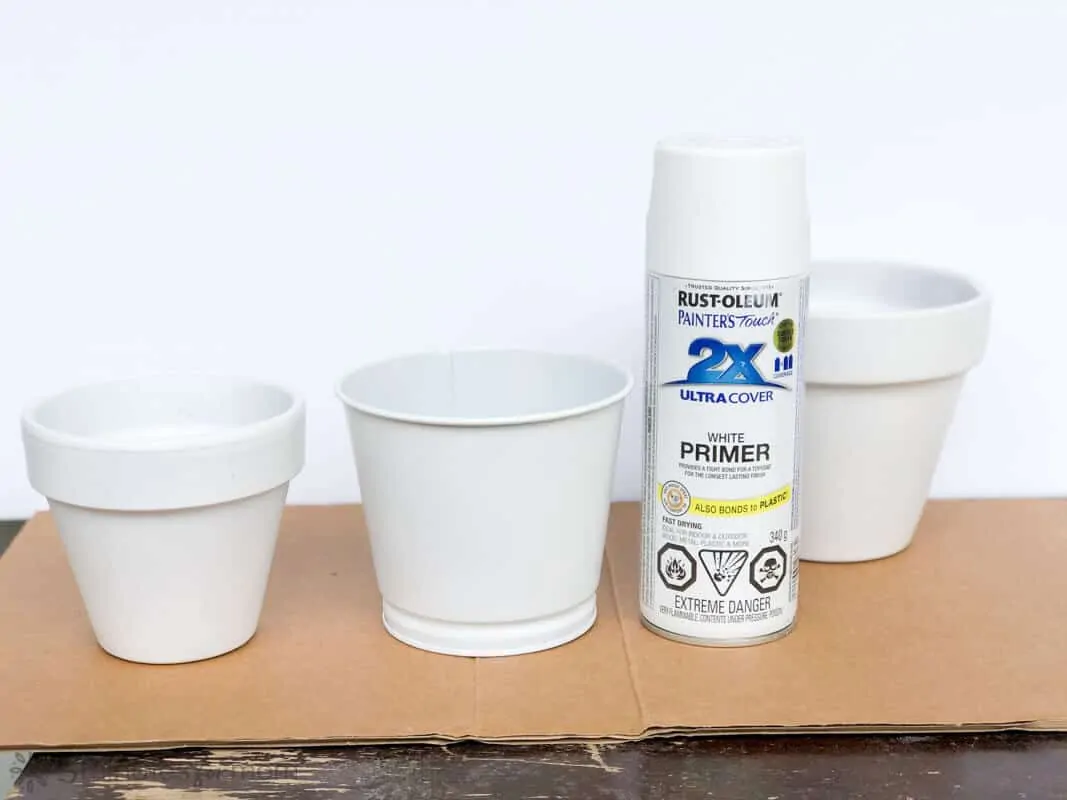
If you are only decorating with acrylic paint and want to keep the original terra cotta color on some of the pot, then you do not need to apply a primer.
NOTE: For terra cotta pots that you will be planting flowers, plants, or herbs in the pots directly, without a plastic pot liner, you may wish to use a water sealer on the inside and outside of your pot before you apply paint or primer. The water sealer keeps water from seeping through the inside of the pot and bubbling your paint.
If you do choose to use a water sealer, please note that a terra-cotta pot that is water sealed will no longer absorb water so you will need to reduce the amount you water your plants compared to an unsealed terra cotta pot.
Step 3 – Paint Flower Pots
After your pots are primed and ready to go, you can start painting. You can use the photos we’re sharing here for some flower pot painting ideas.
What kind of paint do you use on flower pots?
You can use acrylic craft paint, spray paint, latex paint, chalk paint, etc.
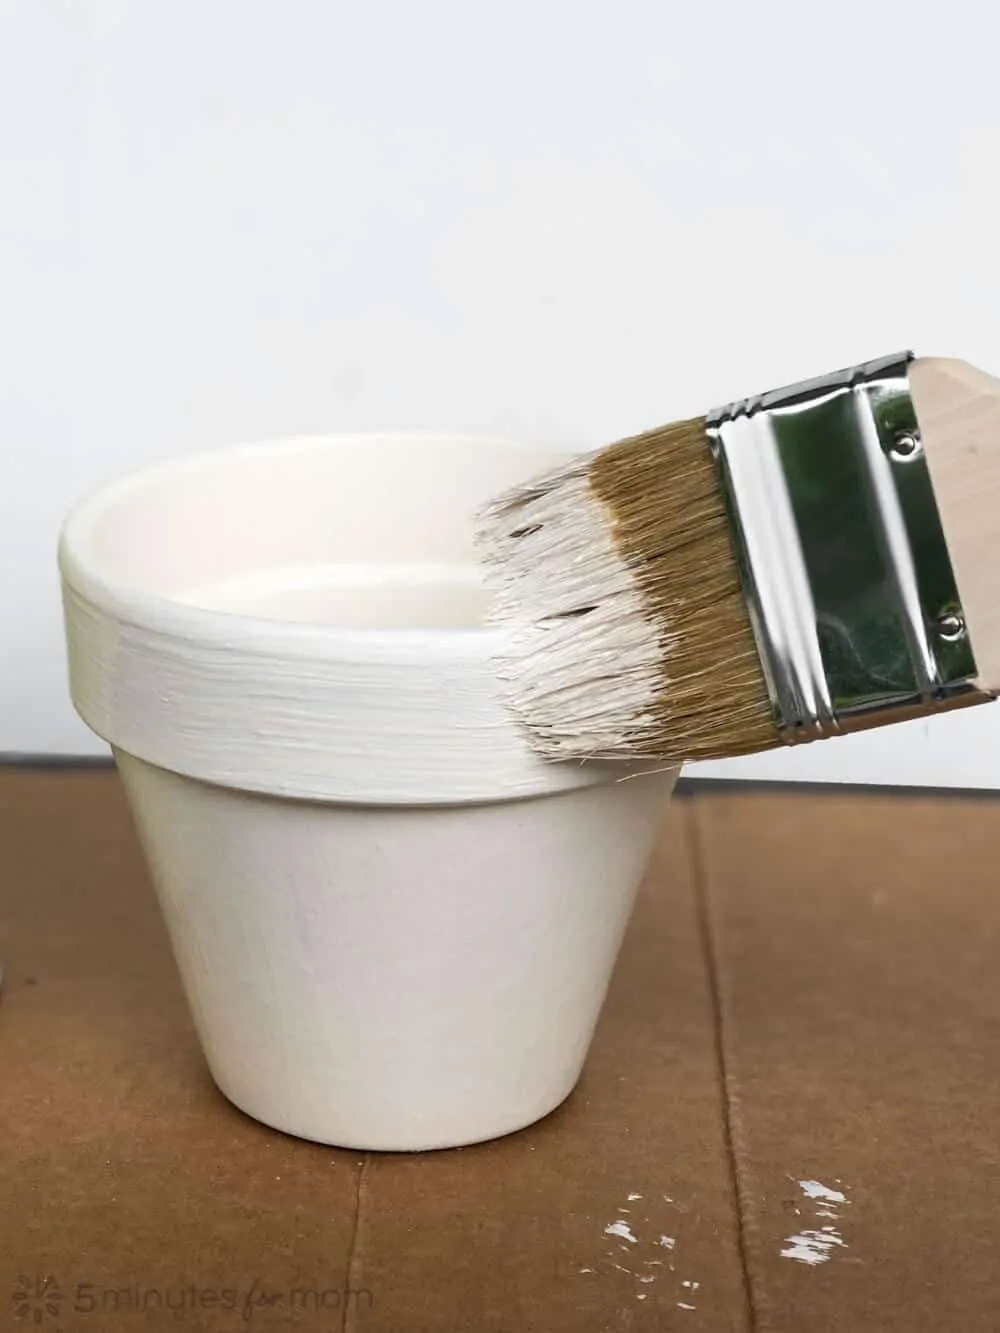
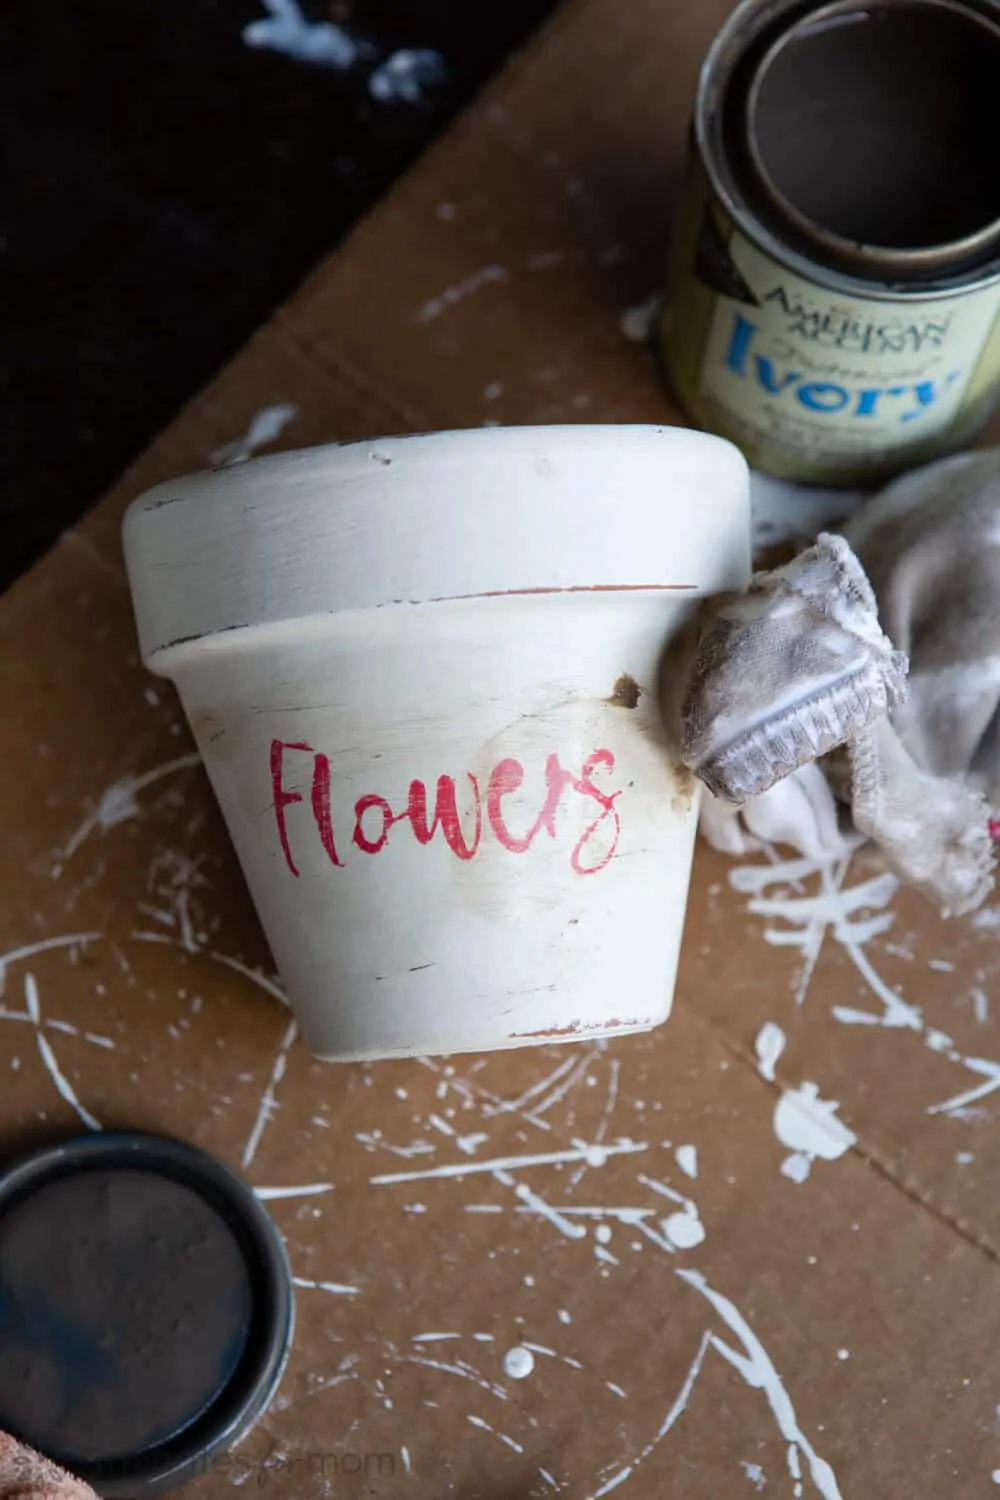
I used Testors Craft Distressing Kit in Ivory. The paint kit contains an ivory base coat, an antiquing top coat, along with a brush, sanding pad, and gloves. I love the warm, ivory color.
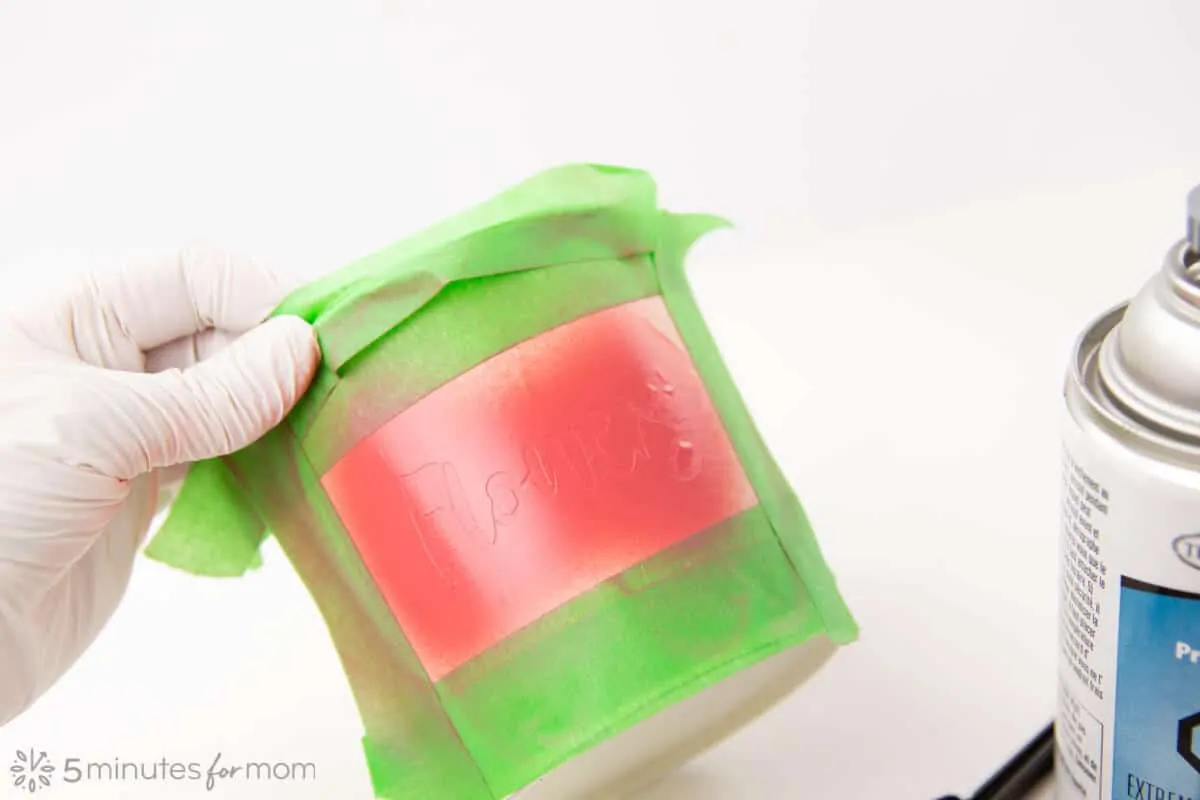
After you have painted your pots, you can decorate them using stencils, an airbrush, etc.
For our pots, we used a few different methods to decorate our pots.
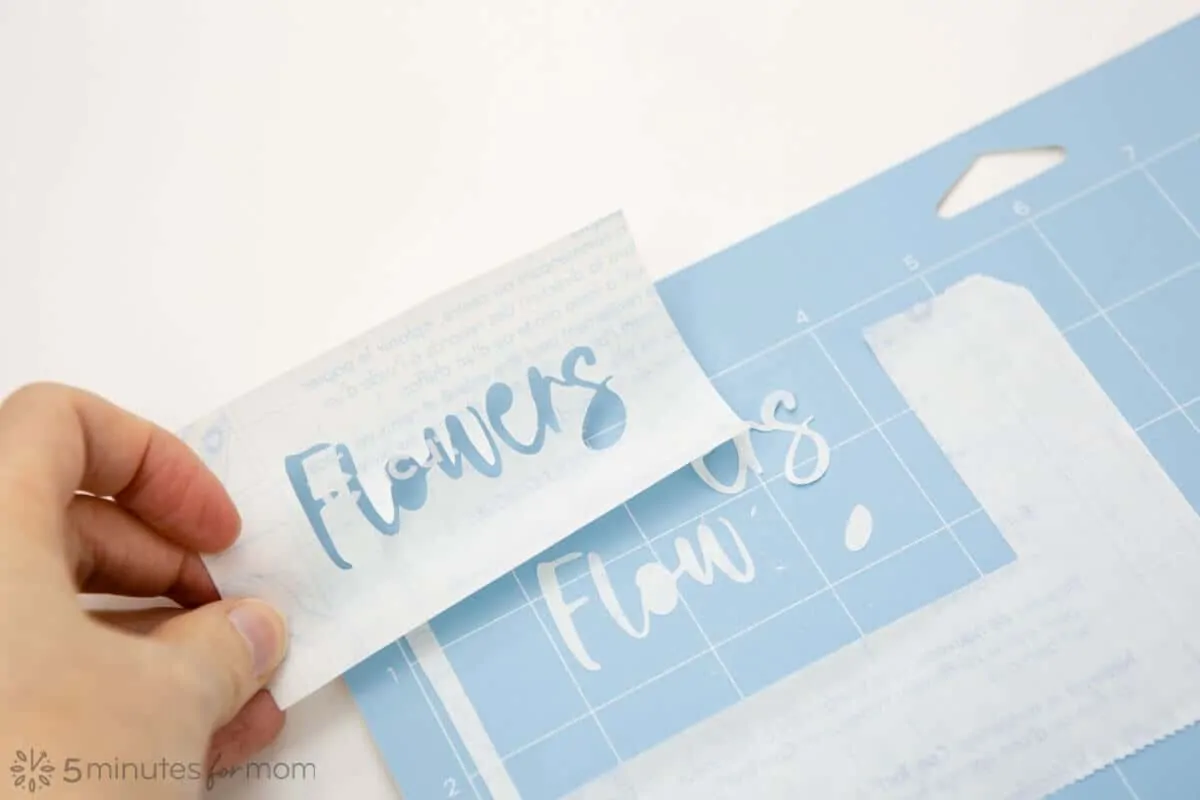
One of the easiest ways to decorate DIY flower pots is to use stencils. We used both a pre-cut stencil and stencils that we cut out ourselves and used Testors Amazing Air Airbrush Kit to paint.
You can download our free stencil templates.
Click here to download our Free FLOWERS Text PDF. If you have a cutting machine, click here to download our Free FLOWERS Text SVG cut file.
Click here to download our Free Rose Stencil PDF. If you have a cutting machine, click here to download our Free Rose Stencil SVG cut file.

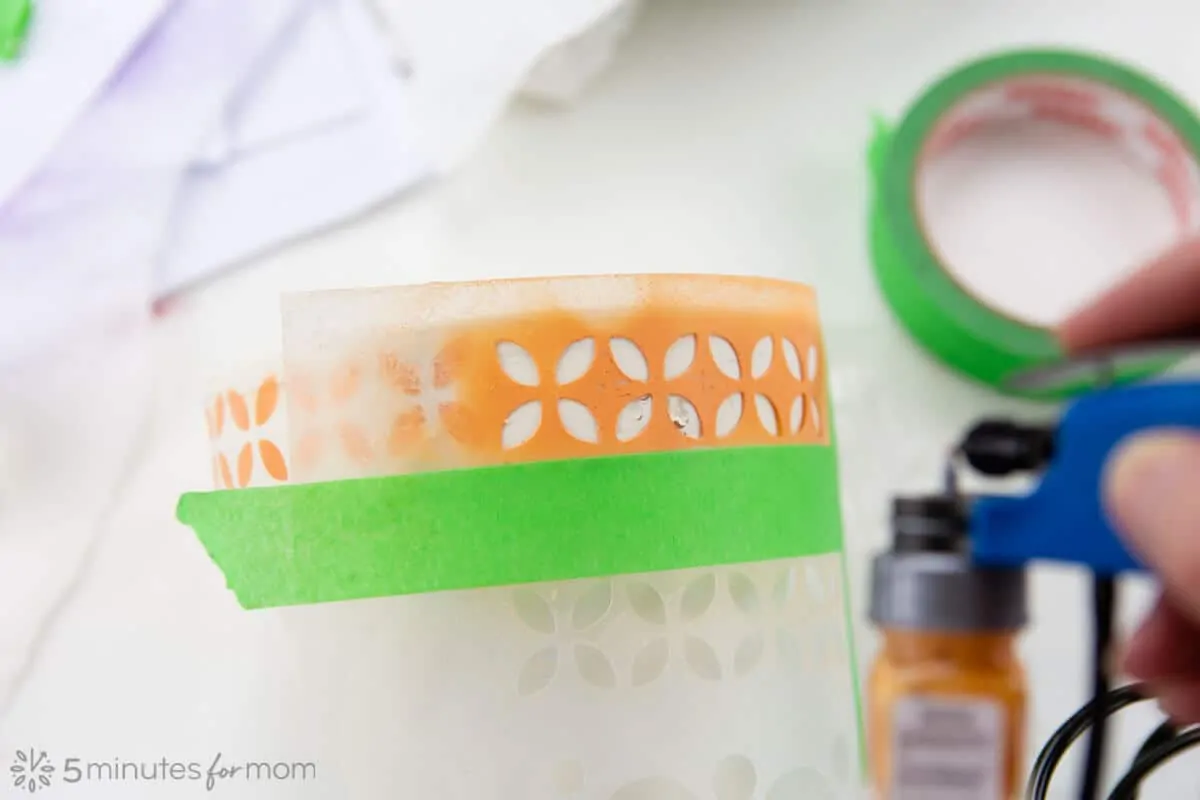
If you are making your own stencils or your stencils you bought are not adhesive, you can make your removable, adhesive stencils.
To make stencils that are sticky enough to stay in place while you paint, but removable after painting, spray the back of the stencil with Testors Craft Clear Spray Adhesive.
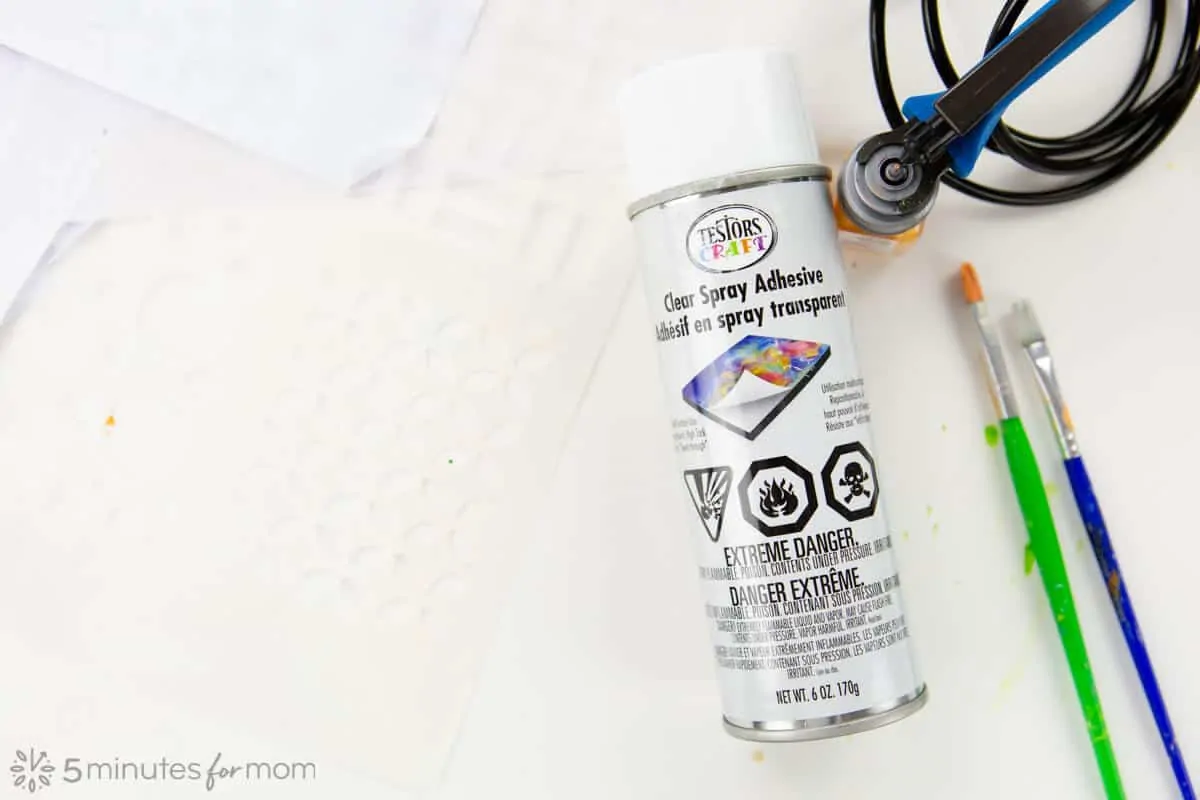
The key to using Testors Craft Clear Spray Adhesive to make removable adhesive stencils is lightly spraying the adhesive and then allowing to dry for about five minutes before using. You do not want the stencil to be too sticky, so allowing the glue to dry before using is critical.
If you want to make sure that your paint does not seep under the edges of your stencil, you can apply a thin layer of decoupage glue, such as Modge Podge, first. Allow glue to dry before painting. This forms a seal that keeps your paint from bleeding under the stencil.

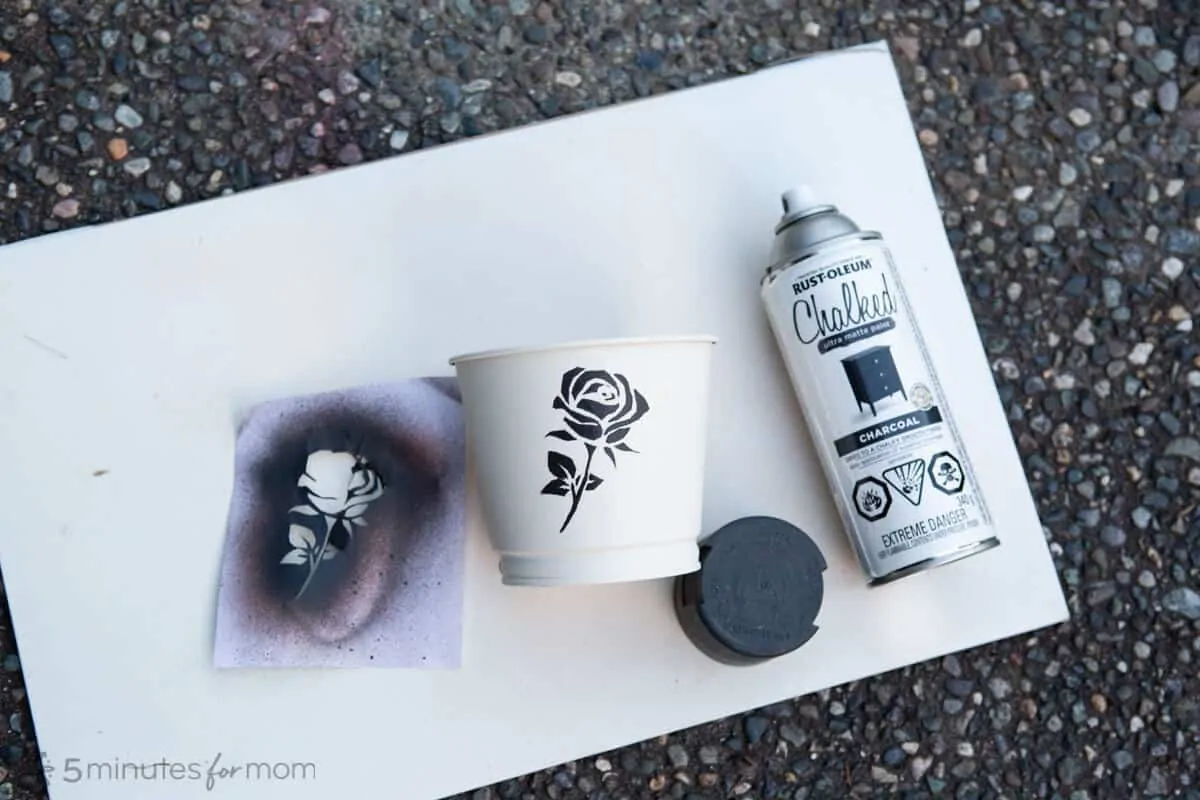
In addition to using our Testors Amazing Air Airbrush Kit to airbrush our stencils, we also spray painted one of our pots with Rust-Oleum Chalked Spray Paint.
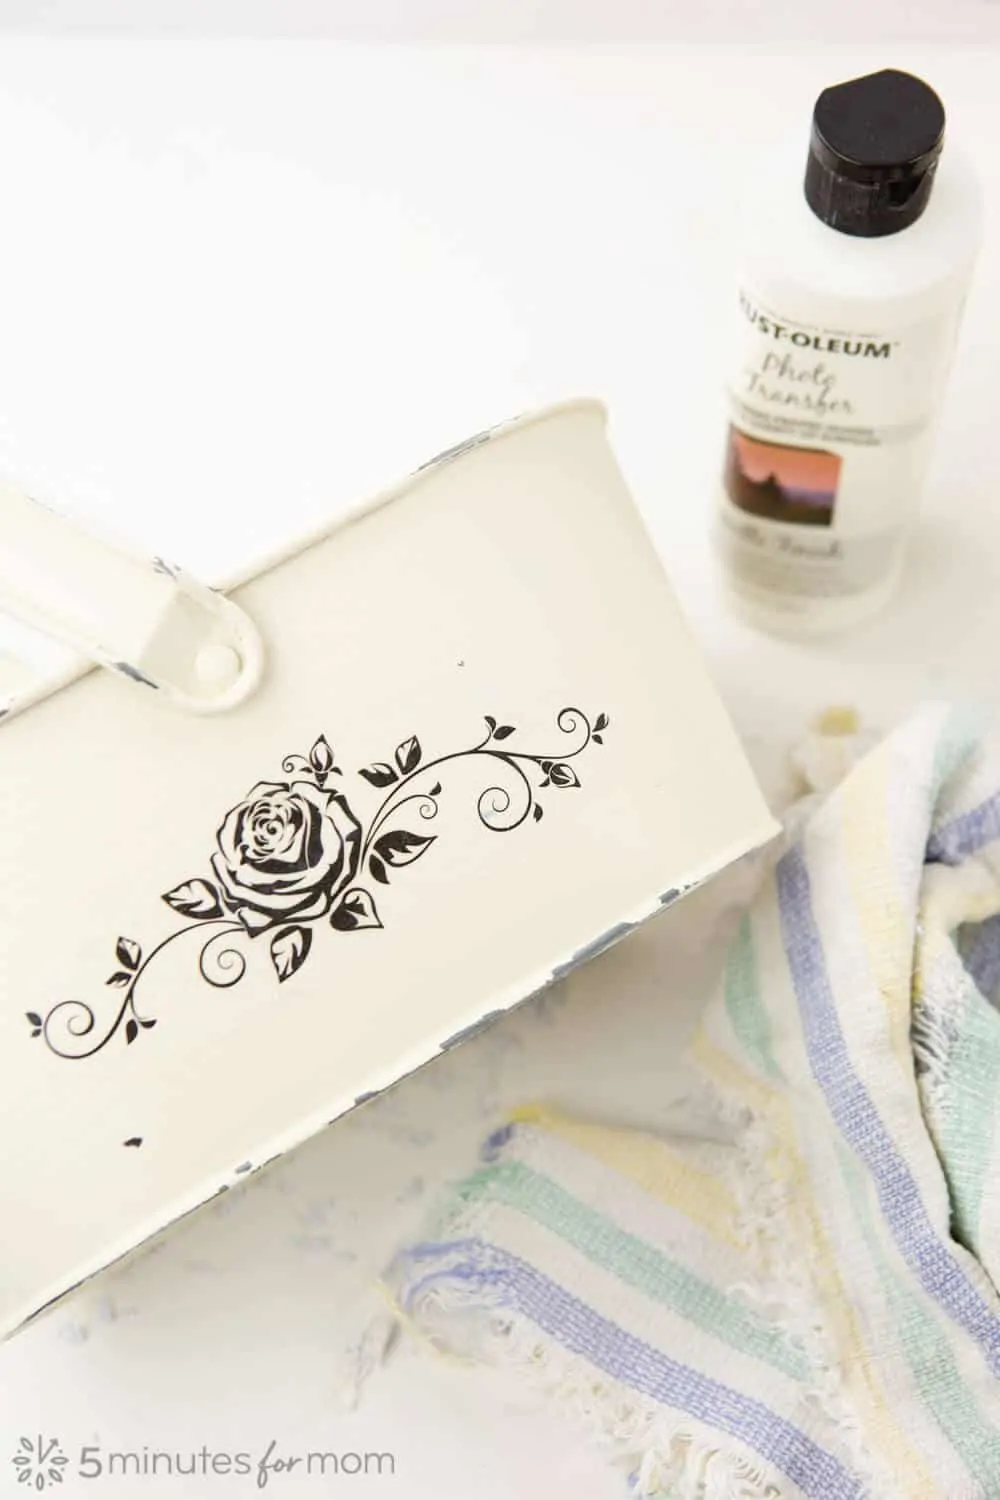
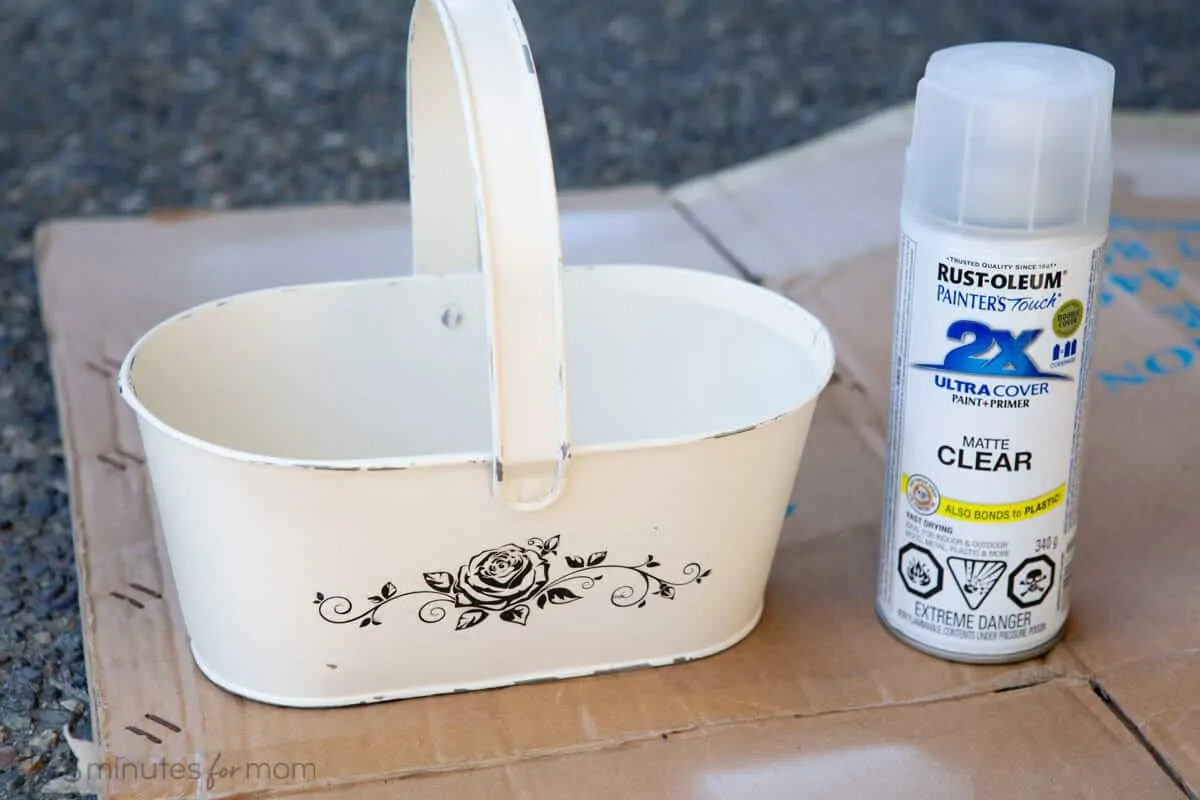
For another look, we used Rust-Oleum Photo Transfer to apply a rose embellishment to one of our metal distressed flower pots.
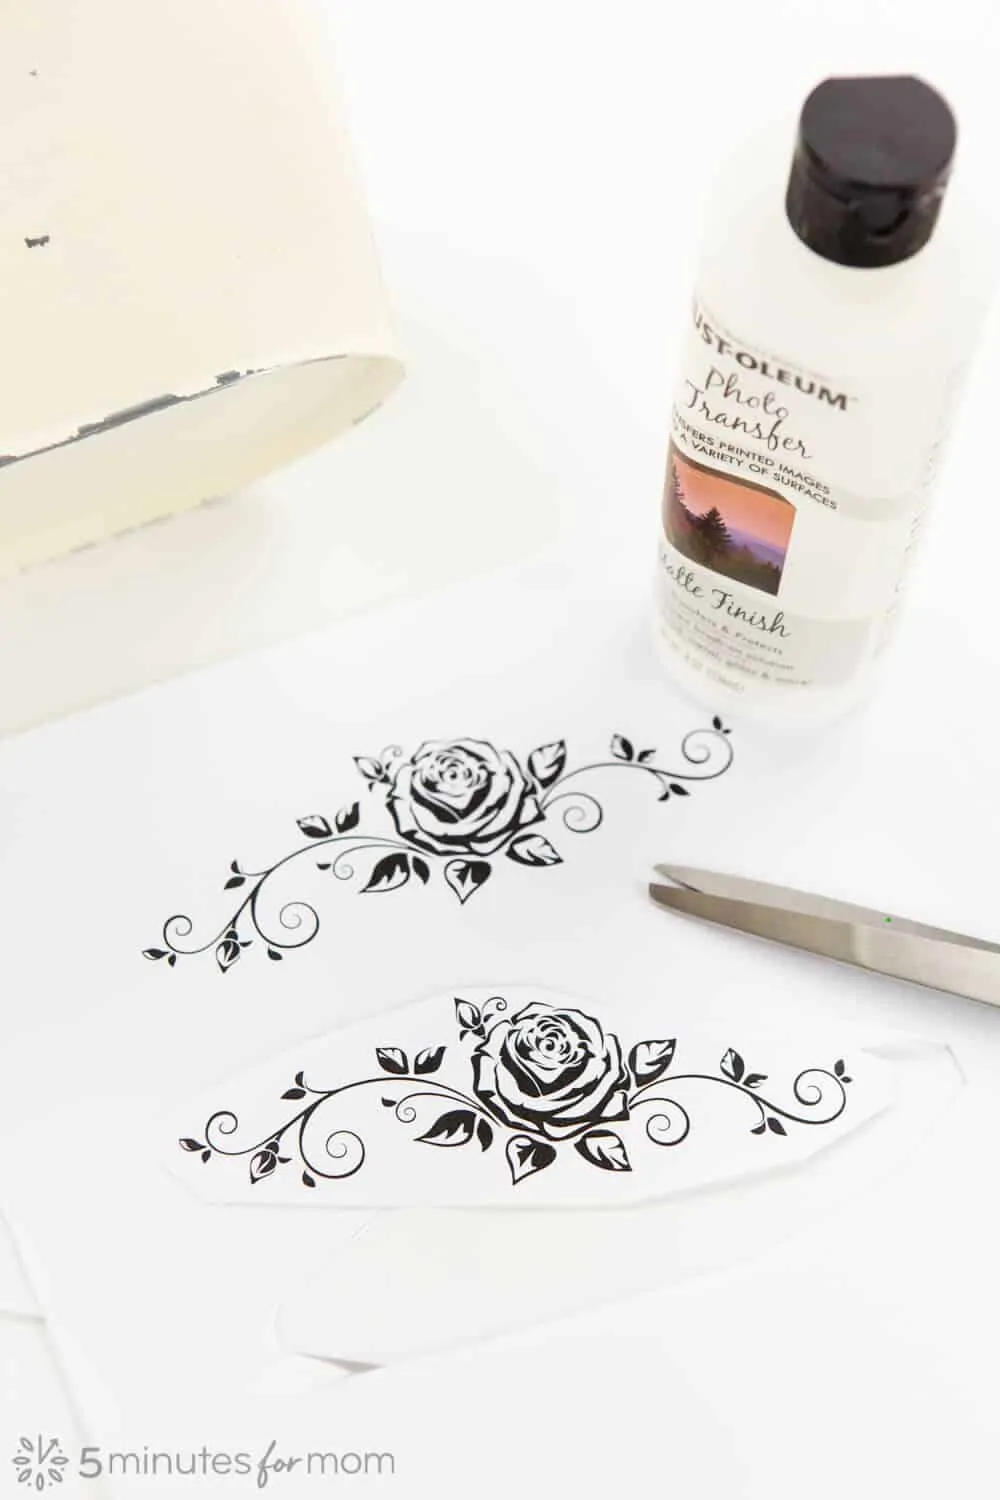
Using the photo transfer is super easy and allows you to apply any photo or artwork to a surface — even your child’s artwork.
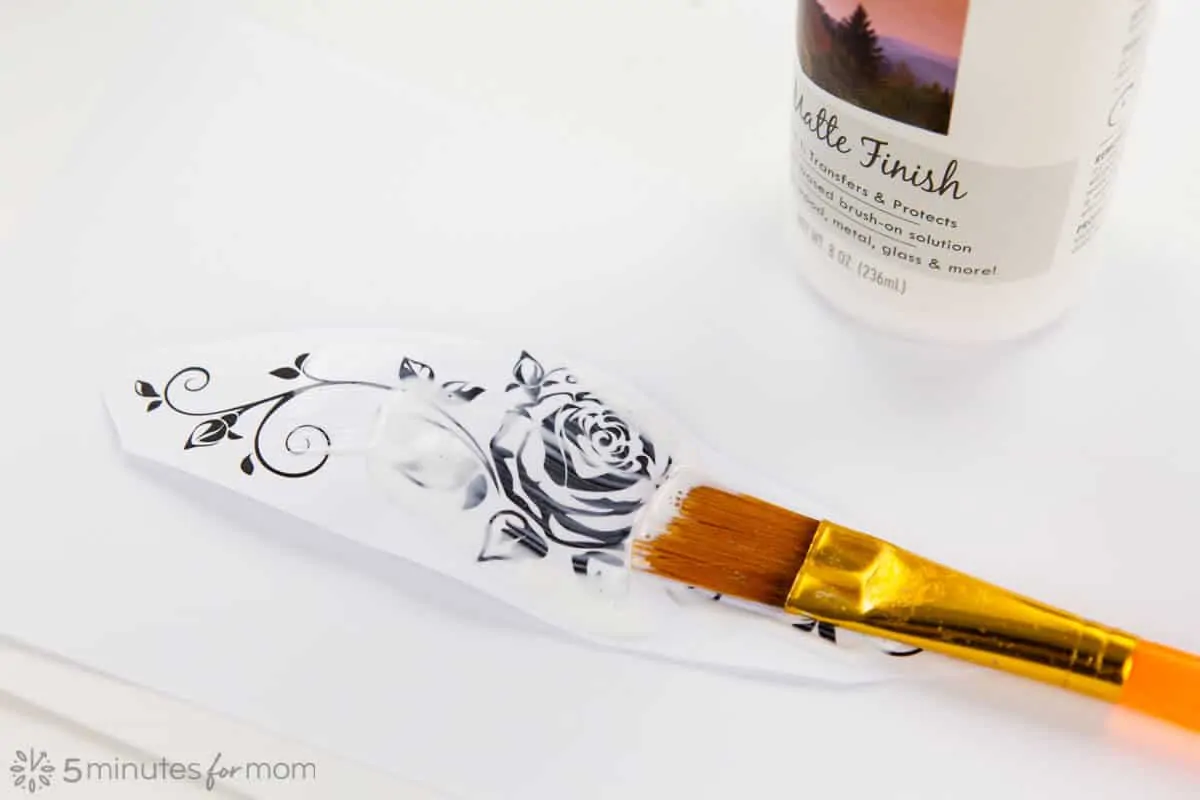
Simply print your design on a laser printer, (flip the image horizontally to create a mirror image before printing.) Then cut out the image and liberally apply Rust-Oleum Photo Transfer to the printed side of the paper.
If you want to use the rose graphic we made, click here to download our Free Rose Embellishment Graphic PDF.
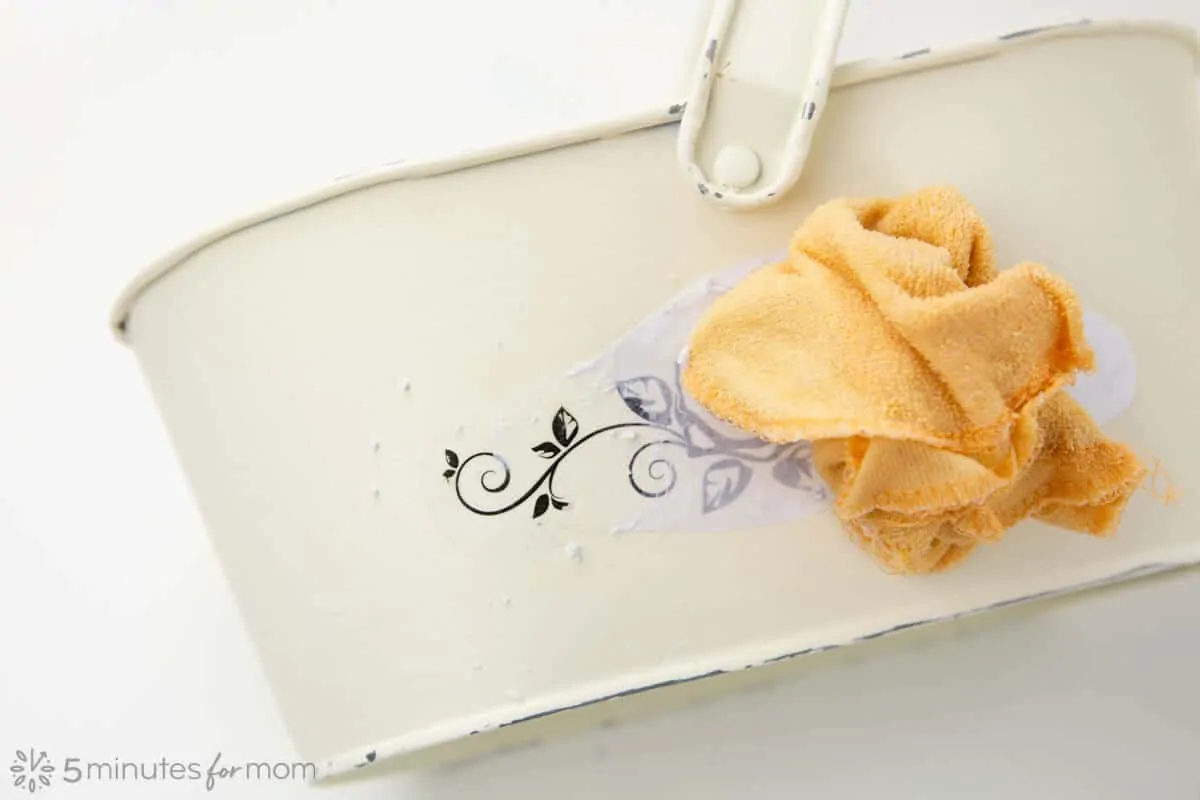
Allow to dry for 24 hours, (or use a hairdryer to speed up drying if you are in a hurry,) and then use a damp cloth and rub in small circles to remove the paper.
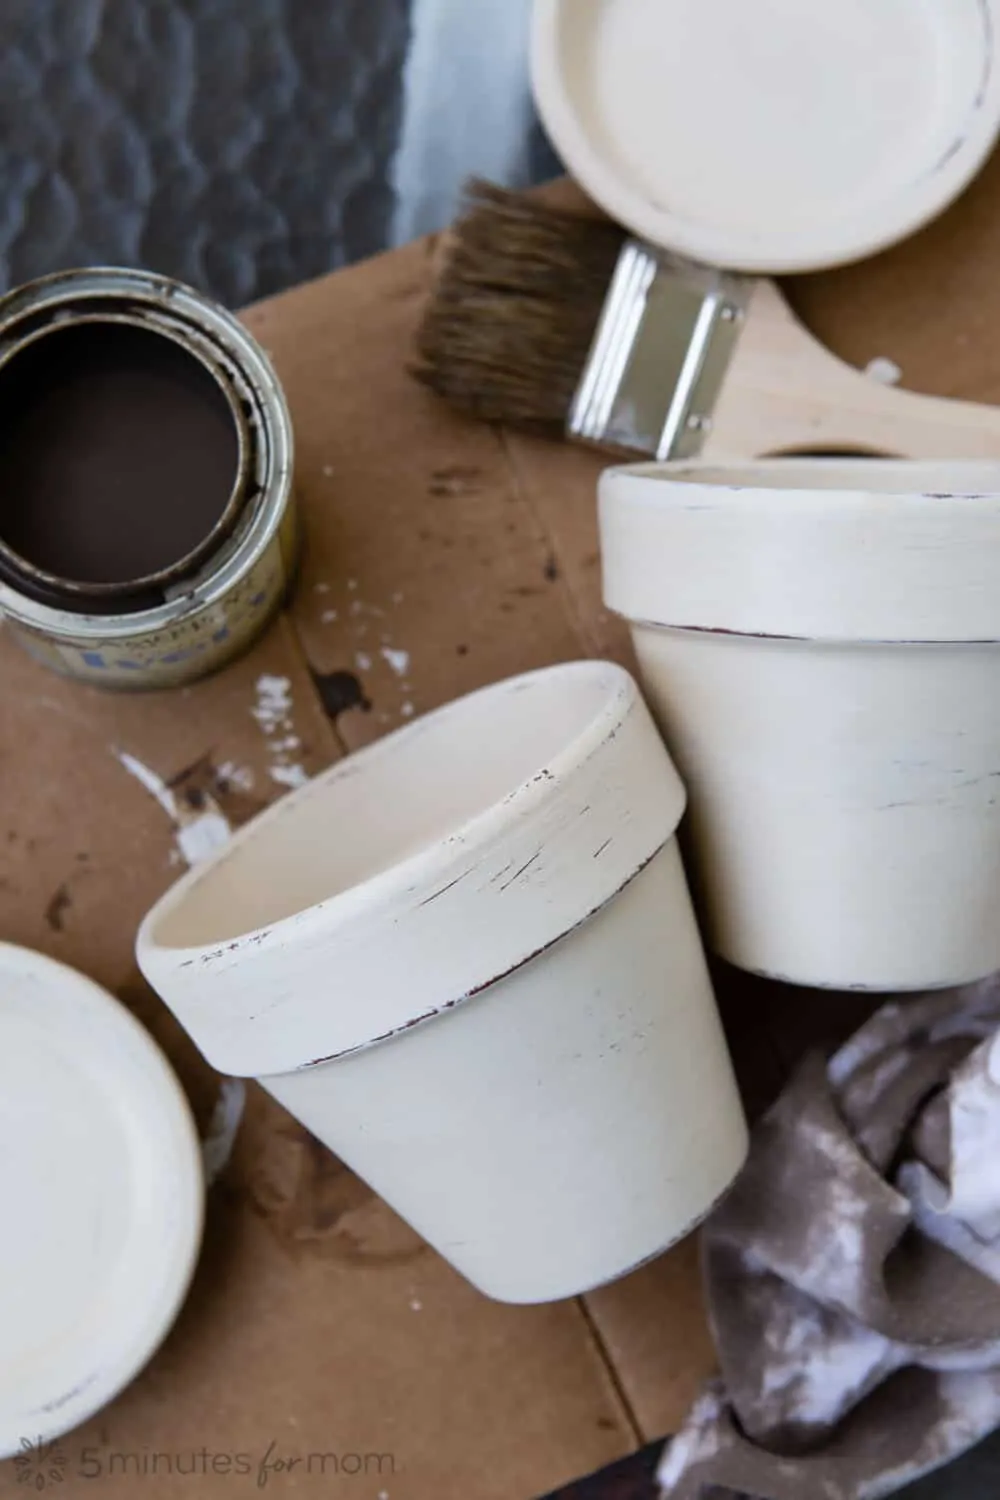
Step 4 – Distress Painted Flower Pots
If you want to age and distress your pots, lightly sand pots, concentrating on edges, raised lettering, etc.

After sanding/distressing your pots, wipe with a soft cloth or tack cloth to remove any sanding dust.
Step 5 – Age Painted Pot with Antiquing Top Coat
To enhance your distressed look, use an antiquing top coat such as the Antique Top Coat that comes in the Testors Craft Distressing Kit
After your paint is thoroughly dry and your pots are distressed and wiped clean with a cloth, brush stain onto the pot.
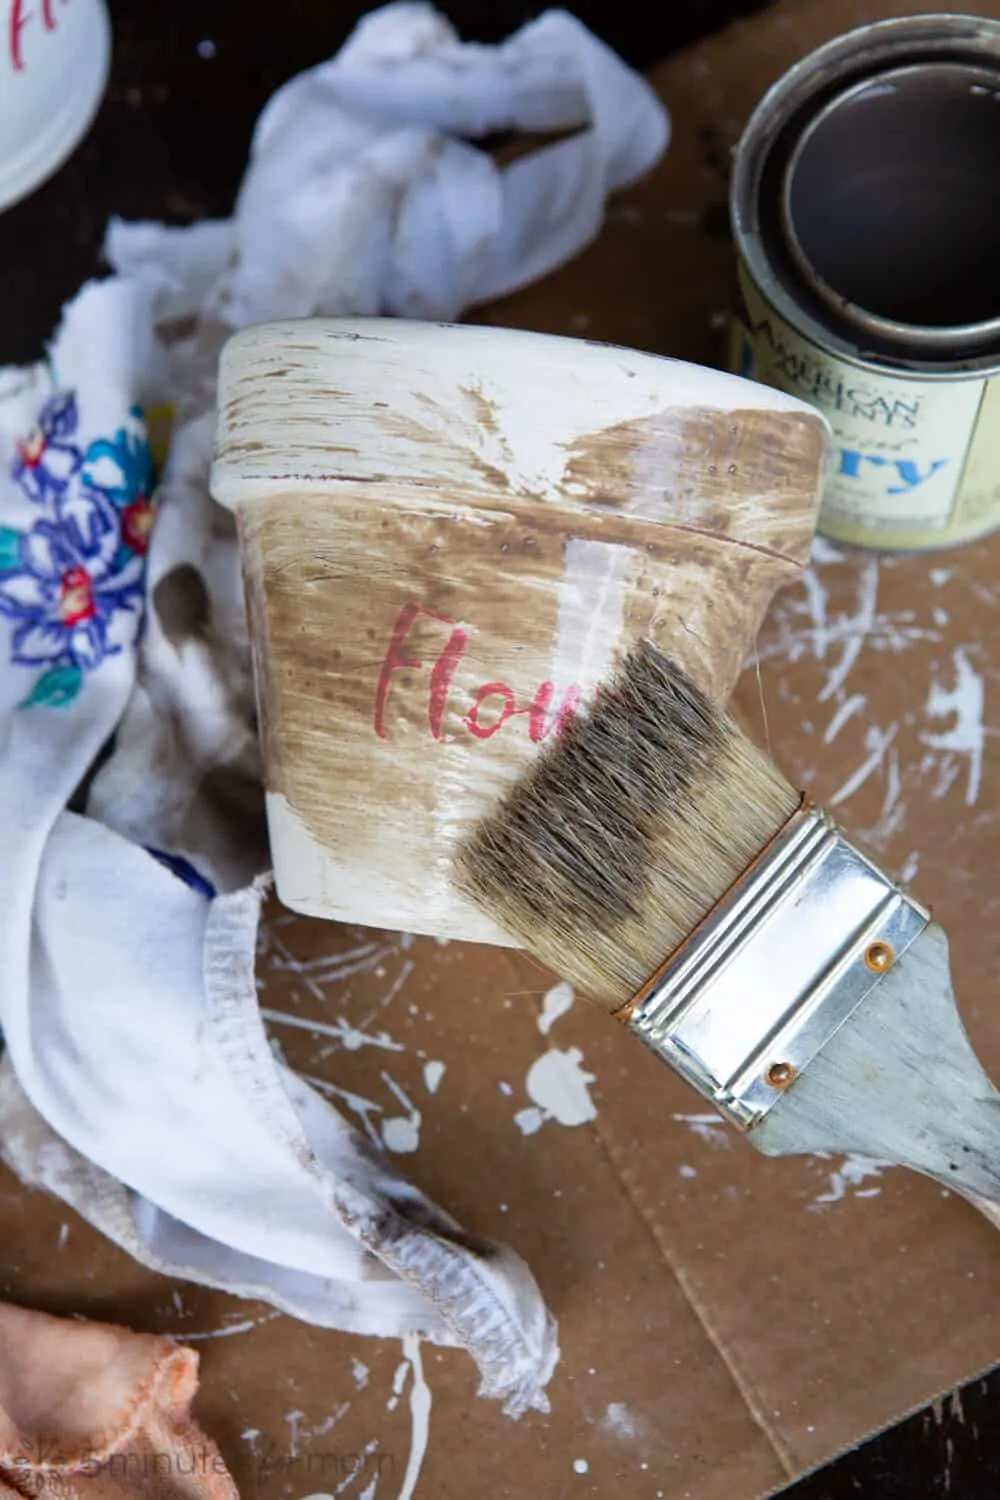
Immediately after applying the stain, use a damp cloth to rub in stain and wipe off the excess stain. For a darker stain, use a dry cloth to rub in stain.
Step 6 – Apply Protective Top Coat
Once your pots are completed and thoroughly dry, spray with Rust-Oleum 2X Ultra Cover Clear Spray in Matte Clear to preserve your paint with a smooth, clear finish.
Step 7 – Fill Your Painted Flower Pots
Now it is time to fill your pots however you wish.
If you are planting plants or flowers in your pots, ensure that there are holes in the bottom of your pot. If you are using a metal container that doesn’t have holes, you can use a hammer and nail to make holes in the bottom. Remember to put your pot on a dish or tray to catch excess water.
If you are using a plastic pot as a liner, you may want to place rocks on the bottom of the pots to provide extra space for drainage.
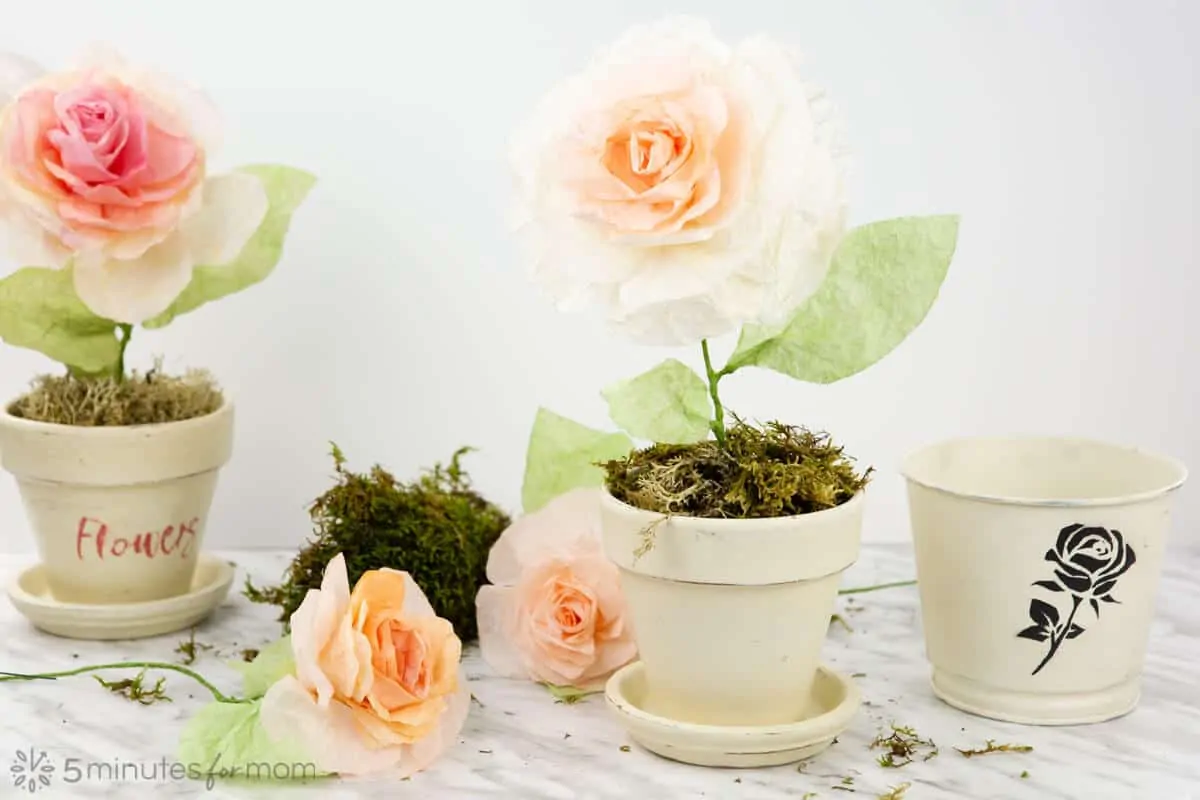
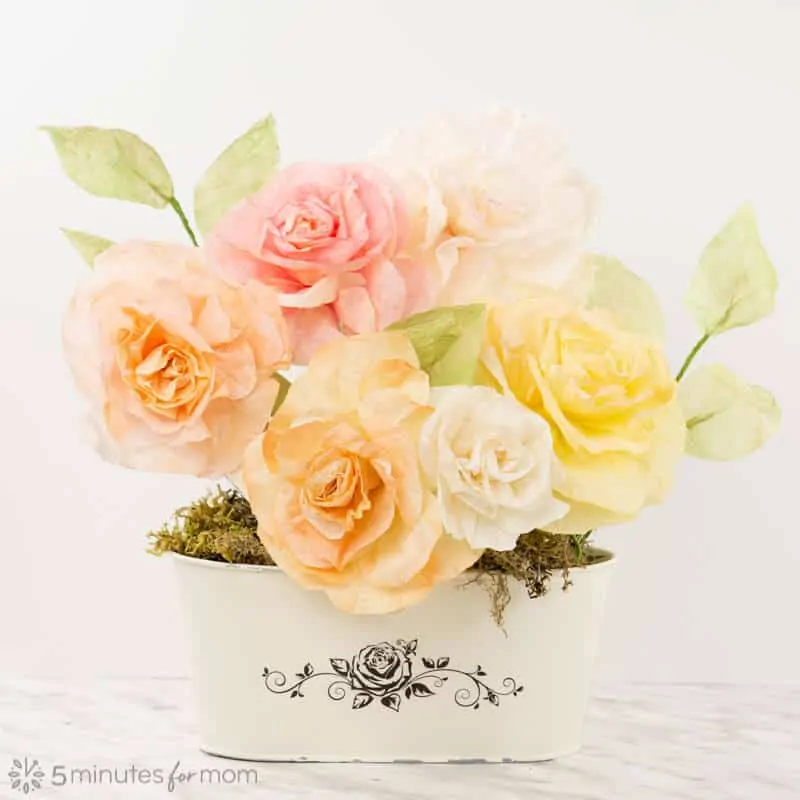
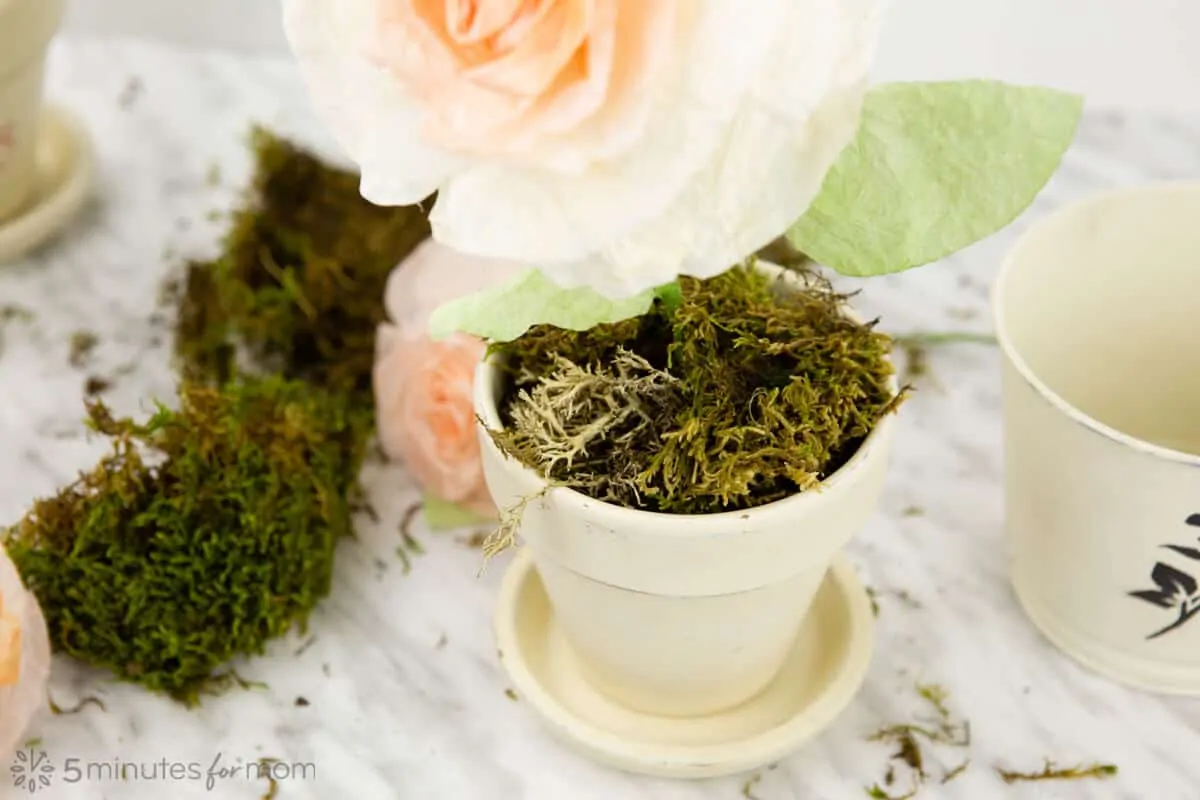
For our pots, we decided to use them indoors with our Coffee Filter Flowers we made.
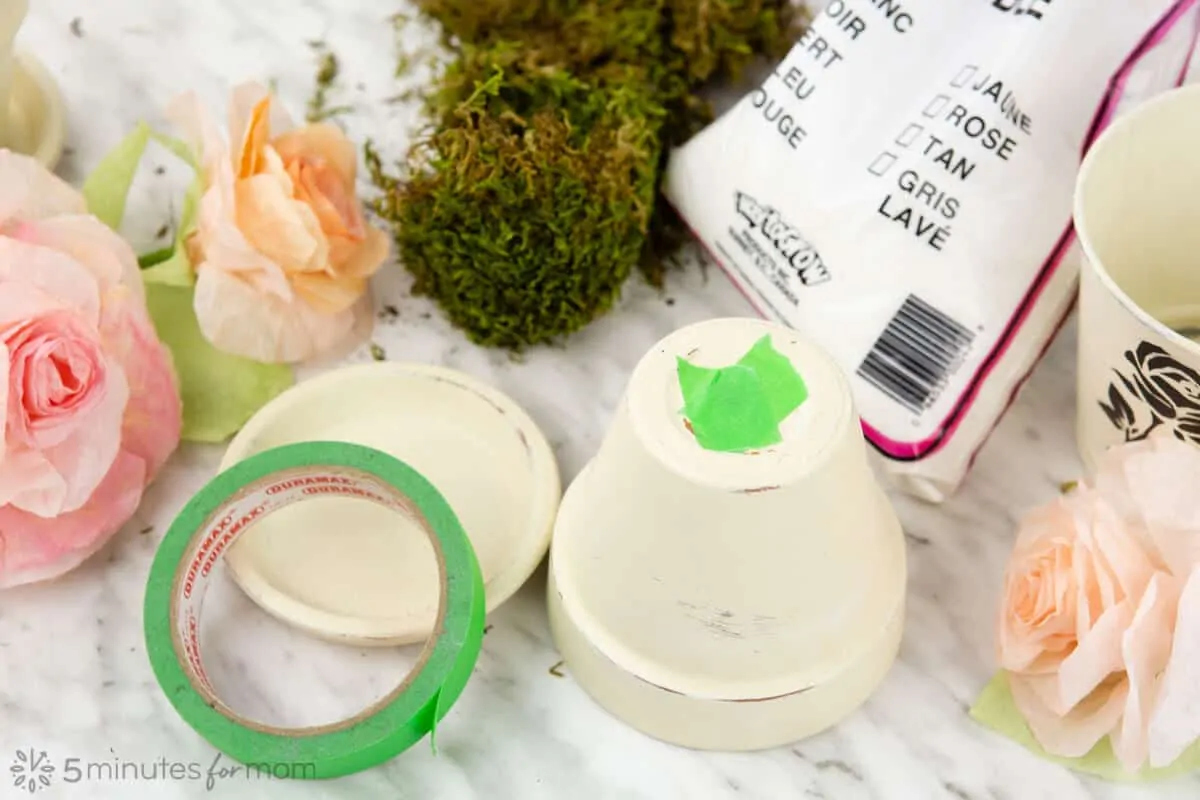
First, we covered the holes in the bottom of our pots with masking tape.
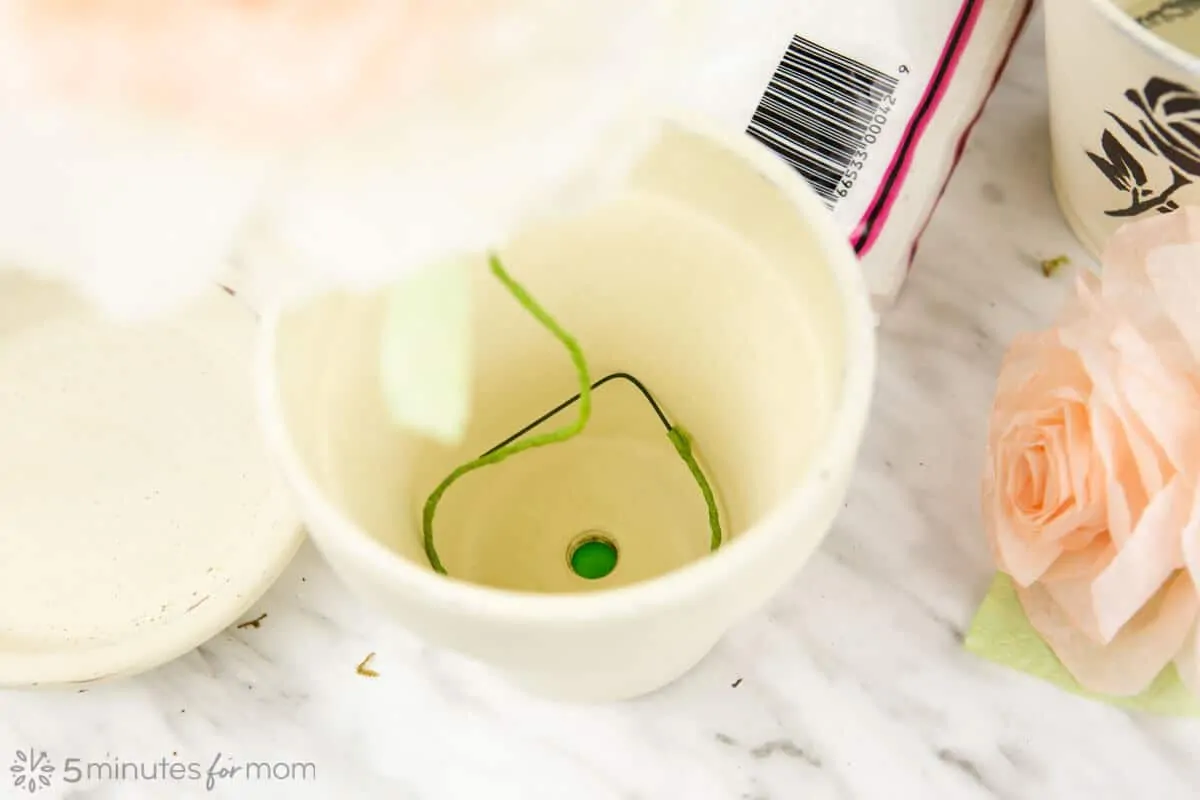
Next, we bent the wire of our paper roses and placed them in the bottom of the pots.
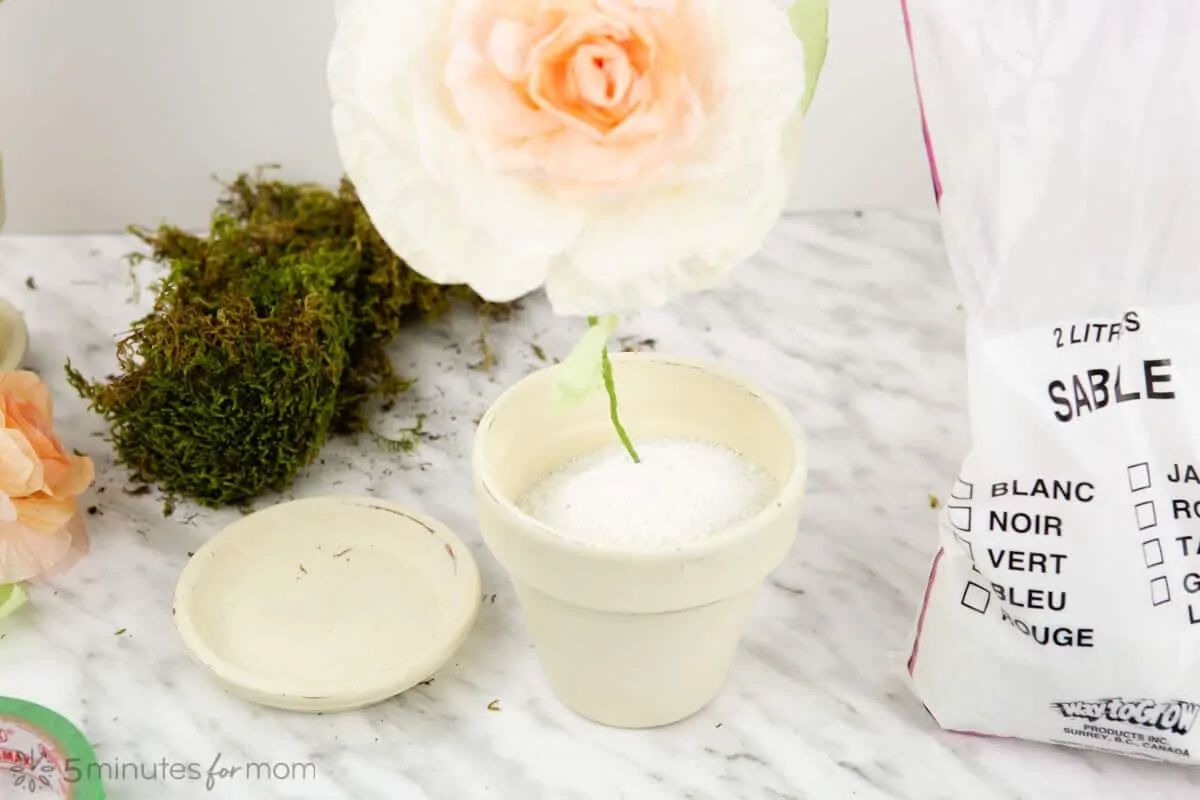
You can use sand, rocks, glass beads, foam blocks, etc. to stabilize your paper flowers.
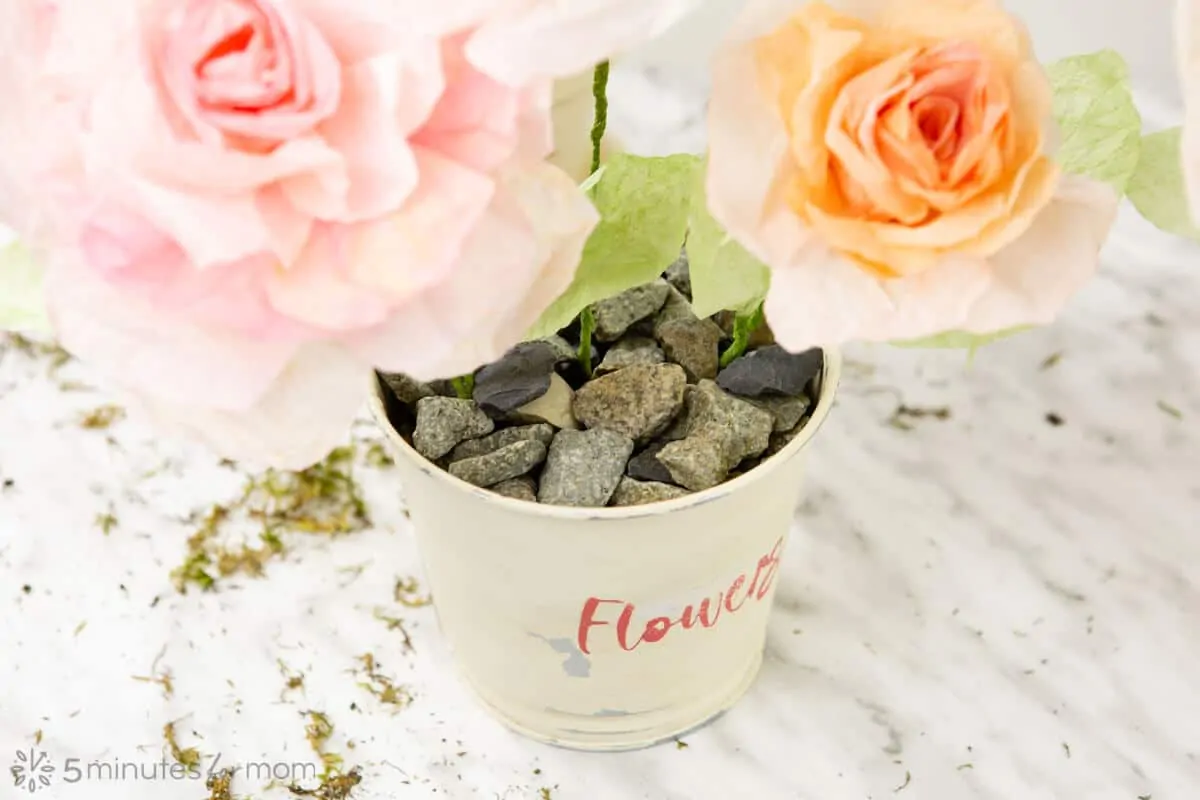
Then, we topped with moss to finish our paper flower pots.
More Family Craft Ideas…
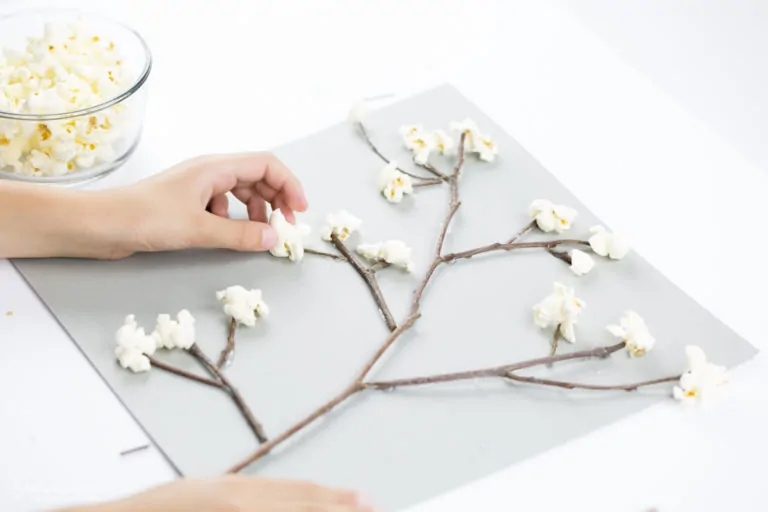
Here are some more fun Crafternoon projects that you and your kids will enjoy:
- Painted Coffee Filter Flowers
- Painted Birdhouses
- DIY Flower Press
- Painted Rocks
- DIY Bowling Set
- DIY Picture Frame
Pin these Flower Pot Painting Ideas for Later

Disclosure: This post is sponsored, so extra thanks for reading and sharing.
Written by Janice Croze, co-founder of 5 Minutes for Mom
Talk with me: @5minutesformom and Facebook.com/5minutesformom
Pin with me at pinterest.com/5minutesformom


I like to paint mosaics.
I’ve tried airbrushing with a friends, and I really liked it. TYVM!
I’ve never tried painting flowerpots or airbrushing. I would like to!
Awesome ideas thanks