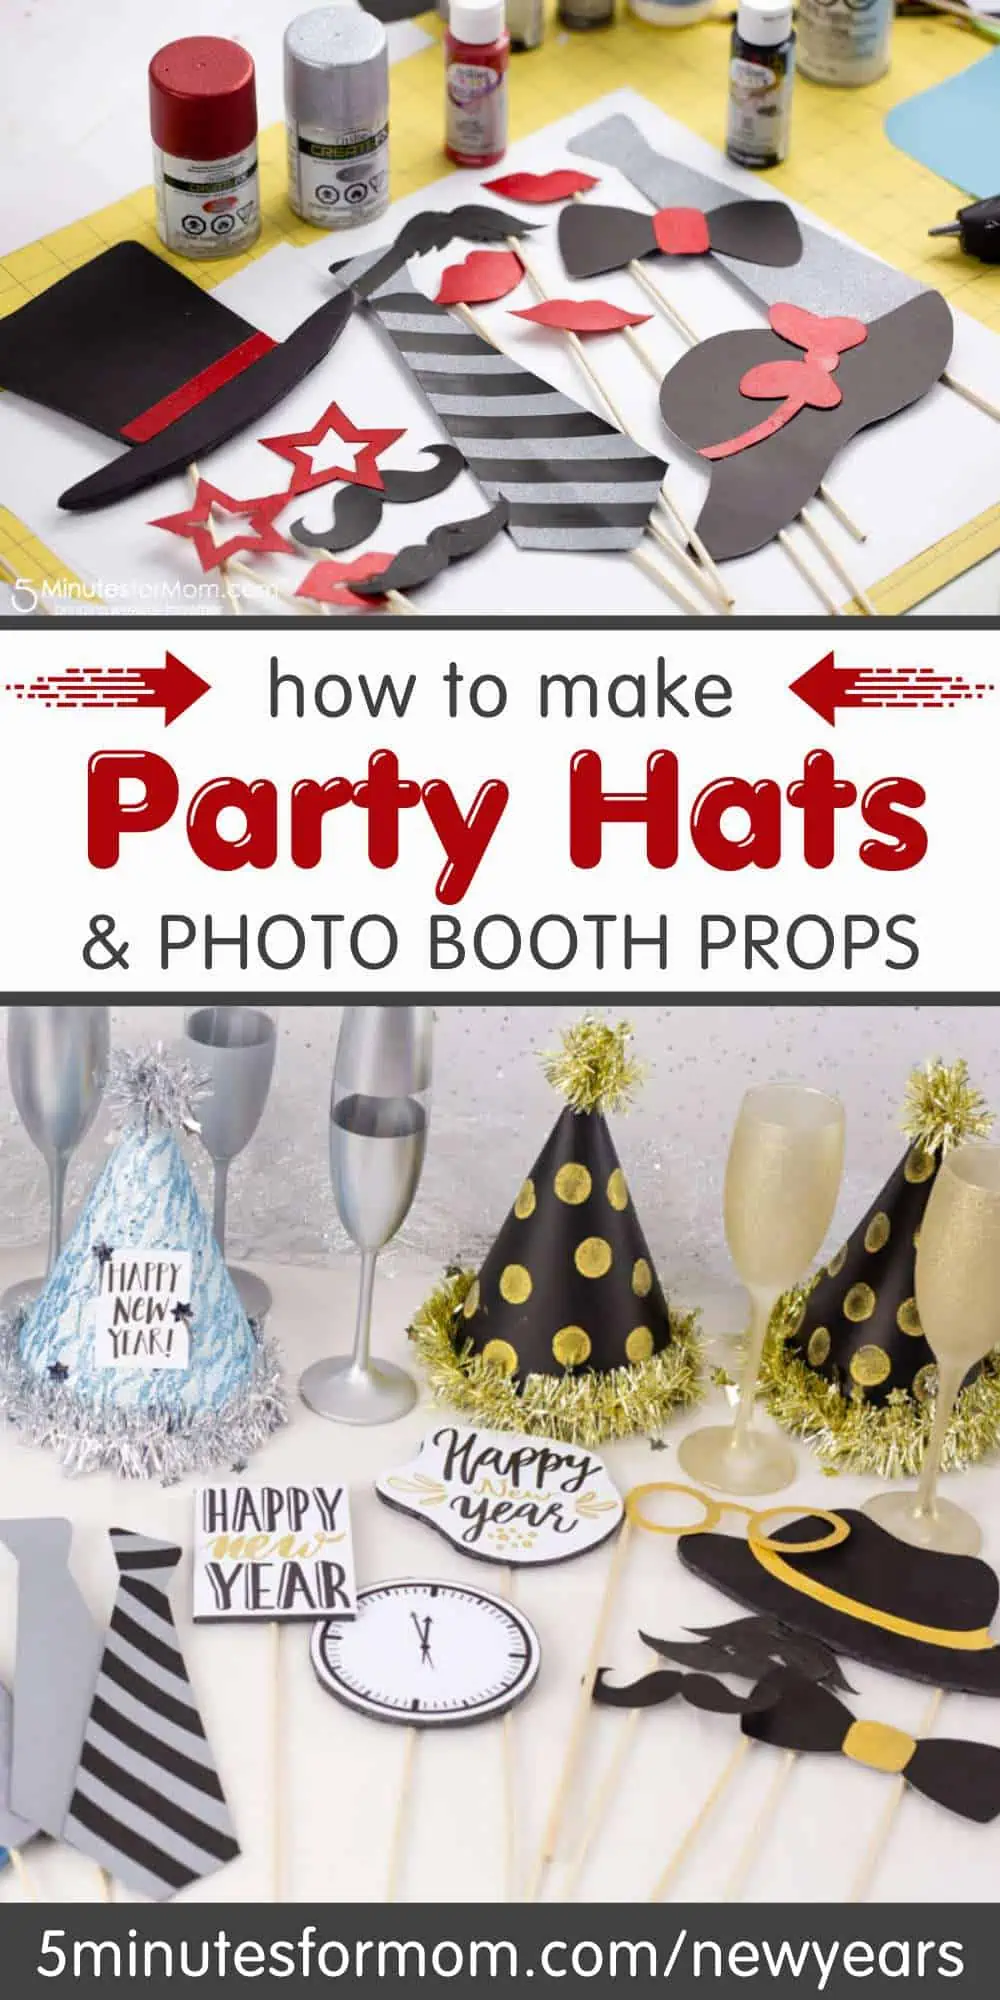
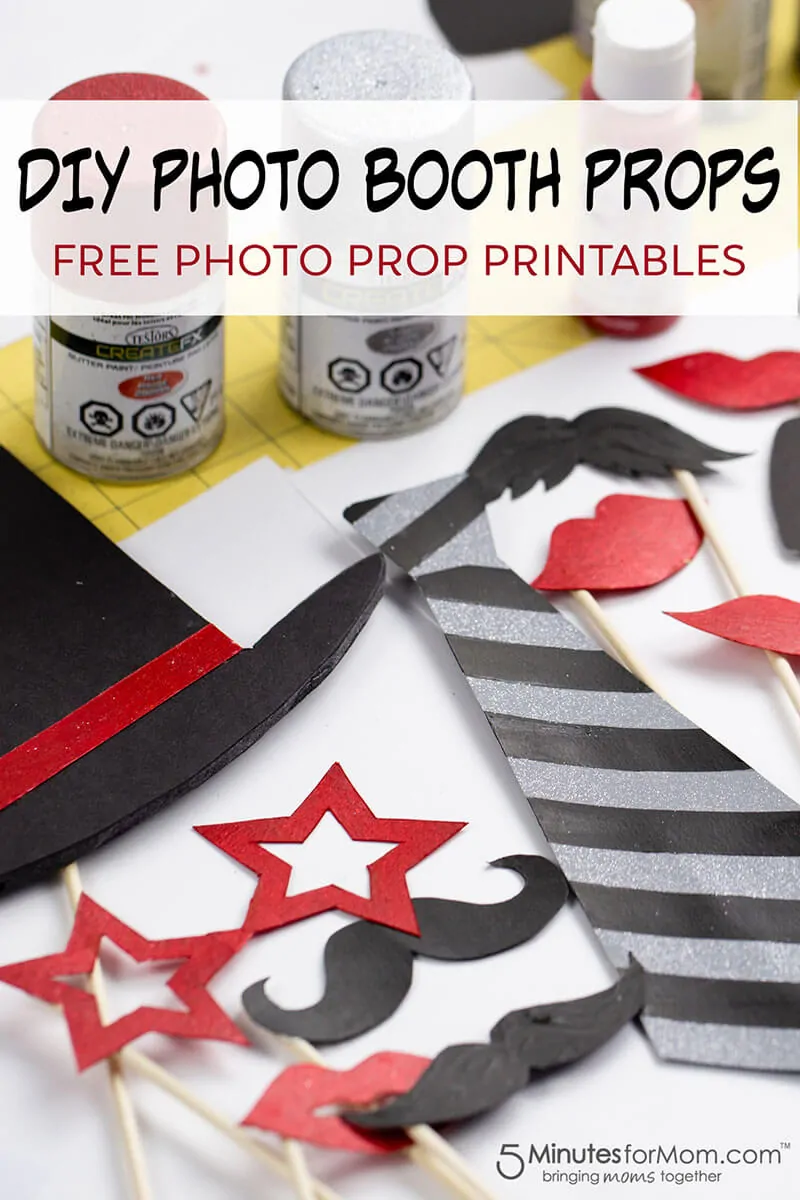
Do you want to see how to make a party hat and DIY photo booth props? It’s easy when you use our free templates and simple instructions.
One of the best ways to capture memories at a party or a holiday is with a fun photo booth. And you can make party hats and photo booth props using the following tutorial and free printable templates. You can also check out our DIY photo backdrop tutorial to see how we made this photo booth.
New Year’s Eve is coming again and we want to share with you how to make DIY photo booth props and party hats.
Several years ago, as part of our Testor’s Crafternoons campaign, we created this tutorial to show you how to make your own New Years photo booth props. This craft and video are part of our ongoing sponsored partnership with Testors Crafternoons.
You may notice our children look rather young in this post… and that’s because we created this tutorial in 2018.
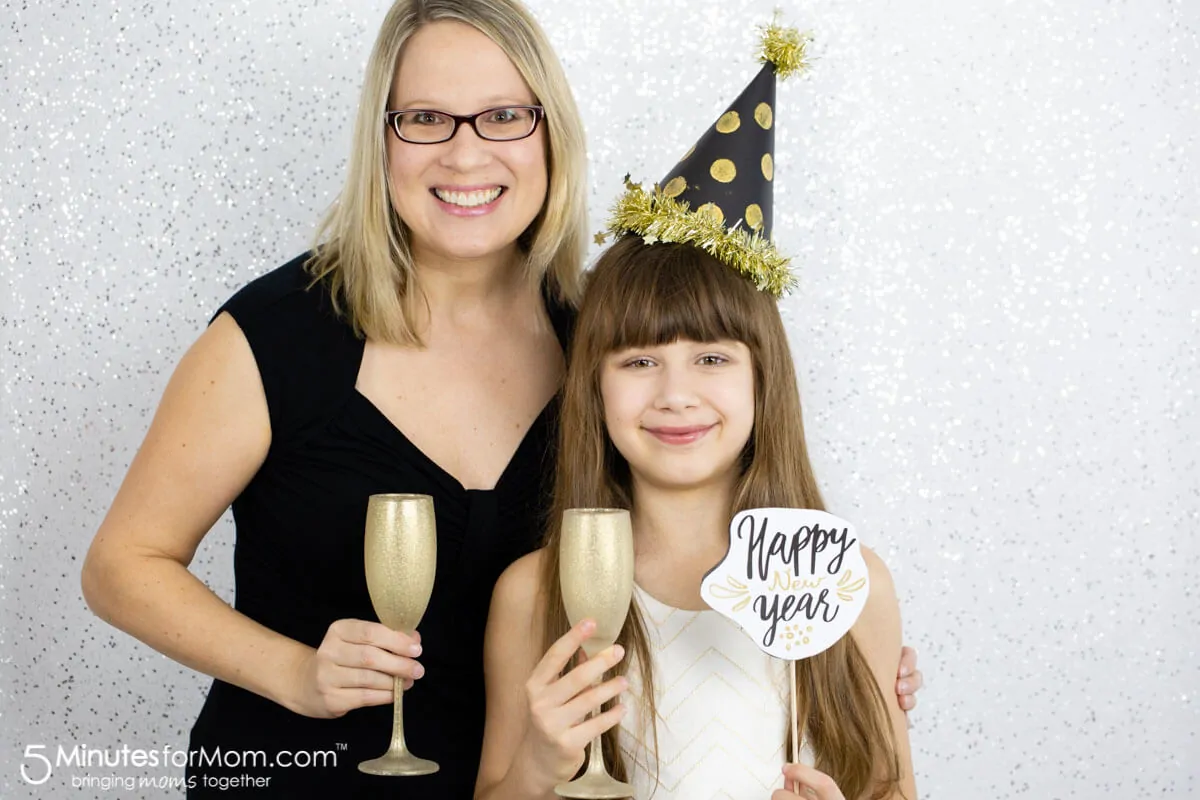
But as you get ready to ring in a new year, we want to help you create fabulous party photos to share with your friends and family.
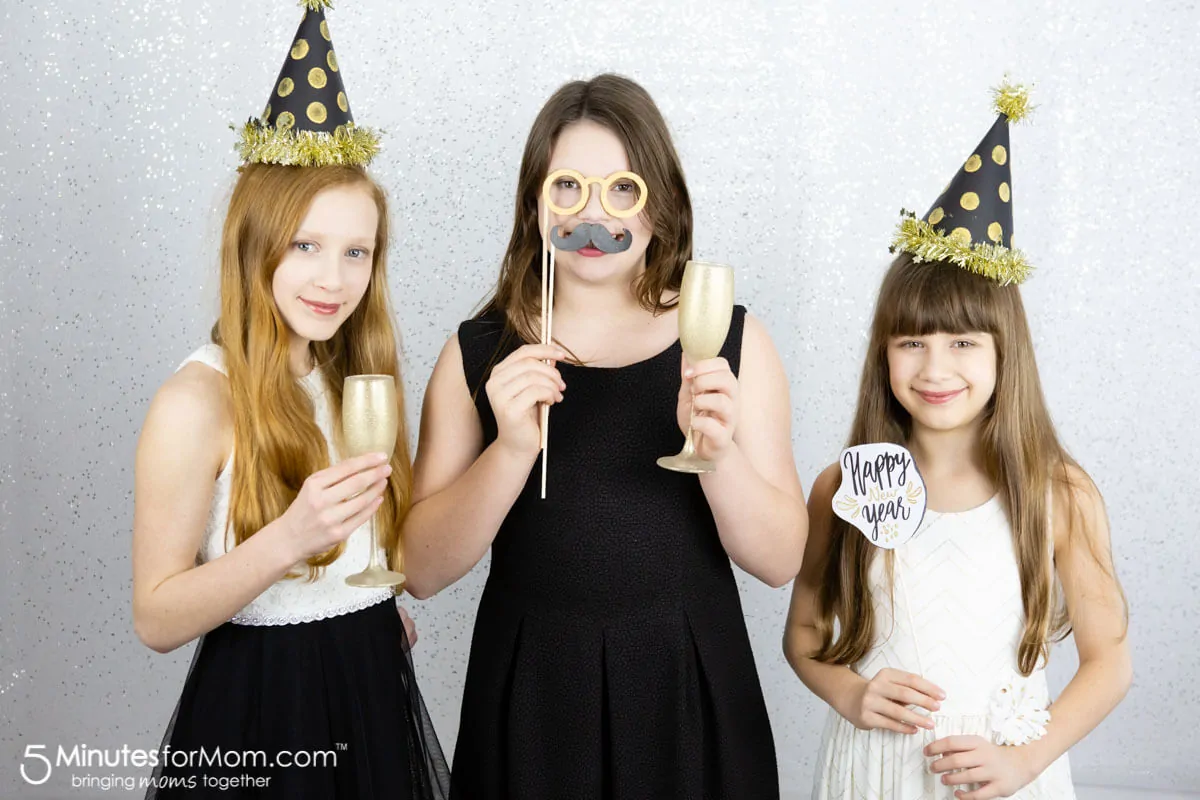
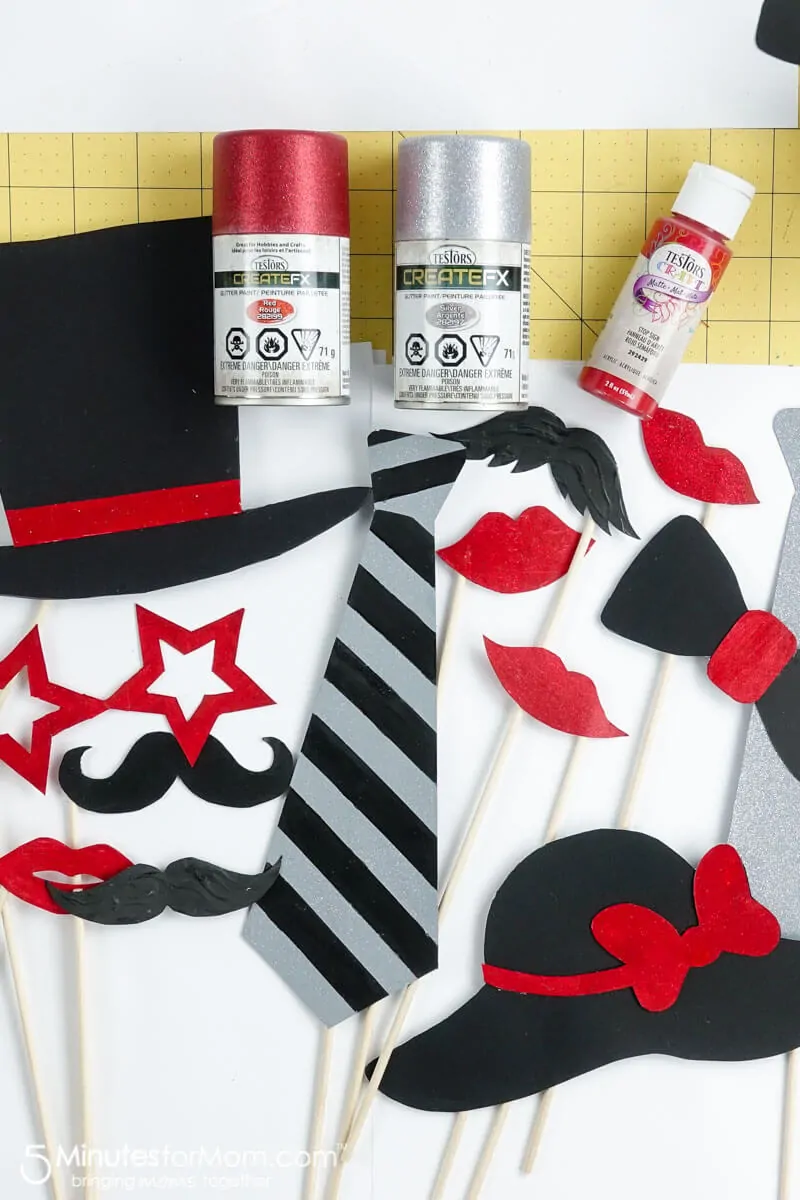
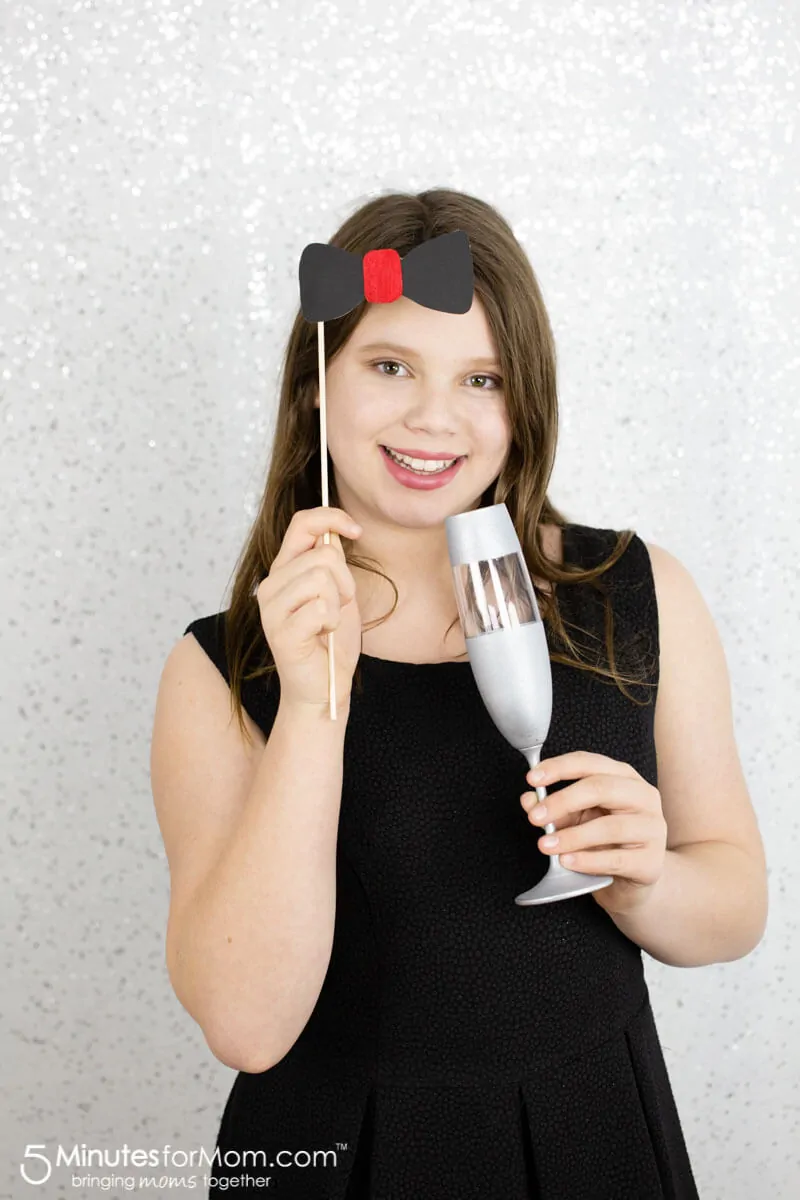
This holiday activity gives you extra quality time with your family and friends. First, you get to spend time together making party hats and photo booth props including sparkly champagne glasses, goofy glasses, fun bow ties, and much more. Then you get to celebrate together taking party pictures in your new photo booth.
You can use your DIY New Year’s Eve Photo Booth for a New Year’s party, your family New Year celebration, a family photo shoot, or any other celebration.
You can reuse these DIY photo booth props over and over again for all types of holidays and parties. Just switch out the wording on the signs and the party hats.
Photo Booth Prop Supplies
We used several Testors paint products in these crafts, but you can use whatever paints you have available.
Please note that for these handmade party hats and DIY photo booth props, you can use various types of acrylic paints or spray paints. Below are some paint and adhesive product suggestions you could use to create your hats and props.
These are only IDEAS for possible supplies… you do NOT need all of these products!
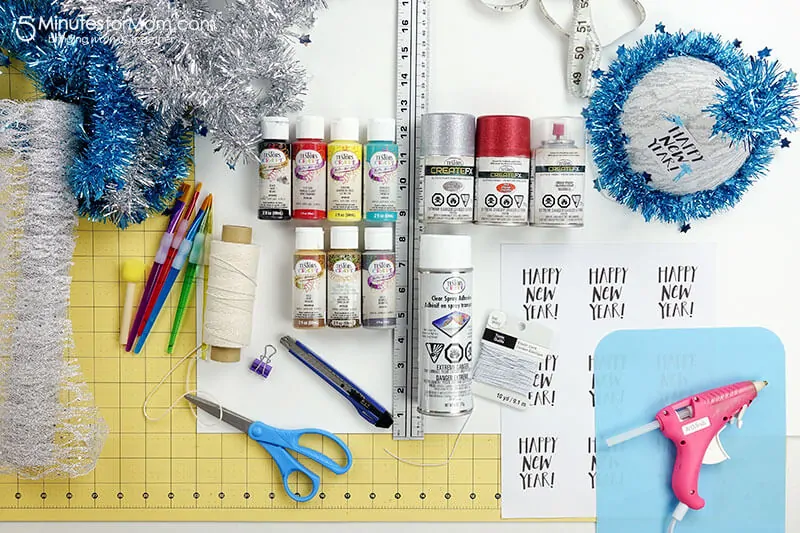
- Craft Acrylic Paint
- Spray paint
- Glitter Spray Paint
- Metallic Spray Paint
- Glitter Sealer
- Clear Spray Adhesive
- Dimensional Craft Paste
And be sure to download our free printable photo prop templates.
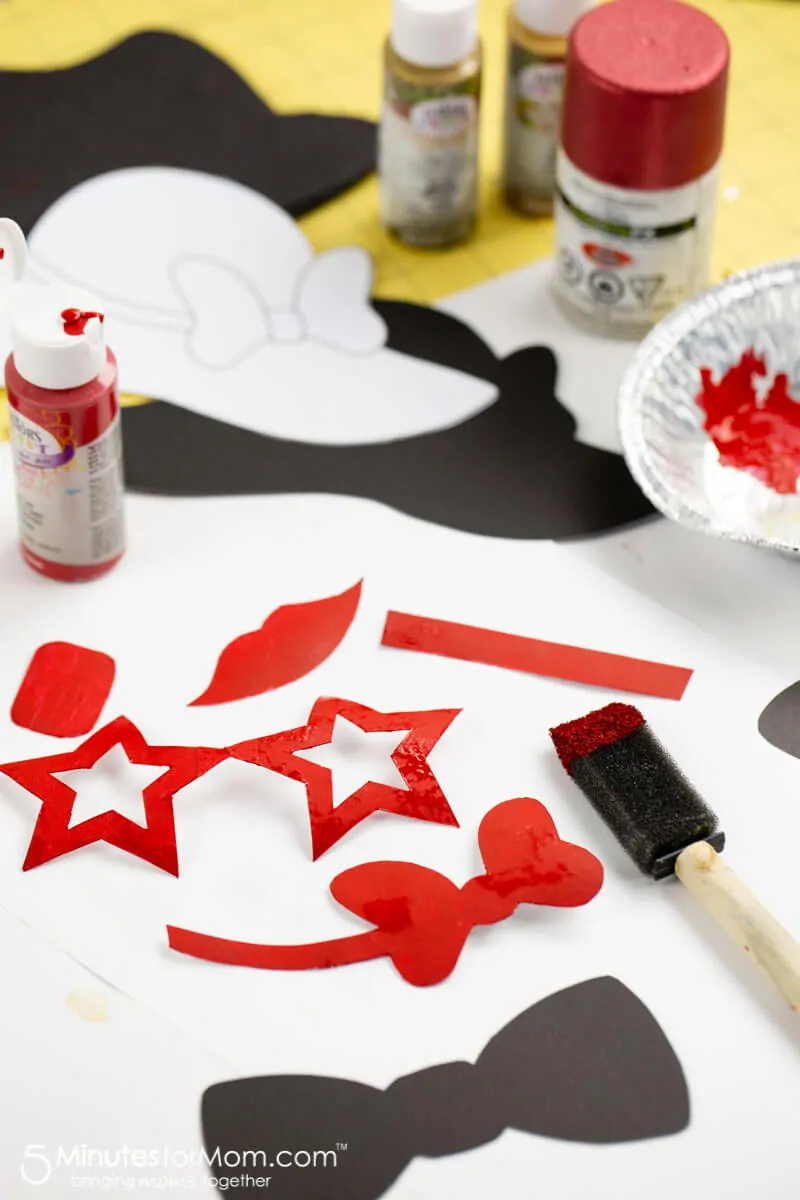
DIY New Year’s Eve Photo Booth Props
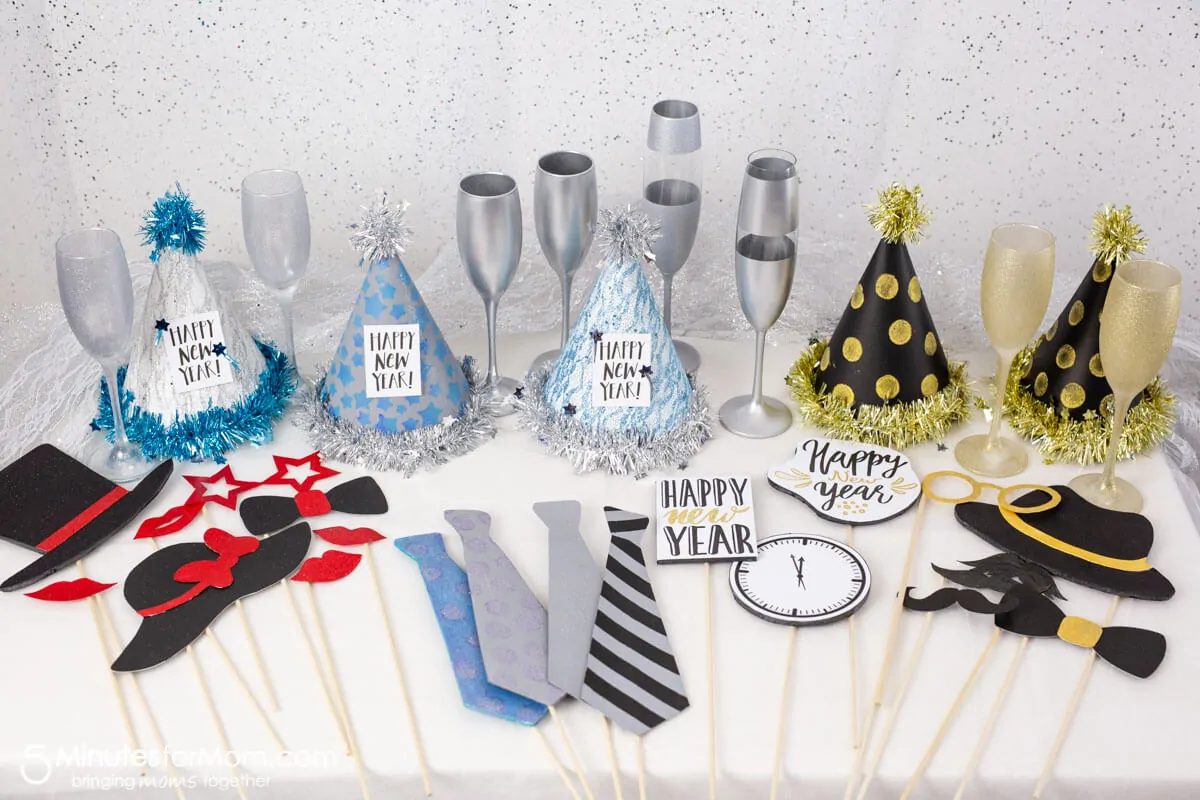
As you can see in the video above, or in the video on our YouTube channel, these photo booth props are easy to make.
Printable Photo Prop Templates
Tip 1 – Paint Your Props
Save your printer ink and have more fun PAINTING with our printable photo prop templates.
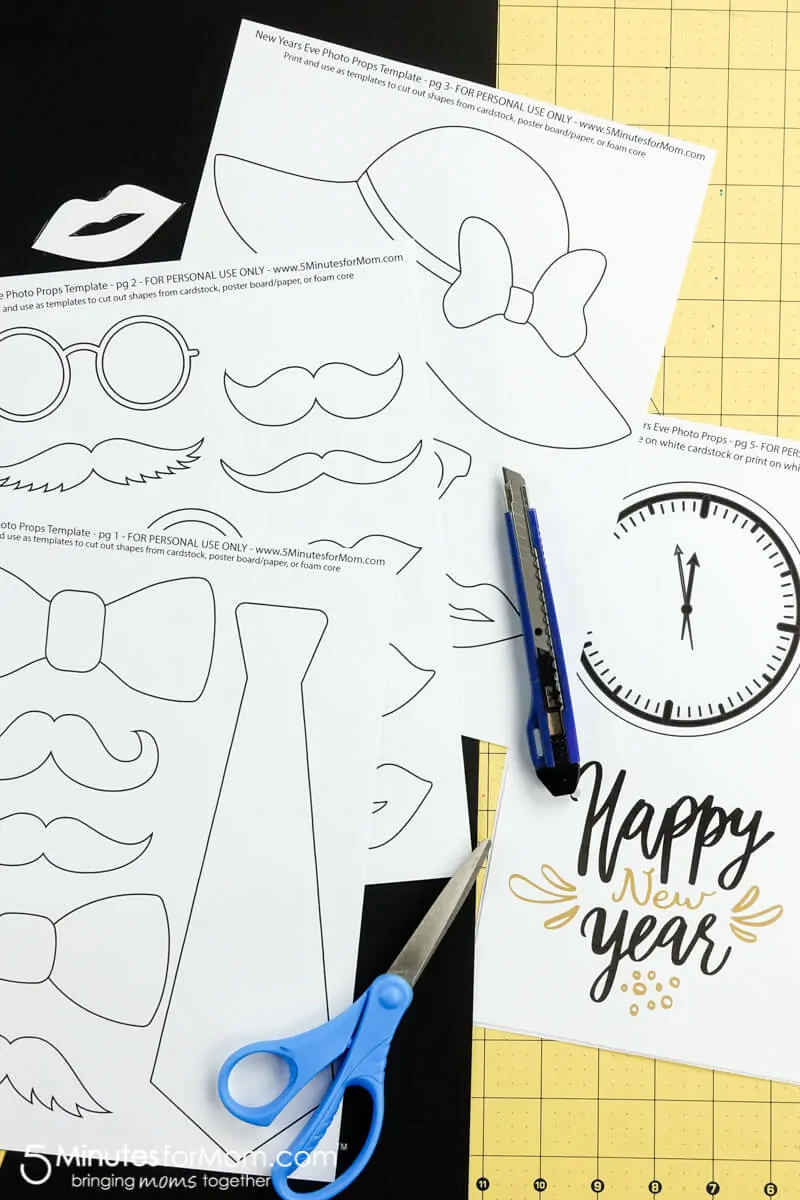
Many colored printables use a lot of expensive printer ink. So save that ink, and get creative painting your photo booth props.
Not only will your photo props look incredible, but you and your family will also have a ton of fun together painting them!
Click here to download the free printables…
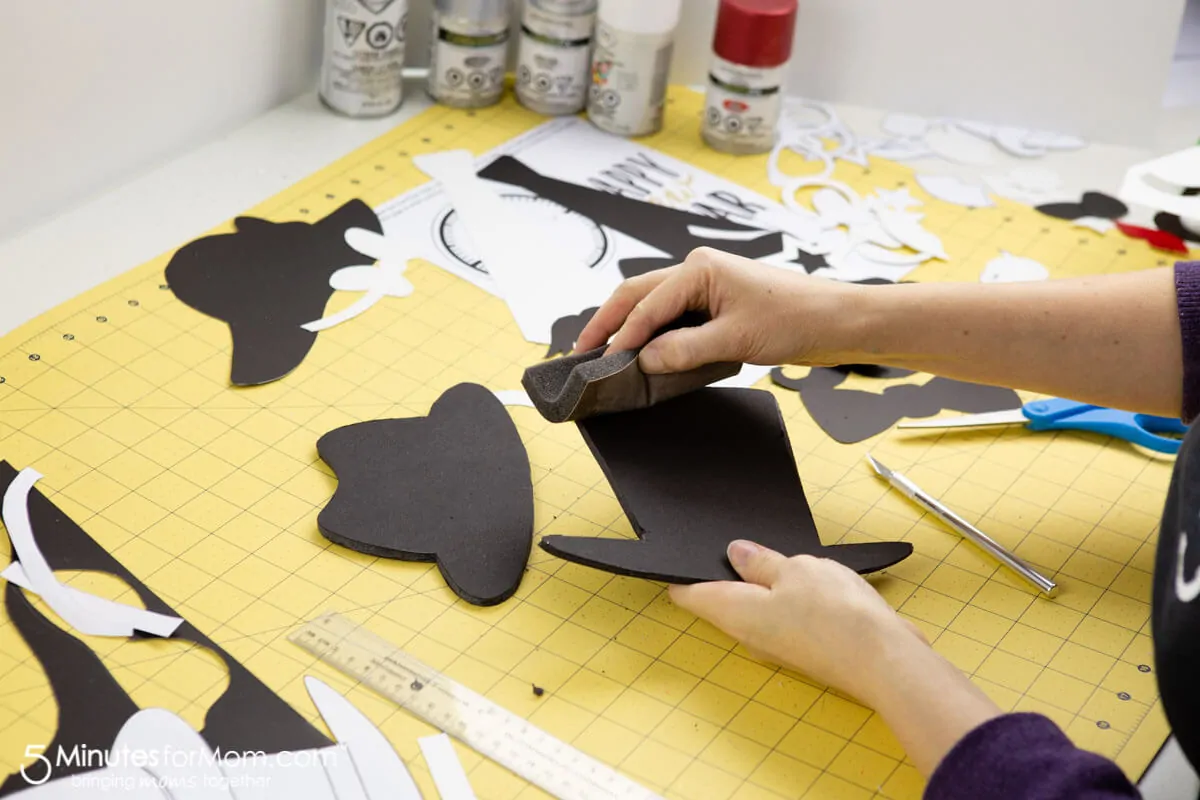
Tip 2 – Use Sturdy Paper or Foam Core
You can use sturdy poster paper, cardstock, or foam core to make your photo props.

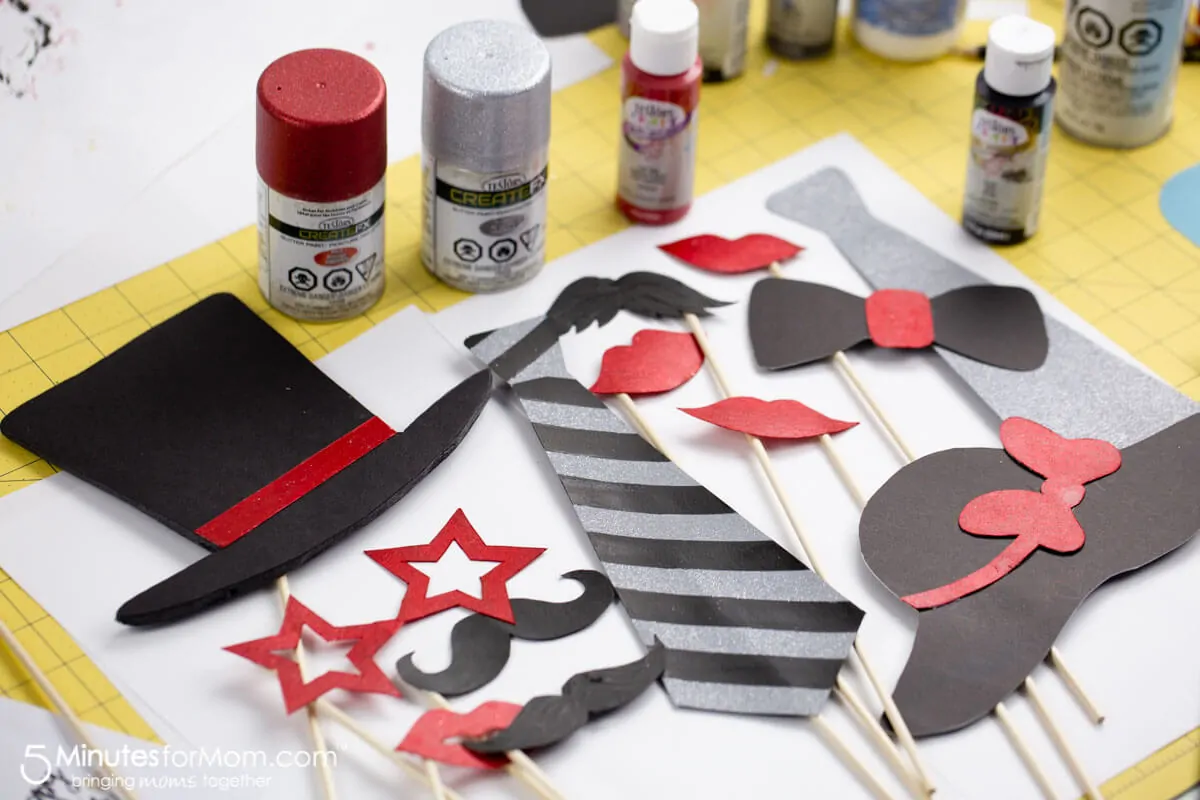
Tip 2 – Add Flair
To add more color and flair to your DIY photo booth props, cut out extra pieces of your props, such as ribbons and bows, and paint separately.

Tip 3 – Sand Your Edges
Use fine sandpaper to smooth out any rough cutting edges on your foam core or poster paper cutouts.
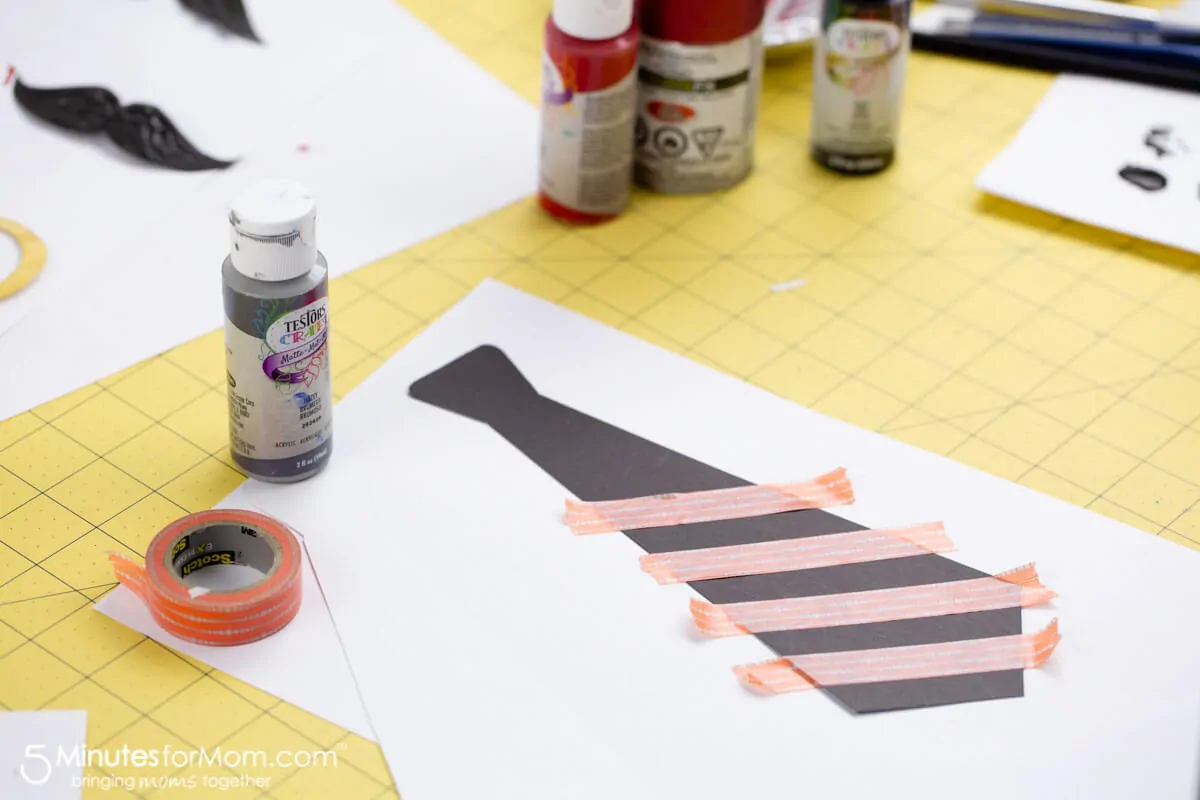
Tip 4 – Strengthen Your Photo Booth Props
Strengthen weak areas of your props with masking tape. It won’t show since you will be painting your props.
Tip 5 – Add Patterns and Texture
Use stencils, foam brushes, and washi tape to add patterns to your photo props.
You can also use Dimensional Paint to add texture to your photo booth props.
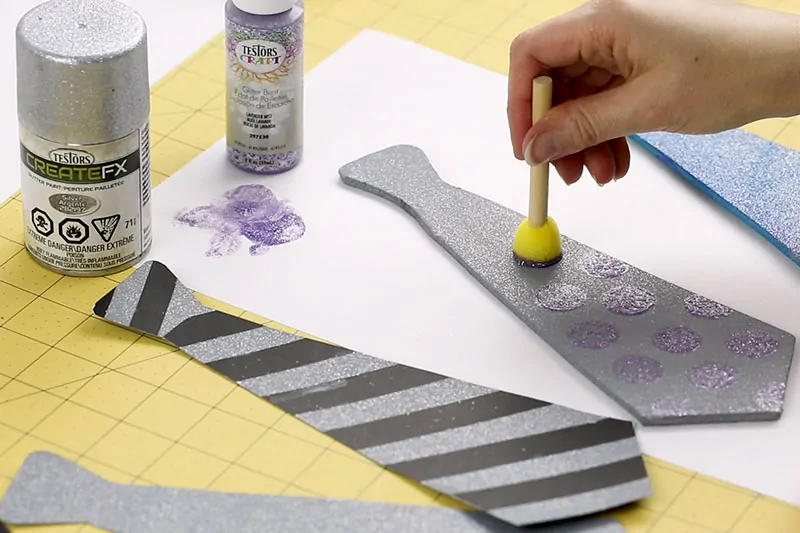
Tip 6 – Shimmer and Shine
After painting your props with acrylic paint, add extra shimmer and shine with a quick spray of Glitter Paint.
Tip 7 – Reinforce The Back
Reinforce your dowels by hot gluing an additional piece of cardstock to the back.
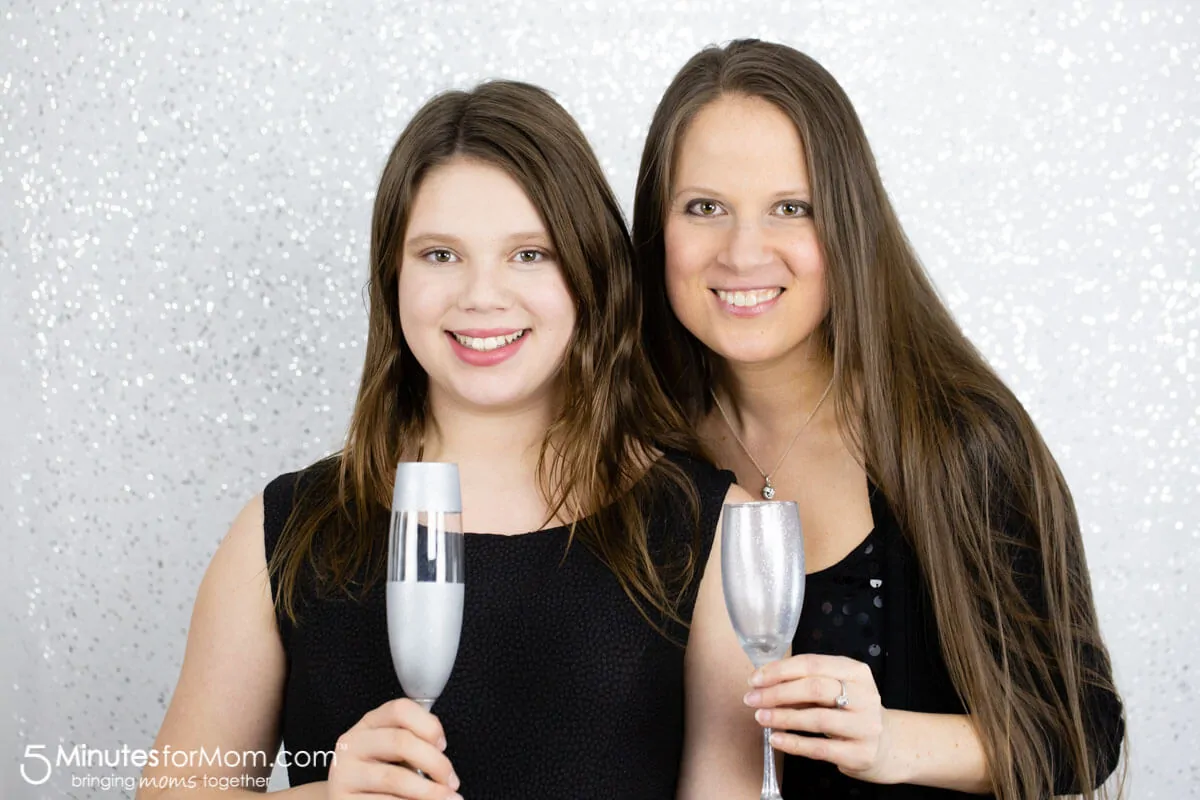
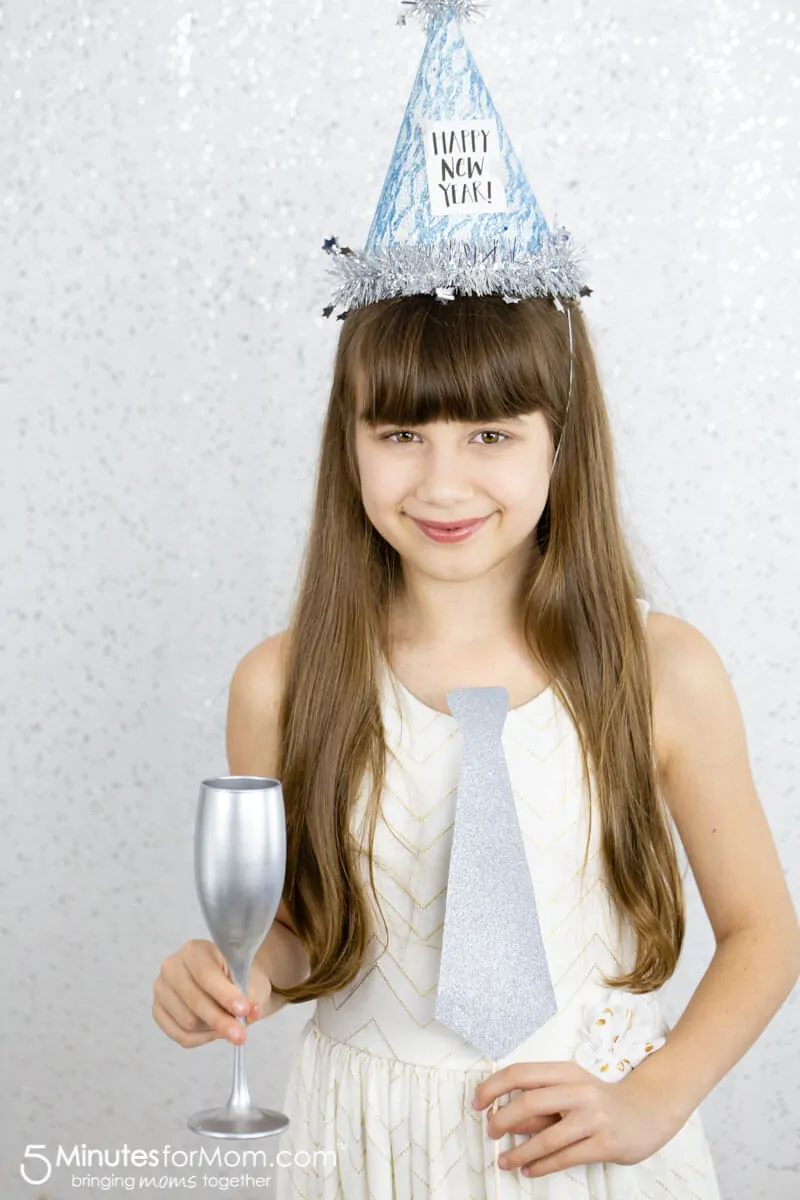
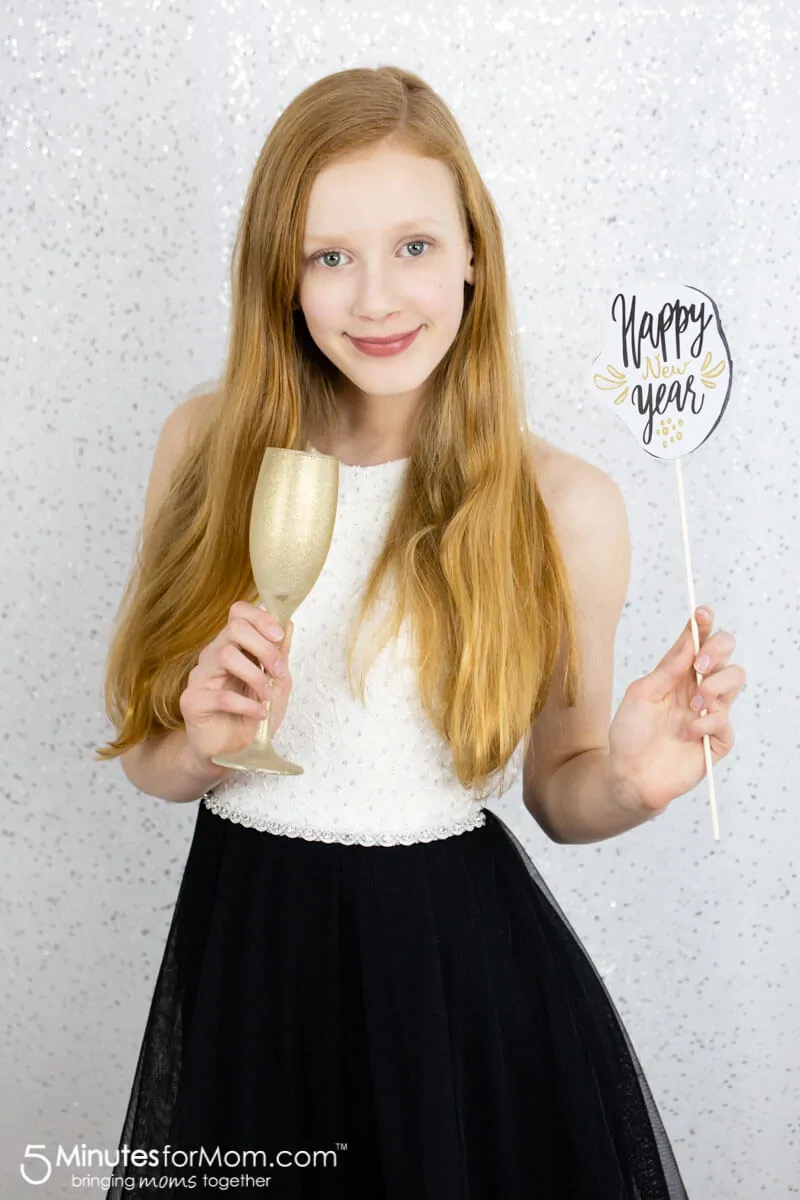
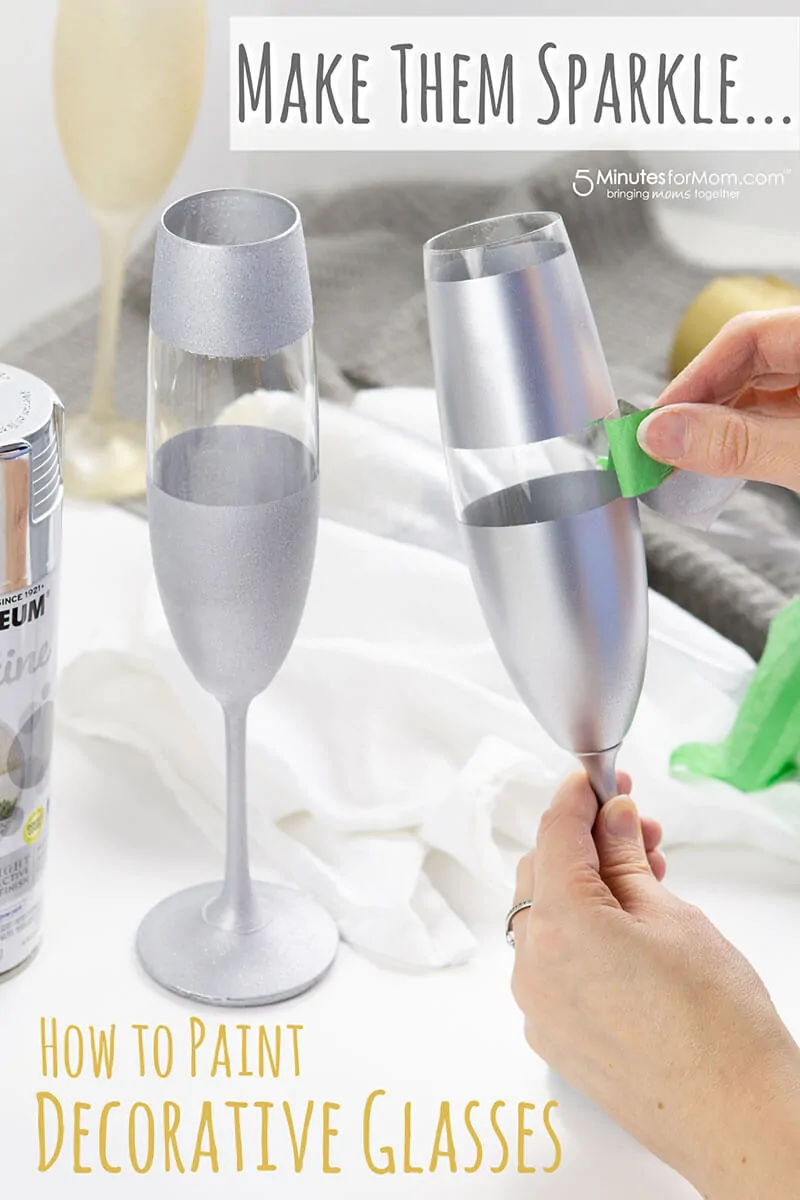
How To Make Glitter Champagne Glasses
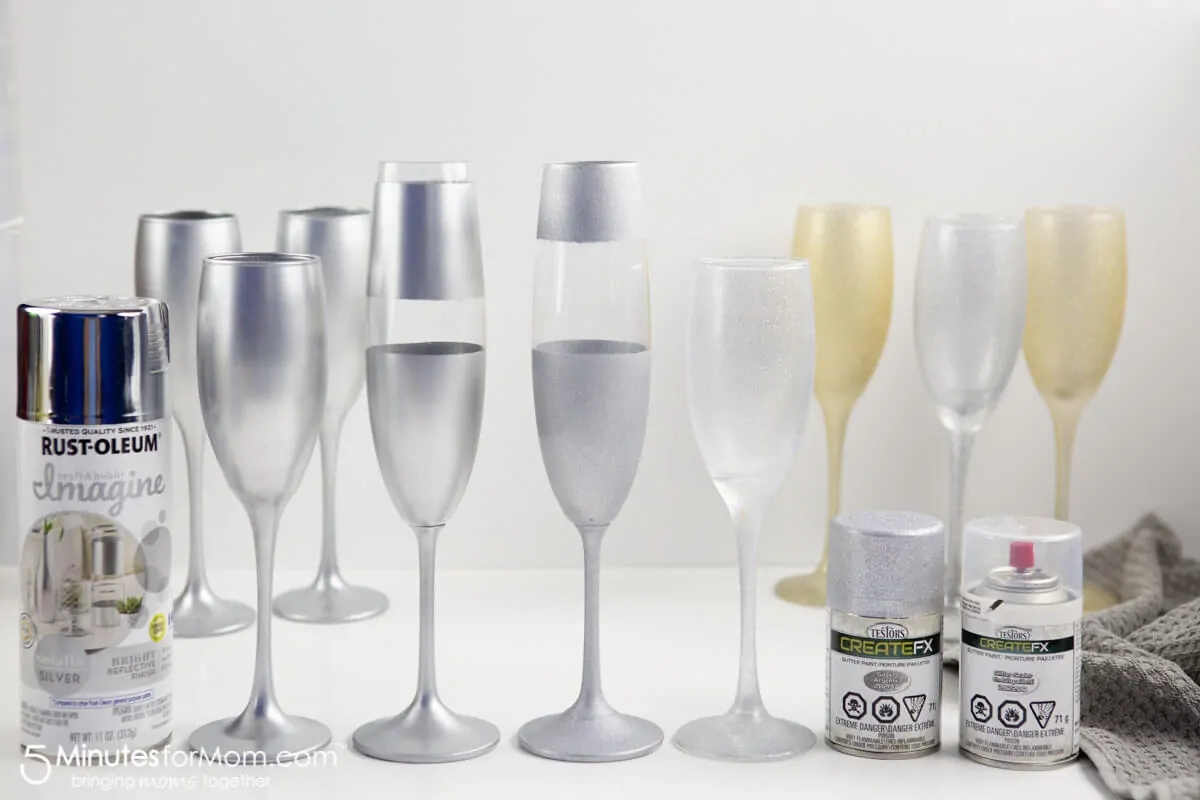
These glitter painted champagne glasses are so fun to use as props in your photo booth.
Please note that glasses with paint close to or up to the rim are to be used as a decorative prop. Liquids should not be consumed from them.
Tip 1 – Use Dollar Store Champagne Glasses
Buy second-hand champagne glasses from a thrift store or buy inexpensive glasses from Amazon or a dollar store.
Tip 2 – Get Plastic For Kids
If older kids want to get into the action spray painting or you have young children who may want to use the glasses, buy plastic champagne glasses.
Tip 3 – Protect The Glass While Working
Cover the bottom of the glasses with masking tape and use paper towels or tissues to protect the inside of the glasses.
Tip 4 – Spray Paint Lightly
For best results, spray paint from 10-12″ inches away and spray a light coat of paint. After the first coat has dried for at least 20 minutes, repeat with a second coat if desired.
Tip 5 – Make Patterns With Masking Tape
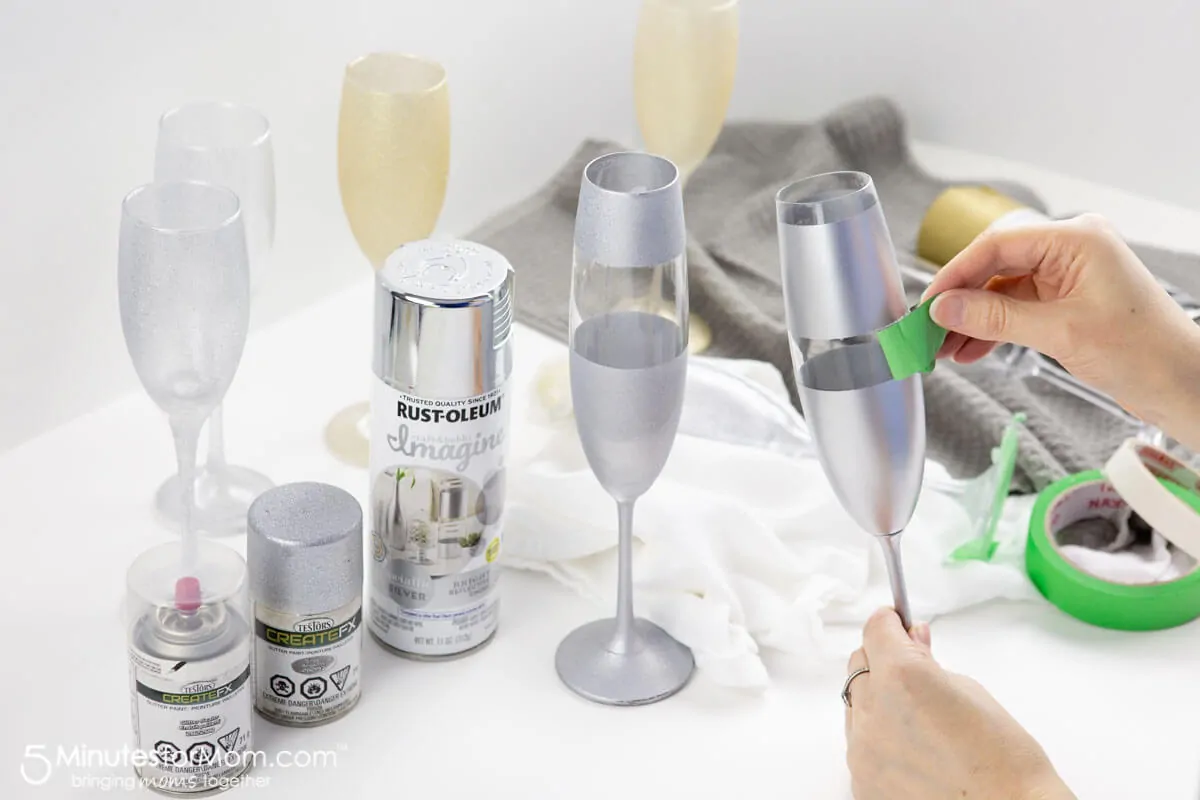
Use masking tape to create patterns on the glasses. Allow to dry before removing the masking tape.
Tip 6 – Get Glittery
For a frosted, glittery look, apply Glitter Paint directly to the glass.
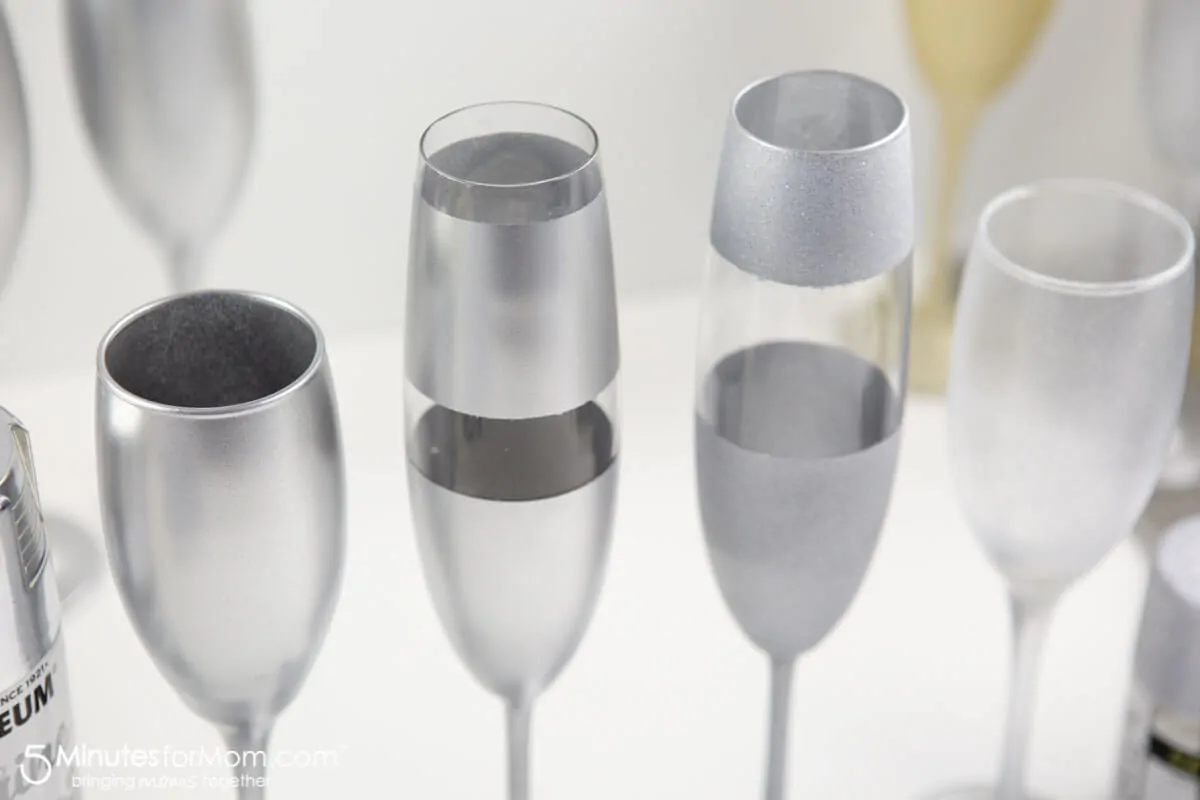
For a solid metallic look, use Metallic spray paint.
For a solid, glittery glass, apply a coat of Metallic spray paint and, once dry, apply a coat of Glitter Paint.
Tip 7 – Seal and Dry
To seal glitter paint, apply a coat of Glitter Sealer. Allow to dry for 48 before hand washing. Remember these glasses are for use as photo booth props so do not drink from them or put them in the dishwasher.
Tip 8 – Touch Up
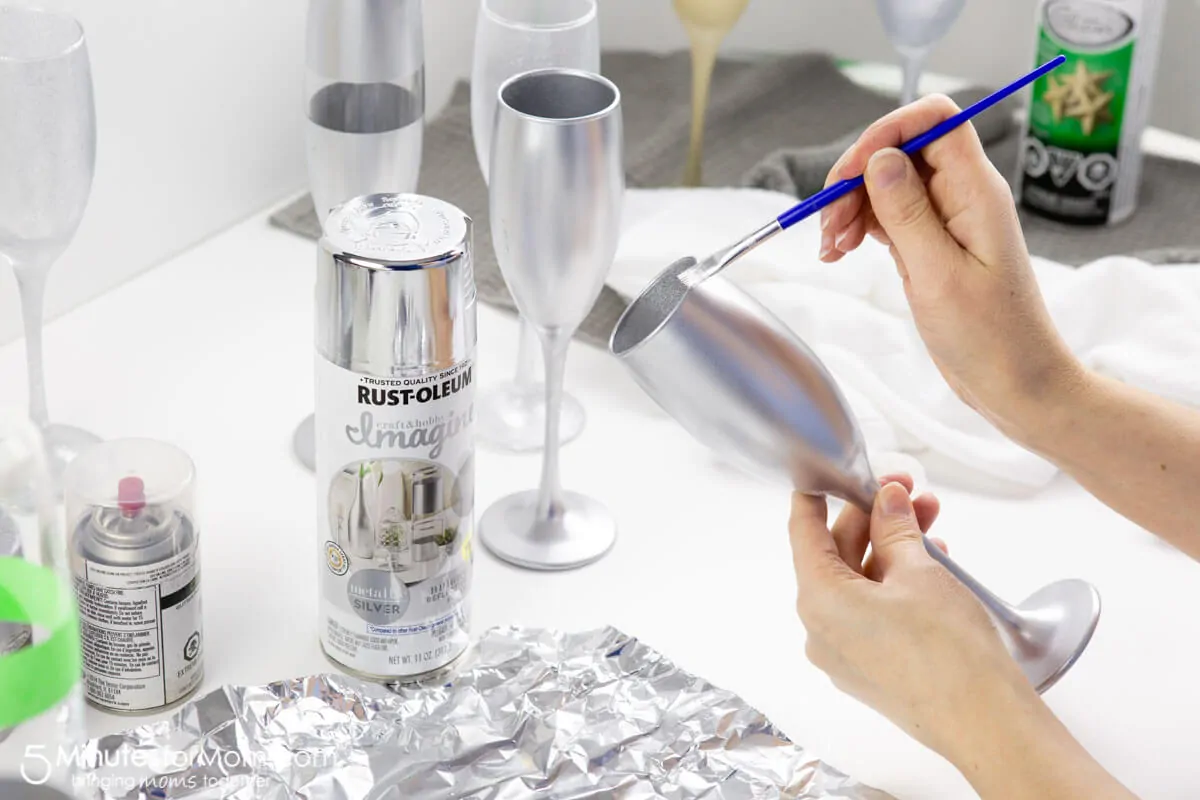
If you need to make any touch ups, spray some extra paint onto tin foil and use a paintbrush to fix small areas.
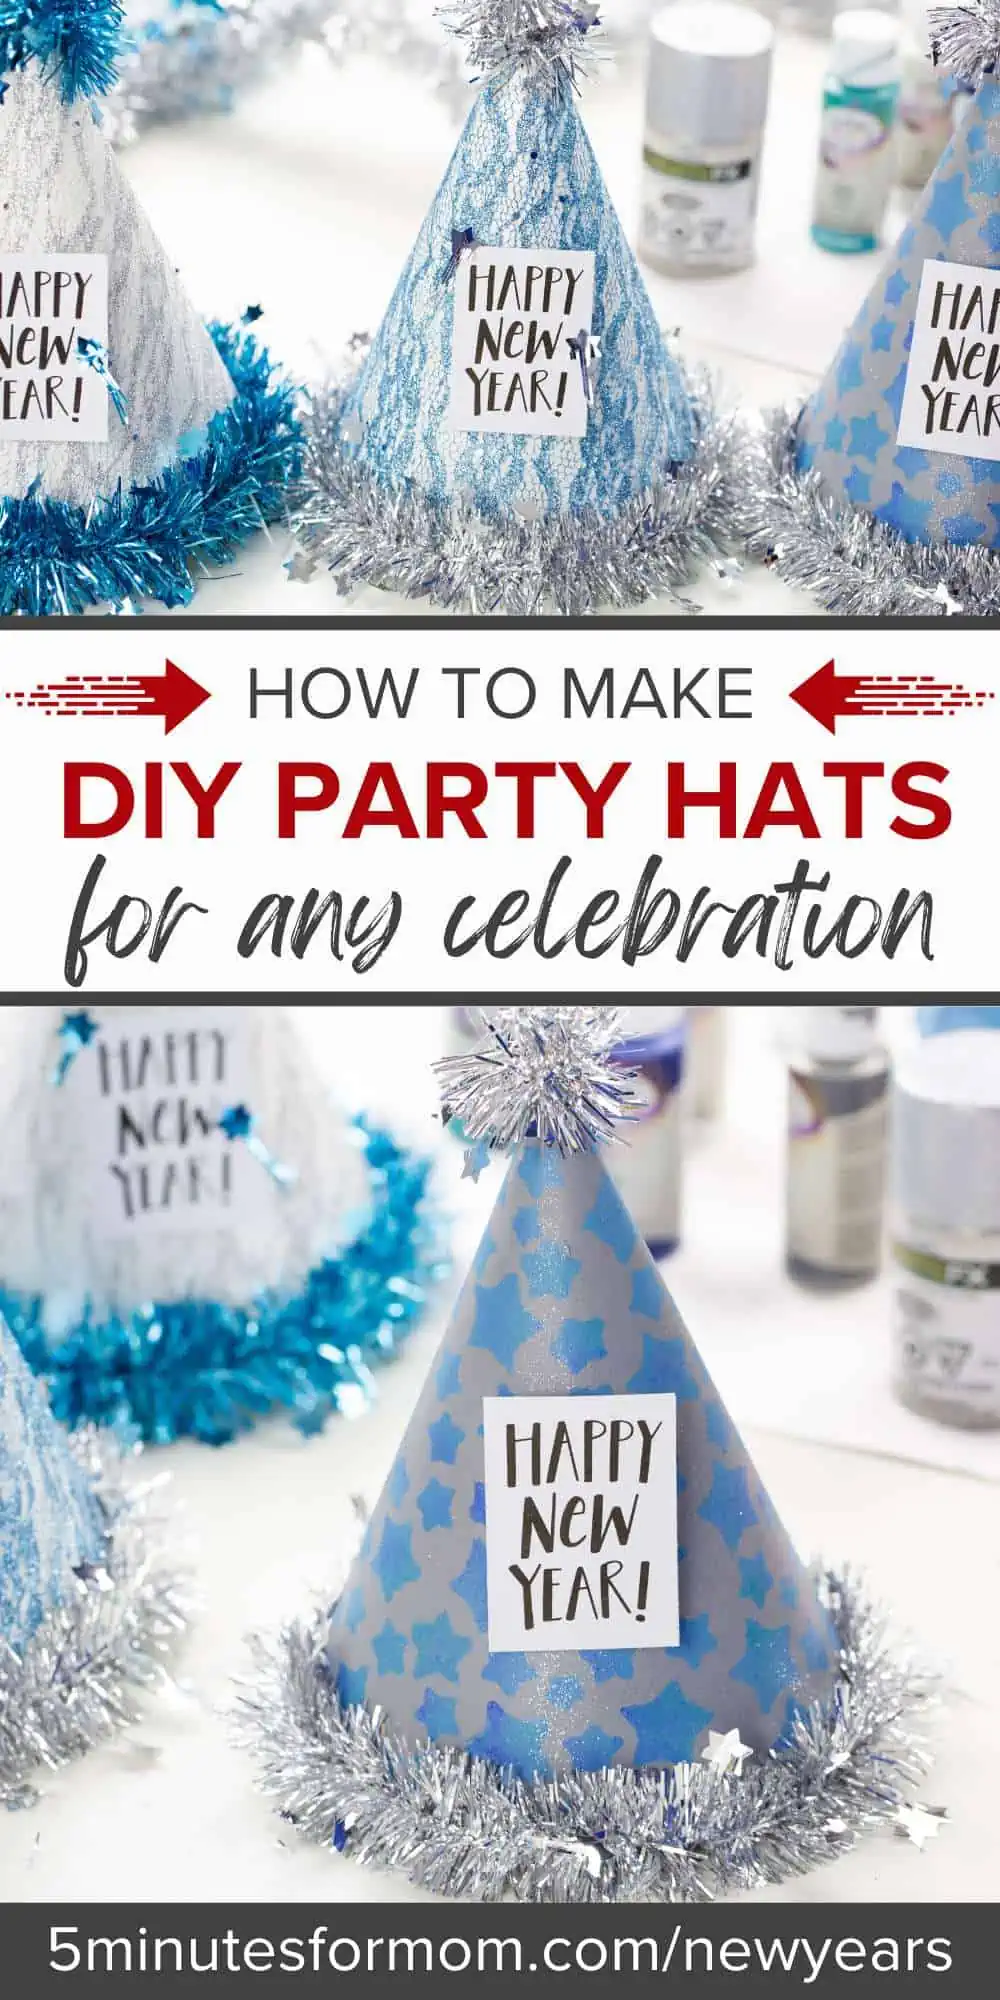
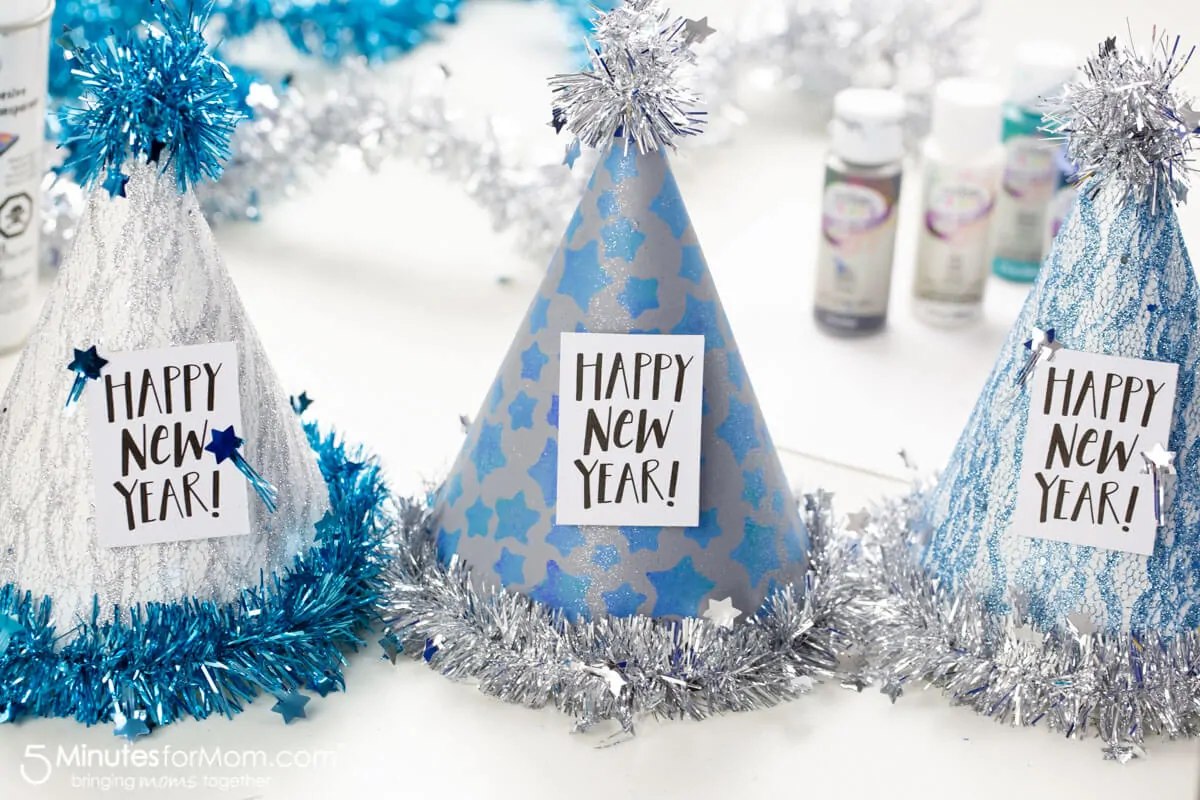
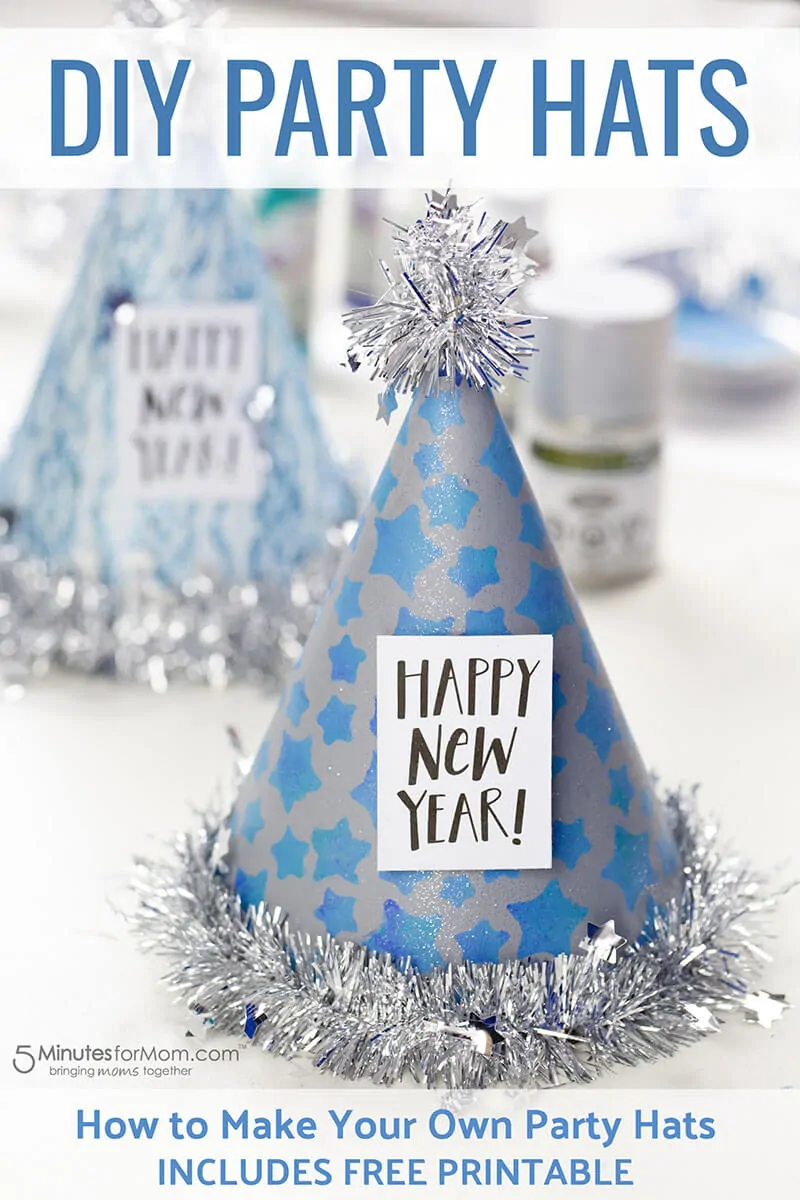
How To Make a Party Hat
Party hats are one of the most fun DIY photo booth props you can make. And you can add so much creativity to the party hats and customize them to any type of holiday or celebration. If you want party hats for kids, we explain below how to make party hats that fit kids or adults.
Tip 1 – Use Strong Paper
Use cardstock or heavy poster paper to make your party hats.
Tip 2 – How To Easily Make A Party Hat Template
Easily create your own party hat template by using a string to draw an even three/eighths of a circle. So there’s no need to even download or print out a template. Here’s how to make a party hat template that fits your party guests…
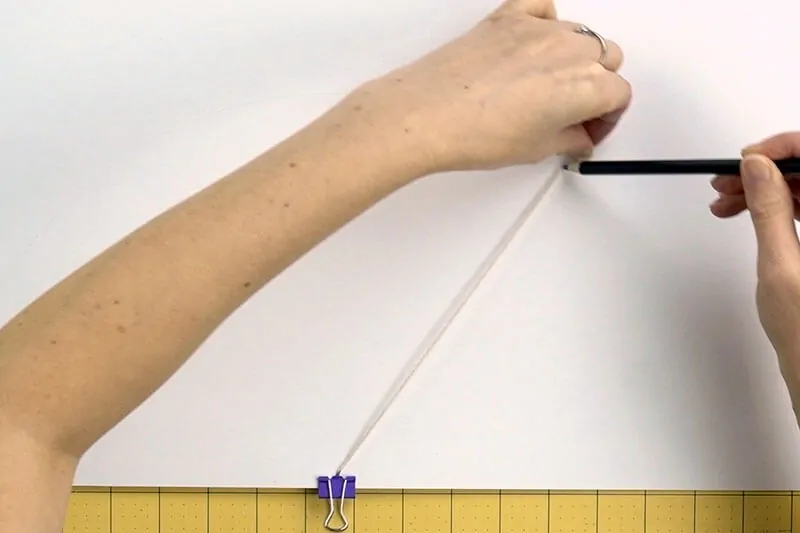
- For a child’s hat, mark string at 7 and 1/4 inches.
- For an adult hat, mark string at 7 and 3/4 inches.
Cut out a small circle at the point of your hat so there will be an opening at the top of the hat when you have formed your cone shape.
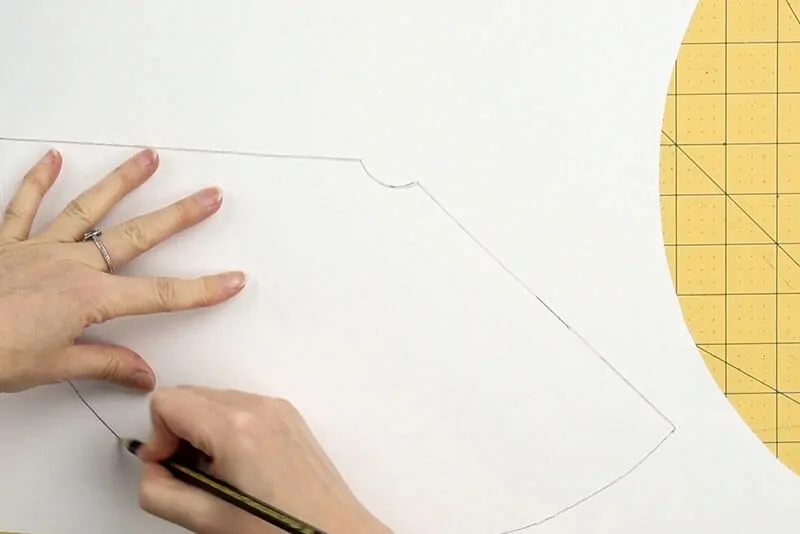
Cut out your first hat and use as a template for additional hats as well as any fabric overlays you plan on using.
Tip 3 – Paint Party Hats With Acrylic Paints
Use acrylic paints, foam paint brushes, stencils, and washi tape to add patterns and designs to your hats.
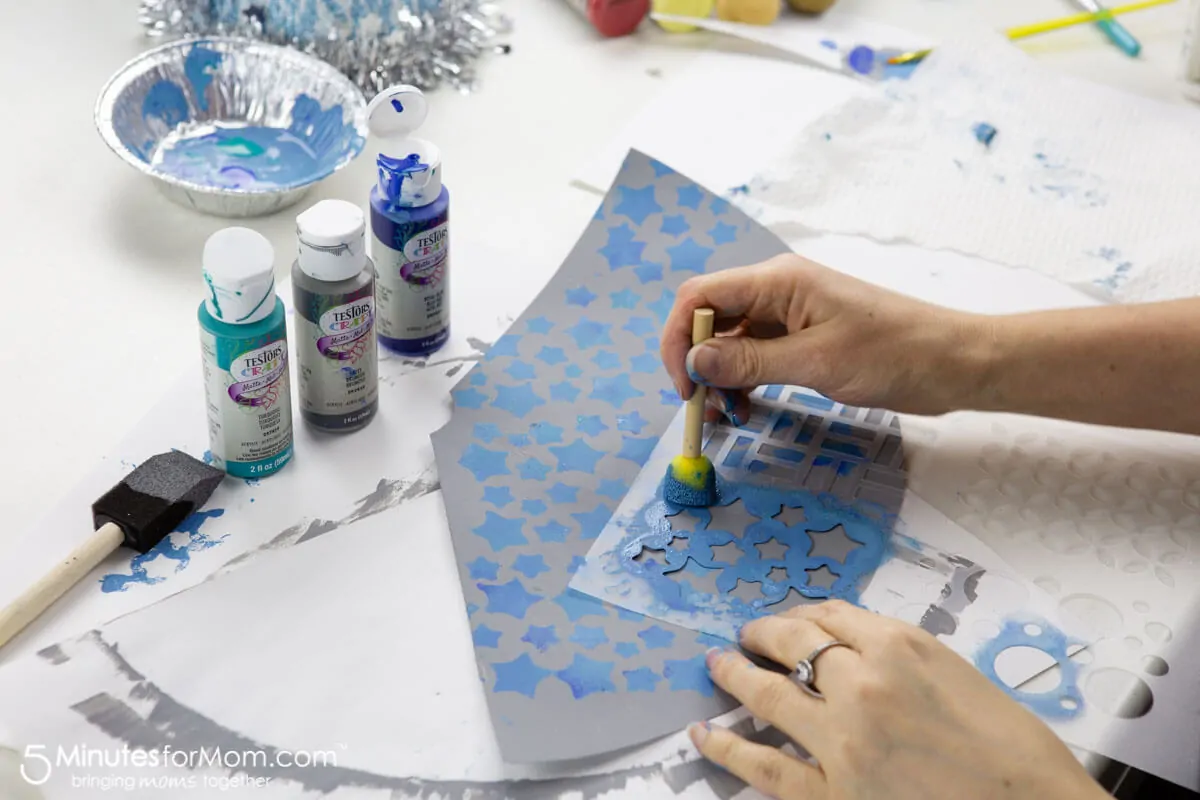
To add extra shimmer to your hat, spray Glitter Paint after painting.
Tip 4 – Add Extra Designs
For some party hat designs, it is easier to leave your hat flat until you or your child are finished coloring and painting.
For other designs, such as adding a fabric overlay, it may be easier to add after you have shaped the hat into a cone.
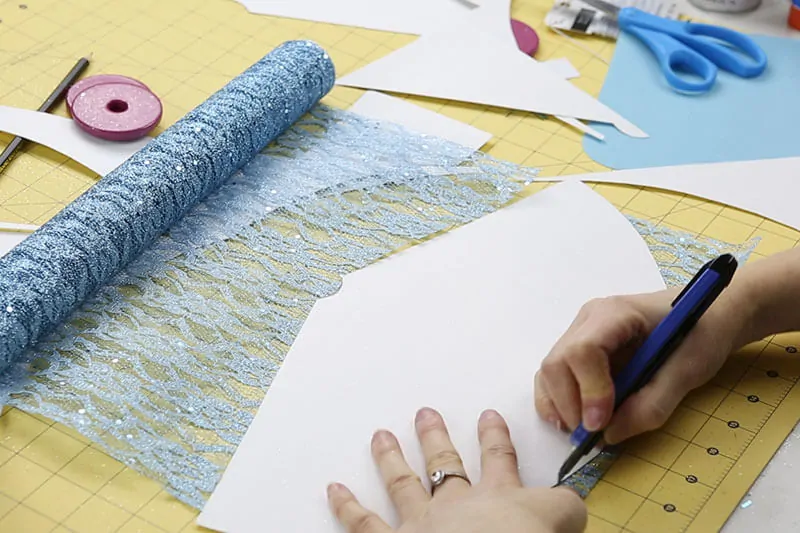
Tip 5 – How To Add Fabric To A Party Hat
To smoothly and easily add fabric to your hat, use Clear Spray Adhesive.
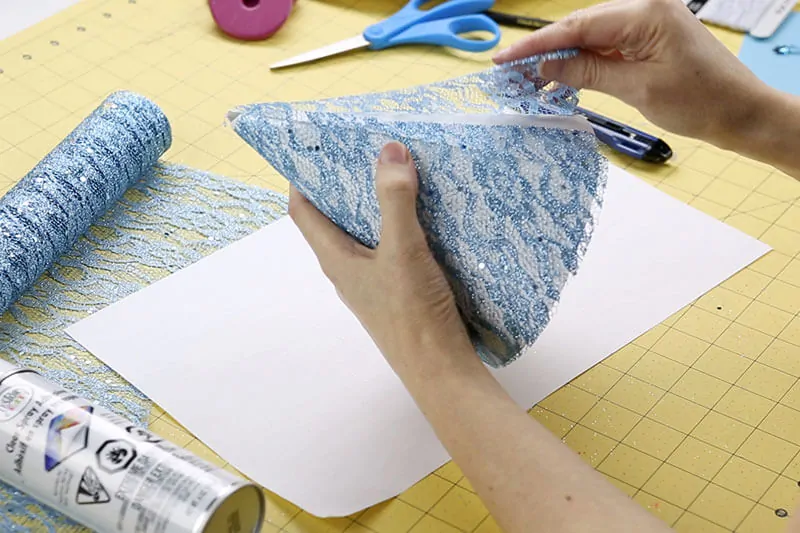
The spray adhesive is perfect for adding delicate or glittery fabrics. For fabrics that drop glitter, add further protection by also applying Glitter Sealer.
Tip 6 – How To Add An Elastic Strap To A Party Hat
Once your hat is formed, use a large needle or pierce a hole to thread through the elastic cord or elastic thread to create an elastic strap for your hat. Knot the cord/thread on the insides of the hat.
Tip 7 – Decorate With Tinsel
Use tinsel or feather garland to decorate the top and the rim of your hats.
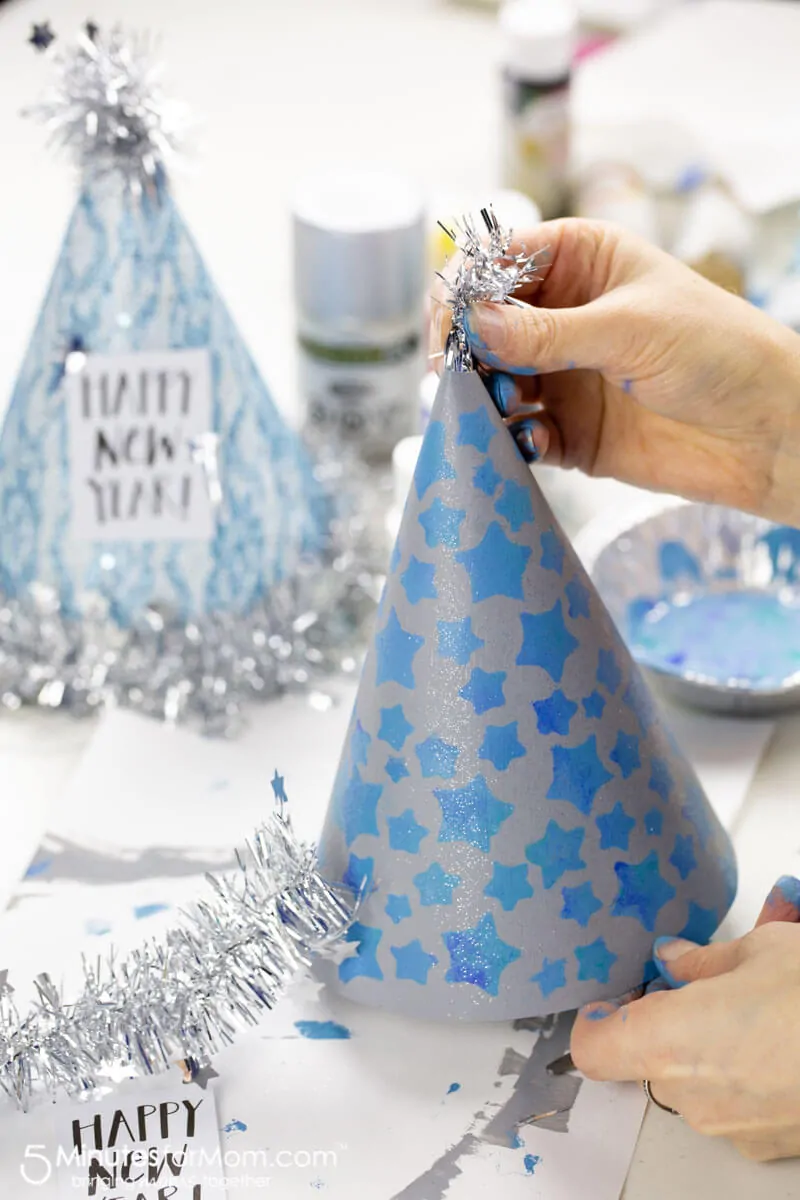
Cut a 4-6 inch piece of garland and thread through the top of the hat. Twist around the top to create a ball.
Starting at the back of the party hat, hot glue garland around the rim of your hat.
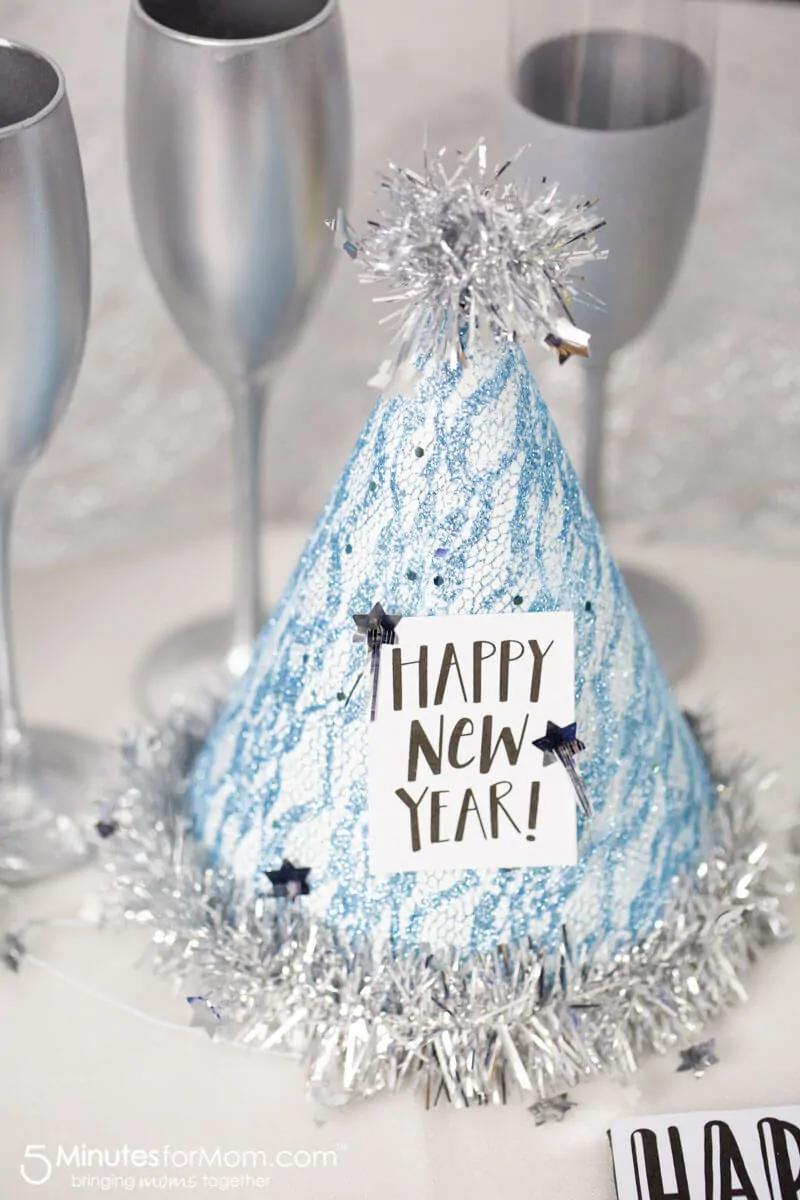
Tip 8 – Finishing Touches
Print and cut out Happy New Year printable. Glue to a piece of cardstock or poster paper and then hot glue to the front of your party hat. Decorate as you wish.
Remember you can simply switch out the Happy New Year printables to make party hats for any holiday or party theme.
Where To Find Testors Paint
UPDATE December, 2023: Lately we’ve had readers asking where to find Testors paint and that they have heard that Testors has been discontinued.
So, we’ve been researching online to find out what we can learn about whether Testors paint is discontinued. Some hobbyist forum threads have said that “Testors is no more.”
And when we noticed that the Testors website wasn’t loading, we worried that the rumors must be true. But now the website is loading again and we have done more research. It seems that the Testors Brand is still active under The Rust-Oleum Group owned by RPM Inc.
However, it does appear that certain product lines such as the Aztek Airbrush have been discontinued, although it still shows on the Testors website. Also, it seems that Model Masters was discontinued in 2020 and is no longer shown on the Testors website, but many Model Masters paints are still available in many stores and websites.
So, the good news is that you can still buy most of the Testors products you love, if you’re in the US. But, it does seem harder to find a wide selection of Testors products in Canada.
And fortunately, Rust-Oleum is still going strong and you can find all of their paint products in a variety of stores and websites including on Amazon.
History of Testors and Rust-Oleum
If you’re curious about the background of Testors and Rust-Oleum, both of which were America family run businesses…
The Testors company’s history stretches back to 1928 and has survived many industry changes. And Rust-Oleum was founded in 1921 by Robert Fergusson and remained a family business until 1994.
In 1984, RPM Inc purchased Testors and in 1994, RPM Inc purchased Rust-Oleum. Eventually, Testors was brought under the The Rust-Oleum Group under their parent corporation RPM.
However, there are still some Testors paints available on Amazon and you may still find some Testors products in other stores.
More Holiday Crafts
If you are looking for more fun craft ideas, check out some of our other craft projects…
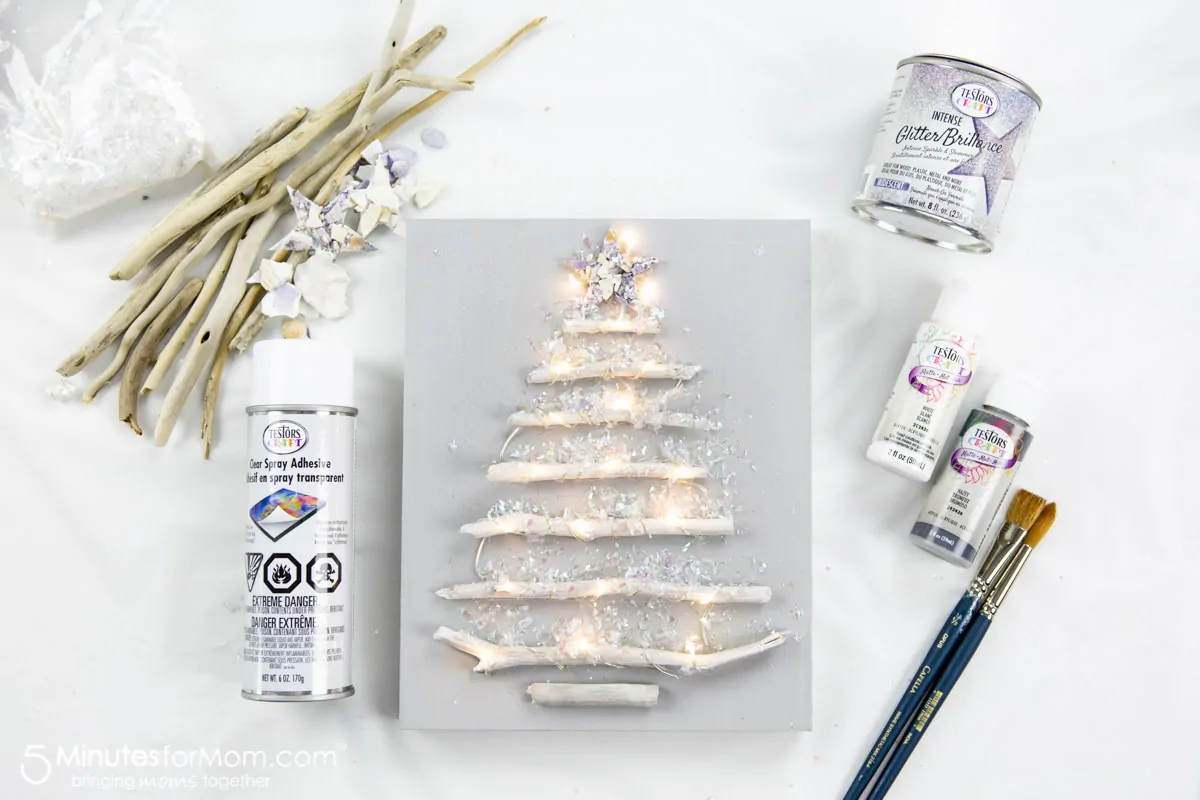
Driftwood Christmas Tree Craft

- Christmas Painted Rocks
- DIY Tray
- Mom Picture Frames
- Airbrush Shirts
- DIY Snowman Tin Can Game
- Painted Controllers
Pin these DIY Photo Booth Props for Later

Disclosure: This post was originally sponsored by Testors in 2018, but the company has since closed.
Written by Janice Croze, co-founder of 5 Minutes for Mom
Talk with me: @5minutesformom and Facebook.com/5minutesformom
Pin with me at pinterest.com/5minutesformom

We usually celebrate New Years at home. I’ve never set up a fun photo booth! Looks like it would be awesome though!
LOL, I “celebrate” by sleeping through midnight usually! Thanks and God bless!
We usually go for a night away I a hotel because the 1st is our anniversary! I have never done a photoboth but that looks awesome!
Never set up a photo booth but it looks fun
We usually go to the beach for new years eve. I set up a fun photo booth at our Halloween party this year. I would love to try making my own props for our next party!
My family and i love to celebrate any birthday or holiday with cute cheesy pictures. I love to make photo props and see the inventive things different people do with them. Add a thrift store picture frame (without the glass) …and were all set
I have never personally set up a photo booth but I’ve been in one. It’s fun!
My family and I celebrate New Year’s at my best friends parent’s house with lots of games and food! We haven’t done props before, but just might have to this year.
This is so cute my girls would love it we always take pics but never had photo props and cute decorations
This looks so fun! I celebrate New Years with my immediate family usually. I’ve used photo props for other holidays but not yet for New Years. These ideas are great!
We like to celebrate any holiday possible with our grandchildren. They love to have their pictures taken, especially when there are props involved. We are trying to get together a new photo booth for this New Year’s Eve
I celebrate New Year’s Eve with my family. I have never set up a photo booth but i would love to. I know my kids would have so much fun.
I spend new years with just my children and myself these days. We make snacks and watch tv and try and stay up to see the ball drop. They usually fall asleep on me or near me well before it drops but i dont mind. Spending the holiday with my children even if they fall asleep is still a memory to be cherished.
I would love to set up a photo booth. The children would enjoy it since it is very special and unique. The idea is so special and creative.
We’ve never set up a photo booth. This would be so much fun!
i go to bed early,,too old to party
Ha ha… I can relate. When my girls were really little, we used to do the count down at 9pm. I figured that was the count down in New York, so we just pretended to be in a different time zone.
My friends and their kids and I usually have the New Year’s Eve party at one of our houses. And everyone spends the night to be safe and have a great time. We are actually having a photo booth this year. It’s a surprise and the kids don’t know yet.
That sounds like fun! Love the idea of everyone sleeping over to stay safe. Hope your photo booth is a blast!
We celebrate New Year’s Eve by staying home. It’s also our daughter’s birthday. 🙂
I love these printables! So perfect for celebrating the new year – Thank you!
Adorable! I love photo booth props and these would be so much fun to decorate with the kids. Thanks for sharing at Merry Monday.
We usually celebrate at home but have never done a photo booth.
Love all these ideas!!! I have been into Arts and Crafts with my nieces lately.