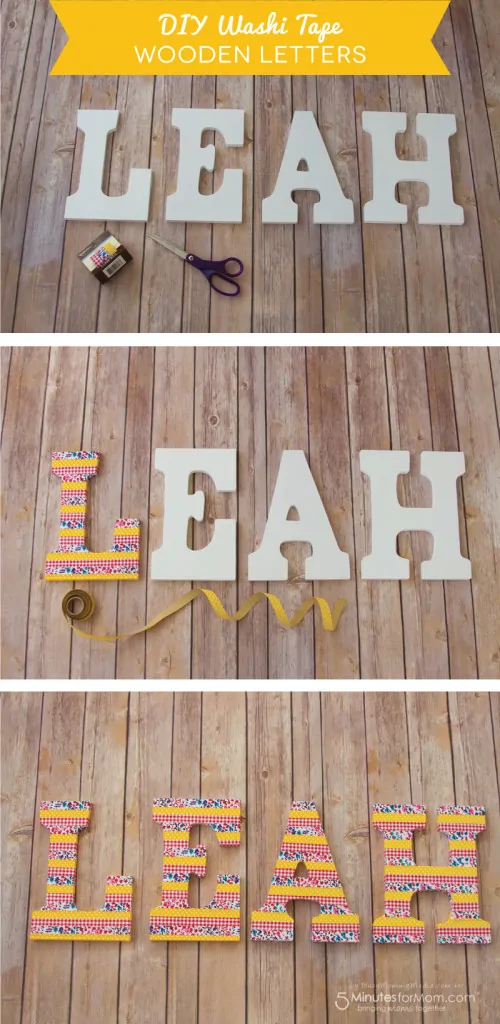
Rachel here with a quick and easy project that is perfect for a DIY holiday gift or just a fun way to jazz up your home decor. In this easy tutorial I’m showing you how to decorate wooden letters with washi tape for a lovely mantel decoration or to hang on your wall.
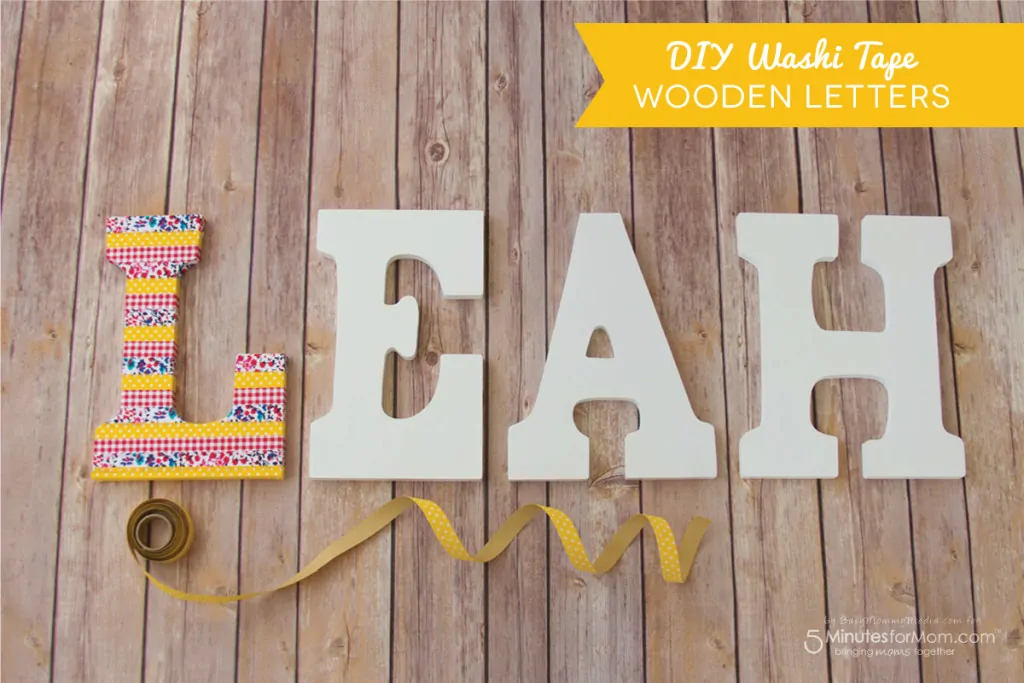

I love quick projects that let me add a personalized touch to my home without requiring me to put my life on hold to finish them. I mean, who has time for that? These cute Washi tape wooden letters took less than an hour to make and they add a fun element to my daughter’s bedroom. You can customize your colors and patterns to match your decor and even have older kids jump in and help make this!
A fantastic way to make affordable holiday decor is to decorate wooden letters with different colors of washi tape based on the holiday. You can use wooden letters to make holiday themed words and when you wrap them with holiday colored washi tape, you will have the perfect DIY decoration.
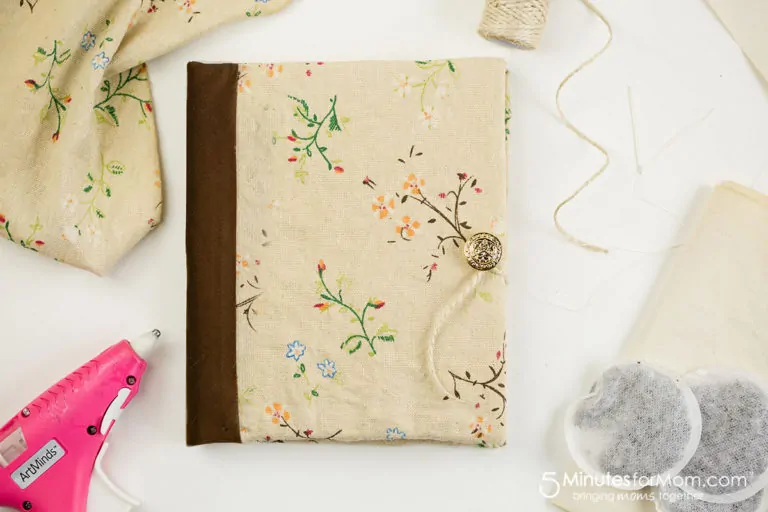
My 3 year old daughter watched as I made this and was super excited to put her name up in her bedroom. We also made this easy twine wrapped picture frame to display under her name with one of our favorite photos of her in it to really make her room her own.
I love how easy this project is. My older kids could have easily done it themselves. My 8 year old was actually asking for a blue version of his name because he thought it was so much fun so I may put him to work making his own at some point.
You don’t have to be an artist or expert crafter to use wooden letter ideas. This craft is foolproof and it looks awesome when it is finished.
Craft Supplies Needed
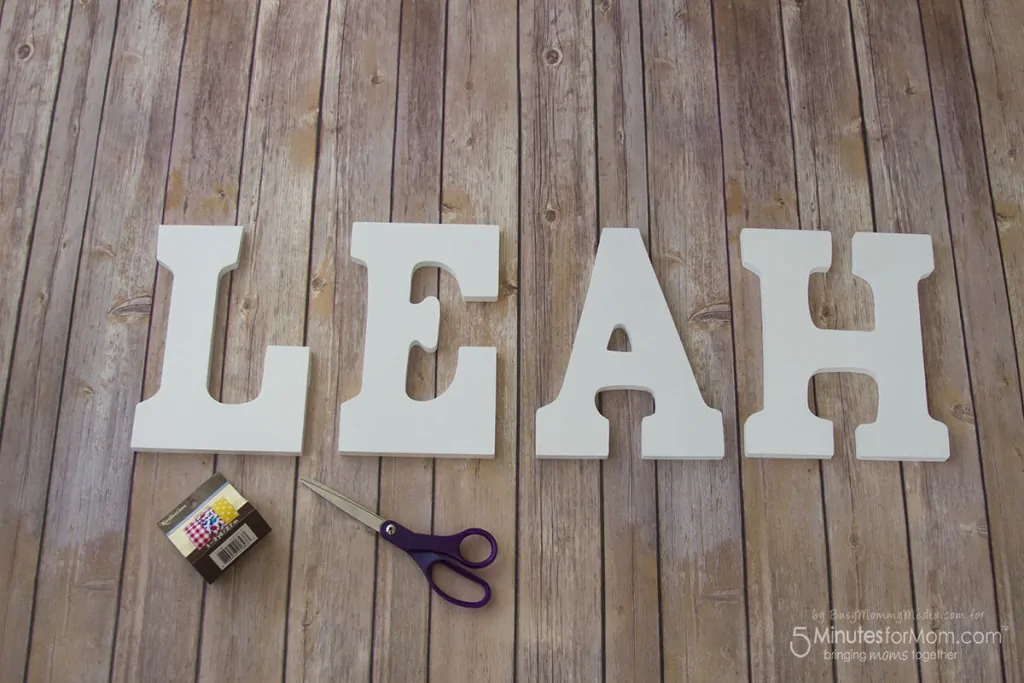
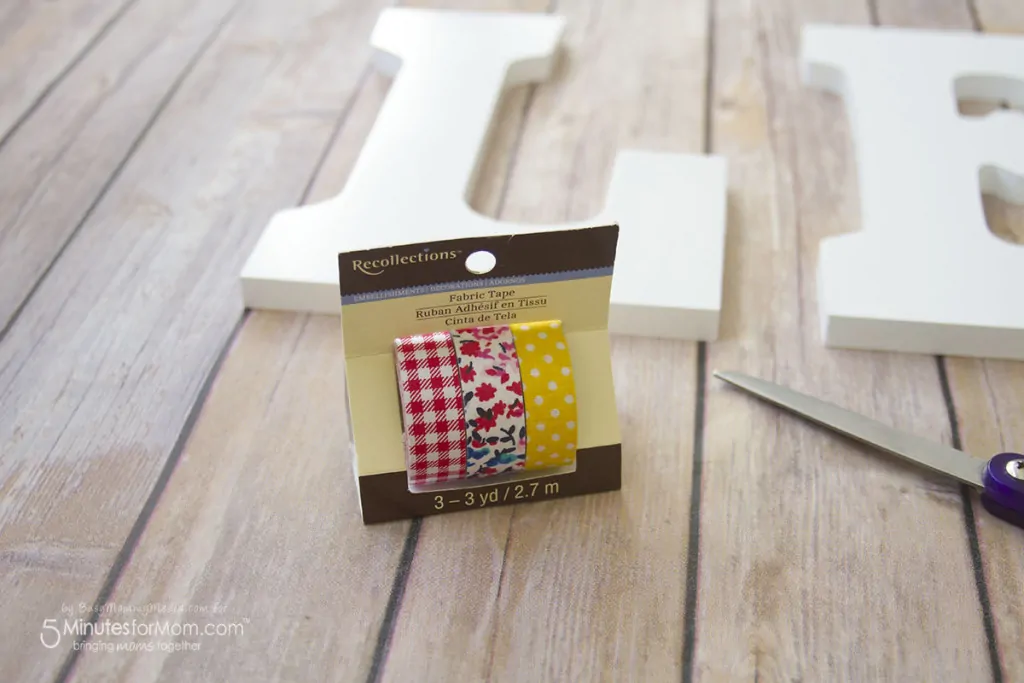
- Washi tape – You can use regular Washi tape for this project or I found a fabric version at my craft store that worked perfectly.
- Wooden letters – Get creative with this. You could do your child’s name, your last name or a word that is meaningful to you.
- Scissors – The fabric tape can’t be torn so you’ll need a pair of scissors to cut it.
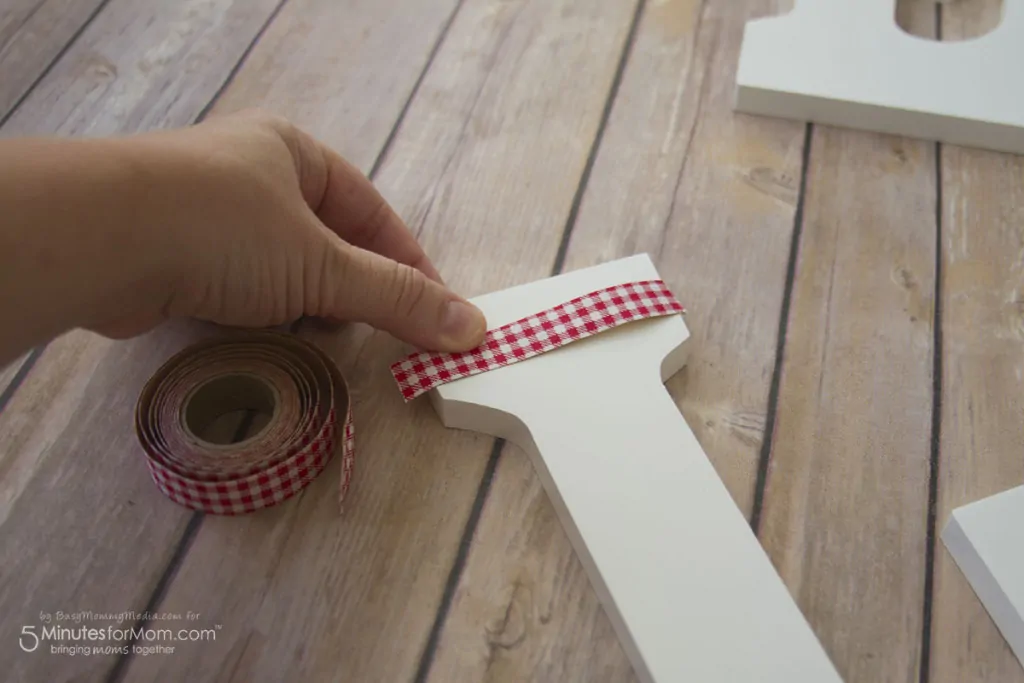
Instructions for How To Decorate Wooden Letters
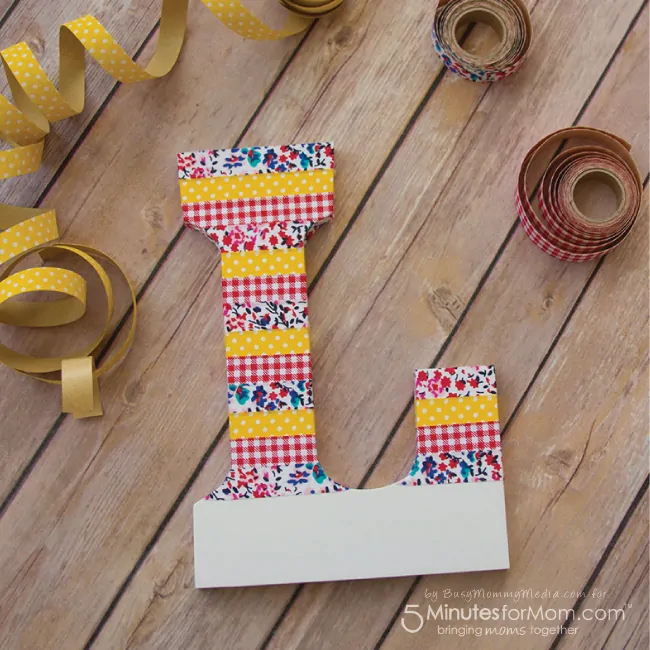
This project is super simple. Cut a piece of fabric tape just long enough to cover the width of your wooden letter. Push it down firmly. Continue down the letter until all the exposed wood is covered.
You could change this up a bit. Create vertical or diagonal stripes. Leave some empty space between the Washi tape. Anything goes!
I finished this project off by adding tape to the tops and bottoms so there wouldn’t be exposed wood visible once they were hung on the wall.
These would make a fun homemade gift for someone or just a fun addition to your home decor!
We’d love a tweet or a pin!
[Tweet “This DIY Washi Tape Wooden Letter project is perfect for a DIY holiday gift!”]
Written by Rachel Lister, owner Busy Mommy Media and contributor at 5 Minutes for Mom. We first published this post on November 3, 2015 and we wanted to share it again with you.
More Holiday Gift Ideas
For more great gift ideas check out our Holiday Gift Guide.

More DIY Projects
Don’t miss these fantastic DIY ideas…


I’ve never used washi tape, is it sticky enough to have like a permanent hold, or should I add an extra layer of adhesive?