You will not believe how easy and inexpensive it is to make gorgeous DIY handmade journals and books that you can use as diaries, scrapbooks, photo albums, and more. This simple bookmaking craft is perfect to do with your kids to create Mother’s Day gifts, Father’s Day gifts, and end of the school year Teacher Gifts.
Lately, I never seem to have enough time in my week (or weekend) to craft and sew. I am always too behind on my to-do list to get to any fun sewing or craft projects.
So when my daughter and nieces come home with homework that requires some crafting, I am thrilled. That is the kind of homework I actually enjoy and it is a great excuse for me to have some fun crafting with the girls!
A few weeks ago, I posted about the Tea Stained DIY Journals my daughter Olivia and I made for a school project. She had to create a handmade diary with entries written by a girl immigrating to Canada in the 1910’s.
We loved her handmade journal so much, we made a second identical journal for fun and published a step by step DIY tutorial post about how to make it.
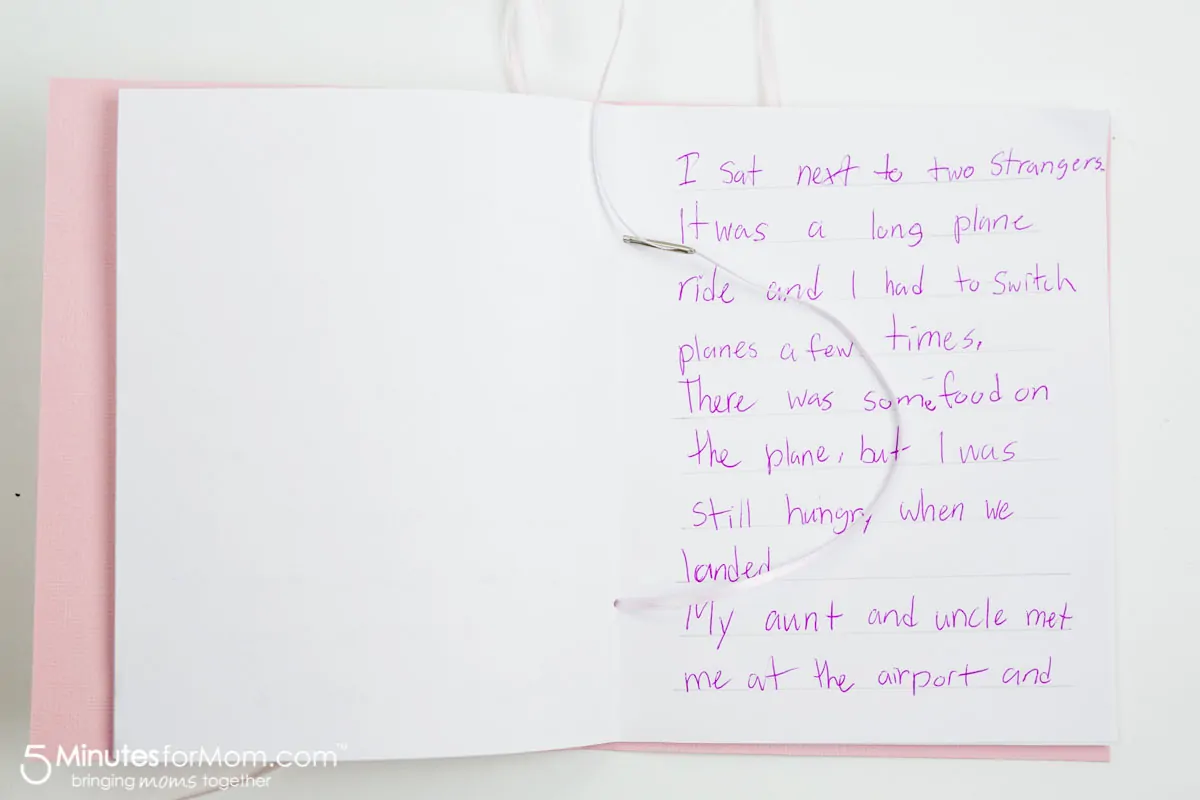
My niece Sophia, Susan’s daughter, is also in grade five at the same school as Olivia. She needed to make a diary written by a girl immigrating to Canada from China in the 1980’s.
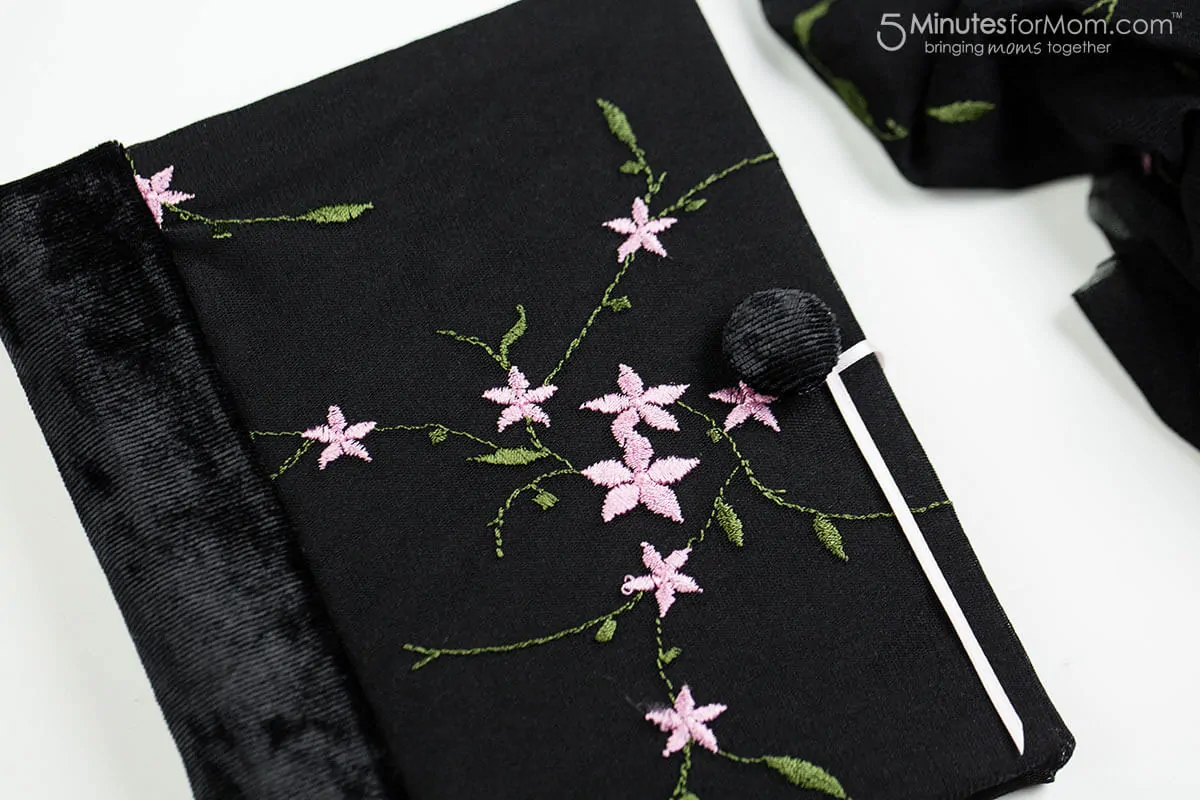
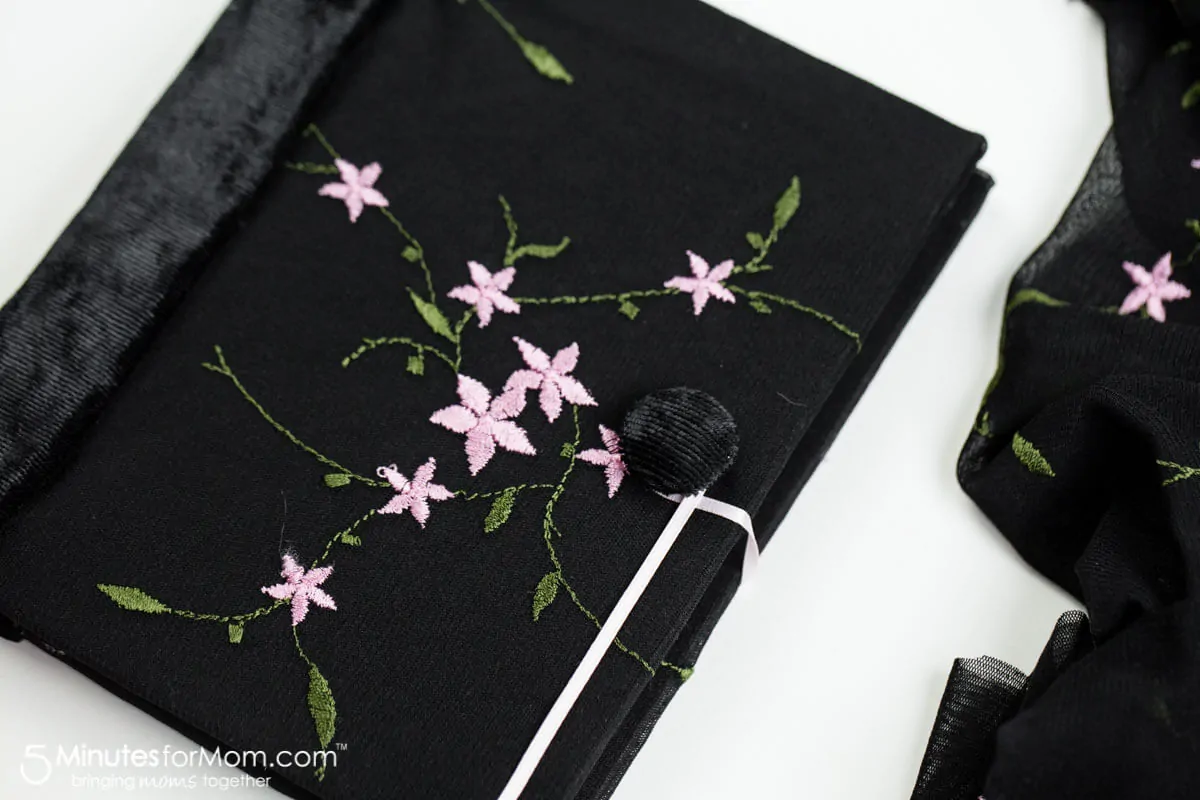
We used the same techniques to make this handmade journal for Sophia that we used for Olivia’s homemade journal. But instead of tea staining fabric and paper, we used some beautiful embroidered fabric that I had in my sewing room, along with some pink cardstock, and some plain white paper.
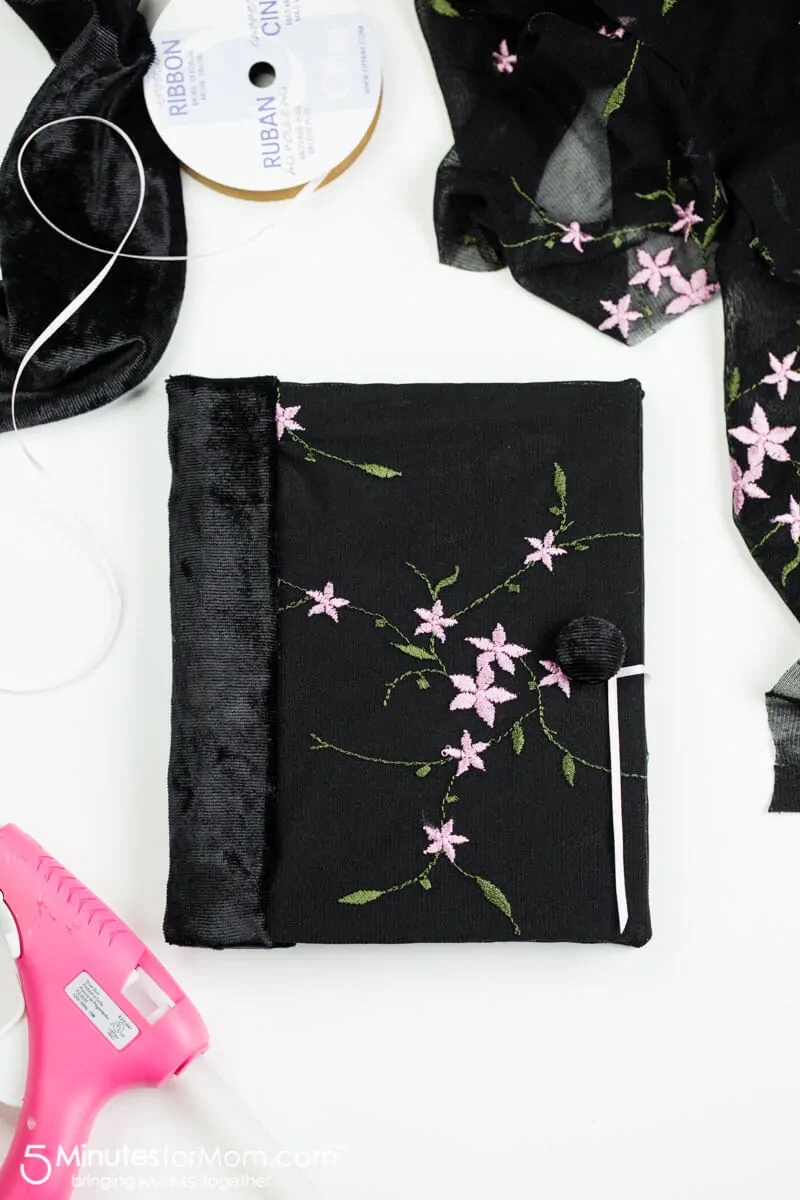
On Olivia’s book, we used brown bias binding for the outer fabric binding of the book.
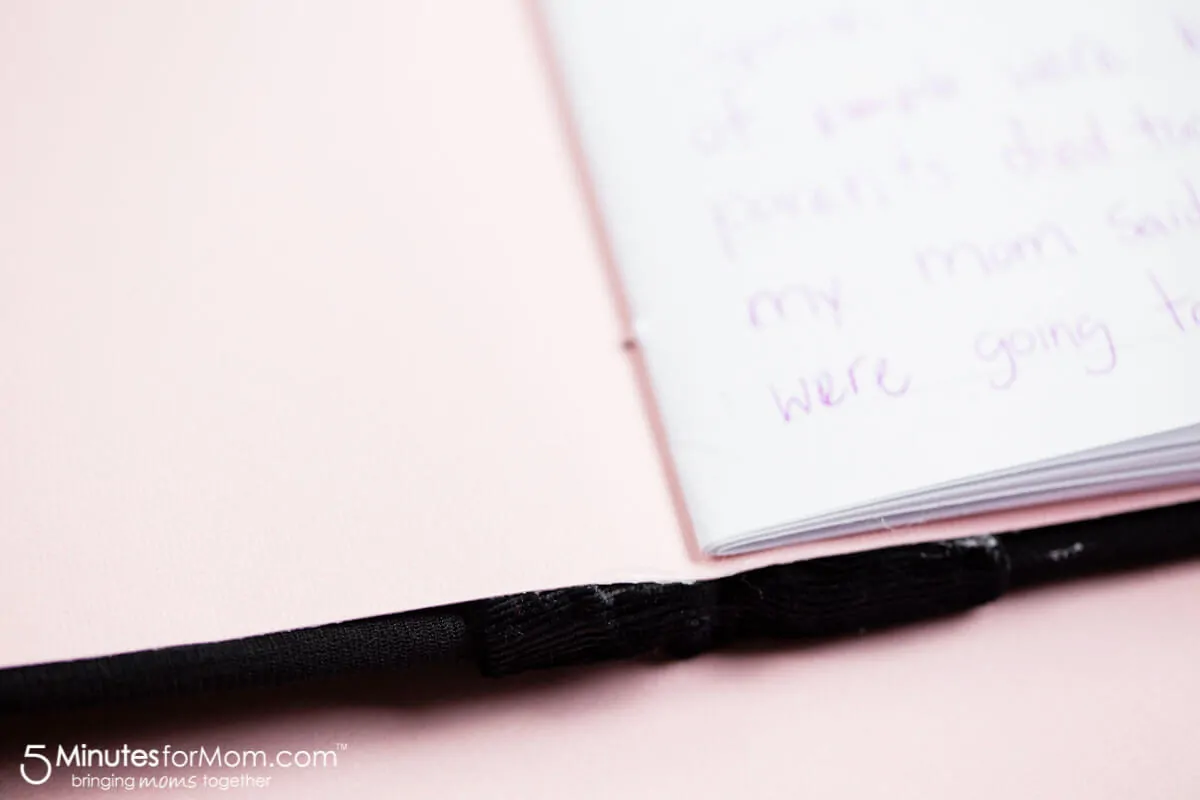
But for this book for Sophia’s project, we wanted the diary to look fancy and elegant. So, we used some scraps of black stretch velvet I had in my fabric stash.
As we did for our Tea Stained DIY Journals, we constructed the cover of this book, with foam core. I use foam core for photography backgrounds and reflectors and so I always have it on hand. It is such a great crafting material.
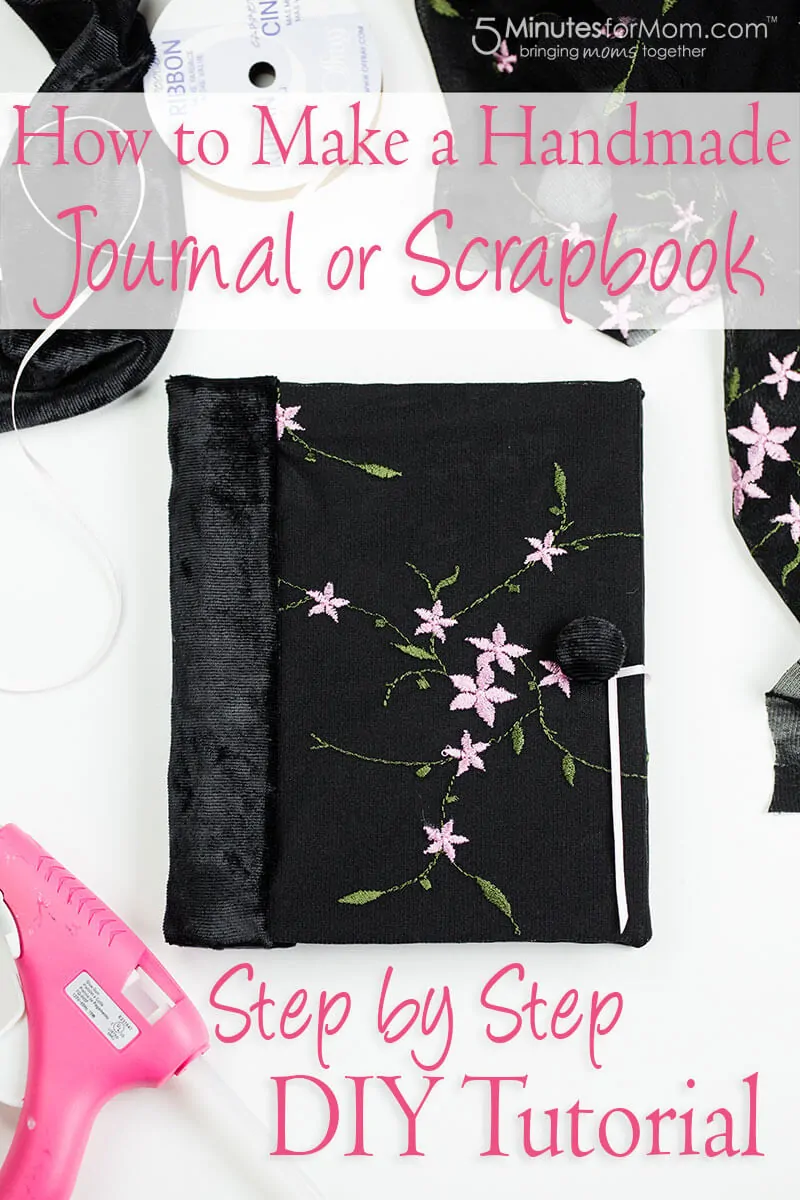
How to Make a Handmade Book
Here is a complete list of what you will need to make your own handmade book:
- Fabric for book cover
- Fabric for binding on cover
- Acid-free paper and/or card stock
- Foam Core
- X-Acto knife and cutting mat (or a thick piece of cardboard to use as a cutting surface)
- Scissors (I also used a rotary cutter on the fabric, but you can just use scissors)
- Ruler
- Ribbon, thread, or string
- Button
- Needle and thread
- Glue gun or your choice of glue
Step One — Cut Foam Core, Fabric, and Paper to Desired Size for your Handmade Book
Your first step is to decide the size you want your book and cut two pieces of foam core that will serve as the base for your book’s front and back cover. (If you don’t have foam core, you can use cardboard or the covers of an old book or journal.)
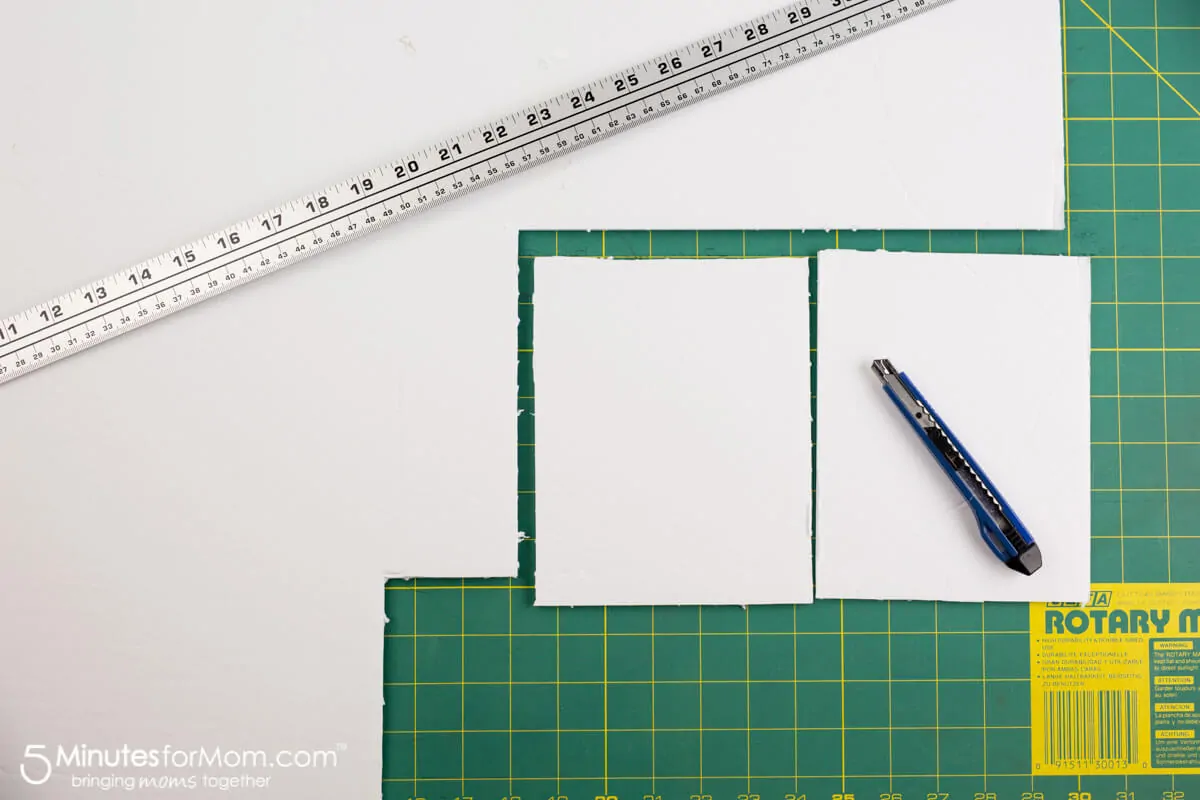
If you use 8.5×11″ paper for the inside pages, you will need to make your cook covers work within those dimensions. (To make your book pages, you will fold the 8.5×11″ paper in half and sew your pages on the inside of the fold.)
To make our inside pages, we folded 8.5×11″ paper in half and trimmed off 1.5 inches. (So our paper became 7×11 inches.) We made our covers each 6″ wide and 7.5″ long.
(For this book I used black foam core since we were using a sheer black fabric.)
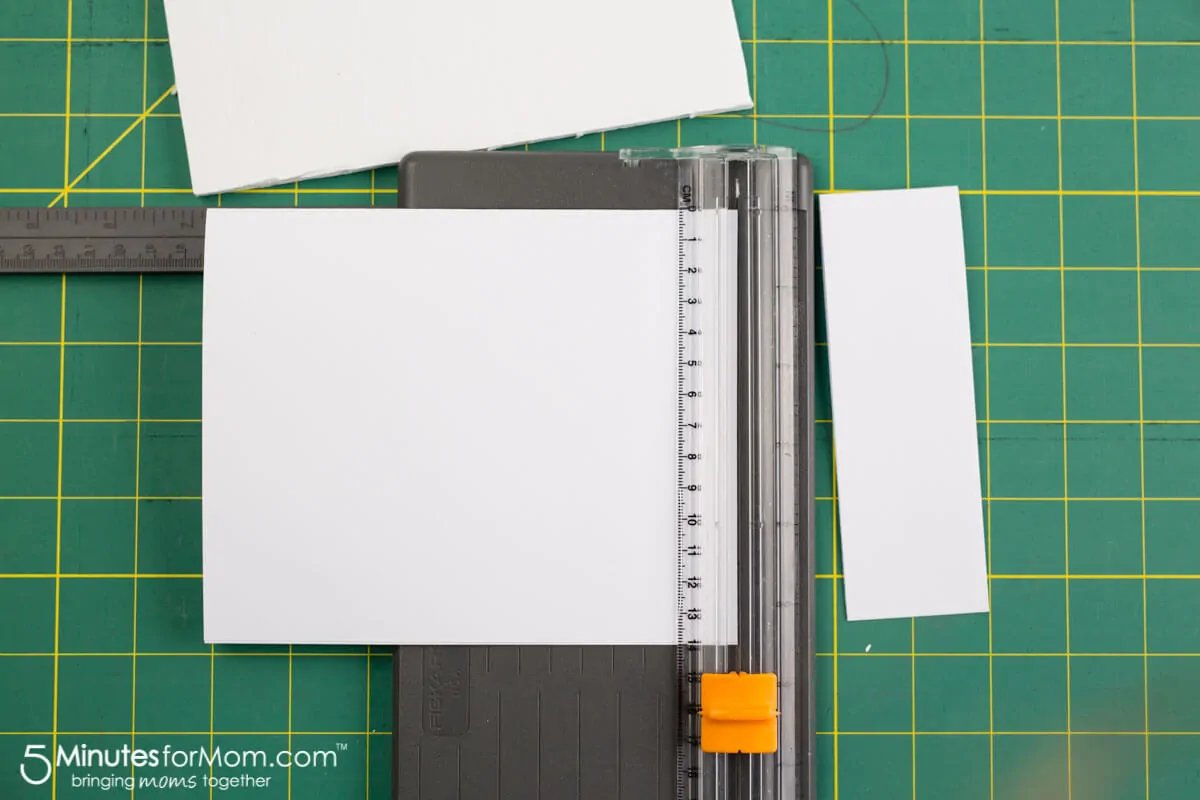
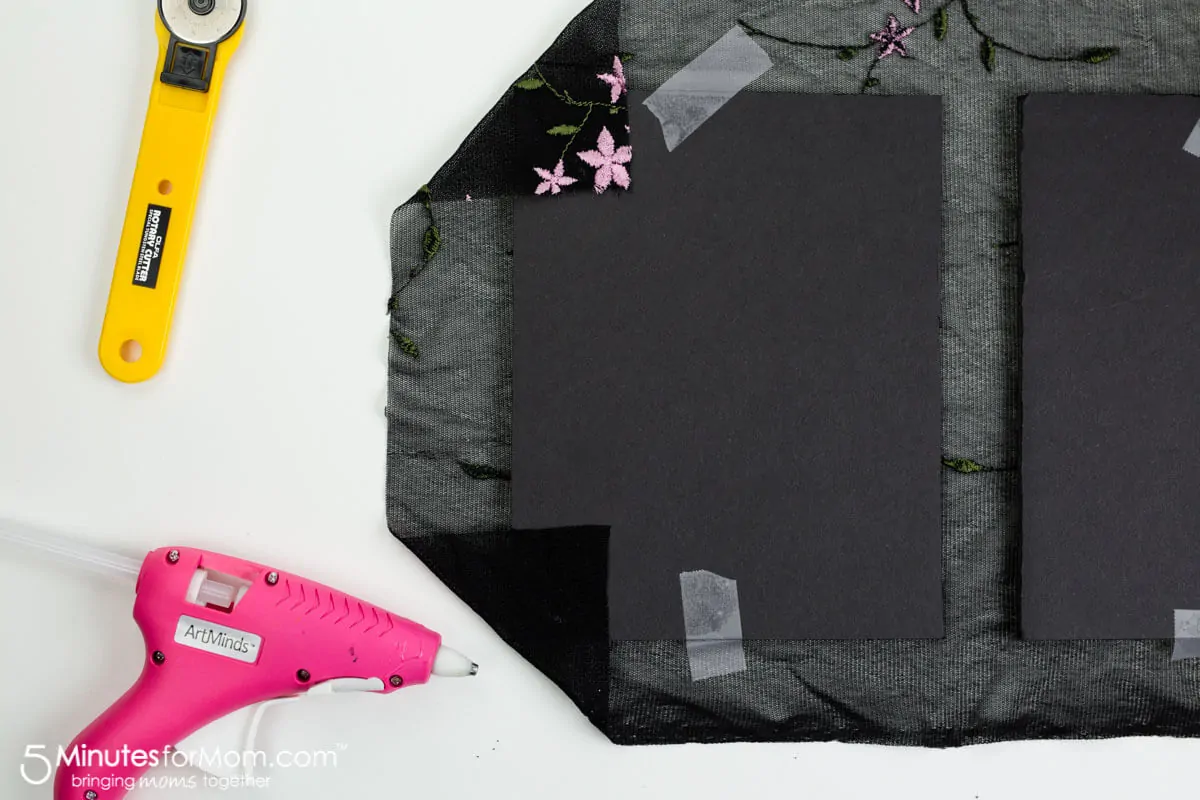
Next, cut your book cover fabric to the size you will need to make the journal cover.
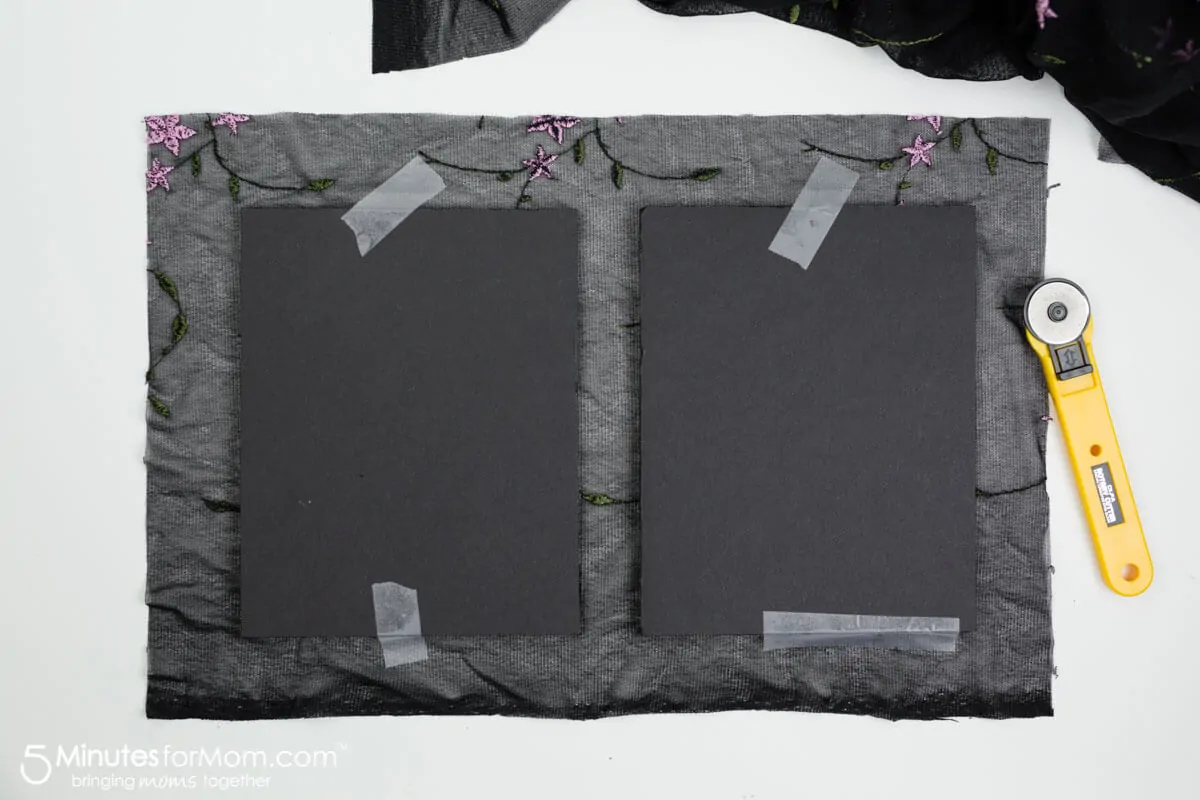
To determine the size, lay the foam core pieces on the fabric, leaving room for the spine. If you want to have many pages in your journal, make sure you leave enough room in the spine area
Step Two — Glue The Book Cover
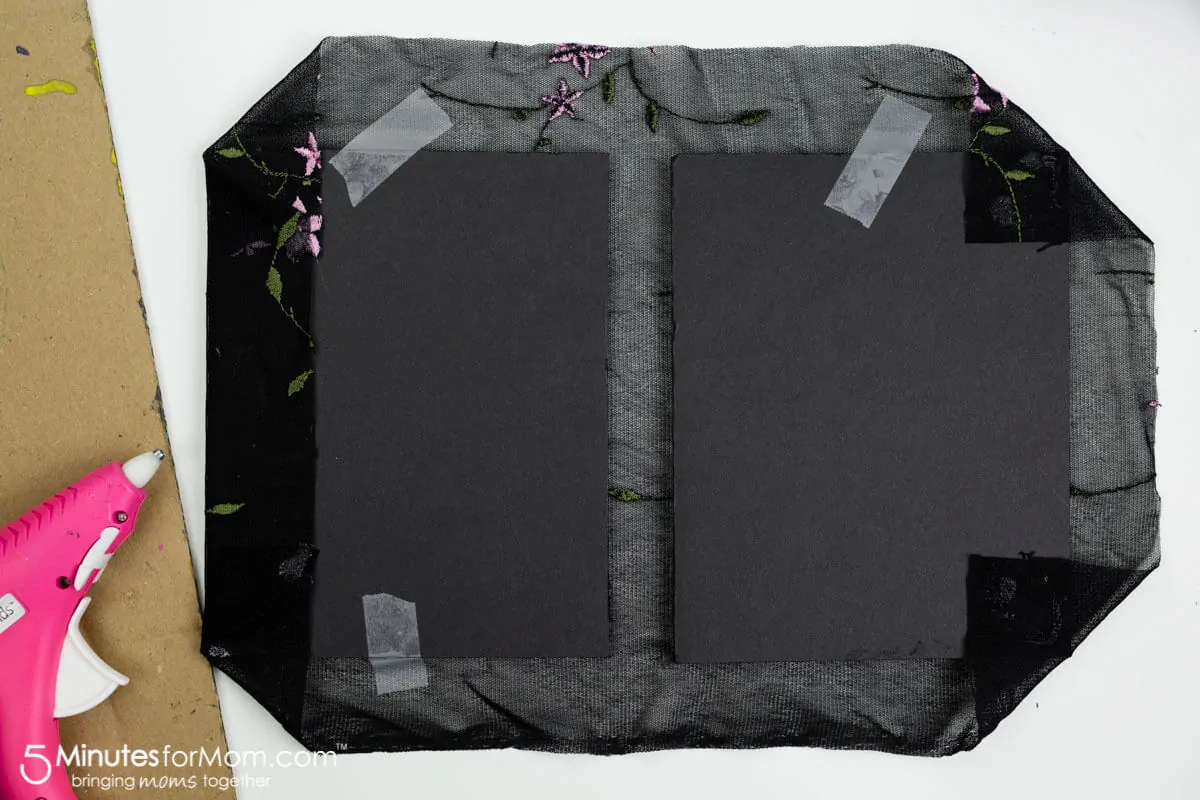
Now, it is time to glue your fabric to your foam core cover pieces. To do this, glue only the corners and a bit along the edges on the INSIDE of the cover to stabilize the fabric and journal cover.
Do NOT spread glue on the front of the foam core piece, under the fabric. Doing so will make your front cover fabric lumpy and, if the fabric is thin, it will show the glue through the fabric.
Gluing the corners and then later gluing the end pages to the inside of the cover pieces will hold the fabric in place.
(We used some tape to hold our fabric in place while we worked because it was very slippery. Remove the tape once you have glued your corners, of course.)
To begin, fold the corner of the fabric in as shown above. Then fold one side in, adhering with the glue gun…
And then fold in the other side and glue to secure.

Step Three — Attach the Fabric Book Binding
For our Tea Stained Handmade Journal, we used bias binding for our outer book binding. Bias binding already has the edges turned in for a clean edge on the sides.
How to Bind a Book
If you are using a fabric that is not binding and does not have clean edges, you can iron and press in your fabric edges to make a clean edge.
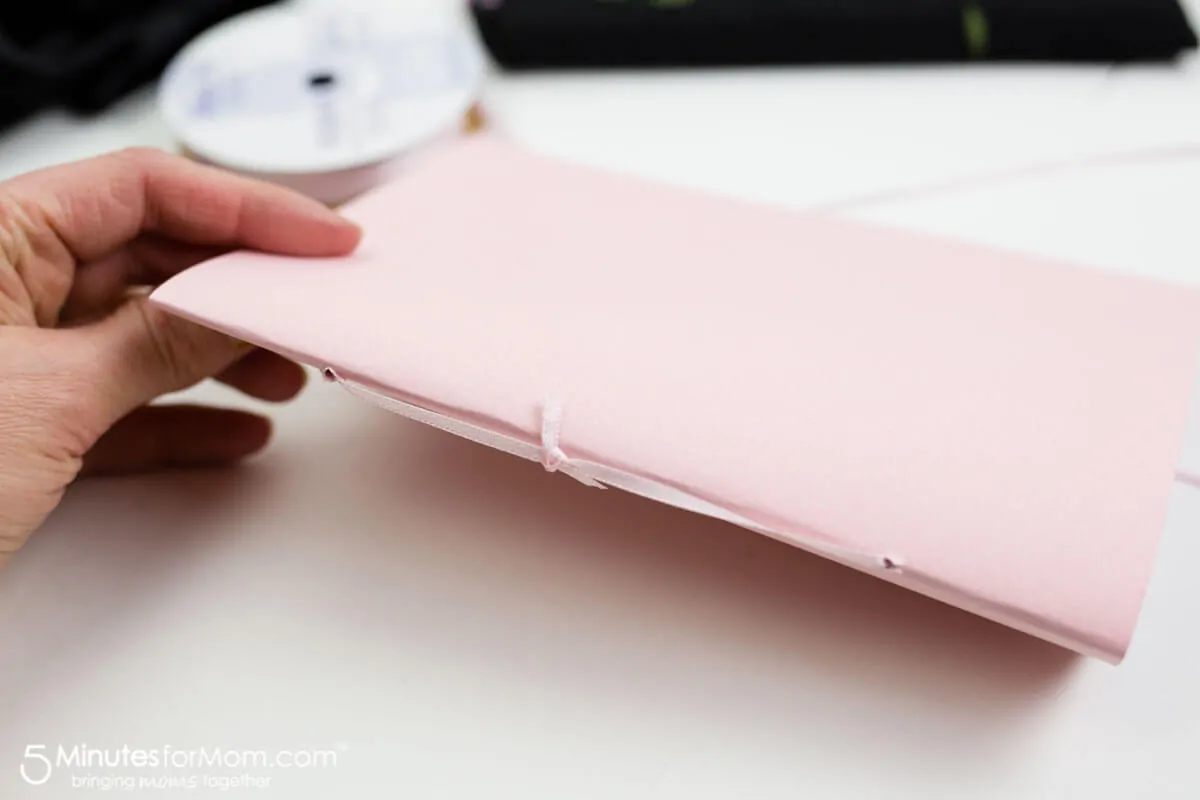
Or, if you have a fabric that would not press well, like the stretch velvet I used, you can sew a long rectangle of fabric together in a tube.
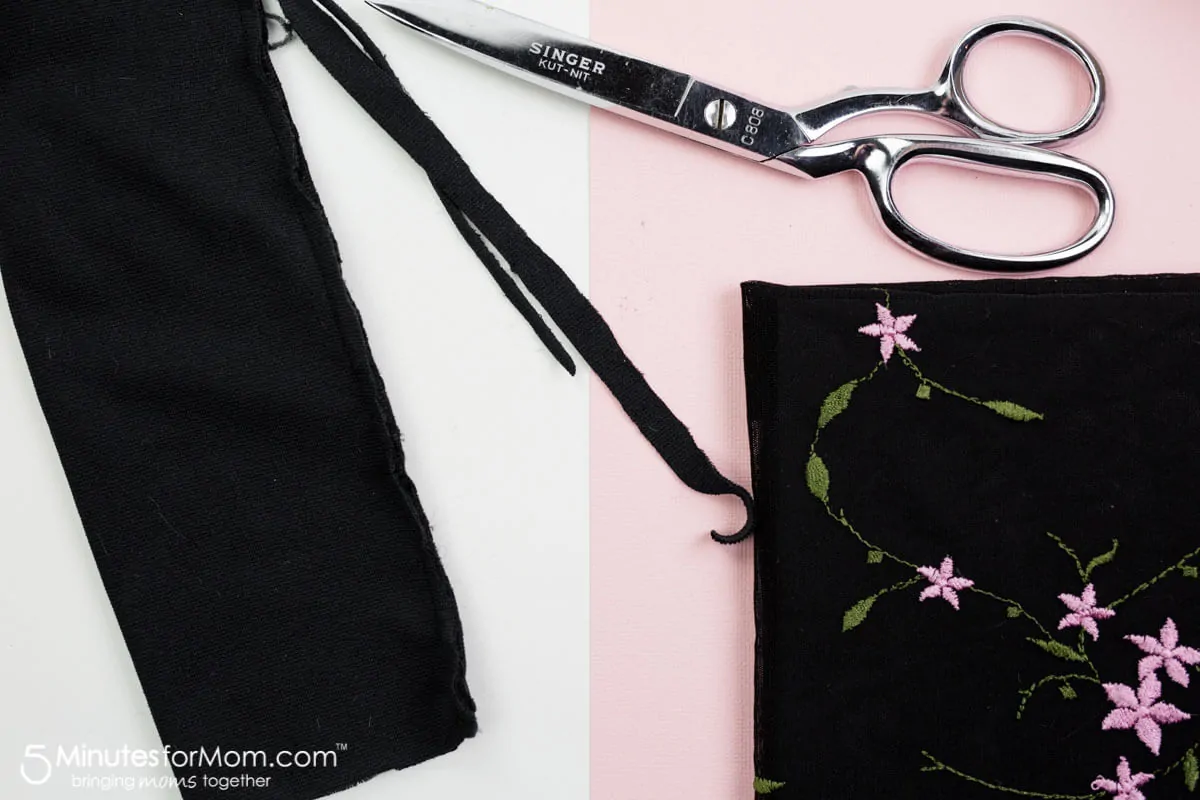
Trim the seam allowance, turn the tube inside out, and press it. Now you will no longer have raw edges for your outer binding piece of fabric.
Another option for how to bind a book is to use a wide piece of ribbon and then you don’t have to worry about unfinished edges.
To attach your book binding, lay your fabric cover on top of your piece of binding fabric. In sewing terms, the wrong side of the binding should face the right side of the book.
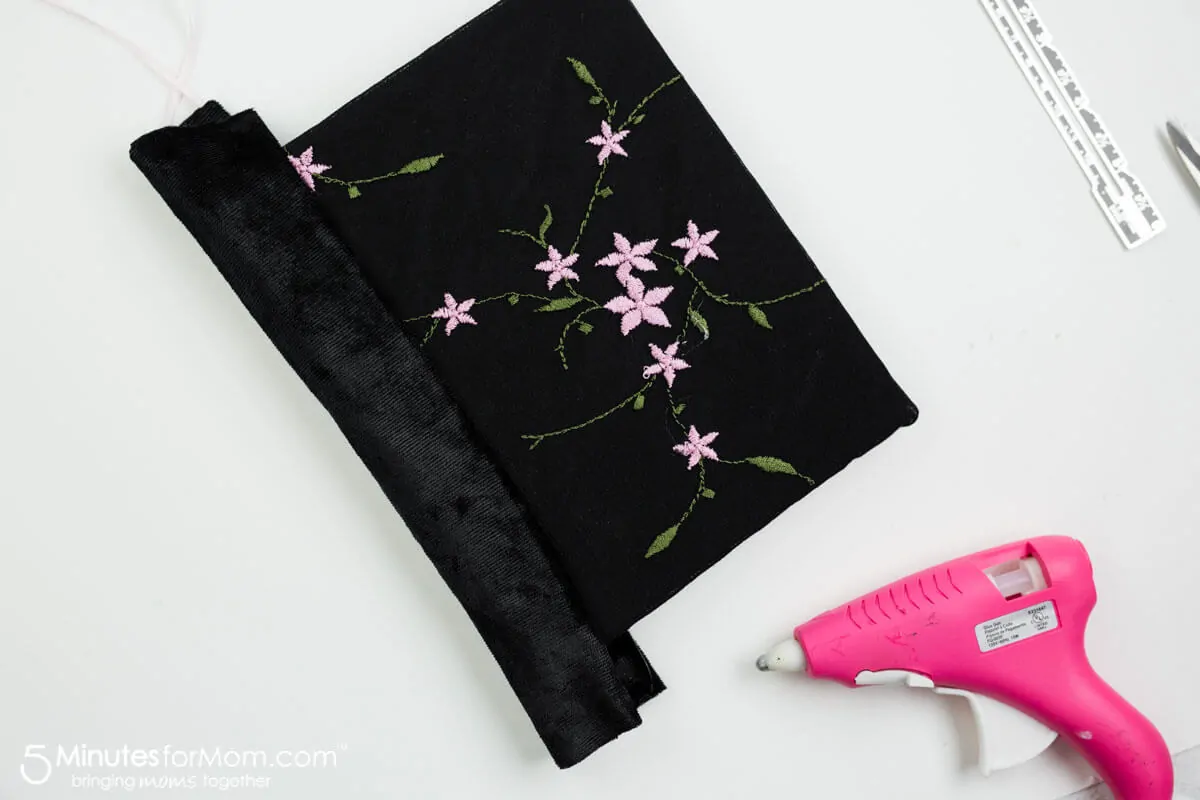
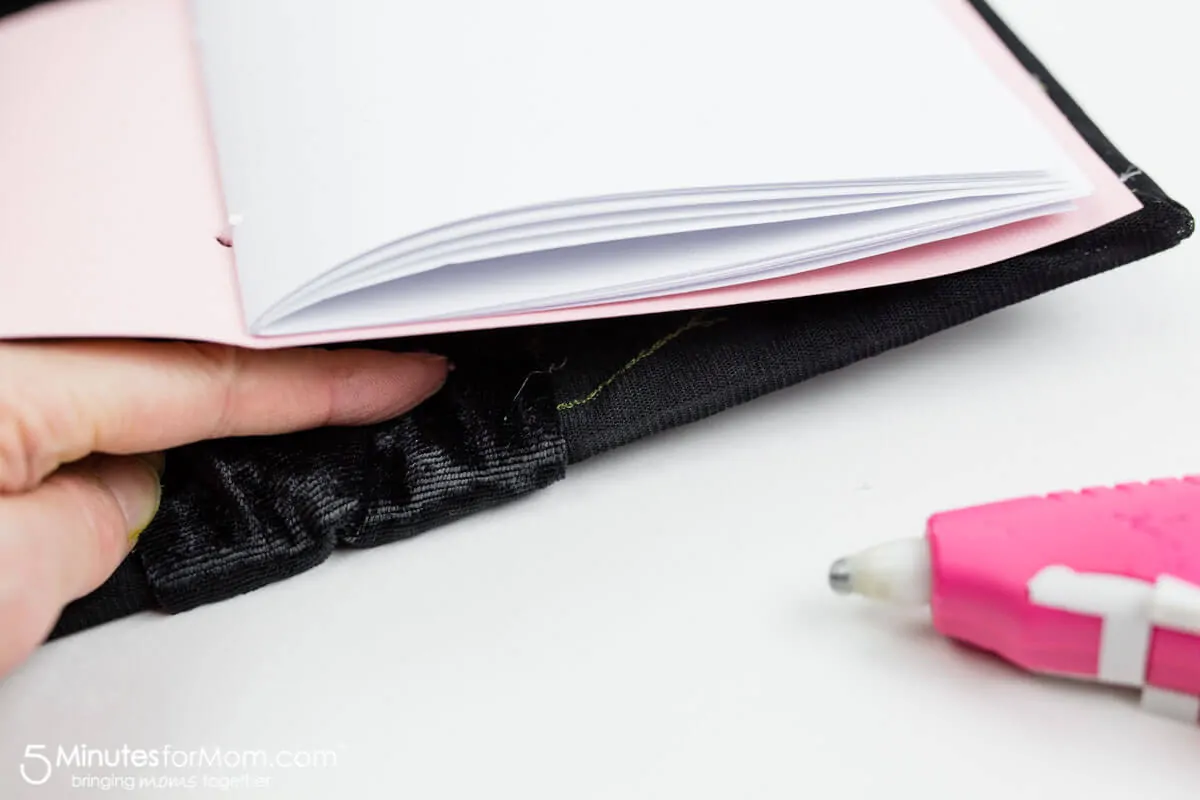
Then glue down the ends of the binding to the inside of the book fabric…
In the following picture, I already have the inside pages and end pages in the book. But you want to glue down your outside binding before you start to attach your pages.
Step Four — Sew Your Pages Together
Next, it is time to put together your book pages – the 7×11″ paper that you cut at the beginning of the tutorial.
If you are making a journal or diary, you can use everyday weight paper for the interior pages, such as basic computer paper. You can add a piece of cardstock to the outside page to create sturdy end pages that you will glue to the inside of the covers.
(If you are making a scrapbook or photo book, you can use cardstock for all of the pages so your book is strong enough to hold photos.)
Before you begin sewing together your interior pages and end pages, check that your cardstock end pages will be big enough to fit your cover, covering all of the fabric edges on the inside of the front and back covers.
If you have a larger spine area or not enough fabric on the inside edges of the cover you may need to cut a piece of cardstock that is slightly larger than your interior pages and add that cardstock to the signature to create end pages that cover the inside cover nicely.
In bookbinding terminology, a “signature” is a set of pages sewn together. If you want to have a large number of pages in your book, you will need to have multiple signatures and to bind those together before you glue them into your book cover. For our small books, we only used one signature per book to keep things simple.
You can use a large embroidery needle to sew your pages or “signatures” together. If your pages are too thick or you don’t have a large needle, you can use something to poke a hole in your pages, such as a nail or pointed scissors, and then thread ribbon, twine, thread, etc., through with your fingers.
Since we are only making one small signature for this book, it is a very simple sewing job.
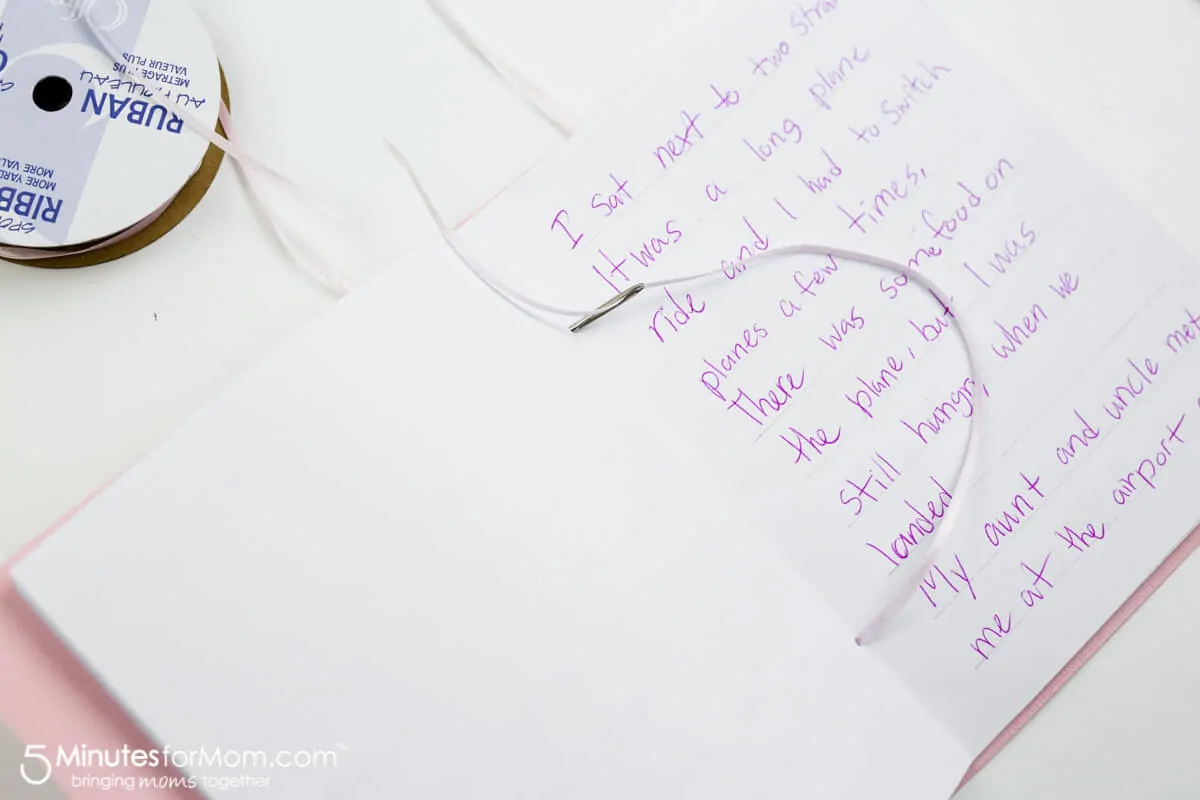
First, measure an equal distance, such as 1.5 inches, in from the top and bottom of the signature and mark with a pencil.
Starting from the outside of the signature, at the top or bottom mark, push the needle and thread/ribbon through to the front. Then, sew out to the back of the signature at the other mark.
At the back of the signature, tie the thread or ribbon snug and trim the ends.
Step Four — Attach Signature to Book Cover
Your handmade book is coming together!
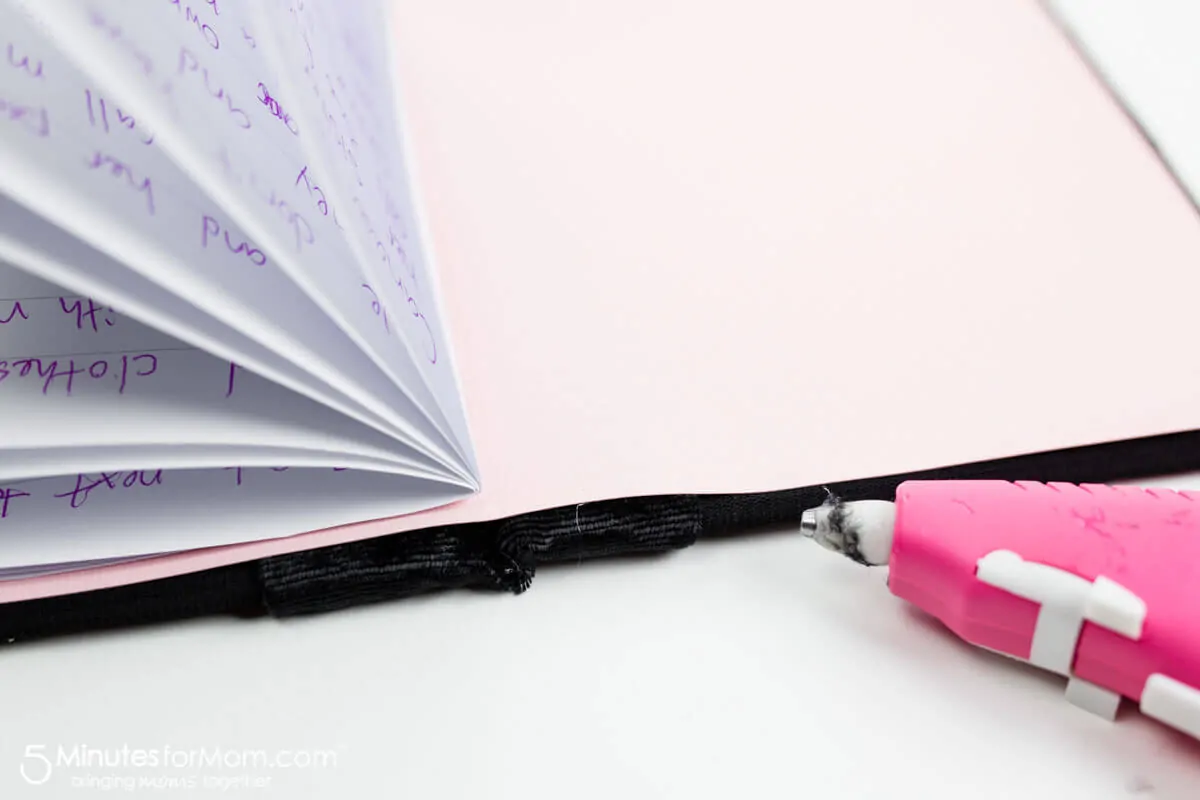
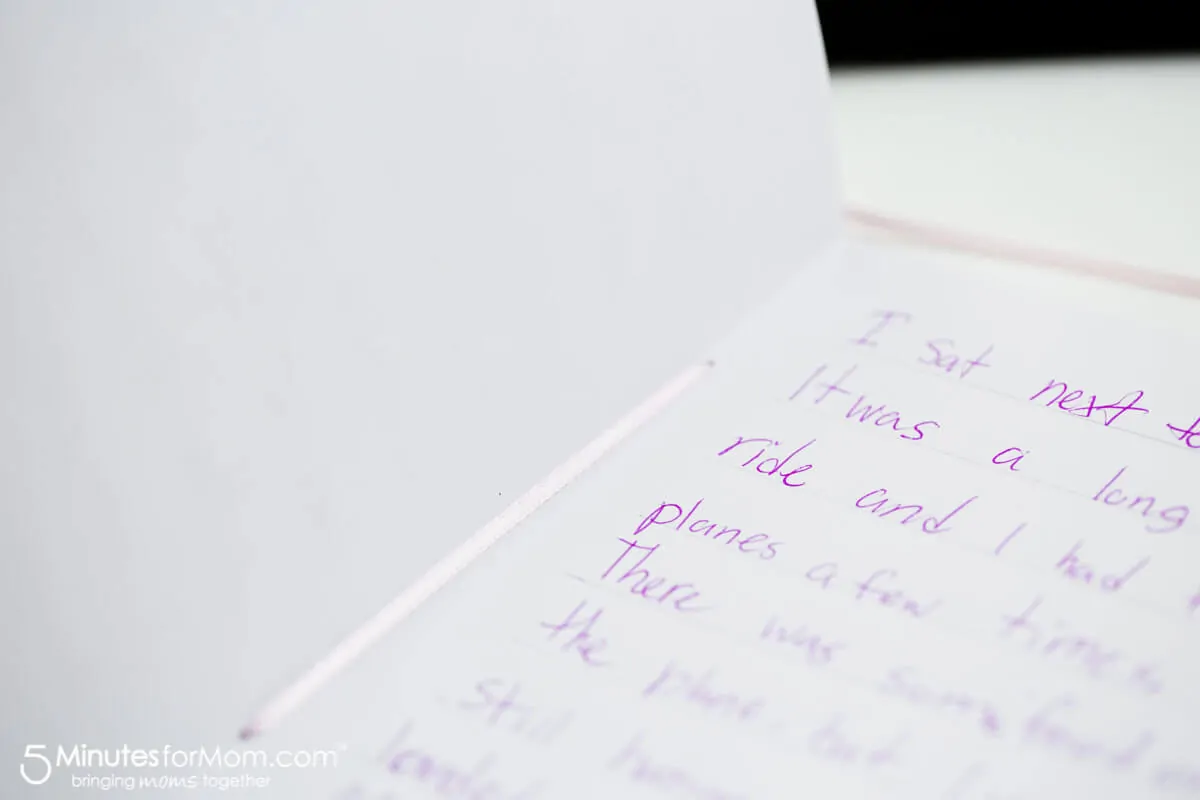
Now it is time to attach your signature of pages to your book cover. To do this, simply glue the last page of the signature, (the cardstock,) which will become your end pages, to the inside of the book cover.
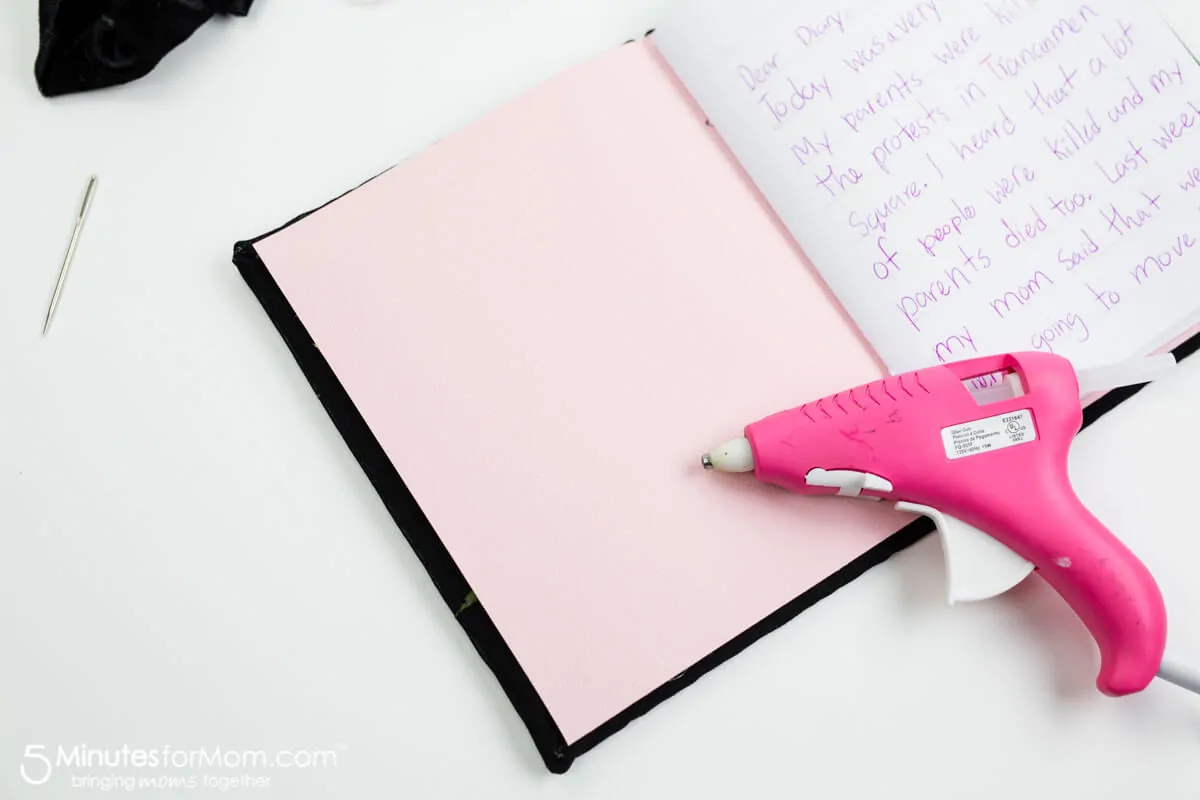
This creates a beautiful finish to your journal cover, while also holding your signature in the book.
(If you have multiple signatures, you will need to sew your signatures together before adhering the end pages to your book cover.)
Step Five — Make Your Book Closure
For our Tea Stained Journal, Olivia decided to use a vintage button and some of the twine that we used to sew the signature to make our closure.
For this book, we decided to make a velvet covered button to match the velvet binding and use ribbon to tie the book closed.
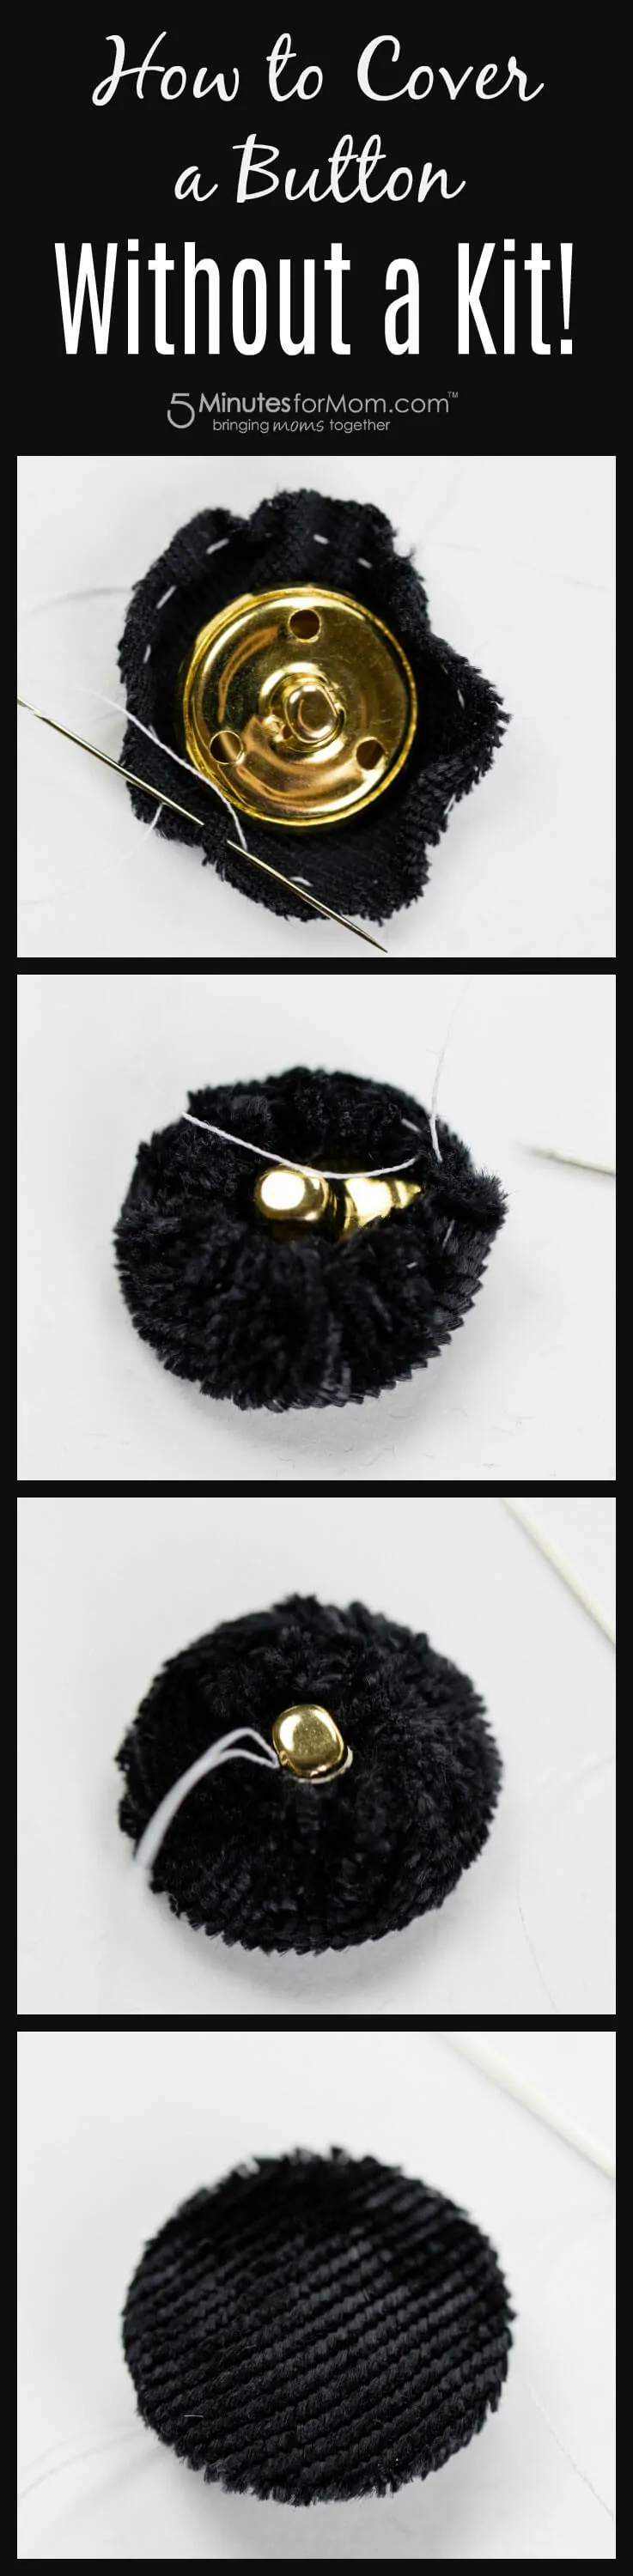
I didn’t have a button cover kit handy, so we made a fabric covered button WITHOUT a kit.
If you have never covered a button with fabric without a kit, it really is simple to do.
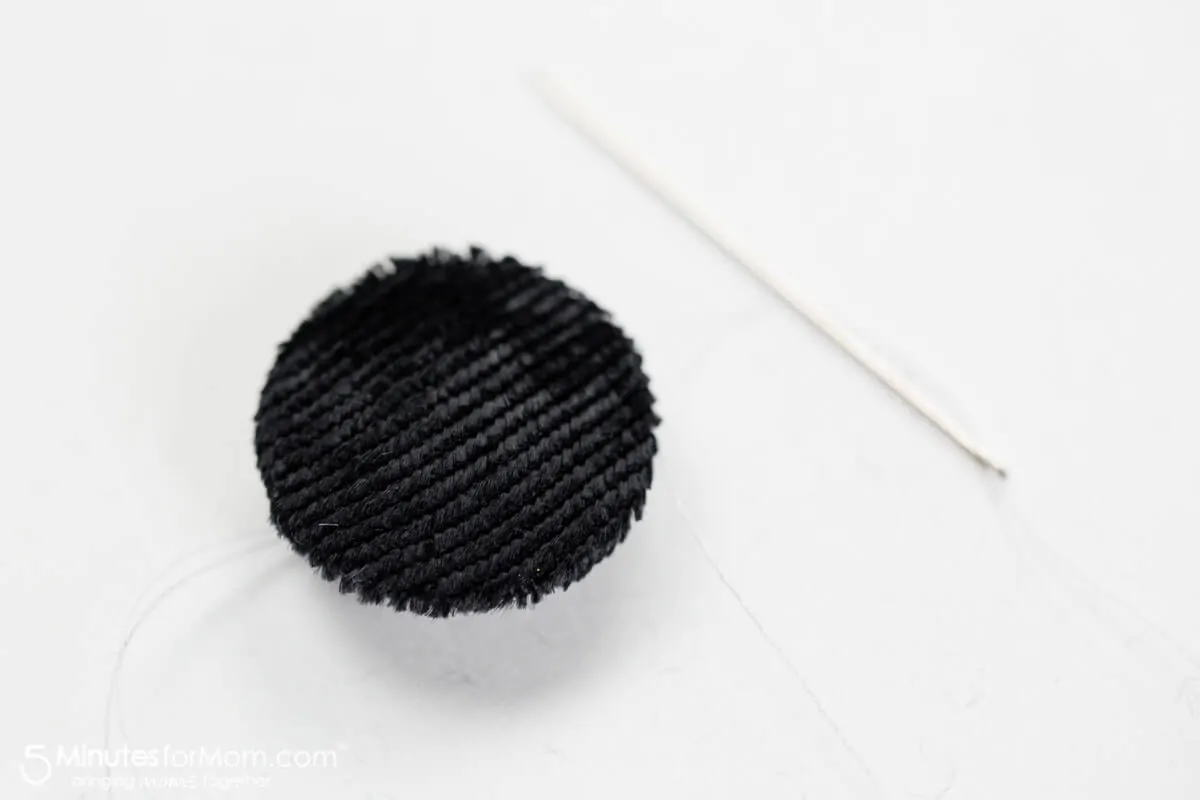
First, cut a circle of fabric that is larger than the button you are covering.
Then, sew a gathering stitch around the edge of the circle.
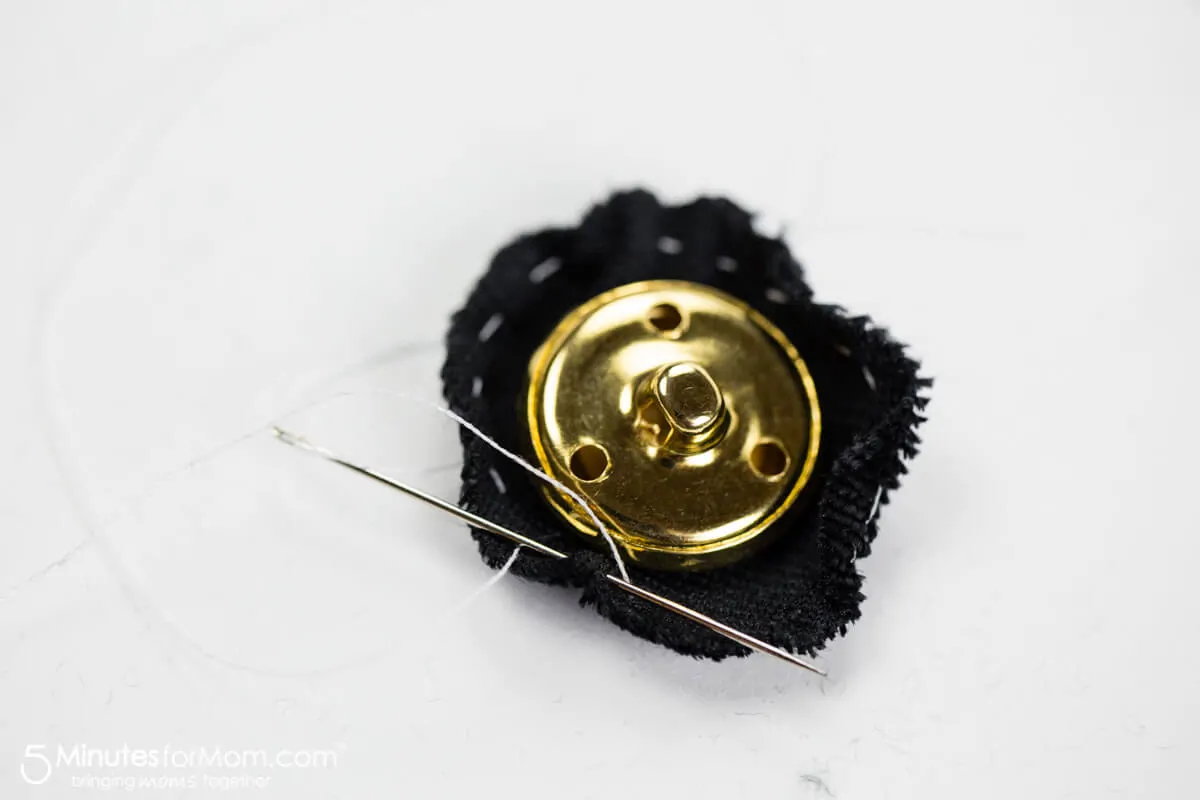
When you have sewn all around the circle, pull on the gathering threads until the fabric is tightened over the button and around the button shank.
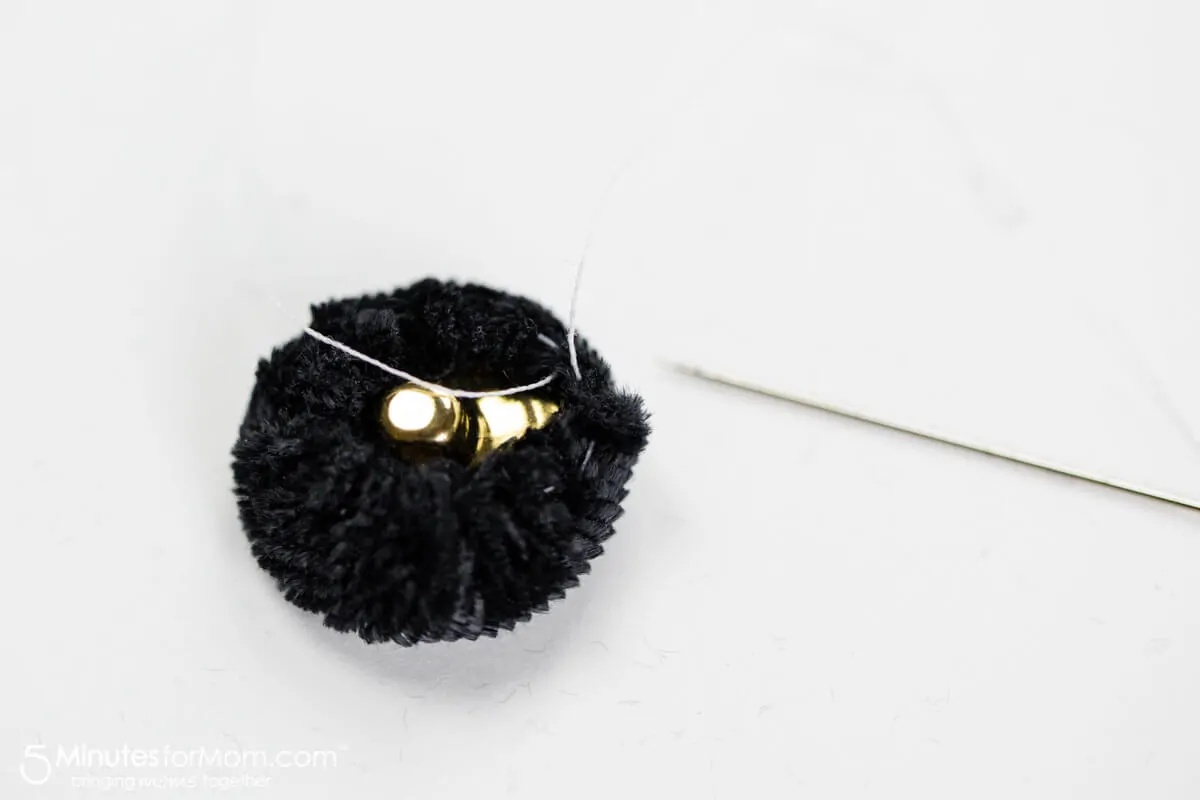
Sew through the shank several times to secure the fabric and knot the thread
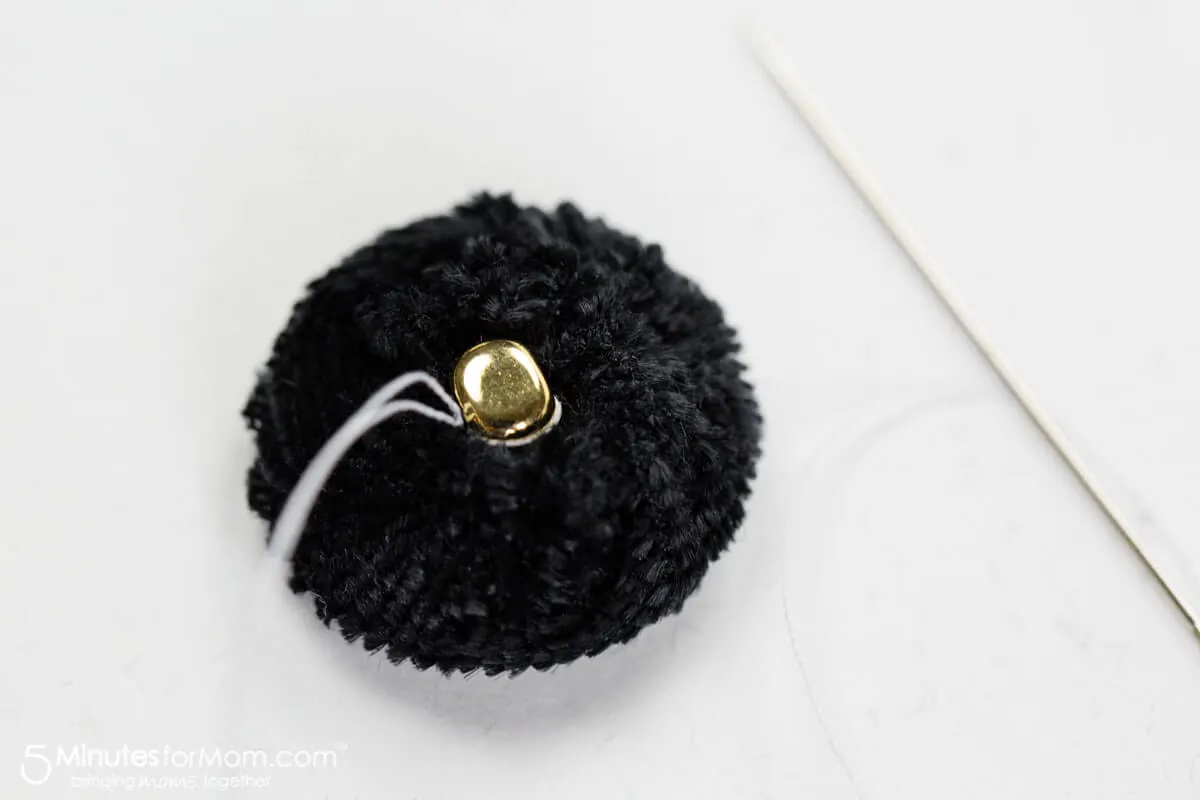
Now you have a beautiful button that matches your book’s binding.
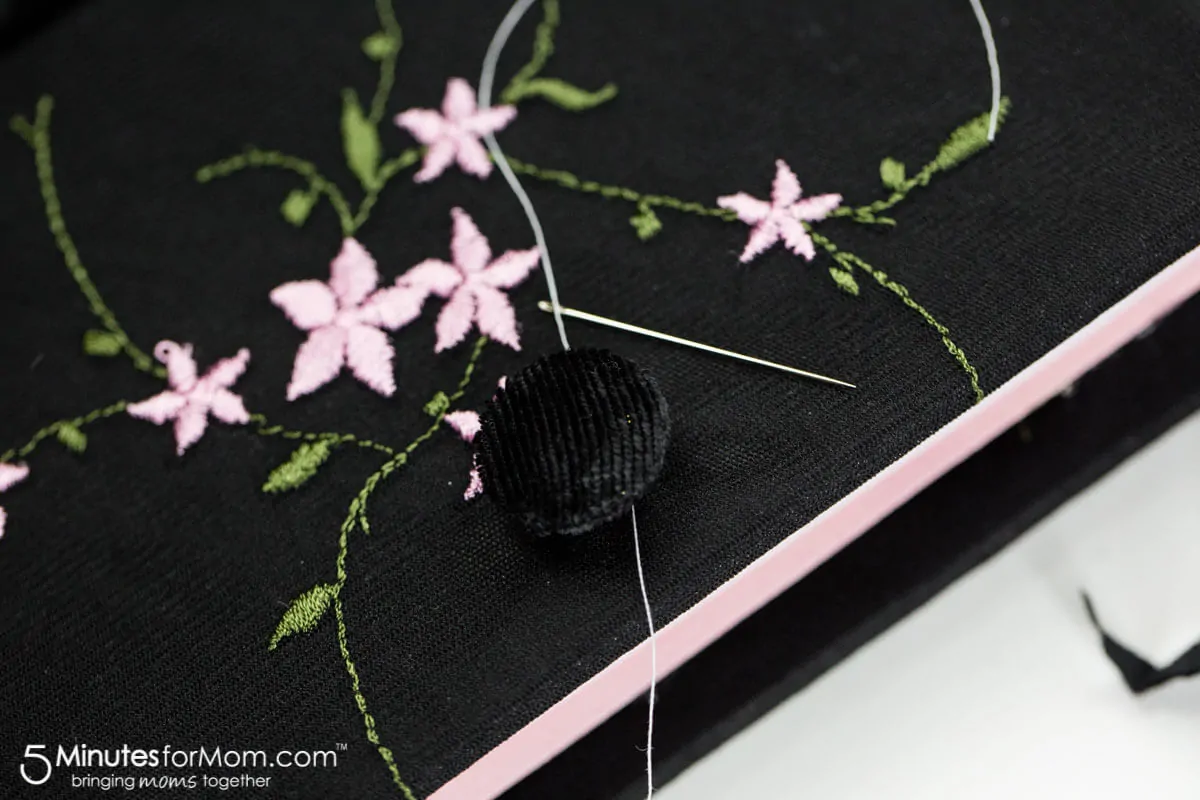
Next, sew the button on to the front of the book cover. We also used a little bit of hot glue to help stabilize the button further.
Finally, sew and/or hot glue the ribbon to the inside of the binding on the outside of the back of the book cover.
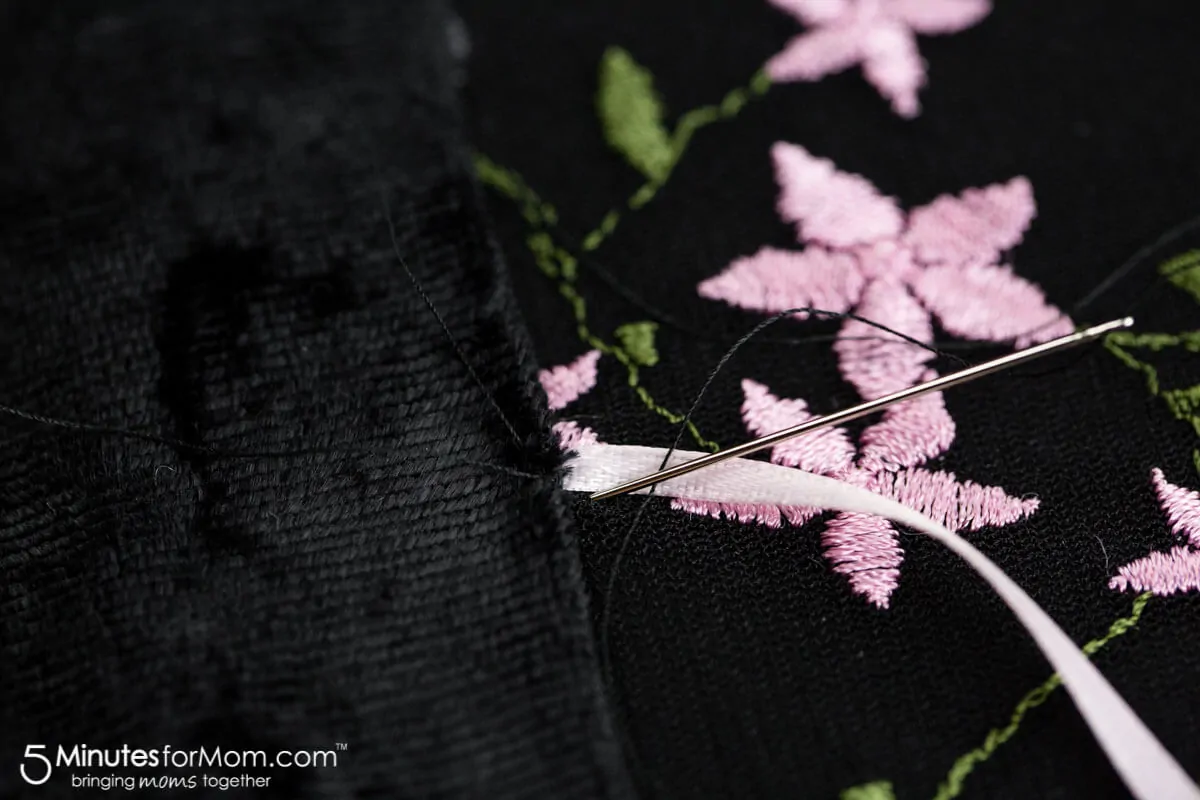
The ribbon will reach around to the front and wrap around the button to create a closure for your book.
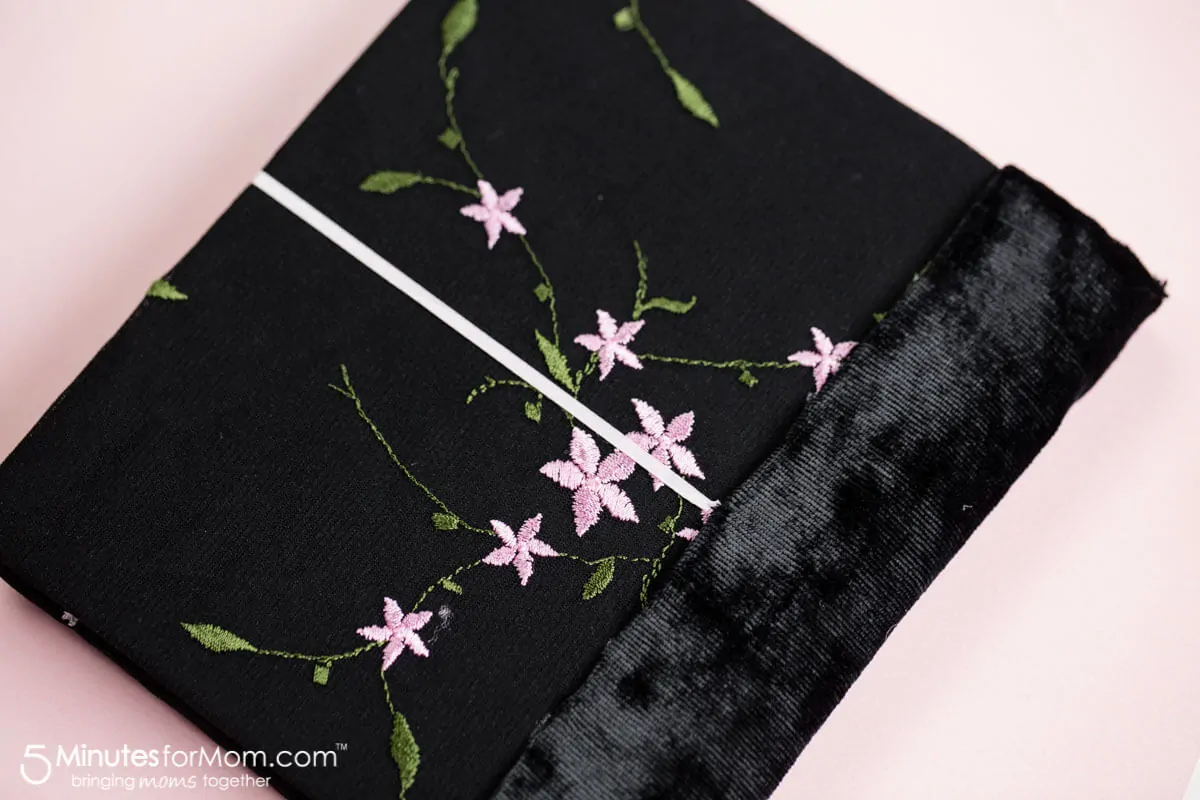
Doesn’t that look so sweet? I love it!
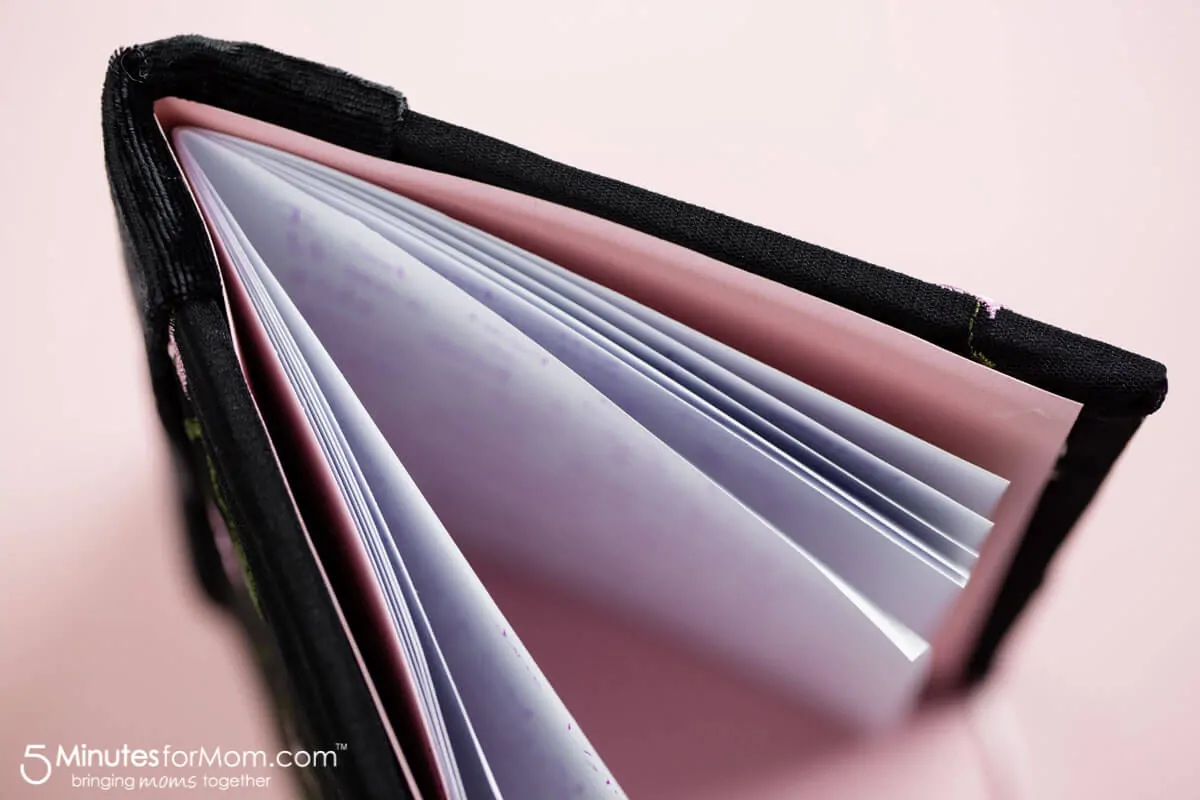
And here is our finished handmade book… inside…

And out…
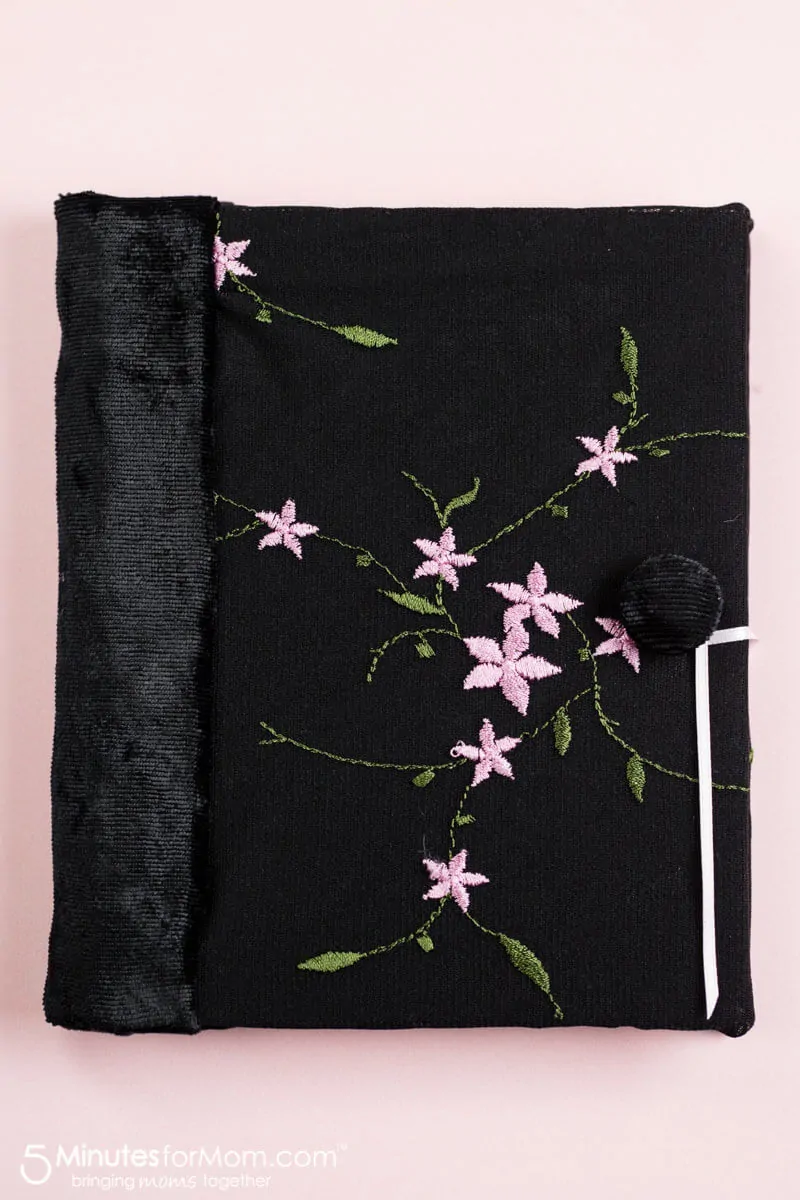
I love this handmade book SO much I want to make a bunch more of them.
It is such an inexpensive way to make photo albums, scrapbooks, notebooks, journals, and diaries. I am now obsessed with making handmade books.
The girls and I are going to make these as photo albums for teacher gifts this year as well. For the interior pages, we will use blank cardstock so that the teachers can add their own photos.
What kind of books would you like to make? Do you have extra fabric scraps or cardstock around your house that would be perfect for a handmade book?
If you don’t have any extra fabric already at home, you can buy some inexpensive fabric for crafting at your local craft store, fabric store, and even at WalMart and at dollar stores! So let your creative juices flow and have a blast coming up with our own designs for your handmade journals and books.
For more bookmaking inspiration, check out my previous DIY journal tutorial, How To Make A DIY Journal With Tea Stained Paper

Pin it for Later
And don’t lose this post… Add it to your Pinterest boards…
Written by Janice Croze, co-founder of 5 Minutes for Mom
Talk with me: @5minutesformom and Facebook.com/5minutesformom
Pin with me at pinterest.com/5minutesformom