This post may contain affiliate links. Read my disclosure policy here.
Are you looking for alternative Christmas tree ideas? Whether you want to create a DIY Christmas Tree for an alternative option to a traditional Christmas tree, for additional holiday decor, or for Christmas photography set ideas, here are three easy and inexpensive ways to build a beautiful and unique “Christmas Tree”.
We are well into the Christmas countdown, and once again I am late doing our family holiday photo shoot.
I always get too busy with client work and don’t get around to photographing Susan and my families until December, when I panic and scramble to find a day that works for us all.
This year, as I designed a set for us as quickly as possible, I remembered that I never did write a post about the alternative Christmas trees I made for last year’s photo set.
Yes, I was running out of time last year too and barely had time to edit our holiday shots and order cards, let alone write a post about DIY trees. We had our holiday shoot yesterday, but before I even edit those photos, I am going to write this post. One year late isn’t that bad, right?
Alternative Christmas Tree Ideas
How To Find the Right Christmas Tree Design for You
When it comes to alternative Christmas trees, you have as many options as there are trees in a forest!
But, as you sit down to think of christmas photography set ideas and design your own alternative Christmas tree, you might get overwhelmed with the many ideas. Not only are the stores full of creative options you can buy, but Pinterest is stocked full of incredible designs.
Don’t get overwhelmed and give up.
Instead, answer the following questions to narrow down your ideas.
First, what is the purpose of the tree?
Is it for a photo set for holiday images? Is to replace a Christmas tree and you want just one statement tree where you can even place Christmas presents? Do you want to make a cluster of trees as a design element in the house? Or do you simply want to have fun and make some DIY trees with your kids during holiday break?
The purpose of your tree will help you determine your budget, how much time you want to put into your project and how “perfect” you want your end result to be.
Second, decide how many trees you are making and their size.
The number of trees you are making and the size of those trees will make a big difference in the kind of tree you want to build. You certainly don’t want to undertake a complicated design, or one that uses expensive materials, if you need to build multiple trees or want to use it as a fun holiday crafts with your kids. And if you want to make smaller trees, you can open yourself up to more options for easier, less cumbersome designs.
Third, determine what supplies you have on hand or are willing to make, find, or buy.
If you don’t want to put out a lot of cash for your project, there are tons of totally DIY ideas that use items you already have in your house or you can find in your backyard or nearby forest.
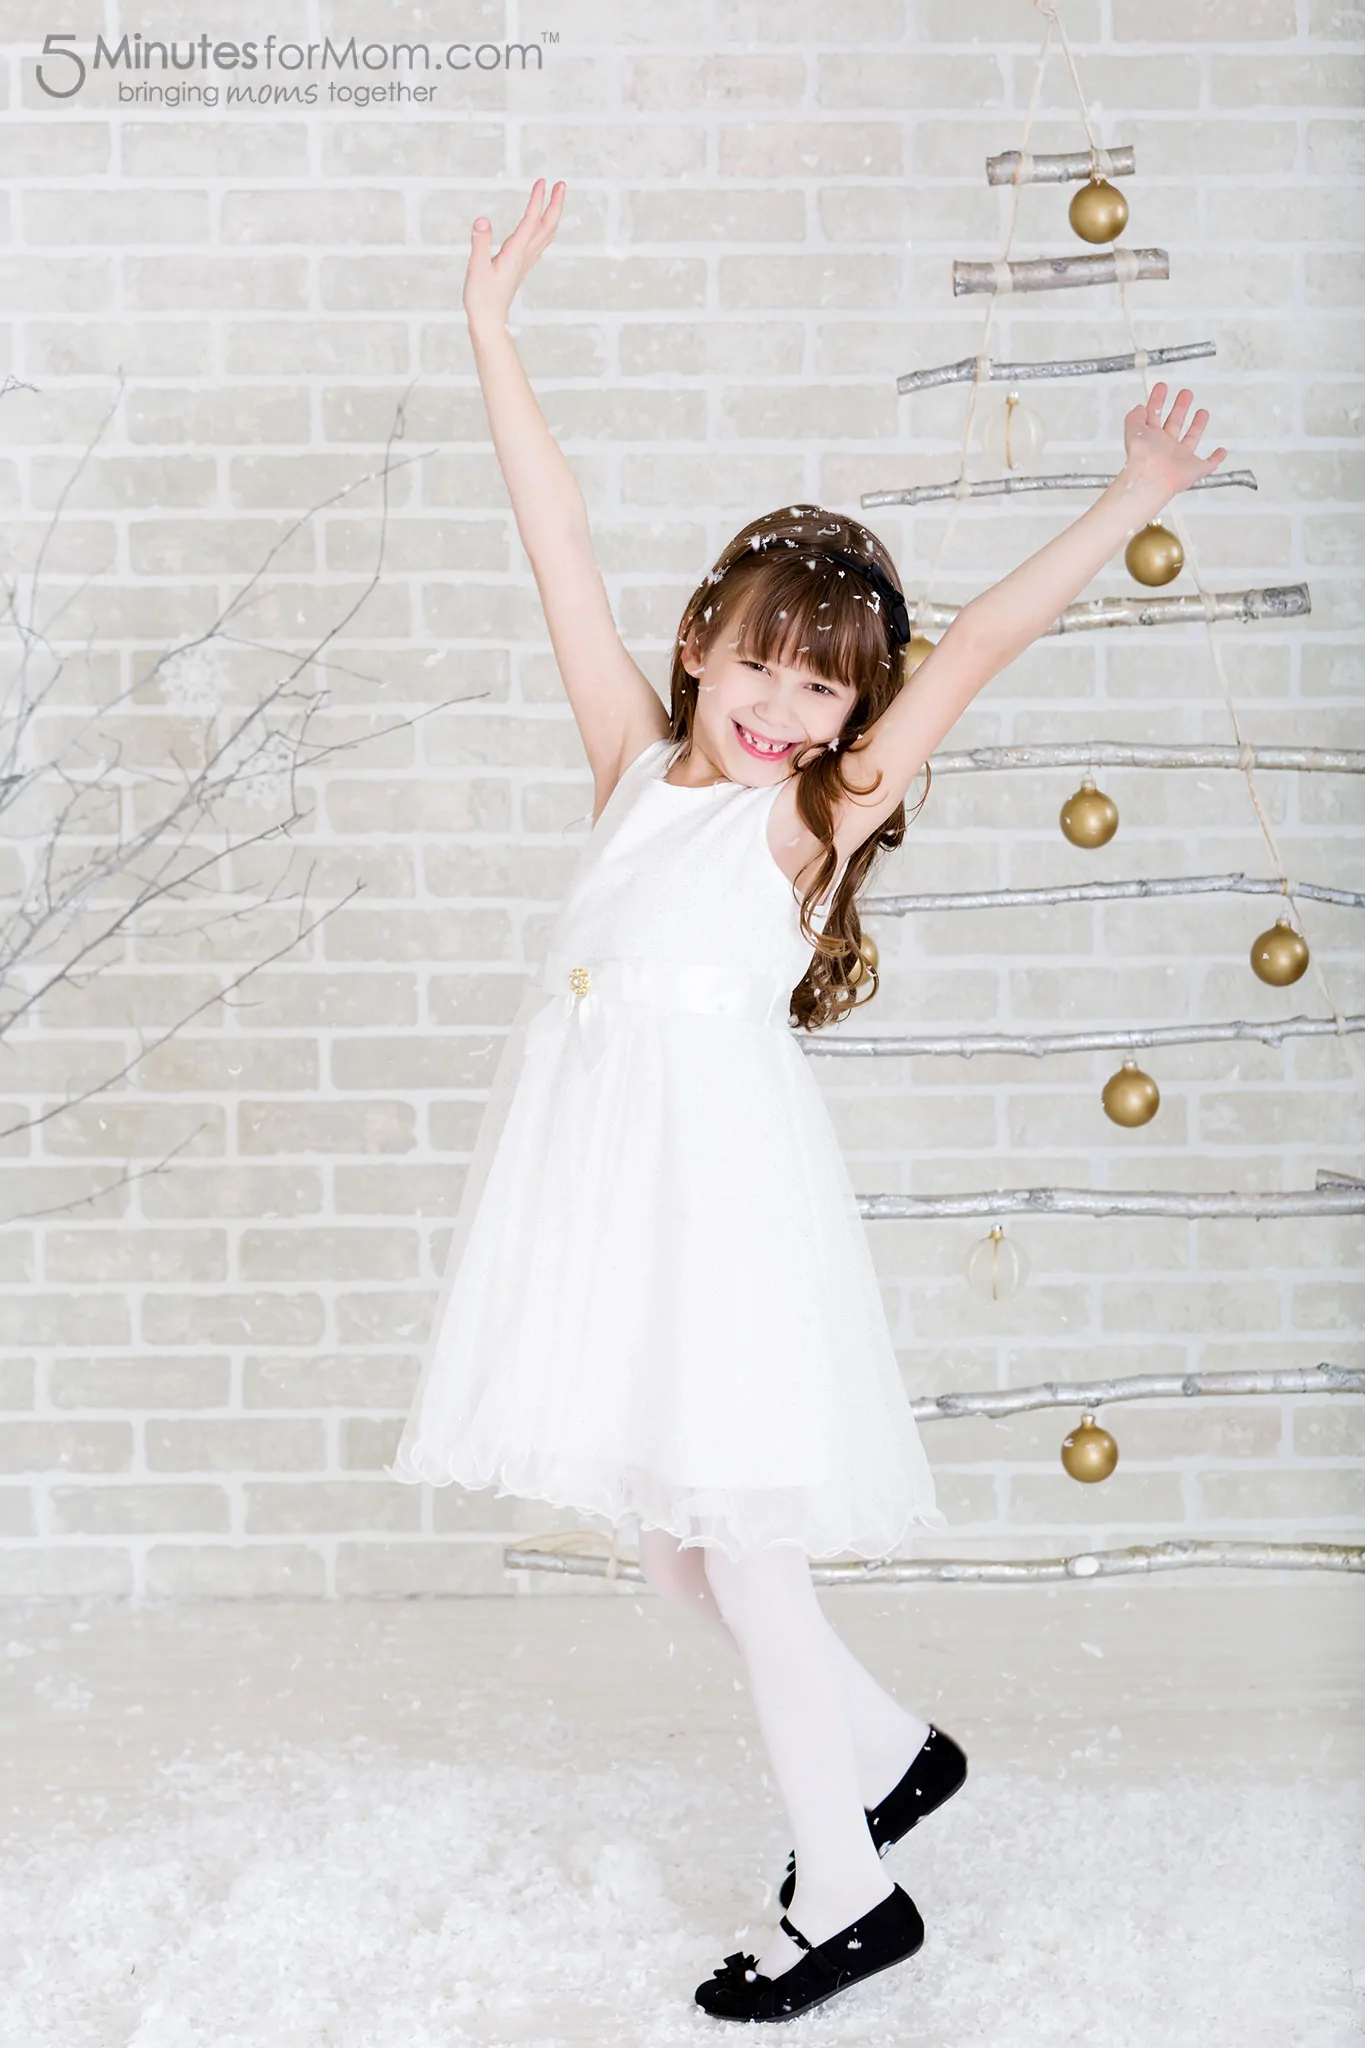
But if you don’t want to go hunting for branches or deal with spray painting and coating things in glitter, you can often buy materials already ready to go, such as the branches I used in my ladder tree below. While I spray painted the branches for my 2014 holiday set, for my ladder tree in 2015 I bought the branches at HomeSense and cut them down to size.
Here are three different alternative DIY Christmas Trees I have made for holiday photo sets — a tree branch ladder “tree”, a ribbon/tape tree, and a cone tree covered in fabric.
These are three basic types of alternative trees and you can easily customize these concepts to come up with your own, completely original alternative Christmas tree.
Branch Ladder Tree
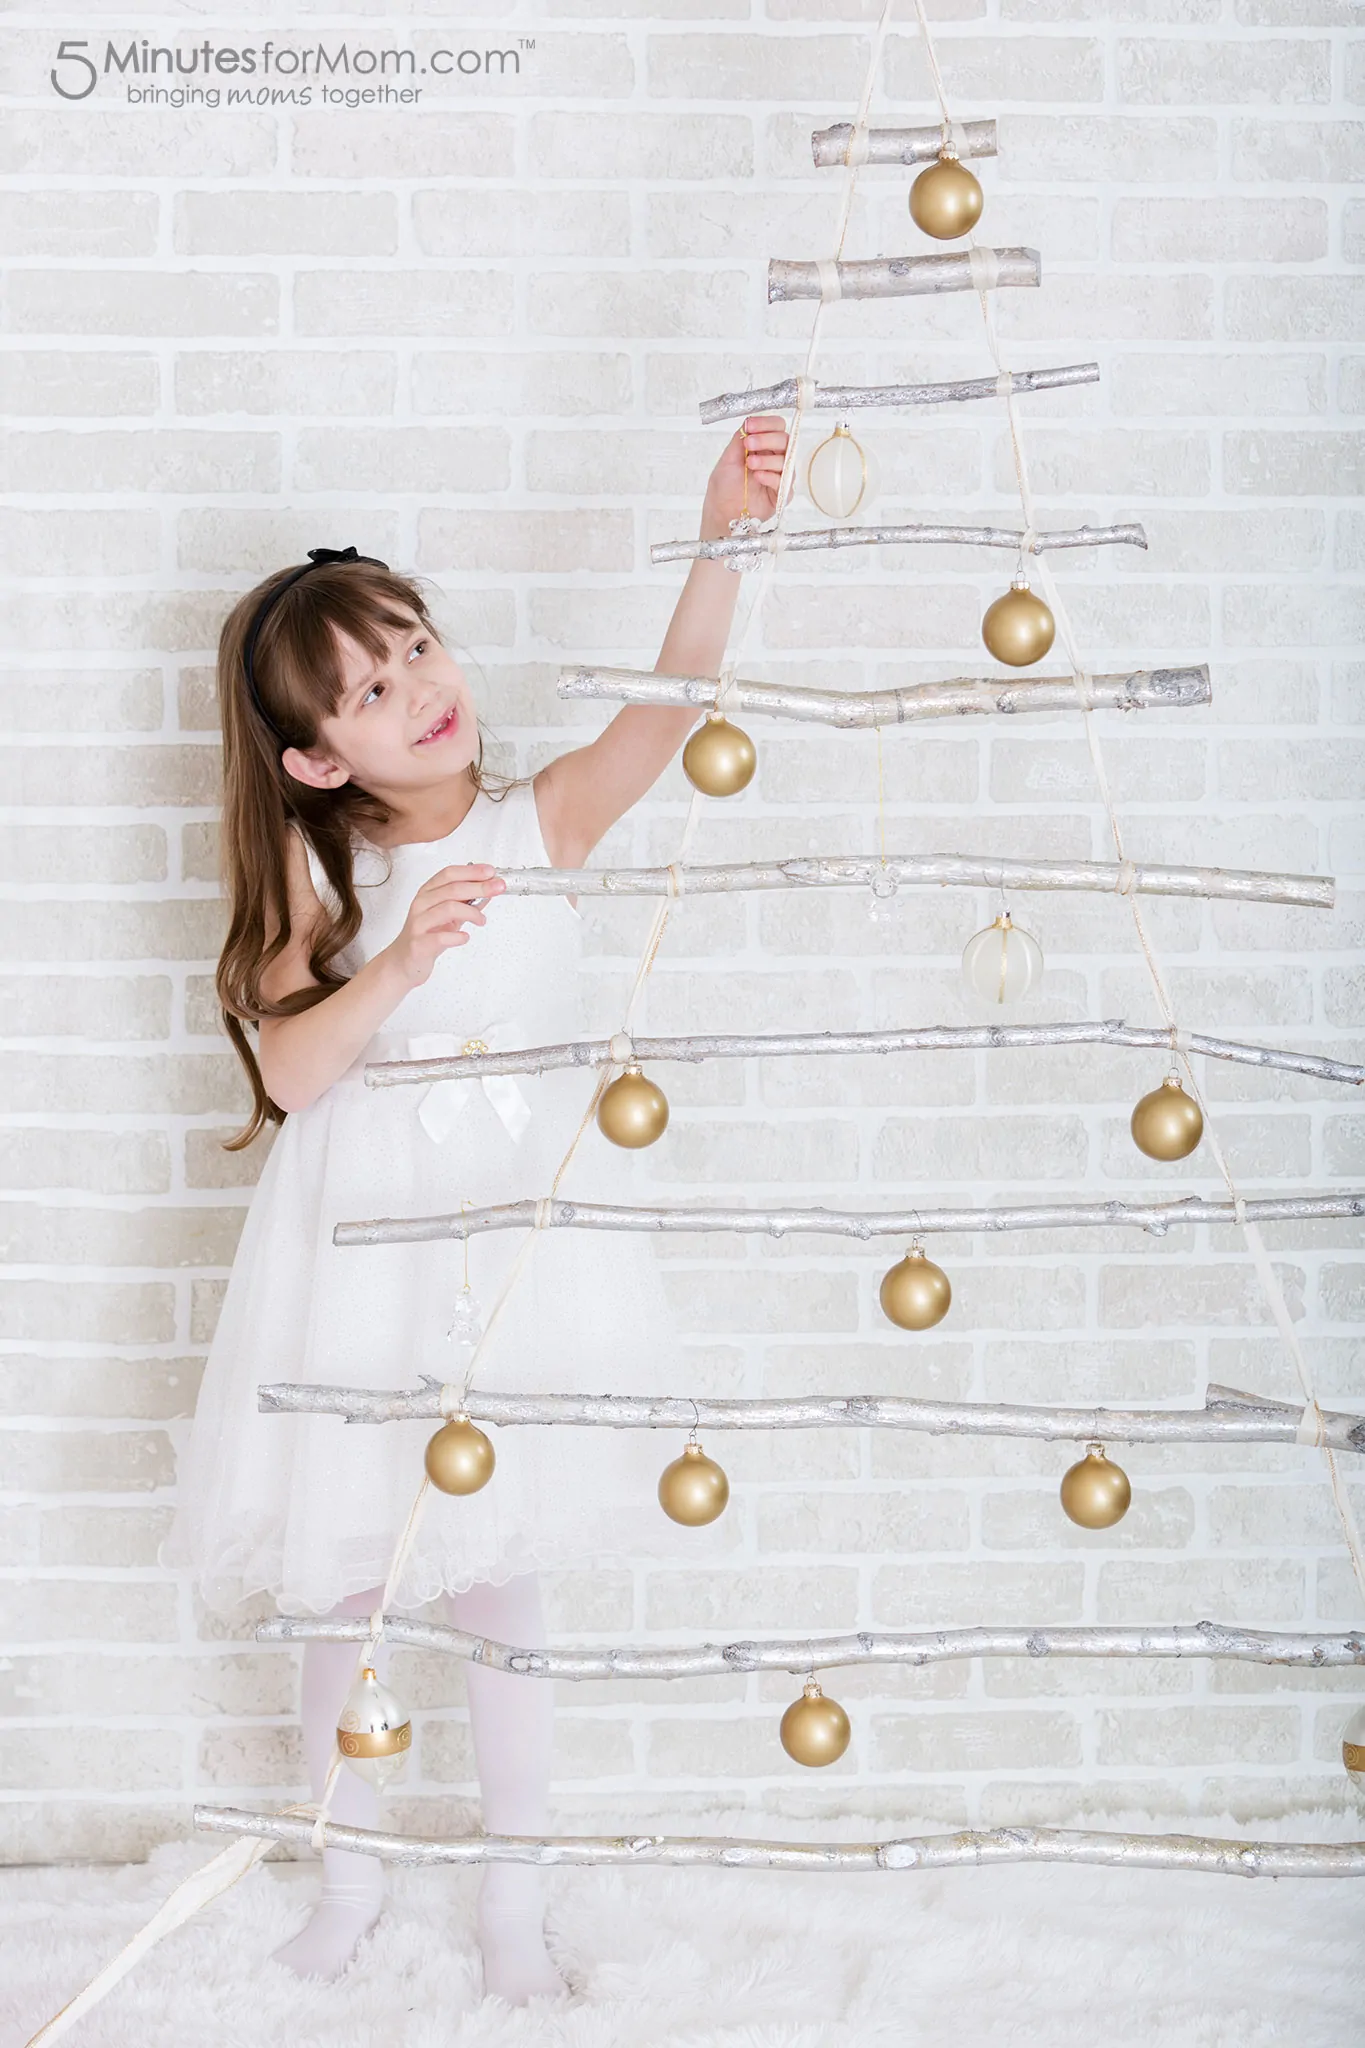
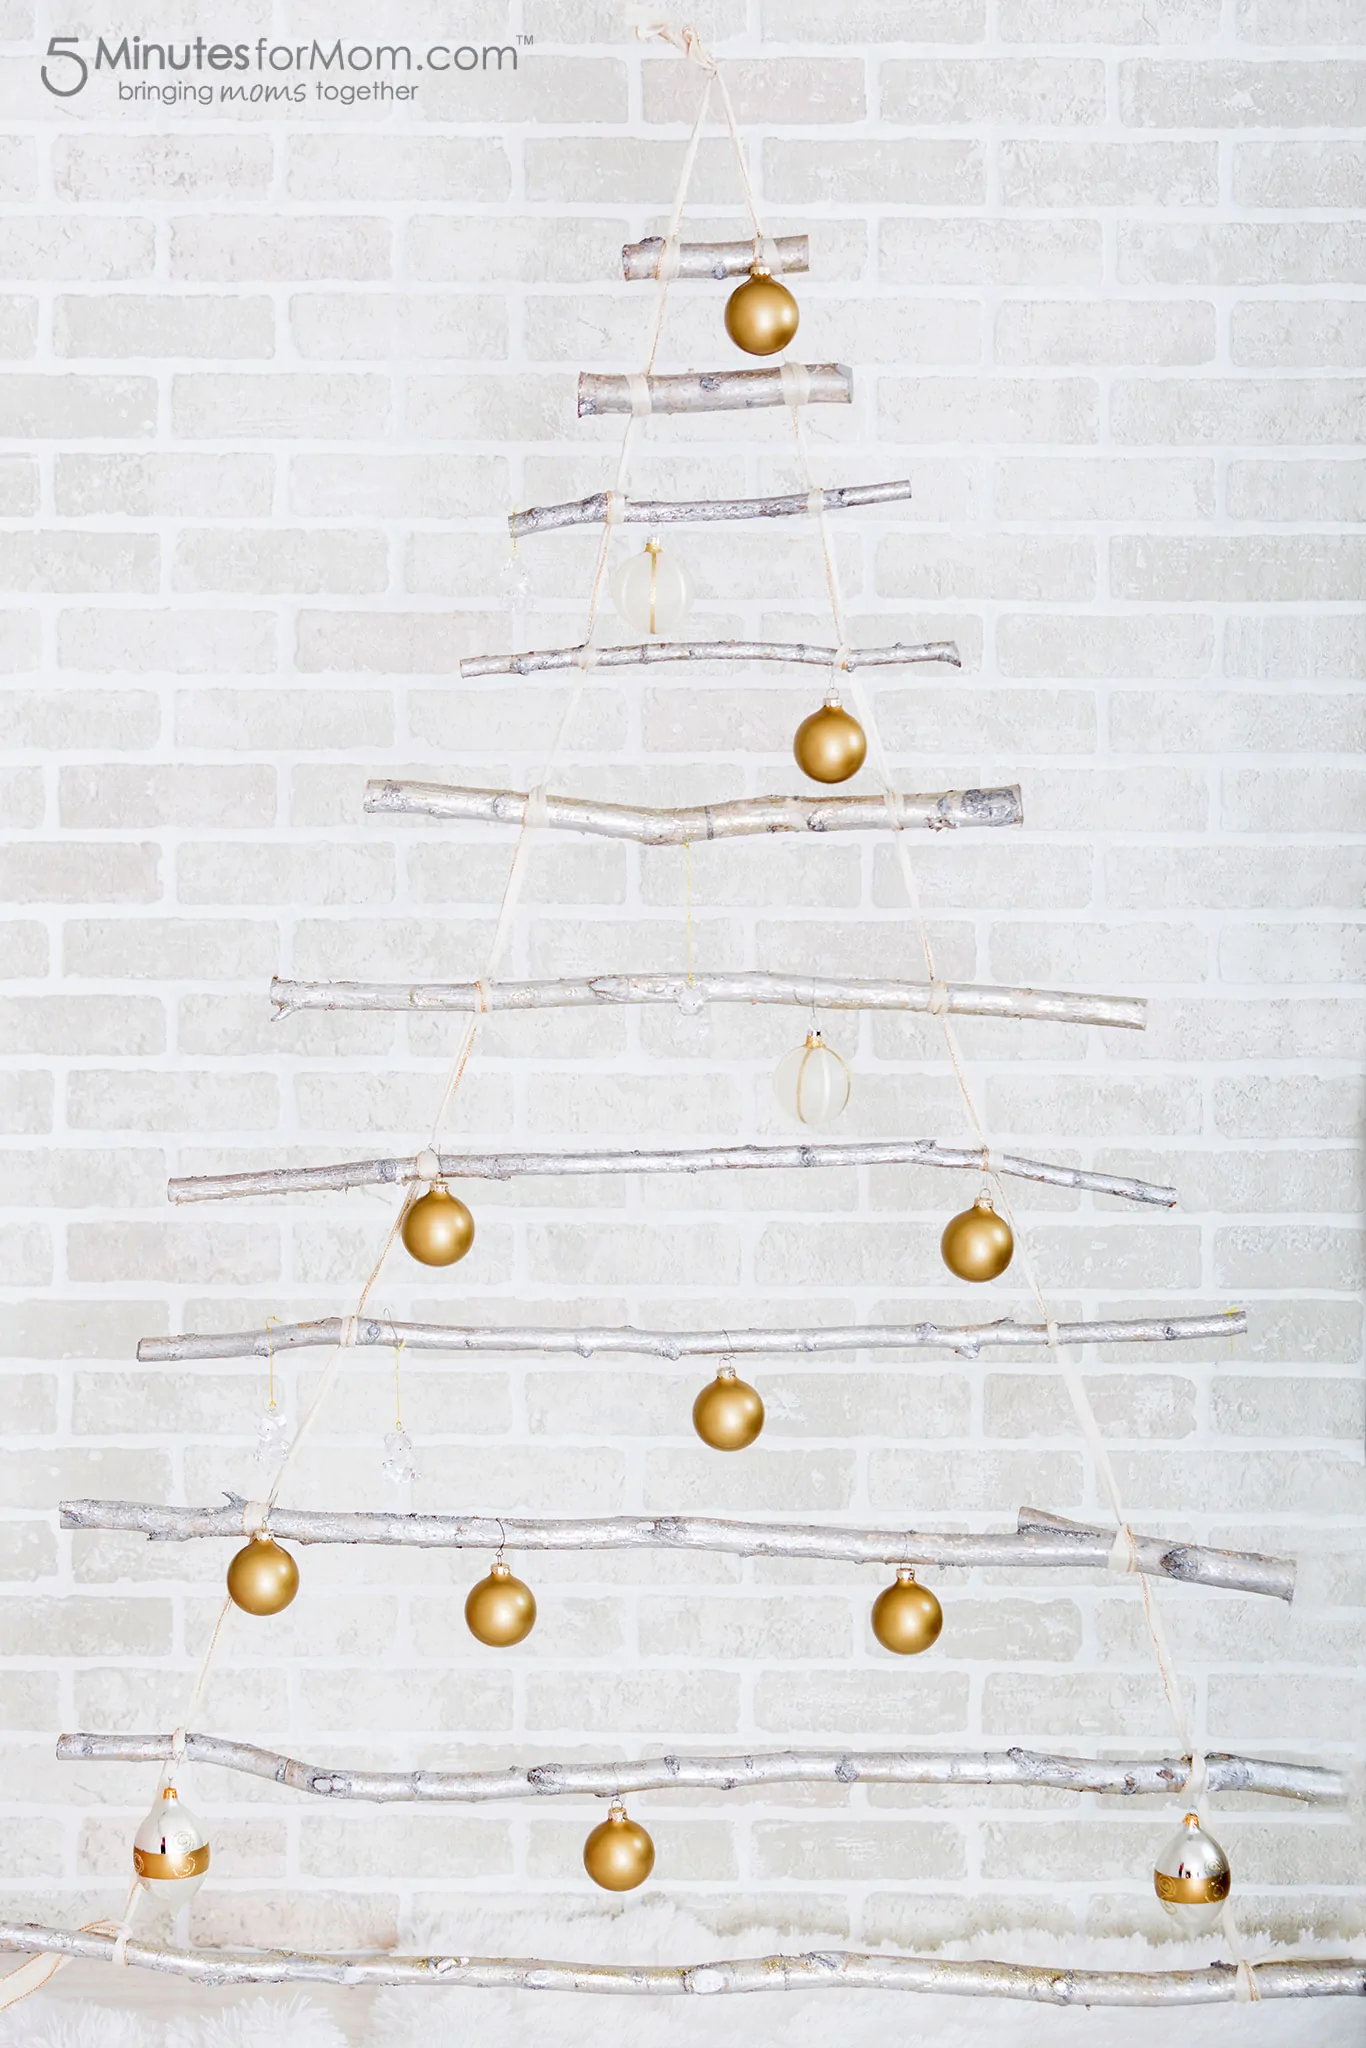
Of all the DIY trees I have made or seen, I think this branch “ladder” style tree is my favorite.
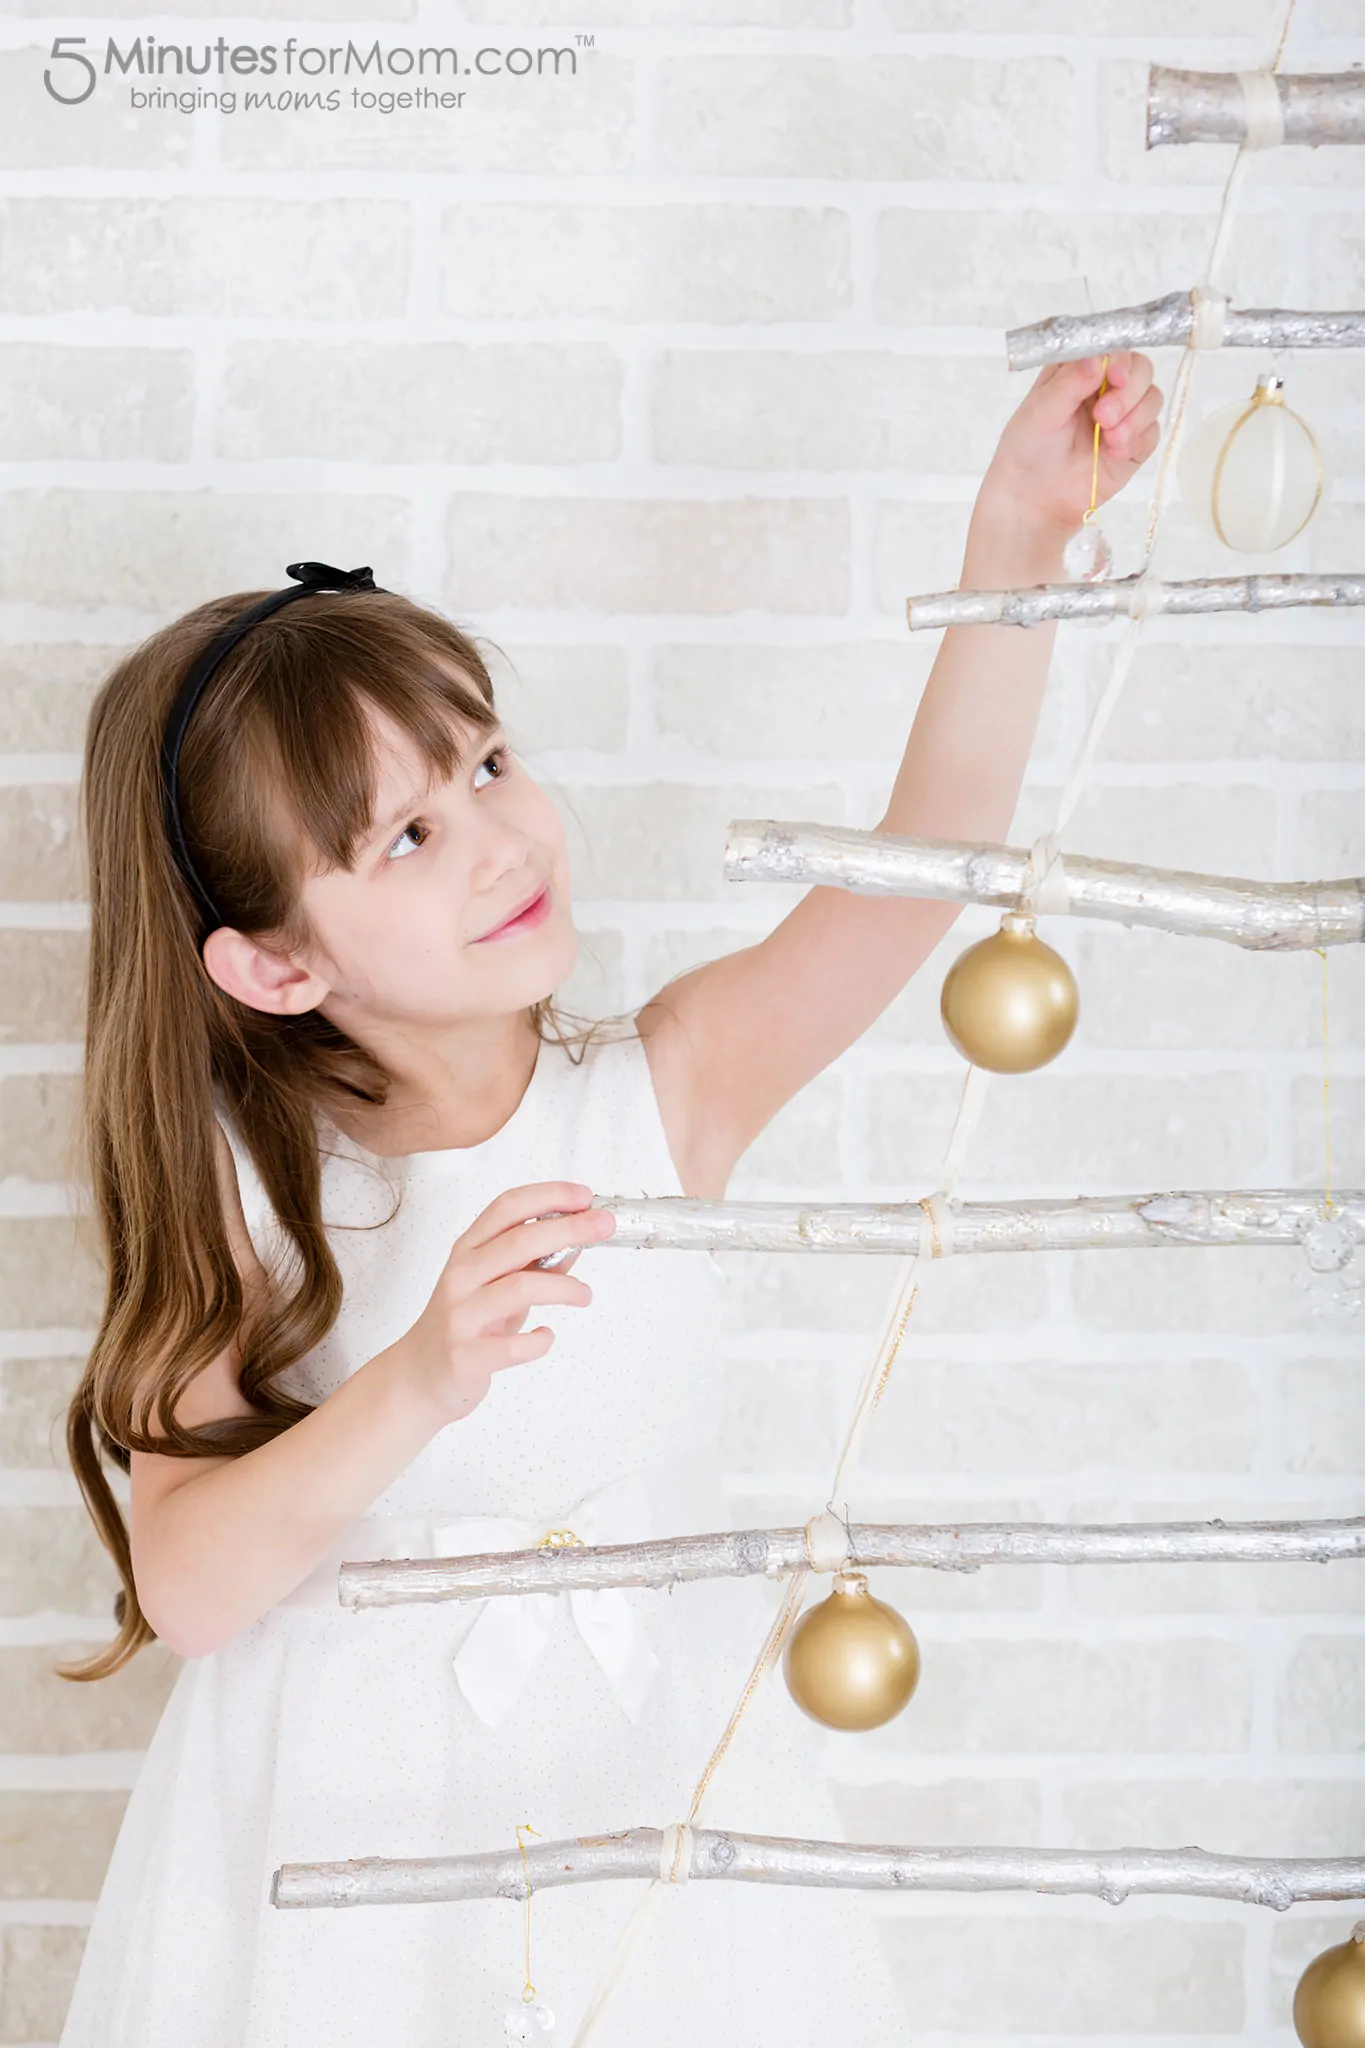
I love the rustic look of the branches contrasting with the gold trimmed ribbon tying the “steps” of the ladder together.
I was inspired to make this tree by pins of branch trees like this and this. While those examples used lights, I kept my design simpler by using ribbon to tie the branches together and only ornaments to decorate it.
While this tree did involve a bit of muscle — sawing those branches was harder than it looked — the concept of this ladder is simple and easy to customize according to your personal style and the materials you have on hand.
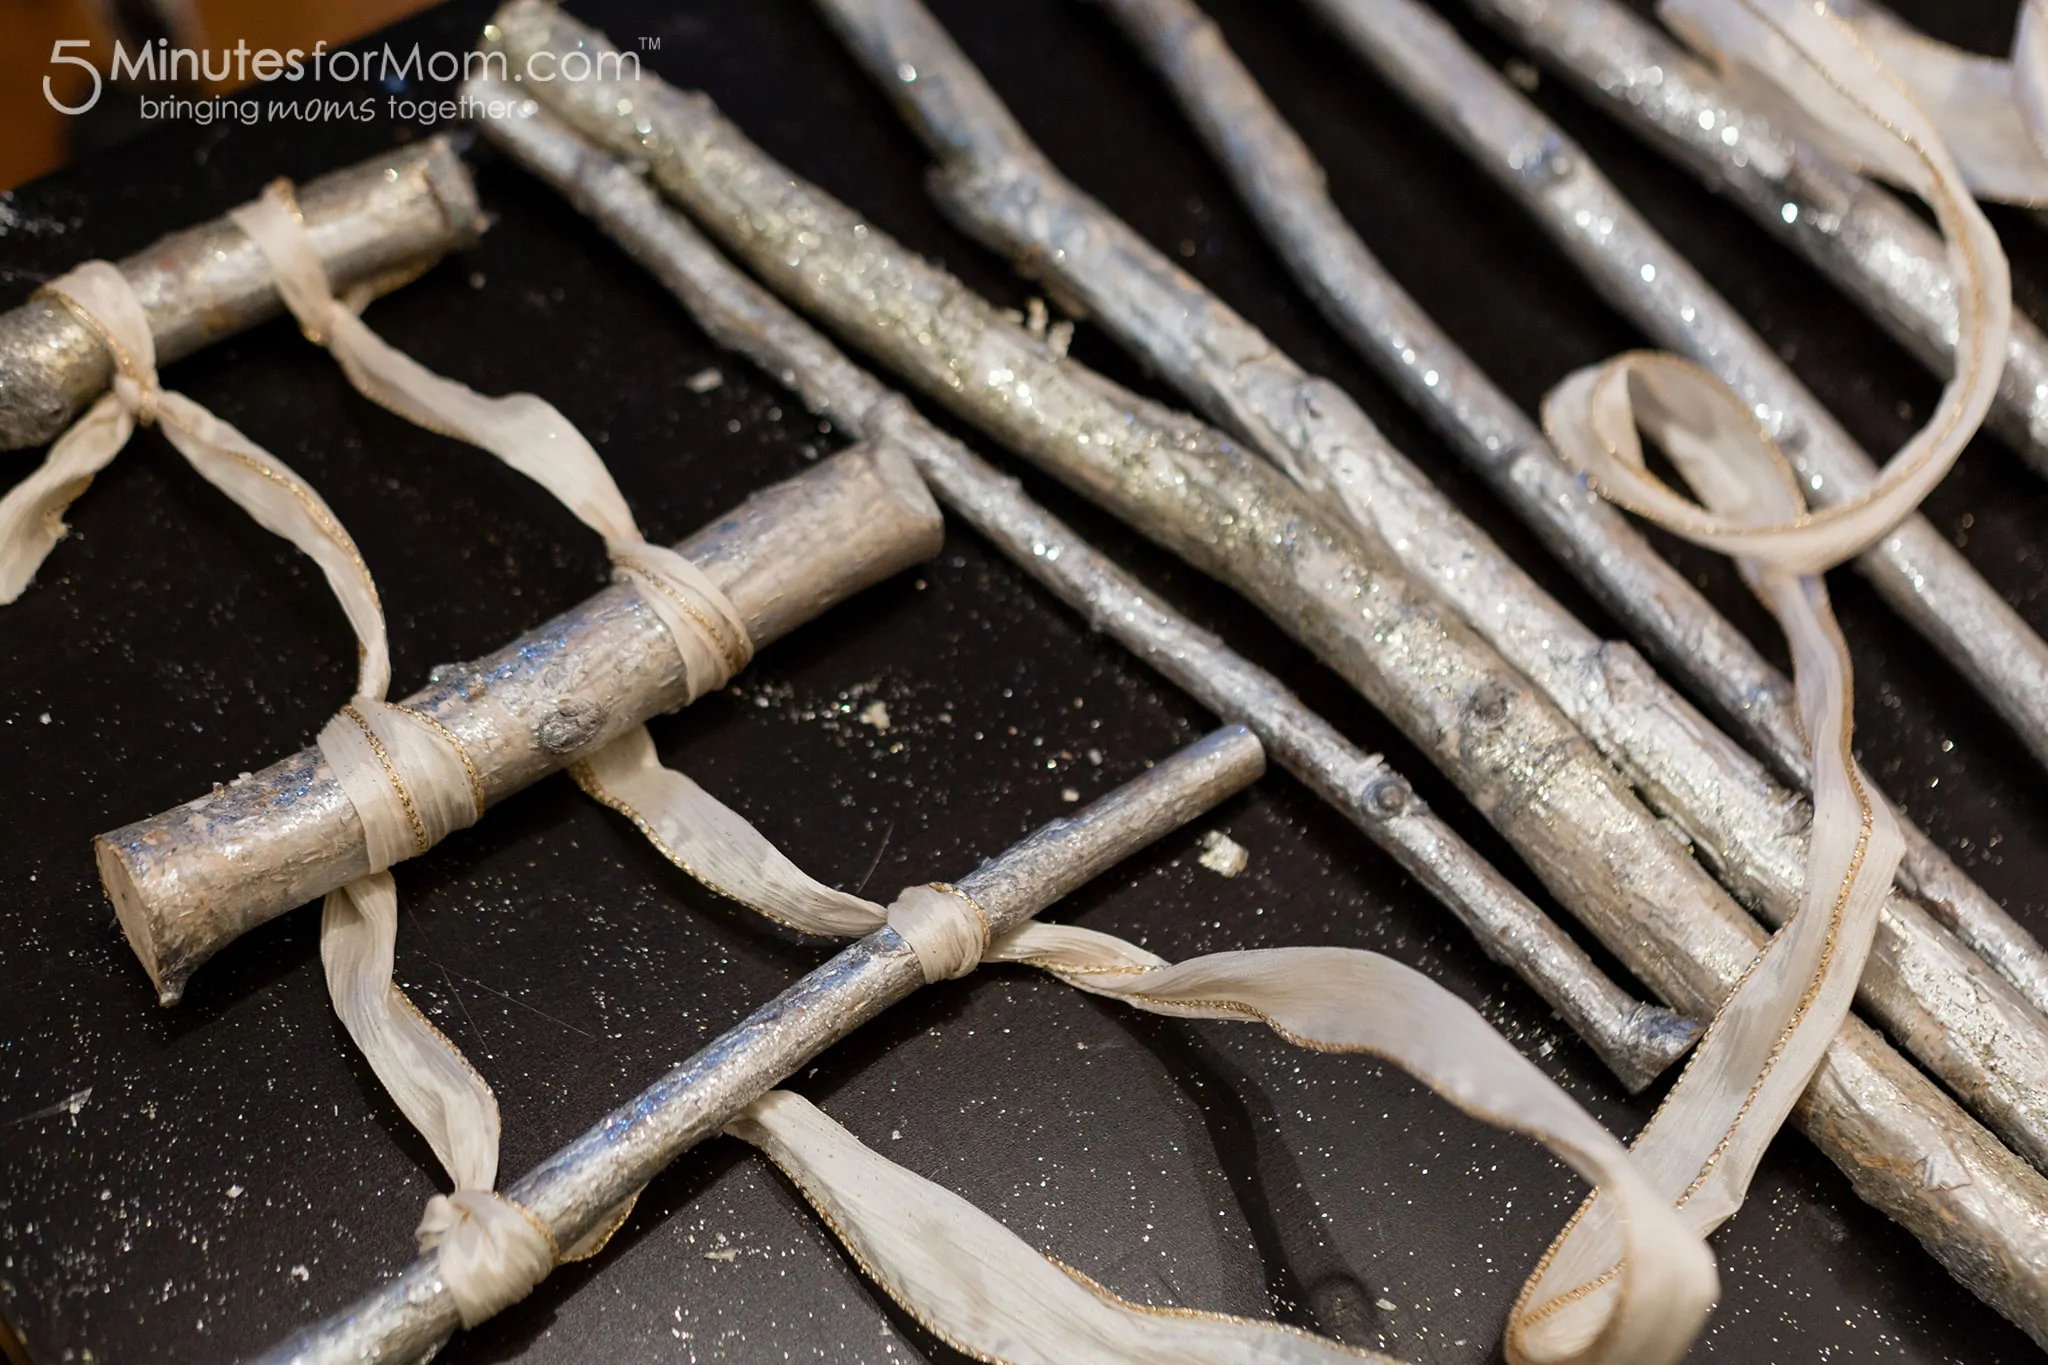
As I said before, for this DIY, I skipped spray painting branches myself and went with a few bundles of spray painted/glittered branches I found at HomeSense. The branches were well priced when I considered the cost of buying spray paint and the time of painting them myself, as I have done in the past.
I also bought some ribbons and matching ornaments that complimented one another and stayed in my color scheme concept for our holiday photo shoot.
I counted the branches and did the math about how many “steps” I would have on my ladder and what length those pieces needed to be. These calculations were probably the most trying part of my design. Math is not my favorite part of DIY projects. But it is definitely a necessary part!
Next it was time to saw! This can be tiring if you are using a good old hand saw and your branches are thick.
After I had my pieces sized, I laid them out and determined how much room I wanted between the branches and how long my ribbon needed to be between the pieces. I had to make some adjustments and fiddle a bit to get them all even and straight.
Finally, I hung up my tree in my photo studio and decorated it with ornaments.
I just love how beautifully it turned out.
And the best part is, like other artificial trees, I can pack it away and use in the future. I simply take off the ornaments, roll it up, pack it in plastic and store in my garage.
Fabric Christmas Tree
When you are shopping, you probably have seen all kinds of different cone shaped Christmas “trees” decorated with fabric, ornaments, etc.
And most of those trees you see cost much more than the materials it takes to make them.
These conical Christmas trees are SO easy to make and you can go crazy thinking up every kind of material in the world you can use.
Basically, all you need is a cone form, an adhesive such as glue or pins, and material to cover/decorate the “tree.”
For the cone form, you have a few options.
First, you can purchase styrofoam cone forms from craft supply stores, dollar stores etc. But be warned, the cone forms in stores can get pricey, especially if you want large ones.
Second, you can build a form out of wire, chicken coop wire, or even wood or sticks. Use whatever you have on hand that will hold the shape and form a frame for you to work with.
Third, you can make your cone with paper.
For my huge fabric Christmas tree, buying a styrofoam form was not an option and I didn’t want to deal with that much wire. So I cut a large piece of seamless studio background paper to make my cone form. It took a bit of work to get the cone shaped and taped in place. But eventually I had a giant form that stood up straight, most of the time.
Once you have decided on your form, you need to figure out how you will attach your materials. Glue guns are always a DIYer’s best friend, but if you are using a styrofoam form or a wire form, you have more options such as using pins, thumbtacks, wire, nails etc. to get your materials to stick in place.
Holding my fabric in place was tricky. My fabric was draped and quite heavy, so it kept slipping. As well, I was only working with a less than stable or sturdy giant paper cone.
But since I wanted to be able to reuse my fabric, I didn’t want to ruin it with glue. So to keep it together, I used a combination of tape and safety pins, and tried to not be a perfectionist when it slipped and kept changing shape. Since this “tree” was just for a photo shoot and not a decoration I need to last for weeks or years, I just went with it so I could preserve and reuse the fabric for other shoots and purposes.
When it comes to future trees I want to make, I love the idea of simply covering different sizes of styrofoam cones with sequined fabric or making up different size and colored paper cones.
Ribbon Christmas Tree
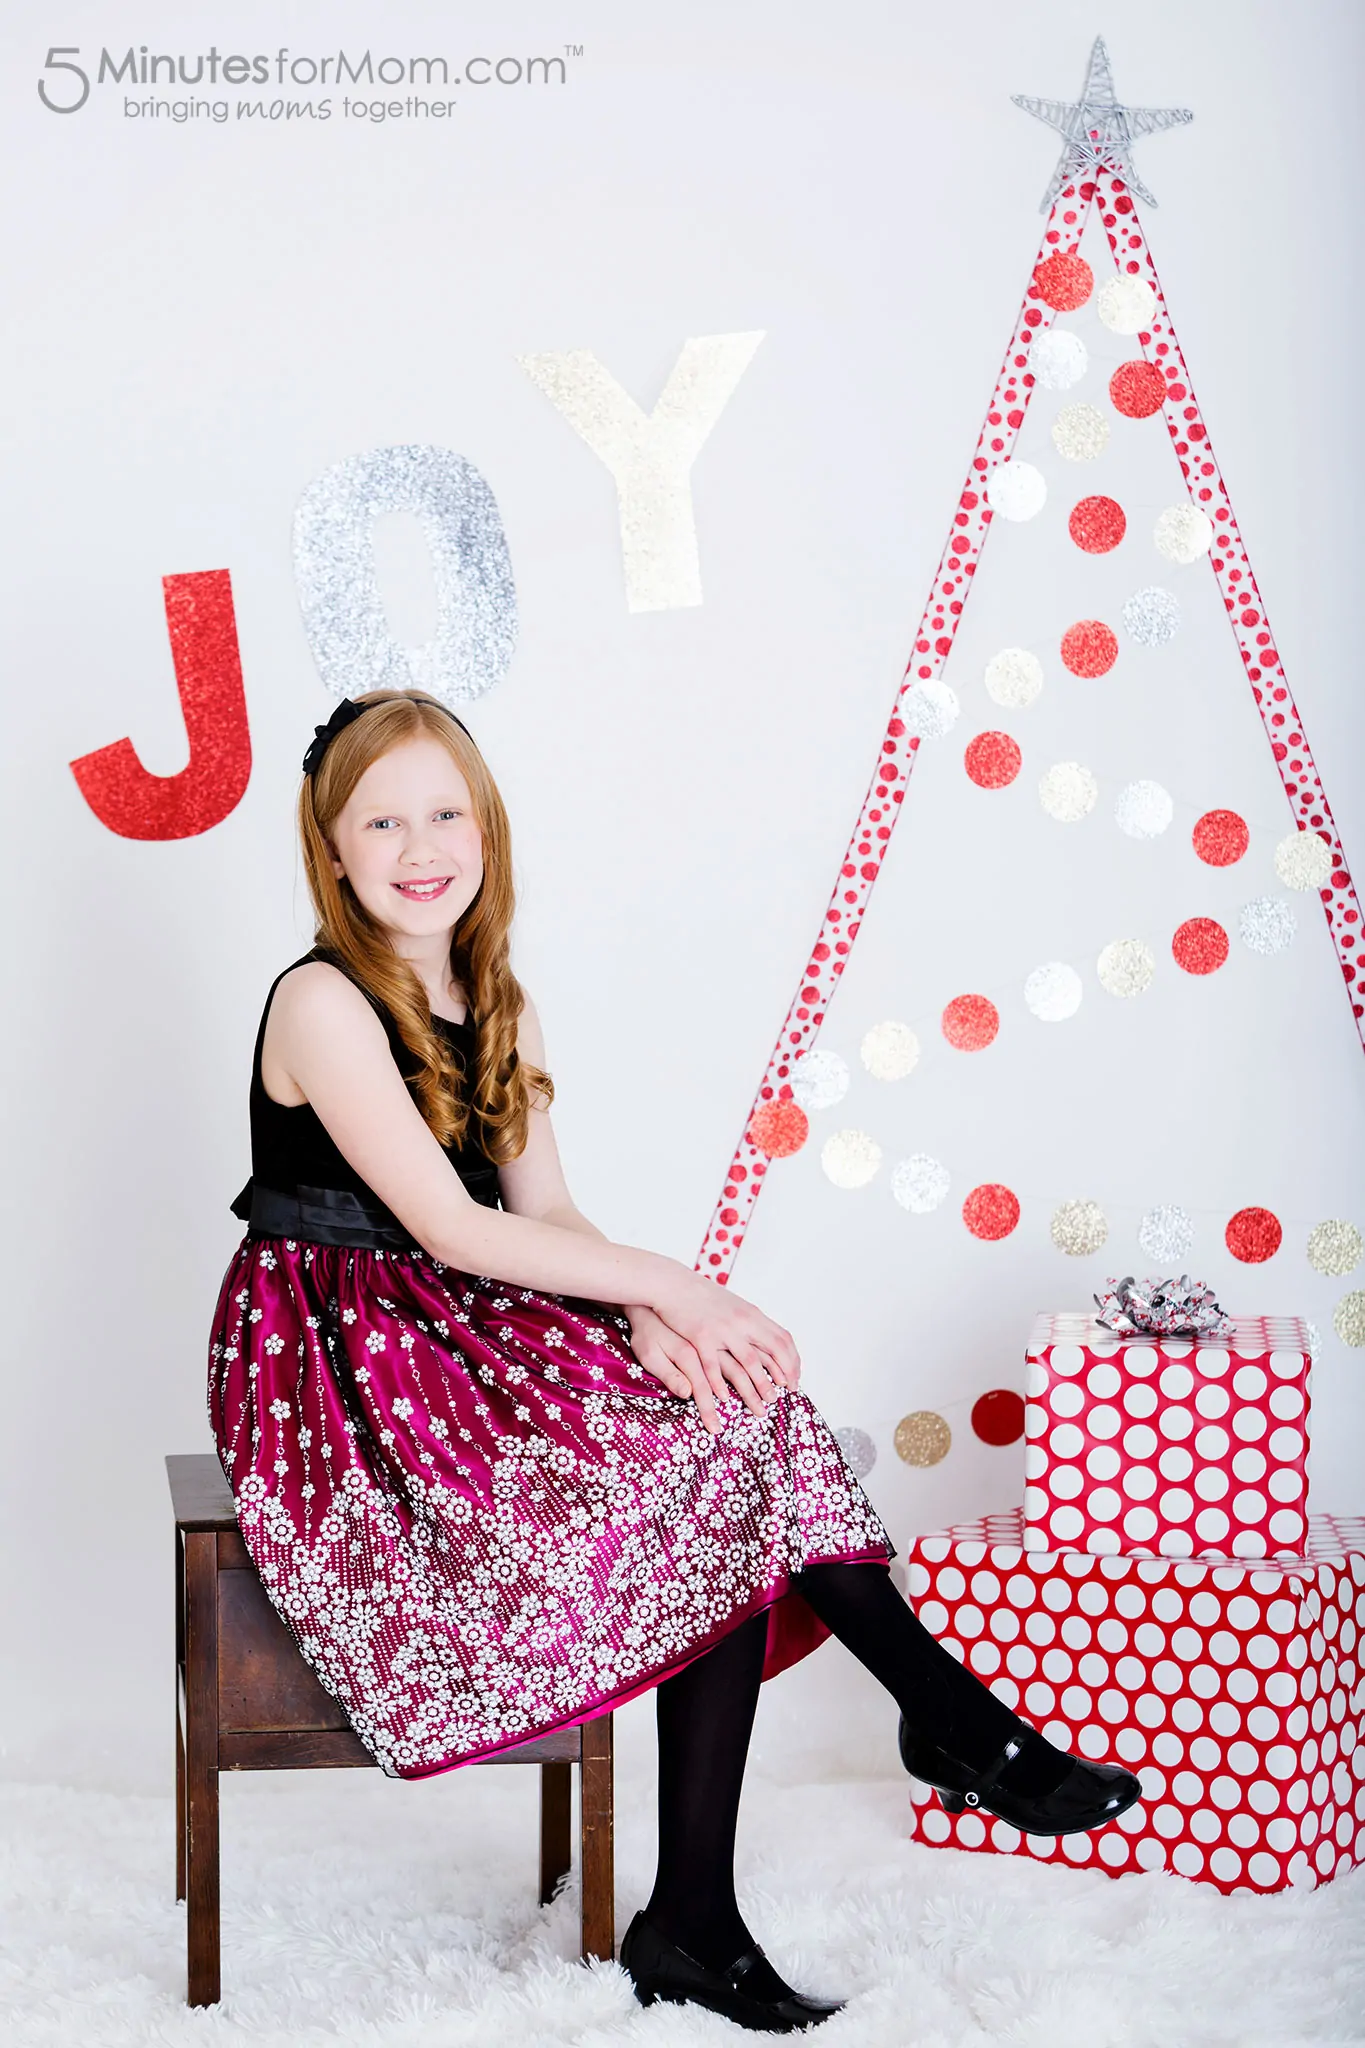
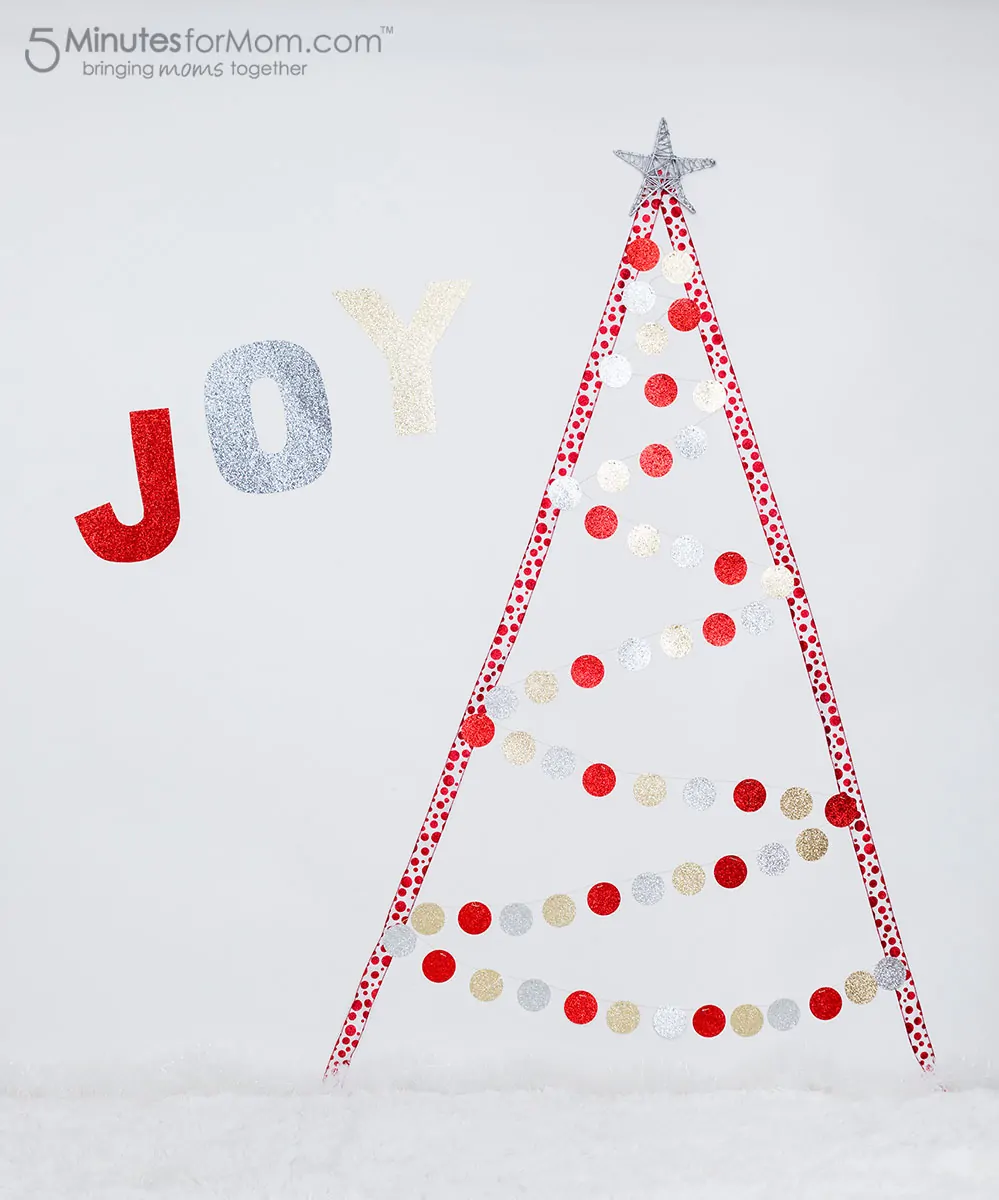
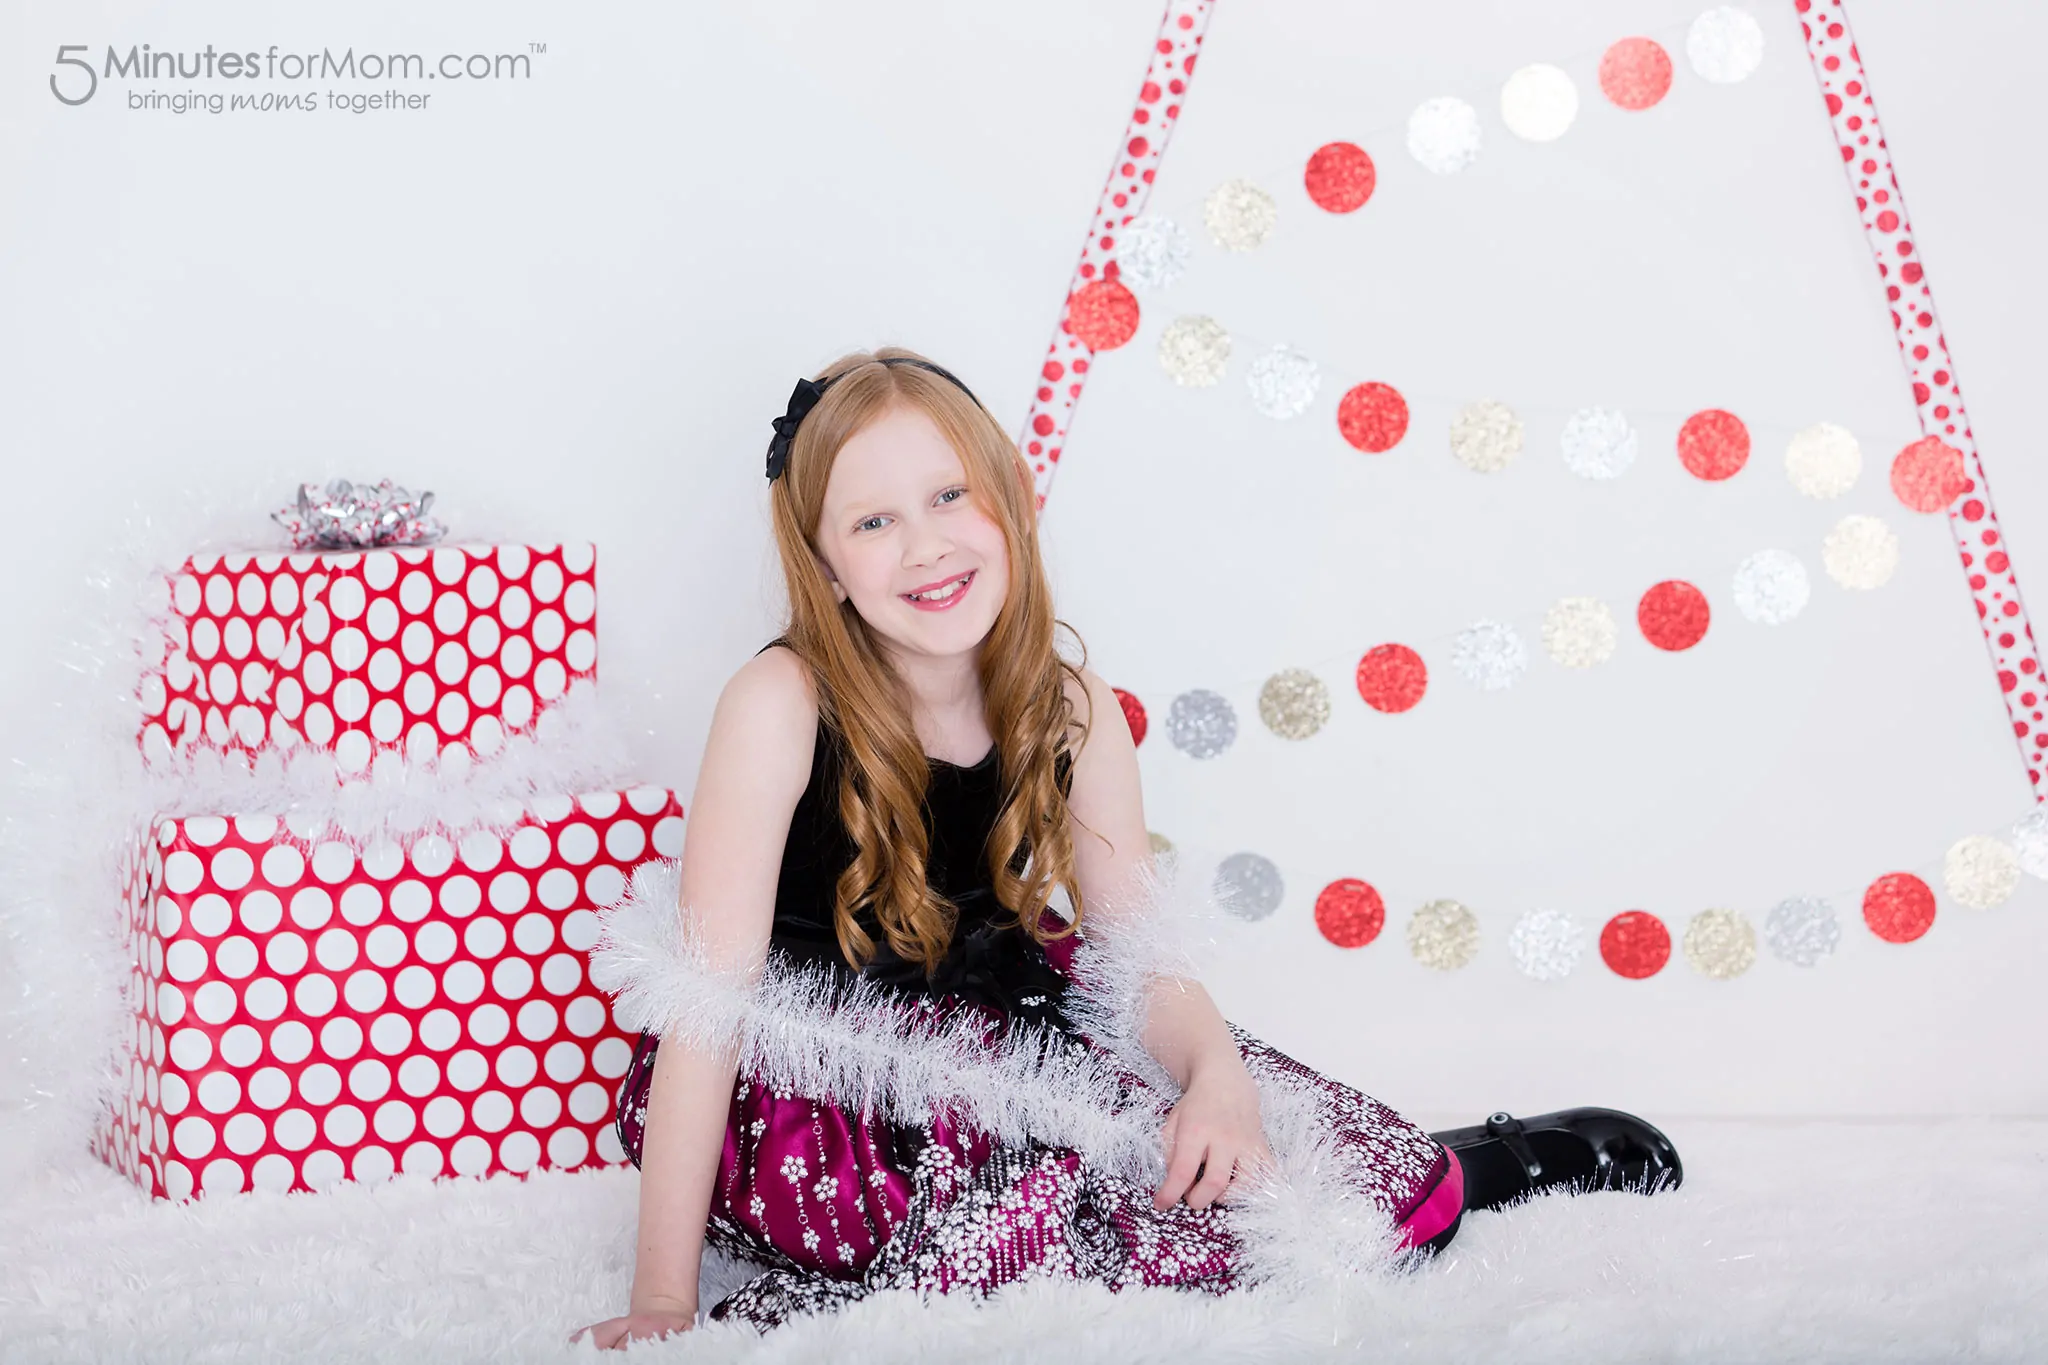
While I got the idea for this Ribbon Wall Art Christmas Tree from the Washi Tape Christmas Trees like this that I saw on Pinterest, I made my tree with ribbon and a paper garland.
You can read the post I wrote Easy DIY Christmas Garland and watch the video tutorial here.
For this wall art tree, you can use a plain wall in your house or a large sheet of paper, such as a seamless paper photo backdrop like I used. If you are using a painted wall, use green painting tape or washi tape that won’t stick too tightly to the wall. Of course, test your method first and make sure you won’t damage your house.
Next, map and measure out your tree to try to avoid a misshapen or crooked tree. Mark with painters tape or pencil where you want to place your tree outline. But no worries if it isn’t perfect. My tree was not perfect.
Now for the fun part, simply “build” your tree shape with the ribbon or tape. You can leave your tree with just an outline or fill in with branches, made out of more tape or ribbon, lights, or with a paper garland like I did.
I show you exactly how to make the paper garland for the tree in this quick video…
I love how easy and inexpensive it is to make this wall art Christmas tree.
I hope you get inspired with these alternative christmas tree ideas and then design and build your own alternative Christmas trees. Please leave links to the photos or posts you create with your DIY trees.
More Inspiration…
And for more inspiration for taking holiday photos with your family, check out my post, How to Create Fabulous Holiday Family Photos WHILE Having Fun
Pin It for Later…
Written by Janice Croze, co-founder of 5 Minutes for Mom and owner of Janice Croze Photography
Talk with me: @5minutesformom and Facebook.com/5minutesformom
Pin with me at pinterest.com/5minutesformom








Leave a Comment