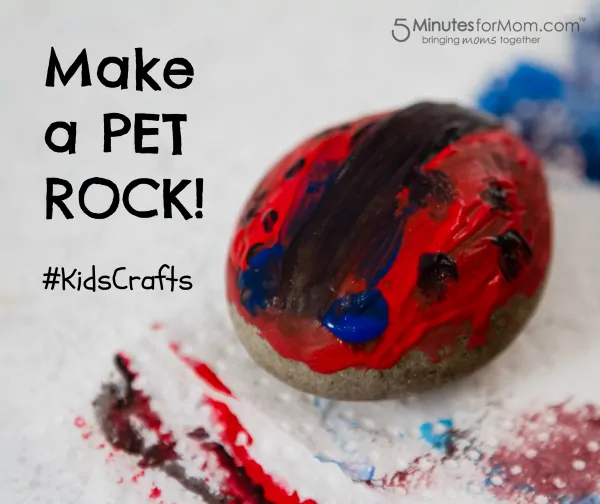
Have your kids ever painted pet rocks? This simple kids craft shows you how to make a pet rock.
As a child of the ’70s, I loved my “Pet Rock”. Your kids can make their own!

Kids bored? Playdate coming over? Rainy weekend?
If you need a fun kids activity that takes almost no planning, but will keep your children happily entertained for a nice chunk of time, here is an idea — have your child make their own pet rock!
I am a child of the ’70s. One day my father returned home from a business trip with a gift for me — a Pet Rock. It was in a card board box that read “Pet Rock,” with breathing holes, straw, and an elaborate instruction manual, “The Care and Training of Your Pet Rock.”
I.Loved.It.
So the other day, when Susan’s daughters, Julia and Sophia, were over for a playdate with my daughter Olivia, I told them about my childhood “Pet Rock” and suggested to our girls that they could make their own pet rocks.
They thought it was a great idea and so we quickly gathered our supplies…
Pet Rock Supplies
You likely have all the supplies you need for you and your kids to paint pet rocks. Gather these items before you get started:
- Rocks – You can gather rocks from outside or purchase smooth rocks perfect for painting.
- Cardboard boxes
- Acrylic Paints in a variety of colors
- Paint brushes
- Construction paper (optional)
- Markers and stickers (optional)
- Tissue paper (optional)
How to Paint Pet Rocks
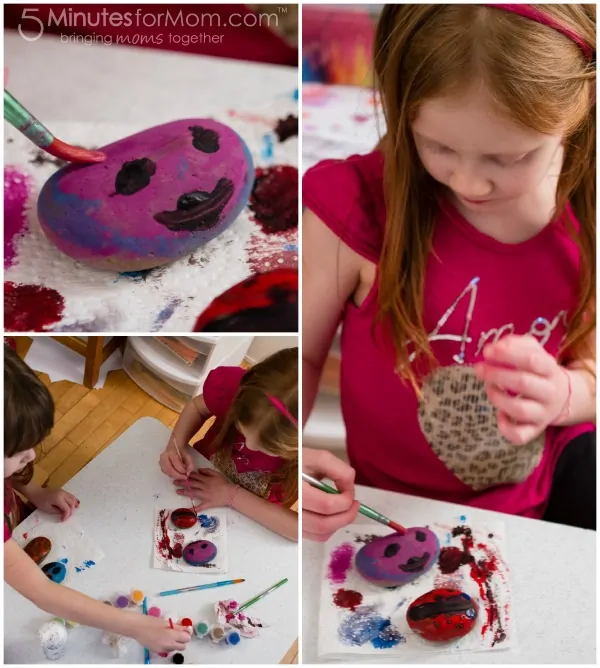
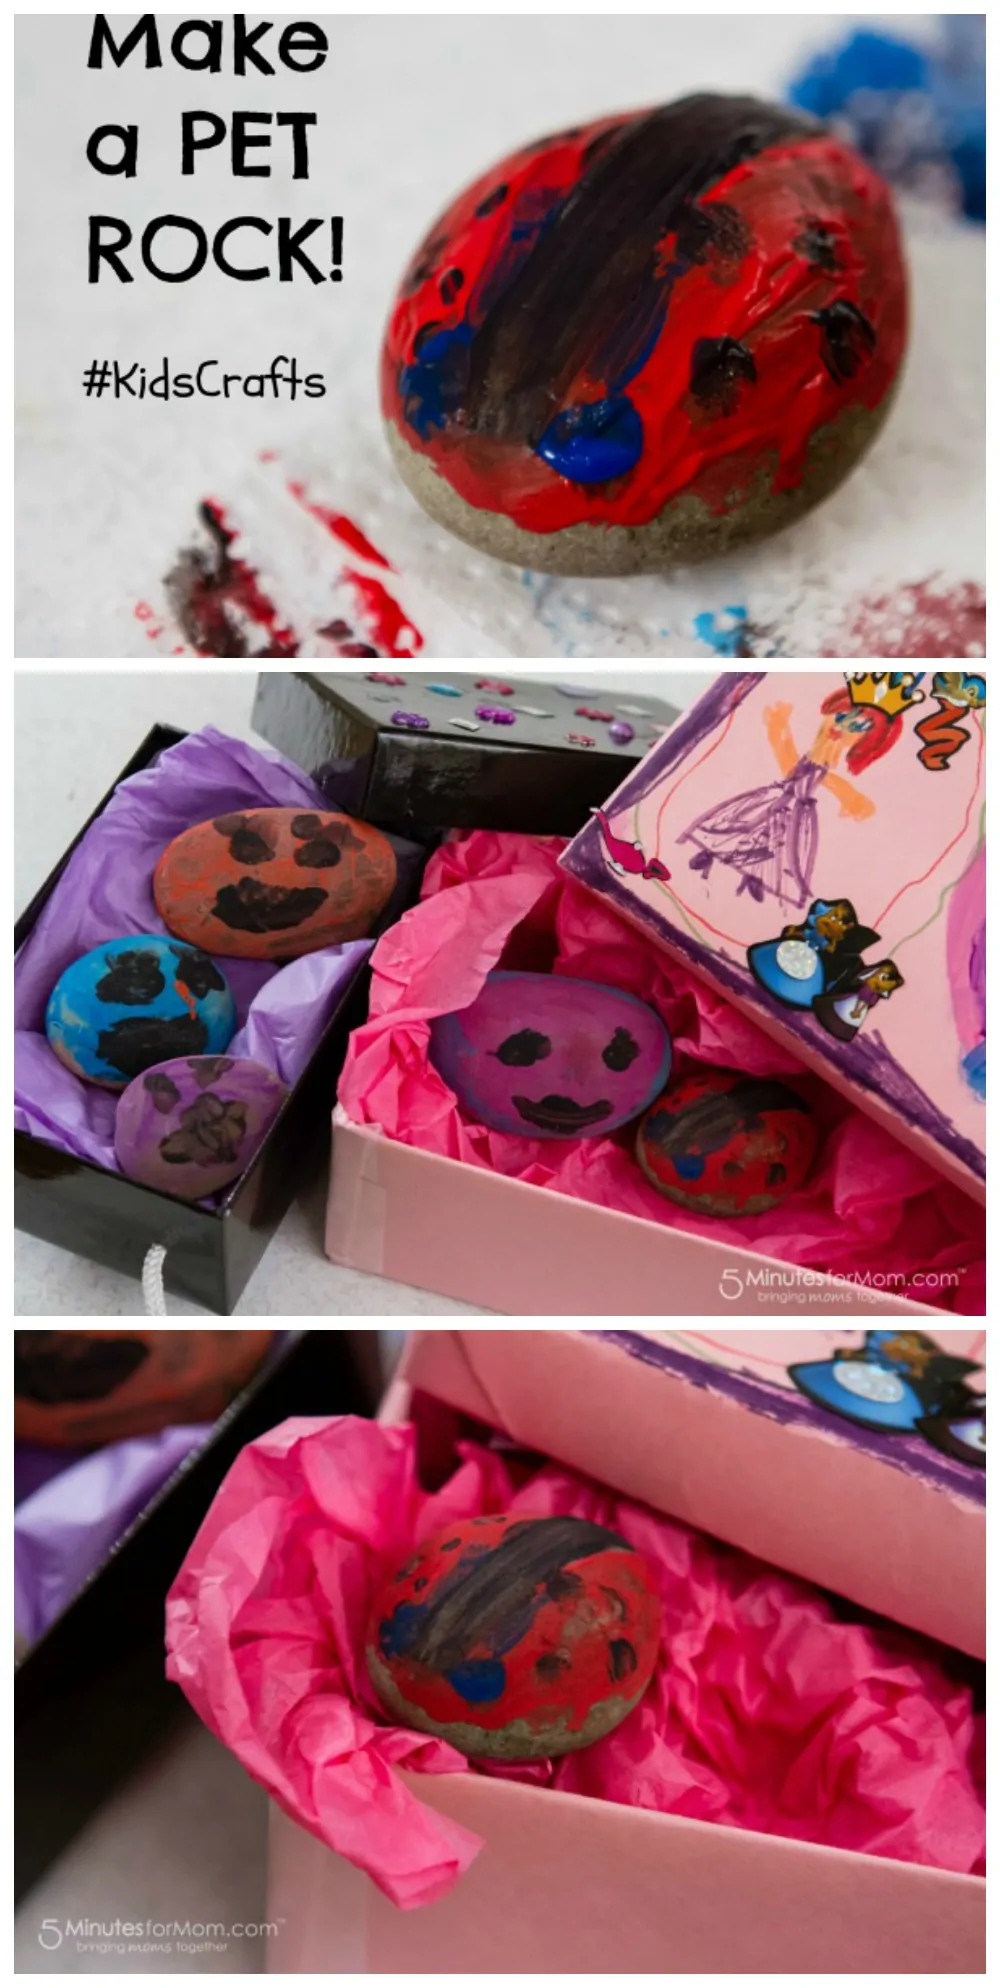
STEP 1 – Paint Your Pet
After your kids have chosen their rocks, set them up with paint and paint brushes and let the fun begin.
Craft Tip: Between different colors or layers of paint, use a hairdryer to dry the paint so the colors don’t blend.
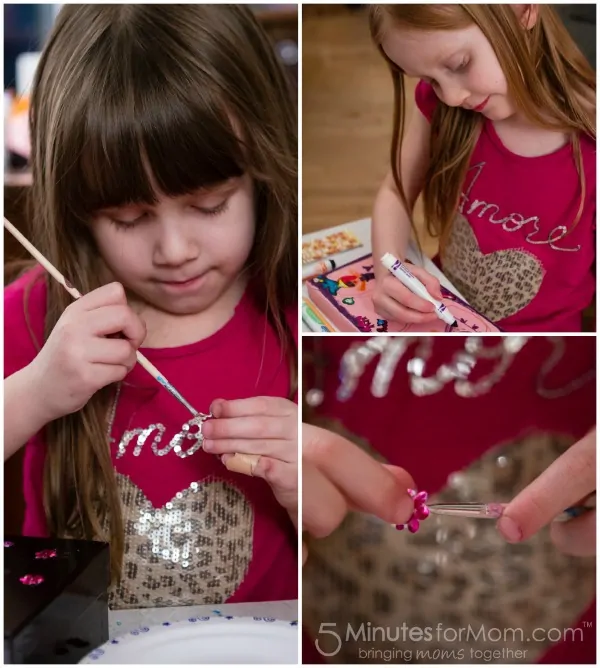
STEP 2 – Build Your Pet Rock a Home
After your kids have painted their new pet rocks, it is time to build their homes.
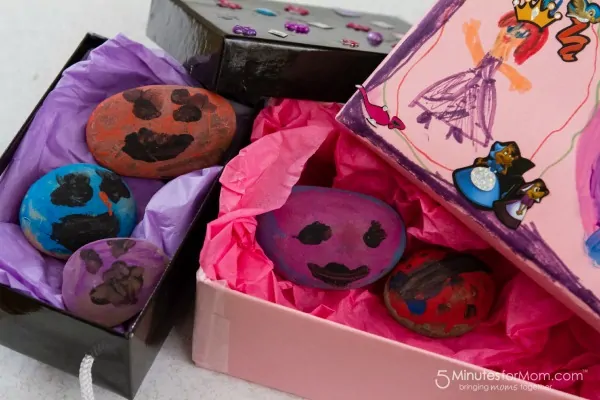
We used cardboard boxes. Sophia chose a smaller box that was already a nice shiny black and so she decided to only use stickers to decorate hers. I helped Julia cover her box with construction paper and then she decorated her pet rock’s new home with drawings and stickers.
STEP 3 – Time to Play
After a nice long craft session, the girls were finished their pets and boxes.
We used tissue paper to cozy up their pet rocks’ houses and then it was play time.
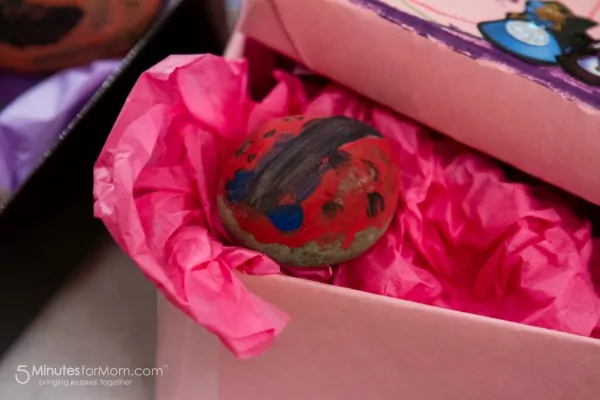
Soon it was time to for Julia and Sophia to go home and they were thrilled to bring home their new pets. It was a perfect play date craft!
And if your kids want to keep painting, here are more rock painting ideas.
Pin it for Later

Written and photographed by Janice Croze, co-founder of 5 Minutes for Mom and owner of Janice Croze Photography

We paint rocks a lot. After they dry I cover them in mod podge and put them in the garden. We live in the desert so I don’t know if that stuff would work in wet climates or not.