This post may contain affiliate links. Read my disclosure policy here.
This is Janice here, with my seven year old daughter Olivia, and we are having some fun creating Sharpie Mugs for teacher gifts and holiday gifts. Let us show you how we made our Sharpie Mugs and how we made sure they worked out beautifully…
I am pretty sure everyone who has been on Pinterest in the last couple years has heard of Sharpie Mugs — and most have probably heard of the Sharpie Mug FAILS too.
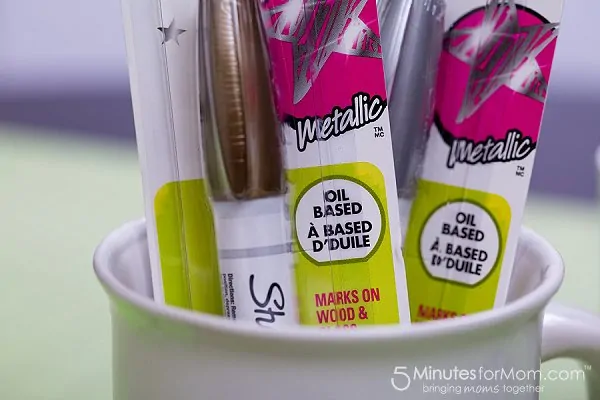
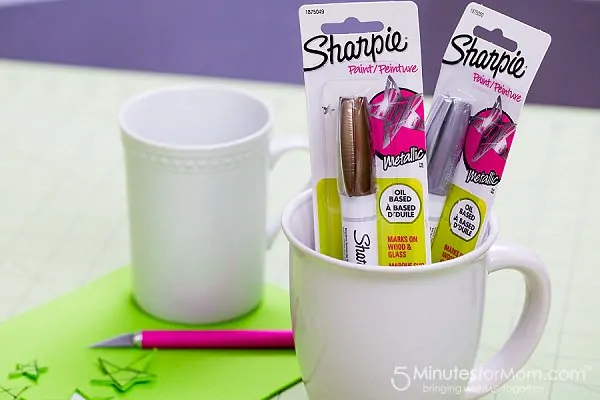
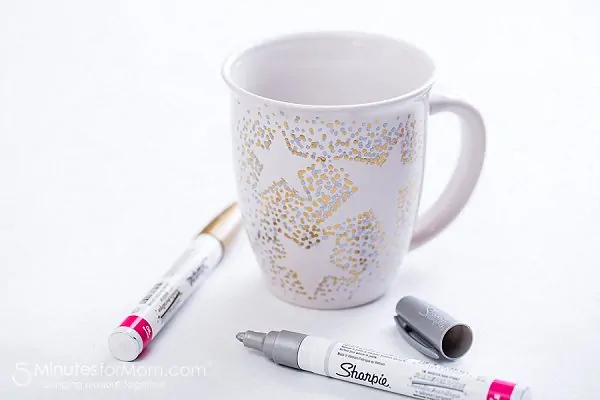
But no worries — the most important part of the solution is as simple as getting the RIGHT Sharpie to do the trick: Oil Based Paint Sharpies
Oil Based Sharpies aren’t quite as simple to find as regular Sharpies and they cost a wee more too. If you happen to ask at Home Depot if they have Oil Based Sharpies, (because your Michaels is twenty minutes away and you really just want to grab those darn Sharpies,) they might look at you funny and hand you normal Sharpies.
But Michaels and other craft stores will have them, and if you don’t mind the extra cost, they sure are fun to use. There are a zillion ways you can create with these “pens.” I also love that since they work like a pen, it makes painting/crafting with oil-based paints faster, easier and cleaner.
I am looking forward to dreaming up some other crafts with Sharpie Oil Based Paint Pens…
But since it is the holiday season, and I had some teacher gifts to make, Olivia and I had some fun making SHARPIE MUGS!
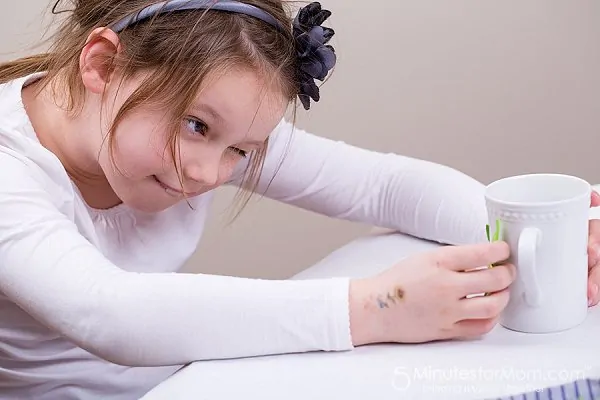
The fabulous thing about this craft is it is so fast and easy that my very busy daughter can do it, without getting bored or impatient. (She was even pretty patient with me taking photos of her working!)
She was so proud of her project and was beaming as she gave it to her teacher today.
How to Make Sharpie Mugs Without Making a Pinterest FAIL
I have had my share of Pinterest fails. But to avoid fails, I try to do a lot of research before I start my project and make sure I use the right ingredients and tools.
Over the years, I have seen a ton of Sharpie Mug posts and I have always meant to try them.
I have used the Oil Based Sharpies to create pottery art projects at my daughter’s school and they worked wonderfully. So I knew that if I were going to make a Sharpie Mug, I was going to go for the oil based paint!
I am not an artist. I can’t describe how badly I envy those of you who can draw a few strokes and create a beautiful image. To quote Pink, “That just ain’t me.”
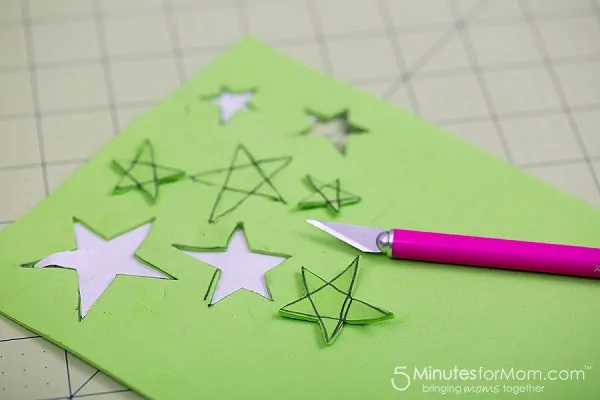
But, I can draw a star, pretty much. So, I made some simple star stencils on sticky backed foam sheets and we were ready to go.
How to Make a Sharpie Mug
STEP 1 – Wash and Clean Your Mug
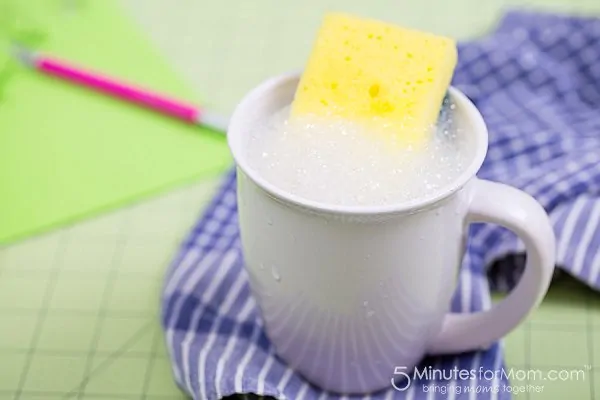
Remove all residue and oil from your mug that will prevent the paint from sticking well.
I used dish soap and then all purpose surface cleaner to make sure it was squeaky clean. You can also use rubbing alcohol for this task.
STEP 2 – Plan Your Design and/or Create Your Stencils
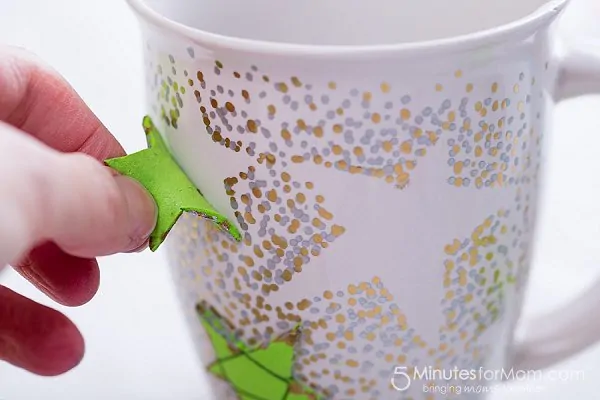
I didn’t have any stencils on hand that I wanted to use for our mugs, so I decided to make my own. It was super simple to draw some stars on sticky-backed foam sheets and use an Exacto knife to cut them out. The foam cuts smoothly and easily.
To make sure that my stencils weren’t too sticky and difficult to remove, I pressed them down on a dish towel a few times. I do that trick all the time when I want something to have less stick.
STEP 3 – Paint with Oil Based Pens!
The key to Sharpie Mugs that don’t wash off is Oil Based Sharpie Pens.
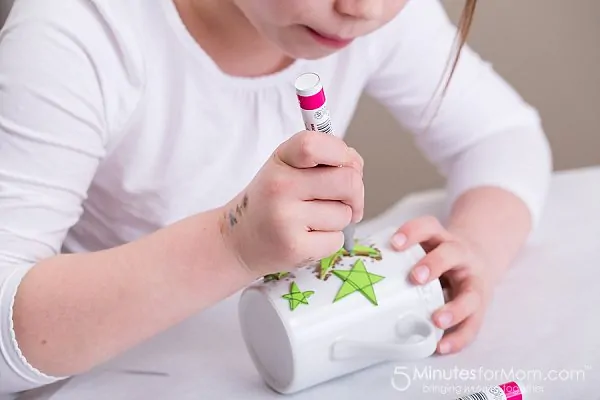
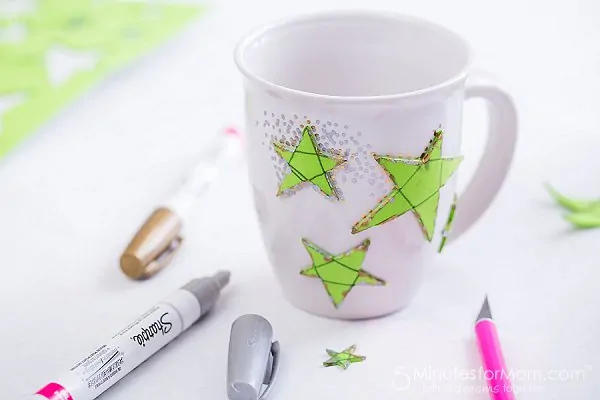
Since these paints work like pens, a fun way to create a cool effect is to paint with dots! We dotted our way around our stencils, keeping the dots closer together nearer the stencils edges.
If you used sticker stencils like we did, once the paint is dry, carefully remove them.
The paint dries pretty quickly, so you don’t have to wait more than a few minutes. If you want to make sure they are nice and dry and you are in a hurry, I often use hair dryers to speed drying up.
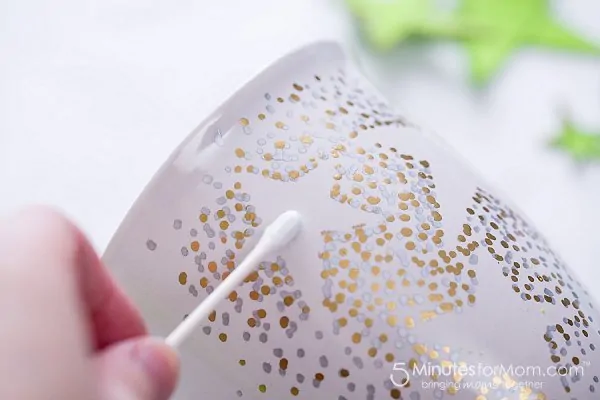
If there is some sticker residue or some paint messes or misses, use a cotton swab and some nail polish remover to clean things up. You may want to use your pens again to make some final touch ups.
STEP 4 – Bake
The key to baking your mugs is to put them in a cool oven and let the mugs warm up with the oven, and then cool down in the oven when they are finished baking.
By allowing the mugs to heat and cool slowly, you can avoid your mugs cracking.
I baked my mugs at 400*F for about one hour.
You’re DONE! Your mugs are ready for gifting. (Just let the recipients know that they should only be hand-washed.)
EXTRA FUN
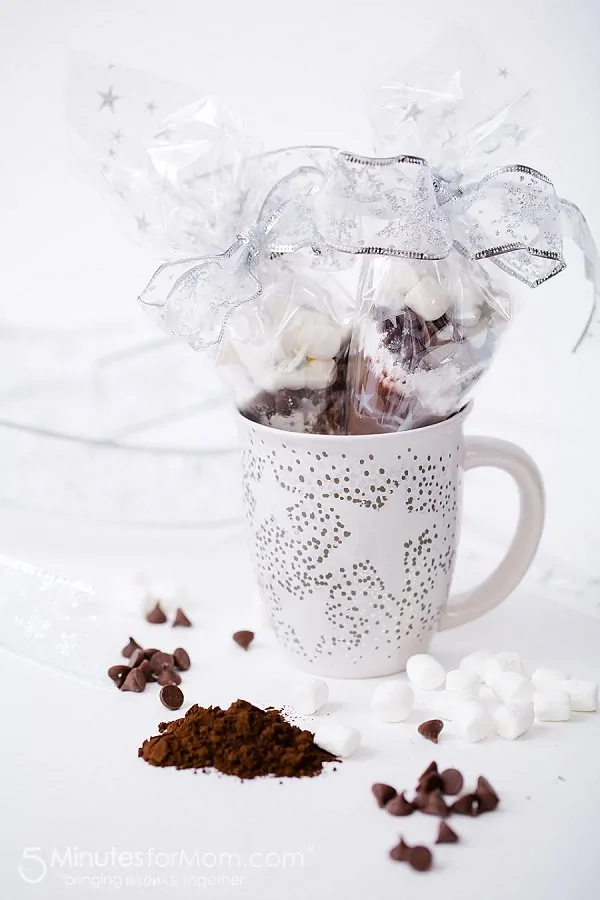
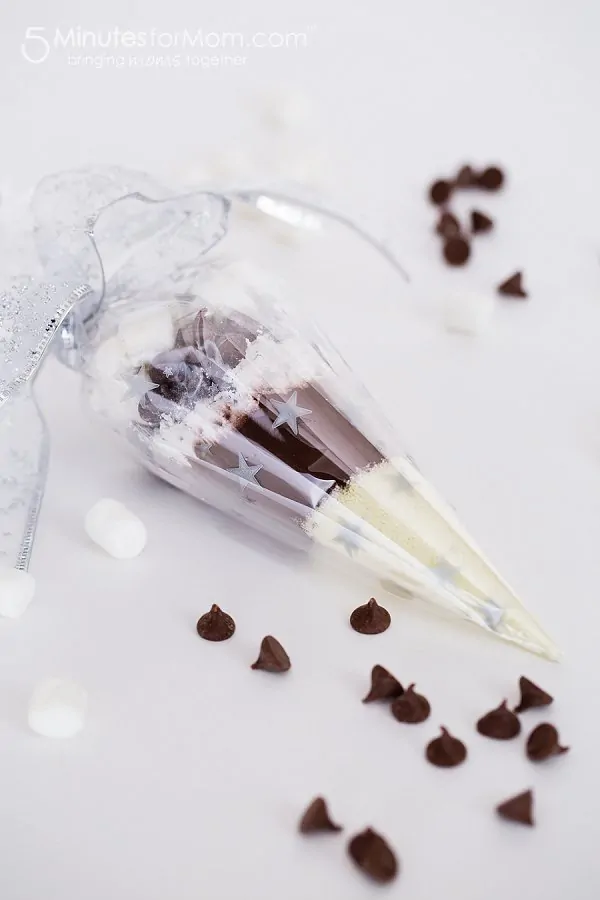
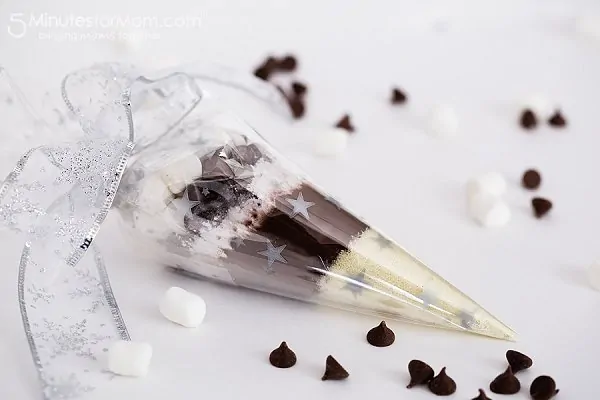
To add some extra fun to the gift, I also made up some homemade hot chocolate mix and wrapped it up in cellophane.
I didn’t have any extra cake decorating plastic bags around, plus I wanted a pattern on my “gift bags,” so I made my own cellophane bags.
It was super easy…
How to Make a Cellophane Cone Shaped Bag
I simply cut a large square/rectangle of cellophane and folded it in half to make a triangle. This does not need to be a perfect triangle at all. In fact, having different lengths on the ends and sides works well.
Then, in the middle of the long edge of the triangle, make a pointed tip/fold and loosely fold/roll in one side of the cellophane to about 2/3 or 1/2 of the way through the triangle to create the size cone you want. Then continue to roll up the rest of the cellophane and put a piece of clear tape at the back to hold it in place.
Open the folds inside and you will have a perfect cone for filling with your hot chocolate mix.
When it comes to hot chocolate mixes, your options are as varied as your Sharpie Mugs. You can let your creativity go wild.
I made a basic dark hot chocolate mix for mine.
Dark Hot Chocolate Homemade Mix
- 1/8 cup powdered milk
- 1/8 cup cocoa
- 1/8 cup powdered sugar
- 1/8 cup dark chocolate chips
- 1/8 cup marshmallows
- dash of sea salt
- Layer ingredients into cellophane cones
To Make Hot Chocolate
- Remove marshmallows and empty ingredients into a small pot and place on stove
- Add 1/2 cup boiling water and mix well until chocolate chips are melted and ingredients are well mixed
- Add 2 cups of milk and stir on medium heat until hot and steaming
- Serve and top with marshmallows and whatever your heart desires
- Makes 2 mugs of hot chocolate – or one really big mug full
Written and photographed by Janice Croze, co-founder of 5 Minutes for Mom
For more great DIY ideas be sure to visit our DIY Pinterest board.



michael says
petty good might try it
Kim says
I made this with my boys for Father’s Day. My husband loved it so much, however, the paint started to wear off in just a week. The oil based paint sharpies are being rubbed off by the oils on his skin. We were so disappointed.
Camille says
Do you think If we did this in Sunday School and the ink on the mugs dry in class…. would the mug survive the travel home with instructions to bake at home, or would the art smudge?
joyce jamous says
Hi. I would like to know if metallic painted mugs can be put in the microwave oven
Rieva says
I have same question. Can metallic sharpie paint go in microwave…
Vee says
This is a great fun project for kids!
Dana Miller says
My daughter would love this crafty project and would be so proud too! Great gift idea for Grandma!
sarah jackson says
im in love with this idea ! I did mug painting at my daughters 5th bday party and it was a bit messy but oil based sharpies sound like a better way to do it ! im in !
Amelia Drew says
I LOVE this and love that it wont wash off too!!
vickie couturier says
my grandkids would have a blast making and decorating those cups
chelsea says
Do you have to use a certain type of mug. Where do you find them?
Krista says
I have honestly never seen this before (I’m not on Pinterest that much to browse, I just use it as my personal online bookmark holder), but what a fun idea! And your stars are awesome!!!
Janice says
Oh so glad it is new to you. 🙂 Thanks so much for your feedback! And my pathetic little stars appreciate the love. 🙂