This post may contain affiliate links. Read my disclosure policy here.
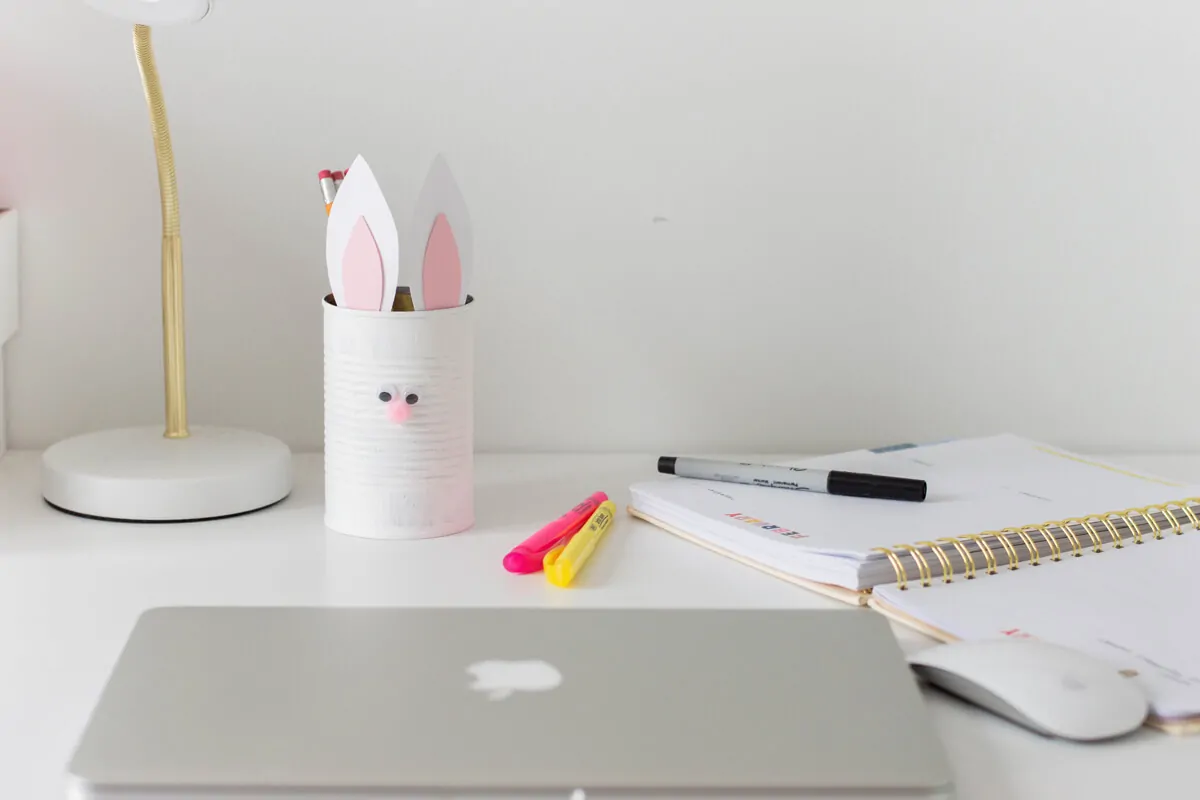
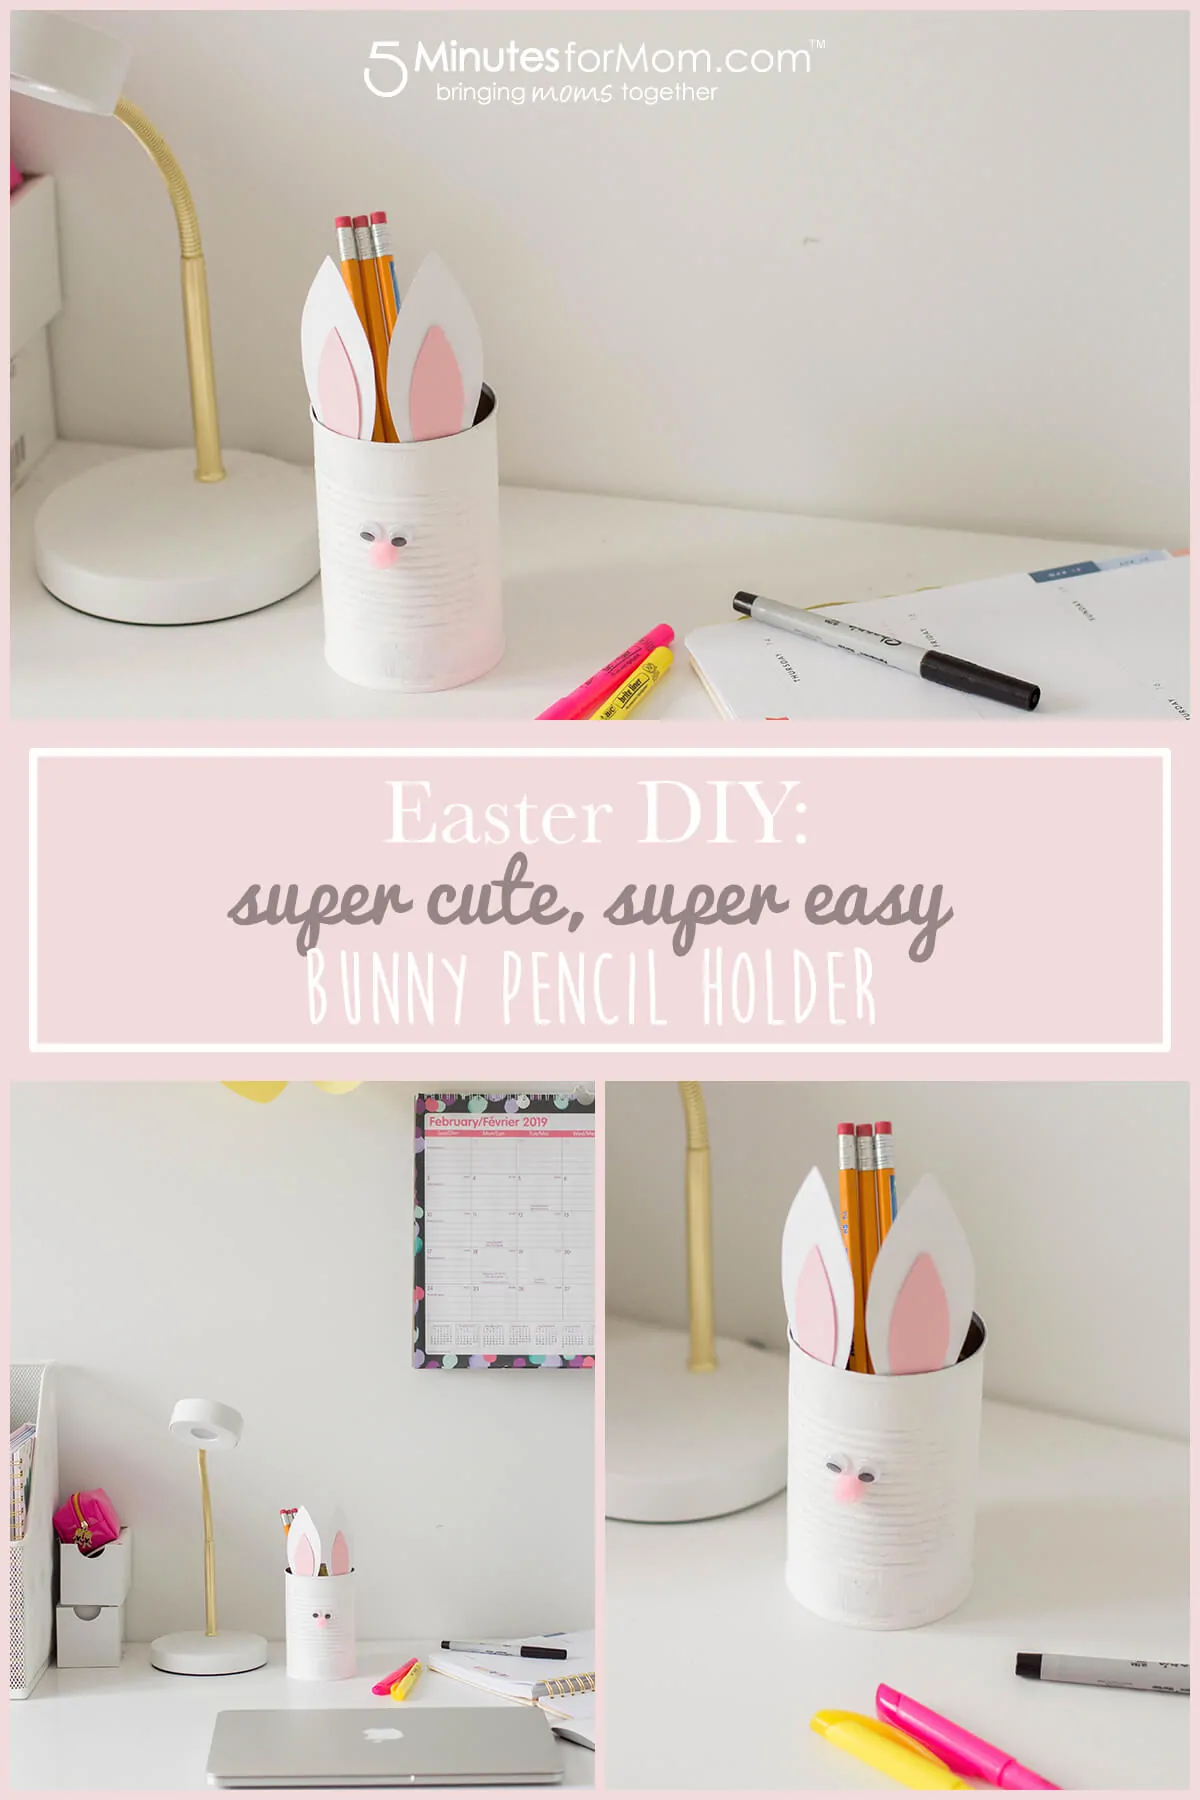
When the kiddos want to craft, sometimes it’s hard to think of something creative. Our newest DIY project is an easy Easter craft for kids. This bunny pencil holder is kid-friendly, adorable, and perfect for upcoming Easter celebrations.
Hi, everyone! Lisa reporting for DIY duty. I put together a DIY Bunny Pencil Holder and I am so eager to share it with you today!
When my nieces were growing up, I’d often hear them say, “Aw, man! I’m totally bored!” “Auntie, do you have any crafts that we can do?”
It can get really tough coming up with new ideas. Ideally, kid-friendly DIYs are cute, easy and a snap to clean up.
This is how I came up with my Bunny Pencil Holder.
I always love adding touches of thematic décor during special holidays. I don’t go all out, but little details here and there can create a beautiful yet, subtle impact. My Bunny Pencil Holder DIY is not only a great craft for kids but something useful for the season.
Easter DIY: How to Make Your Own Bunny Pencil Holder
Supplies

- Our free Bunny Pencil Holder printable
- White and pink cardstock (one sheet of each color)
- An empty tin can
- White acrylic paint
- Foam paint brush
- 1 pink pompom
- 4 white pompoms
- Googly eyes
- Scissors
- Scotch tape
- Hot glue gun
Print it out
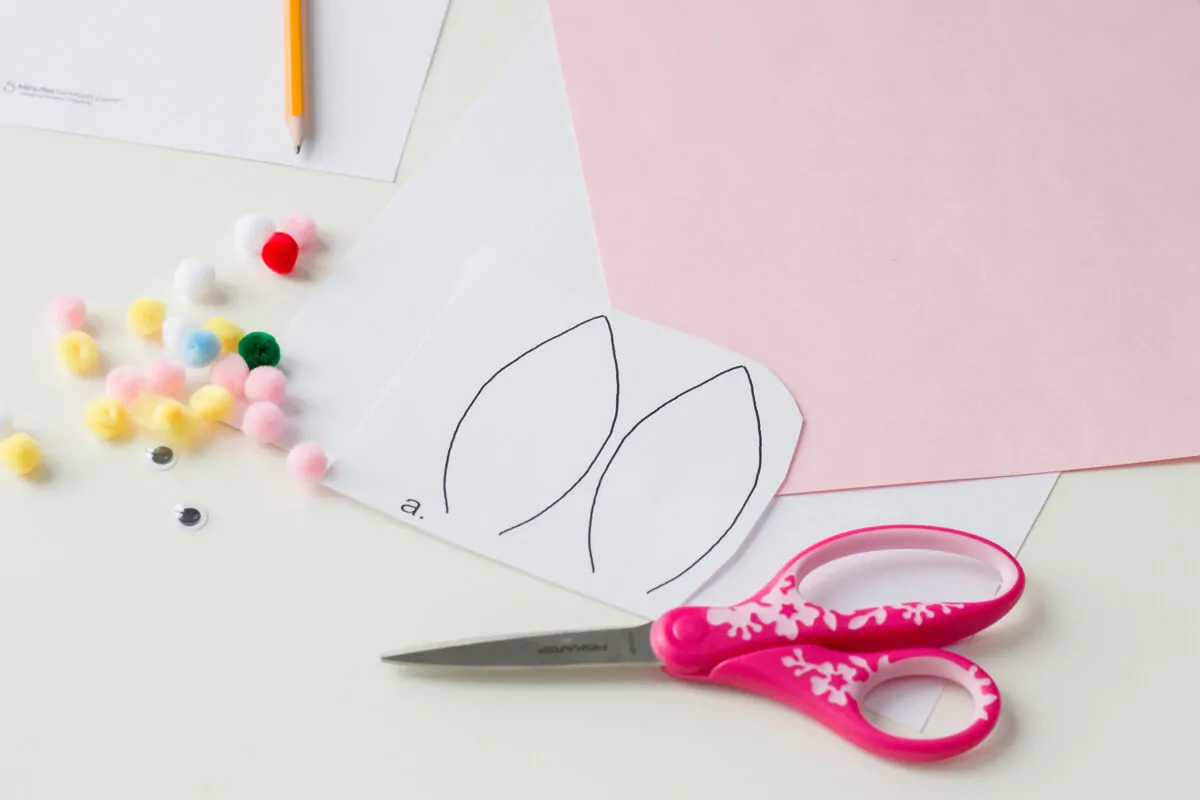
To start off, you’ll need to print out a copy of our Bunny Pencil Holder printable – be sure to click here to get it for free!

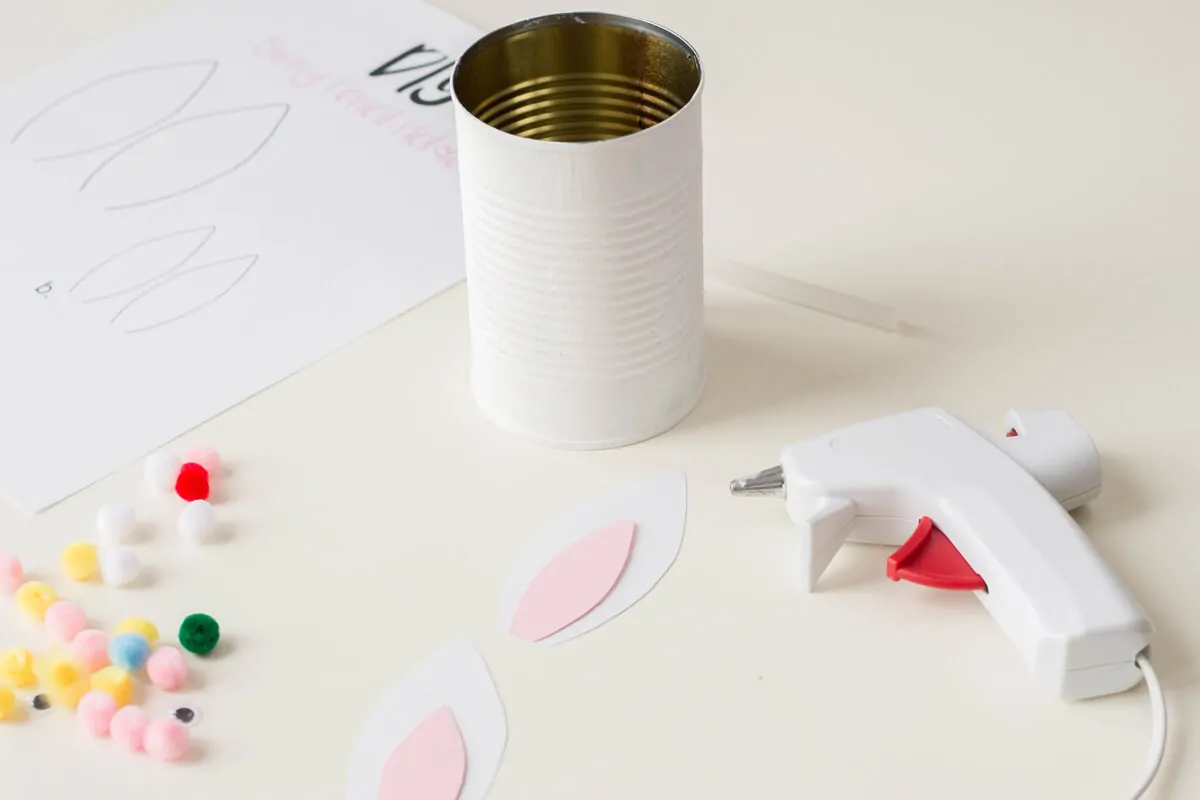
Get Paintin’!
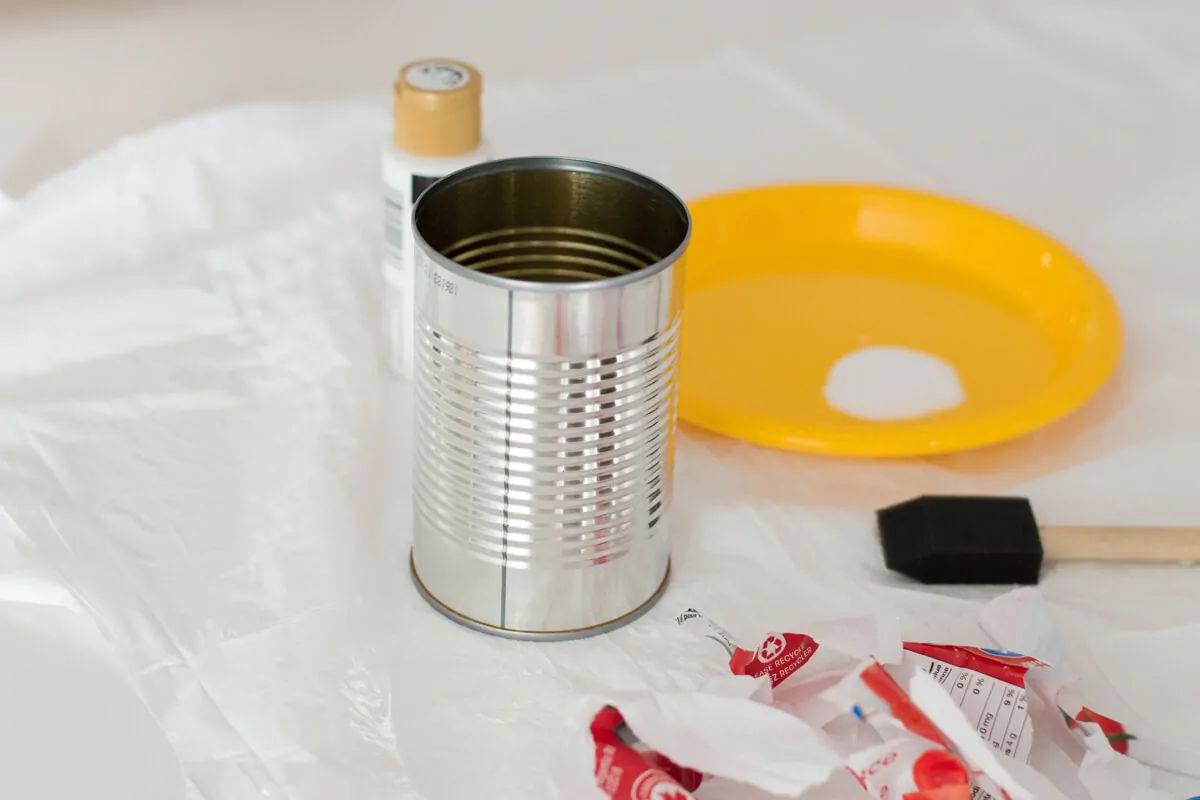
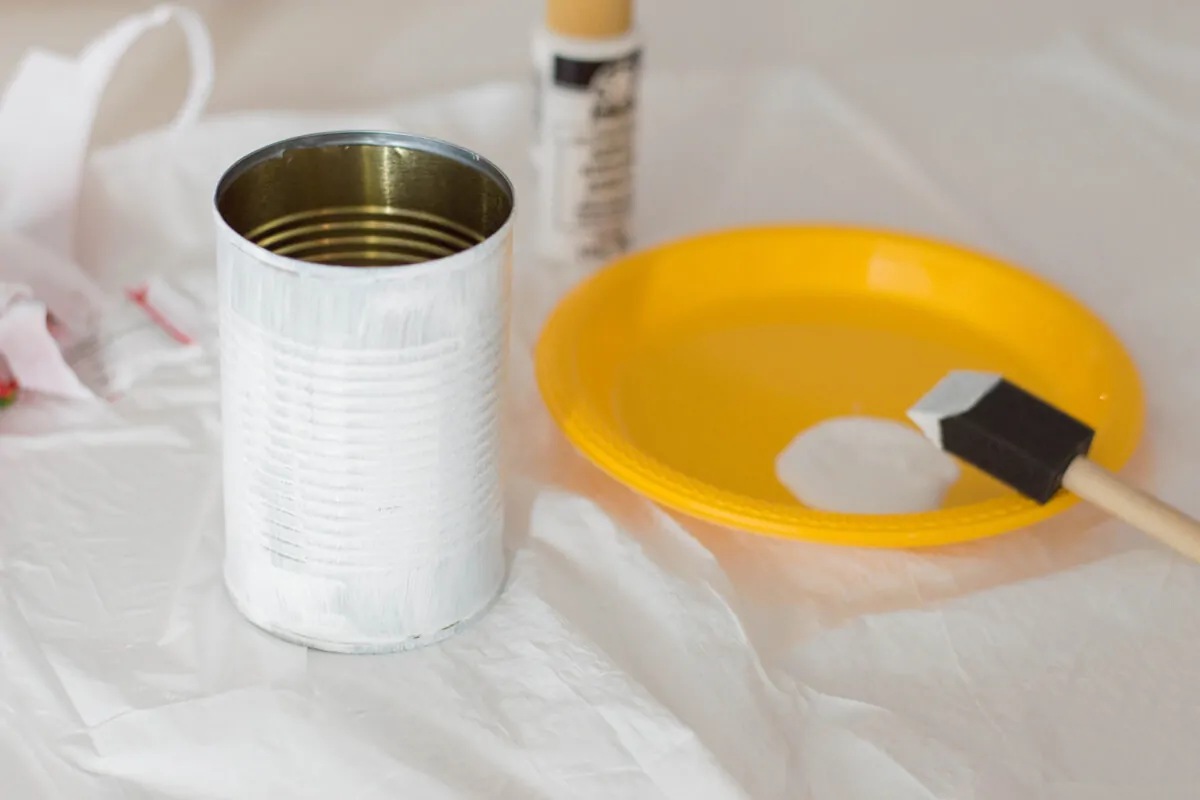
Paint your tin can with your white acrylic paint. Ideally, you’ll want to cover it with 2 thin layers of paint. Allow to dry completely.
The Right Color for the Right Ears
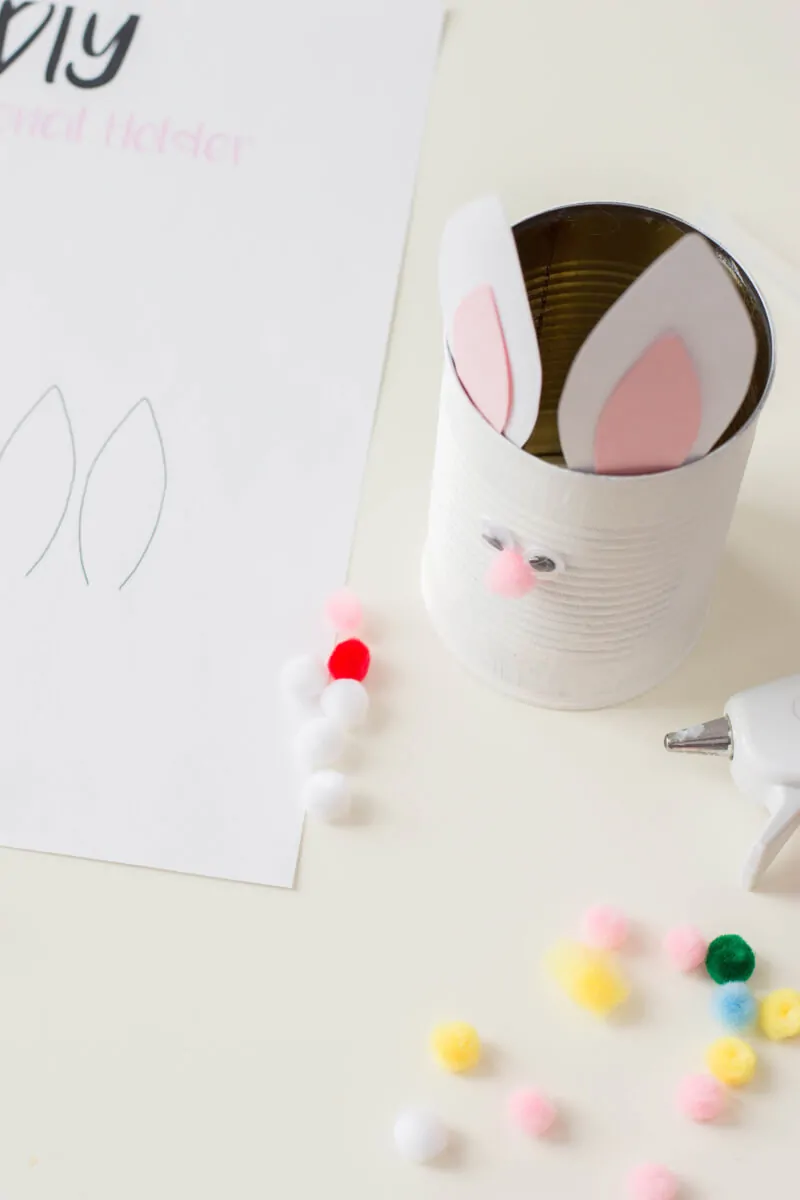
Take a look at your printable: set A of your bunny ears will be for your white cardstock and set B will be for your pink cardstock.
Cut Out the Ears
Cut out the ears from your printable.
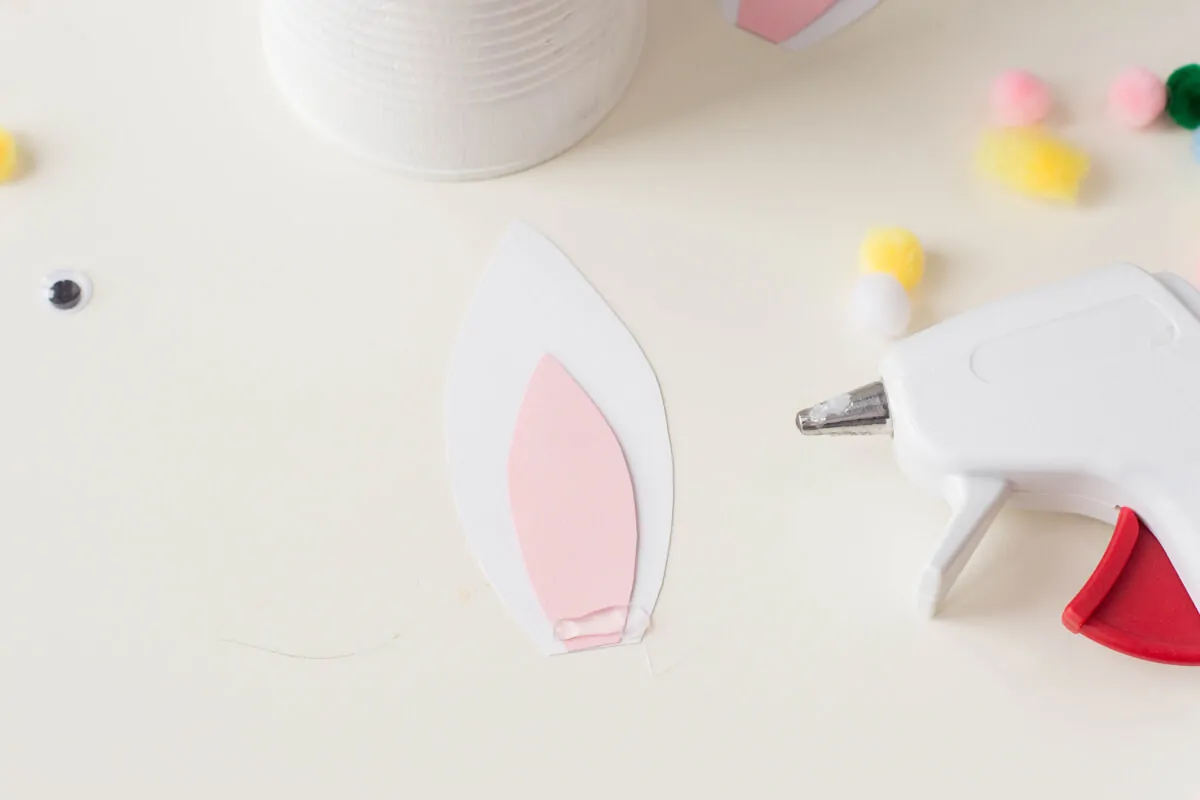
Trace
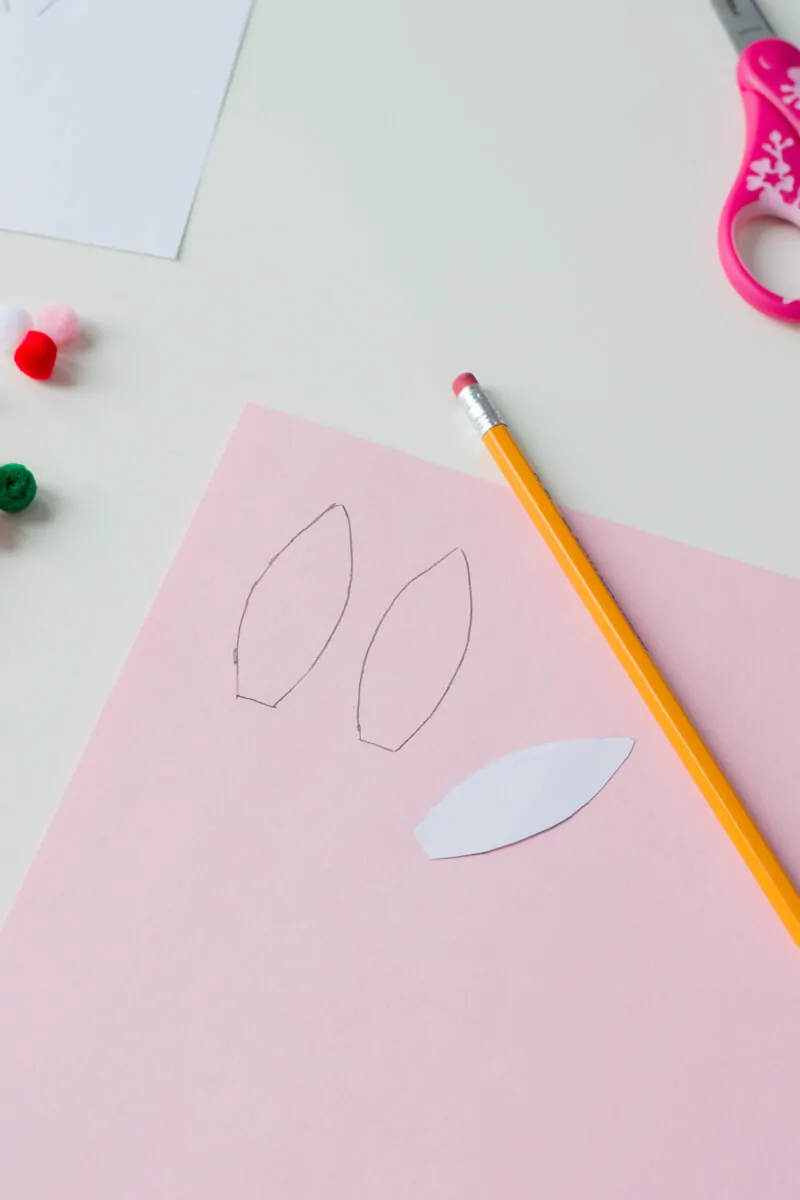
Trace the shape of the ears on its appropriate cardstock color.
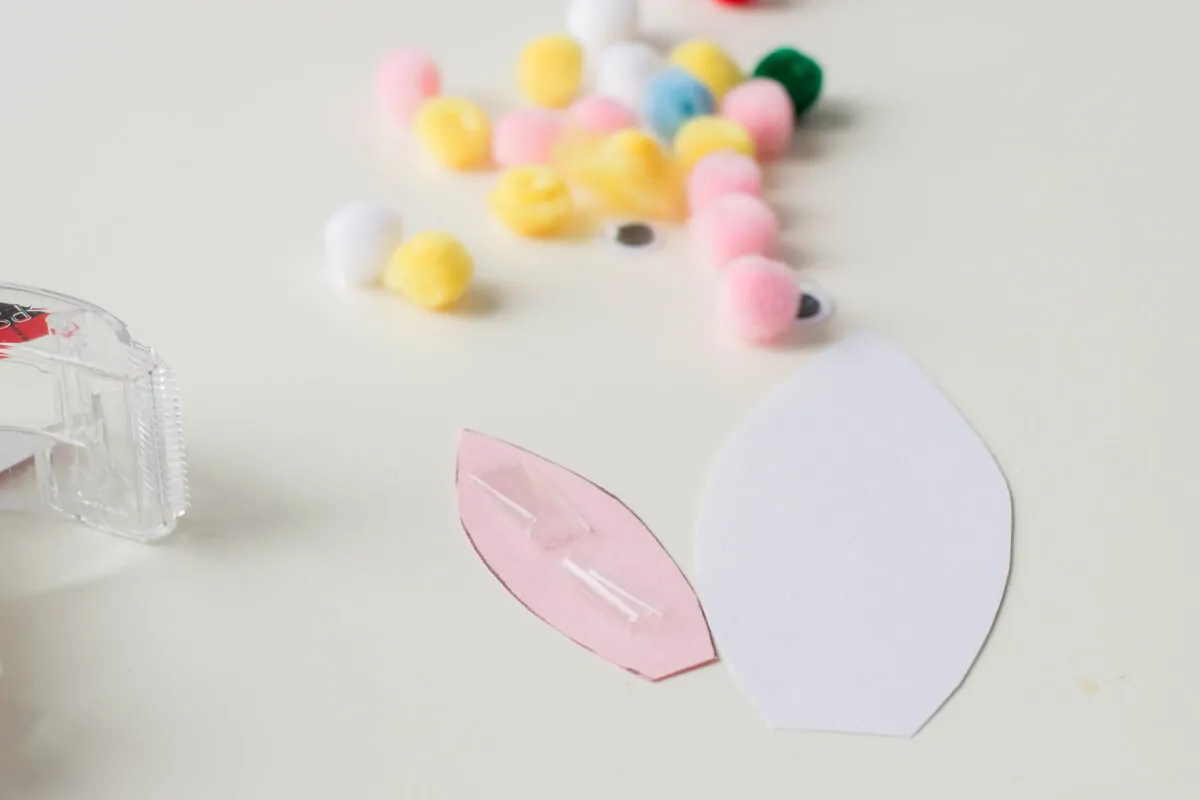
Get Snippin’ Again!
Now that you’ve traced the ears onto the appropriate cardstock, cut each ear out.
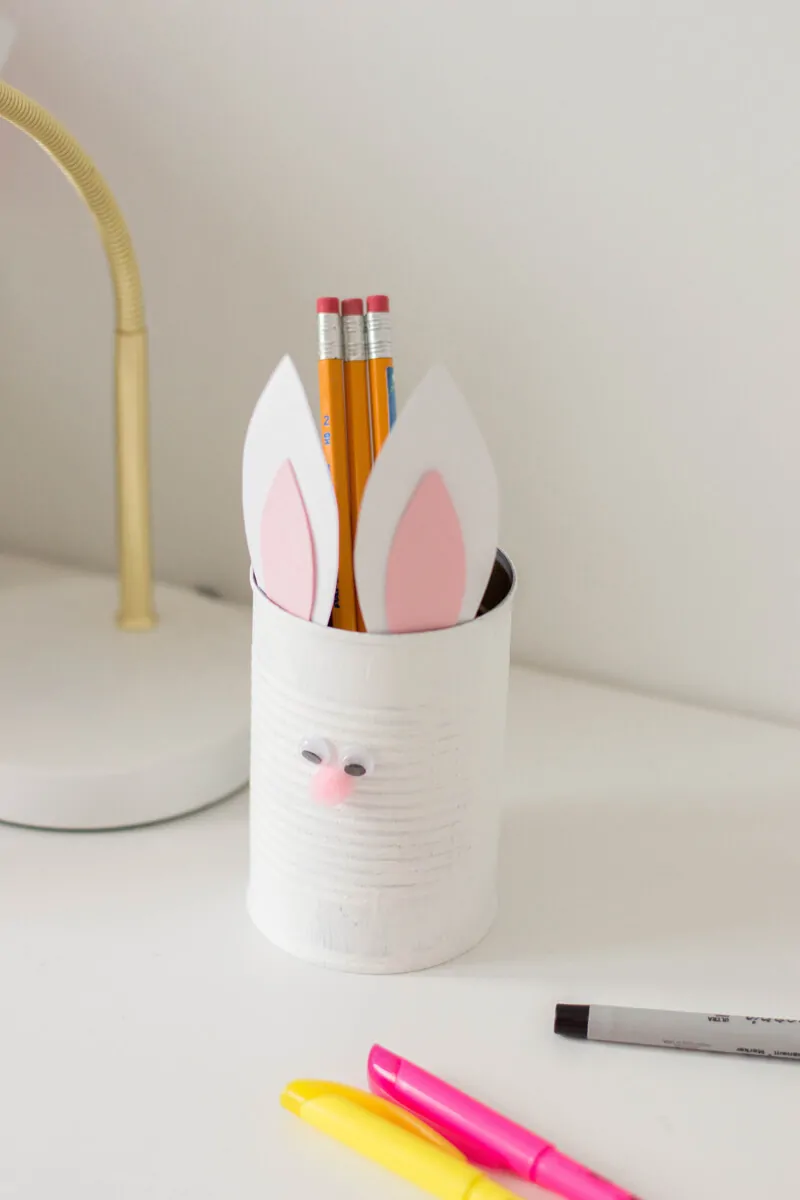
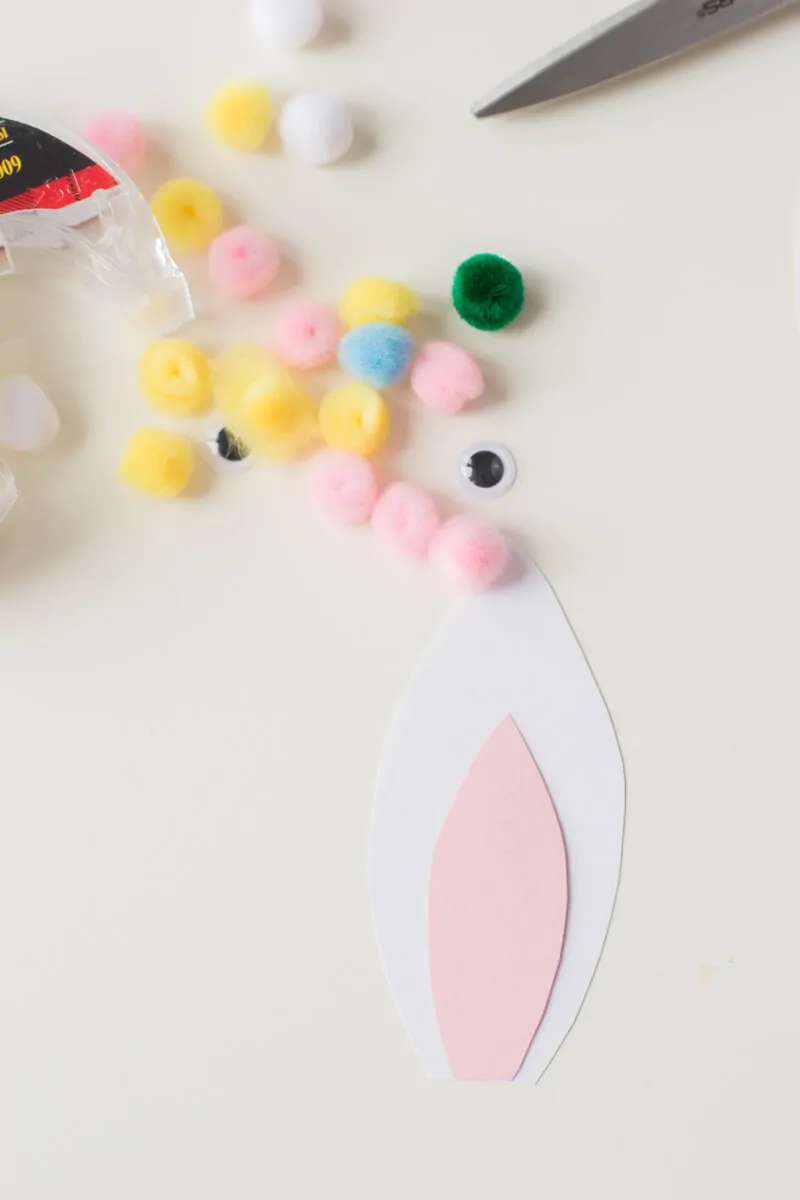
Ear Assembly
Use scotch tape to secure the pink ear on the center of your white ear – note that the bottom of the ear pieces should align.
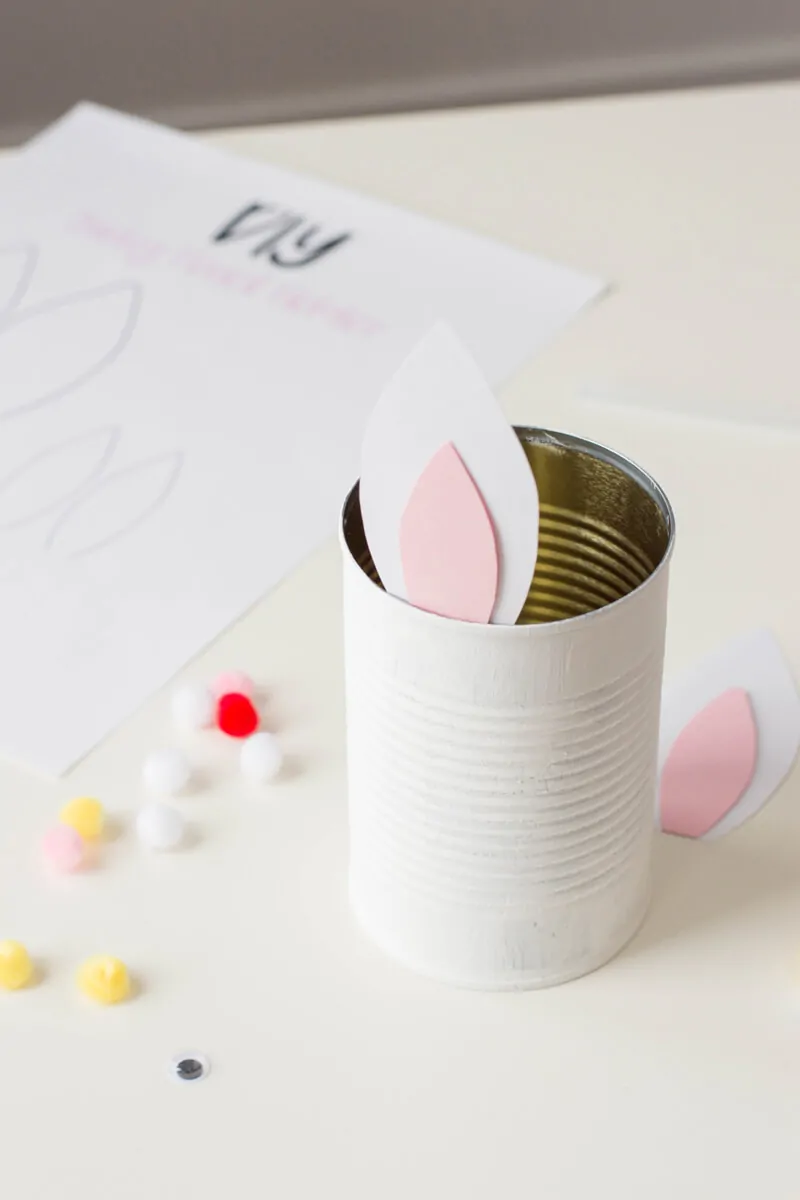
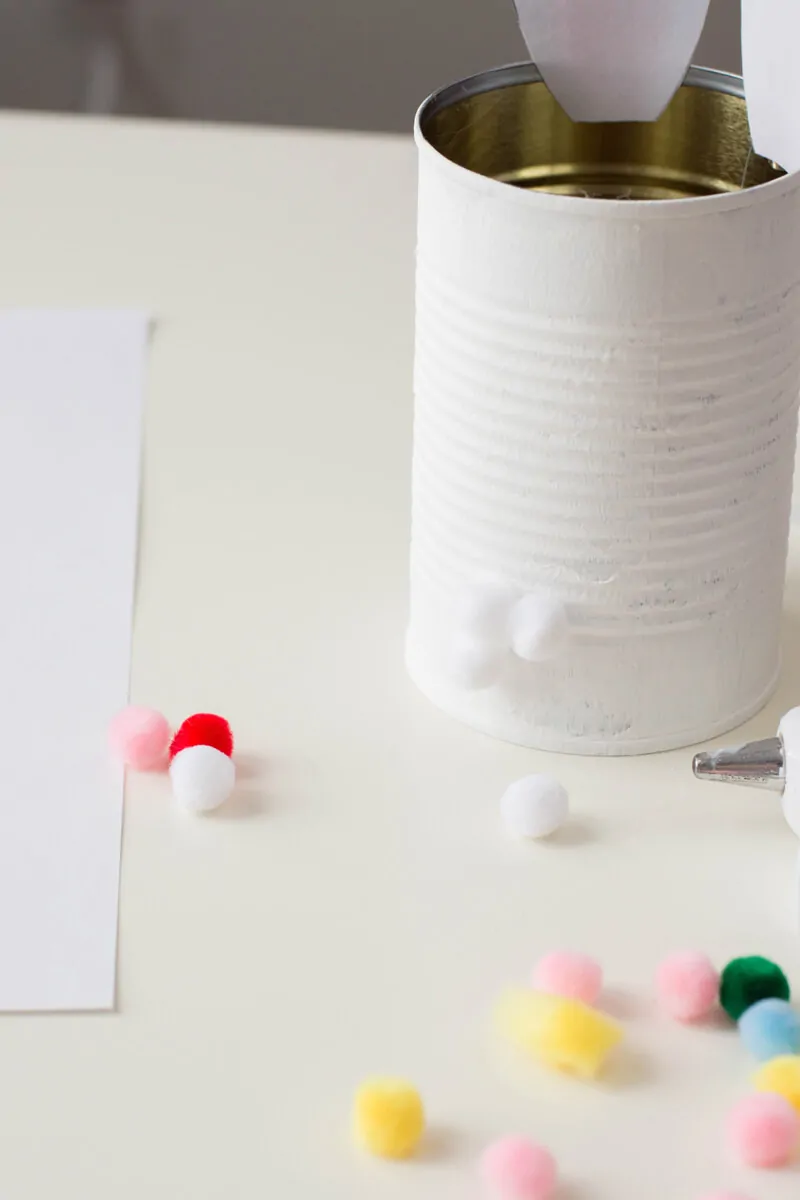
The Cutest Bunny Face
Now, it’s time to assemble the bunny! Place hot glue gun on the bottom of your ears and stick it on the inside of your tin can.
Place a dot of hot glue on your pink pompom and secure it to the center of your tin can.
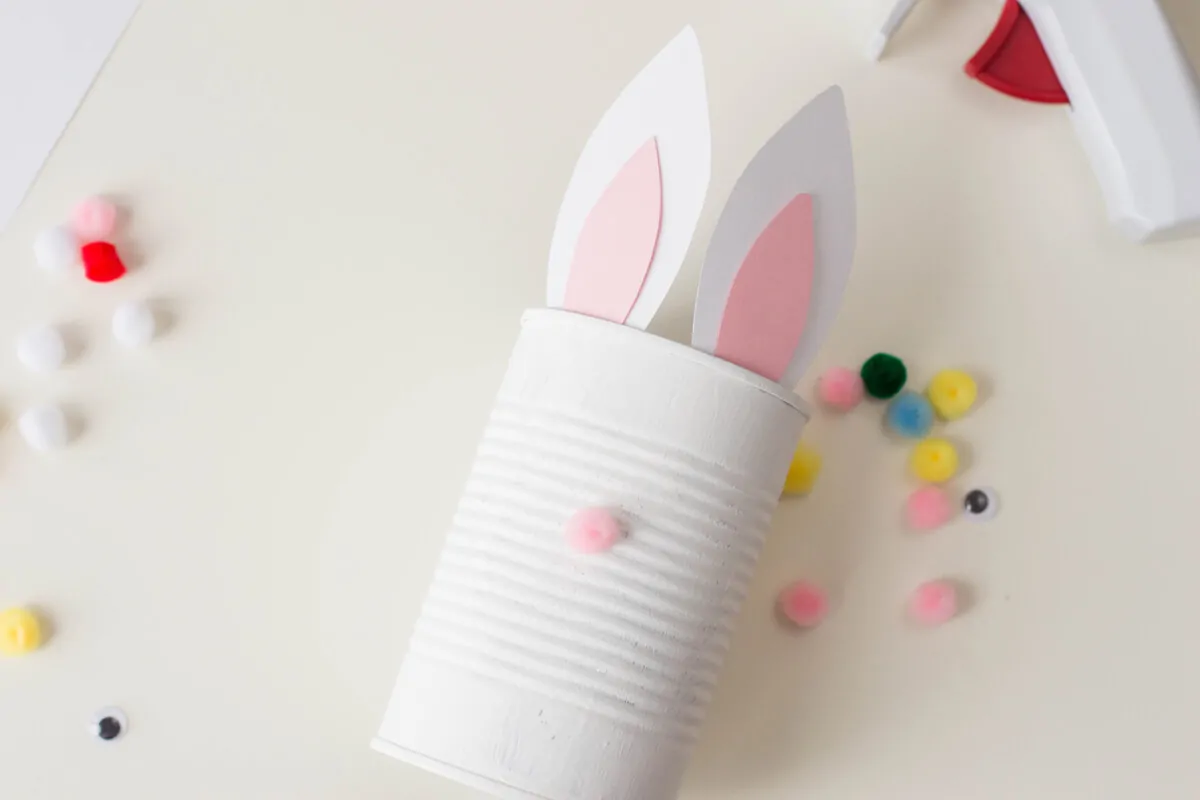
Now, glue the eyes onto the tin can.
Finish it off with a Fluffy Tail!
With your 4 remaining white pompoms, glue it onto the back of your tin – this will be your bunny’s little tail!
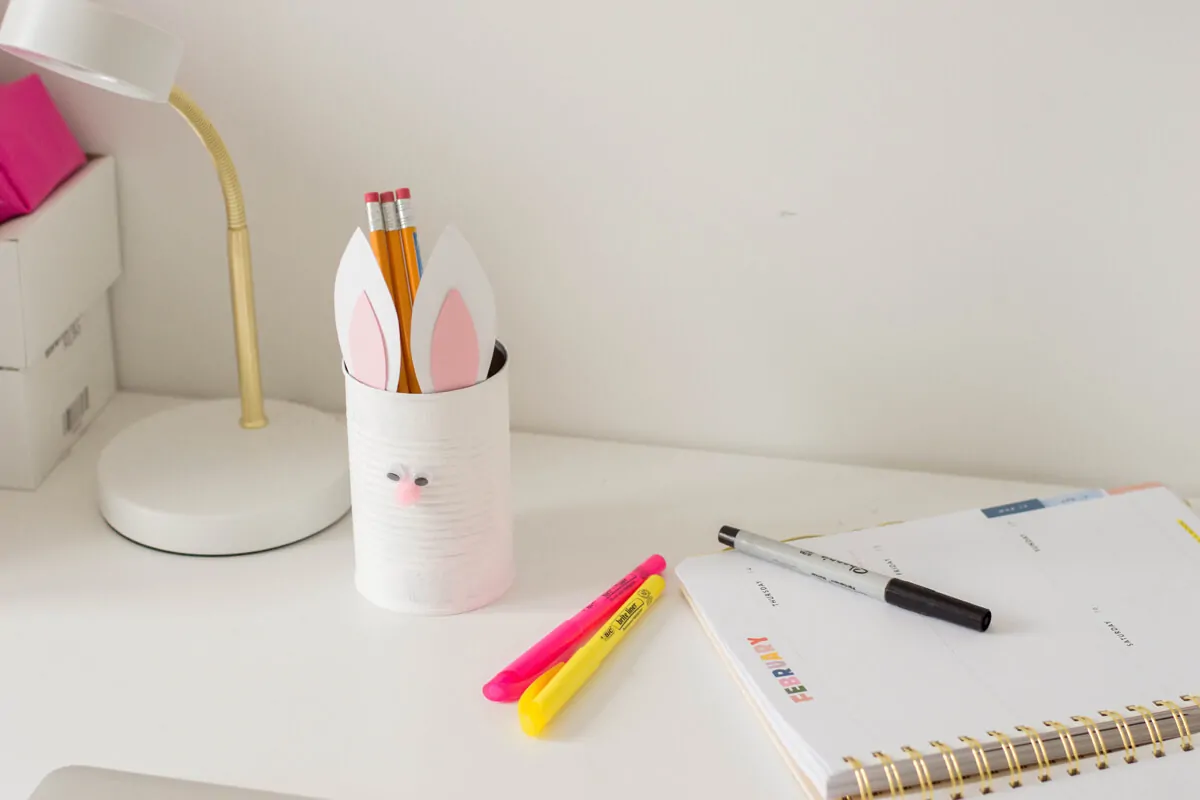
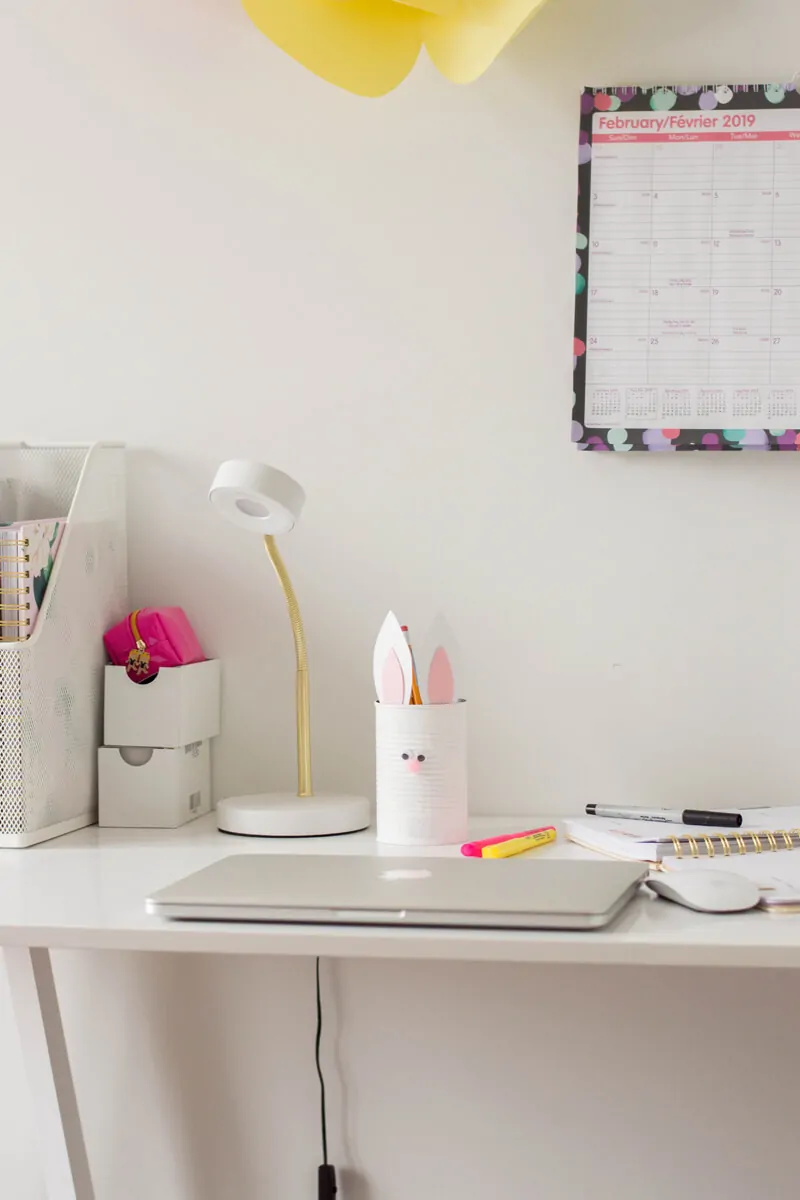
And that’s it! See how easy that was to put together?

How do you add decorative touches to your home? What’s your favorite kind of DIY?
Pin this Bunny Pencil Holder for Later!
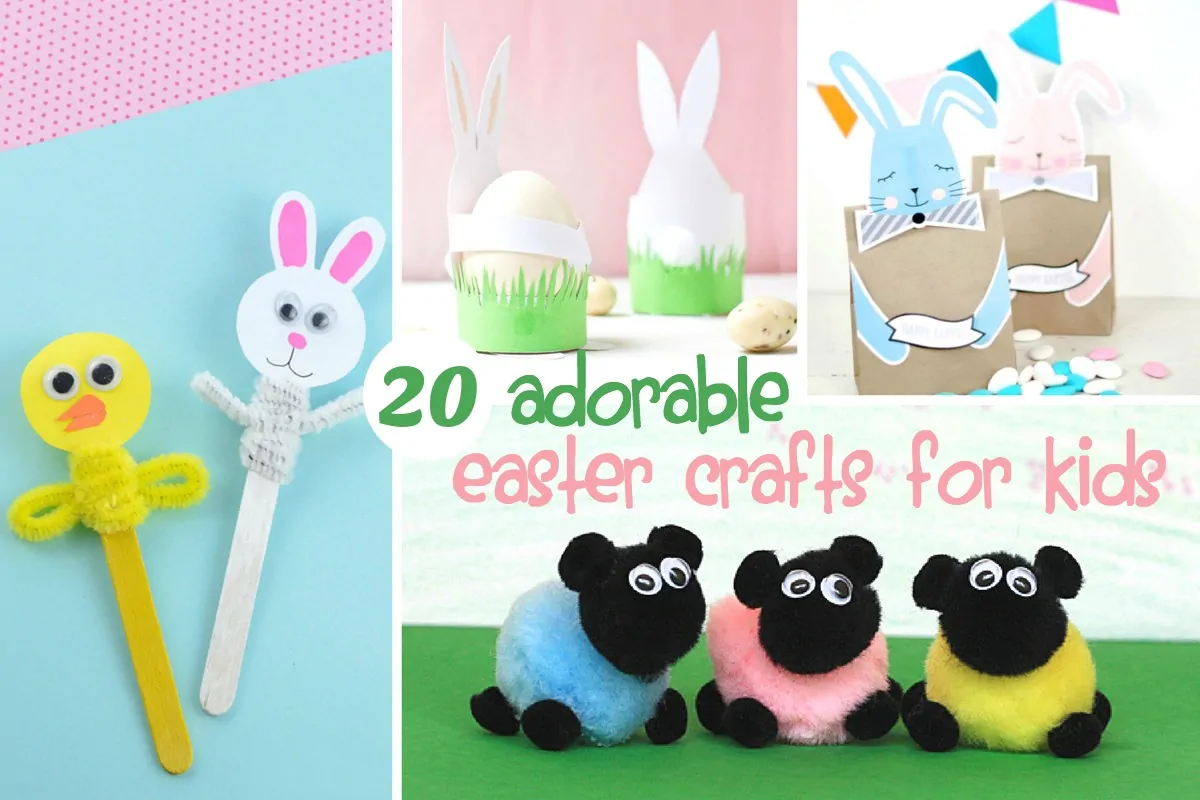
How About Another Easter Craft For Kids?
You can never have too many craft ideas! If you’re planning an afternoon of crafting with your kids to perhaps add another cute Easter craft for kids to your day…
20 Adorable Easter Crafts for Kids


Leave a Comment