This post may contain affiliate links. Read my disclosure policy here.
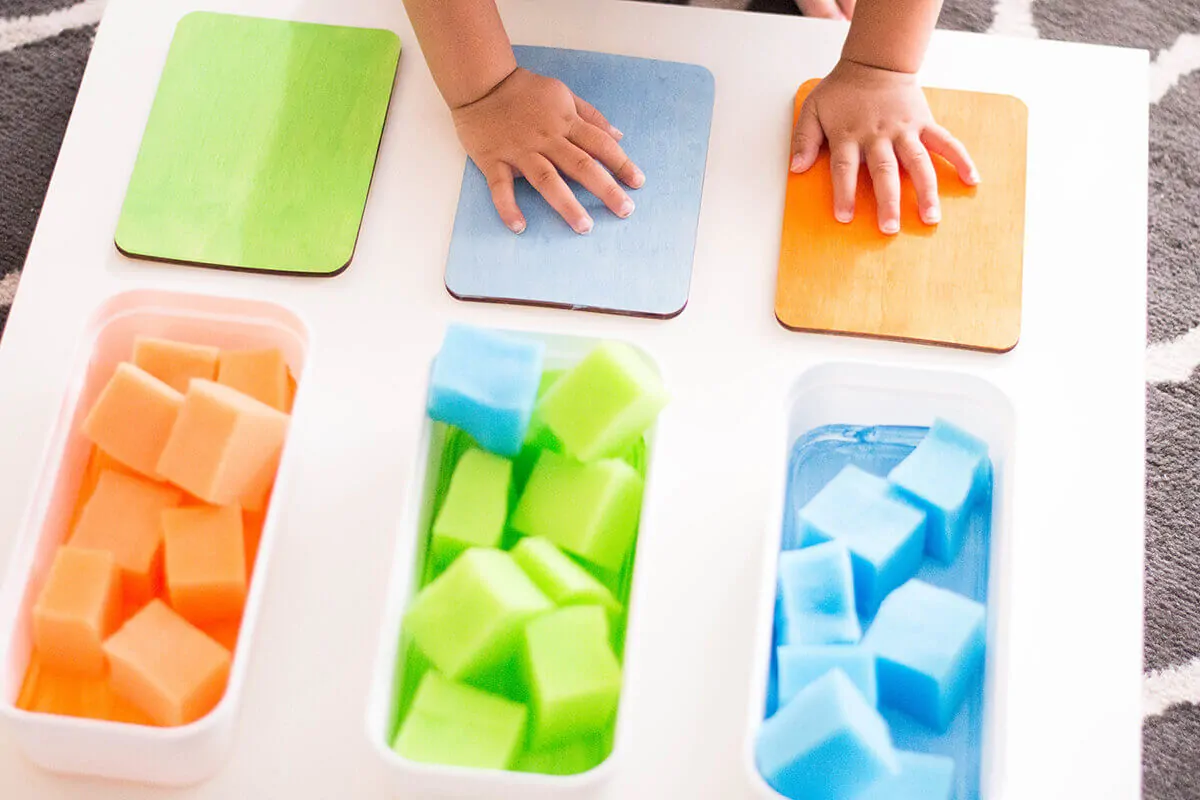
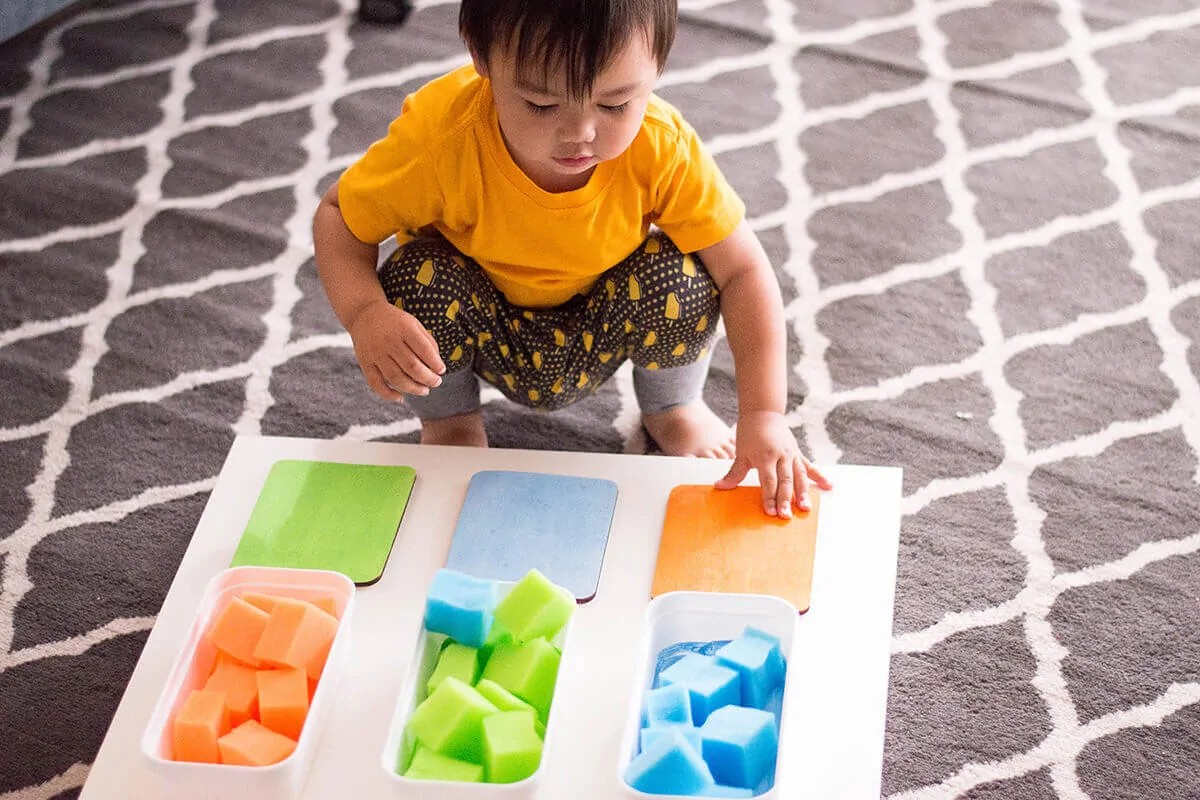
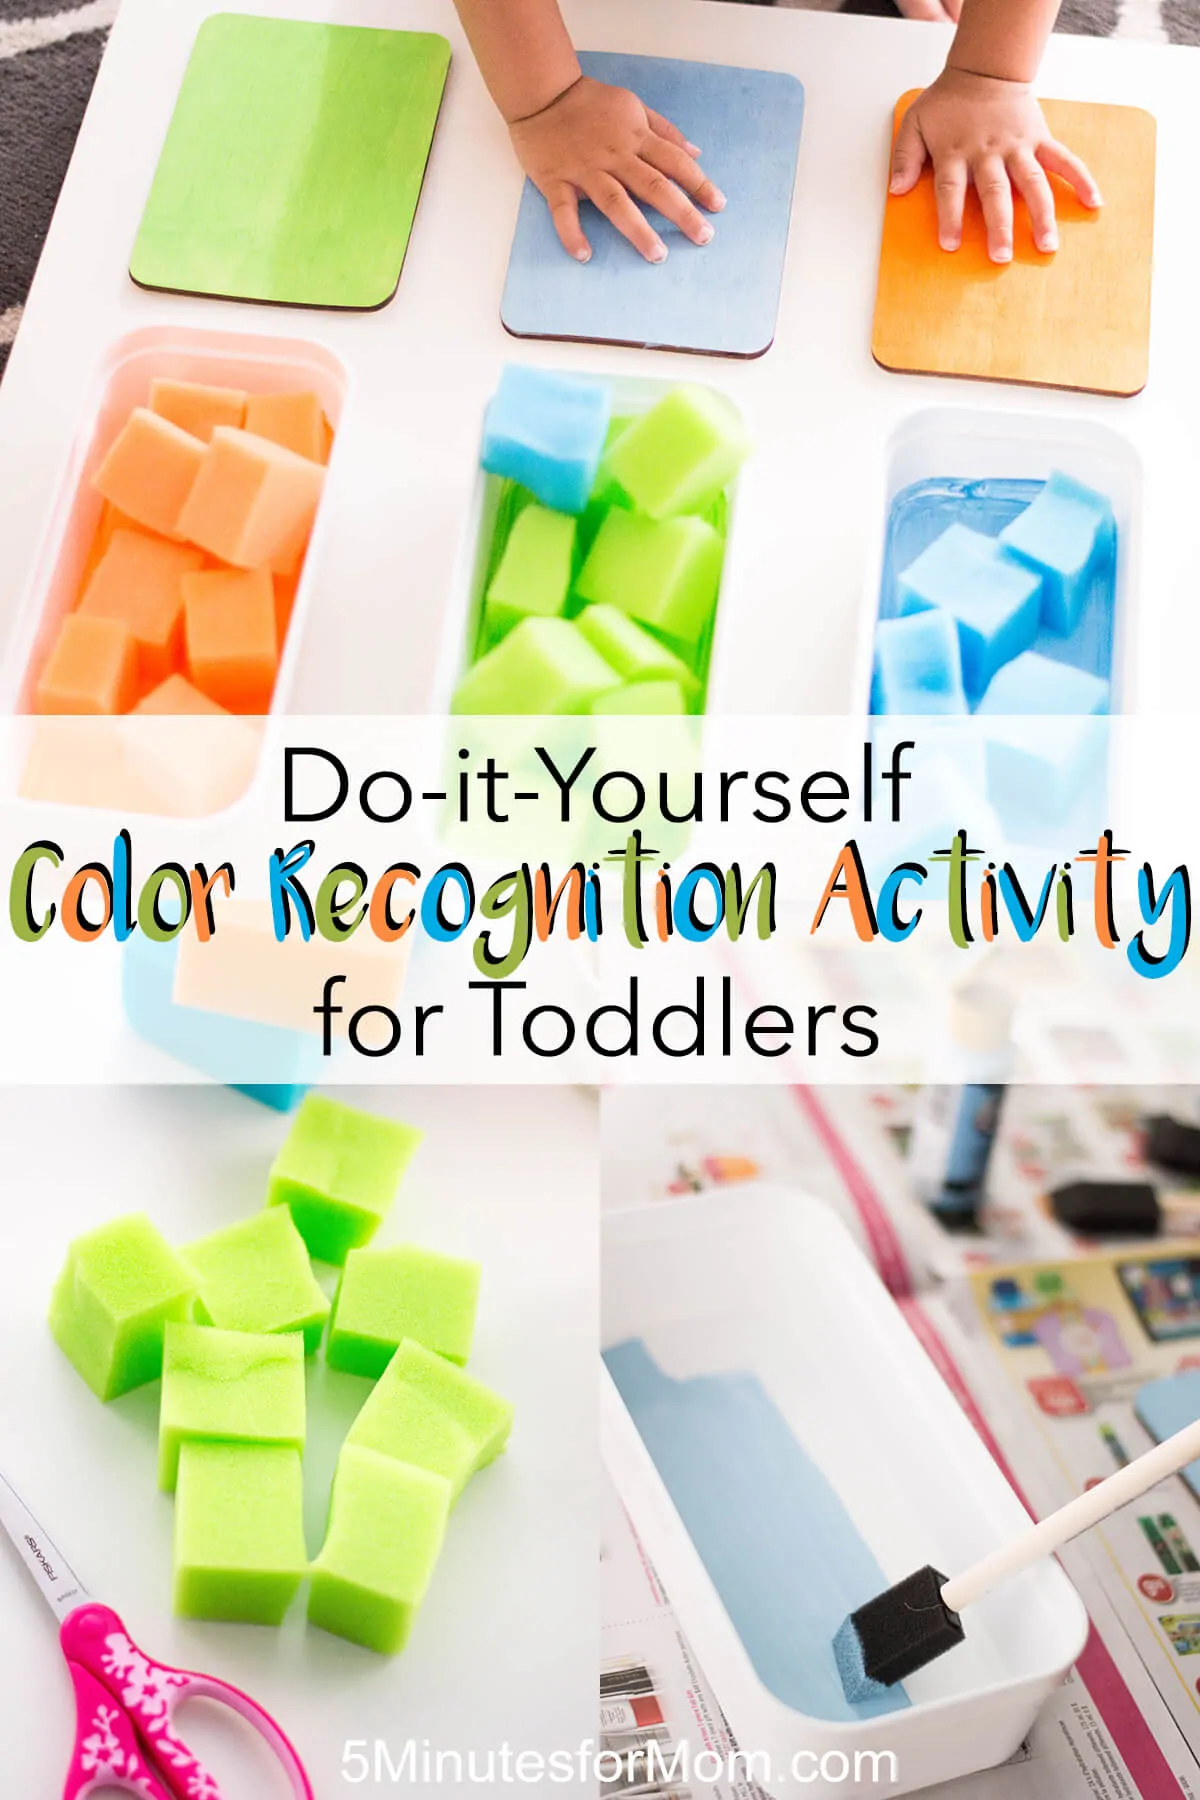
Color recognition is one of the earliest skills you can teach your curious toddler. Here’s how you can make your own DIY color recognition activity for toddlers.
Now that Leo has entered the 18-24 month stage (a stage that is regularly called “older toddlers”), I have been fascinated with his actions, reactions, and overall interactions.
Early on, I could tell that Leo was ready to partake in particular games and activities. Lately, he’s been into sorting and piling. In fact, it was one day when we were eating lunch that I noticed he sorted his plate into actual sections: French fries in one corner and boiled carrots in the other. I thought: “Okay, I have to take advantage of this!”
I put together my Color Recognition Activity for Toddlers with Leo’s new skill set in-mind. Sure, I could have gone to the local big box store and bought him a toy that does exactly this. But you know what? There’s something about making things from scratch that I think is more charming and more fun.
Color Recognition Activity for Toddlers
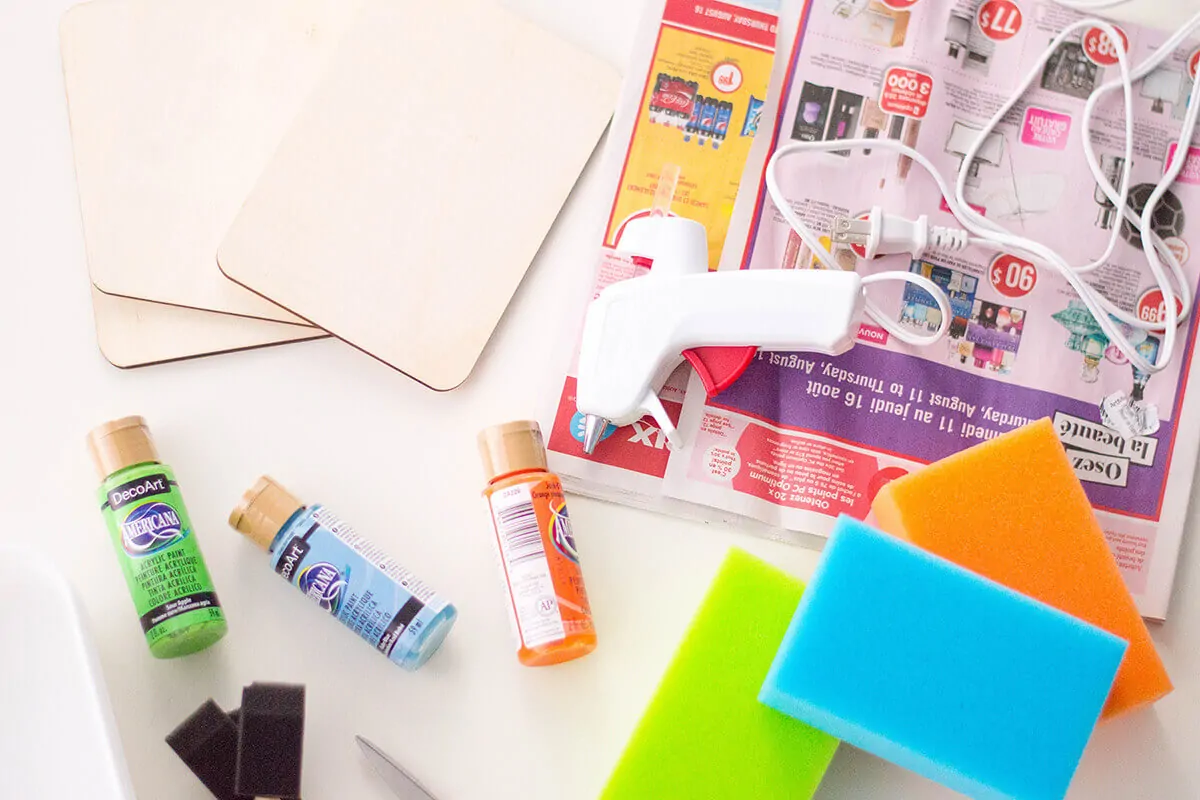
Supplies You’ll Need
- Wooden board/plank (Psst: I love, love, LOVE using the top of the LACK side tables from IKEA – plus, they’re super cost-effective!)
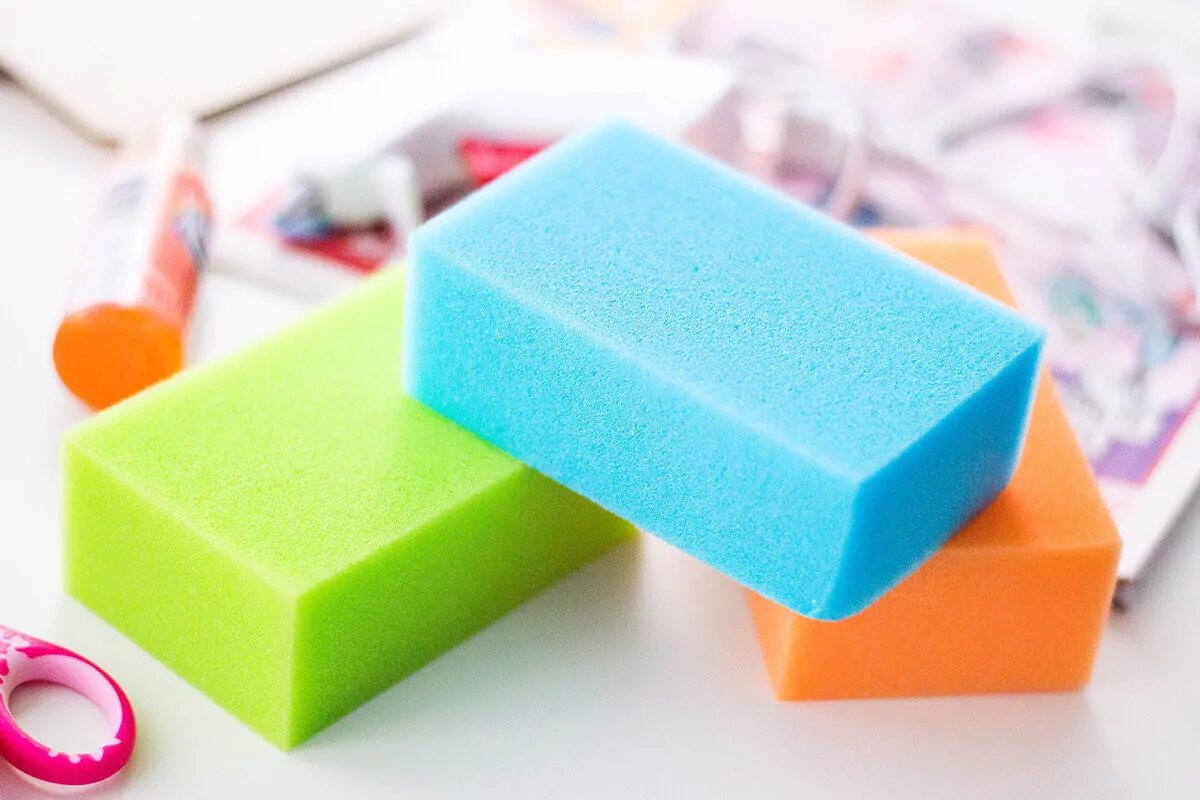
- 3 different sponges (each a different color)
- scissors
- 3 plastic trays/containers
- 3 pieces of wood – about 5 x 4 inches in size
- Paint that matches each sponge
- Paintbrushes or foam brushes
- Newspaper
- Hot glue gun
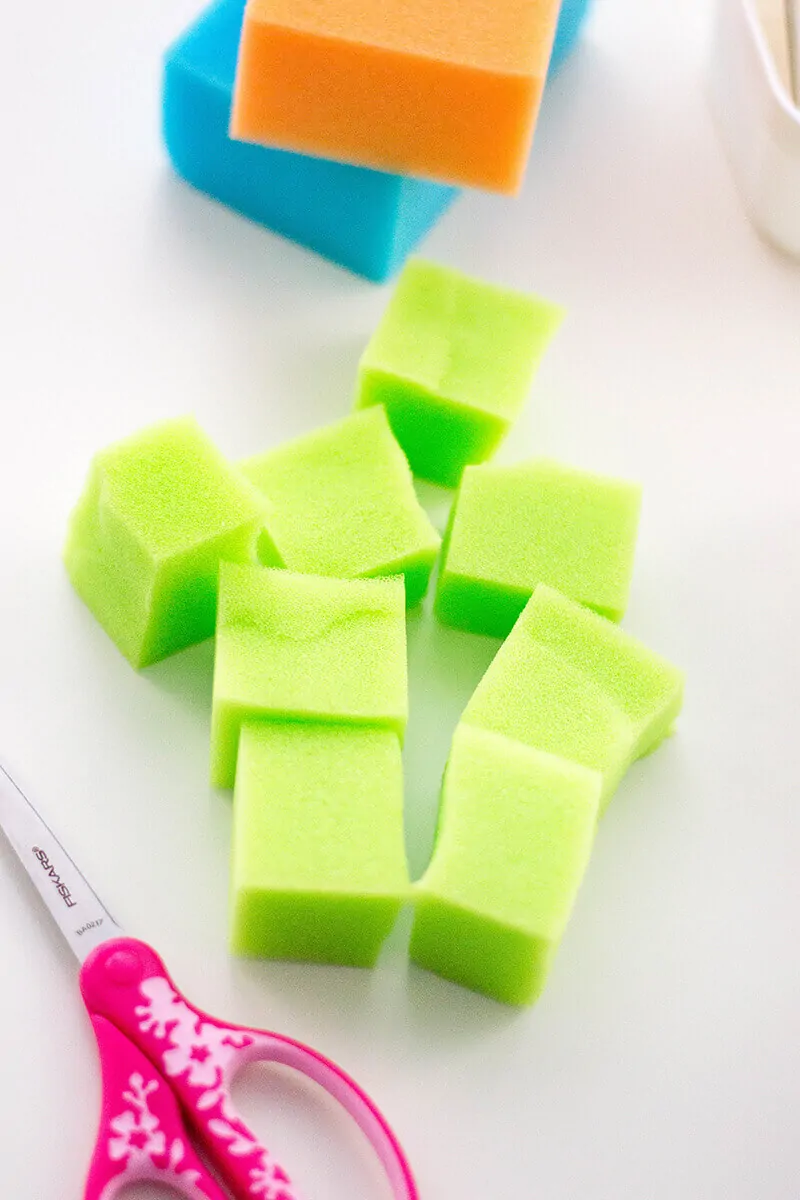
Cut the Sponge
Cut your sponges in 1 to 2 inch sized cubes. Set aside.
Paint Work
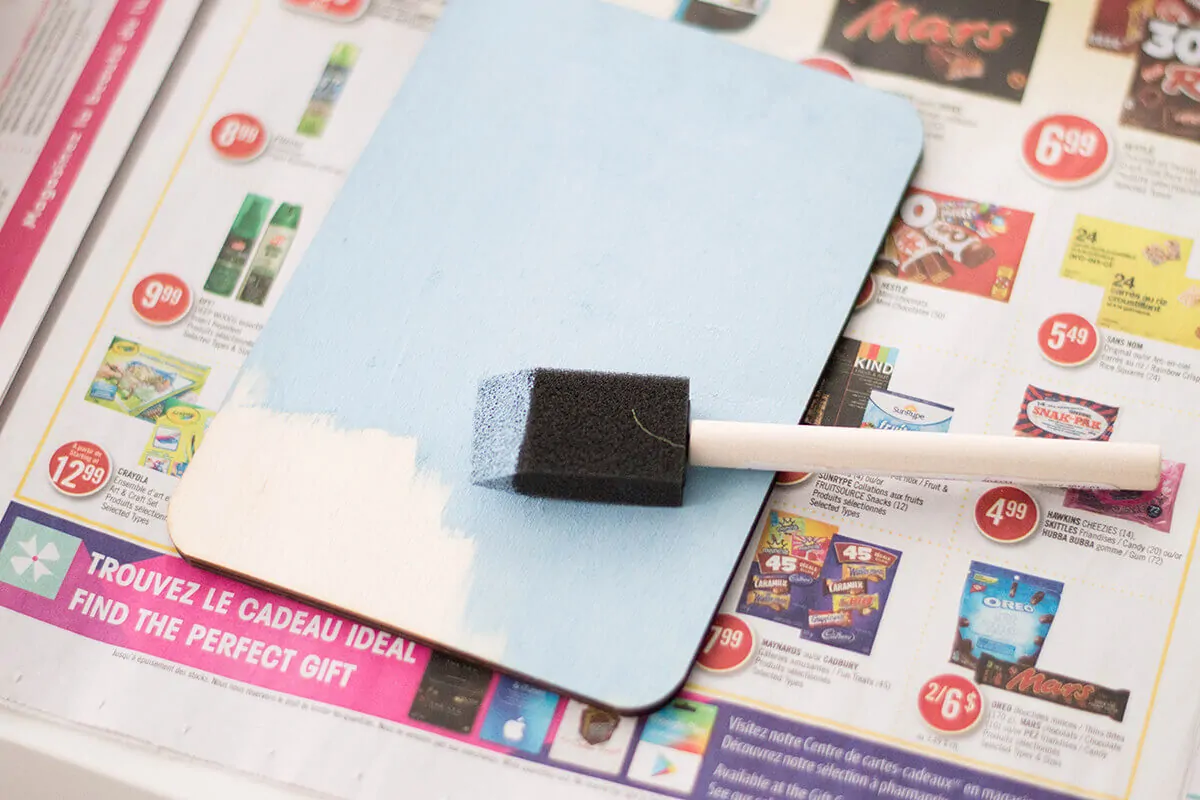
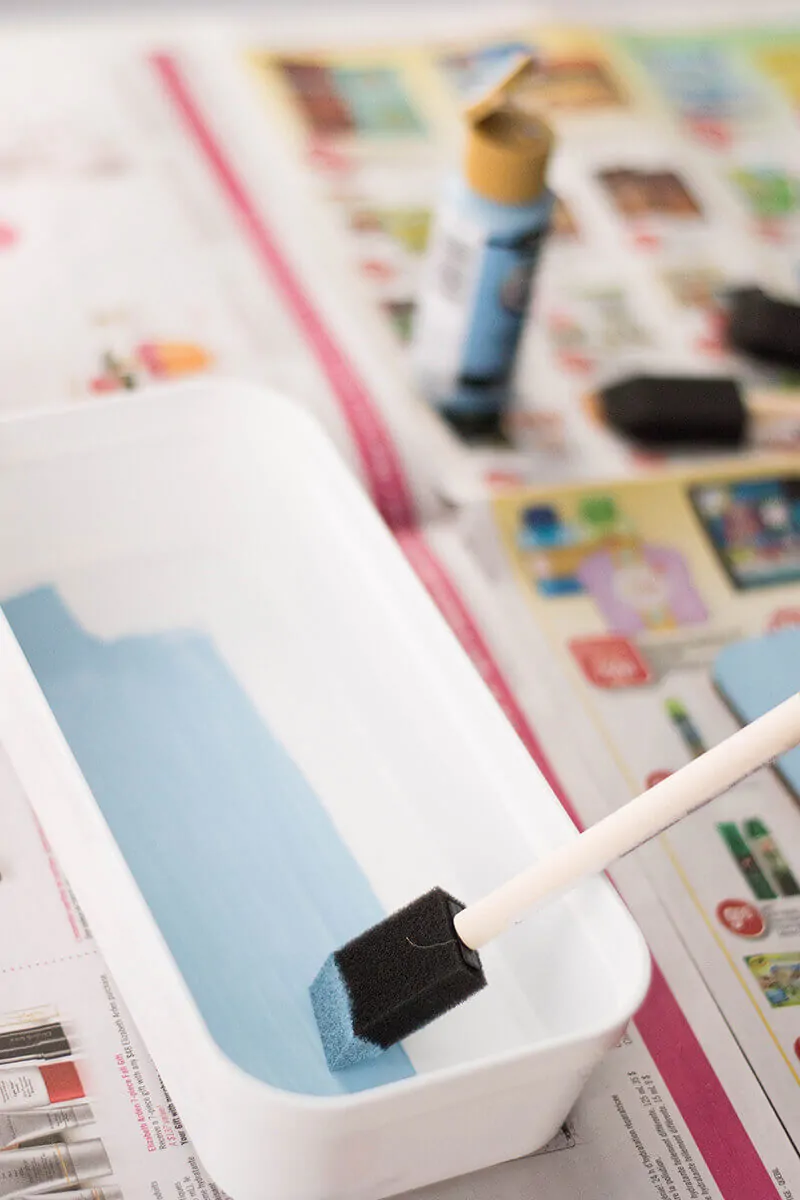
Here’s where it gets fun: but let’s keep the mess tame, shall we? I lined my working surface with newspaper and painted each of my wood pieces and plastic trays. You’ll want one of each color. Let the paint dry completely before assembling.
Glue it On!
What’s great about using IKEA’s LACK side table is that you could either use the top portion or assemble it with its legs. I opted to use the top part so that Leo could play either on the carpet or on our dining table. It makes it a lot more mobile!
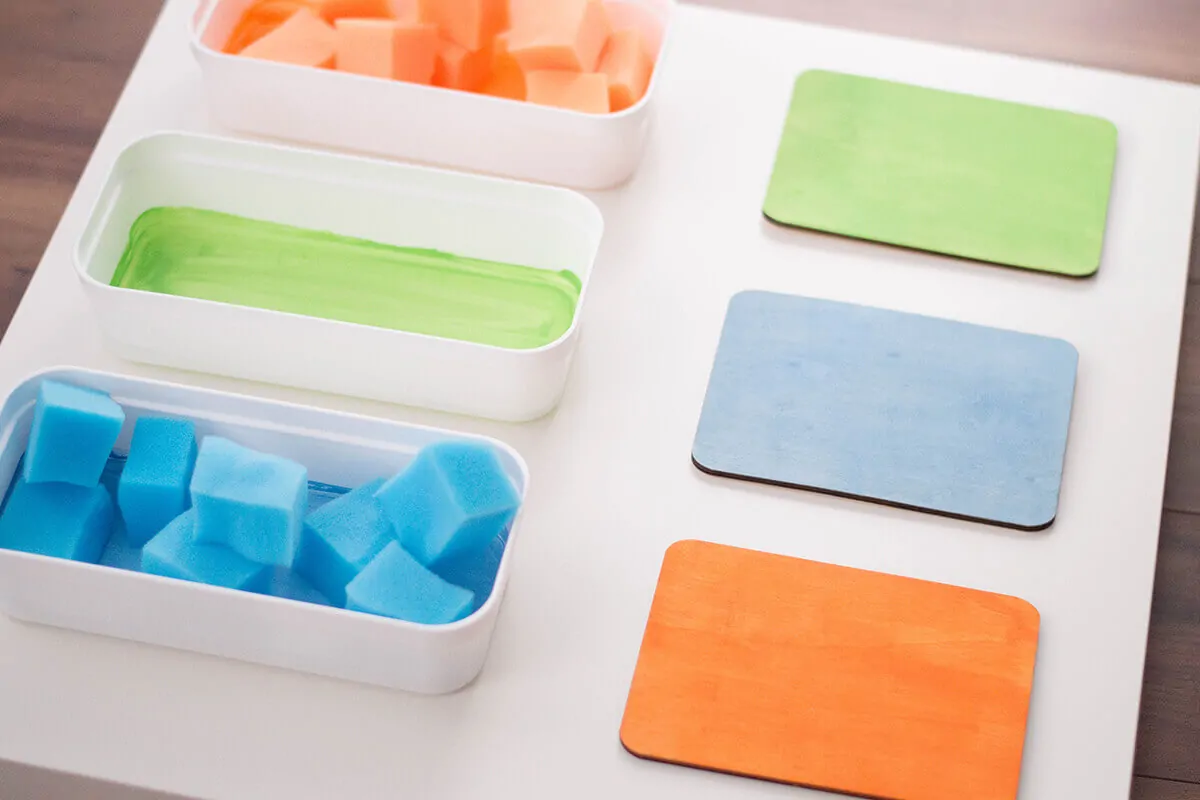
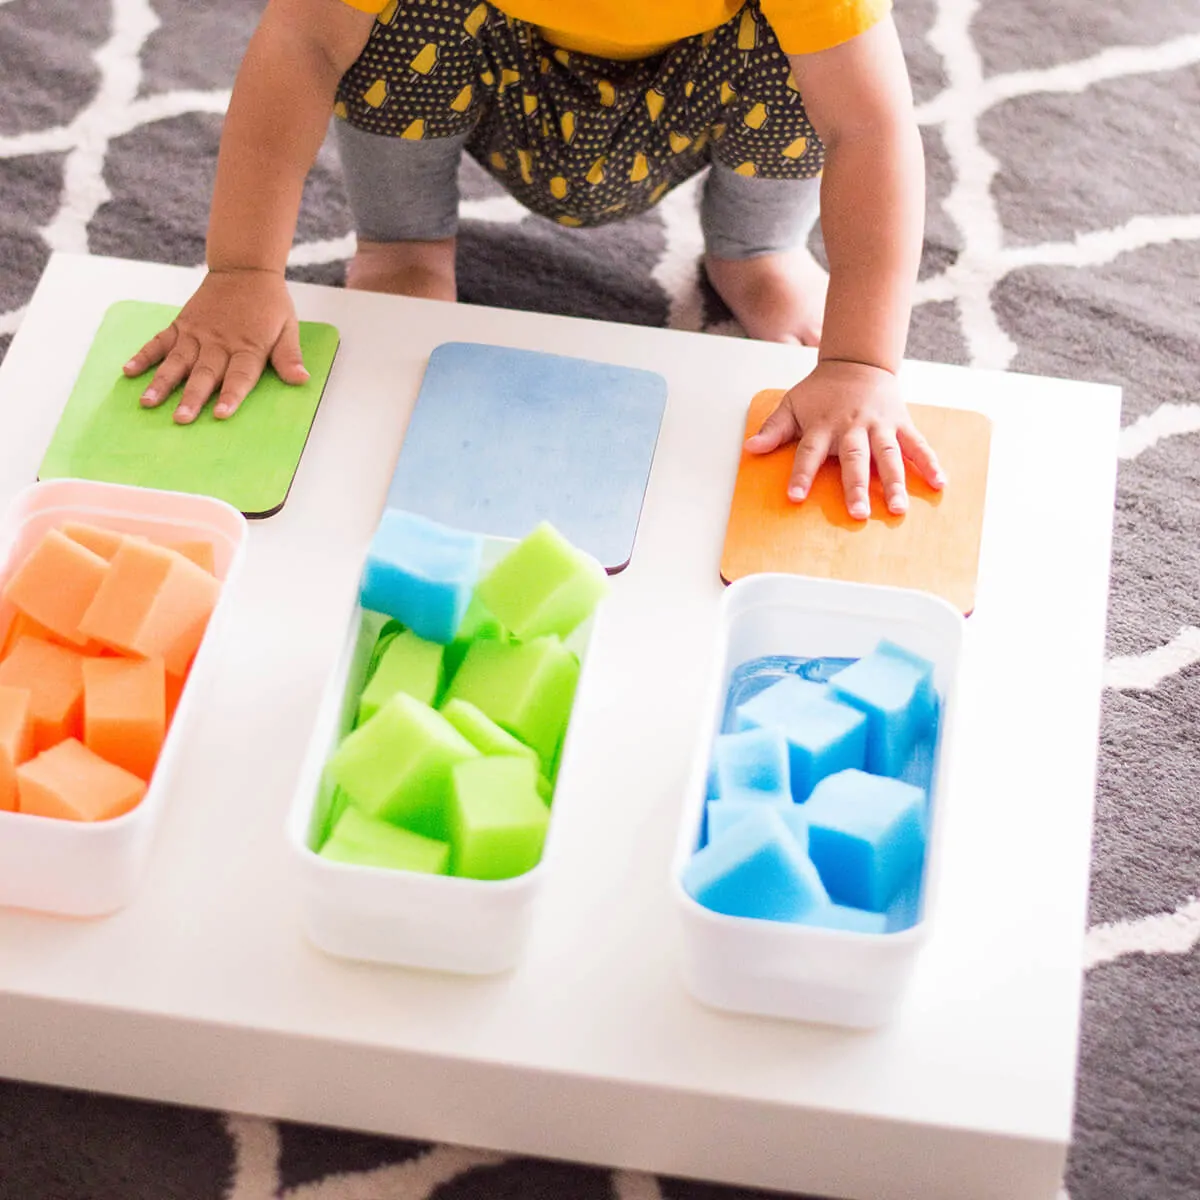
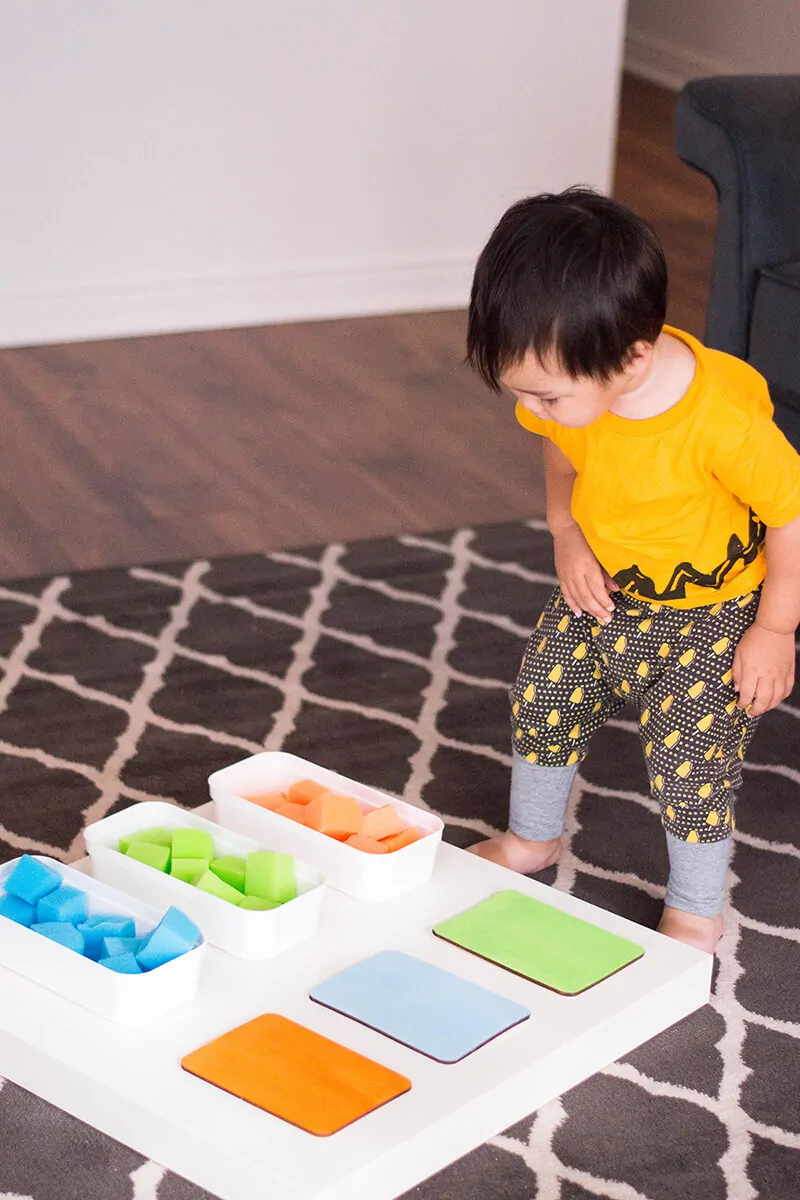
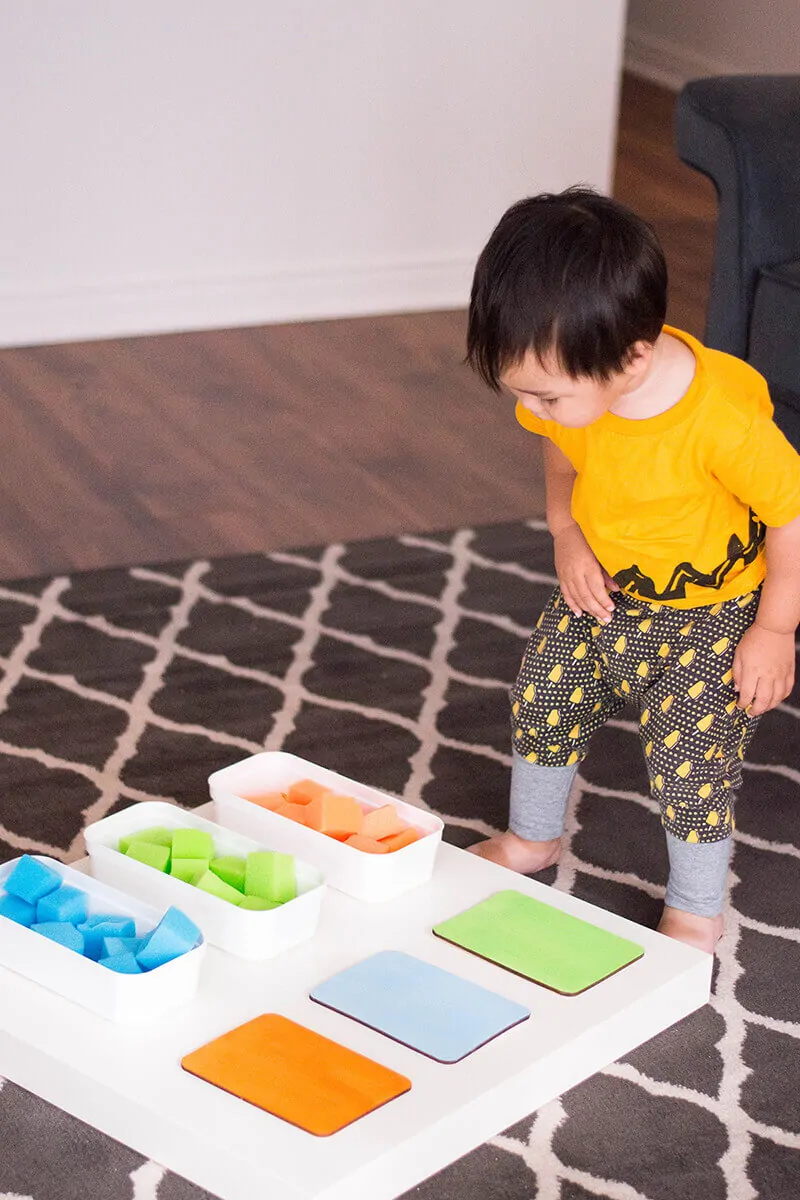
Place your painted trays and wooden pieces on the top of your wooden board/LACK side table. This way, you have an idea of where you’ll be gluing each part. The top row should be your trays and the bottom row, your wooden pieces. Be sure to not line each row with the same color pattern – this will make the color recognition more of a challenge!
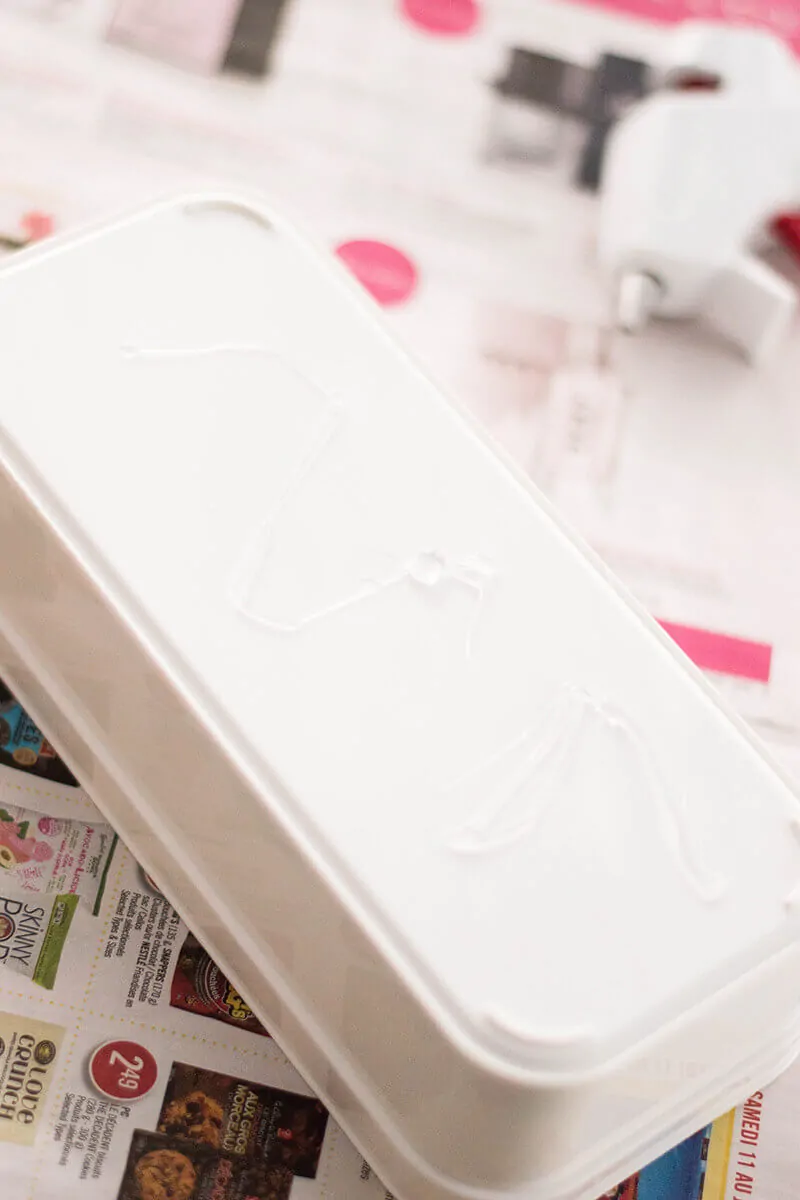
Using your hot glue gun, glue each piece so that it is secured and stays on your wooden board. Allow to set.
Ready to Play!
Place the appropriate sponges in each tray and voilà! You are now ready to match colors and sort with your little one.
I am totally an early riser and my boys… well, my husband and my son really love their sleep. I got to work on this activity in the wee hours of the morning. When Leo woke up, the activity was ready for him to play with!
Best morning surprise, ever!
What are some of your toddler’s favorite activities?


Jenny says
Great idea for little ones. They would love the texture of the sponges too. Thanks for sharing at #HomeMattersParty
The Freshman Cook says
Very clever and creative! It is so much fun to see little ones learn! Love this idea! Thank you for sharing at Celebrate It!